Home>Gardening Techniques>Plant Care>How To Start Carrot Seeds
Plant Care
How To Start Carrot Seeds
Modified: February 9, 2024
Discover the essential steps to successfully start carrot seeds with our comprehensive guide. Learn expert plant care tips for optimal growth and ensure a bountiful harvest.
(Many of the links in this article redirect to a specific reviewed product. Your purchase of these products through affiliate links helps to generate commission for Chicagolandgardening.com, at no extra cost. Learn more)
Table of Contents
Introduction
Welcome to the world of gardening and the wonderful journey of growing your own carrots from seeds! Starting carrot seeds is not only a rewarding experience, but it also allows you to have control over the quality and variety of carrots you grow. Whether you are new to gardening or have a green thumb, this comprehensive guide will provide you with all the information you need to successfully start carrot seeds.
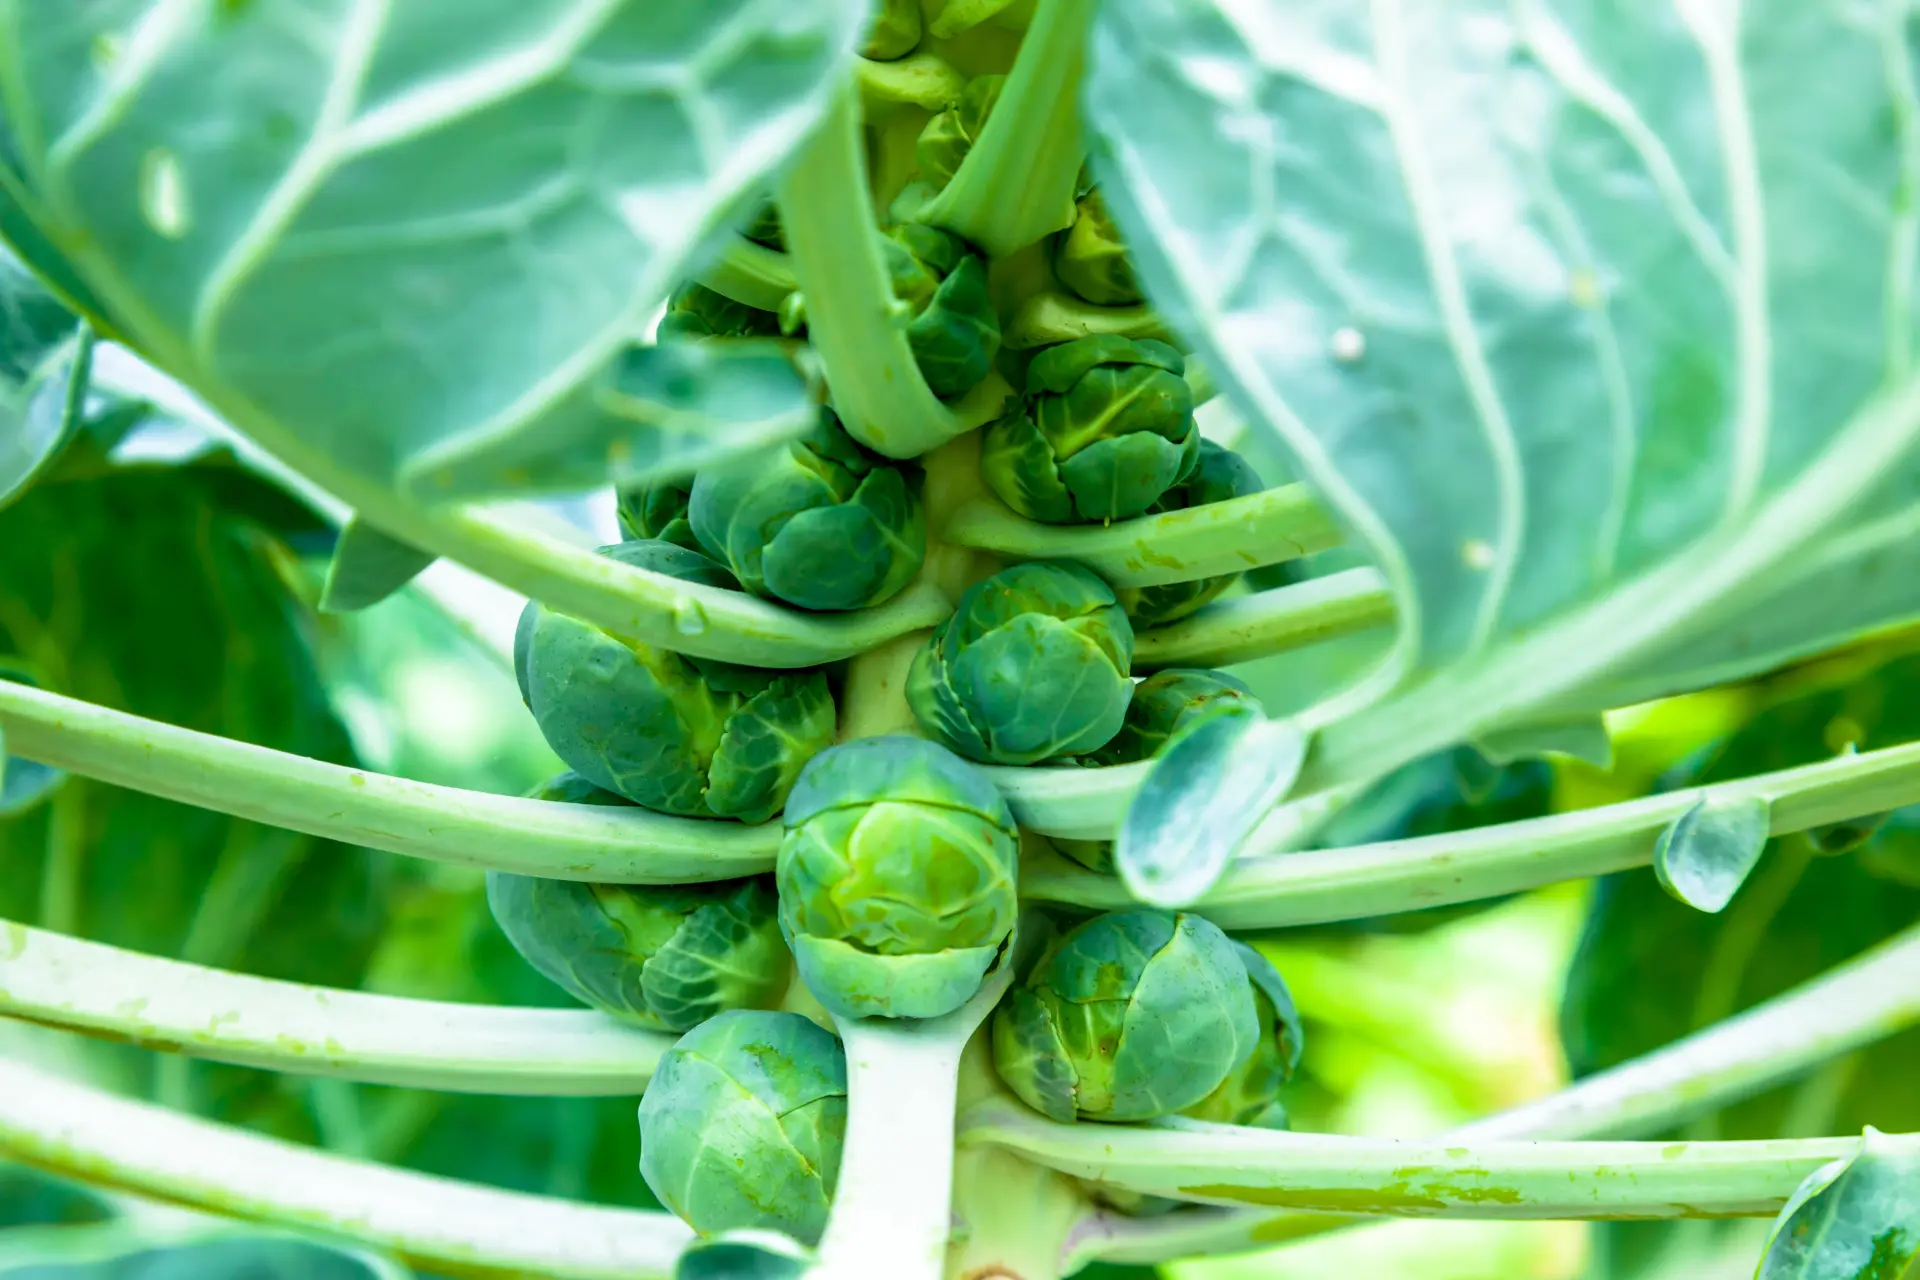
Carrots are a versatile and popular root vegetable that can be enjoyed in a variety of ways, from fresh in salads to cooked in soups and stir-fries. They are packed with essential nutrients like beta-carotene, vitamin K, and potassium, making them a healthy addition to your diet.
Starting carrot seeds may seem challenging, but with proper planning and care, you can have a bountiful harvest of delicious, home-grown carrots. This article will walk you through the process step by step, from choosing the right seeds to transplanting your seedlings into the garden.
Choosing the Right Carrot Seeds
When it comes to choosing carrot seeds, there are a few important factors to consider. First and foremost, select a variety that is well-suited for your climate and growing conditions. Carrots come in a variety of shapes, sizes, and colors, so choose a variety that meets your preferences. Some popular carrot varieties include ‘Nantes,’ ‘Danvers,’ and ‘Chantenay.’
In addition to considering climate and variety, it’s important to choose high-quality seeds. Look for seeds that are fresh, as older seeds may have lower germination rates. Buying seeds from reputable suppliers or seed catalogs can help ensure that you are getting viable seeds.
Another factor to consider is the maturity rate of the carrot variety. Carrots can be classified as either early, mid-season, or late-maturing. Early-maturing carrots are ready to harvest in around 50-60 days, while late-maturing varieties can take up to 75-90 days. Choose a maturity rate that suits your gardening timeline and needs.
Lastly, consider the growing requirements of the carrot variety. Some varieties are better suited for containers or shallow soil, while others require deeper soil for proper root development. Take note of any special requirements listed for each variety and ensure that you can provide the necessary growing conditions.
By carefully considering these factors, you can choose the right carrot seeds that will thrive in your garden and provide you with a successful and abundant harvest.
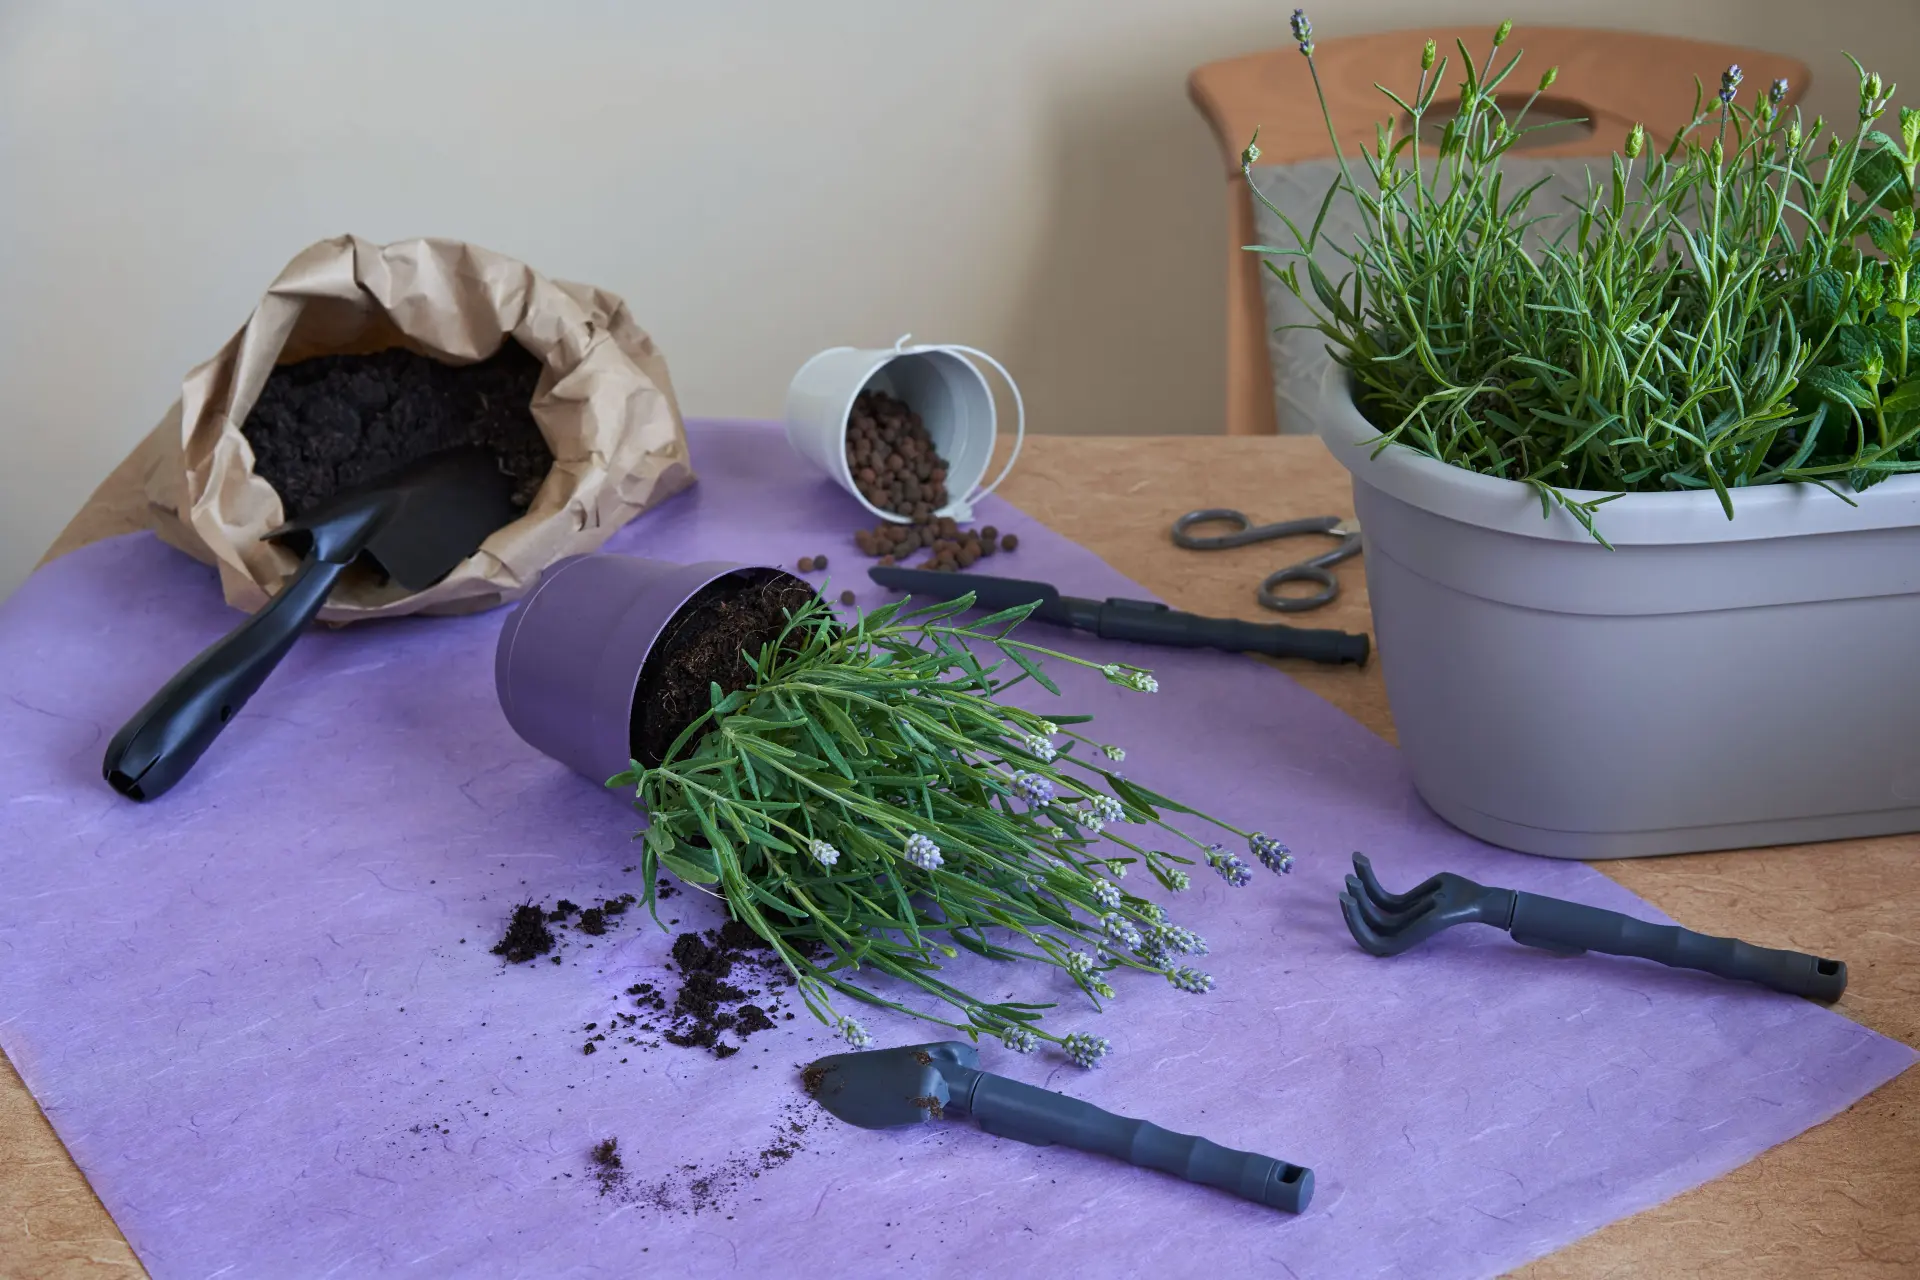
Preparing the Seed Trays or Pots
Before you start planting carrot seeds, it’s important to properly prepare the seed trays or pots to provide the best growing environment for the seeds. Here are the steps to prepare the seed trays or pots:
- Clean and sterilize: Start by cleaning the seed trays or pots with warm, soapy water to remove any dirt or residue. Rinse them thoroughly and then sterilize them to prevent the growth of harmful pathogens. You can use a mild bleach solution or hydrogen peroxide for sterilization. Make sure to rinse them well after sterilization.
- Choose the right growing medium: Carrot seeds require a loose, well-draining soil mix. You can purchase a pre-made seed-starting mix from your local garden center or make your own by combining equal parts of peat moss, vermiculite, and perlite. Avoid using heavy garden soil, as it can inhibit proper root growth.
- Fill the seed trays or pots: Fill the seed trays or individual pots with the seed-starting mix, leaving a small space at the top for watering. Gently firm the soil but avoid packing it down too tightly. Ensure that the trays or pots have drainage holes to prevent waterlogging.
- Moisten the soil: Before planting the carrot seeds, moisten the soil in the trays or pots. You can use a misting bottle or a gentle spray of water to avoid displacing the soil. Ensure that the soil is evenly moist but not saturated.
- Label the trays or pots: To keep track of the carrot varieties, it’s helpful to label the trays or pots. Use plant markers or small tags to clearly label each container. Include the variety name and the date of planting.
By taking the time to properly prepare the seed trays or pots, you create an optimal environment for carrot seed germination and growth. This ensures that your carrots get off to a healthy start and increases the chances of a successful harvest.
Planting Carrot Seeds
Now that you have prepared the seed trays or pots, it’s time to plant the carrot seeds. Follow these steps to ensure successful planting:
- Create furrows: Using your finger or a small tool, gently create furrows in the soil. The depth of the furrows should be approximately ¼ to ½ inch deep. Space the furrows about 2 inches apart.
- Sow the seeds: Carefully sprinkle the carrot seeds along the furrows, leaving about an inch of space between each seed. Since carrot seeds are small, it’s best to sow them sparingly to avoid overcrowding. Consider mixing the seeds with some fine sand or vermiculite to help spread them more evenly.
- Cover and water: After sowing the seeds, gently cover them with a thin layer of the seed-starting mix or vermiculite. Lightly press down on the soil to ensure good seed-to-soil contact. Then, mist or water the tray or pot gently to thoroughly moisten the soil without disturbing the seeds.
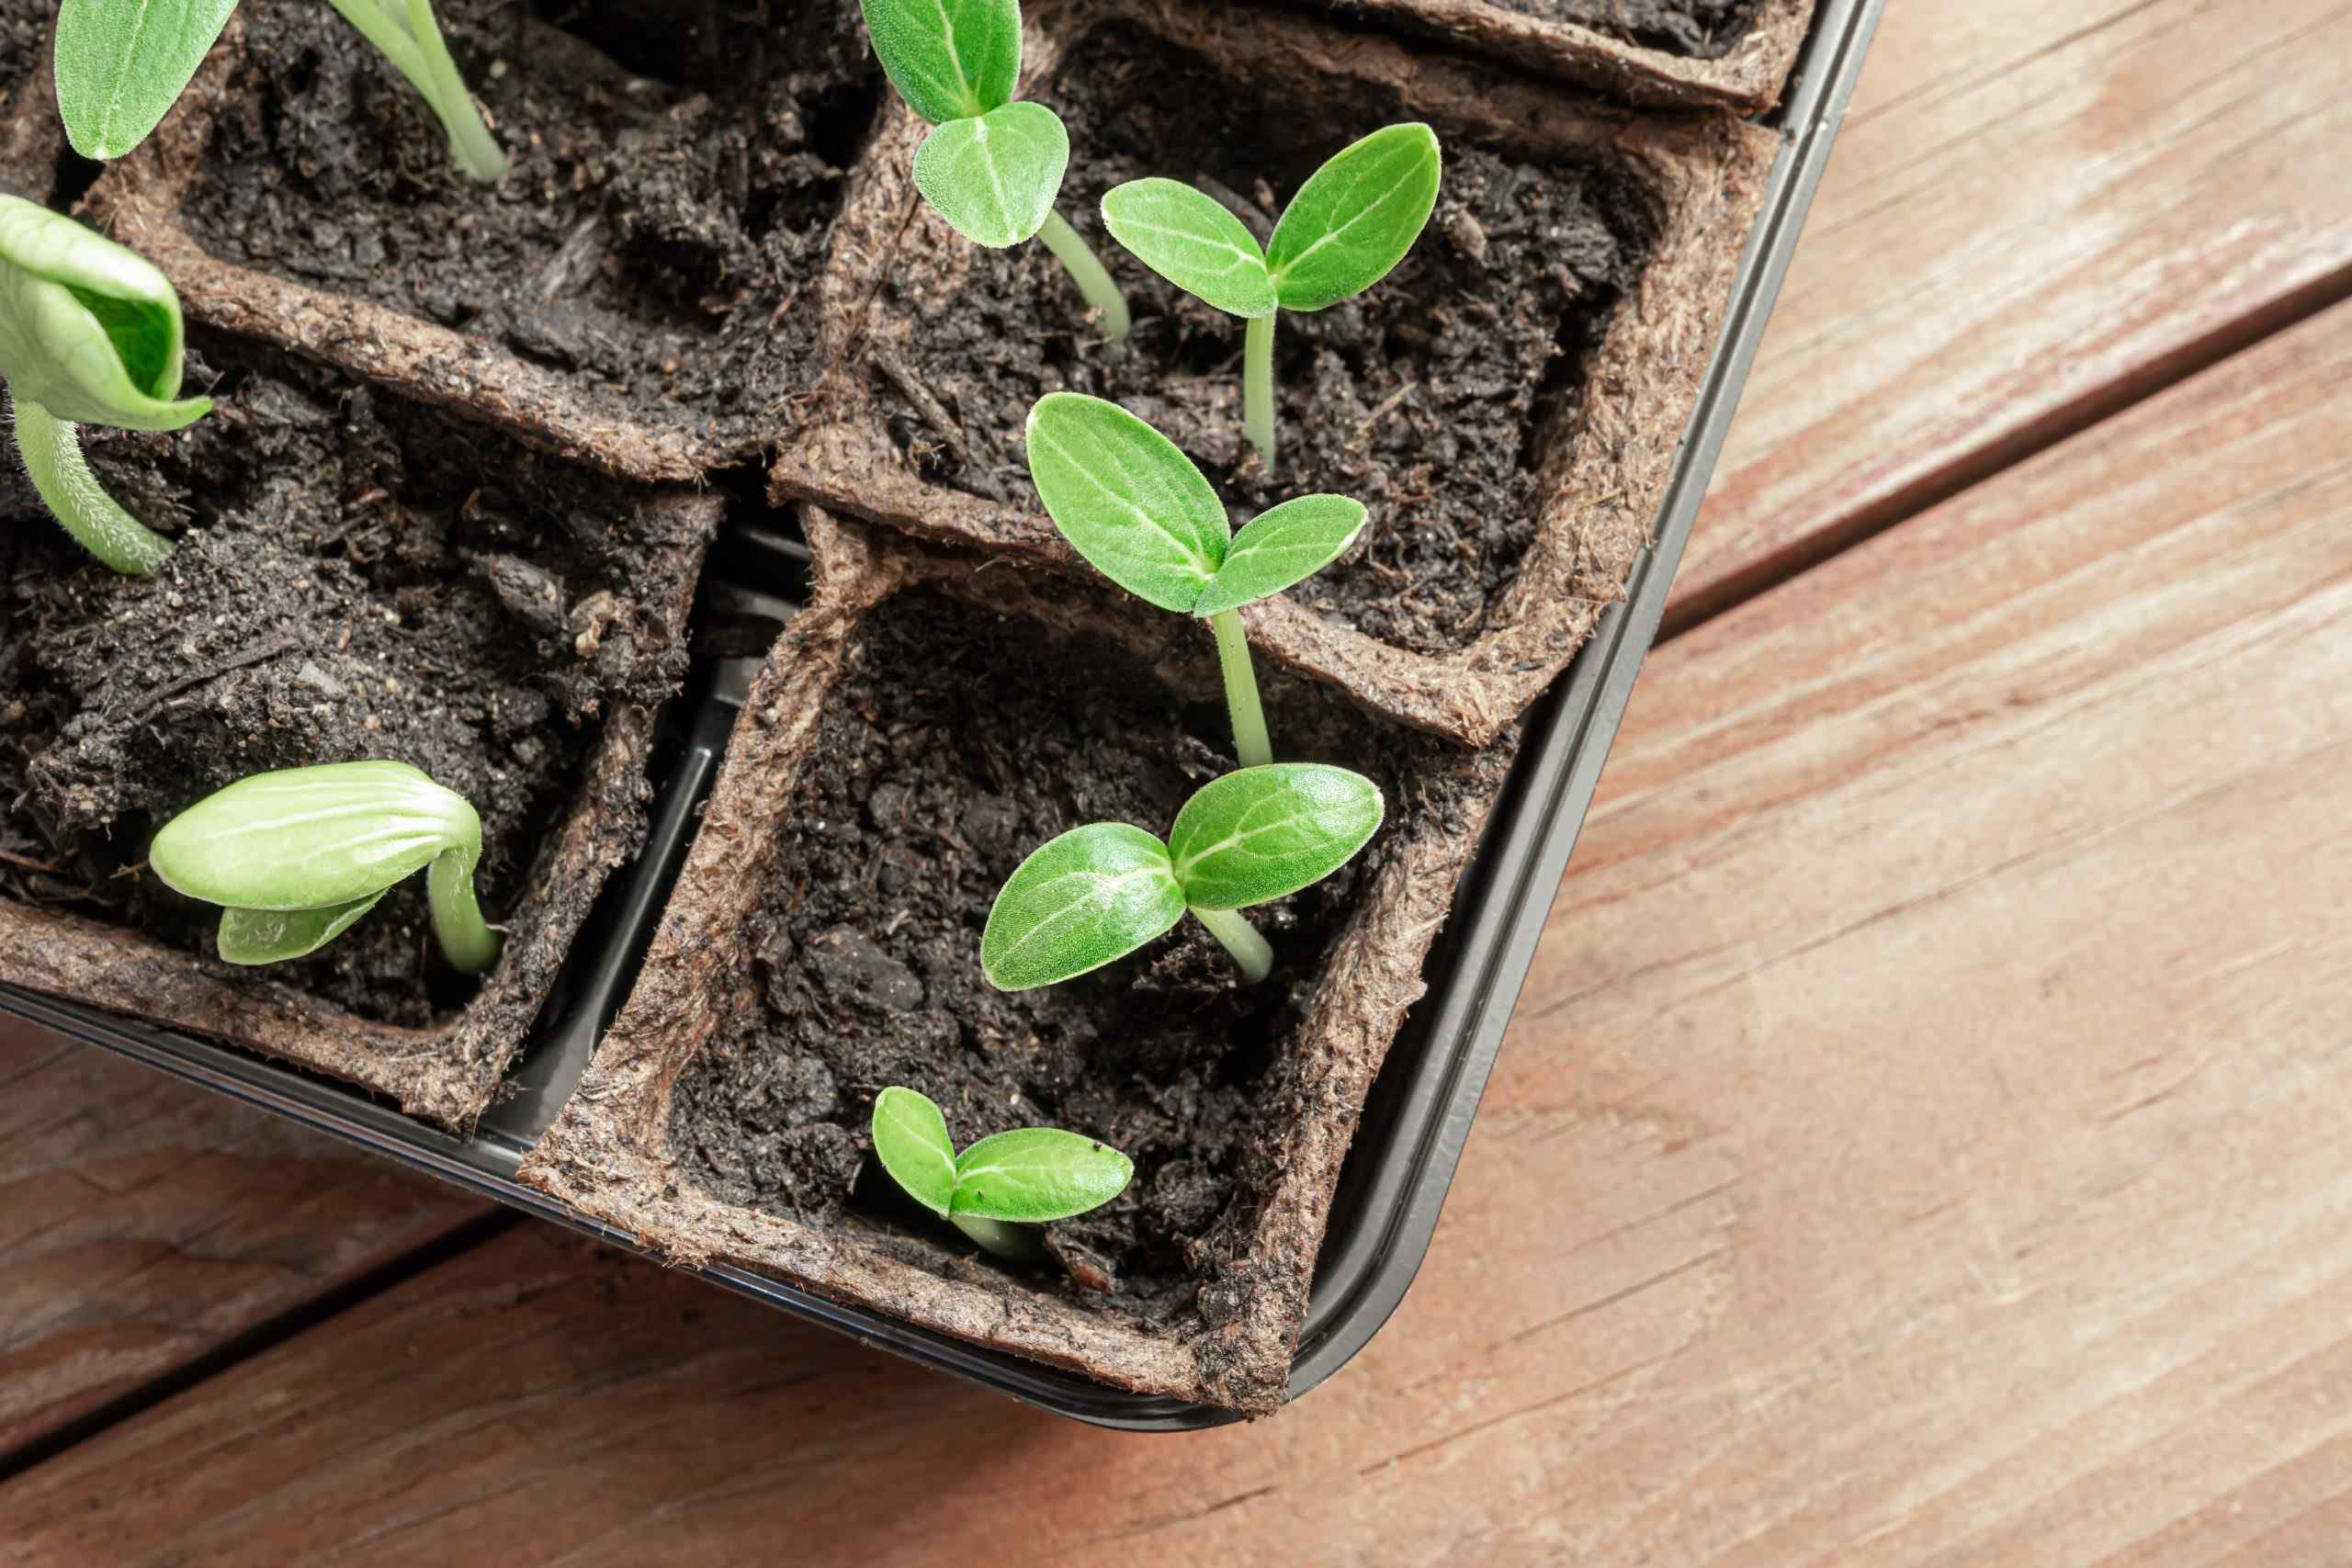
- Provide darkness: Carrot seeds germinate best in darkness. Use a seed tray cover or plastic wrap to create a mini greenhouse effect, which helps to retain moisture and maintain a stable temperature. Place the trays or pots in a warm and dark area, such as a closet or a heated propagation mat.
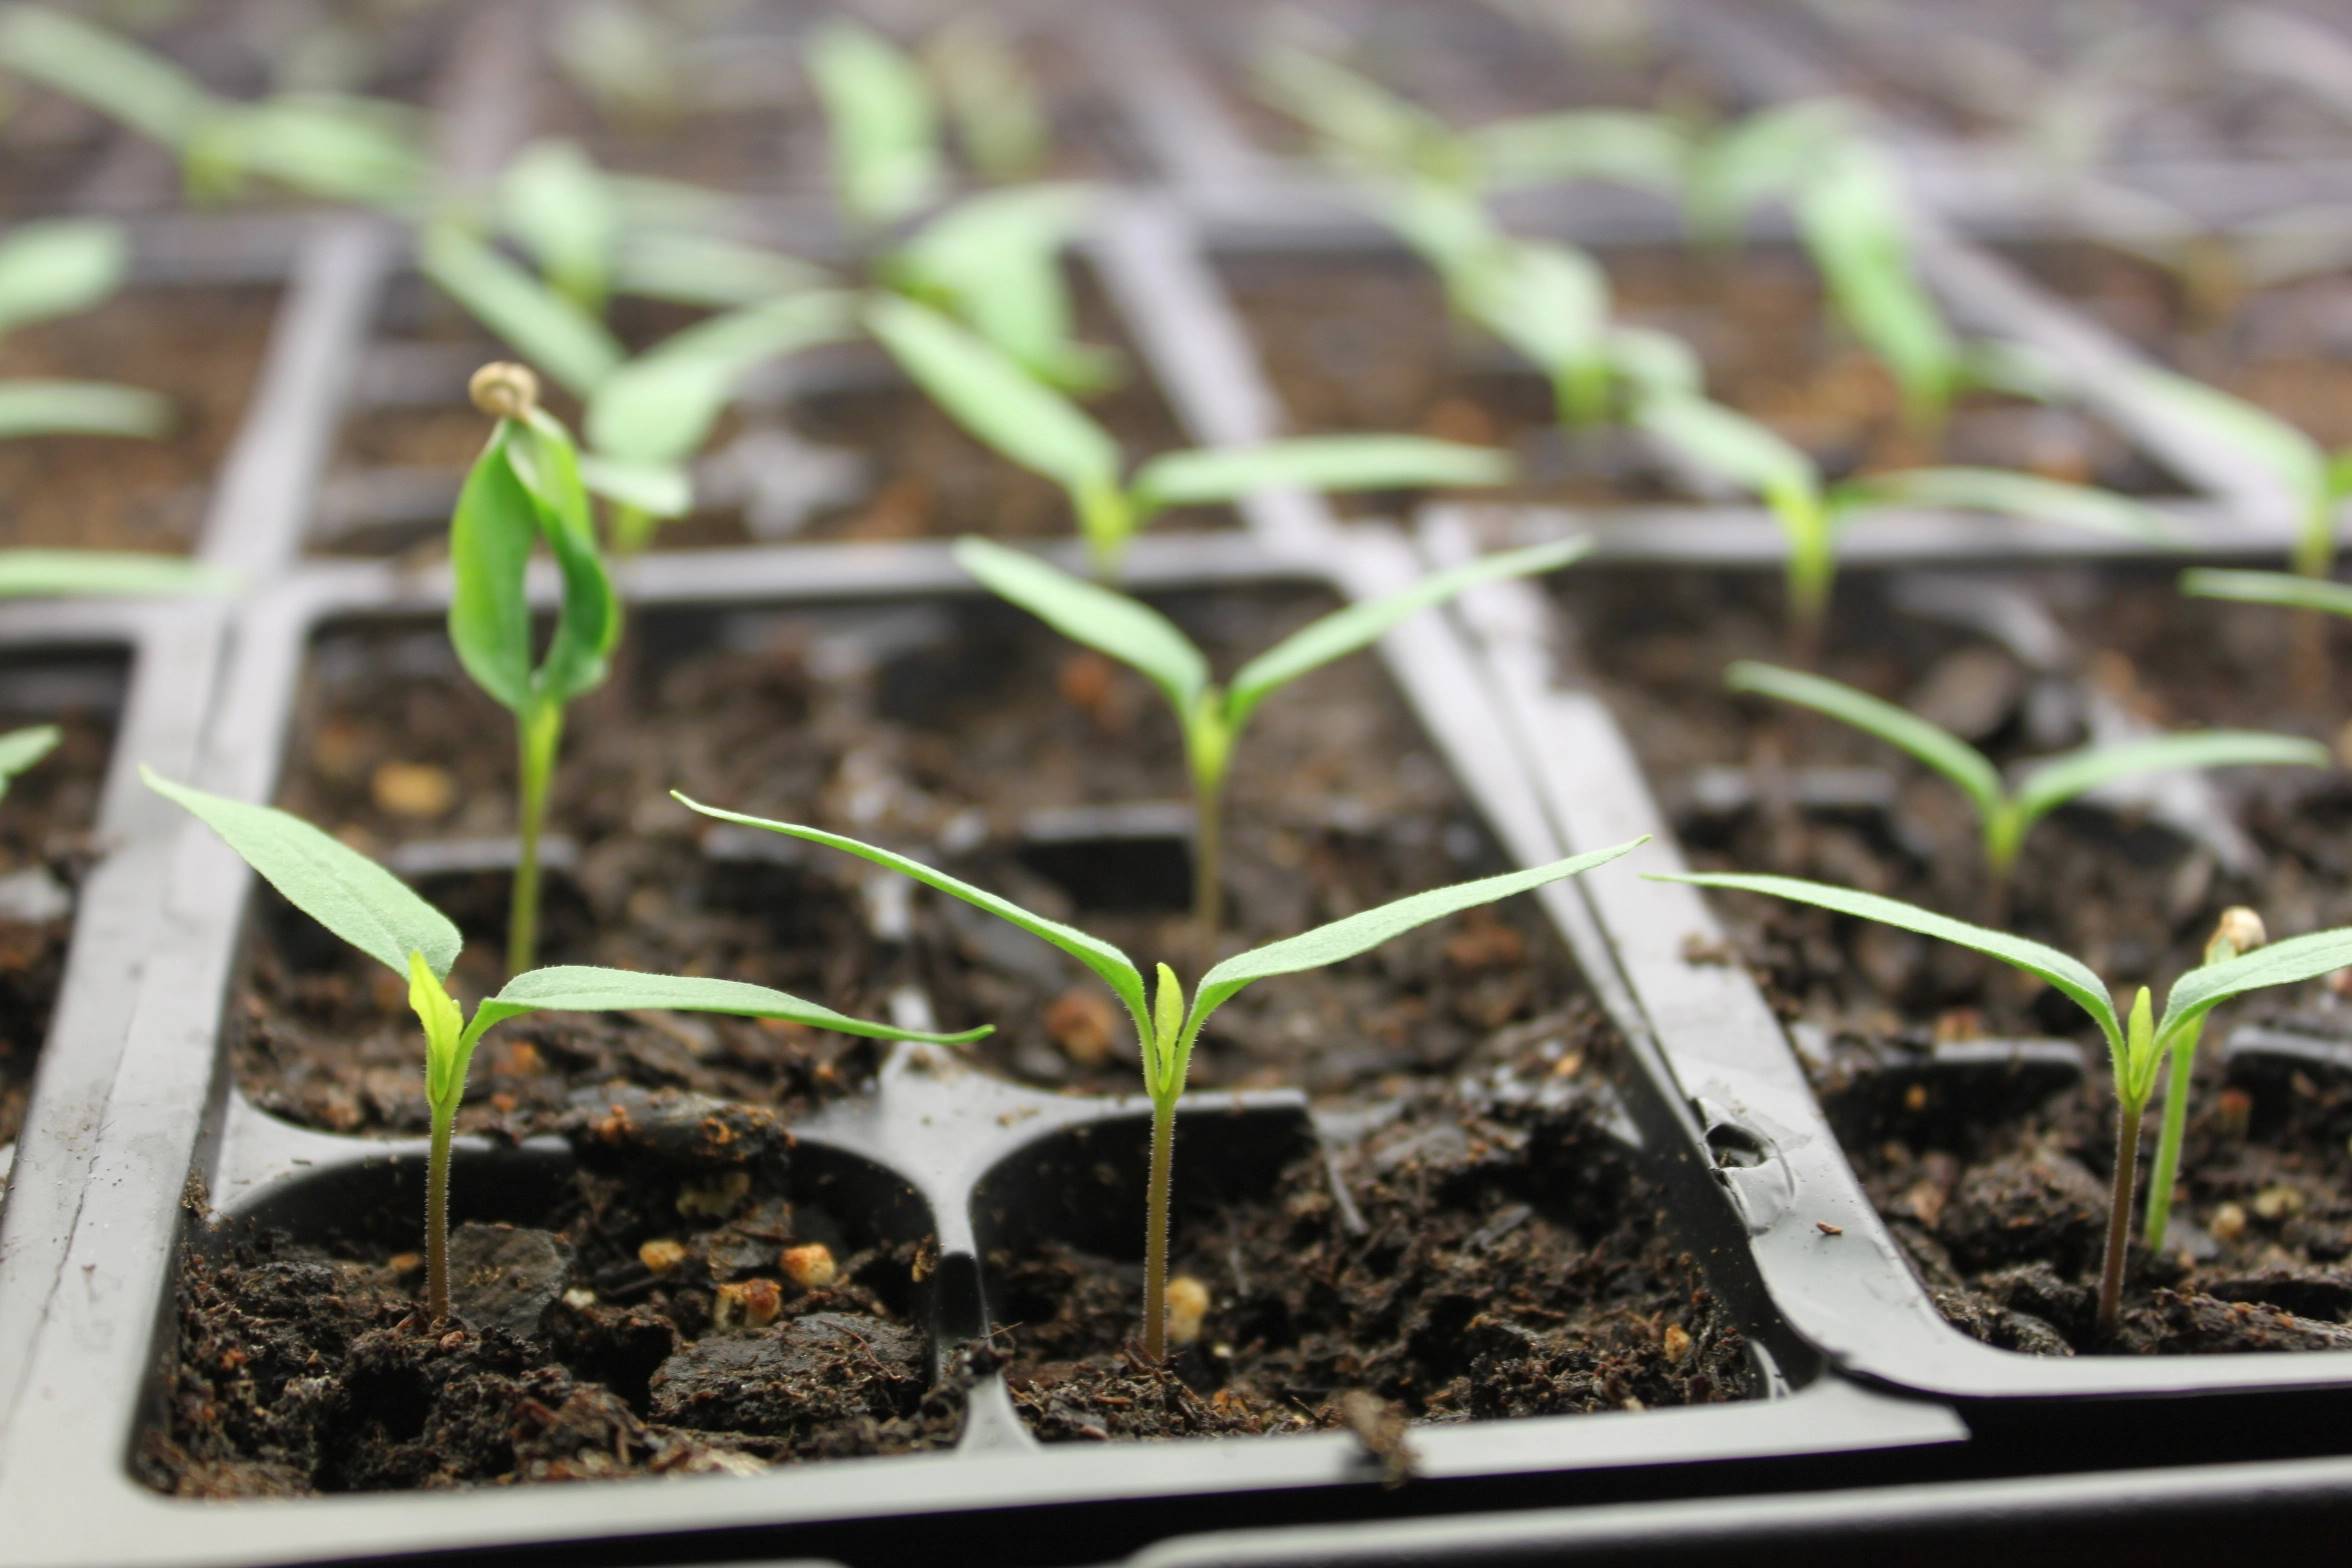
- Monitor and care: Keep an eye on the seed trays or pots and maintain a consistently moist but not waterlogged environment. Avoid overwatering, as it can lead to rotting of the seeds. Check for any signs of germination in about 7-14 days, depending on the carrot variety.
Remember to be patient during the germination process, as carrot seeds can take some time to sprout. Once the carrot seedlings have emerged, you can gradually expose them to light and remove the cover. With proper care and attention, your carrot seeds will soon transform into healthy seedlings ready for transplanting.
Providing Optimal Growing Conditions
In order to promote healthy growth and development, it’s important to provide optimal growing conditions for your carrot seedlings. Here are some key factors to consider:
- Sunlight: Carrots thrive in full sunlight, so choose a location that receives at least 6-8 hours of direct sunlight each day. If you are growing carrots indoors, place them near a sunny window or use grow lights to provide adequate light.
- Temperature: Carrots prefer cooler temperatures, ideally between 60-75°F (15-24°C). Avoid extreme heat, as it can cause the carrots to become woody and bitter. If planting outdoors during hot summers, provide some shade to protect the carrots.
- Soil quality: Carrots grow best in loose, well-draining soil that is free from rocks and clumps. Ideally, the soil should be slightly acidic to neutral with a pH range of 6.0-7.0. Prior to planting, amend the soil with organic matter, such as compost or well-rotted manure, to improve its structure and fertility.
- Watering: Carrots require consistent moisture, especially during the germination phase. Keep the soil evenly moist, but not waterlogged, by watering deeply once or twice a week. Avoid overhead watering, as it can lead to disease and foliage damage. Mulching around the carrot plants can help retain moisture and suppress weed growth.
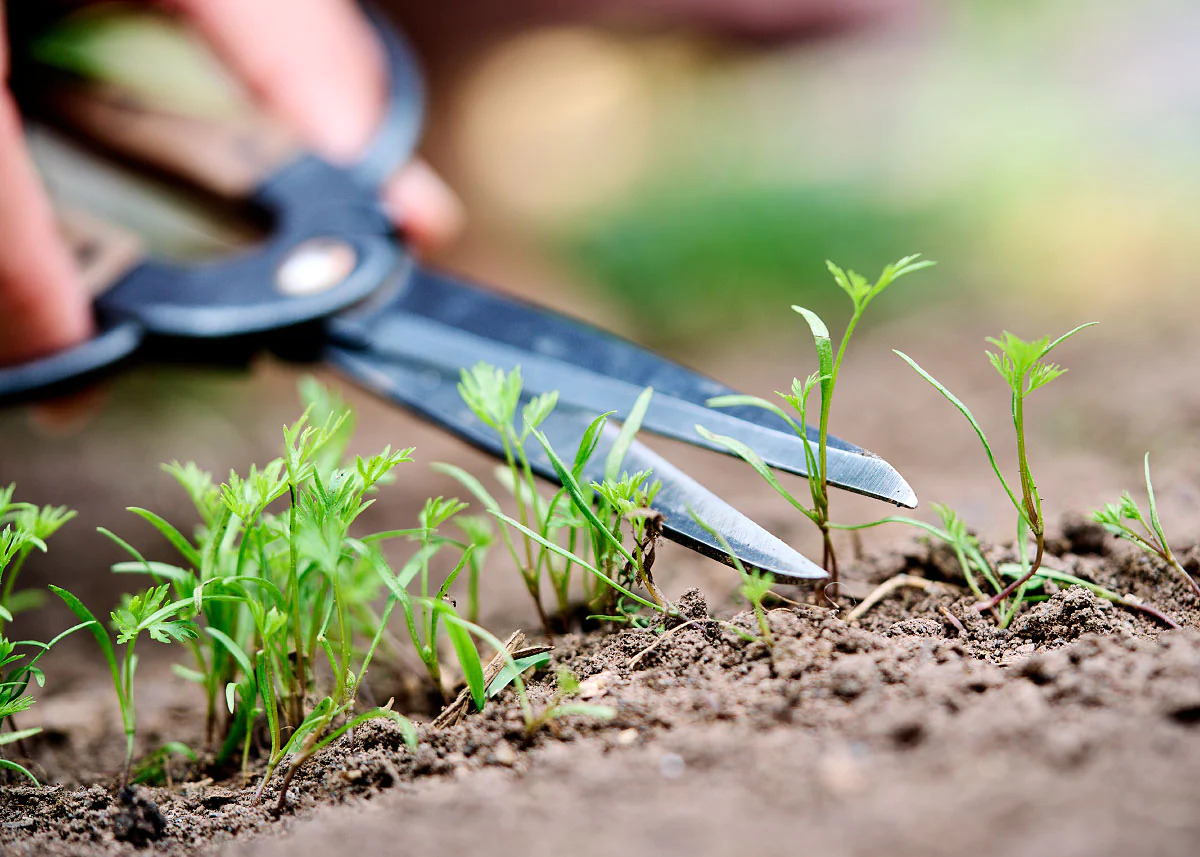
- Thinning: Once the carrot seedlings have developed their first true leaves, thin them out to ensure proper spacing. Overcrowding can result in stunted growth and misshapen carrots. Thin the seedlings to about 2-3 inches apart to provide enough room for the roots to develop.
- Weeding and mulching: Regularly weed the carrot rows to prevent competition for nutrients and water. Be careful not to disturb the carrot roots while weeding. Applying a layer of organic mulch, such as straw or wood chips, can help suppress weeds and maintain soil moisture.
- Fertilization: Carrots are not heavy feeders, but they can benefit from a light application of balanced organic fertilizer or compost during the growing season. Avoid excessive nitrogen, as it can lead to lush foliage growth at the expense of root development.
By providing these optimal growing conditions, you can ensure that your carrot seedlings thrive and develop into flavorful, healthy carrots. Remember to monitor and adjust these factors as needed throughout the growing season to support the best possible growth.
Watering Carrot Seeds
Proper watering is crucial for the successful growth of carrot seeds. Carrots require consistent moisture, especially during the germination and early growth stages. Here are some important considerations when it comes to watering carrot seeds:
Moisture during germination: Carrot seeds need consistent moisture to germinate. After sowing the seeds, ensure that the soil is evenly moist but not waterlogged. You can mist the soil or use a gentle watering technique to avoid disturbing the seeds. Check the moisture level regularly and provide water as needed to keep the soil consistently moist.
Deep watering: As the carrot seedlings grow, it’s important to water deeply to encourage root development. Shallow watering can result in shallow root growth and smaller carrots. Aim to water at least once a week, providing enough water to penetrate the root zone, which is generally around 6-8 inches deep.
Avoid overwatering: While consistency is important, overwatering can be detrimental to carrot growth. Excessive moisture can lead to rotting of the roots and create a favorable environment for diseases. It’s essential to strike a balance and ensure that the soil is moist but not soggy. Monitor the moisture level and adjust your watering frequency accordingly.
Watering method: When watering carrot seeds, it’s best to use a gentle watering method to prevent soil erosion and displacement of the seeds. A watering can with a fine rose attachment or a soaker hose can be ideal options. Slow, steady watering is better than a strong, direct stream that can disturb the seeds and soil.
Time of day: Watering in the early morning or evening is preferable, as it allows the foliage and soil to dry before nighttime. Avoid overhead watering during hot afternoons, as it can lead to leaf burn and increased moisture loss through evaporation.
Mulching: Applying a layer of organic mulch, such as straw or wood chips, around the carrot plants can help conserve moisture and reduce weed competition. Mulch also acts as a barrier, preventing excessive evaporation and maintaining a more consistent soil moisture level.
Remember that the specific watering needs of carrot seeds may vary depending on factors like climate, soil type, and stage of growth. Regularly monitor the soil moisture and adjust your watering routine accordingly to ensure that your carrot seeds have the optimal conditions for healthy growth and development.
Protecting Carrot Seedlings
As your carrot seedlings begin to emerge and grow, it’s important to protect them from potential threats and ensure their healthy development. Here are some key measures you can take to safeguard your carrot seedlings:
Protecting from pests: Carrot seedlings are susceptible to damage from various pests, including slugs, snails, and carrot fly. To protect them from slugs and snails, you can create physical barriers like copper tape or use organic slug repellents. To deter carrot flies, consider covering the seedlings with lightweight row covers, ensuring they are securely sealed at the edges to prevent pests from accessing the plants.
Thinning out: As the carrot seedlings start to grow, they need adequate space to develop healthy roots. Thin out the seedlings by removing any crowded or weak-looking plants, leaving about 2-3 inches of space between each seedling. This allows for proper air circulation and reduces the risk of diseases.
Weed control: Keep the area around the carrot seedlings free from weeds, as they can compete for essential nutrients and water. Regularly hand-pull weeds, being cautious not to disturb the delicate carrot roots. Mulching the area around the seedlings can help to smother weeds and conserve moisture.
Protecting from extreme weather: Carrot seedlings can be sensitive to extreme temperatures. If you’re expecting a frost or a cold spell, cover the plants with frost blankets or even overturned pots to protect them. Similarly, if you’re experiencing scorching heat, provide some shade using garden fabric or a shade cloth to prevent wilting and sunburn.
Regular monitoring: Keep a close eye on your carrot seedlings for any signs of damage or distress. Look out for common issues like yellowing leaves, wilting, or signs of insect infestation. Early detection allows for prompt action and can prevent further damage.
Maintaining proper hygiene: Practicing good garden hygiene is essential to prevent the spread of diseases. Clean your garden tools, especially when moving from one area to another, to minimize the risk of transferring infections. Remove any dead plant debris from the area around the seedlings to eliminate potential hiding places for pests and diseases.
By taking these protective measures, you can help ensure the health and vigor of your carrot seedlings, allowing them to grow into robust plants and produce a bountiful harvest of delicious carrots.
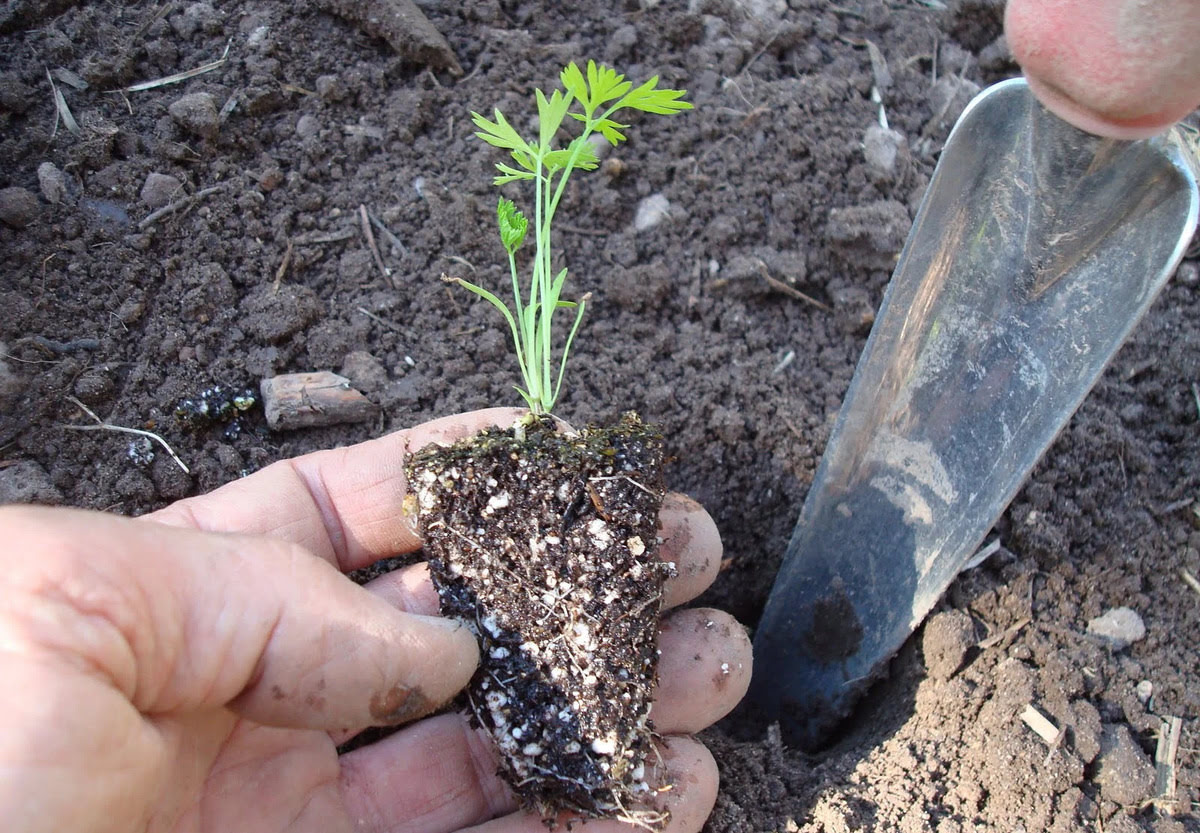
Transplanting Carrot Seedlings
Transplanting carrot seedlings into the garden is an important step in their growth journey. It allows the young plants to establish themselves in their final growing location, providing them with the space and resources needed for healthy development. Here are the steps to follow when transplanting carrot seedlings:
- Timing: Before transplanting, ensure that the soil temperature is consistently above 50°F (10°C) to prevent cold shock to the seedlings. Also, consider the maturity rate of the carrot variety and the recommended time for transplanting based on your climate and growing season.
- Prepare the soil: Choose a well-draining garden bed with loose soil. Remove any weeds, rocks, or debris from the planting area. Incorporate organic matter, such as compost or well-rotted manure, to improve soil fertility and structure.
- Dig holes: Dig holes in the prepared garden bed that are deep enough to accommodate the root length of the carrot seedlings. Space the holes based on the recommended spacing for your particular carrot variety. This is typically around 2-4 inches apart.
- Handle with care: Gently loosen the soil around the carrot seedlings to minimize root disturbance. Hold the seedling by the leaves or true leaves, avoiding direct contact with the fragile stem. Carefully lift the seedlings from their containers, keeping the soil intact around the roots.
- Planting: Place each seedling into a prepared hole, ensuring that the soil level matches the level of the seedling’s previous container. Fill in the hole with soil, gently firming it around the roots. Avoid compacting the soil too tightly, as this can hinder root growth.
- Watering: After transplanting, water the newly planted seedlings to promote root establishment. Provide a thorough watering, ensuring that the soil is moist but not saturated. This helps to settle the soil around the roots and reduce any air pockets.
- Mulching: Apply a layer of organic mulch, such as straw or wood chips, around the transplanted seedlings. Mulch helps retain soil moisture, suppresses weed growth, and maintains a more consistent soil temperature.
- Monitor and care: Keep a close eye on the transplanted seedlings and provide them with regular care. Water as needed, keeping the soil evenly moist, and protect them from pests or extreme weather conditions. Weeding around the plants regularly will help minimize competition for nutrients.
Transplanting carrot seedlings can give them a better chance of success and contribute to a thriving crop. By following these steps and providing the necessary care, you can help your transplanted seedlings establish themselves in the garden and grow into healthy, mature carrots.
Tips for Successful Carrot Seed Starting
Starting carrot seeds can be a rewarding but sometimes challenging endeavor. To increase your chances of success and grow healthy, flavorful carrots, consider the following tips:
- Choose the right variety: Select carrot varieties that are well-suited for your climate and growing conditions. Consider factors like maturity rate, size, and flavor preferences to find the best match for your needs.
- Prepare the soil in advance: Carrots prefer loose, well-draining soil. Prepare the planting area by removing any rocks, clumps, or weeds that can impede root development. Amend the soil with organic matter to improve its structure and fertility.
- Sow seeds sparingly: Carrot seeds are small, and it’s important to sow them sparingly to avoid overcrowding. Consider mixing the seeds with a small amount of sand or vermiculite to help spread them evenly along the furrows.
- Keep the soil consistently moist: Carrot seeds require consistent moisture for germination. Check the soil regularly and provide water as needed, making sure to avoid overwatering, which can lead to rotting. A misting bottle or gentle watering technique can help distribute water evenly without disturbing the seeds.
- Provide darkness for germination: Carrot seeds germinate best in darkness. Cover the seeded trays or pots with a plastic wrap or use a seed tray cover to create a mini greenhouse effect. Once the seedlings emerge, gradually expose them to light to prevent stretch, but avoid direct sunlight at first.
- Thin carefully: Thinning is crucial to provide enough space for the carrot seedlings to grow. Carefully remove any overcrowded or weaker seedlings, maintaining a distance of 2-3 inches between the remaining plants. Thinning allows for better airflow, reduces competition, and promotes healthy root development.
- Protect from pests: Use physical barriers or organic pest deterrents to protect carrot seedlings from pests like slugs, snails, and carrot flies. Regularly monitor for signs of damage and take action promptly.
- Regular weeding: Keep the area around the carrot seedlings free from weeds to minimize competition for nutrients and water. Be cautious while weeding to avoid damaging the fragile carrot roots.
- Monitor growth and adjust: Regularly observe the growth of your carrot seedlings. Adjust watering, fertilization, and care practices based on their needs and the specific growing conditions in your garden.
- Harvest at the right time: Pay attention to the recommended maturity time for your carrot variety. Harvest when the carrots have reached their desired size, typically when the roots are bright orange and firm. Lift the carrots gently from the soil to avoid damage.
By following these tips, you can increase your chances of successful carrot seed starting and enjoy a vibrant crop of delicious, home-grown carrots. Remember, gardening is a learning process, so don’t be afraid to experiment and adapt your techniques along the way.
Conclusion
Starting carrot seeds and growing your own carrots can be a rewarding and satisfying experience. With the right knowledge and techniques, you can enjoy a bountiful harvest of delicious, home-grown carrots. Throughout this guide, we have covered important aspects of carrot seed starting, from choosing the right seeds to transplanting seedlings into the garden.
By selecting the appropriate carrot varieties, preparing the seed trays or pots, and providing optimal growing conditions, you can give your seeds the best chance for success. Proper watering, protection from pests, and regular monitoring and care are key factors in supporting the growth and development of your carrot seedlings.
Remember to thin out the seedlings, maintain weed control, and be vigilant in identifying and addressing any potential issues that may arise. Pay attention to the specific needs of your carrot variety, adjust your care practices accordingly, and harvest at the right time to enjoy the sweet and flavorful rewards of your efforts.
While starting carrot seeds may require patience and attention to detail, the journey is worth it. Gardening is a continuous learning experience, so don’t be discouraged by any setbacks. Take note of what works well for your specific growing conditions and adapt your techniques as you gain more experience.
So, embrace the joys of starting carrot seeds, let your green thumb flourish, and enjoy the process of nurturing your own home-grown carrots. With commitment and care, your hard work will be rewarded with a harvest of vibrant, delicious carrots that you can proudly serve and share with family and friends.