Home>Types of Gardening>Ornamental Gardening>How To Start Basil Seeds
Ornamental Gardening
How To Start Basil Seeds
Modified: February 9, 2024
Learn how to start basil seeds for your ornamental gardening projects. Discover the step-by-step process and expert tips to ensure successful growth.
(Many of the links in this article redirect to a specific reviewed product. Your purchase of these products through affiliate links helps to generate commission for Chicagolandgardening.com, at no extra cost. Learn more)
Table of Contents
Introduction
Welcome to the world of ornamental gardening! If you have a love for plants and a passion for creating beautiful outdoor spaces, then you’re in the right place. Ornamental gardening is the art of cultivating and arranging plants for their aesthetic appeal, enhancing the beauty of your garden and adding a touch of elegance to your outdoor living space.
One popular aspect of ornamental gardening is growing herbs. Among the most beloved herbs is basil, with its vibrant foliage and fragrant aroma. Basil is not only a versatile culinary herb but also a stunning addition to any garden. Whether you have a large backyard or a small balcony, growing basil seeds can be a rewarding and enjoyable experience.
Before you dive into the world of basil seeds, it’s important to understand that there are different varieties of basil to choose from. Each variety has its own unique characteristics, flavors, and growth habits. Whether you prefer the classic sweet basil, the spicy Thai basil, or the lemon-scented lemon basil, take some time to research and decide which variety best suits your taste and garden conditions.
Once you have selected the right basil seeds, you’ll need to gather the necessary planting materials. This includes containers or pots, potting soil, watering can or hose, and a sunny spot in your garden or a well-lit area indoors. With these materials in hand, you can move on to the next step: preparing the planting materials.
Now that you have a solid understanding of what ornamental gardening and basil seeds entail, let’s dive into the step-by-step process of growing basil from seeds. From planting to caring for seedlings, this article will guide you through the entire journey. So roll up your sleeves, put on your gardening gloves, and let’s get started on this exciting adventure of starting basil seeds.
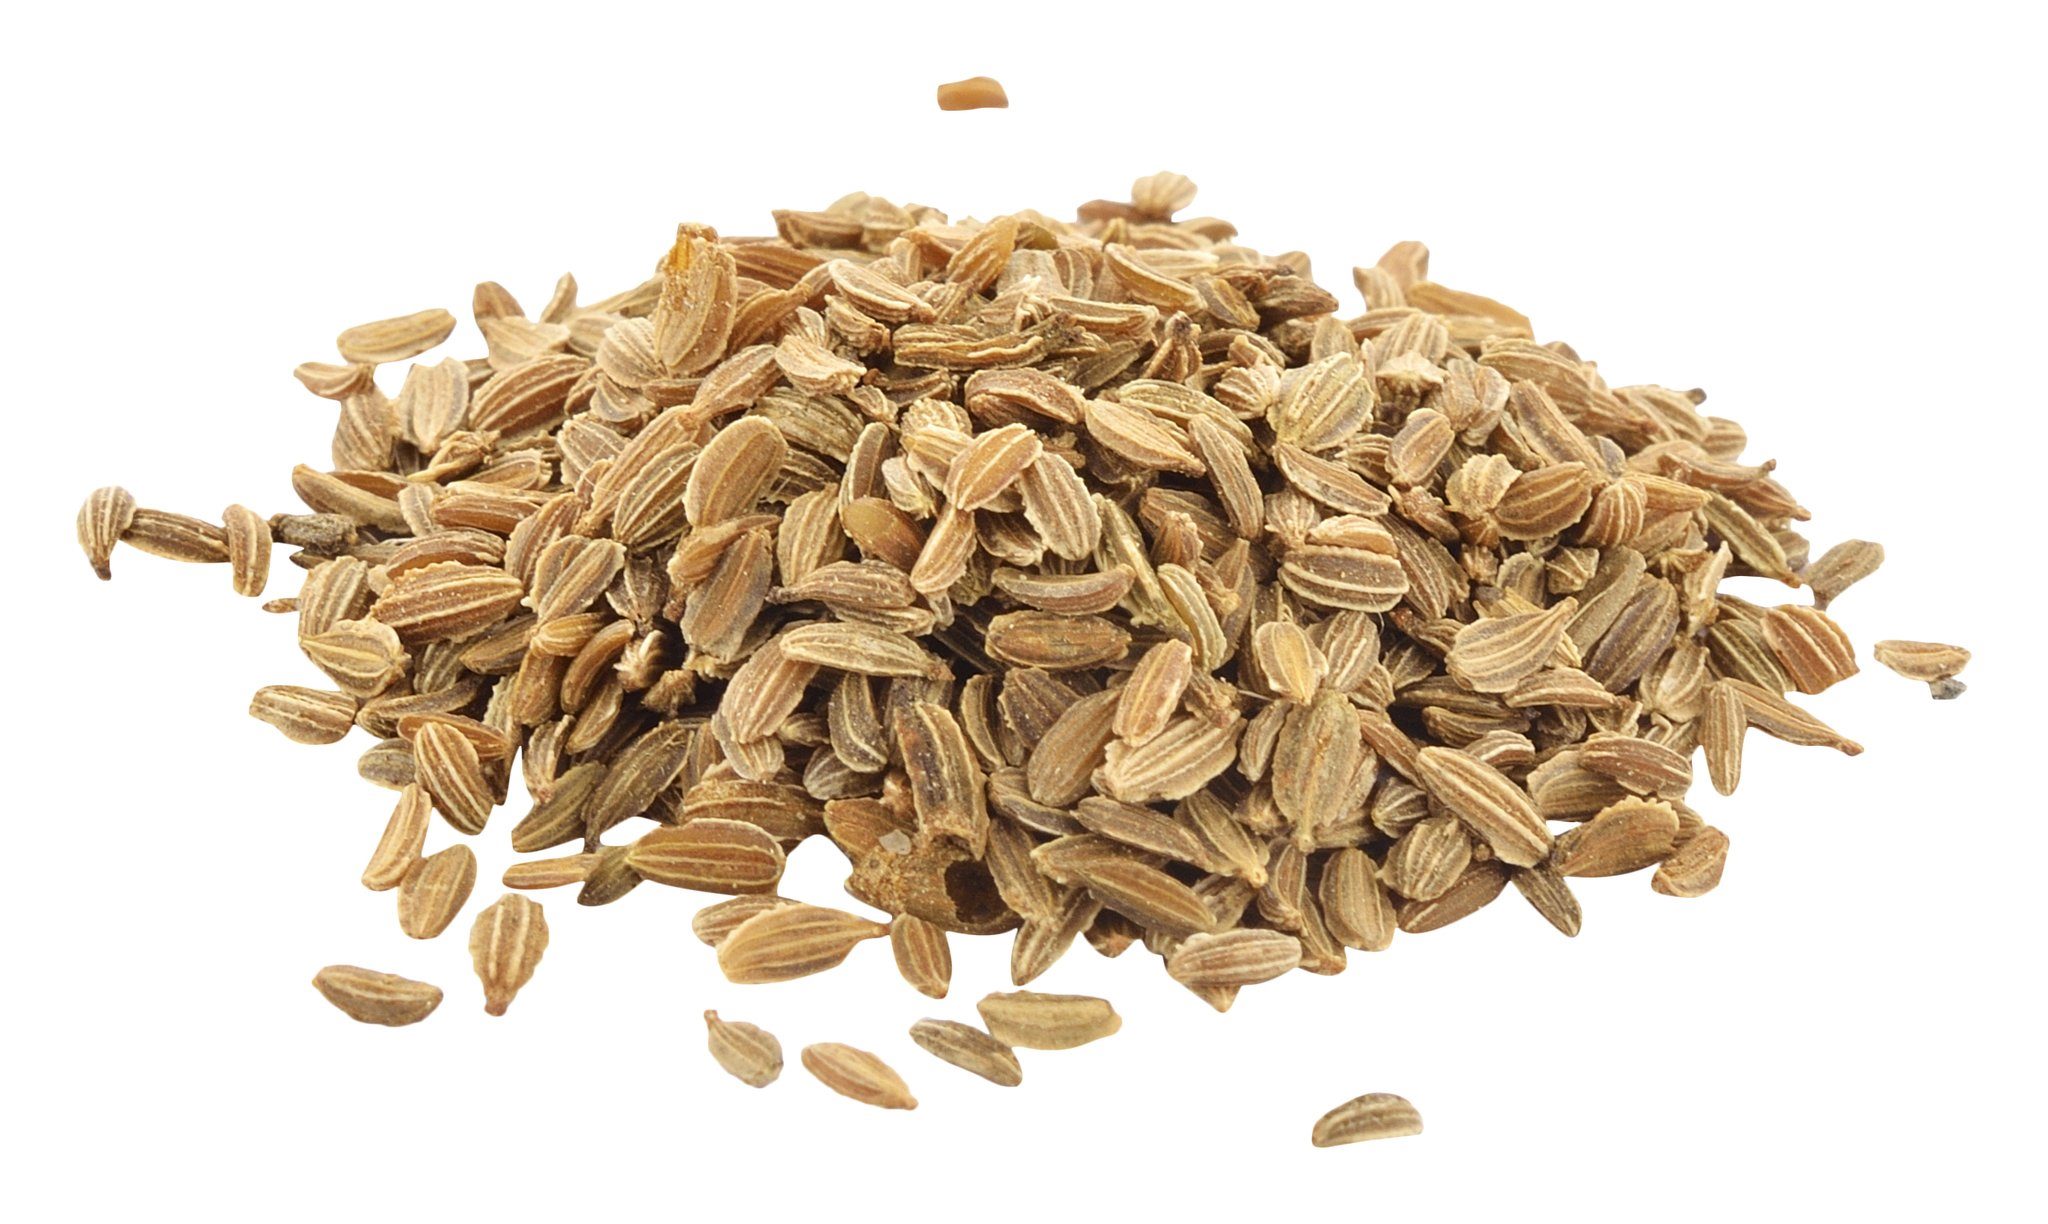
Choosing the Right Basil Seeds
When it comes to choosing basil seeds, you have a variety of options to consider. Different basil varieties offer unique flavors, colors, and growth habits, so it’s important to select the seeds that best suit your preferences and growing conditions.
One of the most popular types of basil is Sweet Basil (Ocimum basilicum), known for its mild and sweet flavor. This variety is commonly used in Italian dishes and is a favorite among gardeners. If you’re looking for a versatile basil that can be used in many recipes, sweet basil is a great choice.
For those who love a hint of spiciness, Thai Basil (Ocimum basilicum var. thyrsiflora) is an excellent option. With its peppery and licorice-like taste, Thai basil adds a unique twist to Asian-inspired dishes. Its purple stems and flowers also make it an attractive addition to your garden.
If you’re seeking a basil variety with a refreshing citrusy aroma, Lemon Basil (Ocimum basilicum var. citriodorum) is the way to go. This variety, as its name suggests, offers a delightful lemon scent that can elevate the flavors of salads, seafood, and drinks. Its bright green leaves and yellow flowers are a visual treat in any garden.
There are also specialty basil varieties such as Purple Basil (Ocimum basilicum var. purpurascens) and Cinnamon Basil (Ocimum basilicum var. cinnamon), which bring unique colors and scents to your garden. Purple basil showcases deep purple leaves that can add an exciting pop of color to your culinary creations, while cinnamon basil offers a warm and spicy aroma perfect for desserts and teas.
When selecting basil seeds, it’s important to consider your climate and growing conditions. Some basil varieties are more tolerant of heat or cold, while others thrive in specific environments. Check the seed packet or consult with a local gardening expert to ensure that the basil variety you choose is well-suited for your region.
Whether you’re growing basil in containers, raised beds, or directly in the ground, make sure you have enough space to accommodate the plants’ growth. Basil plants can vary in height, from compact bushy types to taller, sprawling varieties. Plan accordingly and provide adequate space for your basil plants to thrive.
Now that you have a better understanding of the different basil varieties and their suitability for your garden, it’s time to prepare the planting materials. Let’s move on to the next step and get ready to start your basil seeds.
Preparing the Planting Materials
Before you begin planting your basil seeds, it’s essential to prepare the right planting materials. Ensuring that your soil or potting mix is well-suited for basil will set the stage for healthy growth and abundant harvests.
If you’re planning to grow basil in containers, choose pots or containers that have drainage holes to prevent waterlogging. Basil prefers well-draining soil, so it’s crucial to provide proper drainage to avoid root rot. Select containers that are at least 6 inches deep to accommodate the growing roots of the basil plants.
Next, consider the type of potting mix you’ll use. Opt for a high-quality potting mix that offers good aeration and moisture retention. You can also mix in some compost or organic matter to enrich the soil and provide essential nutrients for your basil plants.
If you’re planting basil directly in the ground, prepare the soil by removing any weeds or debris. Loosen the soil using a garden fork or tiller to improve drainage and root penetration. Incorporate organic matter such as compost or well-rotted manure to enrich the soil and improve its fertility.
Prior to planting, it’s a good idea to moisten the potting mix or soil. This ensures that the basil seeds have enough moisture to germinate. However, avoid soaking the soil as excessive moisture can lead to fungal diseases.
Now that your containers or soil are ready, it’s time to sow the basil seeds. Make small furrows or indentations in the potting mix, about ¼ inch deep. Space the furrows about 4 to 6 inches apart to allow sufficient room for the basil plants to grow.
Gently place the basil seeds into the furrows, spacing them about 2 inches apart. Cover the seeds with a thin layer of potting mix or soil, ensuring that they are adequately covered without being buried too deeply. Lightly press down the soil surface to make sure the seeds have good contact with the soil.
Water the newly sown seeds gently using a watering can with a fine rose attachment or a gentle spray from a hose. Avoid using a heavy stream of water, as it can dislodge the seeds or create waterlogged conditions.
Place the containers or sow the seeds in a sunny spot where they can receive at least 6 to 8 hours of direct sunlight each day. Basil thrives in warm temperatures, so aim for an average temperature between 70°F (21°C) and 90°F (32°C) for optimal growth.
Now that you’ve prepared the planting materials, it’s time to move on to the exciting step of actually planting the basil seeds. Let’s explore the process of sowing basil seeds and nurturing them into healthy seedlings.
Planting the Basil Seeds
Now that you’ve prepared your planting materials, it’s time to sow the basil seeds. Planting basil seeds is a straightforward process that requires proper spacing, depth, and moisture to ensure successful germination.
Start by creating small furrows or indentations in the potting mix or soil, about ¼ inch deep. Space the furrows approximately 4 to 6 inches apart to allow enough room for the basil plants to grow and spread.
Gently place the basil seeds into the furrows, spacing them about 2 inches apart. Be careful not to overcrowd the seeds as this can lead to competition for nutrients and hinder their growth.
After placing the seeds, lightly cover them with a thin layer of potting mix or soil. Ensure that the seeds are adequately covered without being buried too deeply. A general rule of thumb is to cover the seeds with a layer of soil that is about twice the seed’s thickness.
Once you’ve covered the seeds, lightly press down the soil surface to ensure good contact between the seeds and the soil. This will help with moisture absorption and germination.
After sowing the seeds, give them a gentle watering using a watering can with a fine rose attachment or a gentle spray from a hose. Aim to keep the soil moist but not waterlogged. Avoid using a heavy stream of water that could dislodge the seeds or create overly wet conditions.
Place the containers or sow the seeds in a sunny spot where they can receive at least 6 to 8 hours of direct sunlight each day. Basil thrives in warm temperatures, so ensure the average temperature stays between 70°F (21°C) and 90°F (32°C) for optimal growth.
Throughout the germination process, regularly check the moisture levels of the soil. Basil seeds require consistent moisture to sprout, so water as needed to keep the soil moist but not soggy. A misting spray or light watering can help maintain adequate moisture levels.
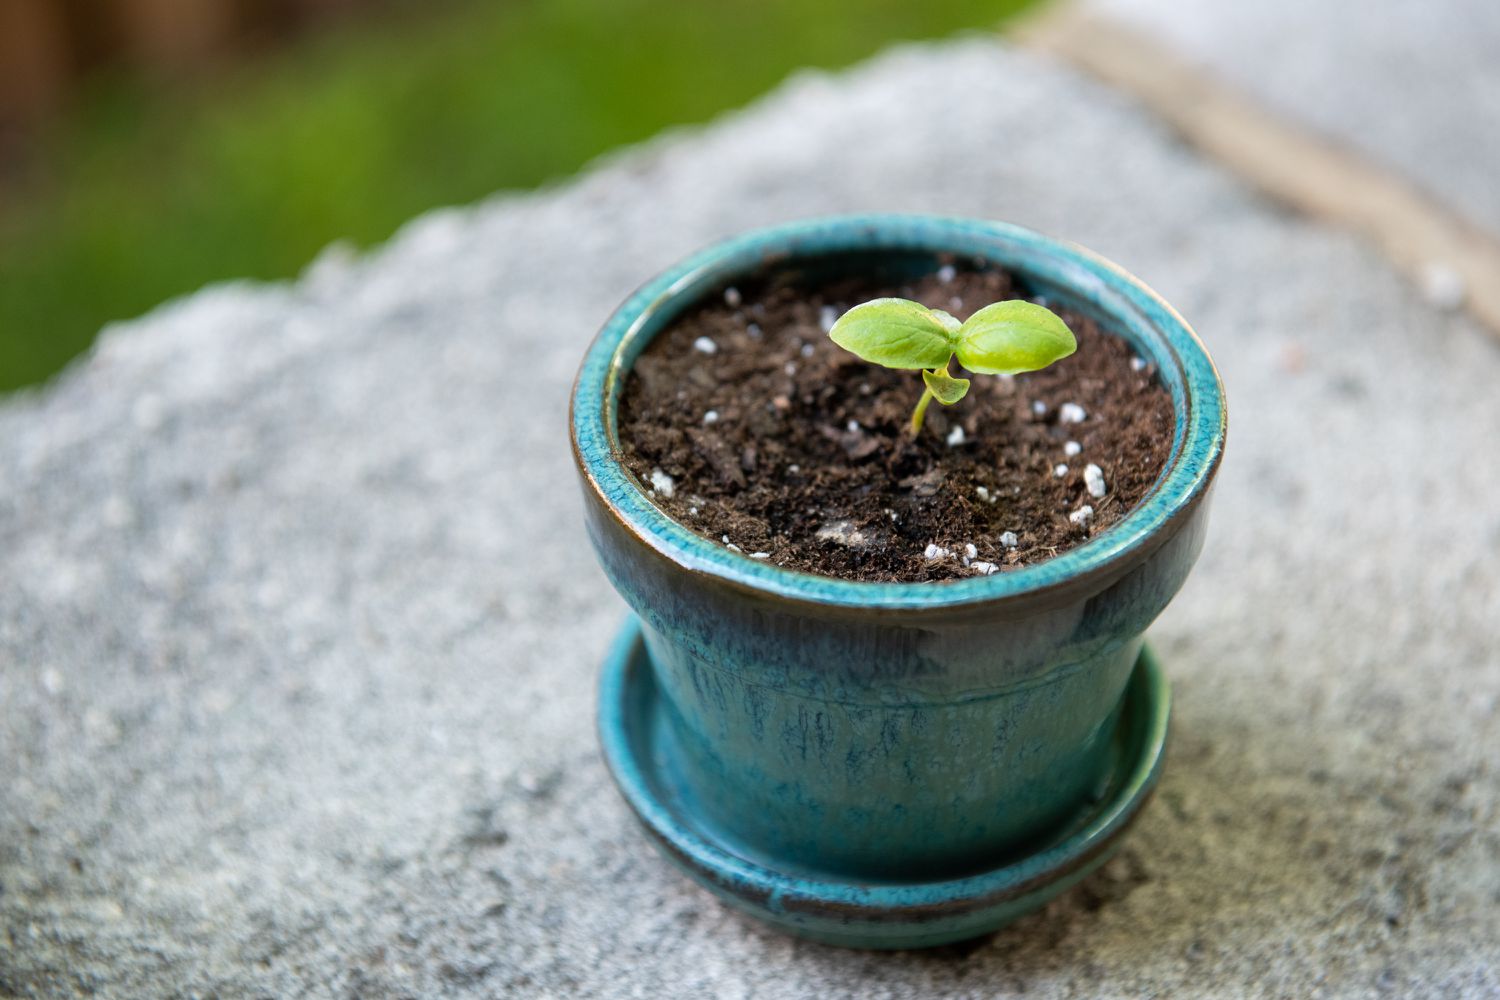
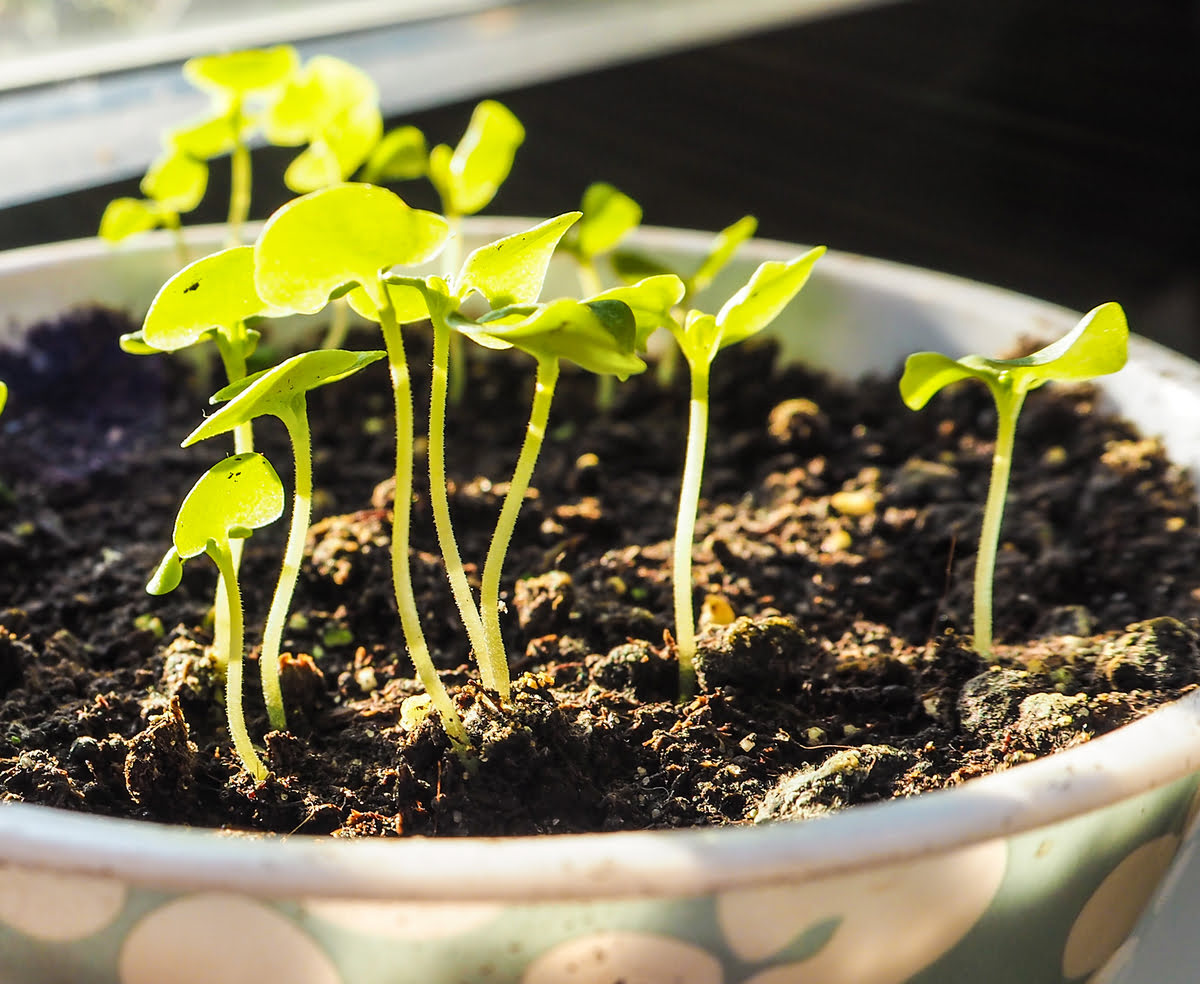
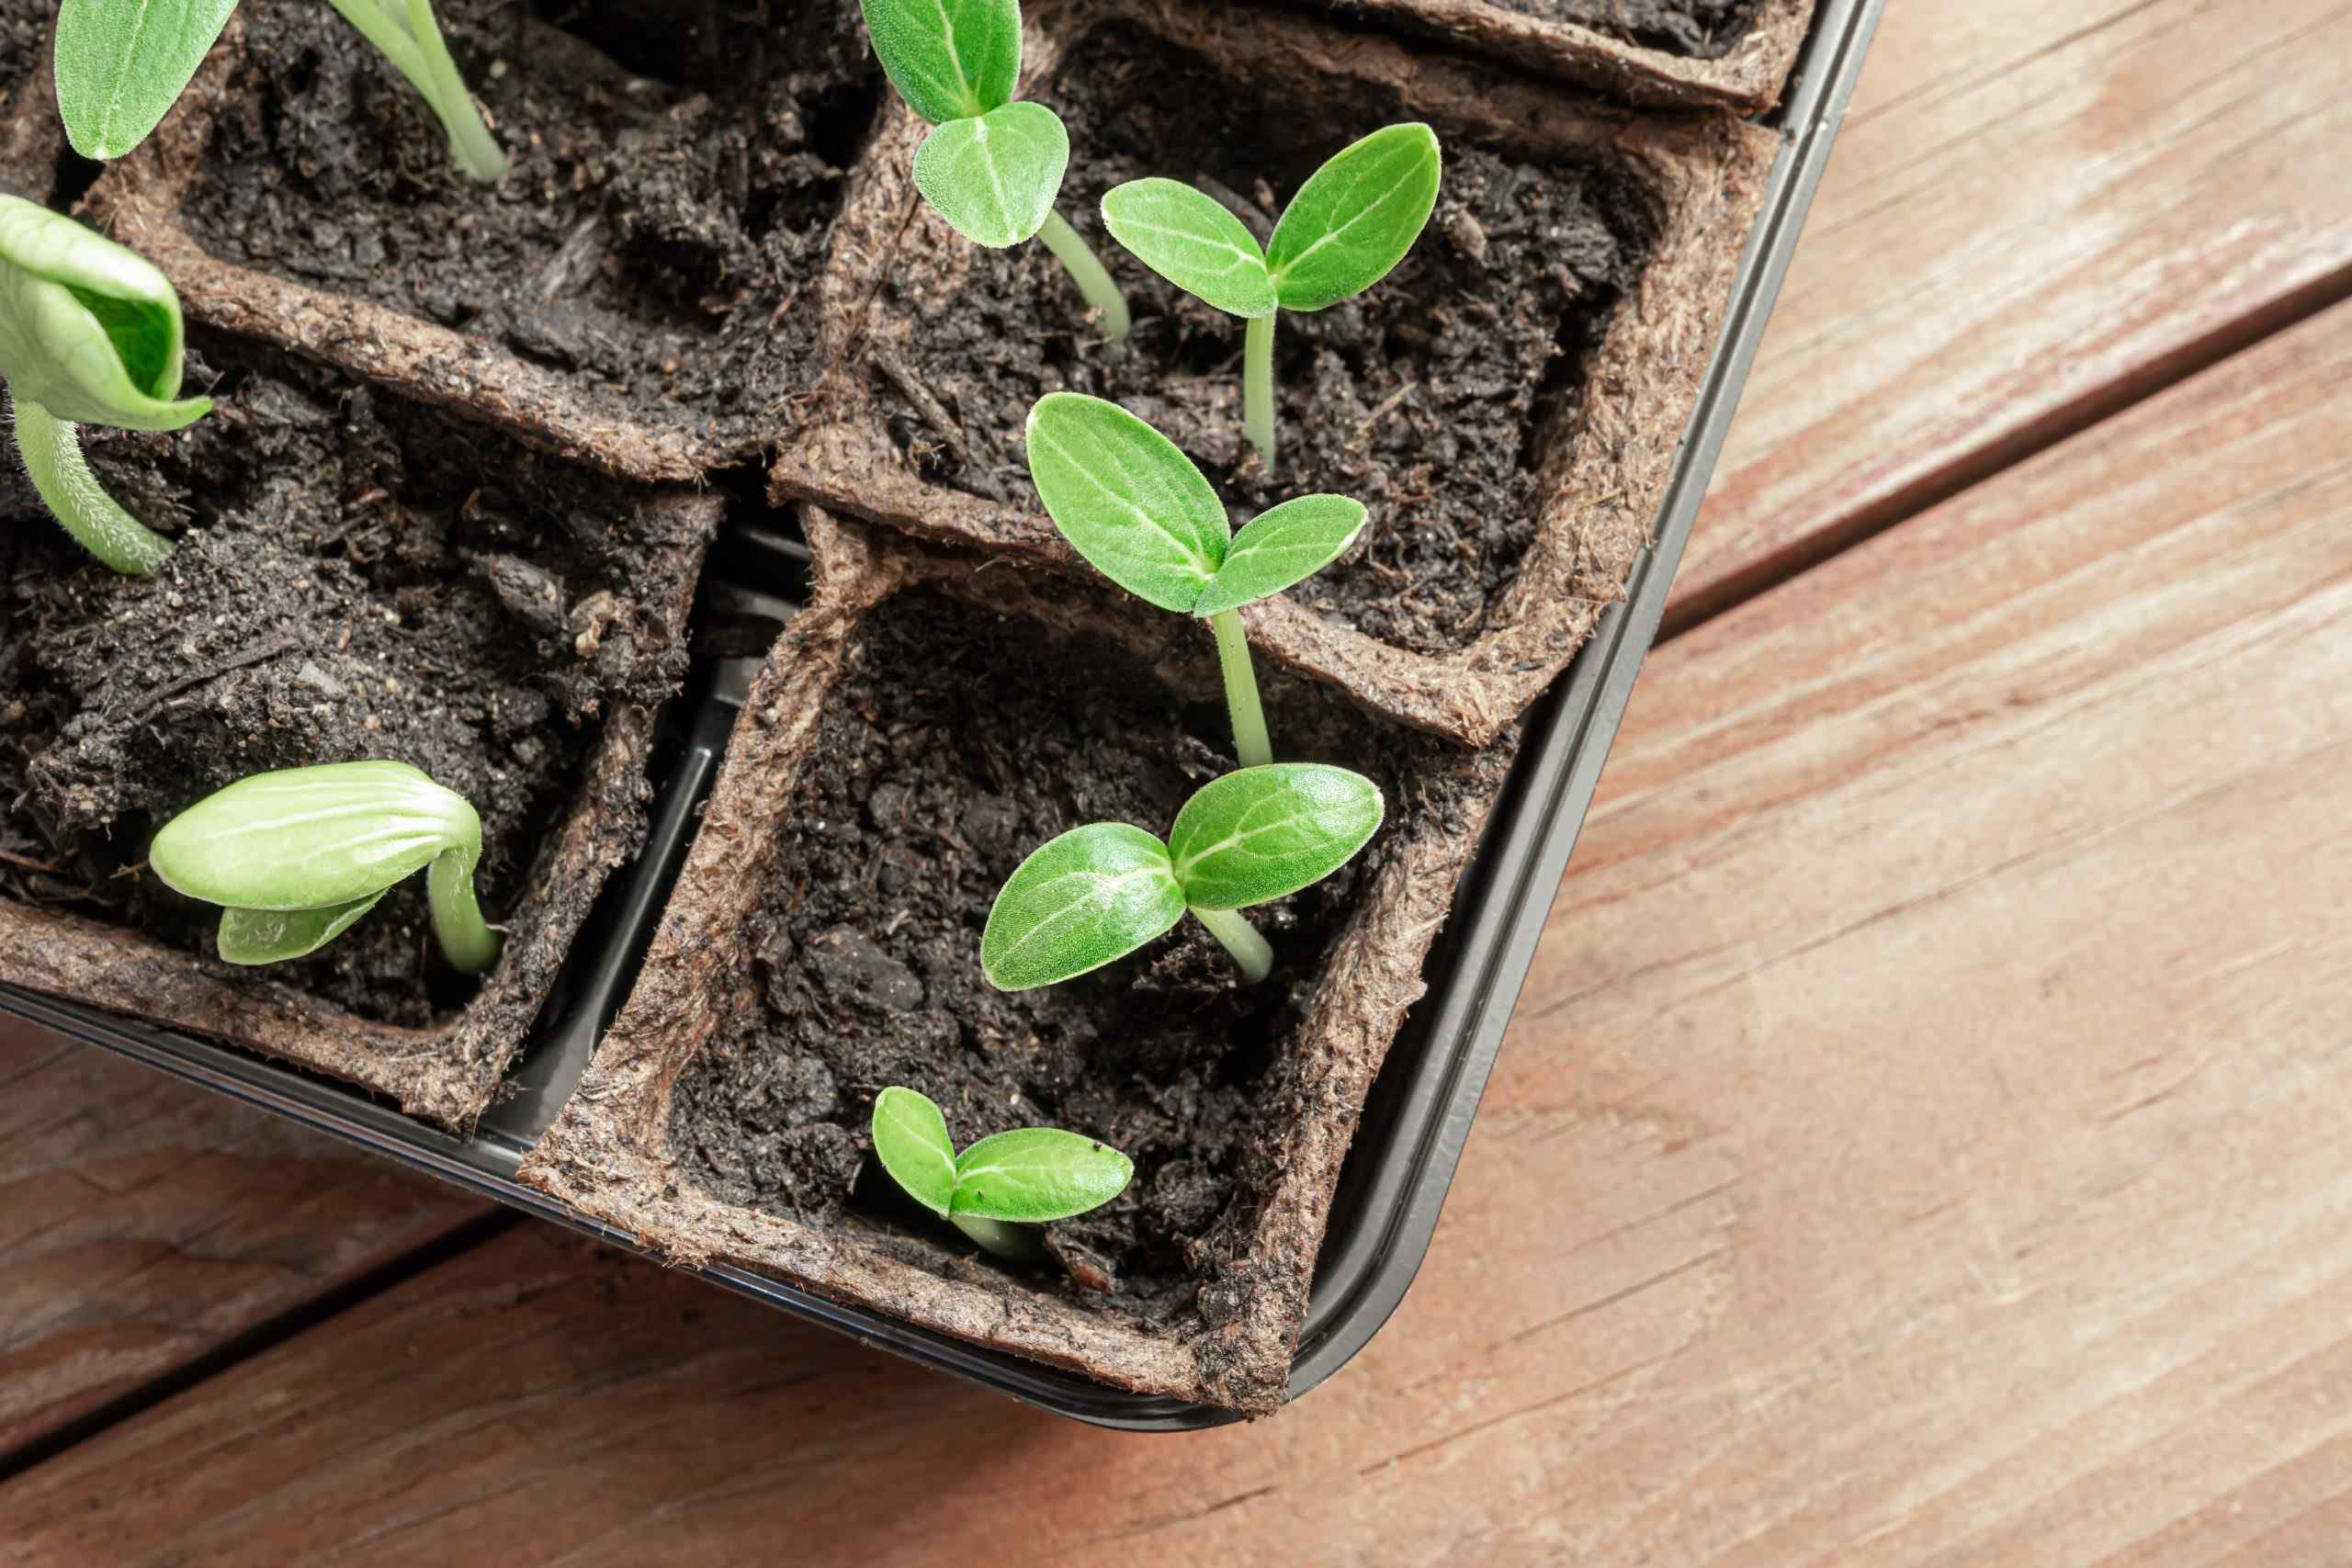
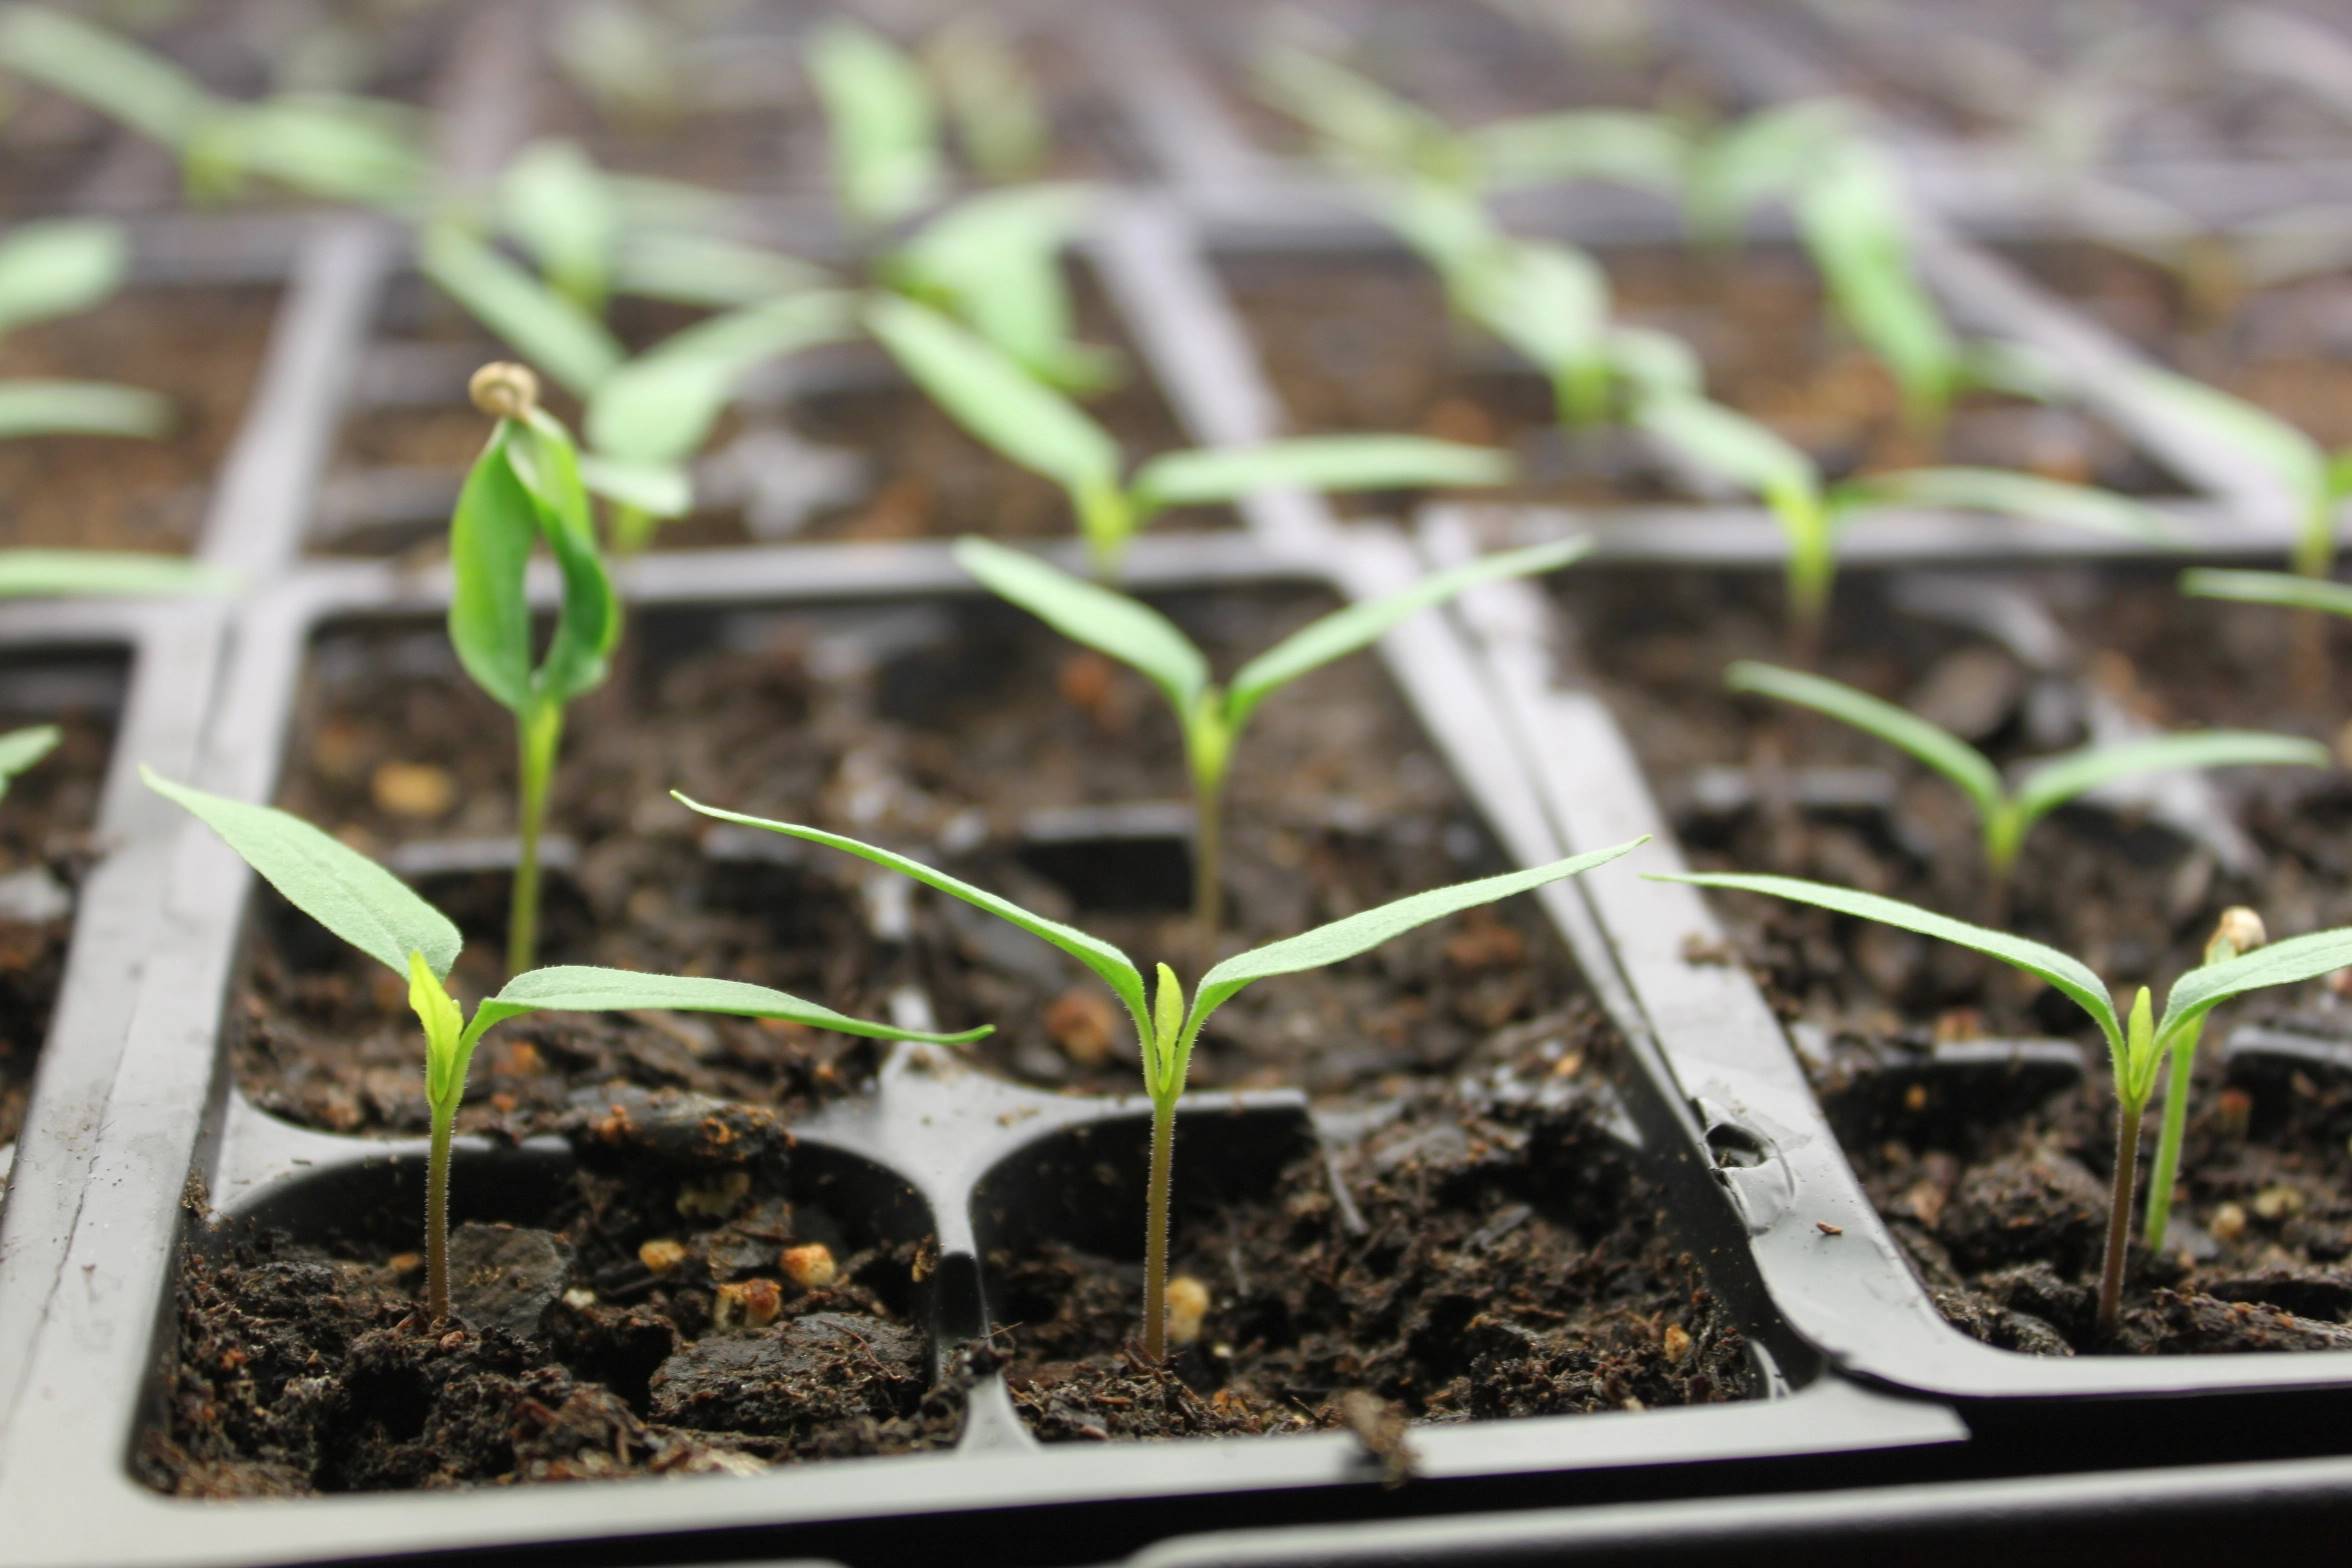
Within a week or two, depending on the variety and environmental conditions, you should start to see the basil seeds sprout and tiny seedlings emerge from the soil. Once the seedlings have developed their first set of true leaves, it’s time to thin them out if necessary.
If multiple seedlings are growing too closely together, carefully remove the weaker ones, leaving the healthiest and strongest seedling in each spot. This will help prevent overcrowding and give the remaining seedlings room to grow and flourish.
Now that your basil seeds are planted and germinating, it’s crucial to provide the proper care and attention to nurture them into healthy seedlings. Let’s explore the essential care guidelines for your basil seedlings in the next section.
Caring for Your Basil Seedlings
Once your basil seedlings have emerged from the soil, it’s crucial to provide them with the proper care to ensure their healthy growth and development. Caring for your basil seedlings involves attention to watering, lighting, temperature, and fertilization.
Watering is a key aspect of caring for basil seedlings. Keep the soil consistently moist, but be careful not to overwater, as excessive moisture can lead to root rot. Water your seedlings when the top inch of soil feels dry to the touch. Use a gentle watering method to avoid dislodging the delicate seedlings.
In terms of lighting, basil loves sunshine. Place your seedlings in a location where they can receive at least 6 to 8 hours of direct sunlight each day. If you’re growing basil indoors, make sure to place them near a sunny window or provide supplemental grow lights to ensure they get adequate light.
Maintain a temperature range between 70°F (21°C) and 90°F (32°C) for optimal growth. Basil thrives in warm conditions, so make sure to protect your seedlings from frost or cold drafts. If outdoor temperatures drop below 50°F (10°C), consider covering your seedlings or bringing them indoors overnight.
As your basil seedlings grow, they will benefit from regular fertilization. Use a balanced organic fertilizer or a slow-release granular fertilizer following the package instructions. Apply the fertilizer every 4 to 6 weeks to provide the necessary nutrients for healthy foliage growth.
Keep an eye out for any pests that may attack your basil seedlings. Common pests include aphids, spider mites, and whiteflies. If you notice any signs of pest infestation, such as curling leaves or tiny insects, treat your seedlings with organic insecticidal soap or neem oil to prevent further damage.
Pruning is another aspect of caring for your basil seedlings. Pinch off the top set of leaves when your seedlings are around 6 inches tall. This encourages bushier growth and prevents the basil plants from becoming leggy. Regularly pinching off the flower buds can also prolong the plant’s foliage production.
Monitor the overall health of your basil seedlings and address any issues promptly. Watch for signs of yellowing leaves, wilting, or unusual spots. These may indicate nutrient deficiencies, diseases, or water stress. Adjust your care routine accordingly and seek advice if needed.
As your basil seedlings grow stronger, they will be ready for the next step in their journey: transplanting. In the next section, we will explore the process of transitioning your basil seedlings into their permanent growing location.
Transplanting the Basil Seedlings
Once your basil seedlings have grown to a suitable size and have developed a sturdy root system, it’s time to transplant them into their permanent growing location. Transplanting allows the seedlings to have more space to spread their roots and ensures they have optimal conditions for continued growth.
First, choose a well-prepared planting spot in your garden or a larger container for transplanting. Ensure the location offers full sun exposure and has well-draining soil. Basil thrives in fertile soil with a pH range of 6.0 to 7.5. If necessary, amend the soil with compost or organic matter to improve its nutrient content.
If you’re transplanting into a larger container, choose one that has drainage holes and is at least 10 to 12 inches in diameter. This will allow sufficient room for the basil’s root system to grow. Fill the container with a high-quality potting mix, leaving a few inches of space from the rim to prevent water overflow.
Carefully remove the basil seedlings from their current containers or the garden bed. Gently loosen the soil around the seedlings to minimize root disturbance. You can use your hands or a small garden tool for this process.
When transplanting, make sure to dig a hole slightly larger than the root ball of each seedling. This will provide ample room for the roots to spread out. Place the seedlings into the holes, ensuring they are at the same depth as they were in their original containers or garden bed.
Gently backfill the soil around the seedlings, pressing it down lightly to ensure good soil-to-root contact. Water the transplanted seedlings thoroughly to settle the soil and provide moisture to the roots.
After transplanting, provide continued care to help the basil seedlings adjust to their new environment. Keep the soil moist and monitor the seedlings for any signs of stress or wilting. If necessary, shade the seedlings with a cloth or temporary shade structure to protect them from direct sunlight until they become established.
Continue to provide appropriate fertilizer for your transplanted basil seedlings. Apply a balanced organic fertilizer or slow-release granular fertilizer following the package instructions. Remember to water the plants before and after fertilization to prevent root burn.
As your transplanted basil seedlings grow, it’s important to provide support if necessary. Depending on the basil variety, some plants may benefit from staking or a trellis to help them grow upright and prevent breakage.
Monitor your transplanted basil seedlings for any signs of pests or diseases. Take a proactive approach by regularly inspecting the plants and addressing issues promptly. Organic pest control methods such as companion planting, handpicking pests, or using insecticidal soap can help keep your basil plants healthy.
With proper care and attention, your transplanted basil seedlings will continue to grow and flourish. In the next section, we’ll explore the exciting part of growing basil – harvesting the flavorful and aromatic leaves.
Harvesting Your Basil Plants
One of the most rewarding aspects of growing basil is the ability to harvest its fresh, aromatic leaves. Harvesting not only provides you with a continuous supply of flavorful basil but also promotes bushier growth and encourages the development of new leaves.
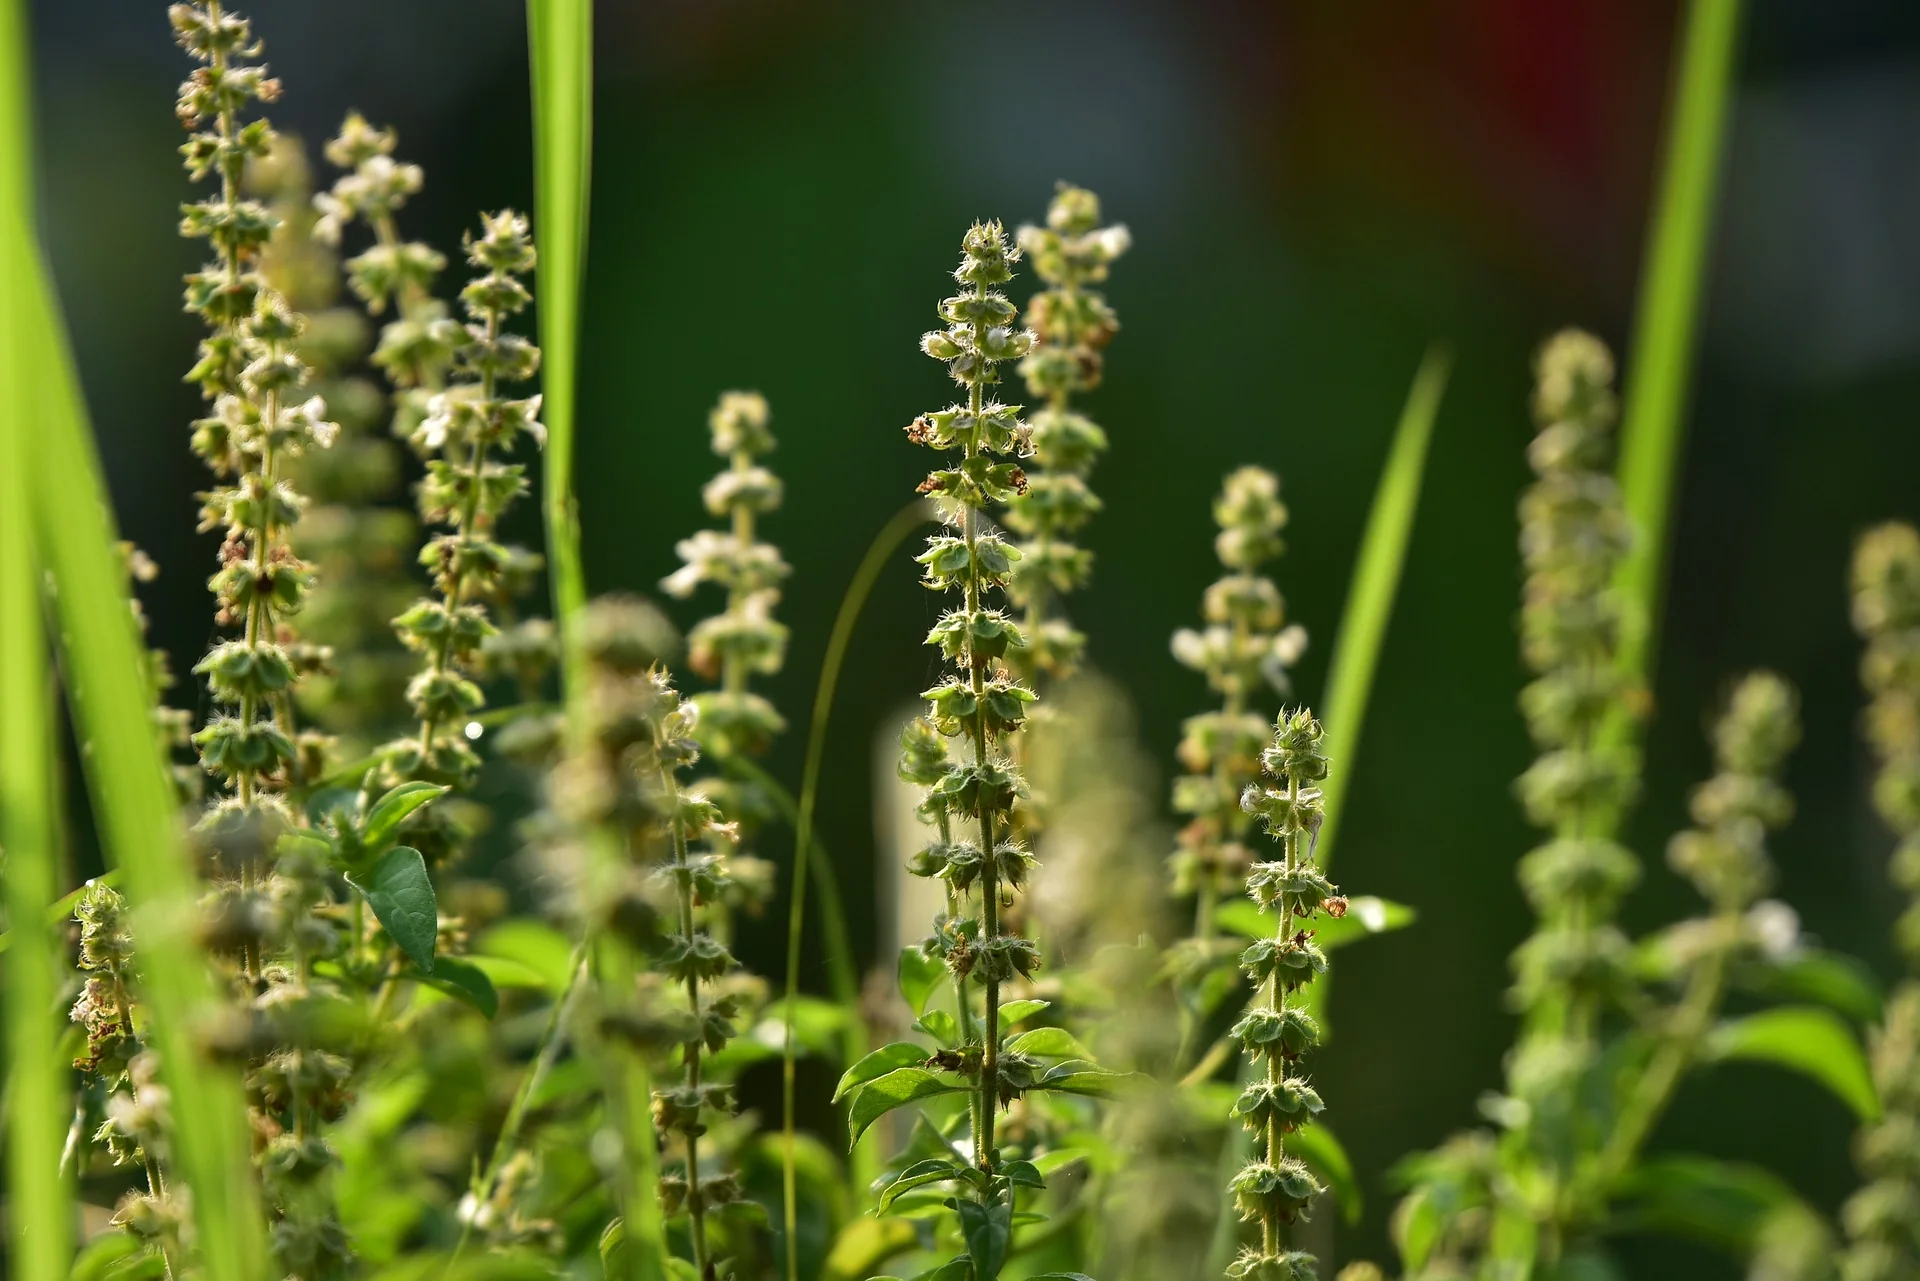
Once your basil plants have reached a height of around 6 to 8 inches and have produced a sufficient number of leaves, they are ready to be harvested. It’s important to harvest before the plants start flowering, as this can adversely affect the flavor and tenderness of the leaves.
When you’re ready to harvest, choose a dry and sunny day to ensure that the leaves are at their best. Using clean and sharp scissors or pruning shears, make cuts just above a leaf node or set of leaves to encourage branching and new growth.
Be mindful not to remove more than one-third of the plant’s foliage at a time, as this can stunt its growth. By maintaining a few sets of healthy leaves on the plant, it will continue to produce and flourish throughout the growing season.
In terms of the harvesting technique, you can choose to harvest individual leaves as needed or cut whole stems. Both methods are effective and depend on your preference and culinary requirements.
If you choose to pluck individual leaves, start from the bottom of the plant, working your way up. This allows new growth at the top to receive adequate sunlight and continue thriving. Pinch off the leaves from the stem carefully, avoiding any damage to the remaining plant.
For cutting whole stems, select those that are long and healthy. Cut the stem just above a leaf node or set of leaves using clean and sharp tools. This method provides larger quantities of basil to use for cooking or preserving.
After harvesting, it’s crucial to handle the basil leaves with care to preserve their quality and freshness. Avoid crushing or bruising the leaves, as this can diminish their flavor and aroma. Rinse the leaves gently under cool water to remove any dirt or debris.
To store fresh basil, lightly pat the leaves dry with a clean towel or paper towels. You can then wrap the leaves in a damp paper towel and place them inside a plastic bag. Store the bag in the refrigerator, and the basil will stay fresh for up to a week.
If you have an abundance of basil, consider preserving it for future use. One popular method is to make basil pesto by blending the leaves with garlic, pine nuts, Parmesan cheese, and olive oil. Another option is to freeze the leaves in ice cube trays with water or olive oil for easy use in recipes later on.
Remember to continuously harvest your basil throughout the growing season to promote a constant supply of fresh leaves. The more you harvest, the more the plants will produce.
Now that you have learned the art of harvesting basil, you can enjoy the pleasure of using the flavorful leaves in your culinary creations. In the next section, we will recap the key points covered in this guide to starting basil seeds and offer some final tips to help you succeed in your ornamental gardening journey.
Conclusion
Congratulations on embarking on your journey into the world of ornamental gardening and growing basil from seeds. By following the steps outlined in this guide, you have gained the knowledge and skills necessary to successfully start basil seeds and nurture them into healthy, thriving plants.
From choosing the right basil seeds to preparing the planting materials, planting the seeds, and caring for the seedlings, you have learned the essential steps needed to ensure the success of your basil plants. Through proper watering, providing adequate sunlight, maintaining optimal temperatures, and regular fertilization, you have set the stage for robust growth and a bountiful harvest.
Transplanting your basil seedlings into their permanent growing location allows for further expansion and continued development. Paying attention to the health of your basil plants, addressing any pest or disease issues promptly, and practicing proper harvesting techniques ensure a continuous supply of fresh and flavorful basil leaves.
Remember to experiment with different basil varieties to discover your favorites. Whether you choose the classic sweetness of Sweet Basil, the spicy kick of Thai Basil, or the refreshing aroma of Lemon Basil, each variety brings its own unique appeal to your garden and culinary creations.
As you gain more experience and confidence in growing basil, explore other herbs and ornamental plants to expand your gardening horizons. The world of ornamental gardening offers a vast array of possibilities to create breathtaking outdoor spaces filled with color, fragrance, and beauty.
Enjoy the process of nurturing your basil plants, watching them grow from tiny seeds to thriving plants that not only enhance the charm of your garden but also provide a delightful addition to your meals. Let the joy of gardening and the satisfaction of growing your own herbs fill your heart and soul.
Remember to have fun, be creative, and embrace the wonders of nature as you embark on your ornamental gardening journey. Happy growing!