Home>Types of Gardening>Ornamental Gardening>How To Start Lavender Seeds
Ornamental Gardening
How To Start Lavender Seeds
Modified: February 9, 2024
Learn the step-by-step process of starting lavender seeds for your ornamental gardening projects. Find tips and techniques to ensure successful germination and growth.
(Many of the links in this article redirect to a specific reviewed product. Your purchase of these products through affiliate links helps to generate commission for Chicagolandgardening.com, at no extra cost. Learn more)
Table of Contents
Introduction
Welcome to the world of ornamental gardening! If you have a green thumb and a passion for beautifying your surroundings, you have come to the right place. In this article, we will explore the wonderful world of starting lavender seeds, a delightful and aromatic addition to any garden.
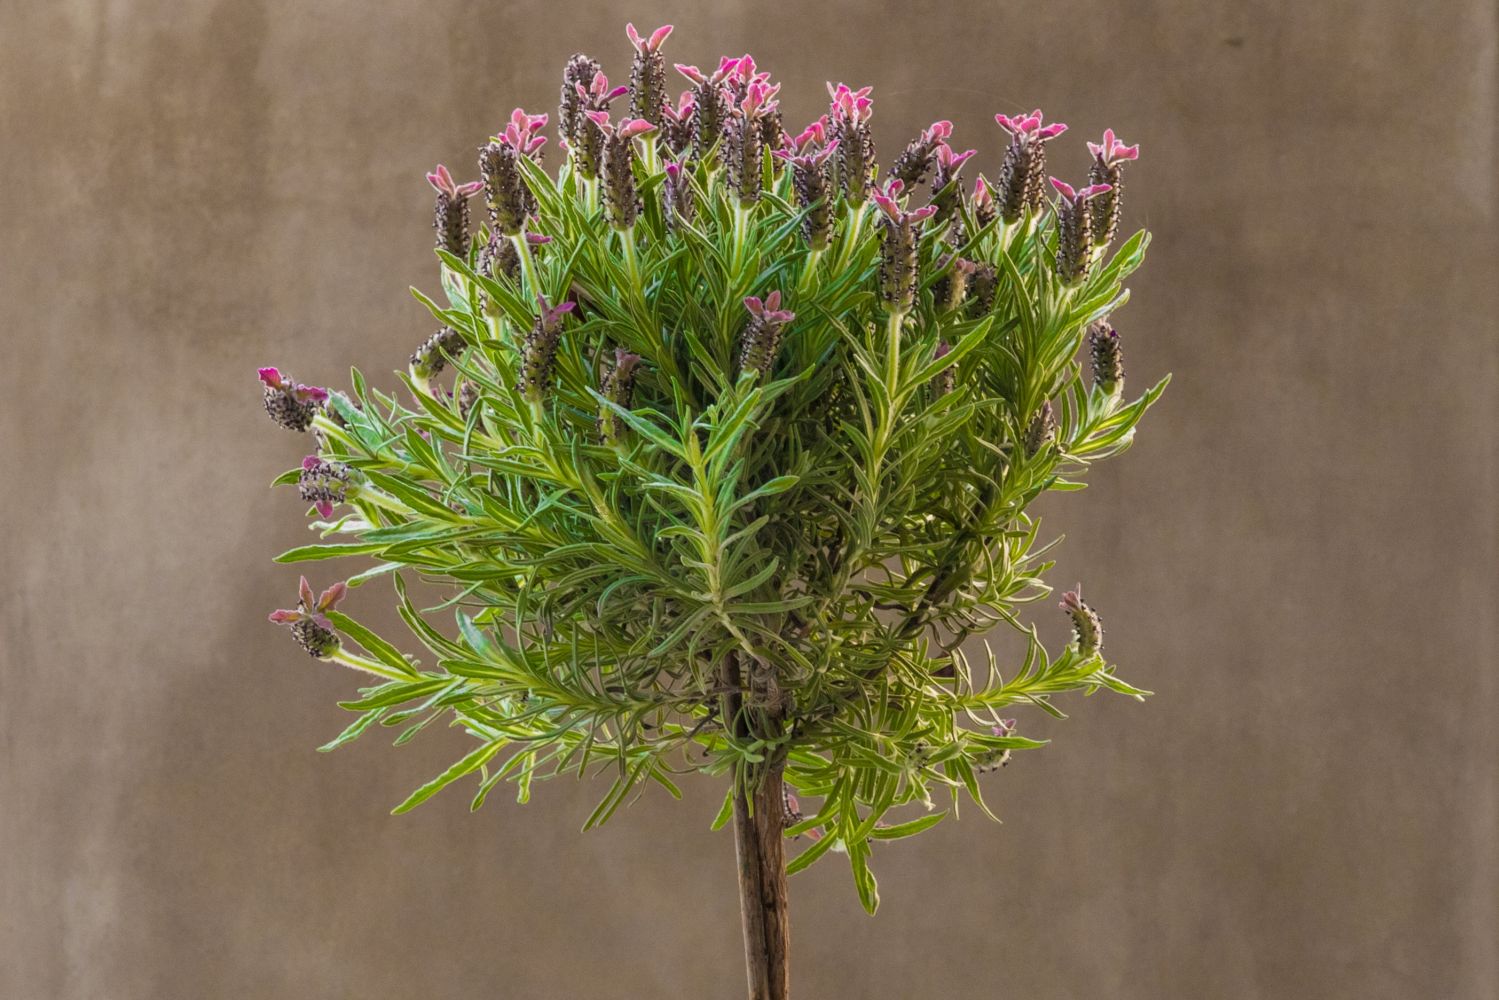
Lavender, known for its vibrant purple flowers and soothing fragrance, is a versatile herb that can be used for culinary, medicinal, and decorative purposes. Growing your own lavender from seeds allows you to enjoy the process of nurturing a plant from its earliest stages, and it’s a rewarding experience to witness the transformation of tiny seeds into flourishing plants.
Whether you are a gardening enthusiast looking to expand your horticultural repertoire or a novice seeking to embark on a new adventure, this guide will provide you with all the essential knowledge and step-by-step instructions to successfully start lavender seeds. From gathering supplies to caring for the plants, we will cover everything you need to know to ensure your lavender garden is a thriving success.
Before we dive into the exciting world of lavender seed starting, it’s important to note that lavender seeds can be a bit challenging to germinate, requiring specific conditions and care. However, with the right techniques and a little bit of patience, you can successfully grow lavender from seeds and enjoy the rewards of your efforts.
So, let’s roll up our sleeves, grab our gardening tools, and get ready to embark on a journey to cultivate beautiful lavender plants from seeds. With proper preparation and care, you’ll soon have a lush garden filled with fragrant blooms that will delight your senses and enhance the beauty of your outdoor space.
Step 1: Gathering Supplies
Before you begin the process of starting lavender seeds, it’s important to gather all the necessary supplies. Having everything on hand will make the process smoother and more efficient. Here are the essential items you’ll need:
- Lavender seeds: Choose a variety of lavender seeds that are suitable for your climate and growing conditions. There are many different lavender cultivars available, each with its unique characteristics and growth habits. Select a variety that appeals to you and meets the requirements of your region.
- Seed starting trays or pots: Opt for seed starting trays or small pots that are at least 2-3 inches deep, with good drainage holes at the bottom. These containers will provide the necessary space for the seeds to germinate and develop into seedlings before transplanting them to larger pots or the garden.
- Sterile seed starting mix: Use a high-quality seed starting mix that is well-draining and sterile to prevent the risk of disease. Avoid using regular garden soil, as it can be too heavy and compact for delicate seedlings.
- Watering can or sprayer: You’ll need a watering can or sprayer to keep the soil moist throughout the germination process. Preferably, use a fine mist sprayer to avoid disturbing the seeds or seedlings.
- Growing lights or sunny windowsill: Lavender seeds require adequate light to germinate and grow. If you don’t have access to a sunny windowsill, consider using fluorescent grow lights to provide the necessary brightness and warmth for successful germination.
- Plastic wrap or propagation dome: To create a greenhouse-like environment, cover the seed trays or pots with clear plastic wrap or use a propagation dome. This will help retain moisture and create a warm and humid atmosphere for optimal seed germination.
- A heat source: Lavender seeds germinate best with bottom heat. You can place your seed trays or pots on a seedling heat mat or near a warm heat source like a radiator to provide the required temperature for successful germination.
- Labels: It’s crucial to label your seed trays or pots with the name and variety of the lavender seeds. This will help you keep track of different cultivars and ensure you’re aware of their specific needs as they grow.
By gathering these supplies beforehand, you’ll be well-prepared and ready to kick-start the lavender seed starting process. With the right tools at your disposal, you’ll be on your way to cultivating healthy lavender plants that will bring beauty and fragrance to your garden.
Step 2: Preparing the Soil
Proper soil preparation is essential for the successful growth of lavender seeds. Lavender plants prefer well-draining soil with a slightly alkaline pH. Follow these steps to prepare the soil for your lavender seeds:
- Choose the right spot: Find a sunny location in your garden with at least 6-8 hours of direct sunlight. Lavender plants thrive in full sun and need ample sunlight to grow and bloom.
- Clear the area: Remove any weeds, rocks, or debris from the area where you plan to plant your lavender seeds. These can inhibit the growth of the seeds and compete for nutrients.
- Improve drainage: Lavender plants dislike soggy soil and are prone to rot if waterlogged. If your soil has poor drainage, consider amending it with organic matter like compost or sand to improve its drainage capabilities.
- Test the soil: Check the pH level of your soil using a soil testing kit. Lavender plants prefer a slightly alkaline soil with a pH range of 7-8. If your soil is acidic, you may need to add agricultural lime to raise its pH level.
- Amend the soil: Based on the results of your soil test, you may need to amend the soil to create the ideal growing conditions for lavender. If the pH is too acidic, add lime. If it’s too alkaline, you can add sulfur. Follow the instructions on the product packaging for the correct quantities.
- Loosen the soil: Use a garden fork or tiller to loosen the soil in the planting area. This will help create a favorable environment for the roots to penetrate and establish.
- Add organic matter: Incorporate organic matter like compost or well-rotted manure into the soil. This will provide essential nutrients and improve soil structure, promoting healthy root growth.
- Level the soil: Smooth out the soil surface with a rake to ensure an even planting area. This will prevent water pooling and allow for better water distribution.
By taking the time to properly prepare the soil, you are setting a solid foundation for your lavender seeds. The improved drainage and optimal pH level will create an environment that promotes healthy seed germination and vigorous plant growth. So, get your hands dirty and prepare the soil for the lavender garden of your dreams!
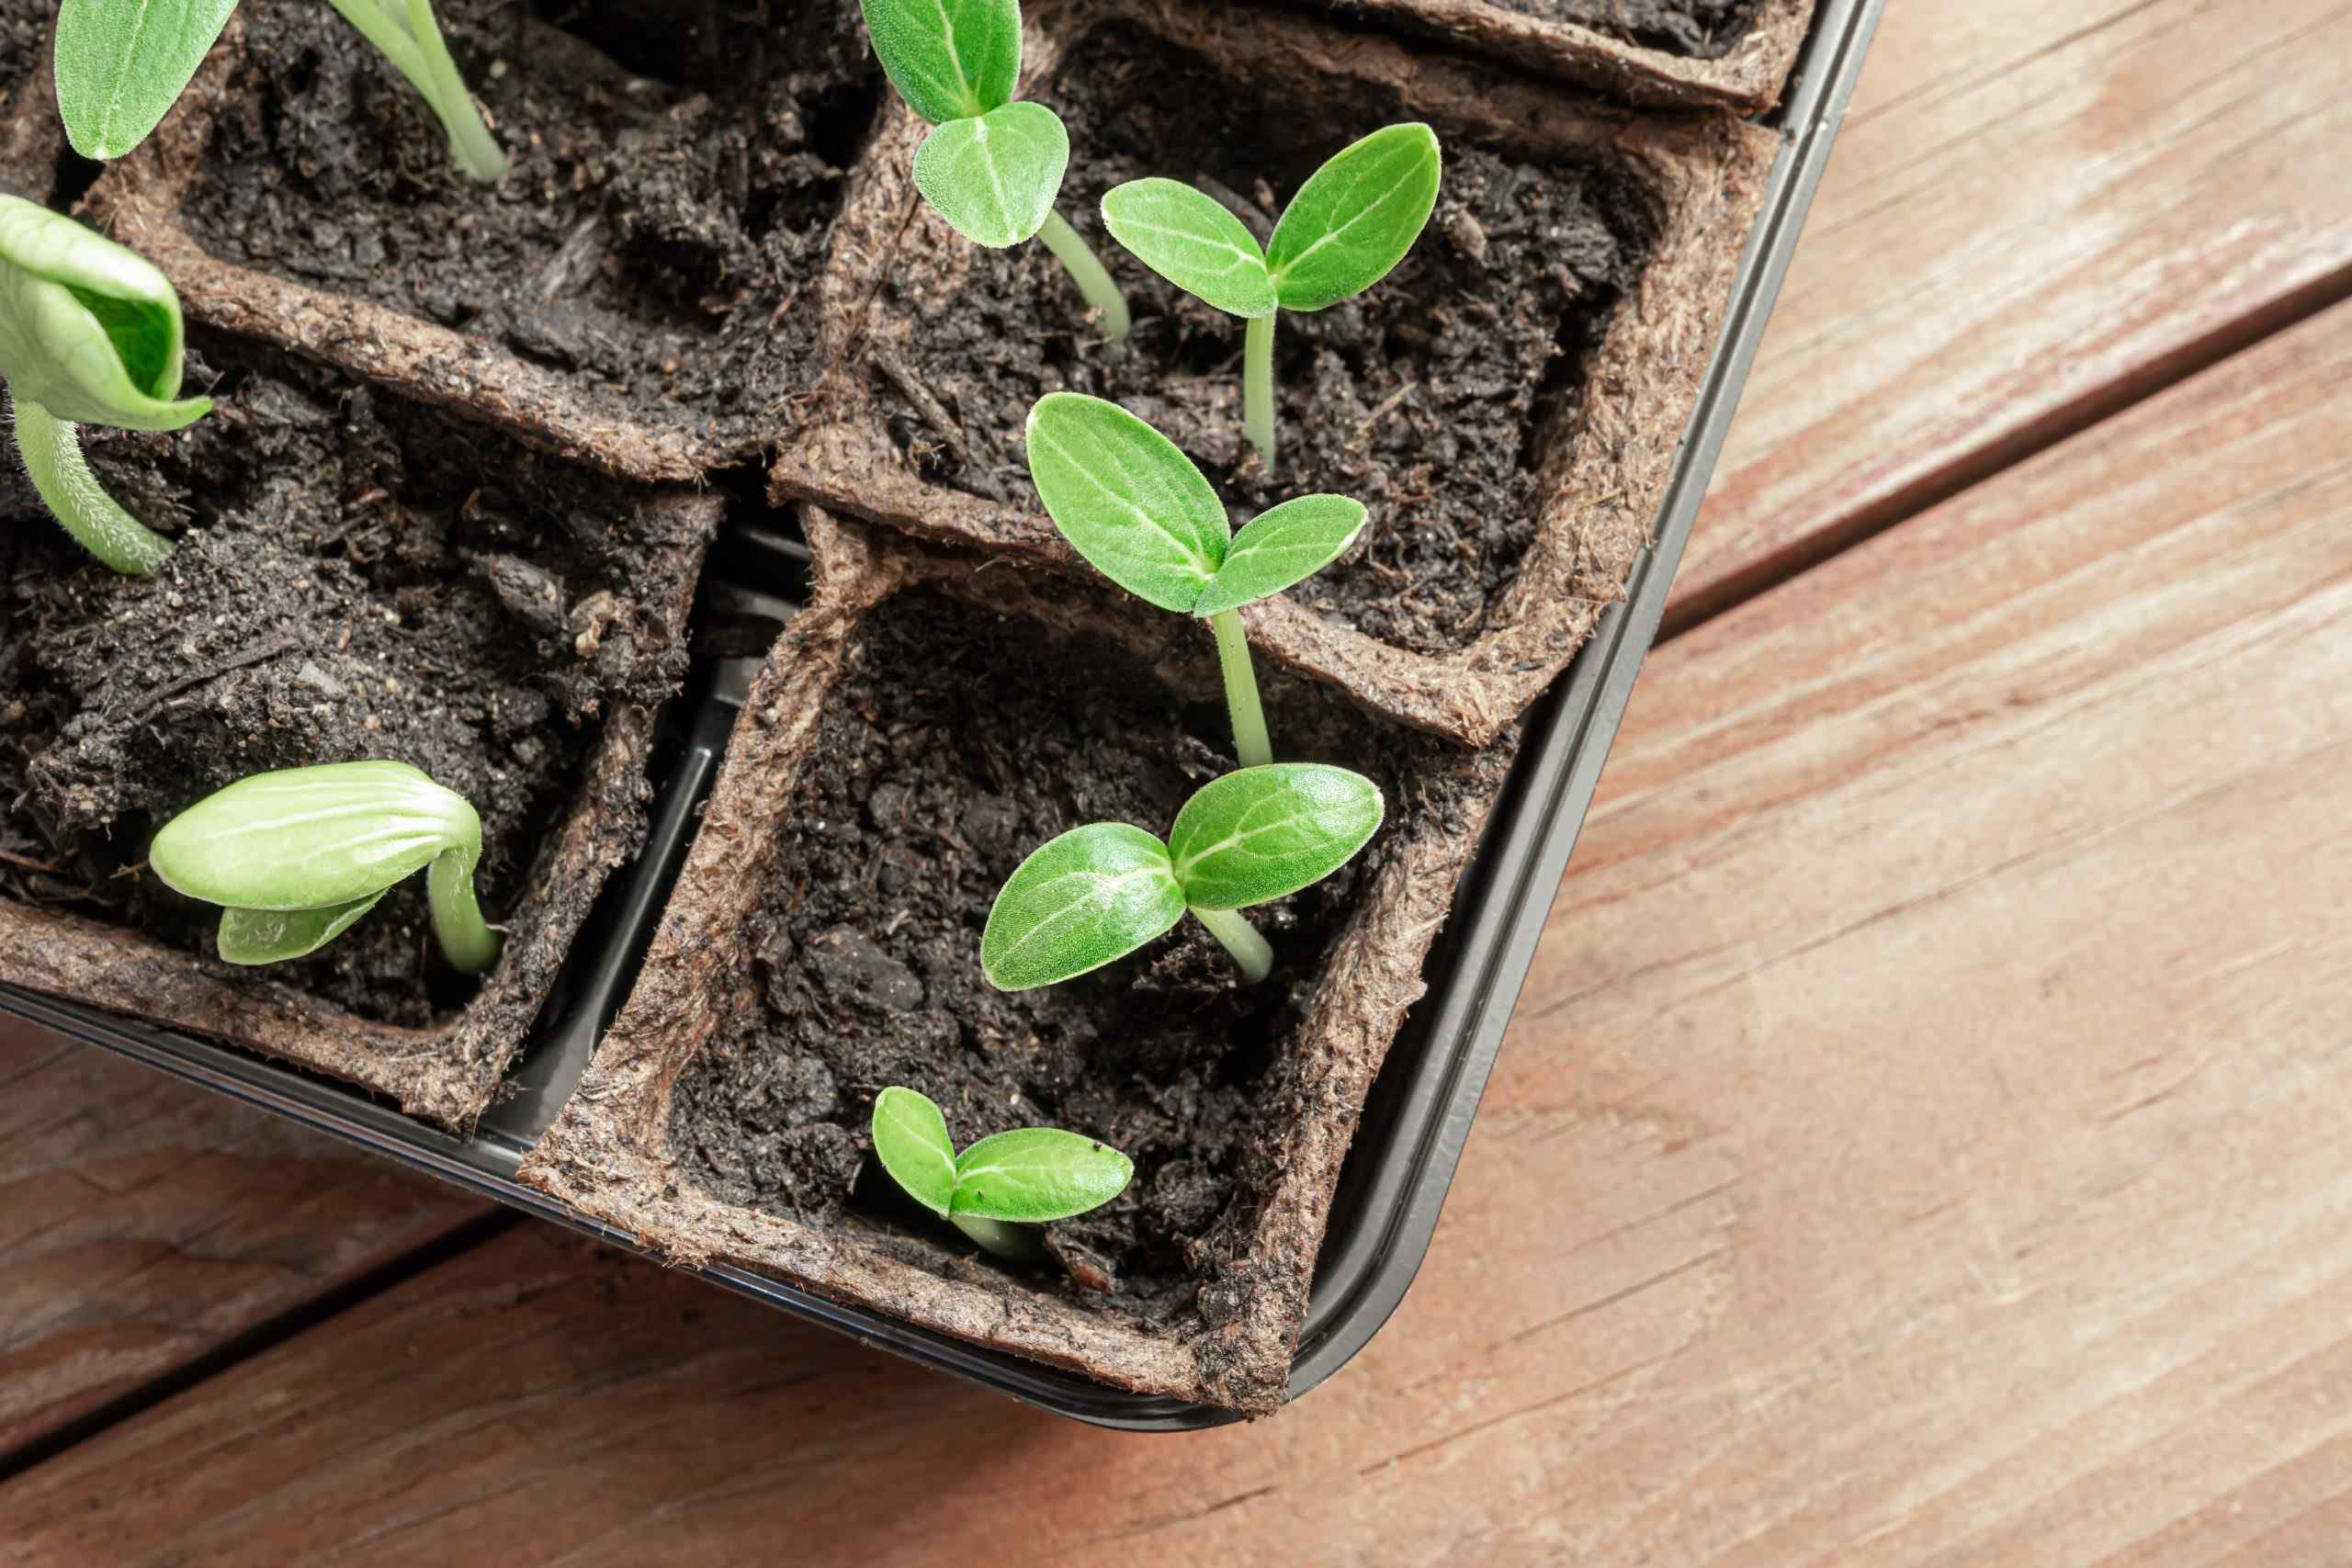
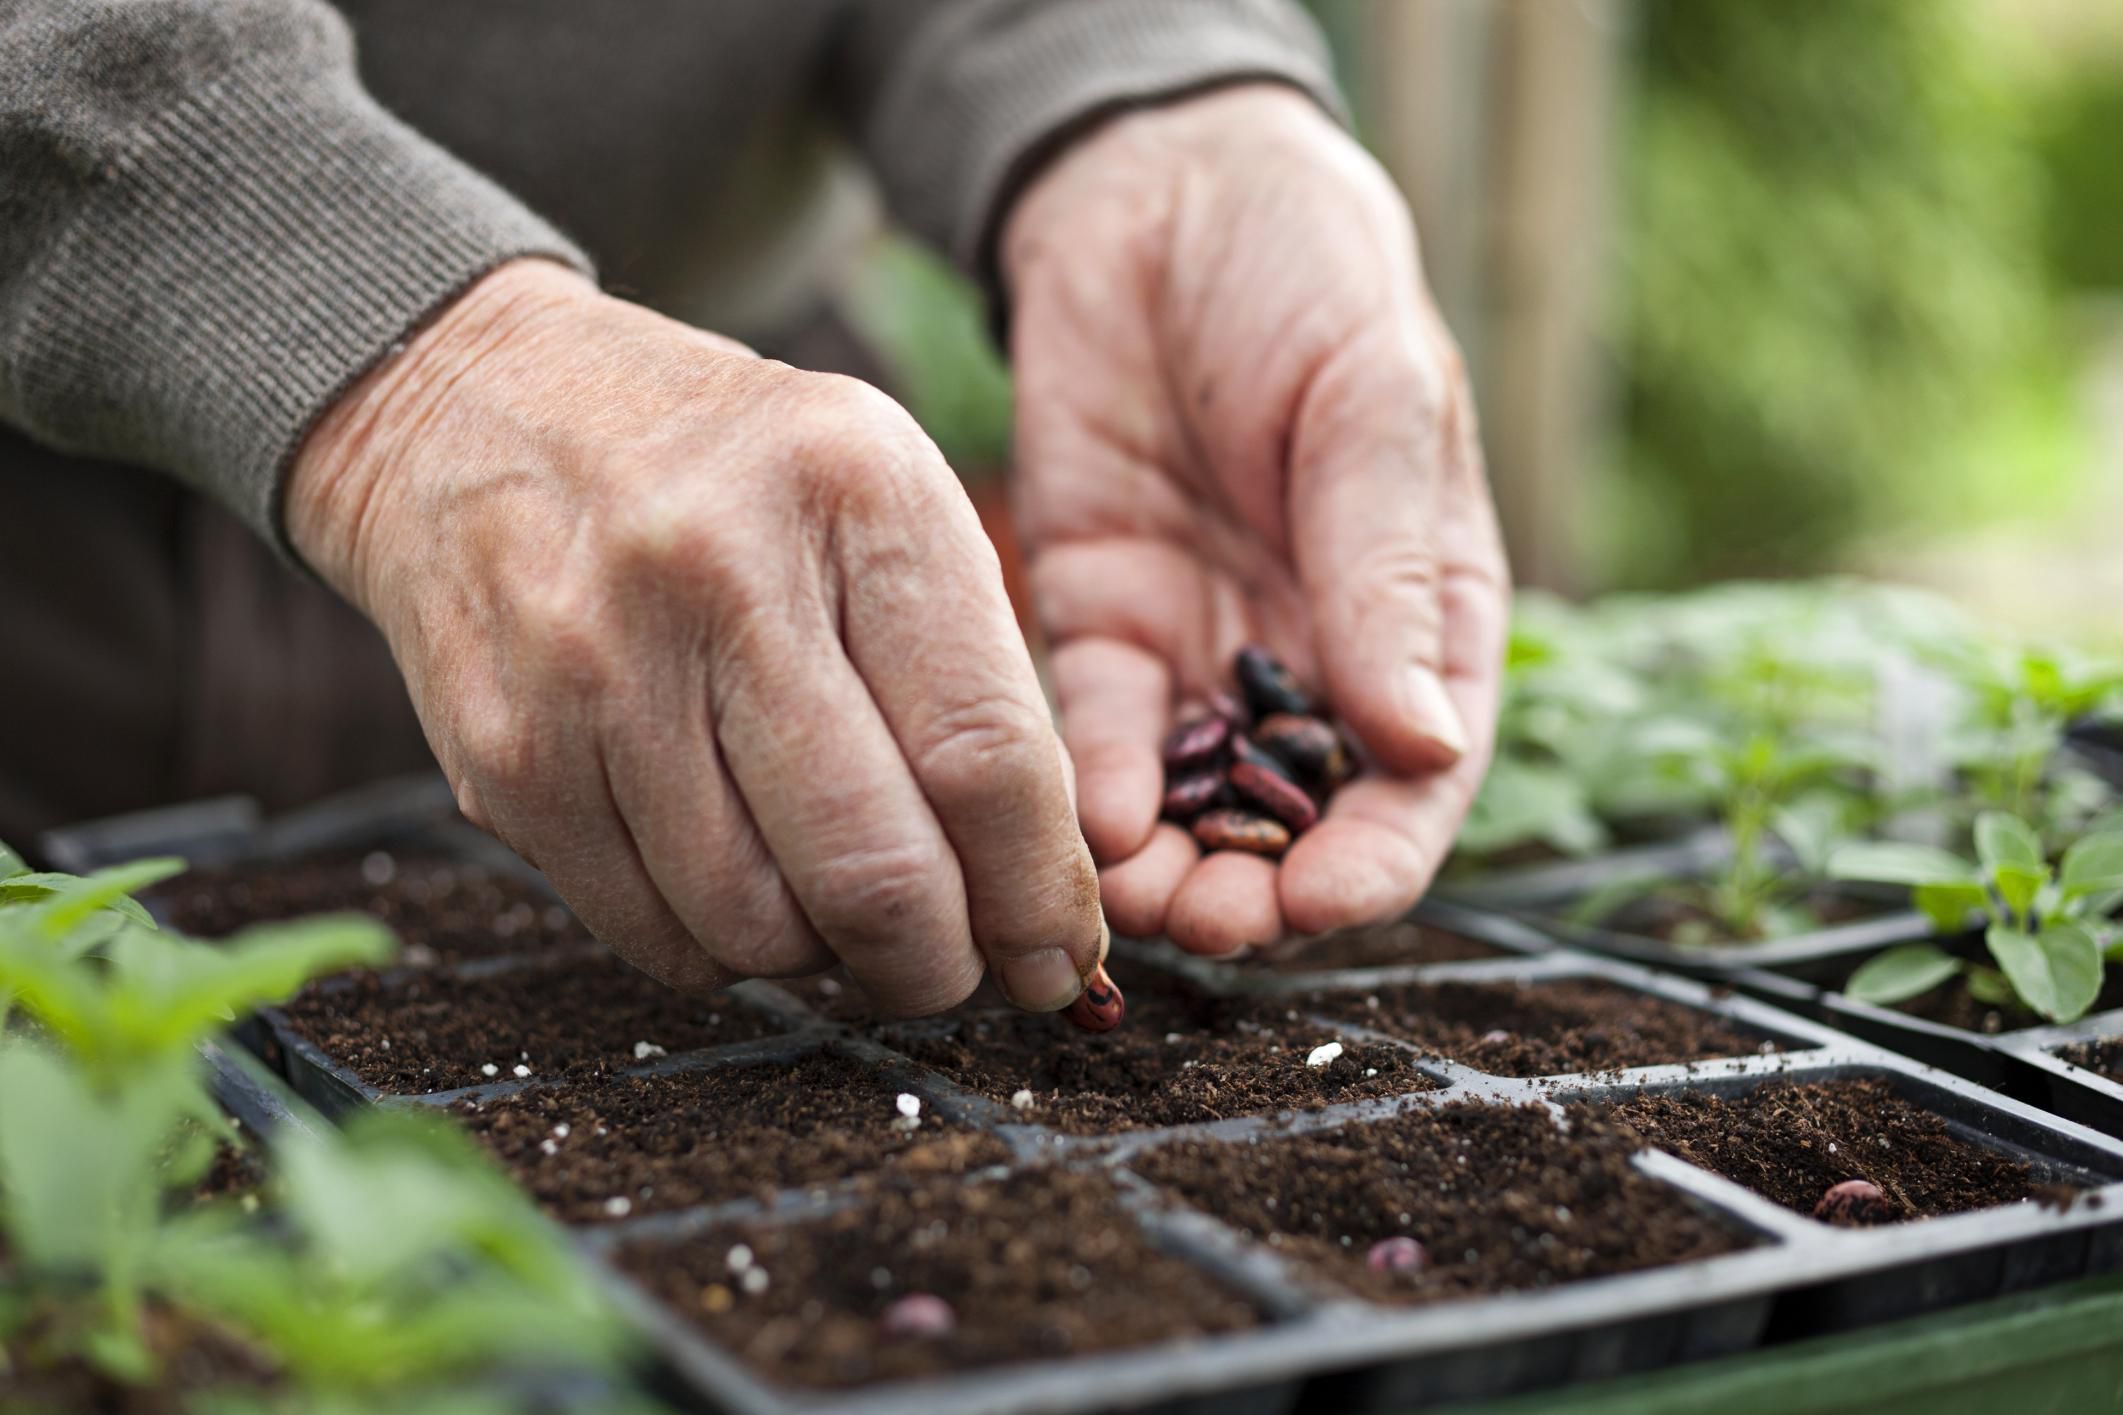
Step 3: Sowing the Seeds
Now that you have prepared the soil, it’s time to sow your lavender seeds. Here’s a step-by-step guide to help you sow your seeds effectively:
- Moisten the soil: Before sowing the seeds, ensure that the soil is slightly moist. Use a spray bottle or watering can with a fine mist to avoid disturbing the soil.
- Planting depth: Lavender seeds are small, so they don’t need to be buried too deeply. Make small furrows or depressions in the soil, about 1/4 inch deep. Alternatively, you can lightly press the seeds into the soil surface.
- Seed spacing: Space the seeds apart to allow for adequate airflow and growth. Aim for a spacing of about 1-2 inches between each seed.
- Planting density: Depending on the variety and eventual size of the lavender plants, you may want to sow multiple seeds in each furrow or depression. This will ensure a fuller growth and increase the chances of successful germination.
- Cover the seeds: Once you have placed the seeds in the furrows, lightly cover them with a fine layer of the seed starting mix. Gently press down the soil to ensure good seed-to-soil contact while still maintaining a loose covering.
- Mist the seeds: After covering the seeds, mist the soil surface with water using a fine mist sprayer or a spray bottle. Be careful not to overwater, as excessive moisture can lead to rotting of the seeds.
- Create a greenhouse effect: To create a greenhouse effect and help retain moisture, cover the seed trays or pots with clear plastic wrap or use a propagation dome. This will create a warm and humid environment ideal for seed germination.
- Provide bottom heat: Place the seed trays or pots on a seedling heat mat or near a warm heat source to provide gentle bottom heat. This will encourage faster and more uniform germination.
Remember to label your seed trays or pots with the name and variety of the seeds. This will help you keep track of different lavender cultivars as they grow.
Now that you have sown your lavender seeds, it’s time to wait patiently for the magic of germination to occur. Keep the soil consistently moist, but not overly saturated, and provide the right amount of warmth and light. In the next step, we will explore how to provide optimal growing conditions to ensure your lavender seeds sprout into healthy seedlings.
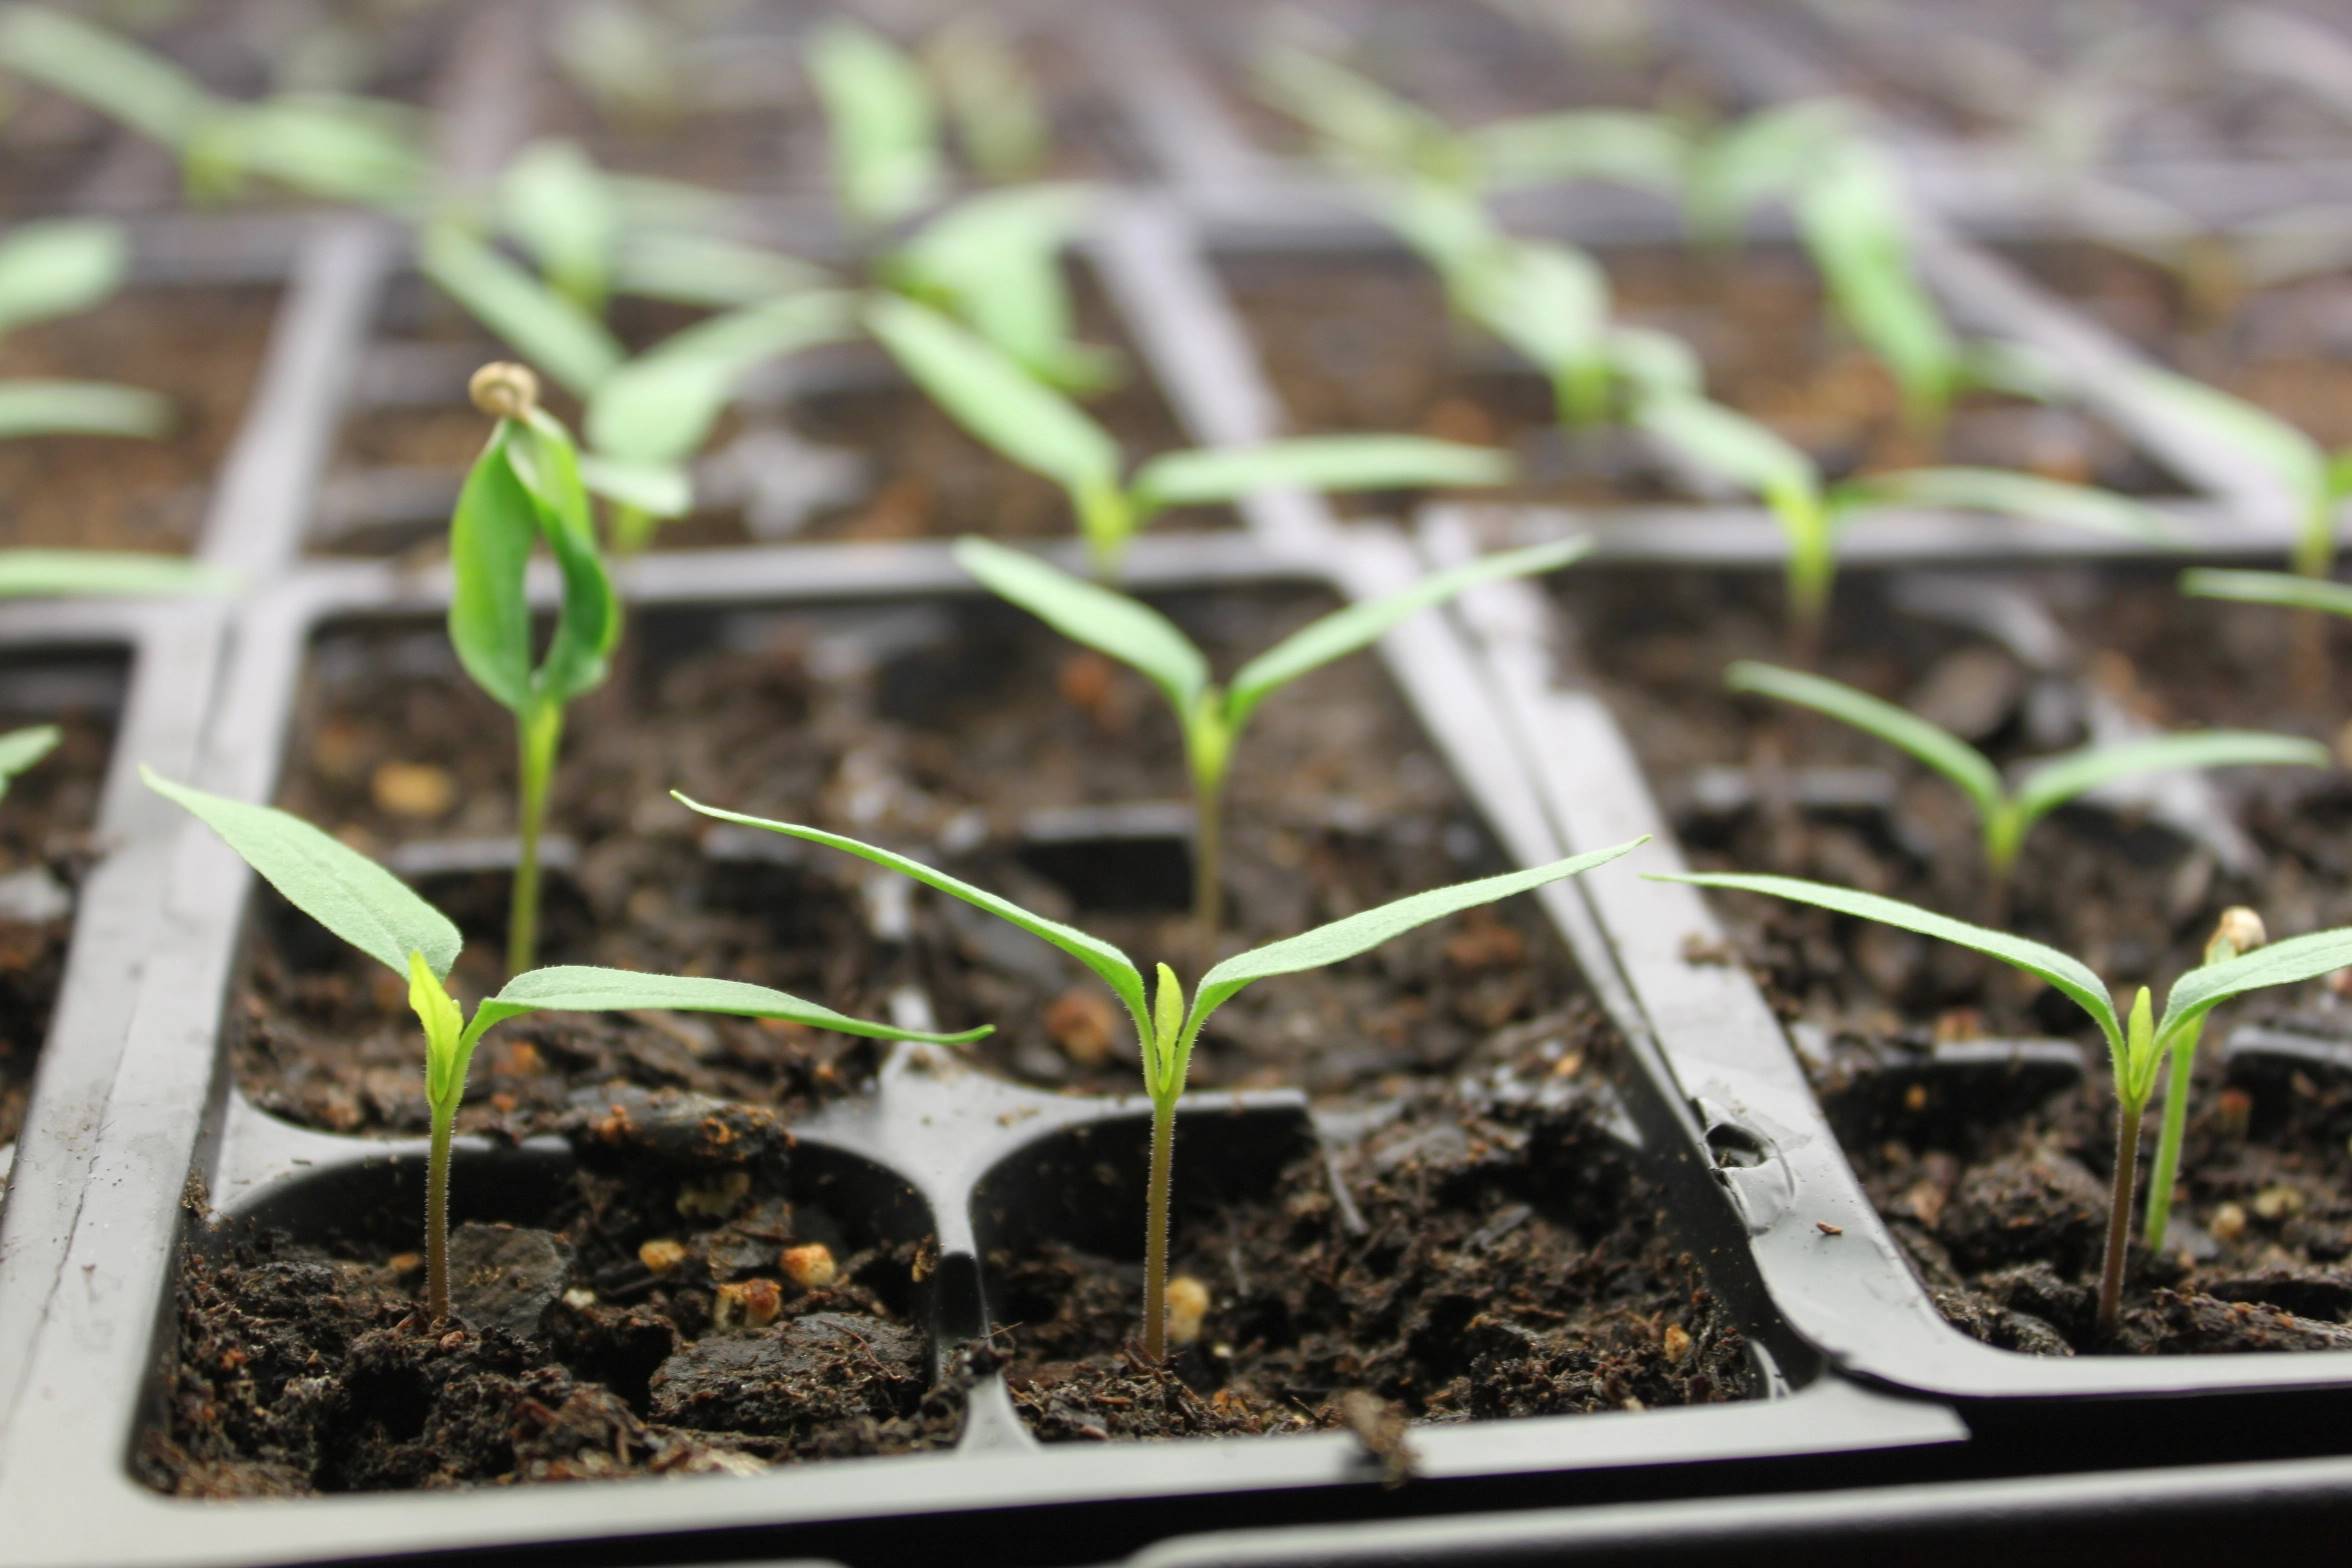
Step 4: Providing Optimal Growing Conditions
Giving your lavender seeds the best possible growing conditions is crucial for their successful germination and healthy growth. Here are the key factors to consider:
- Light: Lavender seeds require bright light for germination. Place the seed trays or pots in a sunny windowsill where they can receive at least 6-8 hours of direct sunlight daily. If you don’t have access to sufficient natural light, consider using fluorescent grow lights to provide the necessary brightness.
- Temperature: Lavender seeds prefer warm temperatures for germination, ideally between 70 to 80°F (21-27°C). Ensure that the growing area maintains a consistent temperature within this range, as fluctuations can delay or inhibit germination. Using a seedling heat mat can help provide the necessary warmth.
- Moisture: It’s important to keep the soil consistently moist during the germination period. Mist the soil surface daily to maintain adequate moisture levels, but be cautious not to overwater and saturate the soil. The plastic wrap or propagation dome will help retain moisture.
- Air circulation: Good air circulation is vital for preventing the growth of mold or fungal diseases. If using a plastic wrap or propagation dome, make sure to remove it periodically to allow fresh air to circulate around the seedlings.
- Patience: Germination may take anywhere from 10 days to several weeks, depending on the variety and conditions. Be patient and resist the urge to disturb the seeds or check for germination too frequently. Trust in the process and provide the necessary care.
Monitoring the growing conditions and making necessary adjustments will ensure that your lavender seeds sprout into healthy seedlings. As the seedlings emerge and grow, continue to provide them with adequate light, warmth, and moisture to support their development.
Keep an eye out for any signs of issues such as leggy or weak seedlings, which may indicate insufficient light or overwatering. Adjust the growing conditions accordingly to address any problems that arise.
Once the lavender seedlings have developed a few sets of true leaves and are strong enough to handle, it’s time to move on to the next step: transplanting them into larger pots or your garden. We’ll explore the transplanting process in the next section.
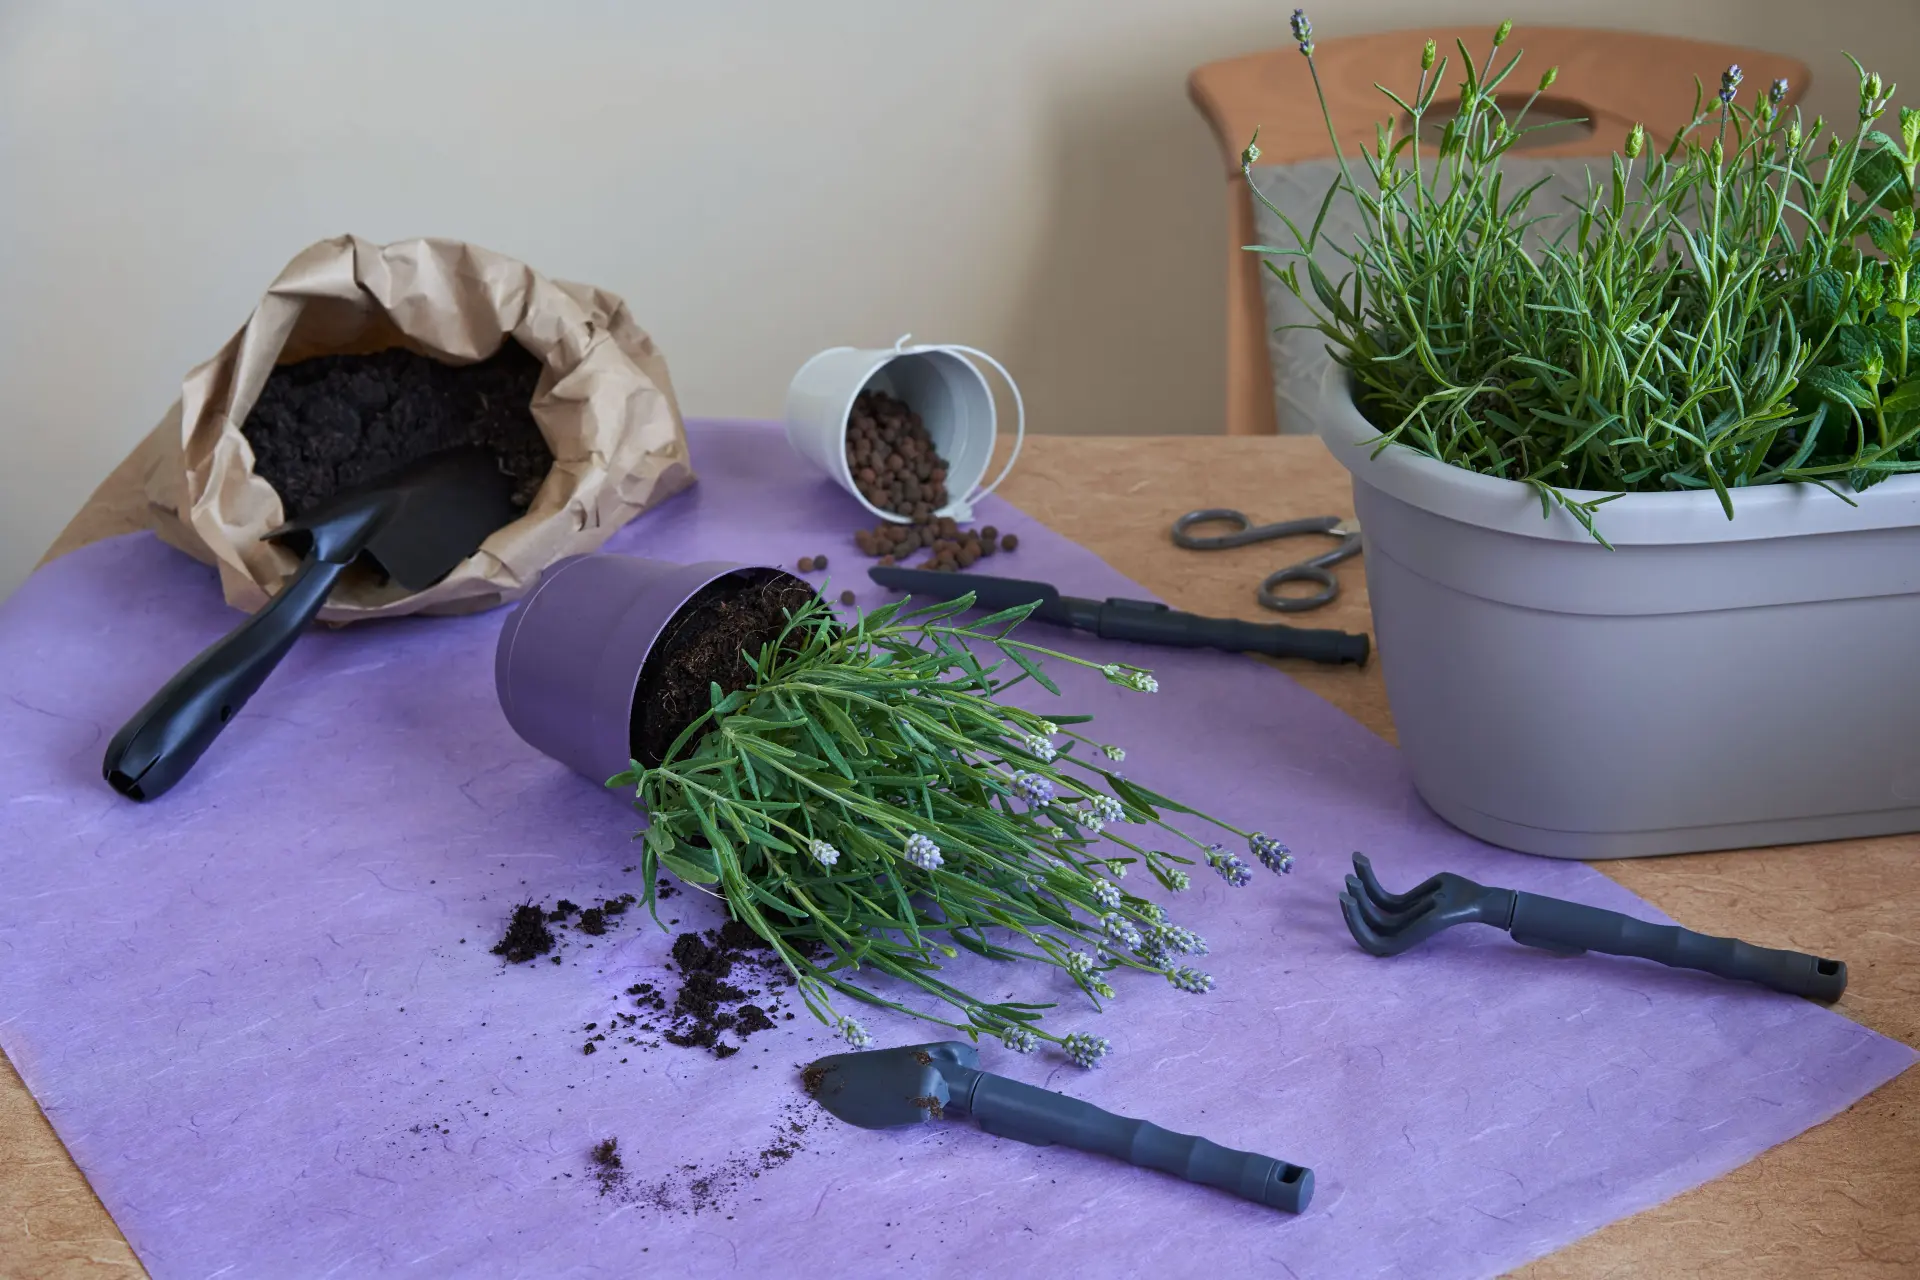
Step 5: Transplanting the Seedlings
As your lavender seedlings grow and develop, they will outgrow their initial containers and need to be transplanted into larger pots or the garden. Follow these steps to ensure a successful transplanting process:
- Timing: Wait until the lavender seedlings have grown at least 2-3 sets of true leaves before transplanting. This ensures that they are strong and established enough to handle the transition.
- Prepare the new containers or planting area: If transplanting to larger pots, choose containers that are at least 4-6 inches deep and have drainage holes. Fill the pots with well-draining potting mix. If transplanting to the garden, make sure the soil has been prepared as per Step 2.
- Water the seedlings: Before transplanting, water the seedlings thoroughly to ensure they are well-hydrated and the soil is moist. This will help reduce stress during the transplantation process.
- Loosen the seedlings: Gently loosen the soil around the base of each seedling to help ease them out without damaging the roots. Use a small garden trowel or your fingers to carefully lift the seedlings from their original containers.
- Plant the seedlings: Dig a hole in the new container or garden bed that is slightly larger than the root ball of each seedling. Carefully place each seedling in the hole, making sure not to bury the stem too deep. The top of the root ball should be level with the soil surface.
- Backfill and firm the soil: Fill the gaps around each seedling with soil, gently pressing it down to ensure good soil-to-root contact. Avoid compacting the soil too much, as lavender prefers loose soil for optimal root growth.
- Provide water: After transplanting, water the seedlings thoroughly. This helps settle the soil around the roots and provides essential hydration.
- Protect the seedlings: If transplanting to the garden, consider placing a protective barrier, such as a cloche or row cover, over the seedlings for the first few weeks. This helps protect them from harsh weather conditions and pests.
After transplanting, continue to provide the seedlings with the right growing conditions – ample sunlight, proper watering, and good air circulation. Monitor their progress and make any necessary adjustments to ensure their continued growth and establishment.
With proper transplantation, your lavender seedlings will adapt to their new environment and continue to flourish. In the next step, we will explore how to care for your lavender plants as they mature.
Step 6: Caring for Lavender Plants
Once your lavender plants are established, it’s important to provide them with the proper care to ensure their health and vitality. Follow these guidelines to keep your lavender plants thriving:
- Watering: Lavender plants are drought-tolerant and prefer dry conditions. Water them sparingly, allowing the soil to dry out between waterings. Overwatering can lead to root rot and other problems, so it’s better to underwater than overwater.
- Sunlight: Lavender plants love sunlight and require at least 6-8 hours of direct sunlight daily. Ensure they are placed in a sunny spot within your garden to promote healthy growth and blooming.
- Soil: Lavender thrives in well-draining soil with a slightly alkaline pH. Avoid heavy clay soils that retain too much moisture. Incorporate organic matter like compost into the soil to improve its structure and drainage capabilities.
- Pruning: Pruning is essential for maintaining the shape and health of lavender plants. In early spring, after the danger of frost has passed, trim back the plants by about one-third of their height. This helps promote bushy growth and encourages more flowers.
- Fertilizing: Lavender plants are relatively low maintenance and do not require excessive fertilization. In fact, too much fertilizer can lead to lush, leggy growth and reduce flower production. If needed, apply a slow-release fertilizer sparingly in early spring.
- Pest control: Lavender plants are generally resistant to pests and diseases. However, keep an eye out for common issues such as aphids and spider mites. If necessary, use organic insecticidal soap or neem oil to control pests.
- Mulching: Apply a layer of organic mulch around the base of lavender plants to help retain moisture and suppress weed growth. Use materials such as straw, bark chips, or compost, ensuring that the mulch does not come into direct contact with the plant stems.
- Winter protection: In cold climates, provide winter protection for your lavender plants. Apply a layer of mulch around the base of the plants to insulate the roots. You can also cover the plants with burlap or a plant cover to protect them from freezing temperatures and excessive moisture.
By caring for your lavender plants with attentiveness and following these guidelines, you will ensure their long-term health and productivity. Lavender’s fragrant blooms and vibrant foliage will bring beauty and a touch of tranquility to your garden.
Now that you have learned how to care for lavender plants, let’s move on to the final step: harvesting the beautiful lavender flowers.
Step 7: Harvesting Lavender Flowers
The time has come to indulge in the rewards of your hard work and enjoy the delightful fragrance of freshly harvested lavender flowers. Follow these steps to ensure a successful and satisfying lavender harvest:
- Timing: The best time to harvest lavender flowers is when the buds have just started to open and show color but before they are fully open. This is when the flowers are at their peak fragrance and oil content.
- Choose a dry day: Select a sunny and dry day to harvest lavender. Avoid harvesting when the plants are wet, as this can promote the growth of mold or lead to the loss of essential oils.
- Use sharp scissors or pruners: Equip yourself with clean and sharp scissors or pruners. This will ensure a clean cut and prevent any damage to the plant.
- Snip the stems: Cut the lavender stems just above a set of leaves or a leaf node to encourage bushier growth. Trim the stems to your desired length depending on how you plan to use the flowers.
- Bundle the harvested lavender: Gather a small bunch of lavender stems, around 20-30 stems, and secure them together with a rubber band or twine. This will help the flowers maintain their shape and prevent them from becoming unruly during drying.
- Drying: Hang the bundled lavender upside down in a well-ventilated room or a dry, shaded area. Allow the flowers to air dry for several weeks until they are completely dry and crispy to the touch.
- Store the dried lavender: Once fully dried, remove the flowers from the stems and place them in airtight containers. Store them in a cool, dark place to preserve their fragrance and quality.
- Utilize lavender harvest: Enjoy the aromatic and versatile lavender harvest in various ways. Use dried lavender flowers in potpourri, sachets, herbal teas, homemade beauty products, culinary creations, or simply as a pleasant addition to your home decor.
Harvesting lavender flowers not only allows you to enjoy their captivating scent but also encourages the plant to produce more blooms, promoting healthier growth in the long run.
Remember to leave a portion of the lavender plant untouched to allow it to continue to grow and thrive. Regular pruning and harvesting of lavender will help maintain its shape and encourage vigorous, bushy growth year after year.
Congratulations! You have now completed the process of starting lavender seeds, nurturing the plants, and harvesting their beautiful flowers. Your journey into the enchanting world of ornamental gardening has been a success, and the joy of lavender will continue to fill your senses for seasons to come.
Conclusion
Congratulations on successfully journeying through the world of starting lavender seeds and cultivating beautiful lavender plants. By following the step-by-step guide provided in this article, you have gained the knowledge and skills necessary to grow your own fragrant oasis in the garden.
From gathering supplies and preparing the soil to sowing the seeds, providing optimal growing conditions, transplanting the seedlings, caring for the lavender plants, and finally harvesting the flowers, you have learned the ins and outs of ornamental gardening with lavender.
Remember, growing lavender from seeds requires patience, attention to detail, and a gentle touch. Lavender seeds can be finicky to germinate, but with the right techniques, care, and a little bit of luck, you will witness tiny seeds transform into vibrant and aromatic plants.
Throughout the process, don’t forget to enjoy the journey and embrace the beauty and tranquility that lavender brings to your life. Whether you’re using lavender for cooking, creating fragrant crafts, or simply enhancing the ambiance of your home, the possibilities are endless.
Continue to provide the proper care for your lavender plants, ensuring they receive adequate sunlight, well-draining soil, and just the right amount of water. Prune them regularly to maintain their shape and promote healthy growth.
As with any gardening endeavor, there may be challenges along the way, but with patience, perseverance, and a little experimentation, you’ll overcome them and enjoy the rewards of a thriving lavender garden.
Now, armed with your newfound knowledge of starting lavender seeds, it’s time to put your skills to the test and dive into the world of ornamental gardening. Grab your gardening tools, get your hands dirty, and watch your lavender garden flourish and bloom with beauty and scent.
Happy gardening, and may your lavender plants bring you years of joy and serenity!