Home>Types of Gardening>Edible Gardening>How To Start Peach Seeds

Edible Gardening
How To Start Peach Seeds
Modified: January 22, 2024
Learn how to start peach seeds and grow your own edible garden. Discover step-by-step methods and tips for successful seed germination.
(Many of the links in this article redirect to a specific reviewed product. Your purchase of these products through affiliate links helps to generate commission for Chicagolandgardening.com, at no extra cost. Learn more)
Table of Contents
Introduction
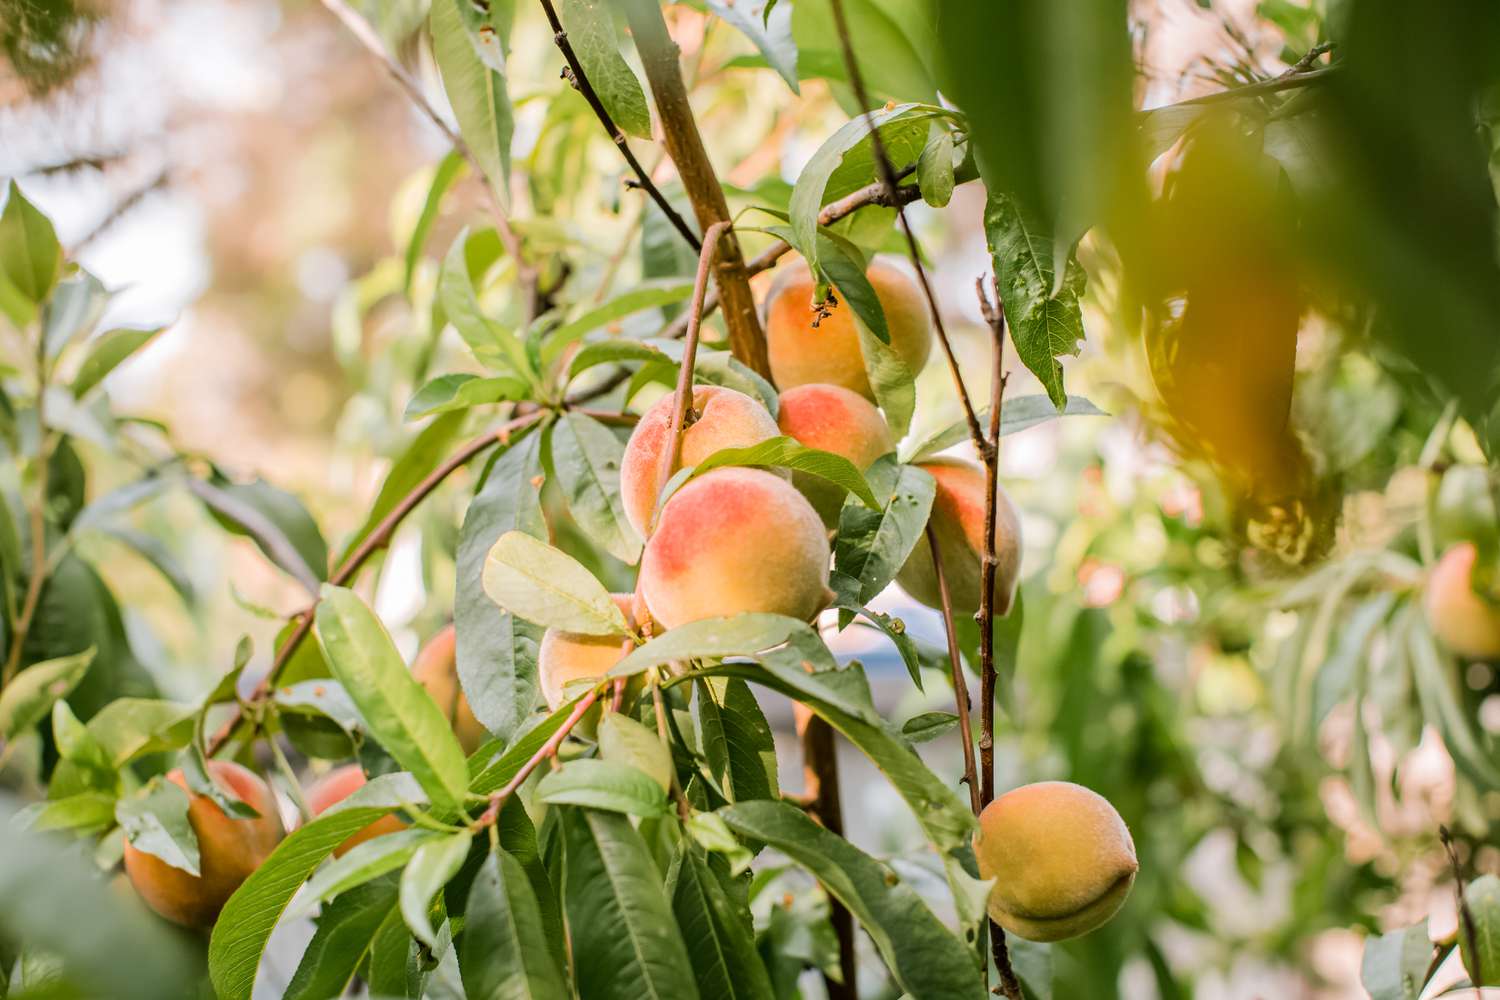
Welcome to the exciting world of edible gardening! If you’ve ever dreamed of plucking juicy peaches straight from your own backyard, then growing peach trees from seeds is the perfect project for you. Not only is it a great way to save money on buying seedlings, but it also allows you to have a deeper connection with your plants, starting right from their humble beginnings as seeds.
Growing peach trees from seeds is a rewarding experience, but it requires patience and dedication. Unlike some other fruit trees, peach seeds need a process called stratification, which mimics the natural winter conditions they would experience in order to germinate successfully. By following a few simple steps, you can increase your chances of successfully germinating peach seeds and nurturing them into healthy seedlings.
In this article, we will guide you through the process of starting peach seeds, from gathering the materials to transplanting seedlings into your garden. So, let’s roll up our sleeves and get ready to embark on this fruitful adventure!
Before we dive into the details, it’s important to note that growing peach trees from seeds may not produce the same quality of fruit as the parent tree. Peach trees are commonly grafted onto rootstock to preserve desirable attributes, such as fruit size, taste, and disease resistance. However, growing peaches from seeds can still be a fun and educational experience, allowing you to observe the fascinating growth and development of these beautiful trees.
Gather the Materials
Before you start the process of growing peach seeds, it’s important to gather all the necessary materials. Having everything ready will make the entire process more efficient and enjoyable. Here are the key materials you’ll need:
- Peaches: Choose fully ripe peaches for the best chance of success. Look for peaches with firm flesh and easily removable pits.
- Paper towels or newspaper: You’ll use these to dry the peach pits and remove any excess moisture.
- Seed container: Find a container with drainage holes, such as a seed tray or small pots. Ensure it’s large enough to accommodate the peach seeds.
- Potting soil: Use a high-quality, well-draining potting mix to provide the necessary nutrients for seed germination.
- Plastic wrap or a clear plastic bag: This will help create a humid environment for the seeds during stratification.
- Watering can or spray bottle: You’ll need a way to keep the soil moist without overwatering.
- Plant markers: Labeling your containers will help you keep track of the different peach varieties you’re growing.
- Gardening gloves: These will protect your hands while handling the seeds and soil.
Once you have gathered all the necessary materials, you’re one step closer to starting your peach seed growing journey. It’s always a good idea to prepare your workspace before diving in. Clear a clean and well-lit area where you can comfortably work with the seeds and pots. Make sure to have a water source nearby for easy access.
Note that depending on your geographical location and climate, you may need to adjust the materials and techniques to suit your specific conditions. This will ensure the best chances of success in growing peach seeds into healthy and thriving seedlings.
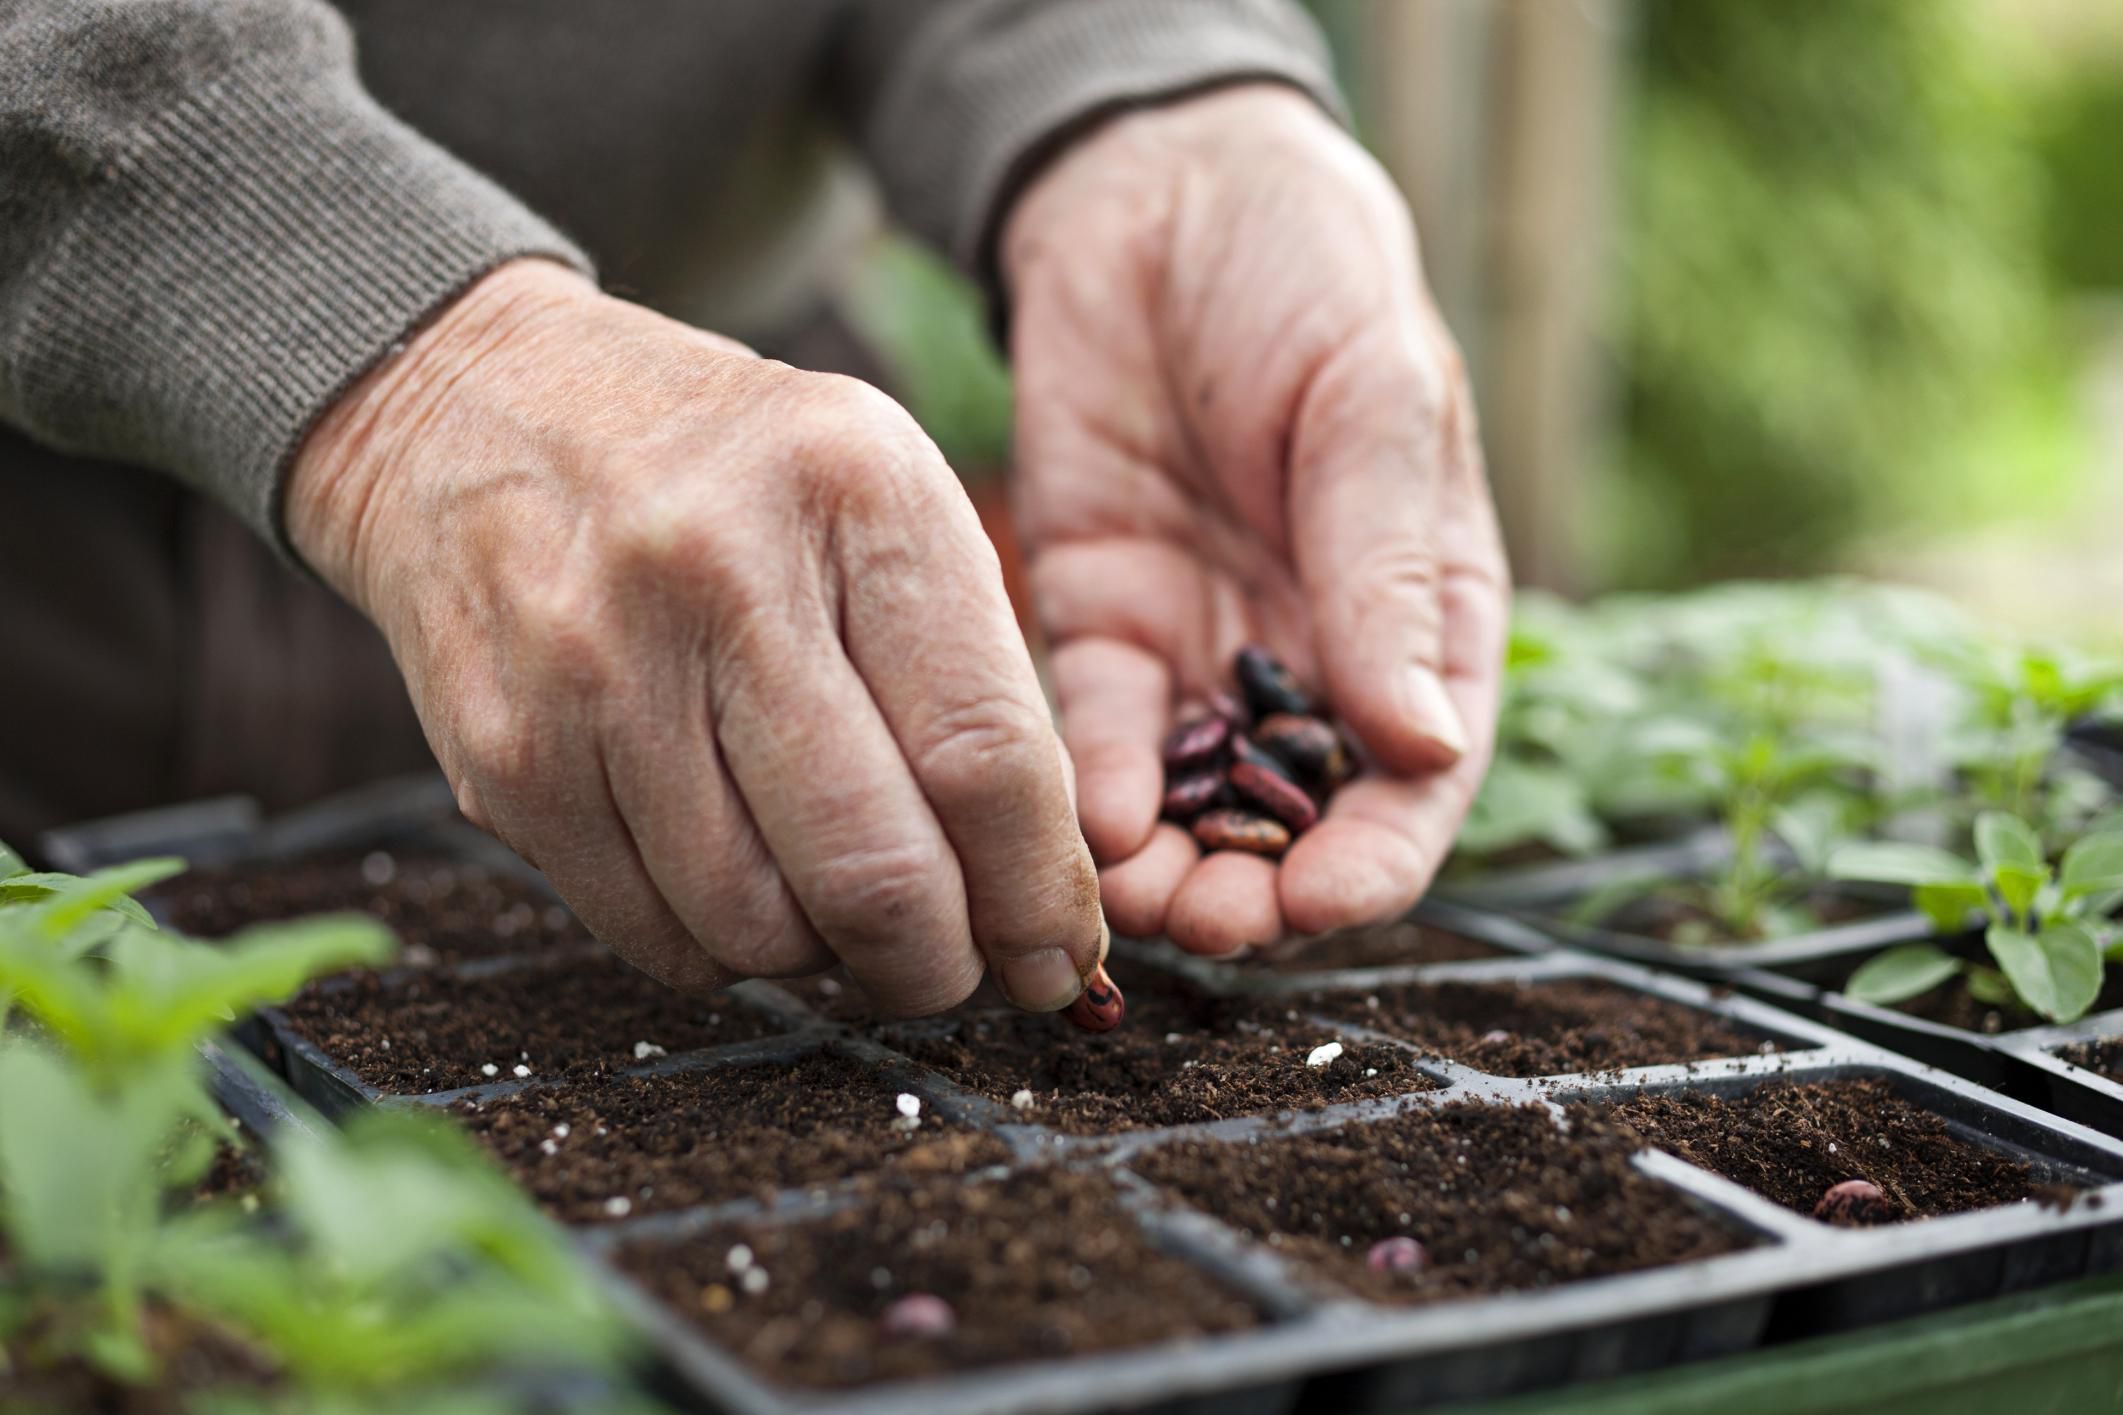
Clean and Prep the Peach Seeds
Once you have gathered your materials, it’s time to clean and prepare the peach seeds for the germination process. Cleaning the seeds helps remove any residual fruit pulp or debris, while prepping them involves preparing them for the stratification process. Below are the steps to clean and prep your peach seeds:
- Extract the seeds: Cut open the ripe peaches and carefully remove the pits. Gently pry the pits open to access the seeds inside. Avoid damaging the seeds as much as possible.
- Remove excess pulp: Rinse the peach seeds under cool water to remove any remaining pulp. Gently rub them with your fingers to remove any stubborn pulp. Be careful not to damage the seed coat.
- Dry the seeds: Place the cleaned peach seeds on a paper towel or newspaper in a well-ventilated area. Allow them to air dry for a day or two until they are completely dry. This will help prevent mold or fungal growth during stratification.
- Inspect for viability: It’s a good idea to inspect the dried peach seeds for viability. Healthy peach seeds should be plump and firm. Discard any seeds that appear shriveled or damaged, as they are less likely to germinate successfully.
- Prepare for stratification: Once the peach seeds are dry and viable, it’s time to prepare them for stratification. Moisture is key to this process, so soak the seeds in water overnight. This will help kickstart the hydration process and prepare them for stratification.
Remember to handle the peach seeds with care throughout the cleaning and prepping process. By ensuring they are clean and properly prepped, you give them the best chance of successful germination.
Now that the peach seeds are cleaned and prepped, they are ready for the next step in the process – stratification. In the following section, we will explore the importance of stratification and how to properly stratify the peach seeds to promote germination.
Stratify the Peach Seeds
Stratification is a crucial step in the process of growing peach seeds. This process mimics the natural winter conditions that peach seeds would experience in their native environment. By subjecting the seeds to a period of cold and moisture, you help break their dormancy and trigger the germination process. Here’s how to stratify your peach seeds:
- Prepare a stratification container: Choose a container with a lid or sealable plastic bag. Fill it with a moistened, well-draining medium such as peat moss or vermiculite. Alternatively, you can use dampened paper towels.
- Place the peach seeds: Arrange the soaked peach seeds on top of the moistened medium, spacing them out to allow for airflow. Make sure not to bury the seeds too deep; they should be partially exposed.
- Seal the container: If using a plastic bag, seal it to create a humid environment for the seeds. If using a container with a lid, ensure it is airtight to retain moisture.
- Store in a cold location: Place the stratification container in a cool location, such as a refrigerator or unheated garage. The ideal temperature range for stratification is between 32°F (0°C) and 45°F (7°C). Avoid freezing the seeds, as this may damage them.
- Monitor moisture levels: Check the moisture levels periodically and ensure that the medium remains damp but not saturated. Avoid overwatering, as excessive moisture can lead to rotting or fungal issues.
- Stratification duration: The stratification period for peach seeds typically ranges from 60 to 90 days. However, some varieties may require longer or shorter periods, so it’s important to research the specific requirements of the peach variety you are growing.
During the stratification process, the cold temperature combined with the moisture breaks down the seed coat and prepares the embryo for germination. This process simulates the natural conditions peach seeds would encounter during winter dormancy, ensuring a higher germination success rate.
After the stratification period is complete, it’s time to move on to the next step: planting the stratified peach seeds. We will explore the planting process in detail in the following section.
Planting the Peach Seeds
Now that the peach seeds have undergone the stratification process and are ready for planting, it’s time to give them a new home in the soil. Follow these steps to ensure successful planting and germination:
- Select a suitable planting location: Choose a sunny spot in your garden with well-draining soil. Peach trees thrive in full sun, so ensure they will receive at least 6-8 hours of direct sunlight daily.
- Prepare the planting area: Clear any weeds or vegetation from the planting area. Loosen the soil using a garden fork or tiller to improve its texture and promote healthy root growth.
- Plant the peach seeds: Dig a hole in the prepared soil, deep enough to accommodate the seed and its surrounding medium. Place the stratified seed into the hole, gently covering it with soil while leaving the top exposed.
- Water thoroughly: Give the newly planted seeds a thorough watering to settle the soil and provide the necessary moisture for germination. Aim to keep the soil consistently moist, but not waterlogged, throughout the germination period.
- Label and protect: Use plant markers to label the planting area and indicate the variety of peach seeds you have planted. This will help you keep track as they grow. Consider using protective measures such as wire mesh or snail repellents to safeguard the young seedlings from pests.
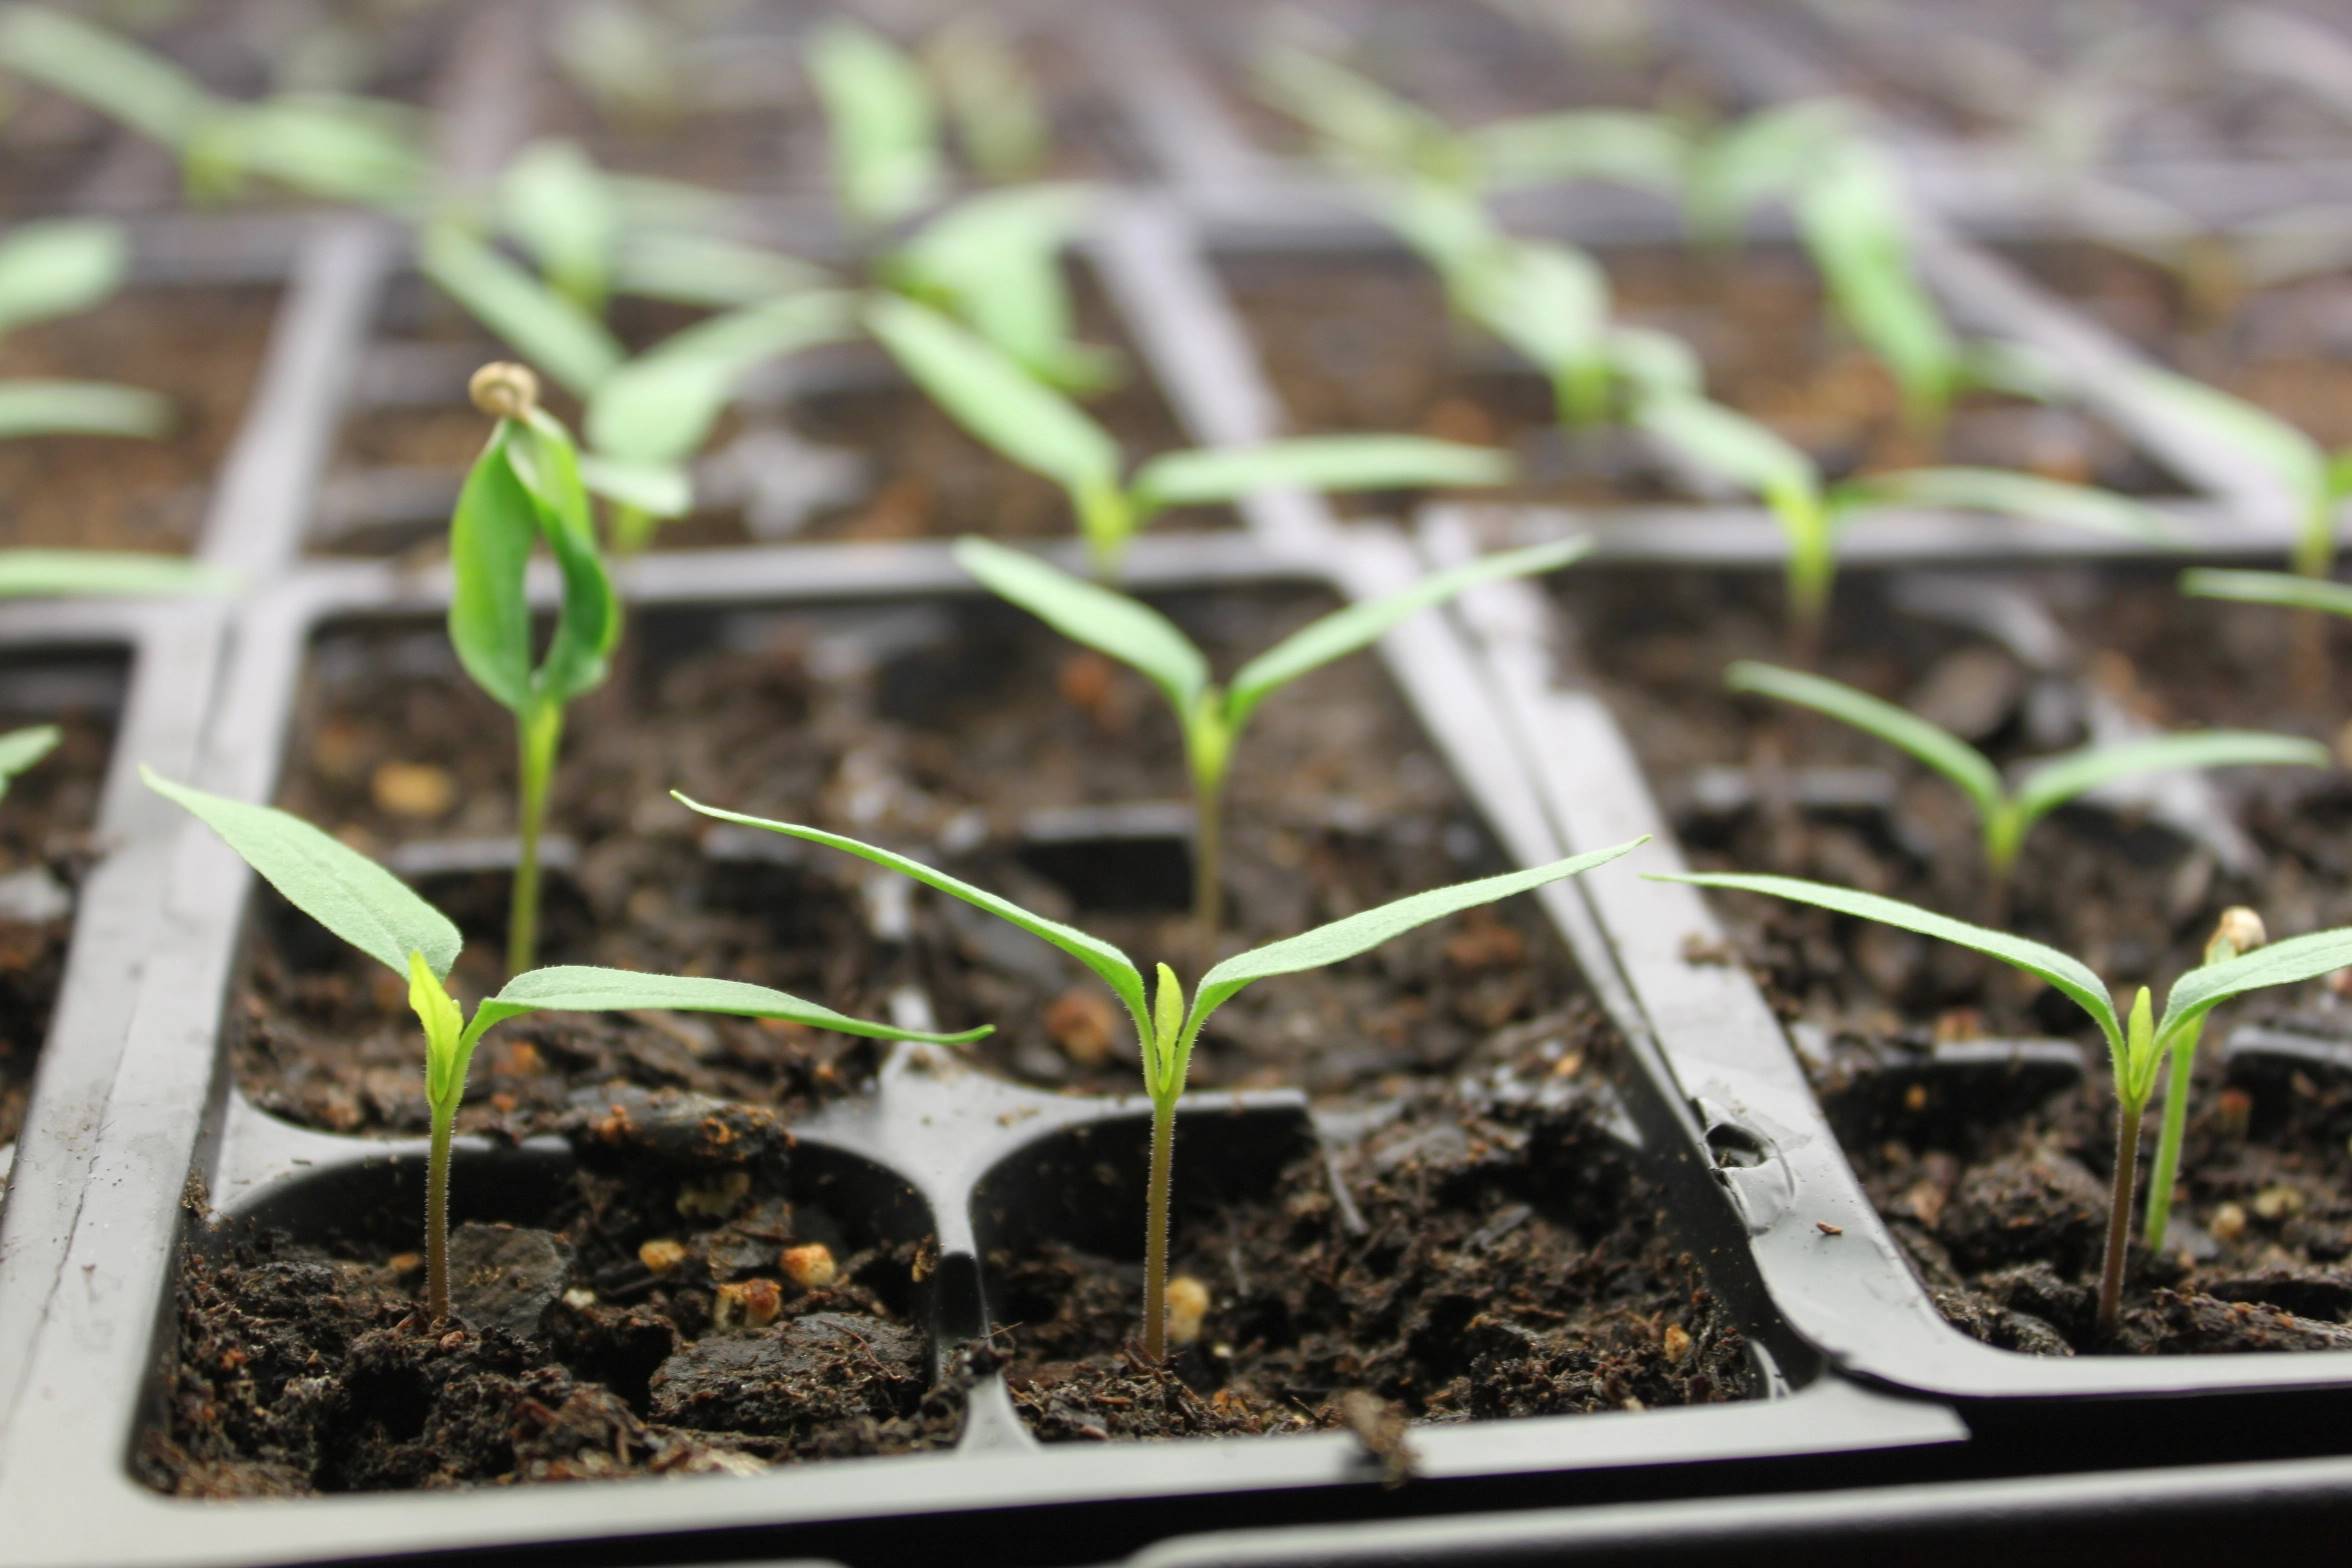
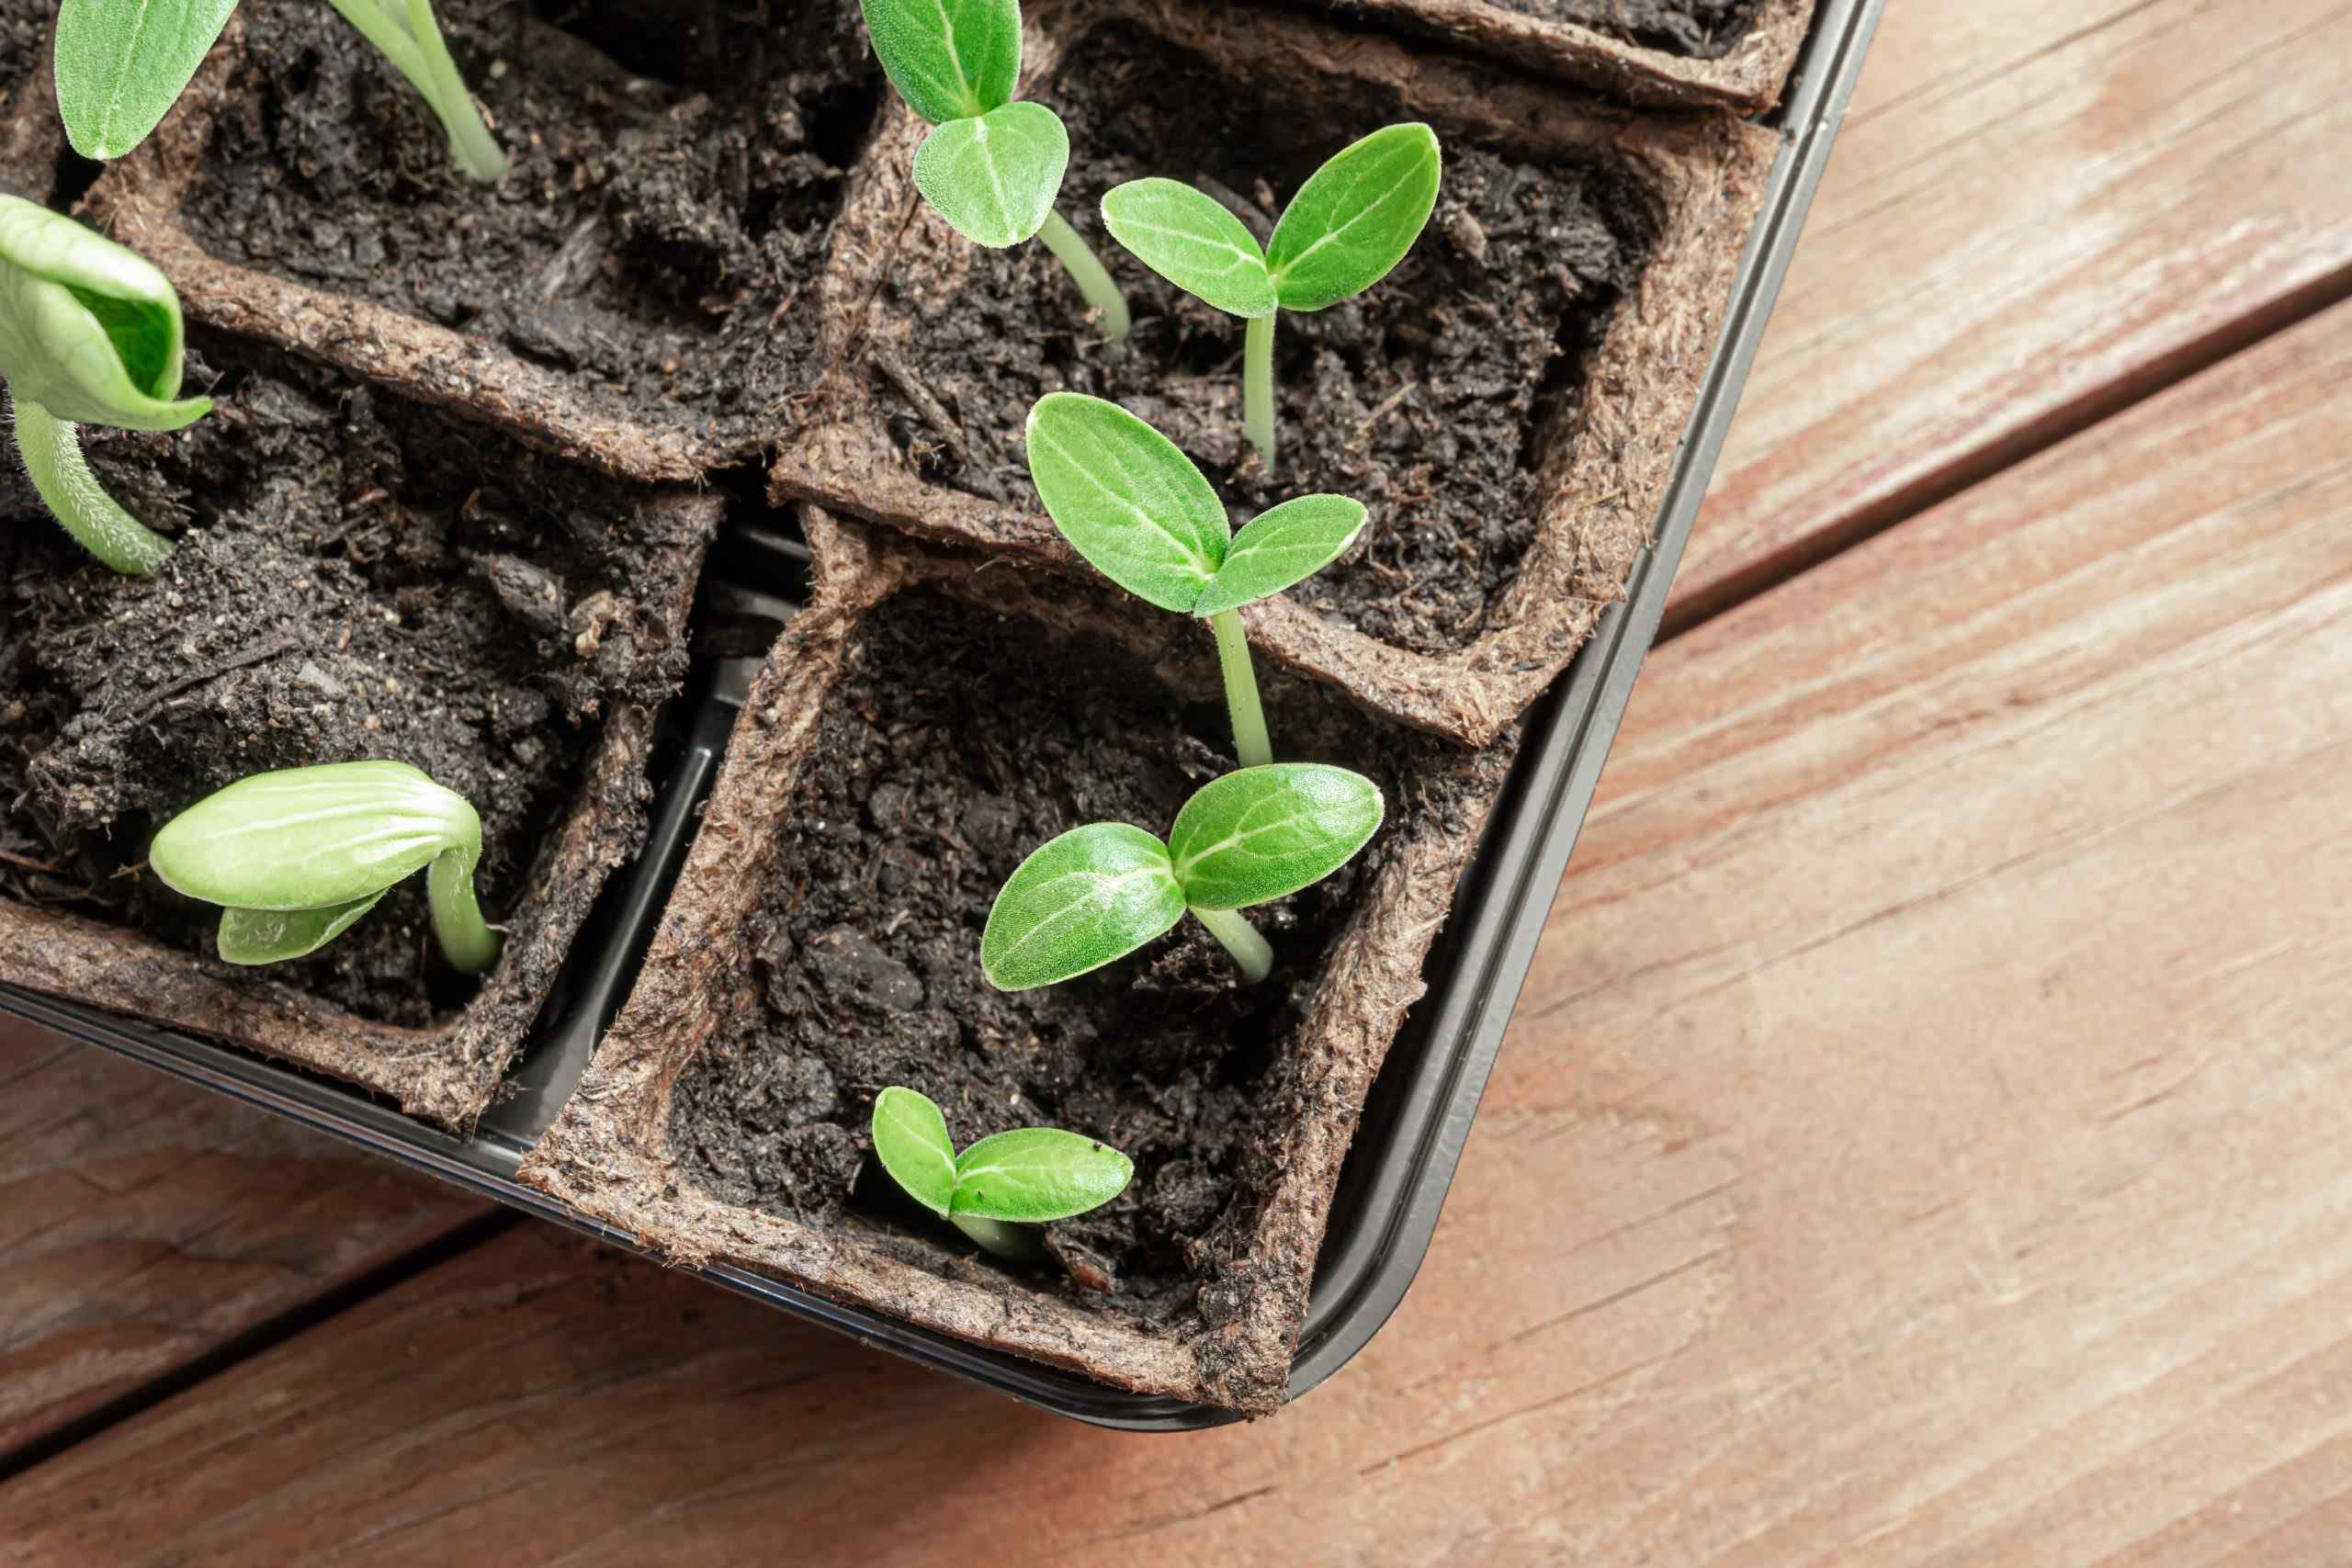
- Monitor and care for the seedlings: Keep a close eye on the seedlings as they emerge. Ensure they receive sufficient water and monitor for any signs of disease or pest infestation. Regularly check the soil moisture level and adjust watering as needed.
As the peach seedlings begin to grow, it’s crucial to provide them with proper care and attention. Maintain a consistent watering schedule, ensuring the soil doesn’t dry out completely between waterings. Fertilize the seedlings with a balanced, organic fertilizer to provide essential nutrients for healthy growth.
Keep in mind that not all planted peach seeds will successfully germinate. The germination rate can vary depending on the quality of the seed and environmental conditions. Patience is key during this phase, as it can take several weeks for the seedlings to emerge. Be prepared to thin out weaker seedlings or transplant them if they become overcrowded.
With proper planting and care, your peach seedlings will begin to thrive and grow into young peach trees. In the next section, we will explore the essential watering and care practices to ensure their healthy development.
Watering and Care for Peach Seedlings
Proper watering and care are crucial for the healthy development of peach seedlings. By providing the right amount of water and implementing essential care practices, you can ensure that your peach seedlings thrive and grow into strong, productive trees. Here are some important guidelines to follow:
- Watering: Peach seedlings require consistent moisture to establish their root systems. Water deeply, ensuring that the soil is evenly moist but not waterlogged. Avoid overwatering, as excessive moisture can lead to root rot and other issues. Adjust the watering frequency based on weather conditions and the moisture level of the soil.
- Mulching: Apply a layer of organic mulch, such as wood chips or straw, around the base of the seedlings. Mulching helps conserve moisture, suppress weeds, and regulate soil temperature. It also adds nutrients to the soil as it breaks down over time.
- Weed control: Regularly remove weeds from around the peach seedlings, as they compete for nutrients and water. Be careful when weeding to avoid damaging the shallow roots of the seedlings.
- Thin out overcrowded seedlings: If your peach seedlings are planted too closely together, thin out the weaker or less vigorous ones to provide adequate space for the remaining seedlings to grow. This allows them to access sufficient sunlight and nutrients.
- Fertilization: Apply a balanced fertilizer formulated for fruit trees to provide essential nutrients. Follow the manufacturer’s instructions for application rates and timings. Be cautious not to over-fertilize, as this can harm the seedlings.
- Pest and disease monitoring: Regularly inspect your peach seedlings for signs of pests, such as aphids or caterpillars, and common diseases like leaf curl or brown rot. Take appropriate measures, such as using organic pest control methods or applying fungicides when necessary, to prevent or manage any pest or disease issues.
- Pruning: Once your peach seedlings have established a strong root system and started to grow, you can begin lightly pruning them to shape their form and promote optimal branching. Avoid heavy pruning during the first year to allow the tree to develop and gain strength.
Remember to observe and respond to the specific needs of your peach seedlings based on their growth and environmental conditions. Regularly monitor and adjust your care practices as necessary to ensure the best possible growth and health for the seedlings.
By providing proper watering, implementing essential care practices, and addressing any pests or diseases promptly, you can give your peach seedlings the best chance of developing into strong and productive trees.
In the next section, we will explore the process of transplanting the peach seedlings from their containers into the garden, allowing them to continue their growth and development.
Transplanting Peach Seedlings
Transplanting peach seedlings from their containers to the garden is an exciting and crucial step in their growth journey. This process allows them to establish their roots in the ground, providing them with the space and resources they need for healthy development. Follow these steps to ensure successful transplanting of your peach seedlings:
- Choose the right time: The ideal time to transplant peach seedlings is during the dormant season in late winter or early spring, before the buds start to swell. This allows the seedlings to adjust to their new environment before the active growing season begins.
- Prepare the planting hole: Dig a hole in the garden that is wide and deep enough to accommodate the entire root ball of the peach seedling. Loosen the soil in the hole to encourage the roots to grow outward.
- Remove the seedling from the container: Gently tap or squeeze the sides of the container to loosen the root ball. Carefully lift the seedling out, holding it by the base of the stem or the root ball. Avoid pulling on the delicate stem.
- Place the seedling in the hole: Lower the root ball of the peach seedling into the planting hole, ensuring that it sits at the same level as it was in the container. Backfill the hole with soil, gently firming it around the roots to eliminate air pockets.
- Water thoroughly: After transplanting, give the seedling a thorough watering to settle the soil and provide moisture for the roots. Continue to water regularly, keeping the soil consistently moist, throughout the establishment period.
- Stake if necessary: If the peach seedling is tall or weak, consider staking it to provide support. Insert a stake into the ground near the seedling and tie it loosely with a soft twine or plant tie, being careful not to damage the stem.
- Apply mulch: Apply a layer of organic mulch around the base of the seedling, leaving a small gap around the stem to prevent moisture buildup and rot. The mulch will help conserve moisture, reduce weed competition, and regulate soil temperature.
After transplanting, closely monitor the peach seedlings for signs of stress or shock, such as wilting leaves or slowed growth. Provide extra care during the initial weeks to ensure their successful establishment. Avoid fertilizing newly transplanted seedlings for the first few months to prevent fertilizer burn and give them time to settle into their new environment.
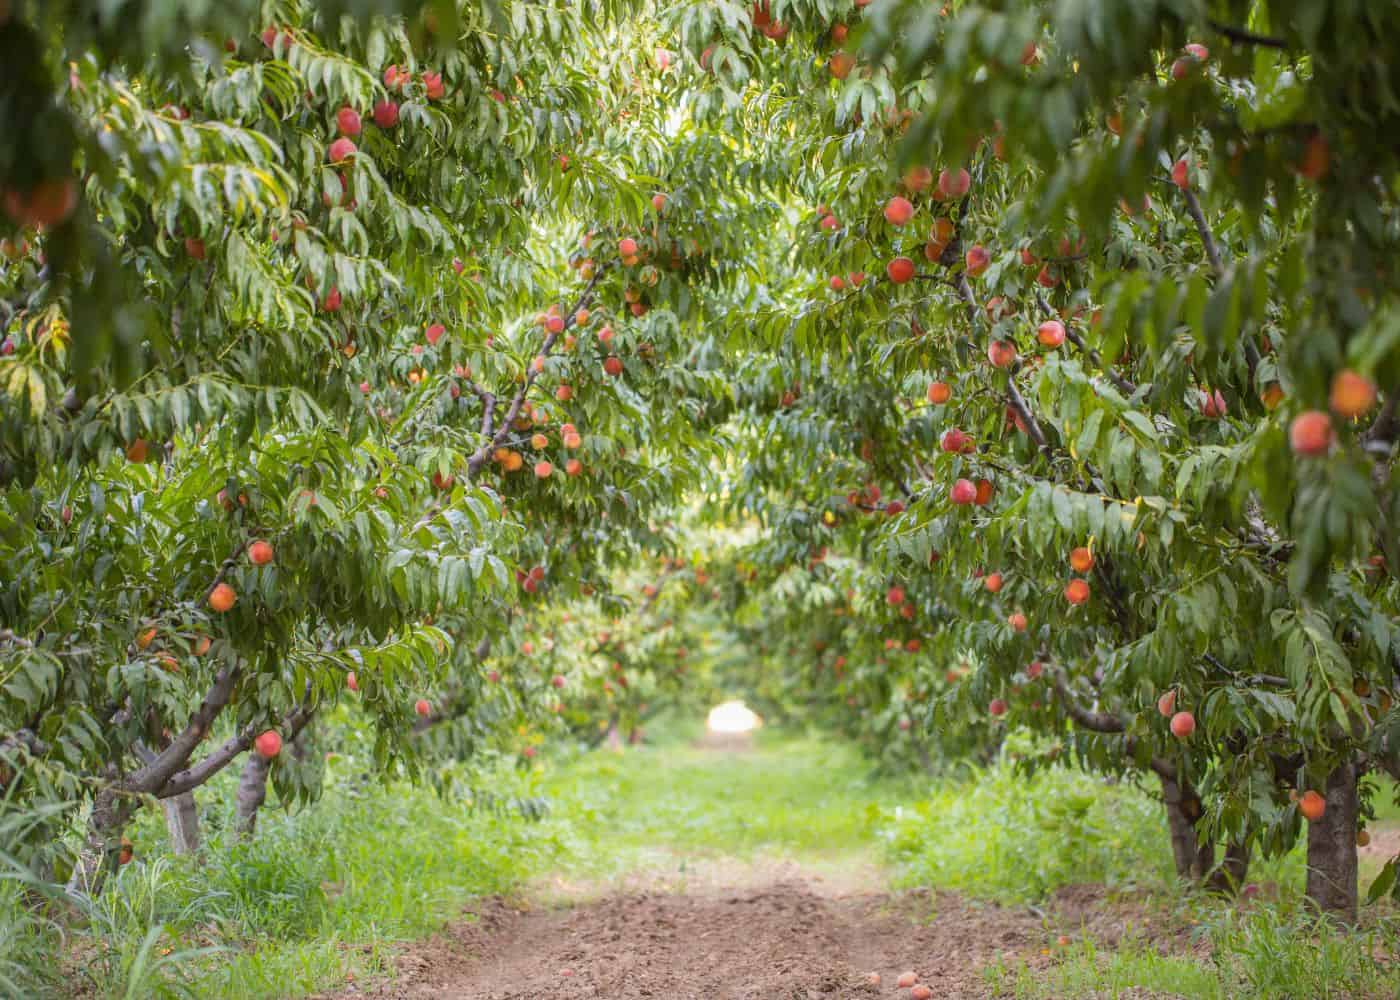
Continue to care for the transplanted peach seedlings by providing regular waterings, monitoring for pests and diseases, and following proper pruning and fertilization practices. With time and proper care, your peach seedlings will continue to grow into strong, productive trees, rewarding you with delicious fruit.
Now that you’ve successfully transplanted your peach seedlings, you can sit back, watch them flourish, and eagerly anticipate the enjoyment of homegrown peaches in the near future.
Conclusion
Congratulations on embarking on the journey of growing peach trees from seeds! It’s a fulfilling experience that allows you to witness the incredible transformation of a tiny seed into a flourishing tree. While growing peaches from seeds may not guarantee the same quality and characteristics as grafted trees, it offers a unique opportunity to learn, experiment, and appreciate the wonders of nature.
Throughout this article, we discussed the essential steps involved in starting peach seeds, from gathering the materials to transplanting the seedlings into the garden. We learned about cleaning and prepping the seeds, stratifying them to break dormancy, planting them in suitable soil, and caring for the young seedlings.
However, remember that growing peach trees from seeds requires patience, as germination rates can vary, and the process takes time. Not every seed may successfully sprout, but even a single successful seedling can bring immense joy and satisfaction.
As your peach seedlings grow, pay attention to their watering needs, provide essential care, and protect them from pests and diseases. Regular monitoring and adjustments will ensure their healthy development and increase the chances of a bountiful harvest in the future.
While growing peaches from seeds may take longer than purchasing established seedlings, it offers a personal connection with your plants and a deeper understanding of their lifecycle. It’s a journey filled with learning, experimentation, and excitement.
Remember to be patient, stay dedicated, and enjoy every stage of the process. With your care and perseverance, those tiny peach seeds will transform into beautiful, fruit-bearing trees, filling your garden with their sweet aroma and providing you with the delicious taste of homegrown peaches.
So, grab your gardening gloves, gather your materials, and let the journey of growing peach trees from seeds begin. Happy gardening!