Home>Types of Gardening>Ornamental Gardening>How To Plant Wisteria Seeds
Ornamental Gardening
How To Plant Wisteria Seeds
Published: September 15, 2023
Learn the art of ornamental gardening with our expert guide on how to plant wisteria seeds. Enhance your garden with beautiful wisteria flowers.
(Many of the links in this article redirect to a specific reviewed product. Your purchase of these products through affiliate links helps to generate commission for Chicagolandgardening.com, at no extra cost. Learn more)
Table of Contents
- Introduction
- Step 1: Choosing the Right Seeds
- Step 2: Preparing the Soil
- Step 3: Soaking the Seeds
- Step 4: Planting the Seeds
- Step 5: Providing the Ideal Conditions
- Step 6: Caring for the Seedlings
- Step 7: Transplanting the Seedlings
- Step 8: Supporting the Growing Plant
- Step 9: Pruning and Maintenance
- Step 10: Enjoying the Blooming Wisteria
- Conclusion
Introduction
Welcome to the world of ornamental gardening! If you’re looking to add a touch of elegance and charm to your outdoor space, planting wisteria seeds is an excellent choice. Wisteria, with its cascading clusters of beautiful blooms, is a stunning addition to any garden or landscape.
In this article, we will guide you through the process of planting wisteria seeds, from choosing the right seeds to caring for the seedlings until they develop into thriving plants. Whether you’re a seasoned gardener or a beginner, this step-by-step guide will provide you with the knowledge and confidence to successfully grow your own wisteria.
Wisteria seeds are the perfect way to cultivate your own plants, as they offer a unique opportunity to witness the growth and development from the very beginning. By following these guidelines and providing the ideal conditions, you’ll be rewarded with a mesmerizing display of vibrant flowers that will be the envy of your neighbors.
So, let’s get started on this exciting journey of planting wisteria seeds and watching them bloom into a breathtaking ornamental masterpiece!
Step 1: Choosing the Right Seeds
When it comes to planting wisteria, selecting the right seeds is the first crucial step. The quality of the seeds will directly impact the growth and success of your plants. Follow these tips to ensure you choose the best wisteria seeds:
- Check the variety: Wisteria plants come in different varieties, such as Chinese Wisteria (Wisteria sinensis) and Japanese Wisteria (Wisteria floribunda). Research the different types and choose the one that suits your preferences and climate conditions.
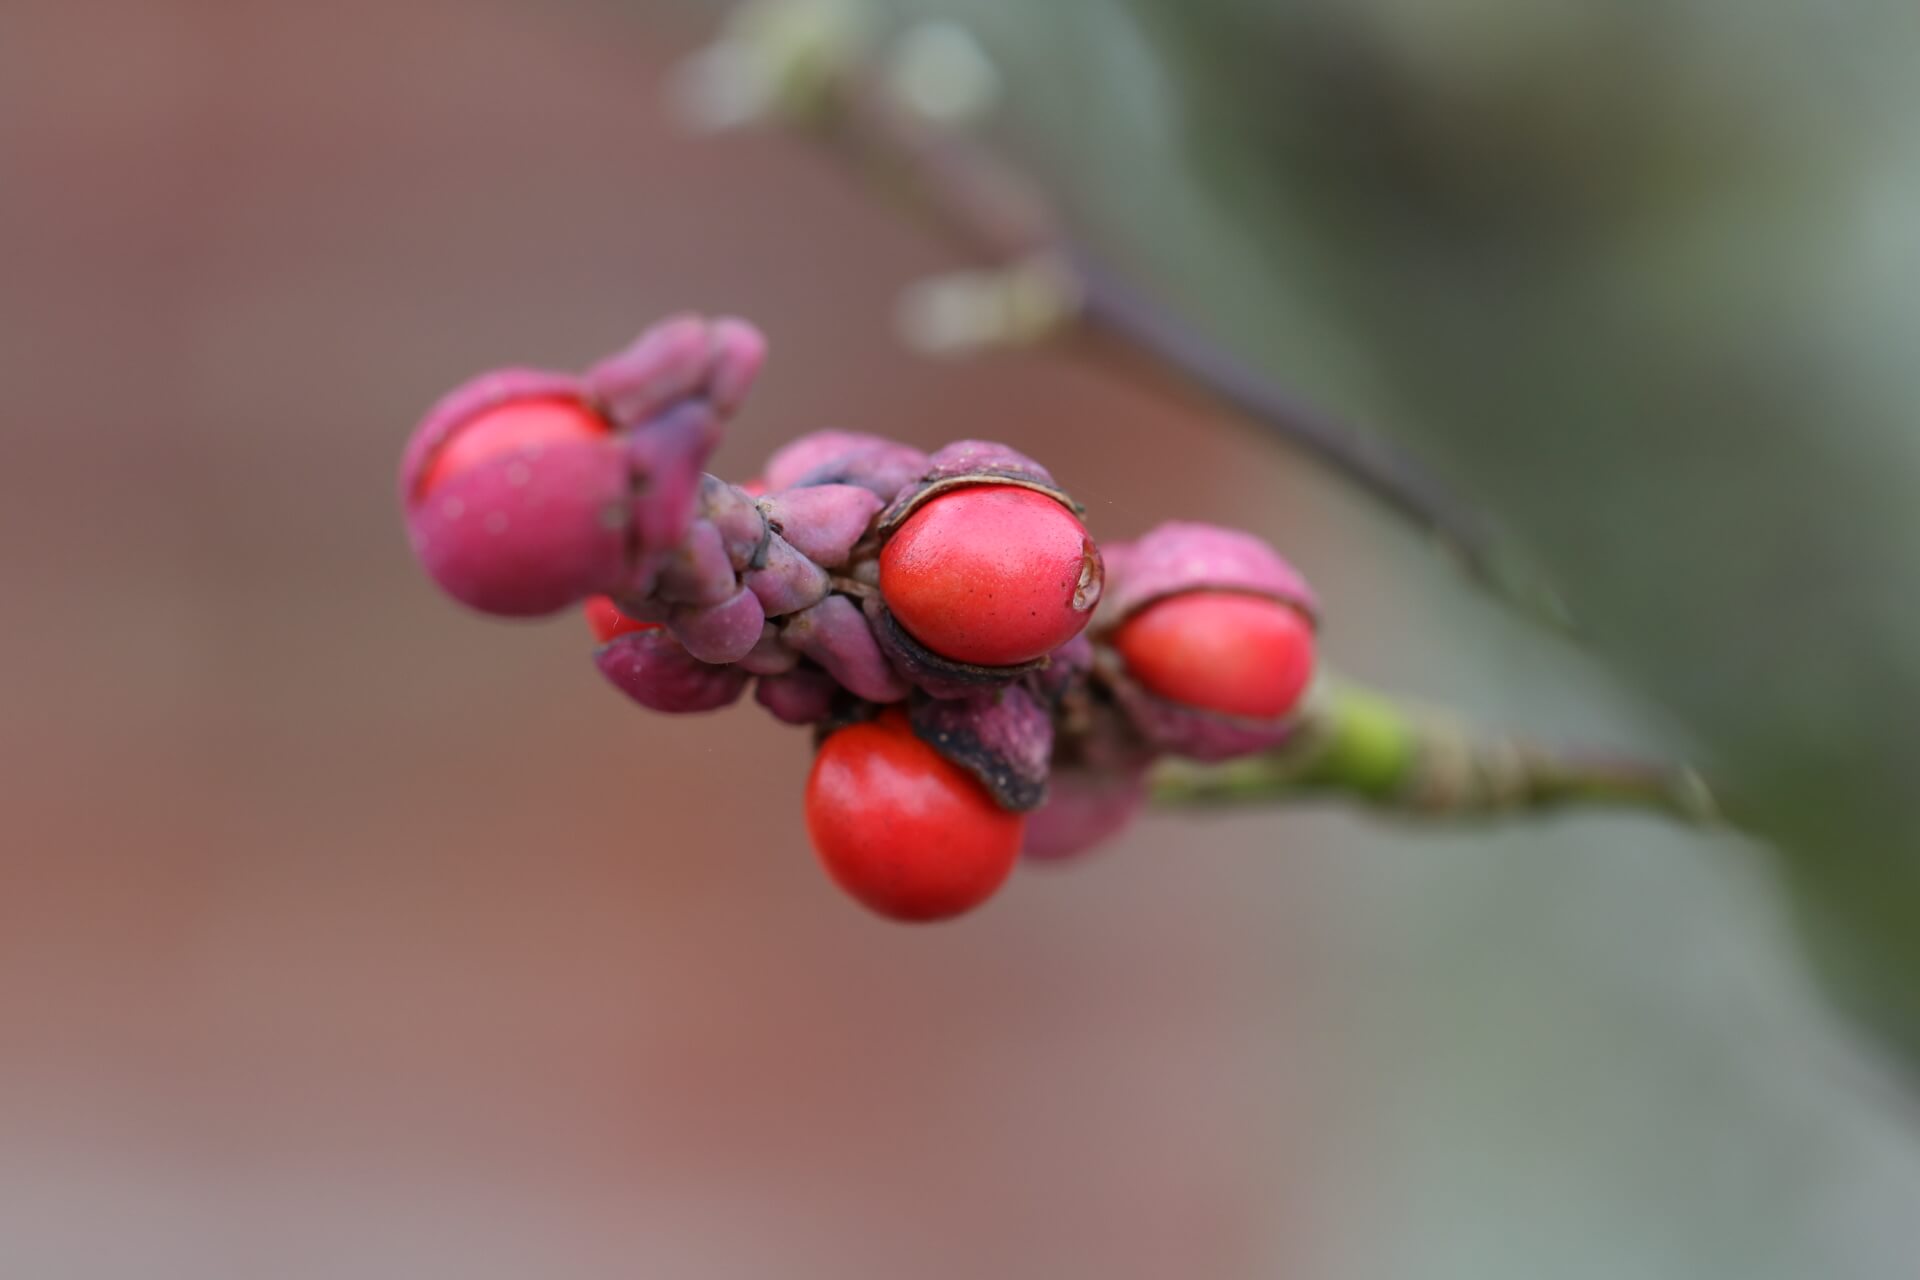
- Look for fresh seeds: It’s important to choose fresh wisteria seeds as they have a higher chance of germination. Avoid seeds that are discolored or have a damaged outer shell.
- Consider scarification: Some wisteria seeds have hard outer shells that can inhibit germination. To enhance the germination rate, you can scarify the seeds by gently nicking or filing the outer shell before planting.
- Buy from reputable sources: Purchase your wisteria seeds from reliable nurseries or seed suppliers. They are more likely to provide high-quality seeds that have been properly stored and are more likely to germinate successfully.
Once you have selected the perfect wisteria seeds, you are ready to move on to the next step: preparing the soil.
Step 2: Preparing the Soil
The success of your wisteria plants depends greatly on the quality of the soil in which they are planted. Follow these essential steps to prepare the soil before planting the wisteria seeds:
- Choose the right location: Wisterias thrive in full sun, so select a spot in your garden that receives at least six hours of direct sunlight each day. Ensure the area has well-drained soil to prevent waterlogging.
- Remove weeds and debris: Clear the chosen area of any weeds, rocks, or debris that may hinder the growth of your wisteria plants. This will create a clean and favorable environment for healthy root development.
- Loosen the soil: Use a garden fork or a tiller to gently loosen the soil to a depth of at least 12 inches. This will improve the soil’s texture, drainage, and aeration, allowing the roots to penetrate easily.
- Amend the soil: Wisterias prefer slightly acidic soil with a pH level between 6.0 and 7.0. If your soil is too alkaline, you can amend it by incorporating organic matter such as compost, peat moss, or well-rotted manure.
- Add nutrients: Wisteria plants are heavy feeders and require adequate nutrients for optimal growth. Prior to planting the seeds, apply a balanced and slow-release fertilizer according to the manufacturer’s instructions.
Properly preparing the soil will ensure that your wisteria seeds have a favorable environment in which to establish their roots and thrive. Now that the soil is ready, it’s time to move on to the next step: soaking the seeds.
Step 3: Soaking the Seeds
Before planting wisteria seeds, it is beneficial to soak them to help break down the hard outer shell and encourage germination. Follow these steps to properly soak the wisteria seeds:
- Choose a container: Select a container that is large enough to hold the seeds and provide room for water to cover them. A small bowl or cup works well for this purpose.
- Place the seeds: Put the wisteria seeds in the container and add enough warm water to completely submerge them. Allow the seeds to soak for 24 to 48 hours.
- Change the water: After the initial soaking period, discard the soaking water and replace it with fresh warm water. Let the seeds continue soaking for another 24 to 48 hours.
- Monitor the seeds: During the soaking period, check the seeds occasionally for any signs of swelling or splitting. This indicates that the seeds are absorbing water and getting ready to germinate.
Soaking the seeds helps to soften the hard outer shell and speeds up the germination process. It also ensures that the seeds are adequately hydrated, which is crucial for their successful development. After soaking the seeds, it’s time to move on to the next step: planting them in the soil.
Step 4: Planting the Seeds
Now that the wisteria seeds have been soaked and prepared, it’s time to plant them in the soil. Follow these steps to ensure proper planting of wisteria seeds:
- Select the planting location: Choose a location in your garden that provides full sun and has well-drained soil. Dig a hole that is approximately twice the size of the seed and about 1 inch deep.
- Plant the seeds: Place a single wisteria seed in each hole and cover it with soil. Gently pat down the soil to ensure good seed-to-soil contact.
- Provide spacing: Space the planting holes at least 12 to 18 inches apart to allow ample room for the wisteria plants to grow and spread.
- Water the newly planted seeds: After planting the seeds, give them a thorough watering to settle the soil and provide moisture for germination. Avoid overwatering, as excessive moisture can lead to rotting.
- Label the planting area: To keep track of your wisteria seeds, it’s helpful to label the planting area with the variety and the planting date. This will help you monitor their growth and progress.
Once the wisteria seeds are planted in the soil, it’s time to move on to the next step: providing the ideal conditions to support their growth.
Step 5: Providing the Ideal Conditions
Creating the ideal conditions for your wisteria seeds is crucial for their growth and development. Follow these guidelines to ensure that your wisteria seeds receive the optimal conditions:
- Sunlight: Wisterias thrive in full sun, so choose a location that receives at least six hours of direct sunlight each day. This will promote healthy growth and abundant flowering.
- Watering: Keep the soil consistently moist but not waterlogged. Water the seeds regularly, especially during hot and dry periods, to prevent the soil from drying out completely.
- Temperature: Wisterias prefer moderate temperatures, with an optimal range between 65°F and 85°F (18°C to 29°C). Protect the seeds from extreme heat or frost, as it can harm their growth.
- Air circulation: Good air circulation is important for preventing diseases and promoting healthy growth. Avoid overcrowding the plants and ensure they have enough space to receive proper airflow.
- Mulching: Apply a layer of organic mulch around the base of the plants to help retain moisture, suppress weeds, and regulate soil temperature. Keep the mulch a few inches away from the main stem to prevent rotting.
- Fertilizing: After the seeds have germinated and the seedlings have established, you can start fertilizing them. Use a balanced and slow-release fertilizer according to the package instructions to provide essential nutrients.
By providing the ideal conditions, you are setting the stage for your wisteria seeds to thrive and flourish. Now that the seeds are taken care of, it’s time to move on to the next step: caring for the seedlings.
Step 6: Caring for the Seedlings
Caring for the seedlings is crucial for their healthy growth and development into mature wisteria plants. Follow these steps to provide proper care for your wisteria seedlings:
- Watering: Keep the soil consistently moist but not waterlogged. Water the seedlings regularly, especially during dry periods. Avoid overwatering, as it can lead to root rot.
- Thinning: If multiple seedlings germinate in one planting hole, thin them out by carefully removing the weaker ones. This will allow the remaining seedling to have ample space and resources to grow.
- Weed control: Regularly remove any weeds that may compete with the seedlings for nutrients and water. Weeds can also attract pests and diseases, so it’s important to keep the area around the seedlings clean.
- Support: As the seedlings grow, provide them with a sturdy support structure to climb on. This can be done by installing a trellis or using stakes and strings to guide their upward growth.
- Protection: Protect the seedlings from pests such as aphids, caterpillars, and snails, which can damage the young plants. Use organic pest control methods or introduce beneficial insects to keep pests at bay.
- Monitor growth: Regularly inspect the seedlings for any signs of diseases or deficiencies. Look for yellowing leaves, stunted growth, or spots on the foliage. Address any issues promptly to ensure the health of your wisteria plants.
By providing proper care for the seedlings, you are enabling them to grow into strong and resilient wisteria plants. With the seedlings taken care of, it’s time to move on to the next step: transplanting them into their permanent location.
Step 7: Transplanting the Seedlings
Transplanting the wisteria seedlings into their permanent location is an important step in their growth journey. Follow these guidelines to ensure a successful transplanting process:
- Timing: Transplant the seedlings when they have developed a strong root system and a few sets of true leaves. This usually occurs when the seedlings are around 6 to 8 inches tall.
- Choose the location: Select a sunny spot with well-drained soil for transplanting the seedlings. Ensure there is enough space for the mature wisteria plant to spread and climb.
- Prepare the hole: Dig a hole that is slightly larger than the root ball of the seedling. Make sure the hole is deep enough to accommodate the root system without bending or crowding the roots.
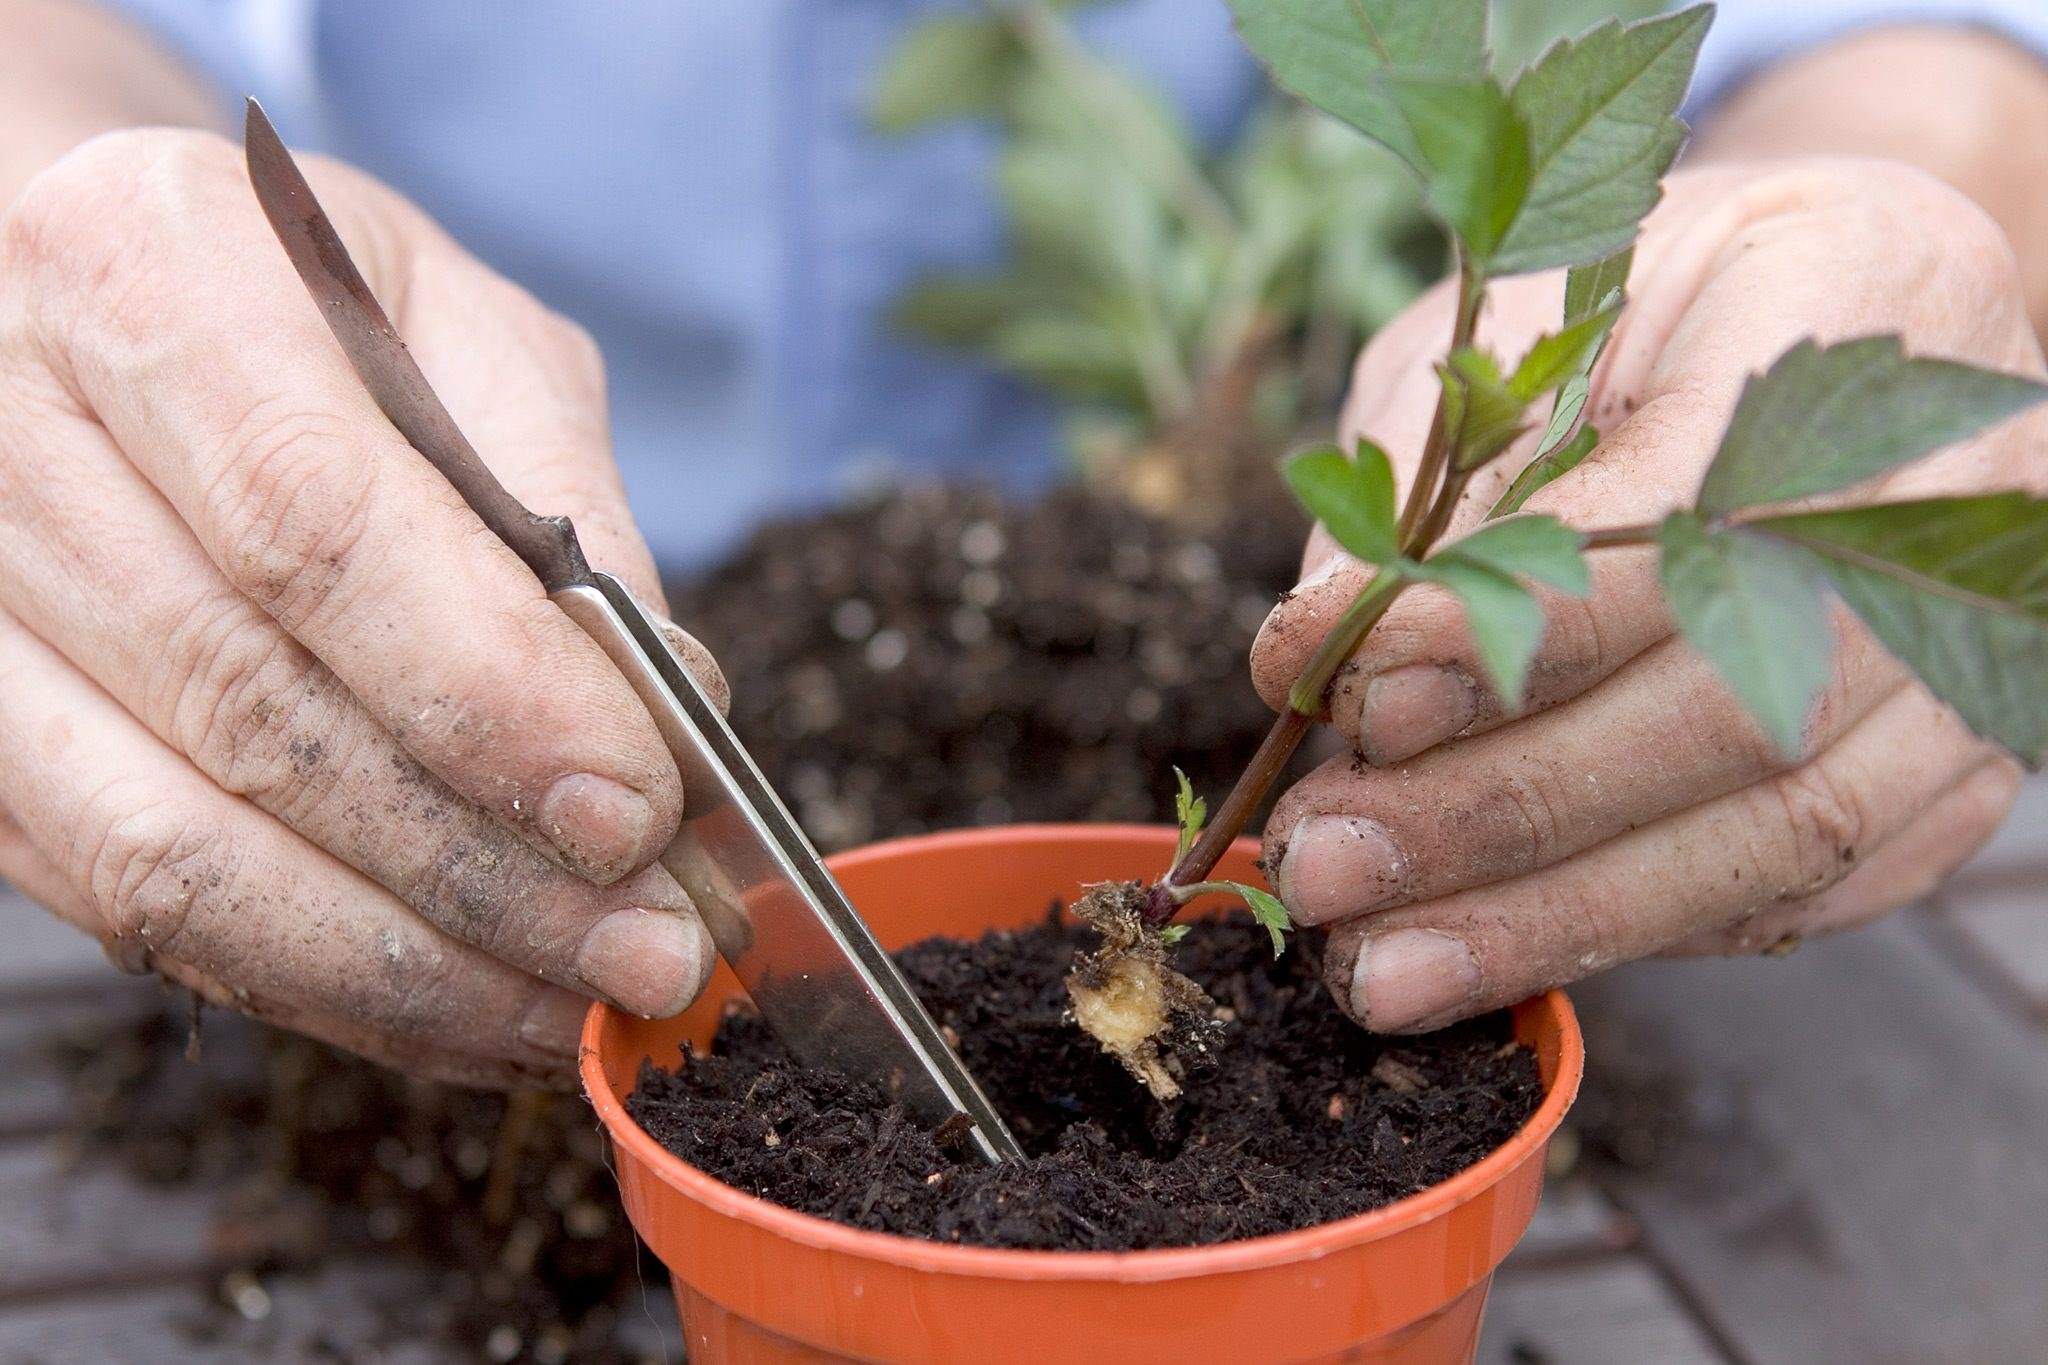
- Remove the seedling: Carefully lift the seedling out of its current container, taking care not to disturb or damage the roots. Gently loosen any tangled or bound roots before placing the seedling in the prepared hole.
- Backfill the hole: Fill the hole with soil, making sure to pack it around the roots to eliminate any air pockets. Water thoroughly to settle the soil and provide a good start for the transplanted seedling.
- Provide support: Immediately after transplanting, provide support for the seedling to climb on. Install a trellis, arbor, or sturdy support structure to guide the growth of the wisteria plant.
- Maintain watering: After transplanting, continue to water the seedling regularly to promote root establishment. Monitor the soil moisture and avoid both overwatering and underwatering.
Transplanting the seedlings allows them to establish themselves in their permanent location, setting the stage for their future growth and bloom. With the seedlings successfully transplanted, it’s time to move on to the next step: supporting the growing wisteria plant.
Step 8: Supporting the Growing Plant
As your wisteria plant continues to grow, providing proper support becomes crucial to help it climb and spread its beautiful foliage and blooms. Follow these steps to support the growing wisteria plant:
- Install a strong support structure: Choose a sturdy trellis, arbor, or pergola that can withstand the weight of the mature wisteria plant. Ensure that it is securely anchored into the ground to prevent any structural damage.
- Guide the vines: As the plant grows, gently guide the vines towards the support structure. Use soft ties or garden twine to loosely attach the vines to the support, allowing room for growth and movement.
- Prune for structure: Regularly prune the wisteria plant to maintain a desirable shape and structure. Remove any dead, damaged, or crossing branches to improve airflow and prevent overcrowding.
- Manage lateral growth: Keep an eye on lateral shoots or suckers that may emerge from the base of the plant or along the stems. Cut them back to the main stems to redirect energy towards the main vine.
- Maintain the support structure: Periodically inspect the support structure to ensure it remains sturdy and in good condition. Replace any damaged parts or reinforce weak areas to prevent collapse or breakage.
- Regularly check ties: Regularly inspect the ties that secure the vines to the support structure. Loosen or adjust them as necessary to prevent girdling or damage to the growing plant.
- Continue proper watering and fertilizing: Maintain regular watering and fertilizing routines to provide the necessary nutrients for the wisteria plant’s growth. Follow the package instructions for the appropriate type and frequency of fertilizer application.
By providing appropriate support and maintenance, your wisteria plant will thrive and create a captivating display of cascading blooms. With the growing plant properly supported, it’s time to move on to the next step: pruning and maintenance.
Step 9: Pruning and Maintenance
Pruning and maintenance are essential for the health and vitality of your wisteria plant. Proper pruning helps maintain a desirable shape, control growth, and promote abundant flower production. Follow these steps for effective pruning and maintenance:
- Timing: Prune your wisteria plant during the dormant season, typically in late winter or early spring, before new growth emerges. This is when the plant is dormant, making it easier to see and access branches.
- Remove dead and damaged wood: Begin by removing any dead, damaged, or diseased branches. Cut them back to healthy wood, making clean cuts just above a bud or lateral branch.
- Control growth: Trim back long or unruly branches to maintain the desired shape and size of the plant. Cut them back to a lateral branch or bud, taking care not to remove too much foliage or flower buds.
- Encourage flowering: Wisterias flower on new wood, so it’s important to prune lightly to promote new growth and encourage more blooms. Remove excess foliage and old wood to stimulate flower production.
- Train the plant: Guide the growth of your wisteria by selectively pruning and training the main branches and lateral shoots. Direct them towards the desired support structure to create an attractive display.
- Regular maintenance: Throughout the growing season, monitor your wisteria plant for any signs of pests, diseases, or nutrient deficiencies. Take appropriate measures to address these issues promptly.
- Watering and fertilizing: Consistently provide regular watering and fertilizing to support the plant’s growth and development. Ensure the soil remains consistently moist, especially during hot and dry periods.
By practicing proper pruning and maintenance, you can keep your wisteria plant healthy, vigorous, and blooming beautifully year after year. With the necessary pruning and maintenance tasks completed, it’s time to move on to the final step: enjoying the blooming wisteria.
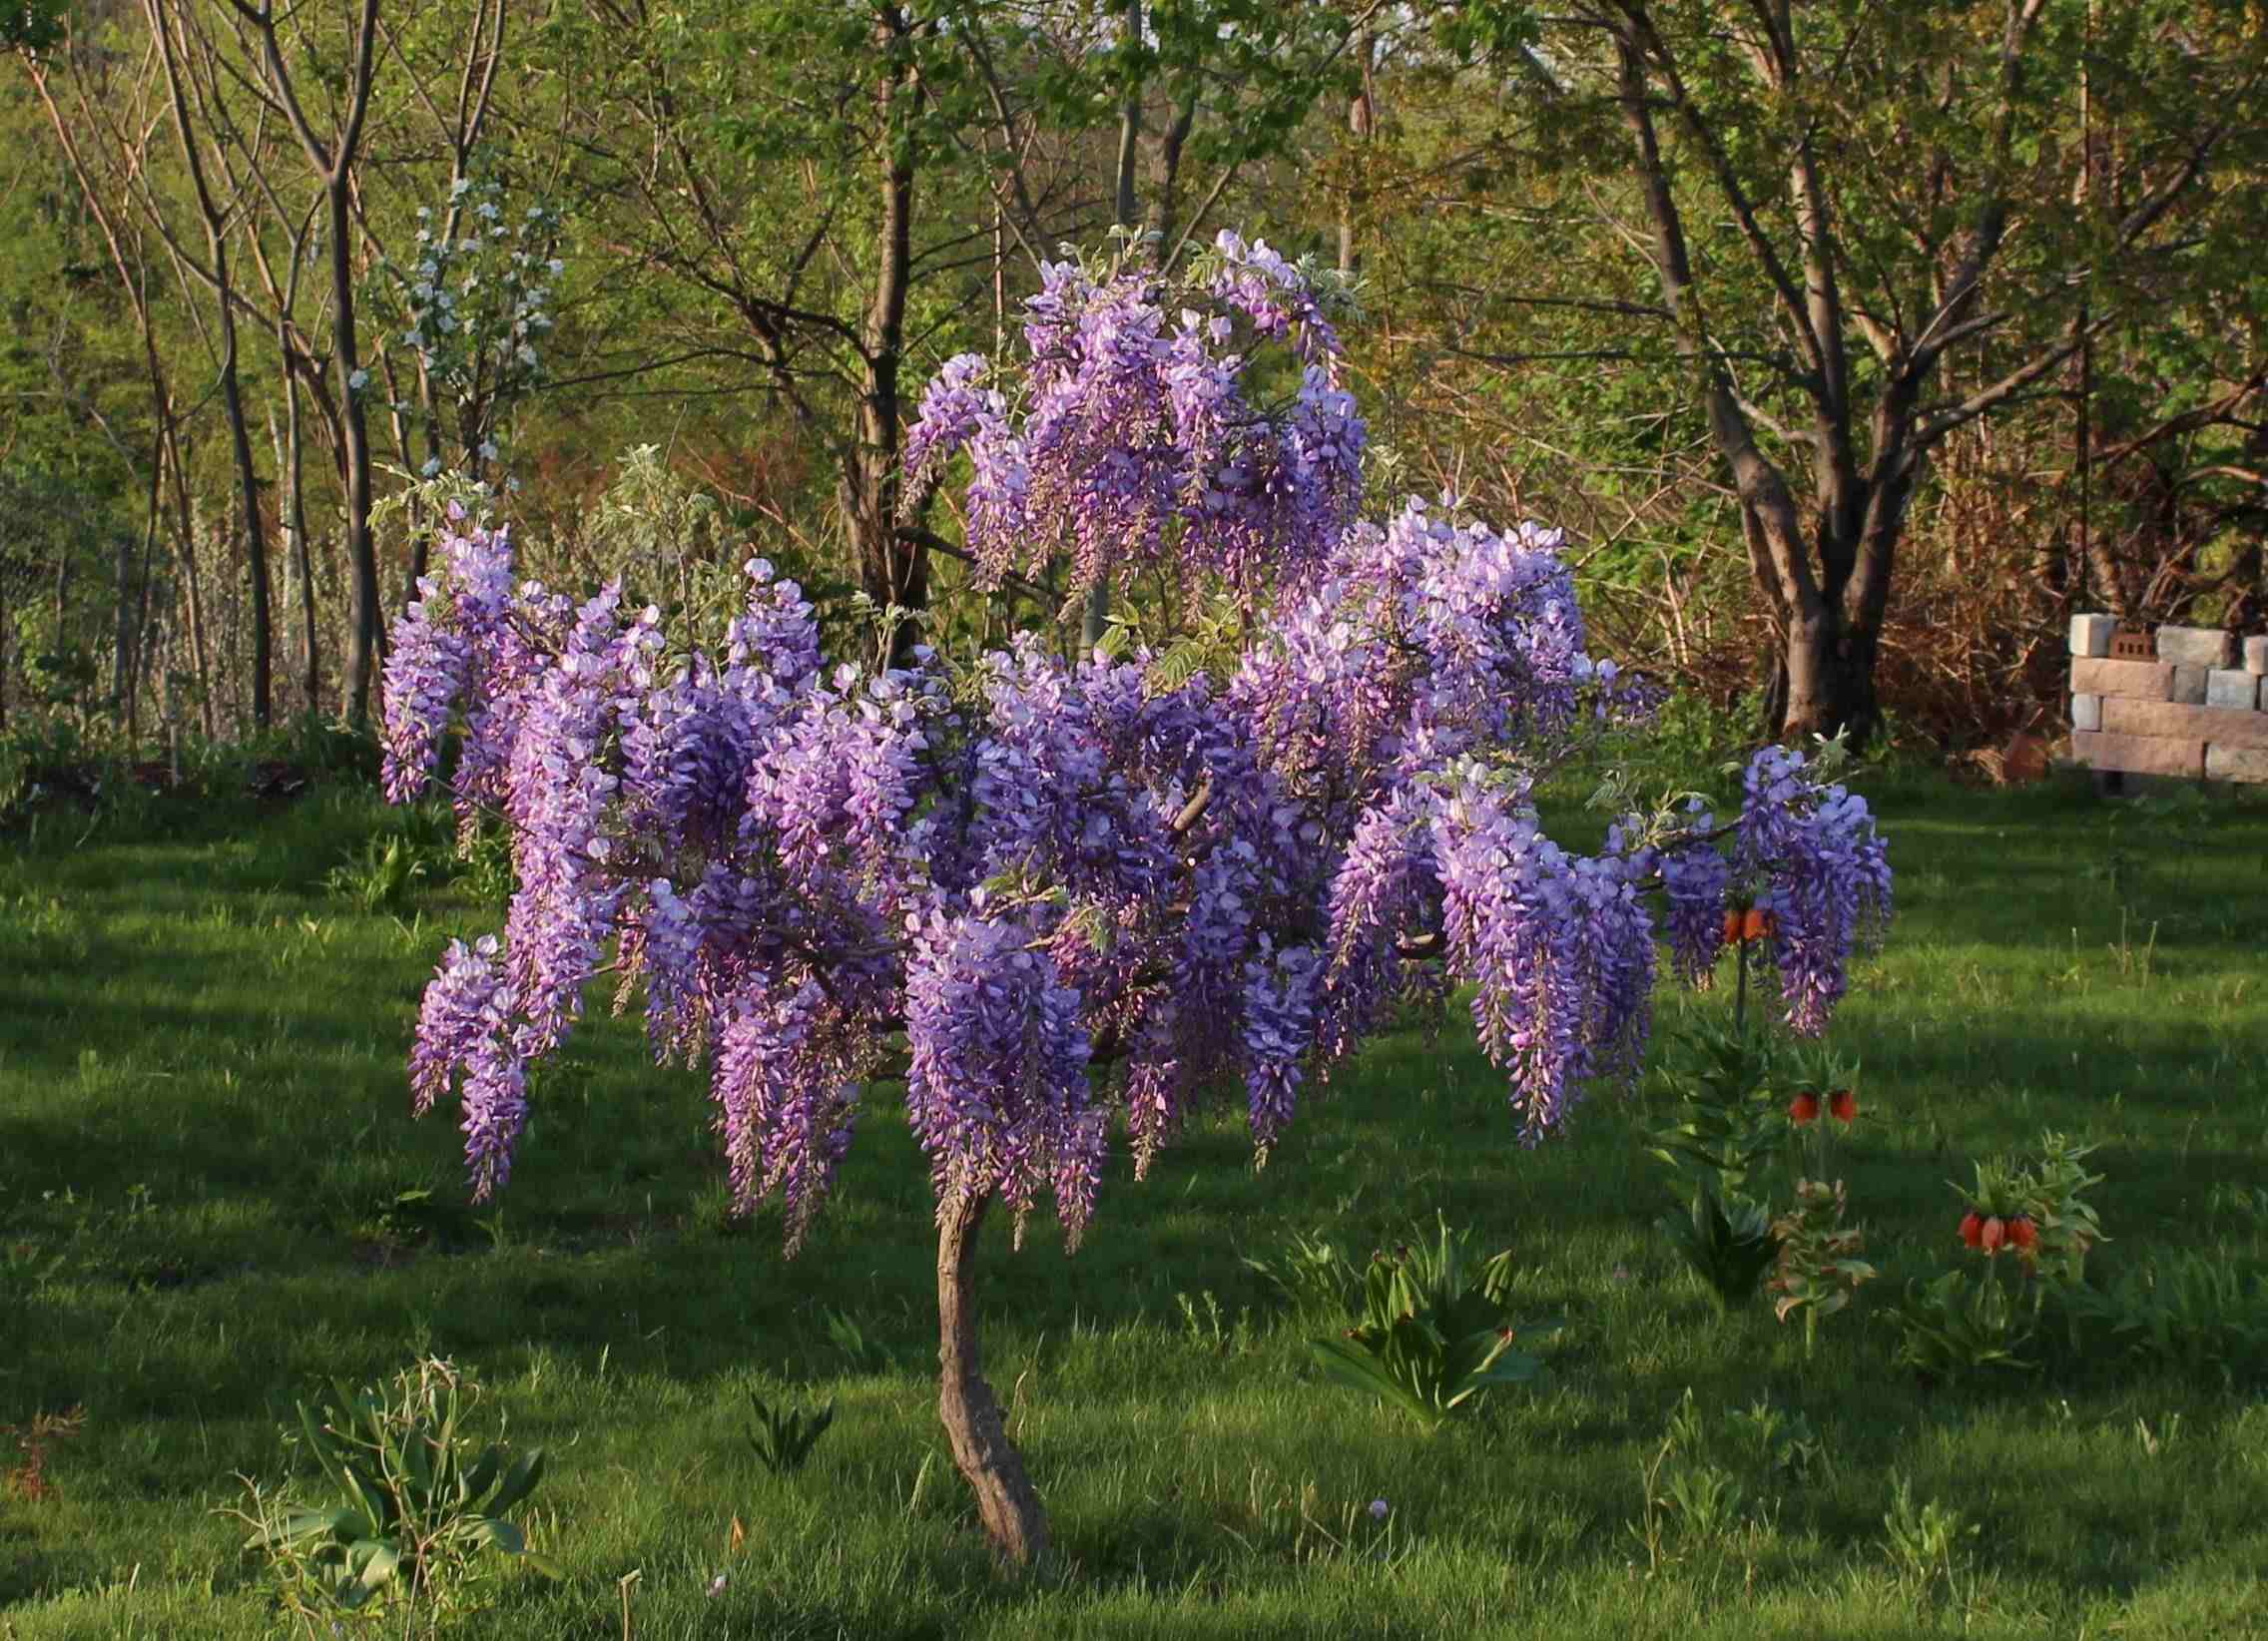
Step 10: Enjoying the Blooming Wisteria
After all the hard work and care you have put into growing your wisteria, it’s time to sit back, relax, and delight in the beauty of its blooming flowers. Here are a few tips to fully enjoy your blooming wisteria:
- Admire the blooms: Take the time to appreciate the stunning display of cascading flowers that adorn your wisteria plant. The vibrant colors and intoxicating fragrance are a testament to your successful cultivation.
- Photograph and share: Capture the beauty of your blooming wisteria in photographs and share them with others. Spread the joy and inspire fellow garden enthusiasts with the enchanting allure of your wisteria.
- Create a focal point: Use your blooming wisteria as a focal point in your garden or landscape design. Its graceful presence and captivating blooms will draw attention and add a touch of elegance to any outdoor space.
- Host gatherings: Take advantage of the enchanting ambiance created by your blooming wisteria and host outdoor gatherings. Whether it’s a garden party or a simple gathering with loved ones, your wisteria will provide a magical backdrop.
- Share cuttings: Spread the beauty of your wisteria by sharing cuttings or propagating new plants from your existing wisteria. Gift a cutting to a friend or neighbor and help them enjoy the splendor of wisteria in their own garden.
- Continue care and maintenance: Even as your wisteria is blooming, remember to provide ongoing care and maintenance. Regular pruning, watering, and fertilizing will keep the plant healthy and ensure a bountiful display of blooms in the years to come.
- Learn and experiment: Use this opportunity to learn more about wisteria and explore different variations or cultivars. Consider experimenting with pruning techniques or training methods to create unique shapes and designs.
By savoring and sharing the beauty of your blooming wisteria, you can fully appreciate the fruits of your labor and revel in the rewards of ornamental gardening. Congratulations on successfully growing and nurturing your wisteria to this blooming stage!
Conclusion
Congratulations! You have now learned the step-by-step process of planting wisteria seeds and nurturing them into blooming ornamental plants. By carefully choosing the right seeds, preparing the soil, soaking the seeds, planting them, providing ideal conditions, caring for the seedlings, transplanting them, supporting the growing plants, pruning and maintaining them, and finally, enjoying the blooming wisteria, you have become a skilled ornamental gardener.
Wisteria, with its cascading clusters of vibrant flowers, adds a touch of elegance and charm to any garden or landscape. By following the guidelines outlined in this article, you have set yourself up for success in growing your own wisteria and creating a breathtaking display of blooms.
Remember, patience and attention to detail are key. As your wisteria grows, continue to provide the care and maintenance it needs, including proper watering, fertilizing, pruning, and support. With each passing year, your wisteria will become more established, producing even more spectacular blooms to captivate and inspire.
So go ahead, plant those wisteria seeds and embark on your journey of ornamental gardening. Watch as your wisteria seeds transform into a magnificent display of cascading blooms, filling your garden with splendor and enchantment. Enjoy the process, learn from your experiences, and share the beauty of your blooming wisteria with others.
Your dedication and passion for ornamental gardening will surely shine through as you create a picturesque outdoor space that will be enjoyed for years to come. Happy gardening!