Home>Types of Gardening>Ornamental Gardening>How To Plant Petunia Seeds

Ornamental Gardening
How To Plant Petunia Seeds
Modified: January 22, 2024
Learn how to plant petunia seeds and create a beautiful ornamental garden with our step-by-step guide. Cultivate stunning blooms and transform your outdoor space.
(Many of the links in this article redirect to a specific reviewed product. Your purchase of these products through affiliate links helps to generate commission for Chicagolandgardening.com, at no extra cost. Learn more)
Table of Contents
- Introduction
- Step 1: Prepare the soil
- Step 2: Select the right location
- Step 3: Sow the petunia seeds
- Step 4: Cover the seeds
- Step 5: Water the seeds
- Step 6: Provide adequate sunlight
- Step 7: Maintain proper temperature
- Step 8: Transplant the seedlings (optional)
- Step 9: Care for the seedlings
- Step 10: Enjoy your blooming petunias!
- Conclusion
Introduction
Welcome to the world of ornamental gardening, where beauty and nature intertwine to create stunning landscapes and vibrant displays of color. Among the many plants that can be grown in ornamental gardens, petunias stand out as a popular and beloved choice. With their eye-catching blooms and easy care requirements, petunias are a favorite among both experienced gardeners and beginners alike.
If you’re new to gardening or looking to expand your green thumb repertoire, planting petunia seeds is a great way to get started. In this comprehensive guide, we’ll walk you through the step-by-step process of planting and caring for petunia seeds, ensuring a successful and rewarding gardening experience.
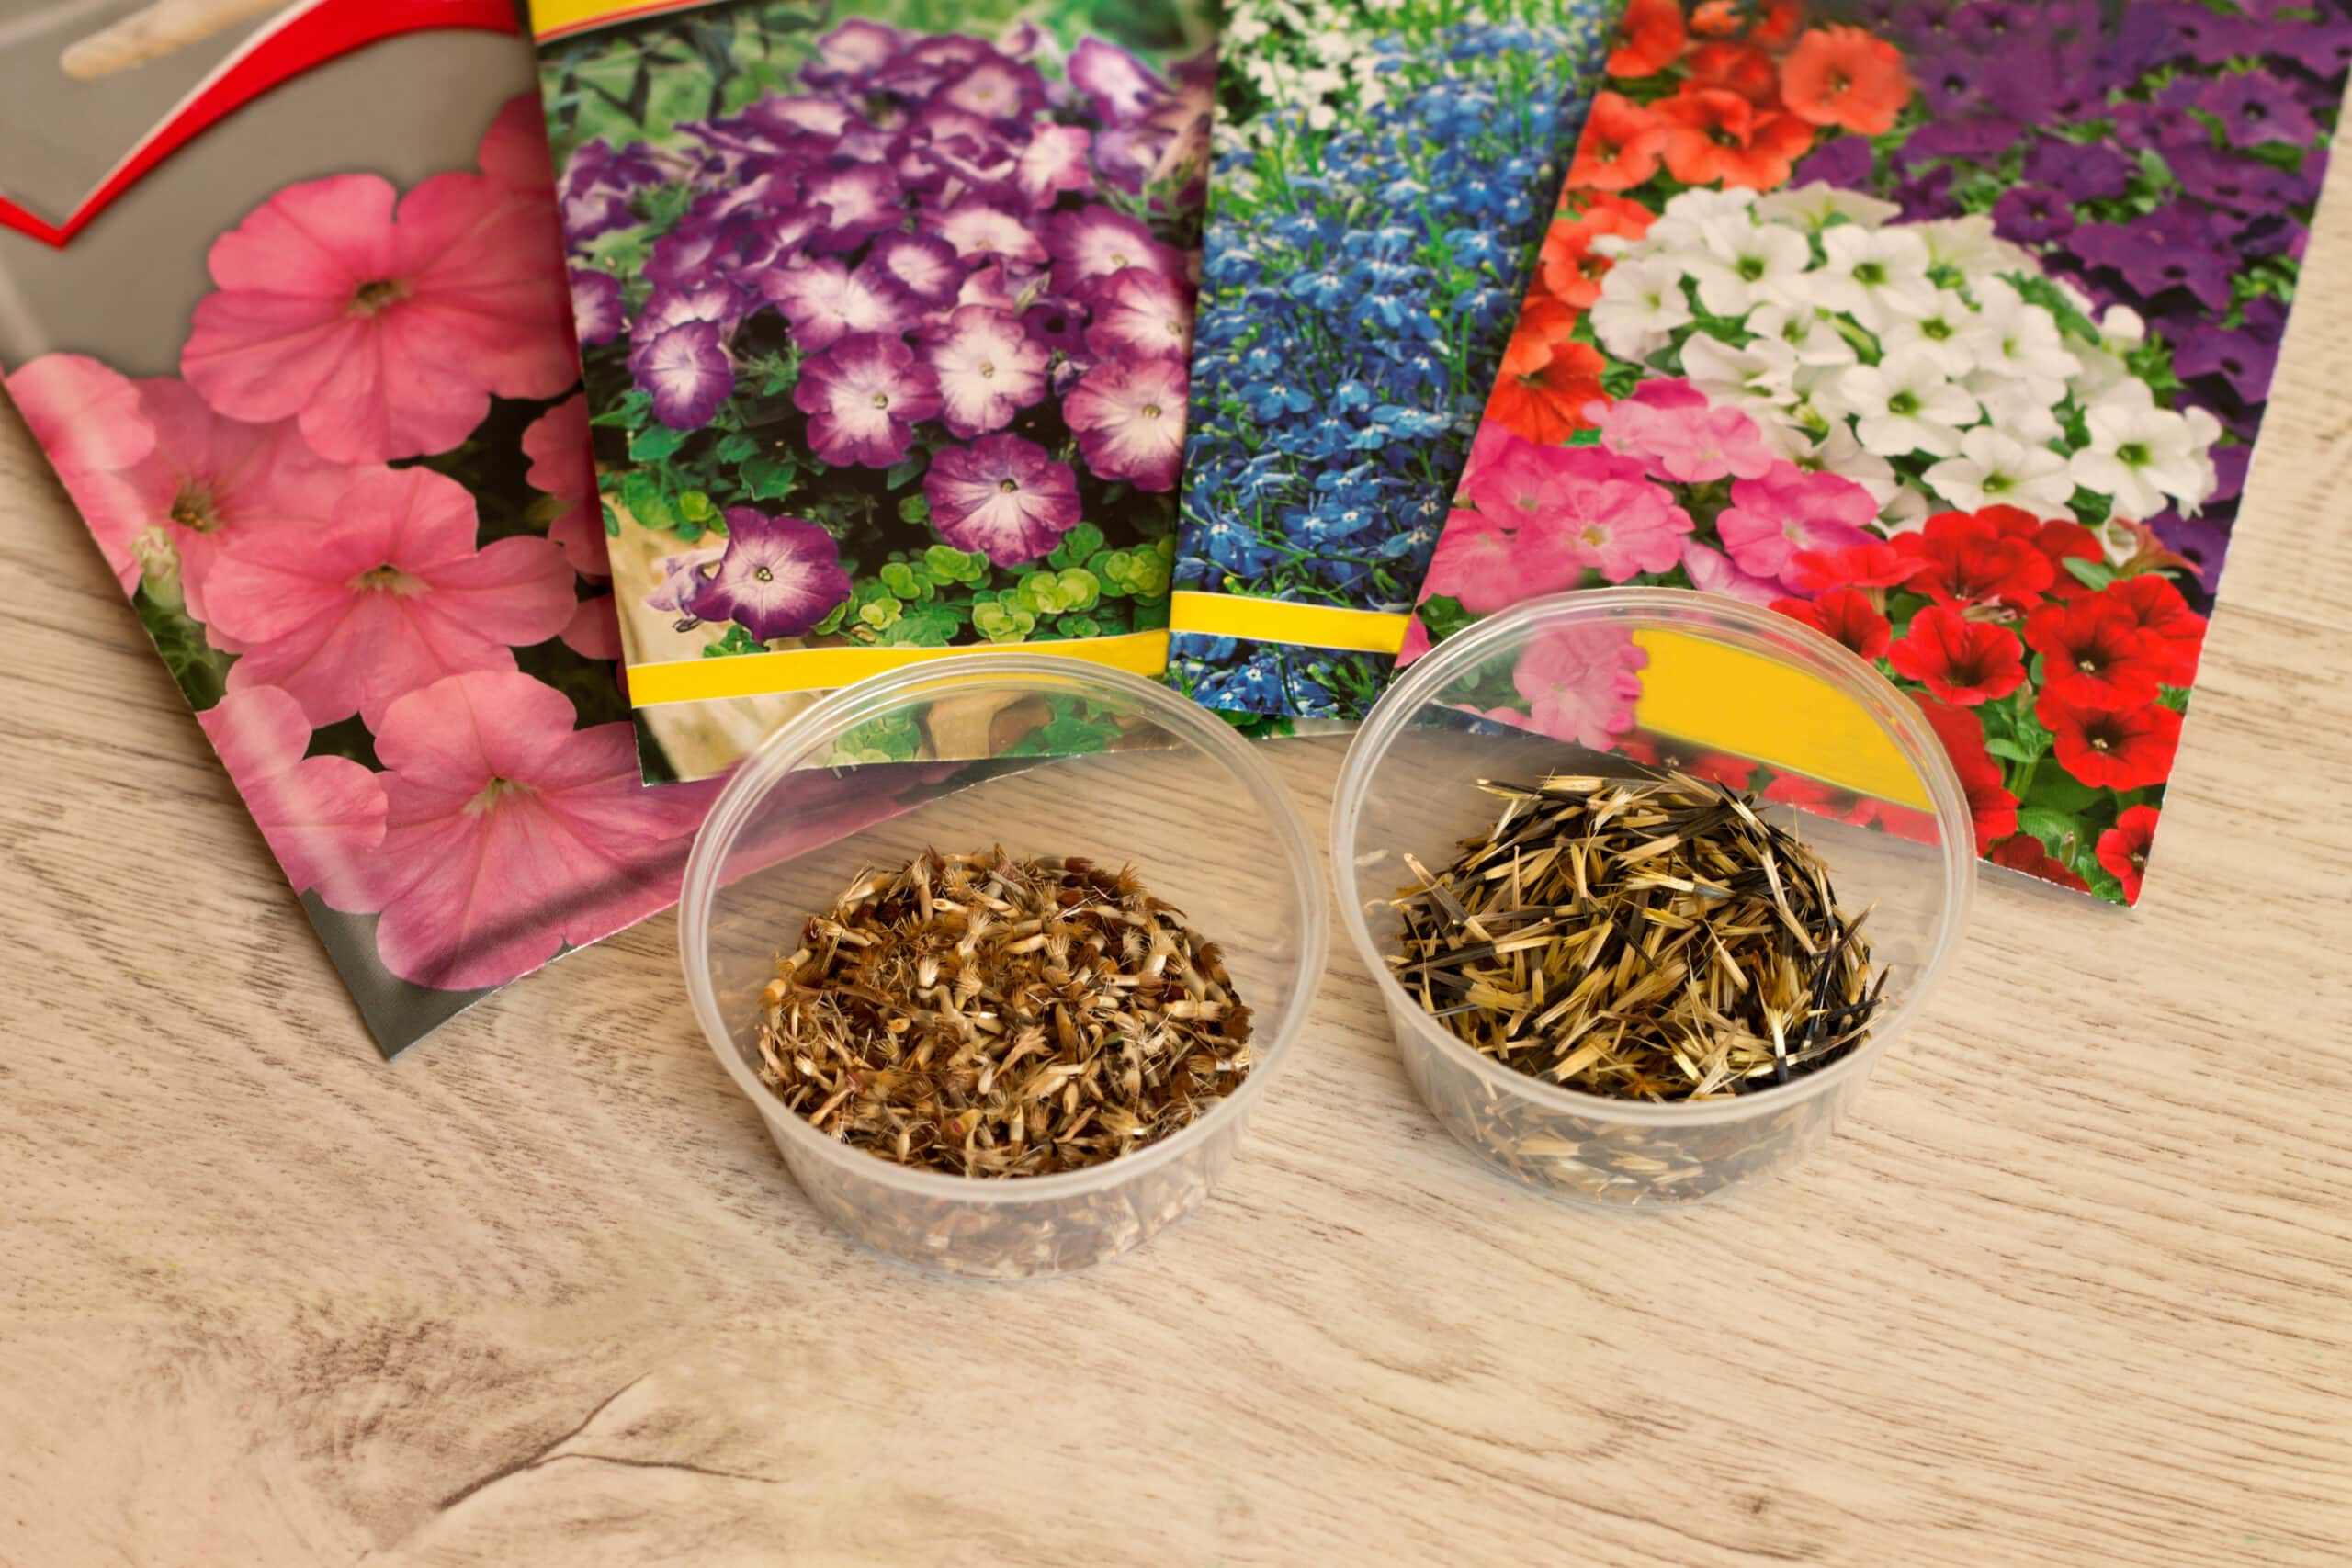
Petunia seeds come in a variety of colors, shapes, and sizes, offering endless possibilities for creative and personalized garden designs. Whether you prefer delicate pastels, bold and vibrant hues, or even bi-colored varieties, there’s a petunia seed that’s perfect for your aesthetic preferences.
Before we dive into the planting process, it’s important to note that petunias are warm-weather annuals, meaning they complete their life cycle in one growing season. This makes them an ideal choice for gardeners who want to add seasonal bursts of color to their landscape or containers. By following the steps outlined in this article, you’ll be well on your way to growing healthy petunia plants that will dazzle and impress.
So, grab your gardening gloves and let’s get started on this exciting journey of planting petunia seeds!
Step 1: Prepare the soil
Before sowing petunia seeds, it’s crucial to create a suitable environment for their growth. Start by selecting a well-draining soil that is rich in organic matter. Petunias thrive in slightly acidic to neutral soil with a pH level between 6.0 and 7.5.
Begin by removing any weeds, rocks, or debris from the planting area. Loosen the soil using a garden fork or tiller, breaking up clumps and ensuring a smooth surface. This will allow the roots of the petunia plants to penetrate easily and access nutrients.
If your soil is heavy clay or sandy, you can amend it by adding organic matter such as compost or well-rotted manure. This improves soil structure, drainage, and nutrient retention. Spread a 2 to 4-inch layer of organic matter over the planting area and work it into the soil to a depth of 6 to 8 inches.
For container gardening, use a high-quality potting mix specifically formulated for container plants. These mixes provide excellent drainage and are enriched with nutrients necessary for healthy plant growth.
Additionally, it’s a good idea to perform a soil test to assess its nutrient content. This will help you determine if any specific amendments are needed to optimize the soil’s fertility. Most garden centers offer soil testing kits, or you can send a sample to a local agricultural extension office for analysis.
Once the soil is prepared, rake the surface to create a smooth, level bed. This will make it easier to sow the tiny petunia seeds evenly and ensure proper germination.
By taking the time to prepare the soil, you’re providing a solid foundation for your petunias to grow and thrive. Nutrient-rich and well-drained soil is essential for healthy root development and overall plant vigor.
Step 2: Select the right location
Choosing the right location for your petunia seeds is crucial to their success. Petunias thrive in full sun, but they can tolerate partial shade in hot climates. When selecting a location, keep the following factors in mind:
- Sunlight: Petunias need at least 6 to 8 hours of direct sunlight daily. Choose a spot in your garden that receives ample sunlight throughout the day.
- Temperature: Petunias prefer moderate temperatures ranging from 60 to 70 degrees Fahrenheit (15 to 21 degrees Celsius). They can tolerate some heat but may struggle in extreme summer temperatures. Consider the climate in your region and select a location that provides the ideal temperature range for petunia growth.
- Wind protection: Strong winds can damage petunia blooms and cause the plants to become stressed. Choose a location that offers some protection from heavy winds, such as near a fence, wall, or in a sheltered area of your garden.
- Soil moisture: While petunias prefer well-drained soil, they also require consistent moisture. Avoid planting them in areas prone to waterlogging or excessive dryness.
Consider the overall aesthetics of your garden as well. Petunias make stunning borders, fillers for containers, and hanging basket displays. Assess the available space and choose a location where the petunias will enhance the visual appeal of your garden design.
In addition to selecting the right location, it’s important to plan for adequate spacing between individual petunia plants. Crowding can lead to poor air circulation and increased risk of disease. Read the seed packet or plant label for specific spacing recommendations based on the variety you are planting.
By carefully selecting the right location, you’re providing your petunias with the optimal growing conditions they need to flourish and produce abundant, colorful blooms.
Step 3: Sow the petunia seeds
Now that you have prepared the soil and chosen the perfect location, it’s time to sow your petunia seeds. Follow these steps to ensure successful germination and growth:
- Timing: Petunia seeds can be sown indoors or outdoors, depending on your climate and personal preference. If you have a short growing season, starting seeds indoors 6-8 weeks before the last frost date can give your petunias a head start. If the climate allows, you can sow them directly into the garden after the danger of frost has passed.
- Seed starting containers: If you choose to start seeds indoors, use trays or pots with drainage holes to prevent waterlogged soil. Fill the containers with a sterile seed-starting mix or a well-draining potting mix. Moisten the soil before sowing the seeds.
- Sowing the seeds: Petunia seeds are very tiny and require surface sowing. Sprinkle the seeds evenly over the soil surface, ensuring they are not overcrowded. Lightly press them into the soil with your finger or a gentle pat.
- Covering the seeds: Petunia seeds need light for germination, so it’s important not to bury them too deep. A thin layer of vermiculite or fine sand can be used to cover the seeds lightly. This will help maintain moisture and protect them from drying out.
- Labeling: Don’t forget to label your containers or rows with the petunia variety and the date of sowing. This will help you keep track of their progress and identify them later.
Remember to keep the soil consistently moist throughout the germination period. You can cover the seed tray or pots with a plastic dome or plastic wrap to create a greenhouse effect and retain moisture. Place the containers in a warm location, ideally at a temperature of 70-75 degrees Fahrenheit (21-24 degrees Celsius).
Germination typically takes 7-14 days, but it may vary depending on the variety and growing conditions. Once the petunia seedlings have emerged and have grown their first set of true leaves, they are ready for the next step in their journey.
By sowing petunia seeds with care and providing them with the appropriate conditions for germination, you are well on your way to seeing the beautiful blooms of your petunia plants.
Step 4: Cover the seeds
After sowing the petunia seeds, it’s essential to provide them with the proper covering to ensure successful germination. Here are some guidelines for covering the seeds:
- Light covering: Petunia seeds require light for germination, so it’s essential not to bury them too deep. A thin layer of vermiculite or fine sand is ideal for covering the seeds gently. This layer will help maintain moisture and protect the seeds from drying out while allowing light to reach them.
- Moisture retention: In addition to providing a light covering, it’s crucial to ensure that the seeds and soil remain consistently moist. You can mist the soil lightly with water or use a spray bottle to avoid disturbing the seeds. Covering the seed tray or pot with a plastic dome or plastic wrap helps retain moisture and creates a greenhouse-like environment.
- Monitor moisture level: Regularly check the moisture level of the soil by gently pressing your finger into it. It should feel moist but not waterlogged. If the soil feels dry, mist it with water until it becomes adequately moist. Be careful not to overwater, as excessive moisture can lead to fungal diseases or rotting of the seeds.
- Remove covering: Once the petunia seedlings have emerged and grown their first set of true leaves, it’s time to remove the covering. Gradually acclimate the seedlings to more open air by removing the covering for a few hours each day. After a week or so, the seedlings can be exposed to the open air completely.
By providing a light covering for the petunia seeds, you create an ideal environment for germination while ensuring the seeds receive the right amount of light and moisture. Monitoring the moisture level and gradually removing the covering as the seedlings develop will help them transition successfully to their next stage of growth.
Step 5: Water the seeds
Watering is a crucial step in the germination and growth process of petunia seeds. Proper watering ensures that the seeds stay hydrated and creates favorable conditions for root development. Here’s how to effectively water your petunia seeds:
- Moisture level: Keep the soil consistently moist, but avoid overwatering as it can lead to rotting or fungal diseases. Aim for a damp, but not waterlogged, soil surface. Use a spray bottle or fine mist setting on a watering can to water the seeds gently.
- Consistent watering: Petunia seeds require regular and consistent moisture for successful germination. Water the seeds whenever the soil surface starts to dry out. As the seedlings grow, adjust the watering frequency to meet their needs. Avoid letting the soil dry out completely, as this can stunt their growth or lead to wilting.
- Bottom watering: An effective watering technique for petunia seeds is bottom watering. Place the seed tray or pots in a shallow tray filled with water for a few minutes. This allows the soil to absorb water from the bottom, ensuring that the entire root system gets adequately hydrated.
- Drainage: Ensure that your seed trays or pots have proper drainage holes to allow excess water to escape. This prevents waterlogged soil, which can suffocate the seeds or cause root rot. Avoid standing water, as it can lead to fungal diseases.
- Time of day: Water your petunia seeds and seedlings in the morning or early evening when temperatures are cooler. This allows the water to be absorbed before the heat of the day evaporates it. Avoid watering during the hottest part of the day, as it can lead to water loss through evaporation.
As your petunia seedlings grow, continue to water them regularly, while adjusting the amount and frequency based on weather conditions and the moisture needs of the plants. Remember to always observe and respond to the moisture level of the soil, making sure to provide consistent hydration for healthy and vigorous growth.
Step 6: Provide adequate sunlight
Sunlight is a crucial factor in the growth and development of petunia plants. They require adequate exposure to sunlight to thrive and produce abundant blooms. Here’s how to ensure your petunias receive the right amount of sunlight:
- Full sun: Petunias thrive in full sun conditions, which means they need at least 6 to 8 hours of direct sunlight each day. Choose a location in your garden that receives ample sunlight throughout the day, preferably with minimal shade interruptions.
- Partial shade: While petunias prefer full sun, they can tolerate partial shade in hot climates. If you live in an extremely warm region, consider providing some afternoon shade to protect the plants from intense heat. However, be cautious not to place them in too much shade, as it can result in leggy growth or decreased flower production.
- Optimal positioning: Position your petunias in a way that maximizes their exposure to the sun. Ensure there are no tall structures or trees that cast shadows on the plants during the prime sunlight hours. Proper positioning will help the plants receive uniform light and promote even growth.
- Rotate as needed: If your petunias are planted in containers or hanging baskets, rotate them periodically to ensure all sides receive equal sunlight. This will prevent one side from getting leggy or weak due to uneven lighting conditions.
- Monitor heat and intensity: Keep an eye on temperature and weather conditions, especially during hot summer days. Extreme heat or intense sunlight can cause stress to petunias. If needed, use a shade cloth or other protective measures to shield them from scorching rays.
Proper spacing and adequate sunlight are key factors in promoting healthy growth and abundant flowering in petunia plants. By providing the right amount of sunlight, you’ll ensure that your petunias thrive and showcase their vibrant colors and lovely blooms.
Step 7: Maintain proper temperature
Maintaining the proper temperature is essential for the successful growth and development of petunia plants. Petunias prefer moderate temperatures and can be sensitive to extreme heat or cold. Follow these guidelines to ensure your petunias thrive in the optimal temperature range:
- Ideal temperature range: Petunias prefer temperatures ranging from 60 to 70 degrees Fahrenheit (15 to 21 degrees Celsius). This temperature range provides the optimal conditions for growth and flower production. Be mindful of the temperatures in your region and choose the appropriate time to sow and transplant petunias accordingly.
- Avoid extreme conditions: Petunias can struggle in extremely hot or cold temperatures. High temperatures above 90 degrees Fahrenheit (32 degrees Celsius) can cause the plants to wilt or become stressed. On the other hand, freezing temperatures can damage or kill the plants. If extreme weather is forecasted, provide appropriate protection or wait for more favorable conditions.
- Periods of heat stress: During heatwaves or periods of prolonged high temperatures, extra care is needed to prevent heat stress in petunias. Provide shade using shade cloths, temporary structures, or move containers to a shadier location. Regularly monitor soil moisture levels and increase watering frequency to help keep the plants cool and hydrated.
- Cool-season petunias: Some petunia varieties, known as “cool-season” or “cold-tolerant” petunias, can withstand cooler temperatures. These varieties are suitable for early spring or fall plantings in regions with mild winters. Check the seed packet or plant label for specific temperature tolerances and recommendations.
- Microclimates: Be aware of microclimates within your garden or growing area. Certain areas may experience temperature variations due to factors like nearby structures, water bodies, or exposure to wind. Pay attention to these microclimates and adjust your planting and care strategies accordingly.
By maintaining the proper temperature for your petunias, you’ll ensure they can grow and flourish without being subjected to extreme heat or cold stress. This will contribute to healthy plant growth, vibrant blooms, and overall garden success.
Step 8: Transplant the seedlings (optional)
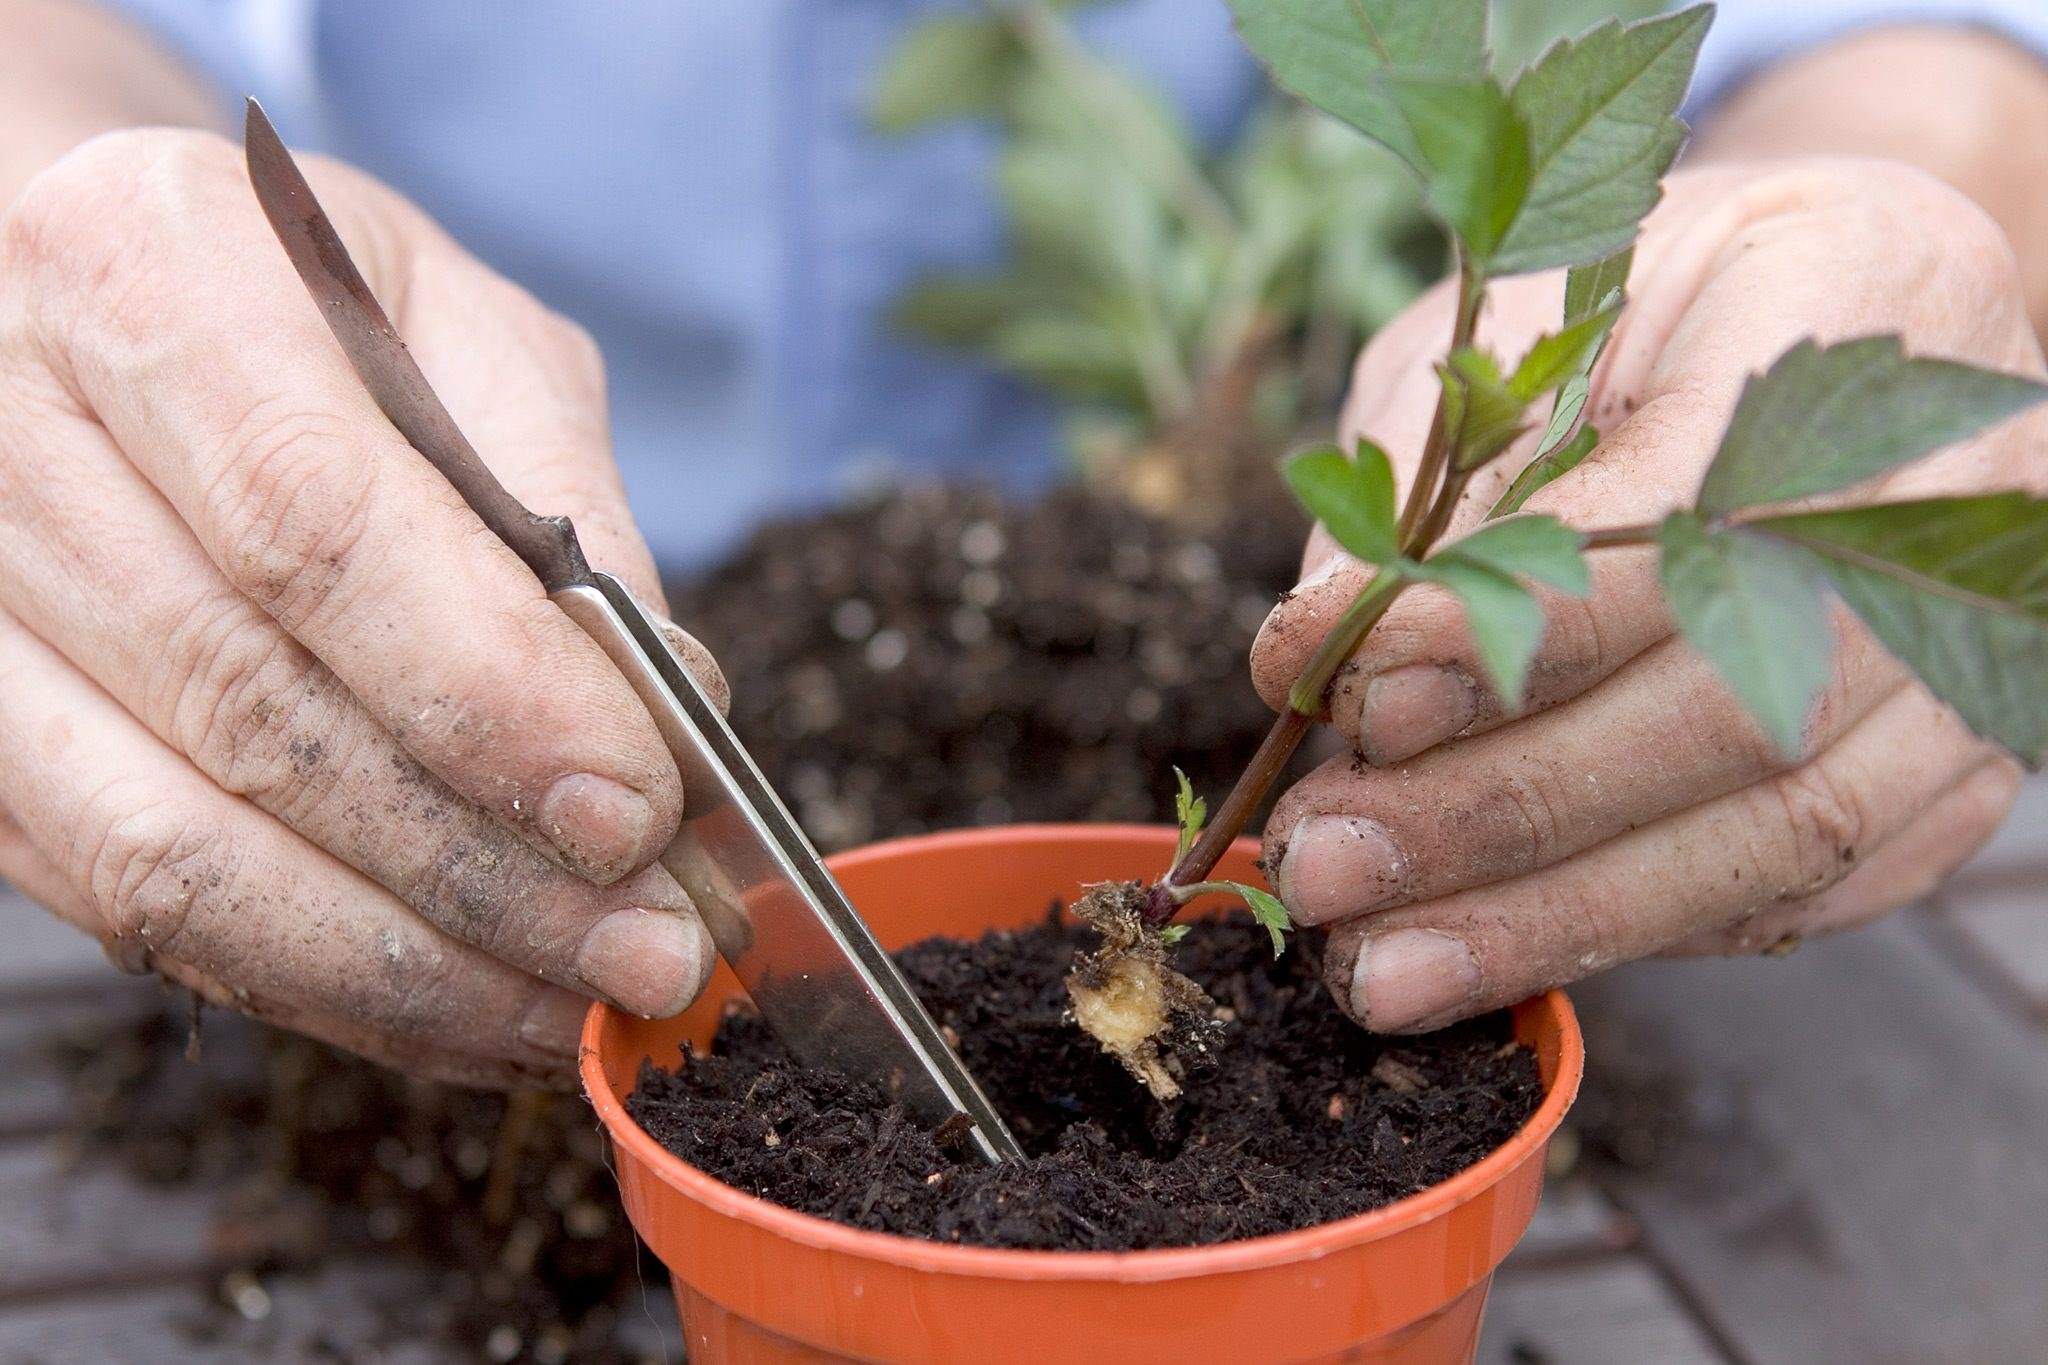
Transplanting petunia seedlings is an optional step in their growth process, particularly if you started them indoors or in containers. Transplanting allows you to provide more space and better growing conditions for the seedlings. Here’s a guide on how to transplant your petunia seedlings:
- Timing: Wait until the petunia seedlings have grown their first set of true leaves before transplanting. This usually takes around 3-4 weeks after germination.
- Choosing the right time: Select a cloudy or overcast day to transplant the seedlings, or do it in the early morning or late evening when the temperatures are cooler. This helps reduce stress on the young plants.
- Preparing the transplant site: Prepare the garden bed or container where you will be transplanting the seedlings. Ensure the soil is well-drained, enriched with organic matter, and has been properly prepared before planting.
- Digging the holes: Dig holes in the transplant site that are slightly larger than the root ball of each seedling. Space the holes according to the recommended spacing for the specific petunia variety you are growing.
- Transplanting the seedlings: Carefully remove the seedlings from their current containers or trays, being mindful not to damage the roots. Gently place each seedling into its respective hole, ensuring that the soil level of the transplant matches the level of the surrounding soil.
- Backfilling and firming: Gently backfill the soil around the root ball of each seedling, ensuring there are no air pockets. Lightly firm the soil around the base of the seedlings to provide stability.
- Watering: After transplanting, give the seedlings a thorough watering to help settle the soil and ensure root-to-soil contact. This will help the plants establish themselves in their new location.
- Care after transplanting: Continue watering the transplanted seedlings regularly and monitor their progress. Provide protection from extreme weather conditions, such as strong winds or heavy rainfall, if necessary. This will help the seedlings adjust to their new environment and minimize transplant shock.
Transplanting petunia seedlings can provide them with better growing conditions and allow them to flourish in the garden. It gives them more space for healthy root development and access to nutrients in the soil. Following these steps will help ensure a successful transplant and promote the growth and blooming of your petunias.
Step 9: Care for the seedlings
Now that your petunia seedlings are transplanted and settling into their new environment, it’s important to provide proper care to ensure their continued growth and health. Here’s how to care for your petunia seedlings:
- Watering: Water the seedlings regularly, keeping the soil consistently moist but not waterlogged. Avoid overwatering, as this can lead to root rot. Water at the base of the plants to keep the foliage dry and reduce the risk of diseases.
- Fertilizing: Feed the seedlings with a balanced fertilizer once they have established themselves in their new location. Follow the manufacturer’s instructions for the dosage and application method. Avoid over-fertilizing, as this can result in excessive foliage growth with fewer blooms.
- Pruning: As your petunias grow, you may need to prune them to maintain their shape and encourage bushiness. Pinch off the tips of the plants when they reach about 4-6 inches tall to promote branching and more compact growth. Remove any dead or faded flowers regularly to encourage continuous blooming.
- Pest and disease control: Monitor your petunia seedlings for signs of pests, such as aphids or caterpillars, and treat them promptly. Use organic or chemical controls that are safe for petunias. Keep an eye out for common diseases like powdery mildew or root rot, and take appropriate measures to prevent and control them.
- Weed control: Stay vigilant about weed growth around your petunia seedlings, as weeds can compete for nutrients and water. Regularly remove any weeds that appear near the plants, being careful not to disturb the delicate root systems of the petunias.
- Support and training (if necessary): Depending on the variety and growth habit, some petunias may benefit from support or training. Use stakes or plant supports to provide additional stability and prevent the plants from sprawling or bending under their own weight. This is particularly important for trailing or cascading varieties.
By providing proper care, you are ensuring that your petunia seedlings have everything they need to thrive and produce beautiful blooms. Regular attention to watering, fertilizing, pruning, pest and disease control, weed control, and support (if necessary) will help your petunias reach their full potential and create a stunning display in your garden.
Step 10: Enjoy your blooming petunias!
Congratulations! After carefully following the previous nine steps, your petunias have grown and bloomed into a spectacular display of vibrant colors. Now it’s time to sit back, relax, and enjoy the fruits of your labor. Here’s how to fully appreciate your blooming petunias:
- Observe the blooms: Take the time to marvel at the beauty of your petunias. Notice the intricate patterns, the range of colors, and the delicate texture of the petals. Appreciating the blooms will make your gardening experience even more rewarding.
- Indulge in their fragrance: Some petunia varieties are known for their delightful fragrance. Bend down and take a deep breath to savor the sweet and intoxicating scent. Let the fragrance transport you to a state of relaxation and joy.
- Share the beauty: Invite friends, family, and neighbors to admire your blooming petunias. Share the joy and pride you feel in your garden. Engage in gardening discussions, exchange tips, and inspire others to cultivate their own ornamental gardens.
- Cut blooms for arrangements: To bring the beauty of your petunias indoors, cut some blooms and create stunning floral arrangements. Place them in vases or baskets and display them on your dining table, kitchen counter, or anywhere you want to add a touch of natural beauty.
- Preserve the blooms: Extend the enjoyment of your petunias by preserving the blooms. Press them between the pages of a heavy book or use a flower press to create dried flower arrangements or crafts. These preserved blooms will allow you to cherish the memory of your blooming petunias for years to come.
- Showcase your garden: Participate in local garden showcases or competitions to proudly showcase your blooming petunias. Share your gardening journey with others and learn from fellow enthusiasts. Celebrate your achievements and take pride in the beauty you have cultivated.
- Document your success: Take photographs of your blooming petunias to capture their beauty and your gardening journey. Create a garden journal or share your pictures on social media to inspire and motivate others in their own gardening endeavors.
- Reflect and plan for the future: Take a moment to reflect on your experience of growing and caring for petunias. Assess what worked well and identify any areas for improvement. Use this knowledge to plan future gardening projects and make your future petunia displays even more spectacular.
Remember, the joy of gardening doesn’t stop at the blooming stage. It continues as you immerse yourself in the beauty and serenity of your garden. Take the time to fully appreciate your hard work and feel proud of the stunning petunias that have adorned your landscape.
So, sit back, relax, and revel in the splendor of your blooming petunias!
Conclusion
Congratulations on successfully planting and caring for your petunia seeds! By following the step-by-step guide outlined in this article, you have learned how to prepare the soil, select the right location, sow the seeds, provide adequate sunlight and temperature, and care for the seedlings. Now, you can sit back and enjoy the beauty and rewards of your blooming petunias.
Ornamental gardening, particularly with petunias, allows you to express your creativity and create stunning displays of color in your garden. Petunias offer a wide range of varieties, colors, and growth habits, giving you endless possibilities for designing and personalizing your garden space.
As you continue your gardening journey, remember to observe your petunias closely, make adjustments in watering and fertilization as needed, and promptly address any pest or disease issues that may arise. Regular pruning and deadheading will promote healthy growth and continuous blooming.
Don’t forget to enjoy the little moments, such as the fragrance of the blooms, the satisfaction of cutting fresh flowers for arrangements, and the pleasure of sharing your garden with others. Gardening is a continuous learning process, so take the time to reflect on your experiences, learn from them, and apply your newfound knowledge to future gardening endeavors.
With each season, as you sow new petunia seeds, your skills as an ornamental gardener will continue to grow. By nurturing and caring for these beautiful flowers, you are not only creating a stunning visual display but also cultivating a deeper connection with nature and experiencing the many joys that gardening brings.
So, keep exploring, experimenting, and enjoying the journey of ornamental gardening with petunias. May your future plantings be even more successful and rewarding as you continue to bring beauty and life to your landscape.
