Home>Types of Gardening>Edible Gardening>How To Plant Magnolia Seeds
Edible Gardening
How To Plant Magnolia Seeds
Modified: February 9, 2024
Learn how to plant magnolia seeds and start your own edible gardening journey. Find step-by-step instructions and expert tips on cultivating these beautiful and delicious trees.
(Many of the links in this article redirect to a specific reviewed product. Your purchase of these products through affiliate links helps to generate commission for Chicagolandgardening.com, at no extra cost. Learn more)
Table of Contents
Introduction
Edible gardening is a fulfilling and rewarding endeavor that allows you to grow your own fresh produce and create a sustainable food source right in your backyard. One popular aspect of edible gardening is growing plants from seeds, and one such plant that can be grown from seeds is the magnolia.
The magnolia tree is renowned for its stunning blooms and elegant presence, making it a favorite among gardeners and nature enthusiasts. While many people opt to purchase magnolia saplings from nurseries, planting magnolia seeds can be a cost-effective and fascinating alternative.
In this article, we will guide you through the process of planting magnolia seeds, step-by-step. From gathering the necessary materials to caring for the seedlings and eventually transplanting them, we will provide you with all the information you need to successfully grow magnolia trees from seeds.
Join us as we delve into the world of edible gardening and explore the wonders of growing magnolia trees from seed. Let’s get started!
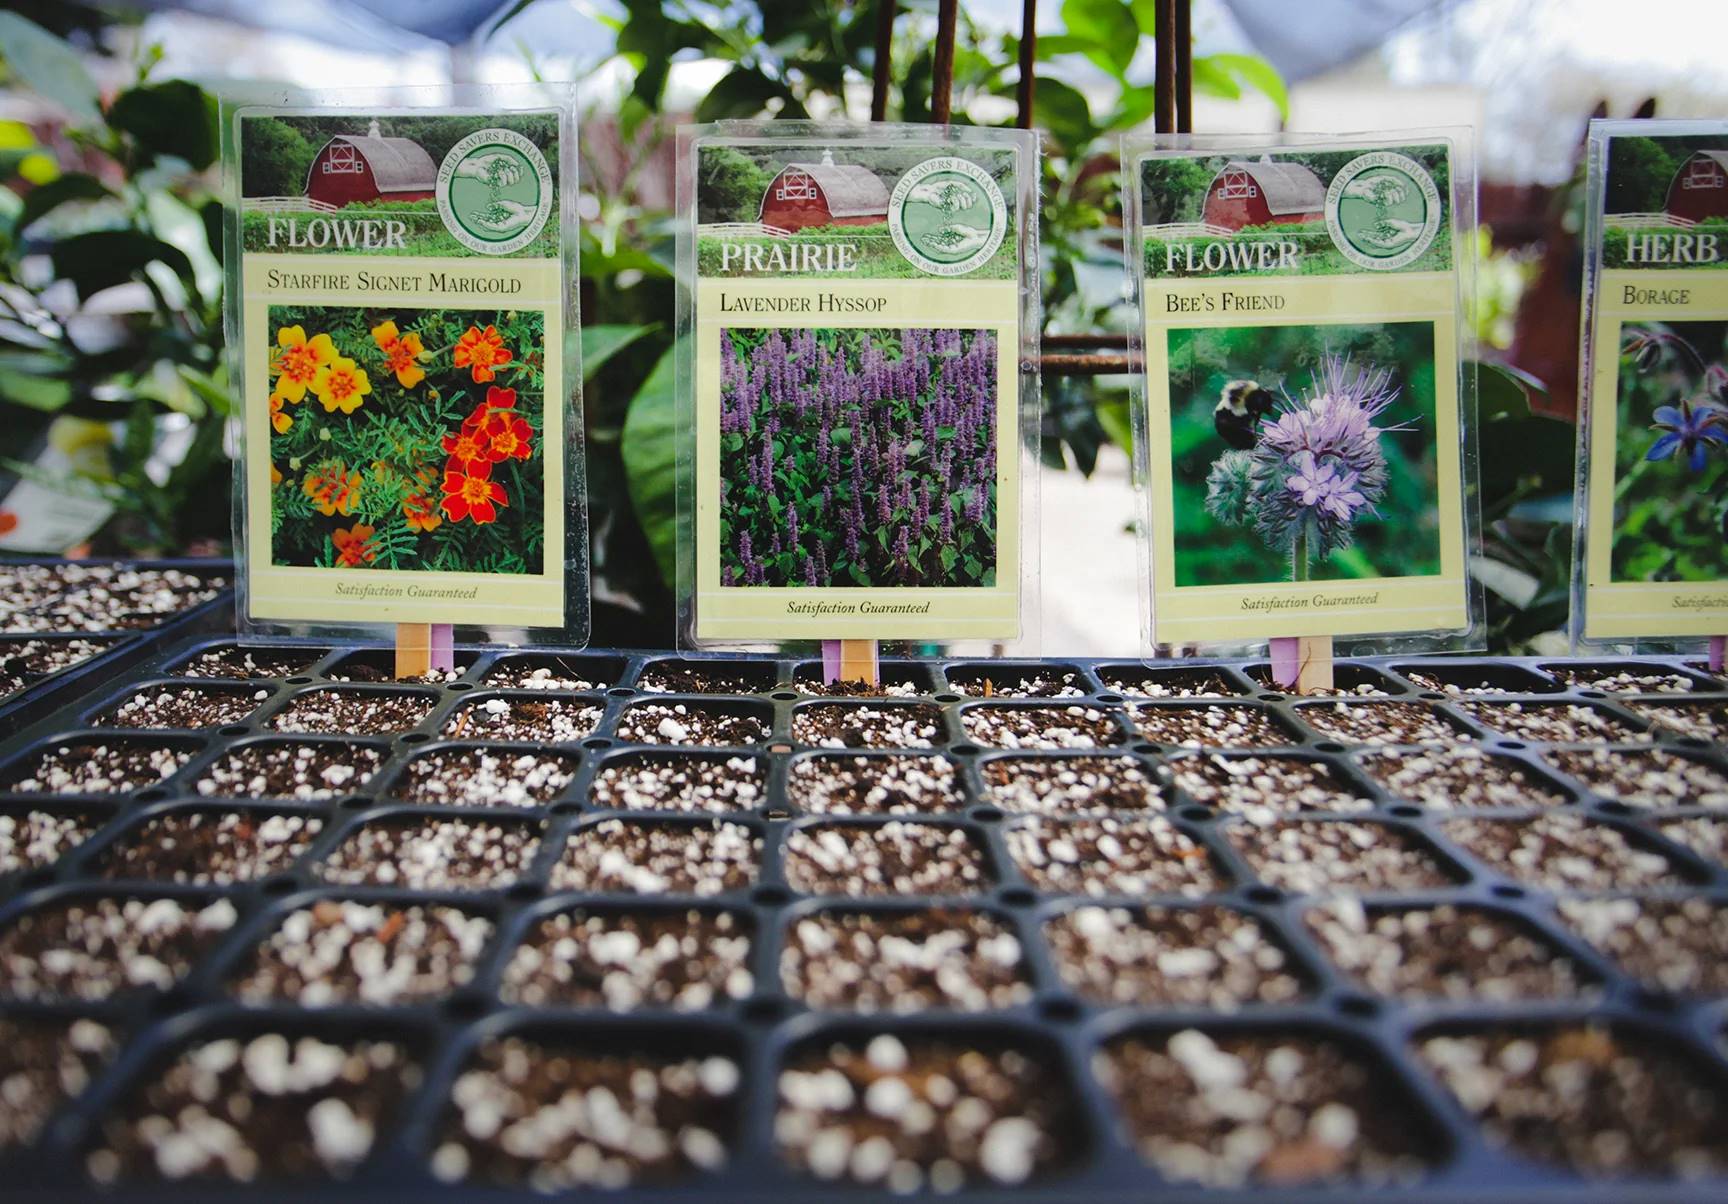
Step 1: Gathering the materials
Before you begin the process of planting magnolia seeds, it’s important to gather all the necessary materials. Here’s a list of items you’ll need:
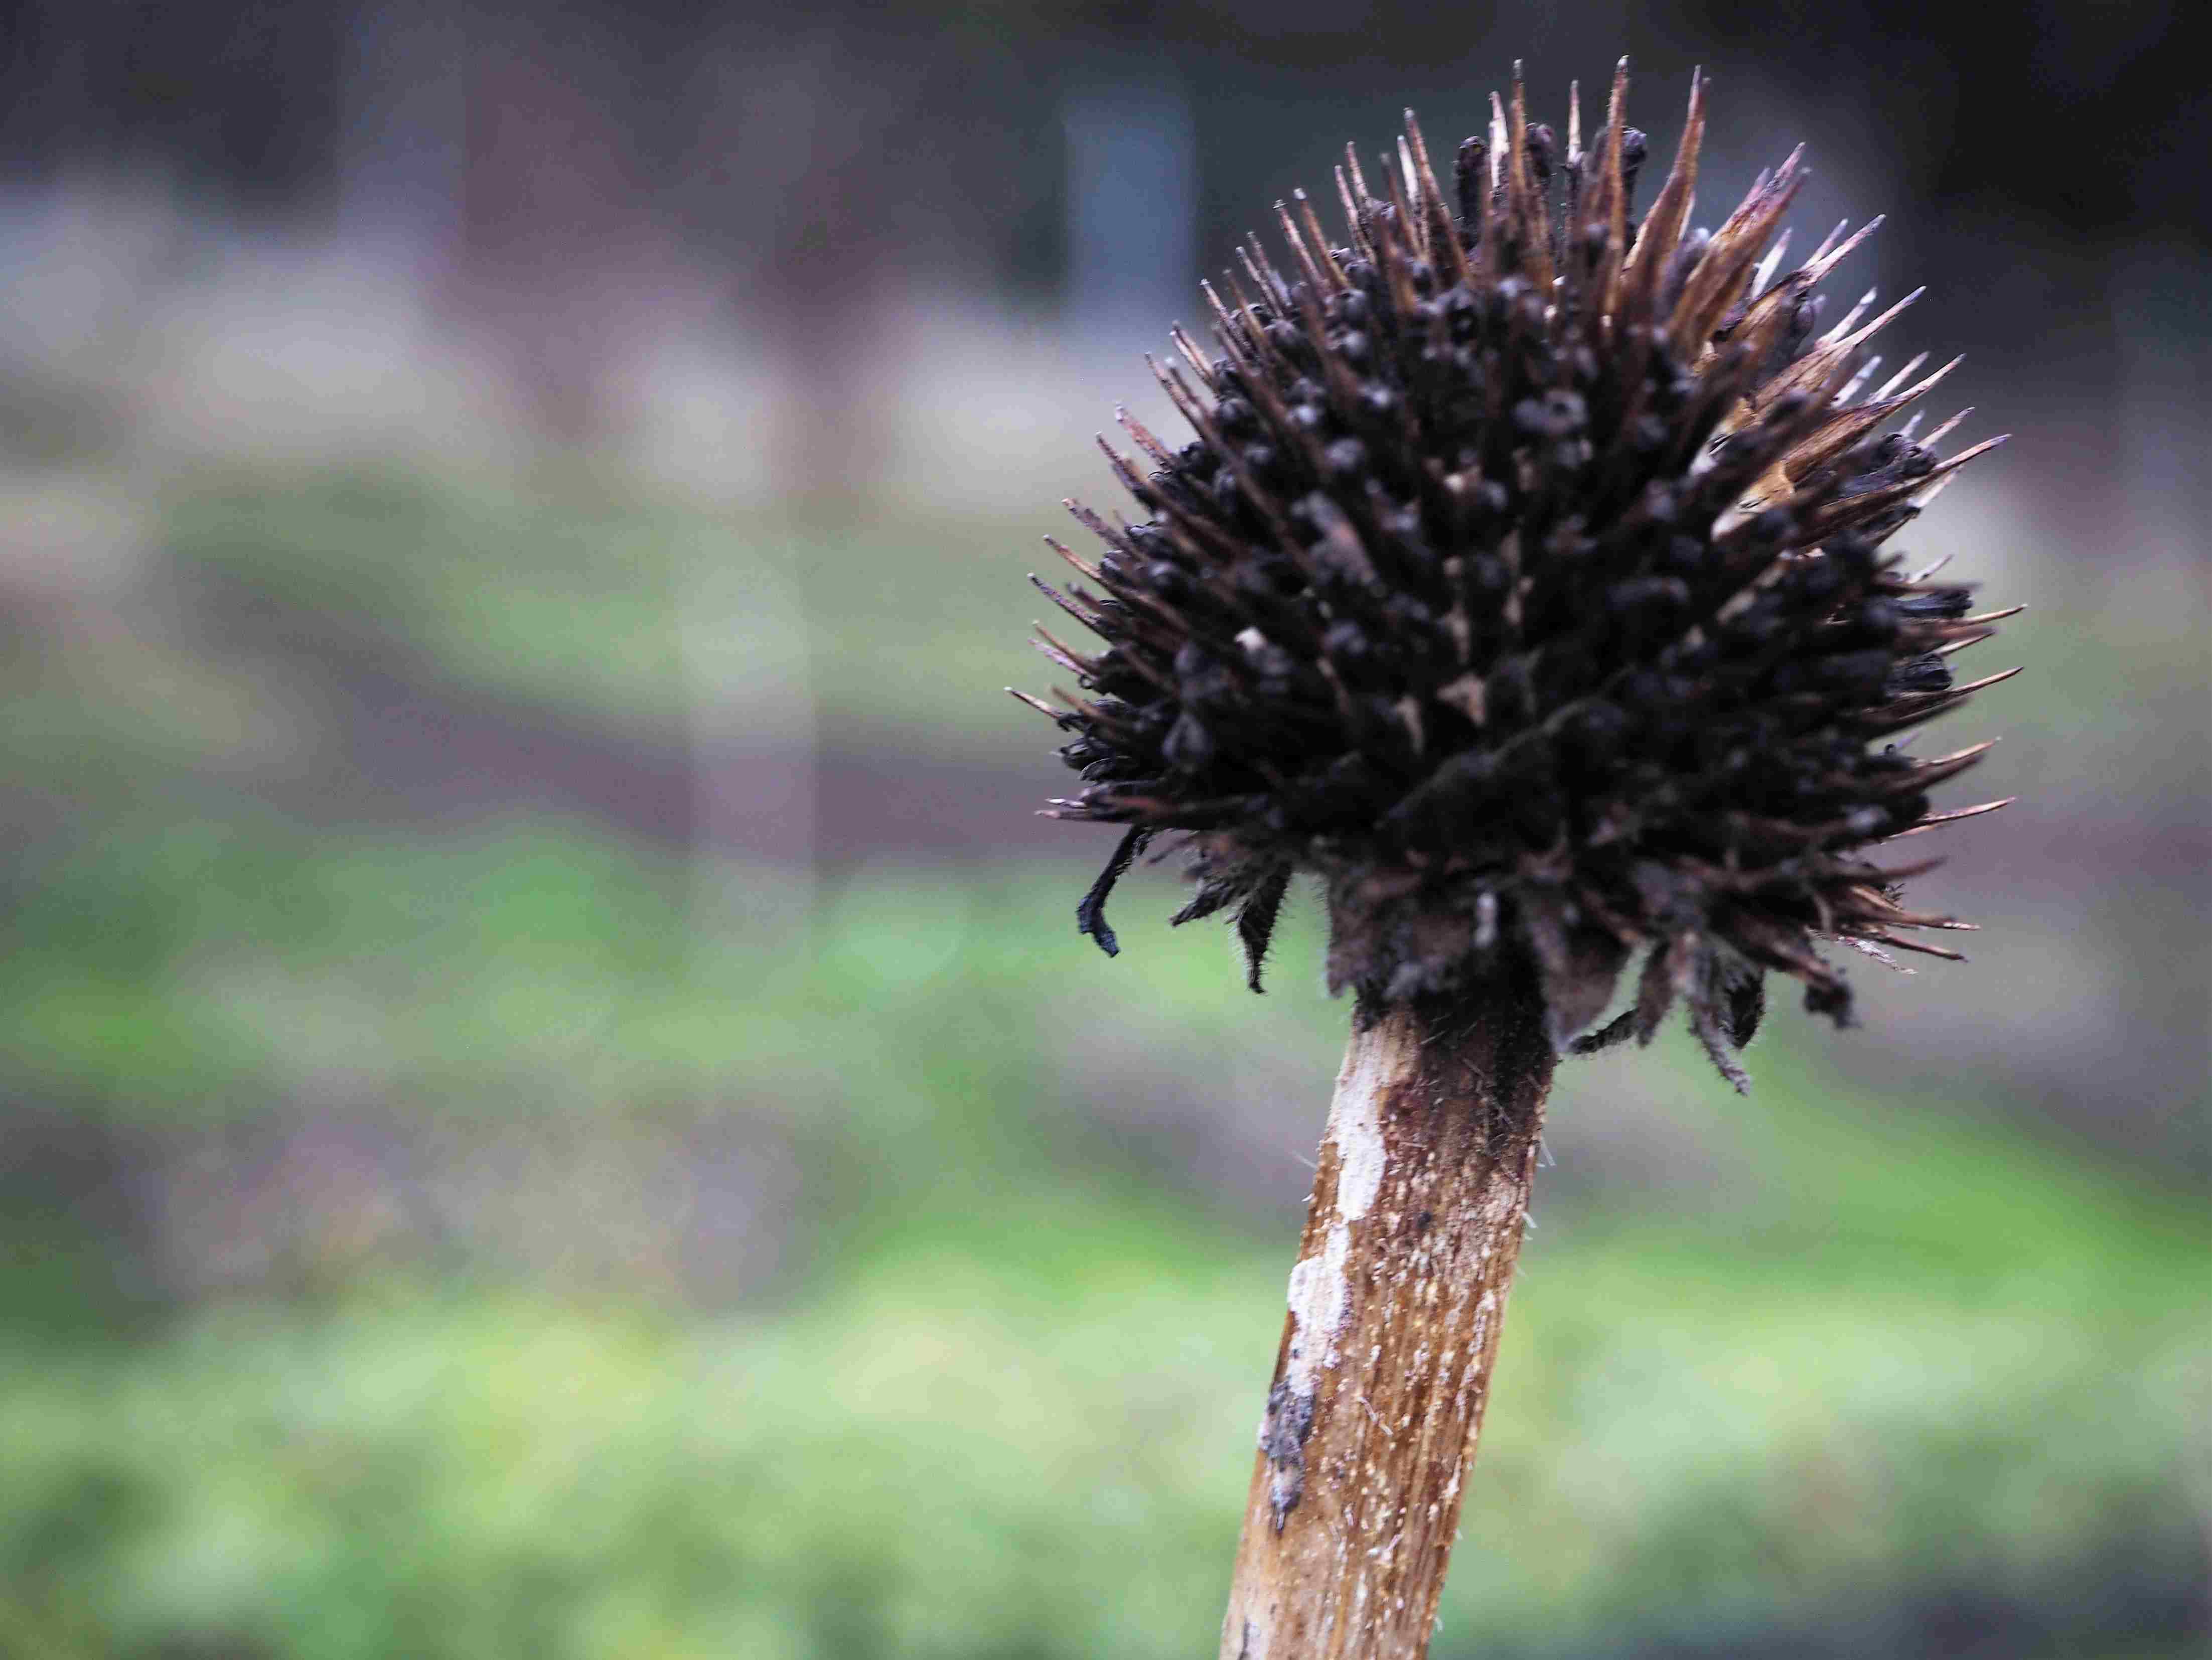
- Mature magnolia cones or seed pods
- Gloves
- Bucket or container
- Water
- Sharp knife or scissors
- Paper towels
- Plastic bags
- Seed starting mix or potting soil
- Small pots or seed trays
- Plant labels
- Watering can or spray bottle
- Grow lights or a sunny location
Once you have gathered all the materials, you’re ready to move on to the next step.
Note: It’s important to wear gloves when handling magnolia cones or seed pods, as they can be prickly and cause skin irritation.
Tip: You can collect magnolia cones or seed pods from trees in your neighborhood or obtain them from local nurseries or online seed suppliers.
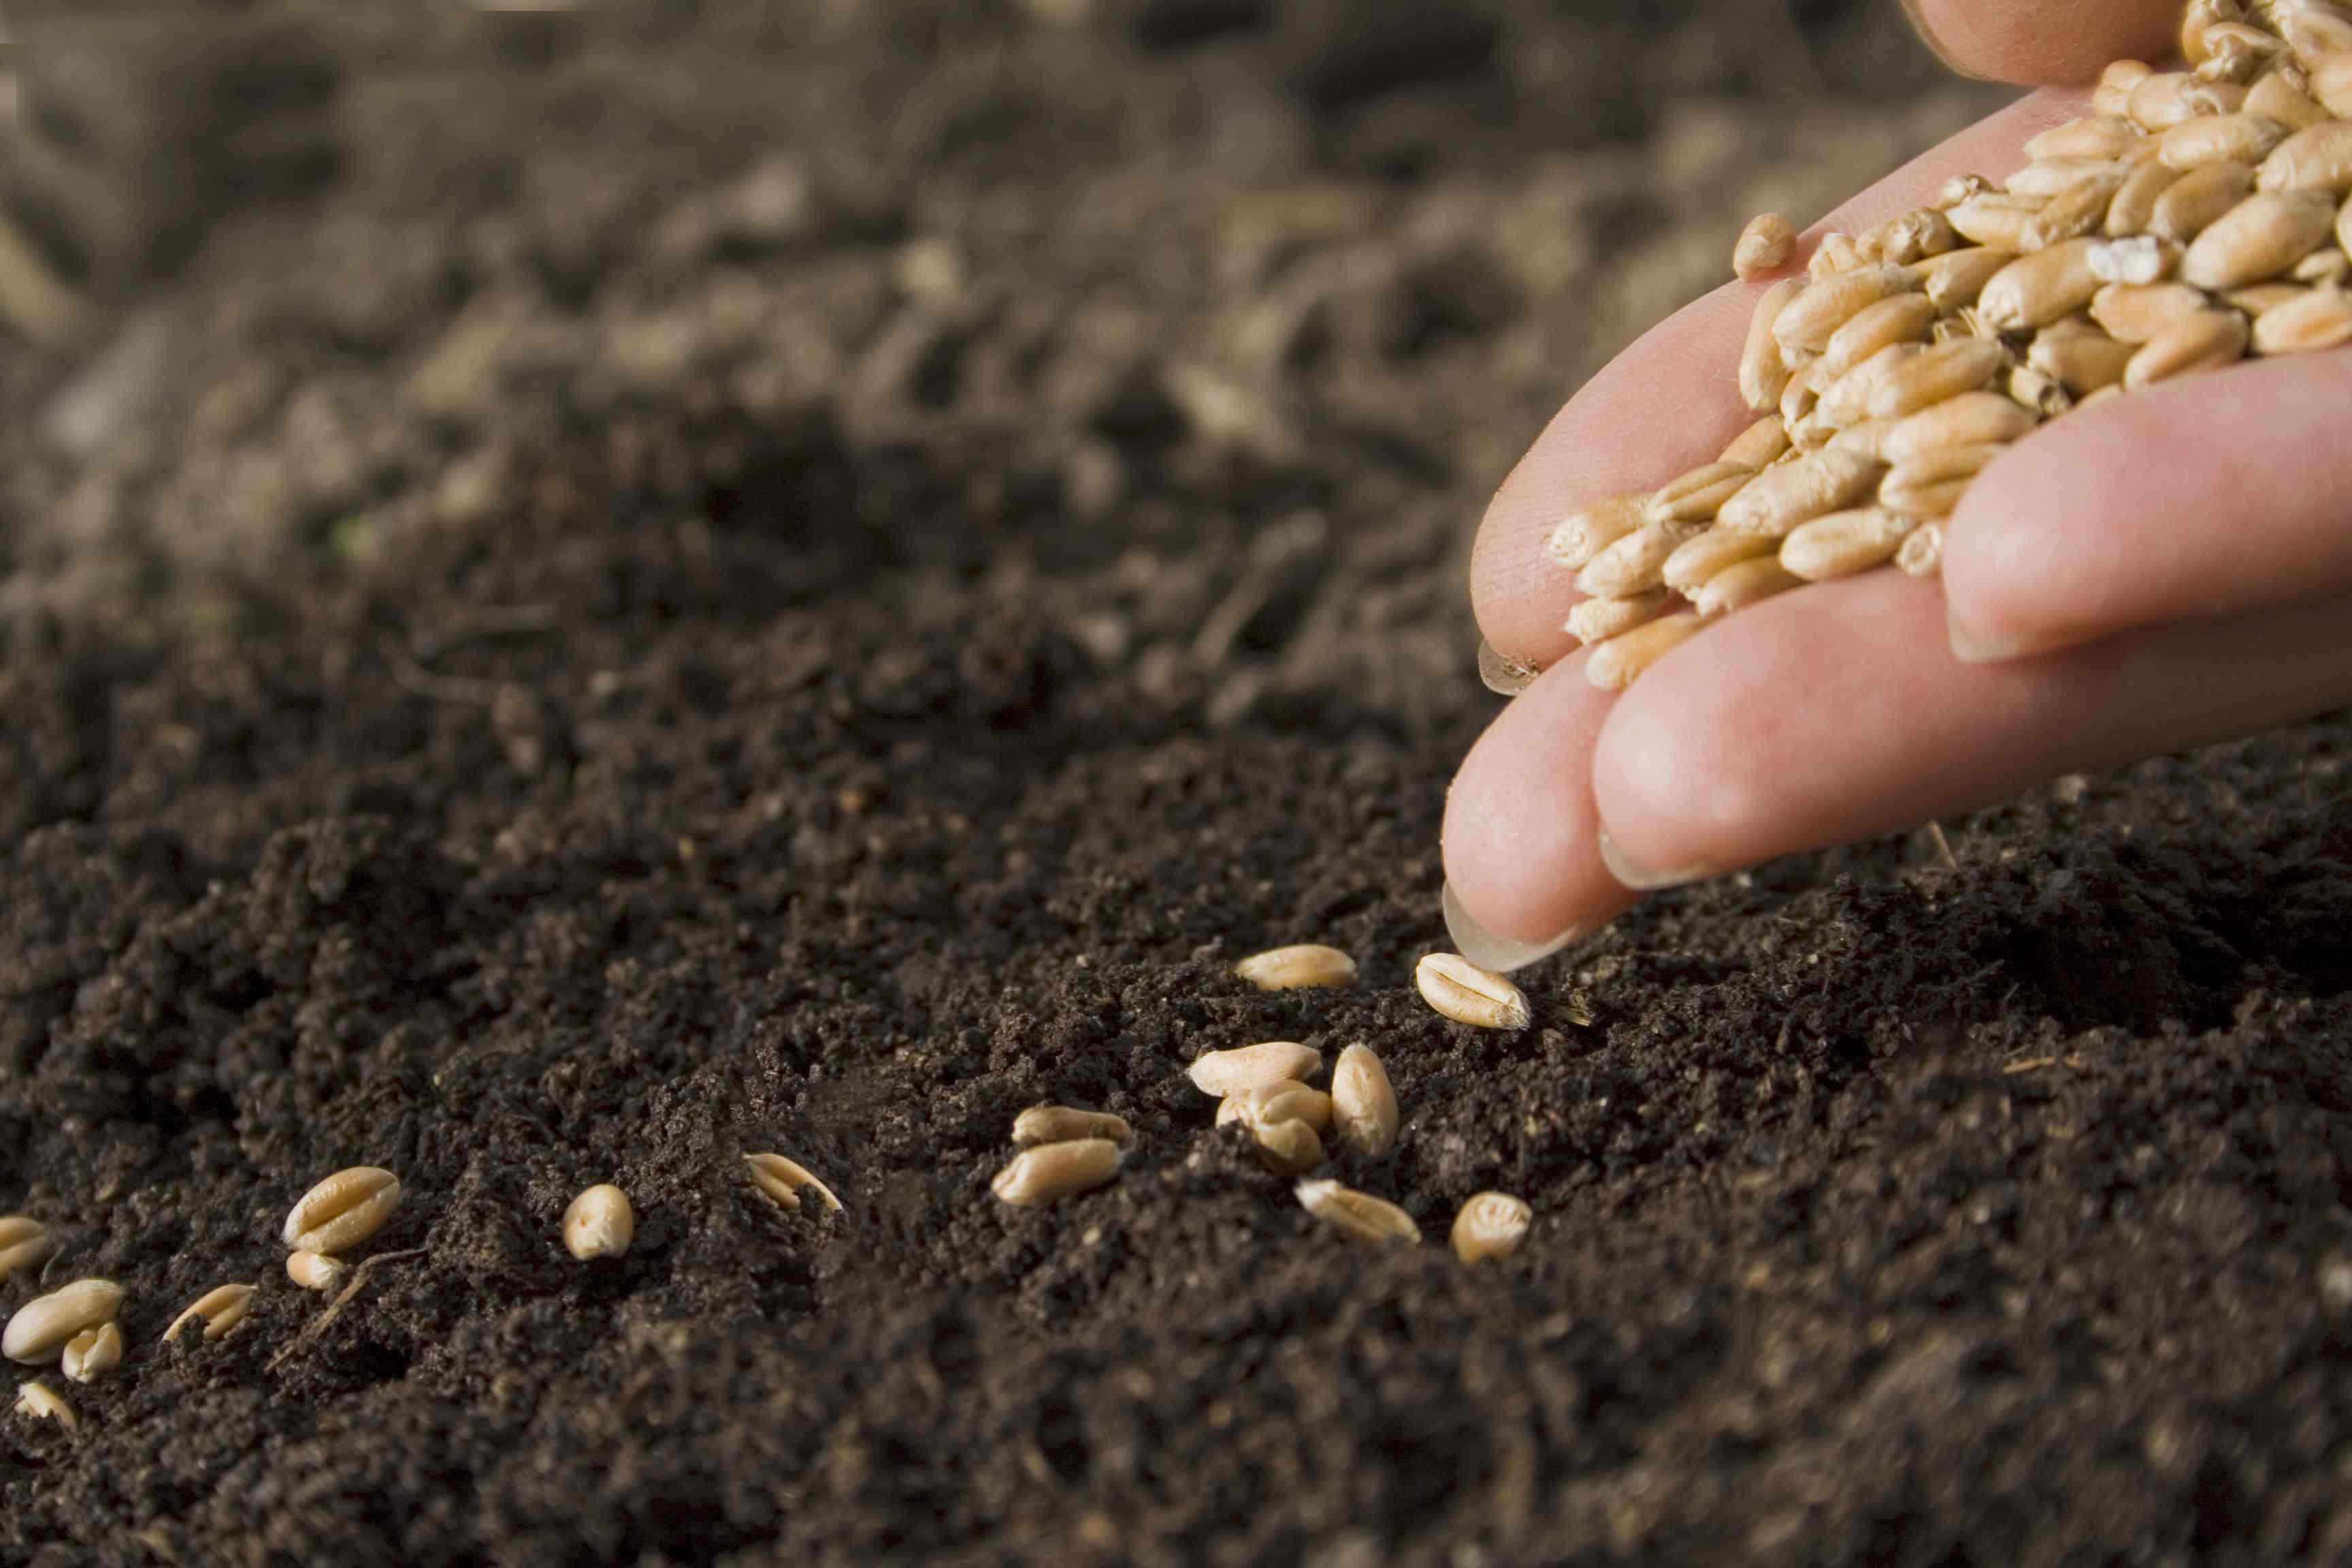
Step 2: Preparing the magnolia seeds
Once you have gathered your magnolia cones or seed pods, it’s time to prepare the seeds for planting. Follow these steps to ensure proper preparation:
- Fill a bucket or container with water. Submerge the magnolia cones or seed pods in the water and let them soak overnight. This will help soften the outer coating of the seeds, making it easier to extract them later on.
- Using a sharp knife or scissors, carefully cut open the magnolia cones or seed pods. Inside, you will find clusters of reddish-brown seeds. Gently separate the seeds from the cone or pod.
- Once you have extracted the seeds, rinse them under running water to remove any remaining debris or pulp. Pat them dry with paper towels.
- Optional: Some gardeners recommend scarifying or nicking the magnolia seeds to enhance germination. To do this, use sandpaper or a sharp blade to lightly scratch the seed coat. Be careful not to damage the seed itself.
- After scarification (if applicable), place the magnolia seeds in a plastic bag filled with moistened paper towels. Seal the bag and store it in the refrigerator for 4 to 6 weeks. This process, known as stratification, mimics the natural conditions that the seeds would experience during winter.
Note: Some magnolia species may have different seed preparation requirements, so it’s always a good idea to research the specific variety you are planting.
Tip: Label your plastic bag with the date and the magnolia variety to keep track of the stratification period.
Once the seeds have undergone stratification, you can proceed to the next step of choosing the right planting location.
Step 3: Choosing the right planting location
Choosing the right planting location is crucial for the successful growth of your magnolia seedlings. Consider the following factors when selecting the best spot:
- Sunlight: Magnolias prefer full sun to partial shade. Look for a location that receives at least 6 hours of direct sunlight per day. If you live in a hot climate, some shade during the hottest part of the day can be beneficial.
- Soil: Magnolias thrive in well-drained soil that is rich in organic matter. Avoid areas with heavy clay or compacted soil. If necessary, amend the soil with compost to improve its fertility and drainage.
- Space: Consider the mature size of the magnolia tree. Make sure there is enough space for the tree to grow without being crowded by other plants or structures. Magnolias have wide-spreading root systems, so keep them away from buildings, sidewalks, or other structures.
- Climate: Different magnolia species have different temperature tolerances. Make sure the species you are planting is suitable for your climate. Consult local nurseries or gardening experts for guidance if you are uncertain.
- Protection: Choose a location that offers some protection from strong winds. Magnolia blooms can be delicate and easily damaged by strong gusts of wind.
Tip: If you are limited on space or live in an urban area, consider planting the magnolia in a large container, such as a half-whiskey barrel or a decorative pot. This allows you to enjoy the beauty of the magnolia while controlling its size.
Once you have identified the ideal planting location for your magnolia seedlings, you’re ready to move on to the next exciting step: planting the seeds!
Step 4: Planting the magnolia seeds
Now that you have prepared your magnolia seeds and chosen the perfect planting location, it’s time to get your hands dirty and plant the seeds. Follow these steps for successful planting:
- Fill small pots or seed trays with a seed starting mix or well-draining potting soil. Moisten the soil slightly to provide a good environment for seed germination.
- Make a shallow indentation in the soil with your finger or a pencil, about ¼ to ½ inch deep.
- Place a single magnolia seed in each indentation. Gently cover the seed with soil, ensuring it is not buried too deeply.
- Label each pot or tray with the magnolia variety and the planting date.
- Water the pots or trays gently to settle the soil and provide moisture for germination. Avoid overwatering, as excessive moisture can lead to rotting of the seeds.
- Place the pots or trays in a warm location with indirect light or under grow lights. Make sure the temperature is consistently around 60-70°F (15-21°C) for optimal germination.
- Keep the soil evenly moist during the germination period, but be careful not to drown the seeds. Mist the soil lightly with a spray bottle or use a watering can with a fine rose attachment.
- Germination typically takes around 4-6 weeks, although it can vary depending on the magnolia species. Be patient and keep a close eye on the pots or trays.
Note: It’s important to maintain a consistent temperature and moisture level during the germination process to give the seeds the best chance of success.
Tip: You can cover the pots or trays with plastic wrap or a plastic lid to create a mini greenhouse effect and help retain moisture. Just make sure to remove the cover once the seedlings begin to emerge to prevent the build-up of excess humidity.
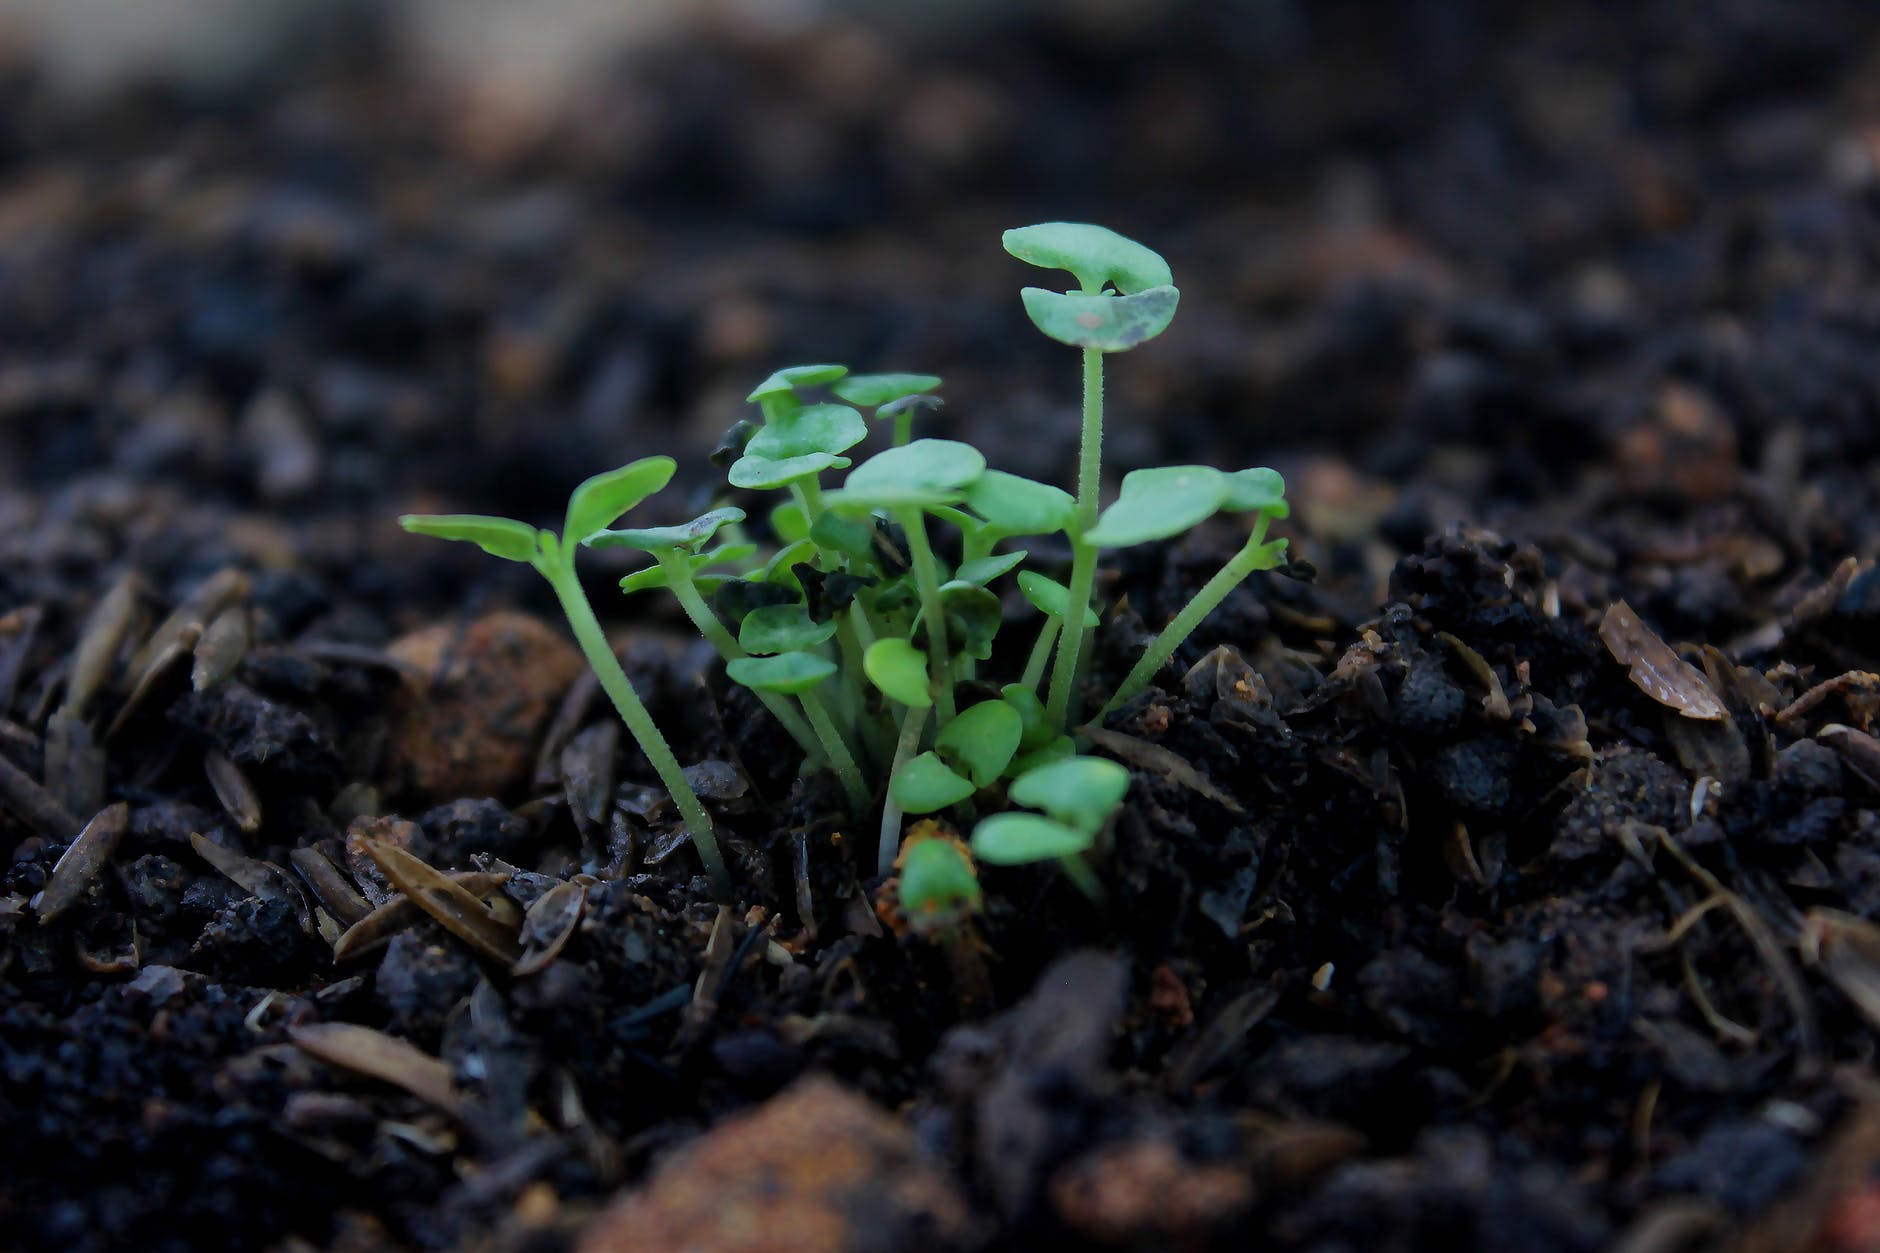
Now that the magnolia seeds are planted, it’s time to move on to the next step: caring for the seedlings as they grow.
Step 5: Caring for the seedlings
As your magnolia seedlings start to emerge, they will require proper care to ensure healthy growth and development. Follow these tips to provide the best care for your young magnolia plants:
- Watering: Keep the soil consistently moist but not soggy. Water the seedlings whenever the top inch of soil feels dry. Use a watering can or spray bottle to avoid disrupting the delicate seedlings.
- Lighting: Magnolia seedlings need bright, indirect light to thrive. If you are growing them indoors, place them near a sunny window or provide artificial grow lights for 12-16 hours a day. Rotate the pots periodically to ensure even exposure to light.
- Temperature: Maintain a moderate temperature of around 60-70°F (15-21°C). Avoid exposing the seedlings to extreme temperatures or drafts, as they can cause stress and hinder growth.
- Fertilizing: After the seedlings develop their first set of true leaves, you can begin fertilizing them. Use a balanced liquid fertilizer diluted to half strength. Apply the fertilizer every two weeks during the growing season.
- Thinning: If multiple seedlings emerge in a single pot or tray, thin them by removing the weaker ones, leaving only the strongest seedling. This allows the remaining plant to have more space, nutrients, and light to grow.
- Pruning: As the seedlings grow and develop, you may want to prune them to shape and encourage branching. Wait until the seedlings are well-established and have grown a few sets of leaves before pruning. Use clean, sharp pruning shears and make clean cuts just above a leaf node.
Note: It’s essential to handle the seedlings with care and avoid damaging the delicate roots or stems.
Tip: Observing and connecting with your seedlings can be a rewarding experience. Keep a gardening journal to record their progress and any observations or thoughts you may have.
Closely following these care guidelines will help nurture your magnolia seedlings into robust and resilient plants. Once the seedlings are large enough and have developed a strong root system, it’s time to proceed to the next step: transplanting them into their permanent home.
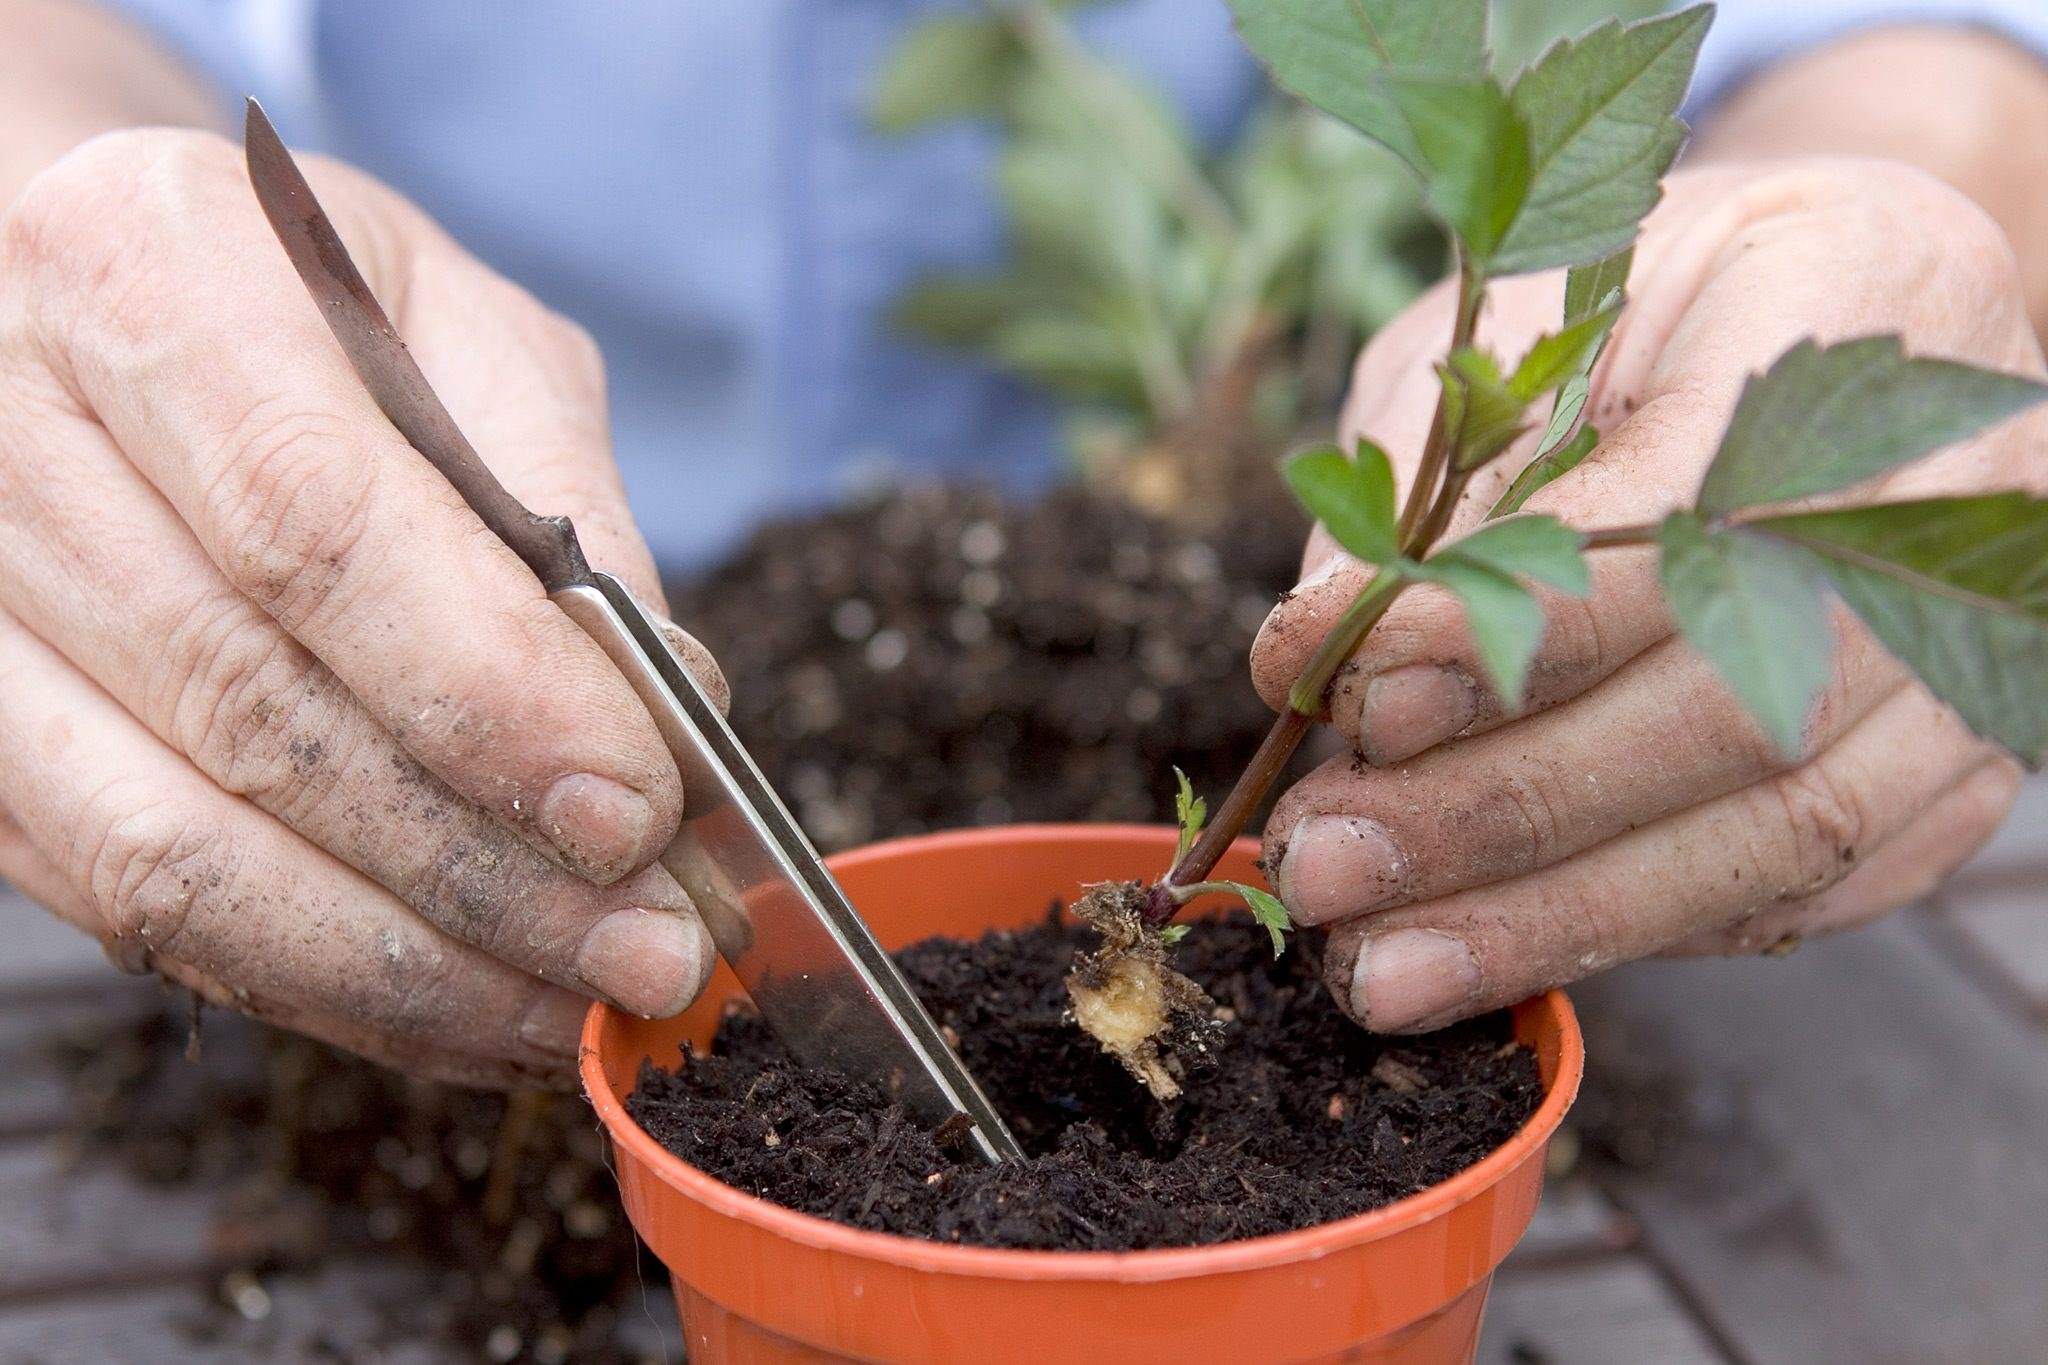
Step 6: Transplanting the seedlings
Once your magnolia seedlings have grown sufficiently and are ready to be moved to their permanent location, it’s important to transplant them properly for their continued growth and well-being. Follow these steps to successfully transplant your magnolia seedlings:
- Timing: Choose a suitable time to transplant your seedlings, ideally during the early spring or fall when temperatures are mild. Avoid transplanting during hot summer months or freezing winter conditions.
- Prepare the new planting hole: Dig a hole in the desired planting location that is slightly larger and wider than the root ball of the seedling. Make sure the hole has well-drained soil and is at a depth that matches the level of the seedling’s existing soil line.
- Careful removal: Gently remove the seedling from its original pot, being cautious not to disturb the roots or damage the delicate stems. If the seedlings are closely spaced, you may need to separate them carefully.
- Planting: Place the seedling in the new hole, ensuring that it is upright and at the same level as it was in its original container. Backfill the hole with soil, gently pressing it down to eliminate air pockets. Water the newly transplanted seedling thoroughly.
- Mulch and support: Apply a layer of organic mulch around the base of the seedling, leaving a small space around the stem to prevent rotting. Consider staking the seedling if it requires additional support due to its size or the planting location.
- Post-transplant care: Provide the transplanted seedlings with adequate water and monitor their growth closely. Protect them from extreme weather conditions, pests, and diseases. Gradually acclimate the seedlings to their new environment by slowly exposing them to longer periods of sunlight.
Note: It’s important to handle the seedlings and their delicate root systems with care during the transplanting process to minimize damage and stress.
Tip: Consider creating a windbreak or providing shade for the newly transplanted seedlings to help them adjust to their new surroundings.
By following these steps, you will give your magnolia seedlings the best chance for survival and growth as they adapt to their new home. With proper care and attention, your transplanted magnolias will flourish and become beautiful additions to your garden or landscape.
Step 7: Maintenance and ongoing care
Now that your magnolia seedlings are transplanted and established in their new home, it’s important to provide ongoing care to ensure their continued health and vitality. Follow these maintenance tips to keep your magnolias thriving:
- Watering: Continue to water your magnolia trees regularly, especially during dry spells or prolonged periods without rain. Aim to provide deep, thorough watering to reach the root zone, rather than shallow, frequent watering.
- Fertilizing: Feed your magnolia trees with a balanced fertilizer in early spring, using a slow-release or organic option. Follow the manufacturer’s instructions carefully to avoid over-fertilizing, as this can be detrimental to the plants. Also, consider performing a soil test to determine any specific nutrient deficiencies.
- Pruning: Regularly prune your magnolia trees to maintain their shape, remove dead or damaged branches, and promote airflow and sunlight penetration. Pruning should be done during the dormant season to minimize stress on the tree.
- Pest and disease control: Monitor your magnolias for common pests like aphids, scale insects, or leaf miners. If necessary, treat the affected areas with appropriate organic or chemical pesticides. Also, be vigilant for signs of diseases such as powdery mildew or leaf spot and take necessary action promptly.
- Protection during extreme weather: Protect your magnolia trees from extreme weather conditions, such as heavy winds, frost, or excessive heat. Consider using windbreaks, frost covers, or shading to mitigate potentially damaging effects.
- Mulching: Apply a layer of organic mulch around the base of your magnolia trees to help conserve moisture, suppress weeds, and moderate soil temperature. Ensure that the mulch is not in direct contact with the tree trunk to prevent rotting.
- Regular monitoring: Keep a close eye on your magnolias for any signs of stress, nutrient deficiencies, or growth irregularities. Regularly inspect the leaves, stems, and the overall condition of the trees to address any issues promptly.
Tip: Stay informed about the specific needs and requirements of the magnolia species you are growing. Different varieties may have slightly different care instructions, so it’s helpful to research and adapt your maintenance practices accordingly.
By following these maintenance guidelines, you will provide your magnolia trees with the care they need to thrive and continue to grace your garden with their beautiful blossoms and foliage for years to come.
Conclusion
Congratulations! You have now learned how to plant and care for magnolia trees from seeds. Edible gardening is a wonderful way to connect with nature and enjoy the fruits, or in this case, the beautiful blooms, of your labor.
By following the step-by-step process outlined in this article, you can successfully grow magnolia trees from seeds and witness the transformation from tiny seeds to magnificent trees. Remember, patience and dedication are key when it comes to nurturing your magnolia seedlings.
From gathering the materials to preparing the seeds, choosing the right planting location, and transplanting the seedlings, each step plays a vital role in the growth and development of your magnolia trees. Ongoing maintenance, such as watering, fertilizing, pruning, and protecting from pests and diseases, will ensure their long-term health and vigor.
As your magnolias grow, you will be rewarded with their spectacular blooms and the satisfaction of knowing that you played a part in their journey. Take the time to appreciate their beauty, fragrance, and the wildlife they attract to your garden.
Remember to keep learning and experimenting with different varieties and techniques to expand your edible gardening knowledge. Whether you have a small backyard or a sprawling landscape, edible gardening offers endless possibilities for growing your own food and creating a beautiful, sustainable garden space.
So, get started on your edible gardening adventure by planting magnolia seeds and watch your garden flourish with their stunning presence. Happy planting!