Home>Types of Gardening>Edible Gardening>How To Plant Chives Seeds
Edible Gardening
How To Plant Chives Seeds
Modified: January 22, 2024
Learn how to plant chives seeds for your edible gardening needs. Find step-by-step instructions and tips to successfully grow chives in your garden.
(Many of the links in this article redirect to a specific reviewed product. Your purchase of these products through affiliate links helps to generate commission for Chicagolandgardening.com, at no extra cost. Learn more)
Table of Contents
Introduction
Welcome to the world of edible gardening! If you’re looking to add a flavorful and versatile herb to your garden, chives are an excellent choice. Not only are chives easy to grow, but they also add a burst of onion flavor to a variety of dishes. Whether you’re a seasoned gardener or just starting out, planting chives from seeds is a rewarding endeavor that can yield a plentiful harvest.
In this guide, we’ll walk you through the step-by-step process of planting chives seeds successfully. From preparing the soil to harvesting your fresh chives, we’ve got you covered. By the end of this article, you’ll have all the knowledge you need to grow healthy and robust chive plants in your own backyard.
Chives, a member of the allium family, are perennial herbs that are known for their slender green stems and vibrant purple, pink, or white flowers. Not only are they a beautiful addition to any garden, but they also have a variety of uses in the kitchen. From garnishing salads and soups to adding a mild onion flavor to omelets, chives are a versatile herb that can elevate your culinary creations.
One of the greatest advantages of growing chives from seeds is the cost-effectiveness. Buying a packet of chive seeds is much more affordable than purchasing established plants. Additionally, starting from seeds allows you to have full control over the growing process, ensuring that your chives are grown organically and are free from any chemical pesticides or fertilizers.
So, roll up your sleeves and get ready to embark on a rewarding journey of planting and growing chives from seeds. Let’s dive into the process, starting with preparing the soil for your chive plants.
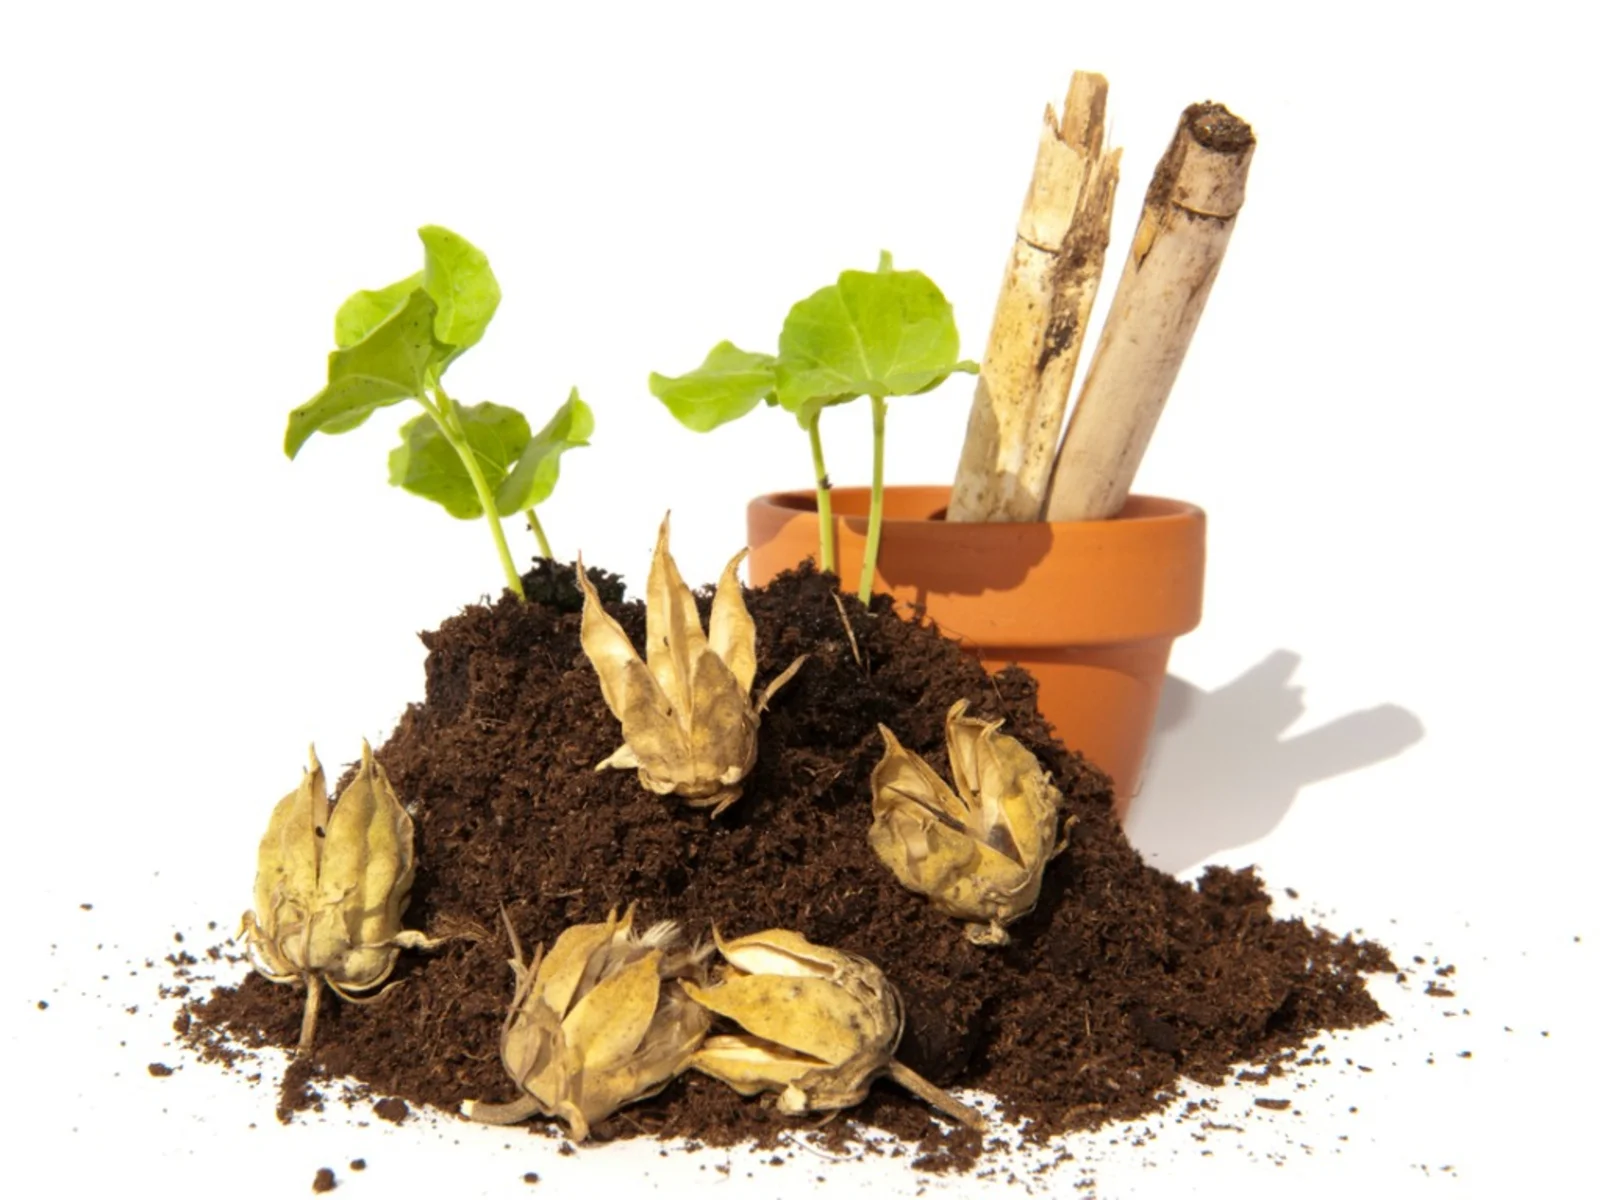
Step 1: Prepare the Soil
The first step in successfully growing chives from seeds is to prepare the soil. Chives thrive in well-drained soil that is rich in organic matter. Here’s how you can prepare the soil for your chive plants:
- Choose the right location: Select a sunny spot in your garden that receives at least 6 to 8 hours of direct sunlight each day. Chives prefer a full sun exposure to promote healthy growth and maximize their flavor.
- Clear the area: Remove any weeds or grass from the chosen location. Clearing the area of competing plants will give your chive seeds the best chance to germinate and thrive without the competition for nutrients.
- Loosen the soil: Use a garden fork or a tiller to loosen the soil. Chives prefer loose and crumbly soil, which allows their roots to penetrate easily and access nutrients and moisture. Avoid compacting the soil as it can hinder the growth of your chive plants.
- Add organic matter: Incorporate organic matter, such as compost or well-rotted manure, into the soil. Organic matter improves the soil’s fertility, drainage, and moisture-retention capacity. Spread a layer of compost or manure over the soil surface and gently mix it into the top few inches of soil.
- Adjust the pH level: Chives prefer slightly acidic to neutral soil with a pH level between 6.0 and 7.0. If your soil is too acidic or alkaline, amend it accordingly. You can use soil testing kits or consult your local gardening center for guidance on adjusting the pH level.
By following these steps, you’ll create a favorable environment for your chive seeds to grow into healthy plants. Once you’ve prepared the soil, you’re ready to move on to the next step: sowing the chive seeds.
Step 2: Sow the Chive Seeds
Now that you have prepared the soil, it’s time to sow the chive seeds. Here’s how you can do it:
- Choose the right time: Chive seeds can be sown either in early spring or late summer. The ideal temperature for germination is between 60°F to 70°F (15°C to 21°C). Choose a time when the weather conditions are favorable for the seeds to sprout and grow.
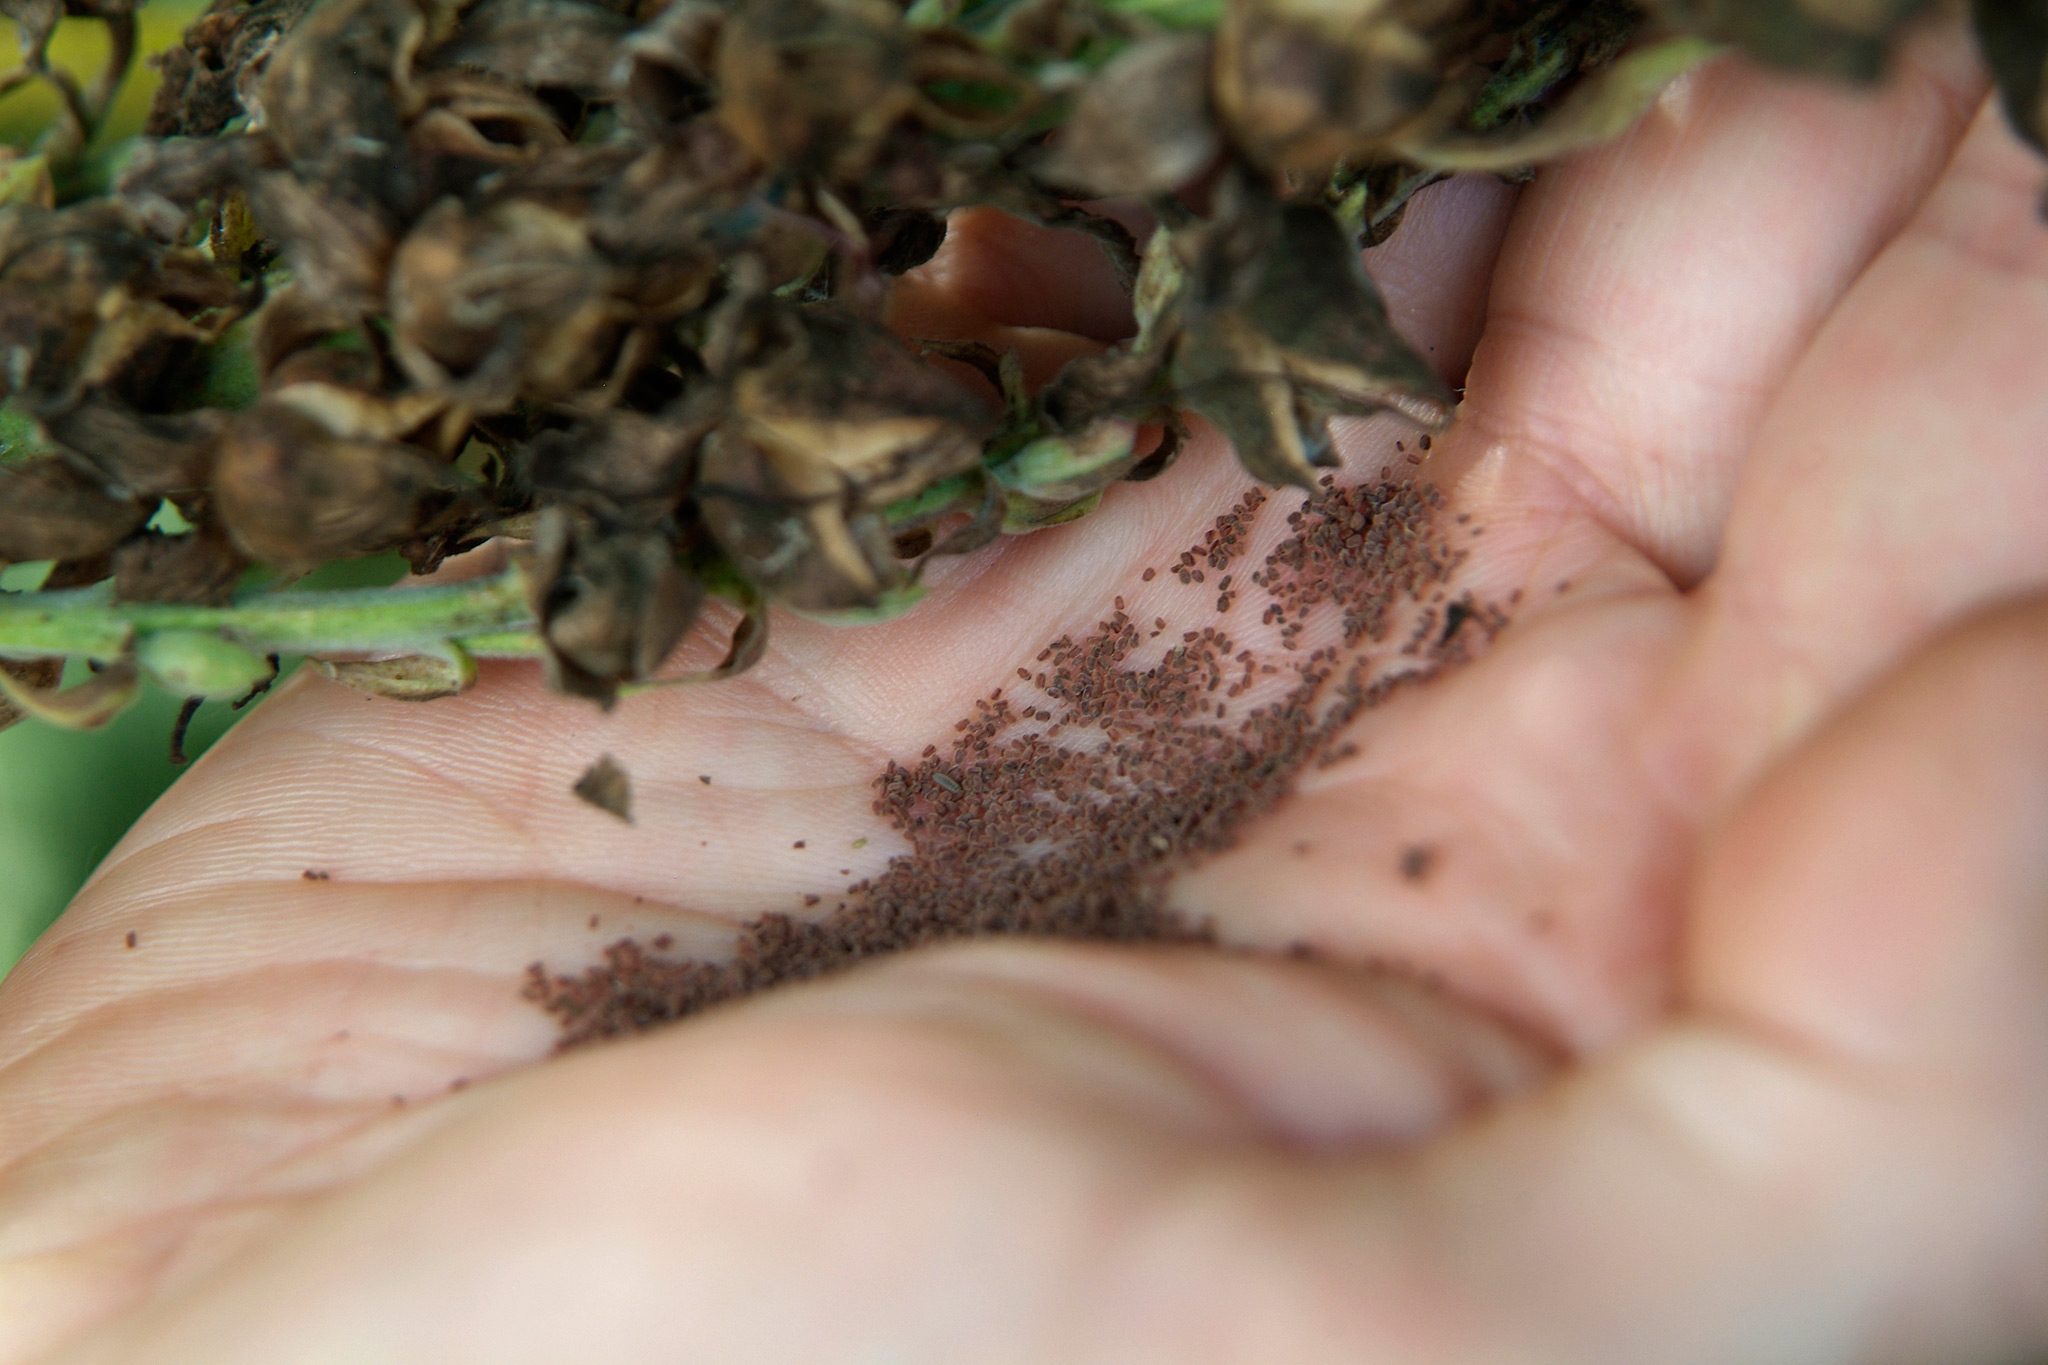
- Prepare the seeds: Before sowing the seeds, you can improve the germination rate by stratifying them. This can be done by placing the seeds in a damp paper towel or in the refrigerator for a few weeks. Stratification mimics the natural winter dormancy period, prompting the seeds to germinate more consistently.
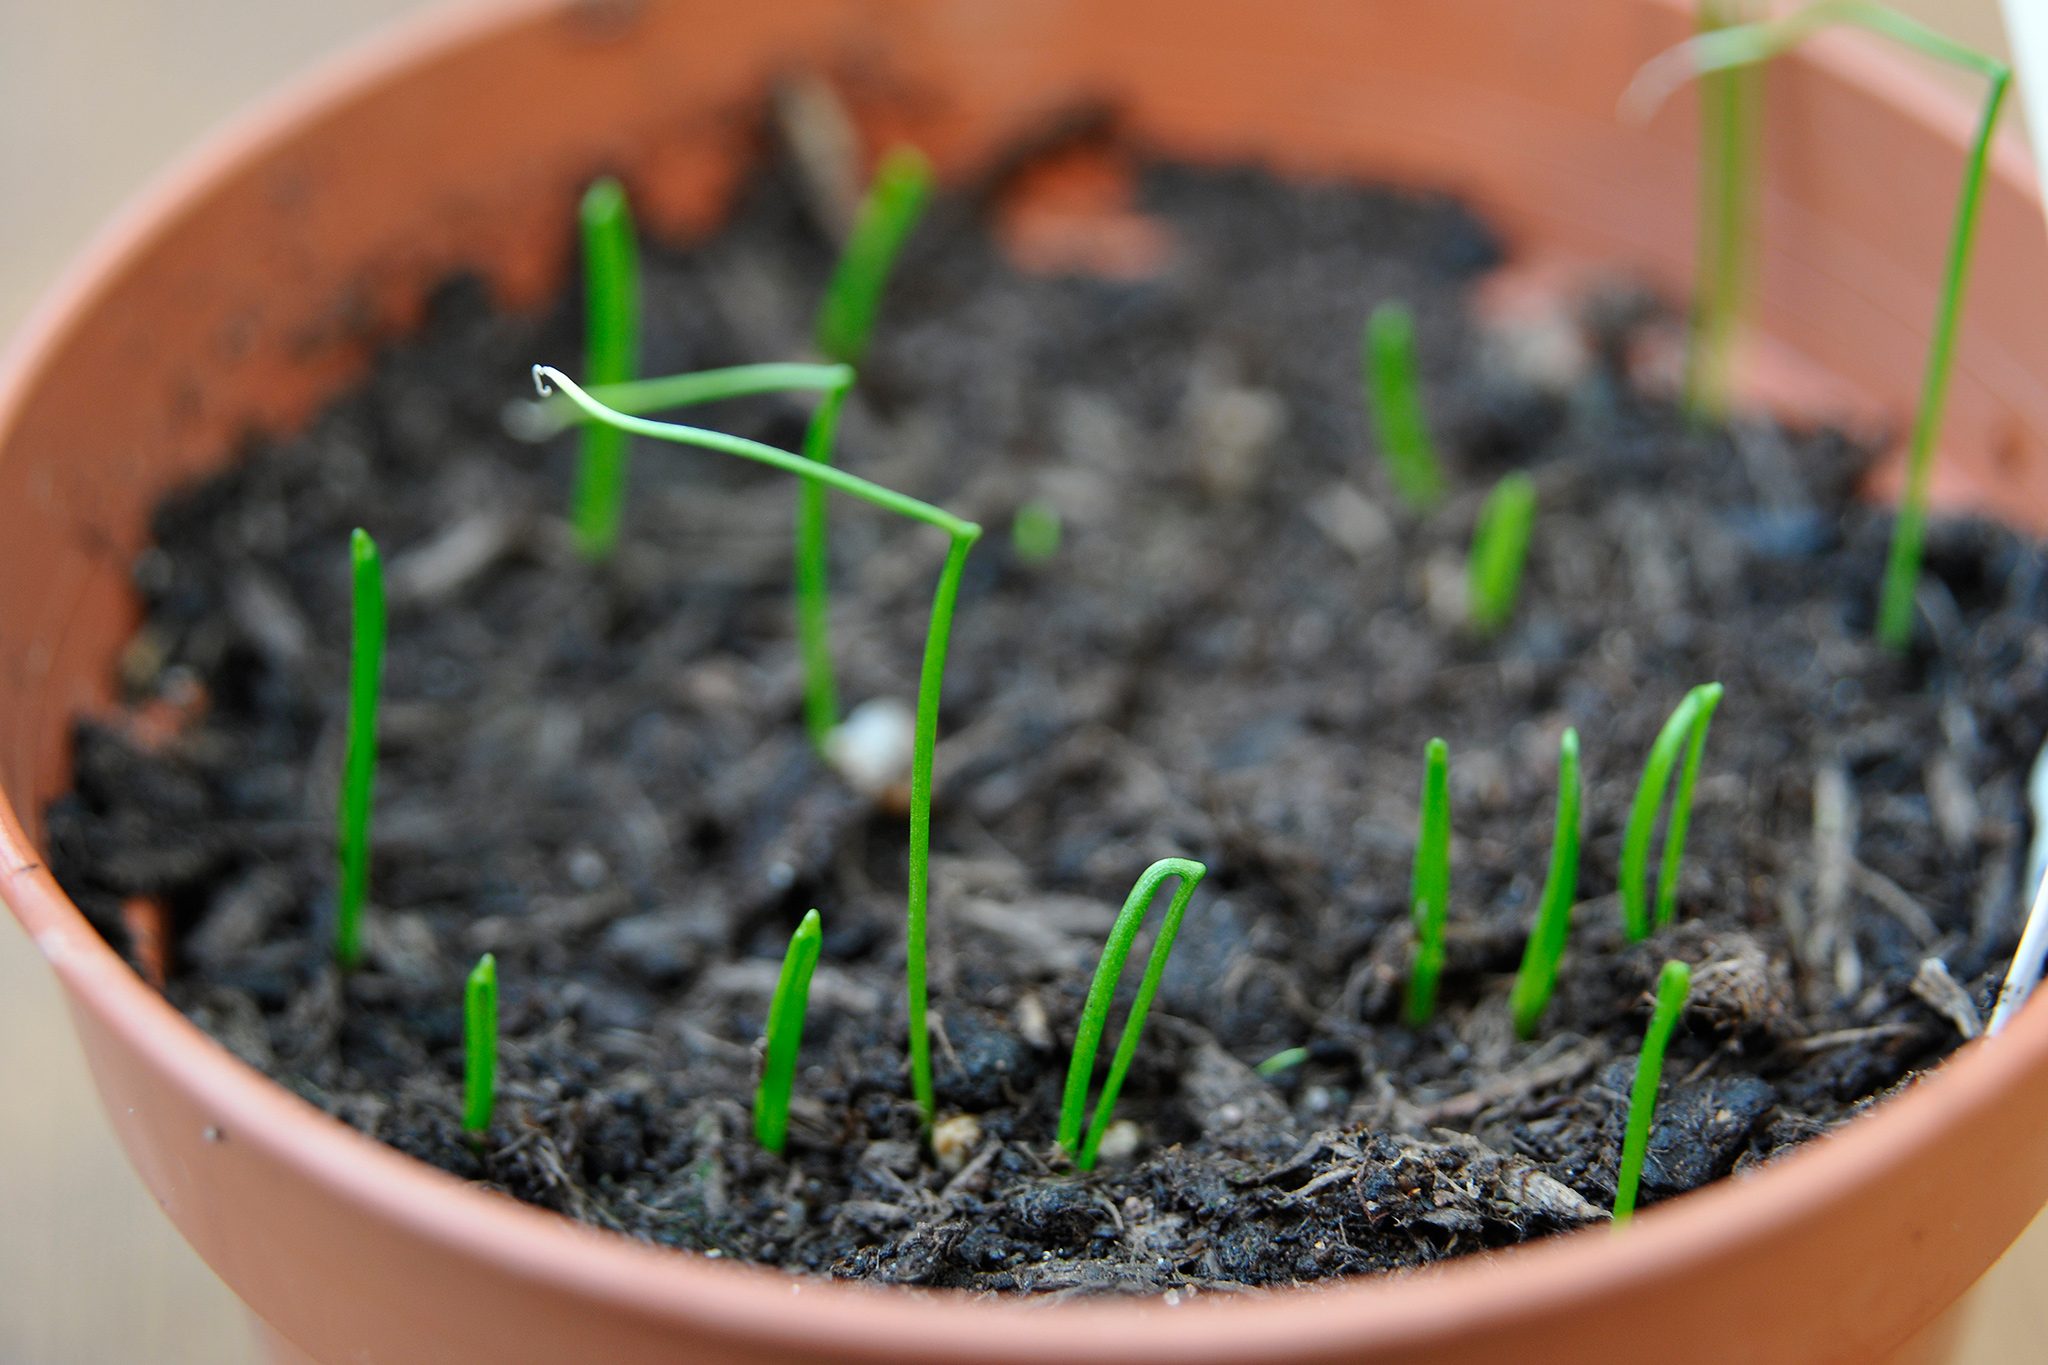
- Sow the seeds: Sprinkle the chive seeds evenly over the prepared soil surface. Aim for a spacing of about 1/4 to 1/2 inch (0.6 to 1.3 cm) between each seed. It’s important not to bury the seeds too deep, as they require light to germinate. Gently press the seeds into the soil, ensuring good seed-to-soil contact.
- Water the seeds: After sowing, water the soil gently to moisten it. Be careful not to overwater, as excessive moisture can lead to rotting or fungal diseases. Keep the soil consistently moist throughout the germination period to facilitate seed sprouting.
- Cover the seeds: To help retain moisture and protect the seeds, you can lightly cover the seeded area with a thin layer of compost or vermiculite. This will create a favorable microclimate for the seeds to germinate successfully.
Now that you have sown the chive seeds, it’s time to move on to the next step: watering your seeds and providing them with adequate sunlight.
Step 3: Watering
Watering is crucial for the successful growth of your chive plants. Here are some important considerations for watering your chive seeds:
- Keep the soil consistently moist: Chive seeds and seedlings require consistent moisture to germinate and establish. Water the seeded area gently to keep the soil moist but not waterlogged. Avoid allowing the soil to dry out completely between watering sessions.
- Use a gentle watering method: Chive seeds are delicate, so it’s important to use a gentle watering method to avoid disturbing the seeds or causing erosion. Consider using a watering can with a fine rose or a misting spray nozzle on your hose.
- Water in the morning: Water your chive seeds in the morning to allow any excess moisture to evaporate during the day. This helps prevent the growth of fungal diseases, which can thrive in damp conditions.
- Monitor soil moisture: Regularly check the moisture level of the soil by gently inserting your finger into the soil. If it feels dry beyond the top inch, it’s time to water. Adjust the frequency of watering based on the weather conditions and the moisture retention capacity of your soil.
Remember that overwatering can be just as detrimental as underwatering. Excessive moisture can lead to root rot and other diseases. It’s important to find the right balance and provide your chive plants with the appropriate amount of water.
In the next step, we will explore the importance of providing adequate sunlight to your chive plants.
Step 4: Provide Adequate Sunlight
Chives thrive in sunny locations, so providing adequate sunlight is essential for their growth and development. Here’s what you need to know about sunlight requirements for your chive plants:
- Full sun exposure: Chives prefer full sun exposure for at least 6 to 8 hours a day. Ensure that the location where you’ve planted your chive seeds receives abundant sunlight. If your garden has areas with partial shade, it’s best to avoid planting chives there as they may not grow as vigorously.
- Choose a sunny spot: Select a spot in your garden that offers maximum sunlight throughout the day. Avoid areas that are shaded by buildings, trees, or other structures. The more sunlight your chive plants receive, the better their growth and flavor.
- Protect from extreme heat: While chives love the sun, they may appreciate some protection during extremely hot summer days. If you live in a region with scorching temperatures, consider providing some afternoon shade using shade cloth or strategically placing your chive plants near taller plants that can provide some relief from intense sunlight.
It’s important to note that adequate sunlight not only promotes healthy growth but also enhances the flavor of chives. Sunlight helps chives produce more volatile oils, which contribute to their distinct onion-like taste.
In the next step, we’ll discuss the importance of maintaining regular moisture for your chive plants to thrive.
Step 5: Maintain Regular Moisture
Maintaining regular moisture is crucial for the growth and overall health of your chive plants. Here are some tips to ensure proper moisture levels:
- Monitor soil moisture: Regularly check the moisture level of the soil by inserting your finger into the soil. Chive plants prefer consistently moist soil, so it’s important to avoid letting the soil dry out completely between watering sessions.
- Water deeply: When watering your chive plants, aim to water deeply. This encourages the roots to grow downward in search of moisture, promoting stronger and more resilient plants. Avoid shallow watering, as it can lead to shallow root growth and make the plants more susceptible to drought.
- Use mulch: Applying a layer of organic mulch around your chive plants helps regulate soil moisture by reducing evaporation and preventing weed growth. Mulch also provides insulation, keeping the soil cool and suppressing weed competition for water and nutrients.
- Avoid waterlogged soil: While chive plants appreciate consistent moisture, it’s important to avoid waterlogged soil. Excessive moisture can lead to root rot and other fungal diseases. Make sure the soil has good drainage to prevent water from pooling around the roots.
During periods of hot and dry weather, you may need to adjust your watering schedule to prevent the soil from drying out too quickly. Observing your chive plants regularly will help you determine their moisture needs and make any necessary adjustments.
Next, we’ll discuss the importance of thinning out the chive seedlings to promote healthy growth.
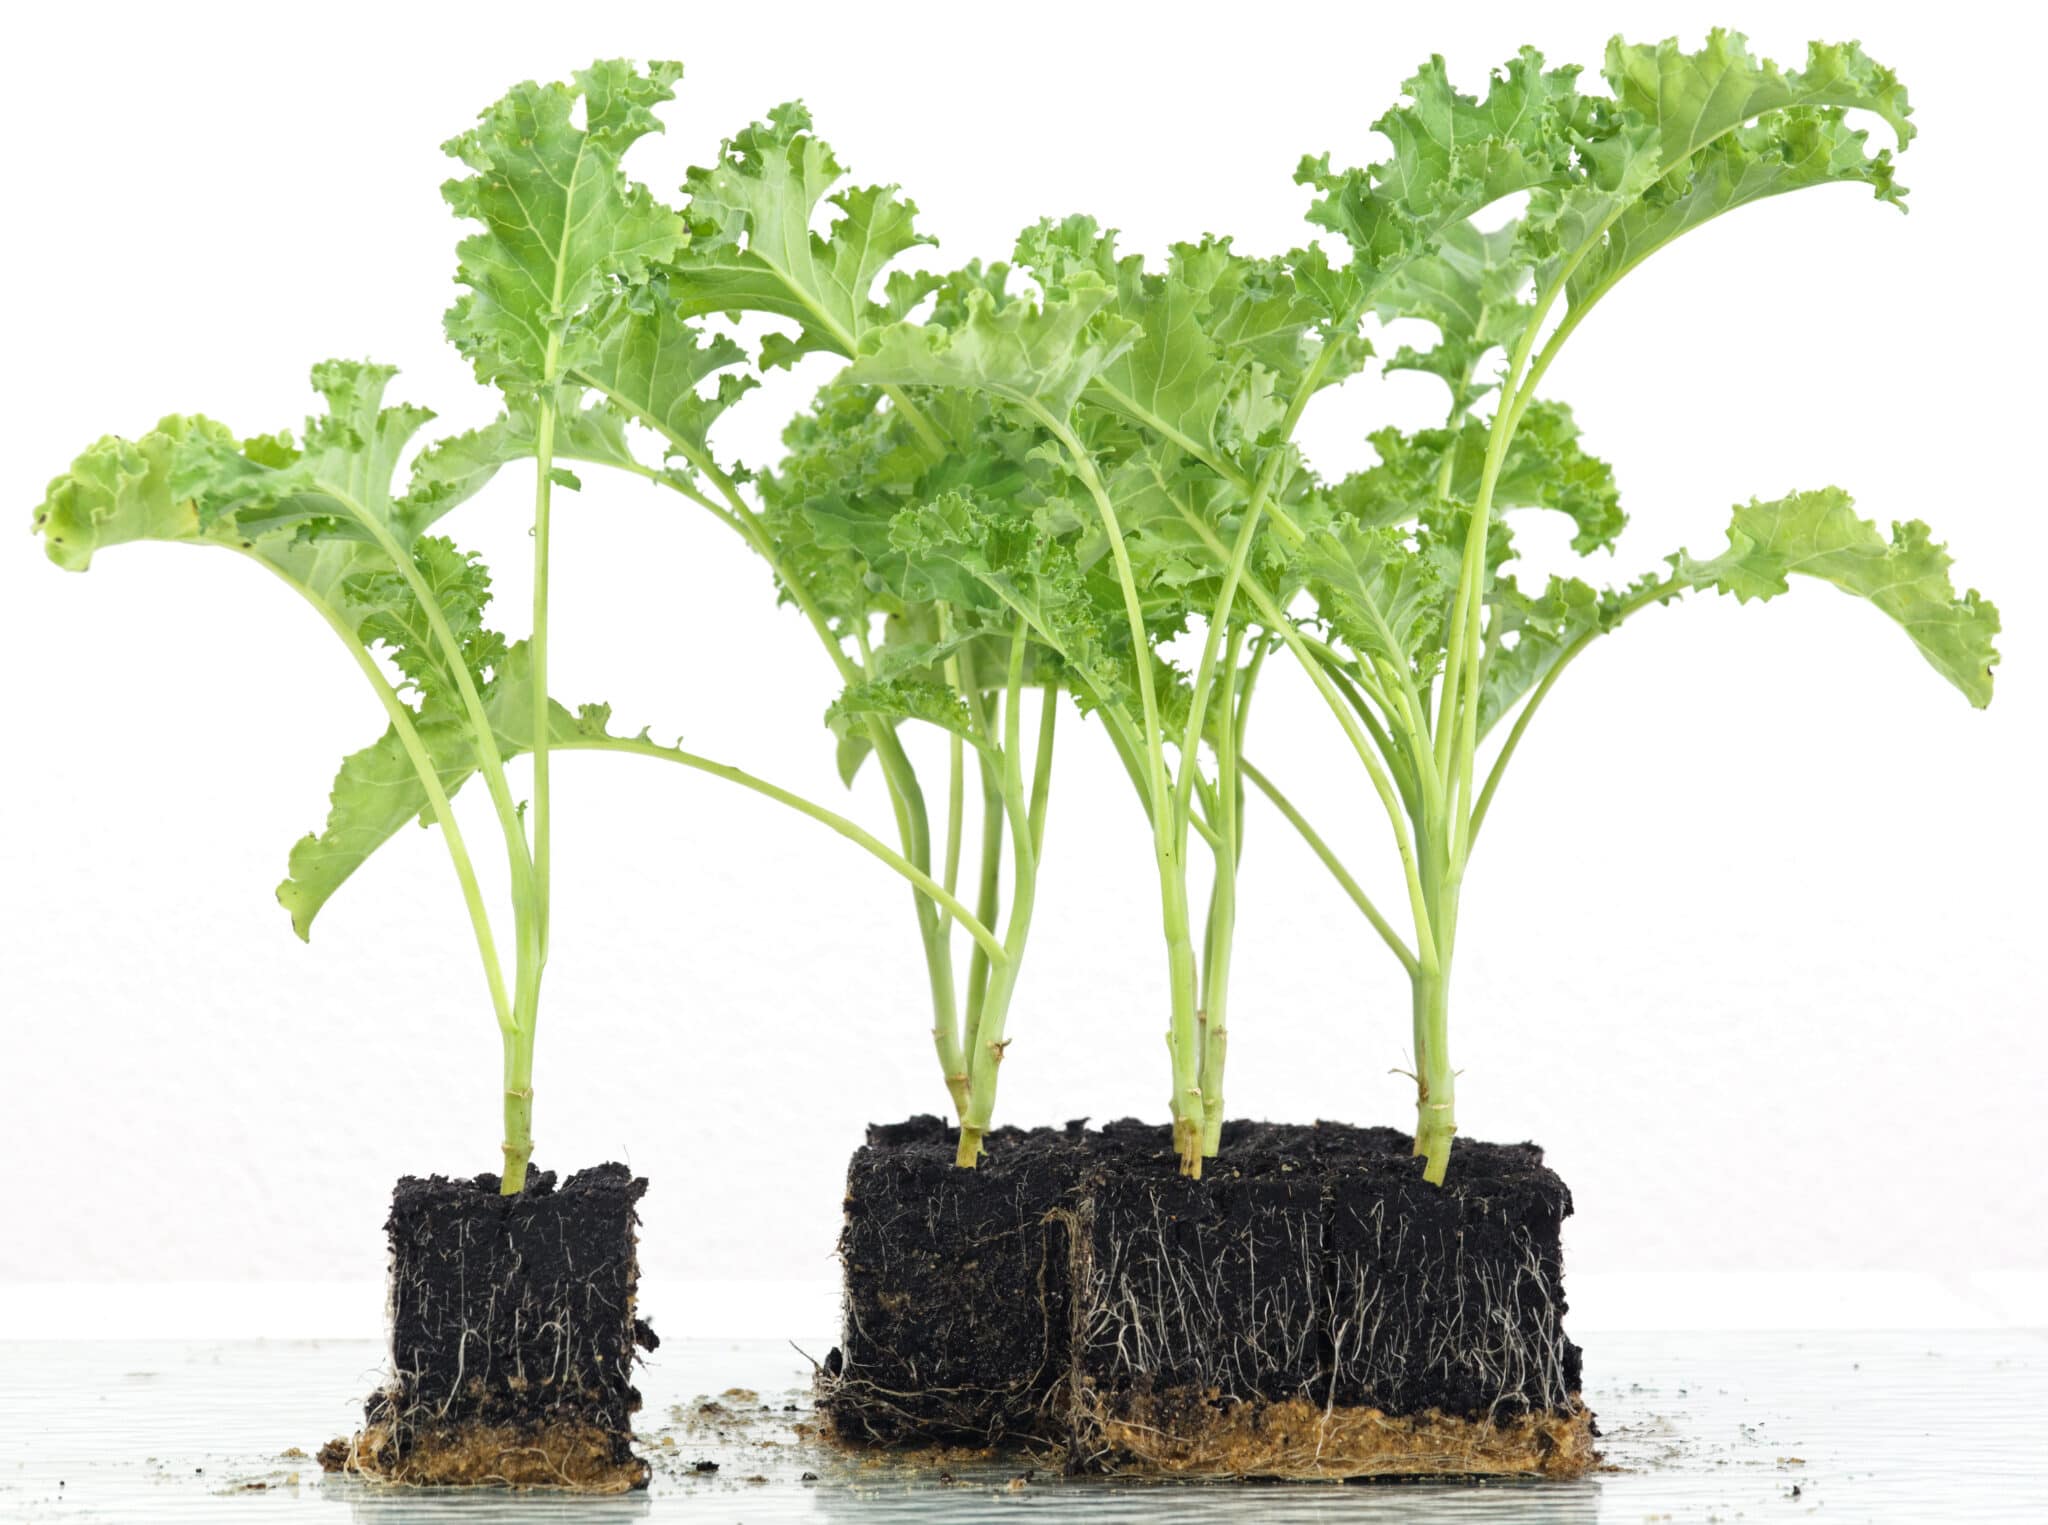
Step 6: Thin Out the Seedlings
Thinning out the chive seedlings is an important step in ensuring the healthy growth and vitality of your plants. Here’s how you can effectively thin out the seedlings:
- Timing is key: Thinning should be done when the chive seedlings are around 2 to 3 inches (5 to 7.5 cm) tall. This allows you to discern the stronger and healthier seedlings from the weaker ones.
- Identify the strongest seedlings: Choose the healthiest and most vigorous seedlings to keep. Look for seedlings that have developed strong stems and a robust appearance.
- Remove the excess seedlings: Gently grasp the unwanted seedlings between your fingers and pull them out from the base, taking care not to disturb the roots of the remaining seedlings. Alternatively, you can use small gardening scissors to carefully snip away the excess seedlings at soil level.
- Provide adequate spacing: Ensure that there is enough space between the remaining seedlings to allow for proper air circulation and growth. Chives typically require a spacing of 6 to 8 inches (15 to 20 cm) between plants.
Thinning out the seedlings helps reduce competition for nutrients, water, and sunlight, allowing the remaining plants to thrive and develop into healthy chive clumps. It also helps prevent overcrowding, which can lead to a higher risk of diseases and poor growth.
Once you’ve thinned out the chive seedlings, you can move on to the next step: fertilizing the chive plants to ensure optimal nutrient levels.
Step 7: Fertilize the Chive Plants
Fertilizing your chive plants is essential for providing them with the necessary nutrients to grow and thrive. Here’s what you need to know about fertilizing chives:
- Select a balanced fertilizer: Chives are not heavy feeders, so a balanced all-purpose fertilizer with equal proportions of nitrogen, phosphorus, and potassium (N-P-K) is suitable. Look for a fertilizer with an N-P-K ratio of around 10-10-10 or 14-14-14.
- Apply the fertilizer sparingly: Chives do not require excessive amounts of fertilizer. Apply a small amount of fertilizer around the base of the chive plants, following the package instructions for the appropriate application rate. Over-fertilization can lead to excessive foliage growth and reduced flavor.
- Timing is crucial: Fertilize your chive plants in early spring, just as new growth begins, and again in mid-summer. These timings coincide with the plants’ active growth periods and ensure that they receive a steady supply of nutrients throughout the growing season.
- Consider organic options: If you prefer to use organic fertilizers, you can opt for compost or well-rotted manure. These natural options provide a slow release of nutrients and improve soil fertility over time. Apply organic fertilizers in the same manner as conventional fertilizers.
Remember to water your chive plants after fertilizing to help the nutrients penetrate the soil and reach the plant’s roots. Be cautious not to over-fertilize as it can lead to nutrient buildup or burn the plants. Following the recommended fertilizer practices will ensure that your chive plants receive the necessary nutrients for healthy growth.
Next, we’ll explore the exciting stage of harvesting your homegrown chives!
Step 8: Harvesting Chives
Harvesting your homegrown chives is an exciting and rewarding experience. Here’s what you need to know about harvesting chives:
- Wait for maturity: Chives typically reach maturity and are ready for harvest about 60 to 90 days after sowing. At this stage, the stems will have reached a height of around 6 to 8 inches (15 to 20 cm) and will be sturdy enough to withstand cutting.
- Choose the right time of day: It’s best to harvest chives in the morning when the essential oils that contribute to their flavor are at their peak. Harvesting in the morning also allows the plant to replenish its energy reserves throughout the day.
- Use sharp, clean scissors: To harvest chives, use sharp scissors or garden shears to avoid damaging the plant. Ensure that the cutting tool is clean to prevent the transfer of any potential diseases or contaminants.
- Cut above the base: Snip the chive stems about 1 to 2 inches (2.5 to 5 cm) above the plant’s base, just above the soil level. Avoid cutting too close to the ground as it may harm the plant’s regrowth potential.
- Harvest regularly: Regular harvesting promotes bushier growth and encourages continuous production of fresh chives. Aim to harvest no more than one-third to one-half of the plant at a time, allowing the remaining foliage to continue photosynthesizing and providing energy for future growth.
Harvested chives can be used immediately in your culinary creations or stored for future use. To store harvested chives, gently rinse them under cool water and pat them dry. Wrap them in a damp paper towel and place them in a plastic bag or airtight container in the refrigerator. Properly stored chives can last for up to a week.
Enjoy the satisfaction of using fresh, homegrown chives in your favorite recipes, whether it’s adding them to omelets, soups, salads, or garnishing your dishes with their vibrant green color and mild onion flavor.
Congratulations! You have successfully grown and harvested your own chives. With proper care and maintenance, your chive plants will continue to provide you with a bountiful harvest year after year.
Conclusion
Congratulations on becoming an expert in planting and growing chives from seeds! By following the step-by-step process outlined in this guide, you have learned how to prepare the soil, sow the chive seeds, provide adequate sunlight and moisture, thin out the seedlings, fertilize the plants, and harvest your homegrown chives.
Chives are a wonderful addition to any edible garden. Not only do they provide a burst of flavor to your dishes, but they also add beauty and vibrancy to your garden with their slender green stems and delicate purple, pink, or white flowers. With their versatility and easy-growing nature, chives are perfect for both experienced gardeners and beginners.
Remember to give your chive plants the care and attention they need throughout their growth journey. Regularly monitor soil moisture, ensure proper sunlight exposure, and fertilize them appropriately. With patience and dedication, your chive plants will flourish and reward you with a continuous supply of fresh, flavorful herbs.
Now, it’s time to enjoy the fruits of your labor. Harvest your chives and incorporate them into your favorite recipes to elevate their taste and presentation. Whether you use them in soups, salads, sauces, or as a garnish, your homegrown chives will add a delightful touch to your culinary creations.
Thank you for joining us on this gardening adventure! We hope this guide has inspired you to explore the world of edible gardening and try your hand at growing other delicious herbs and vegetables. Happy gardening!