Home>Types of Gardening>Edible Gardening>How To Plant Beet Seeds
Edible Gardening
How To Plant Beet Seeds
Modified: January 22, 2024
Learn how to plant beet seeds in your edible garden and enjoy fresh, homegrown beets. Follow our expert tips for a successful beet planting.
(Many of the links in this article redirect to a specific reviewed product. Your purchase of these products through affiliate links helps to generate commission for Chicagolandgardening.com, at no extra cost. Learn more)
Table of Contents
Introduction
Welcome to the wonderful world of edible gardening! If you’ve been thinking about growing your own food, planting beet seeds is a fantastic place to start. Not only are beets delicious and nutritious, but they are also relatively easy to grow, making them a popular choice for both novice and experienced gardeners.
Beets are versatile root vegetables that can be used in various culinary dishes. Their vibrant colors and sweet earthy flavor make them a delightful addition to salads, soups, and even juices. By growing your own beets, you can enjoy the satisfaction of harvesting fresh, organic produce straight from your garden.
In this article, we will guide you through the process of planting beet seeds, from preparing the soil to harvesting your bountiful crops. Whether you have a small backyard, a sunny balcony, or a windowsill, you can easily grow beets in containers or garden beds.
Before we dive into the details, it’s important to note that beets prefer cool weather, so it’s best to plant them in early spring or late summer/early fall, depending on your climate. With that said, let’s get started on your beet-growing journey!
Step 1: Prepare the Soil
Preparing the soil is a crucial step in ensuring healthy beet growth and a bountiful harvest. Beets thrive in well-draining, loose soil that is rich in organic matter. Follow these steps to prepare your soil:
- Clean the area: Start by clearing the planting area of any debris, weeds, or rocks. This will create a clean and ideal space for your beet seeds to grow.
- Loosen the soil: Use a garden fork or a tiller to loosen the soil to a depth of about 8 to 12 inches. This will allow the beet roots to penetrate the soil easily and promote good drainage.
- Amend the soil: Beets prefer a slightly acidic soil with a pH level between 6.0 and 7.5. If your soil is too acidic, add lime to raise the pH level. If it’s too alkaline, adding elemental sulfur or compost can help lower the pH level. Additionally, enrich the soil with compost or well-rotted manure to improve its fertility.
- Break up clumps: Break up any large clumps of soil and remove any remaining rocks or roots. This will ensure that the soil is loose and friable, allowing the beet roots to grow straight and develop properly.
- Smooth the surface: Rake the soil’s surface to create a smooth and even planting bed. This will make it easier to sow the beet seeds at an appropriate depth.
By following these steps, you’ll provide your beet seeds with the optimal conditions they need to thrive. Remember, healthy soil leads to healthy plants and a successful harvest.
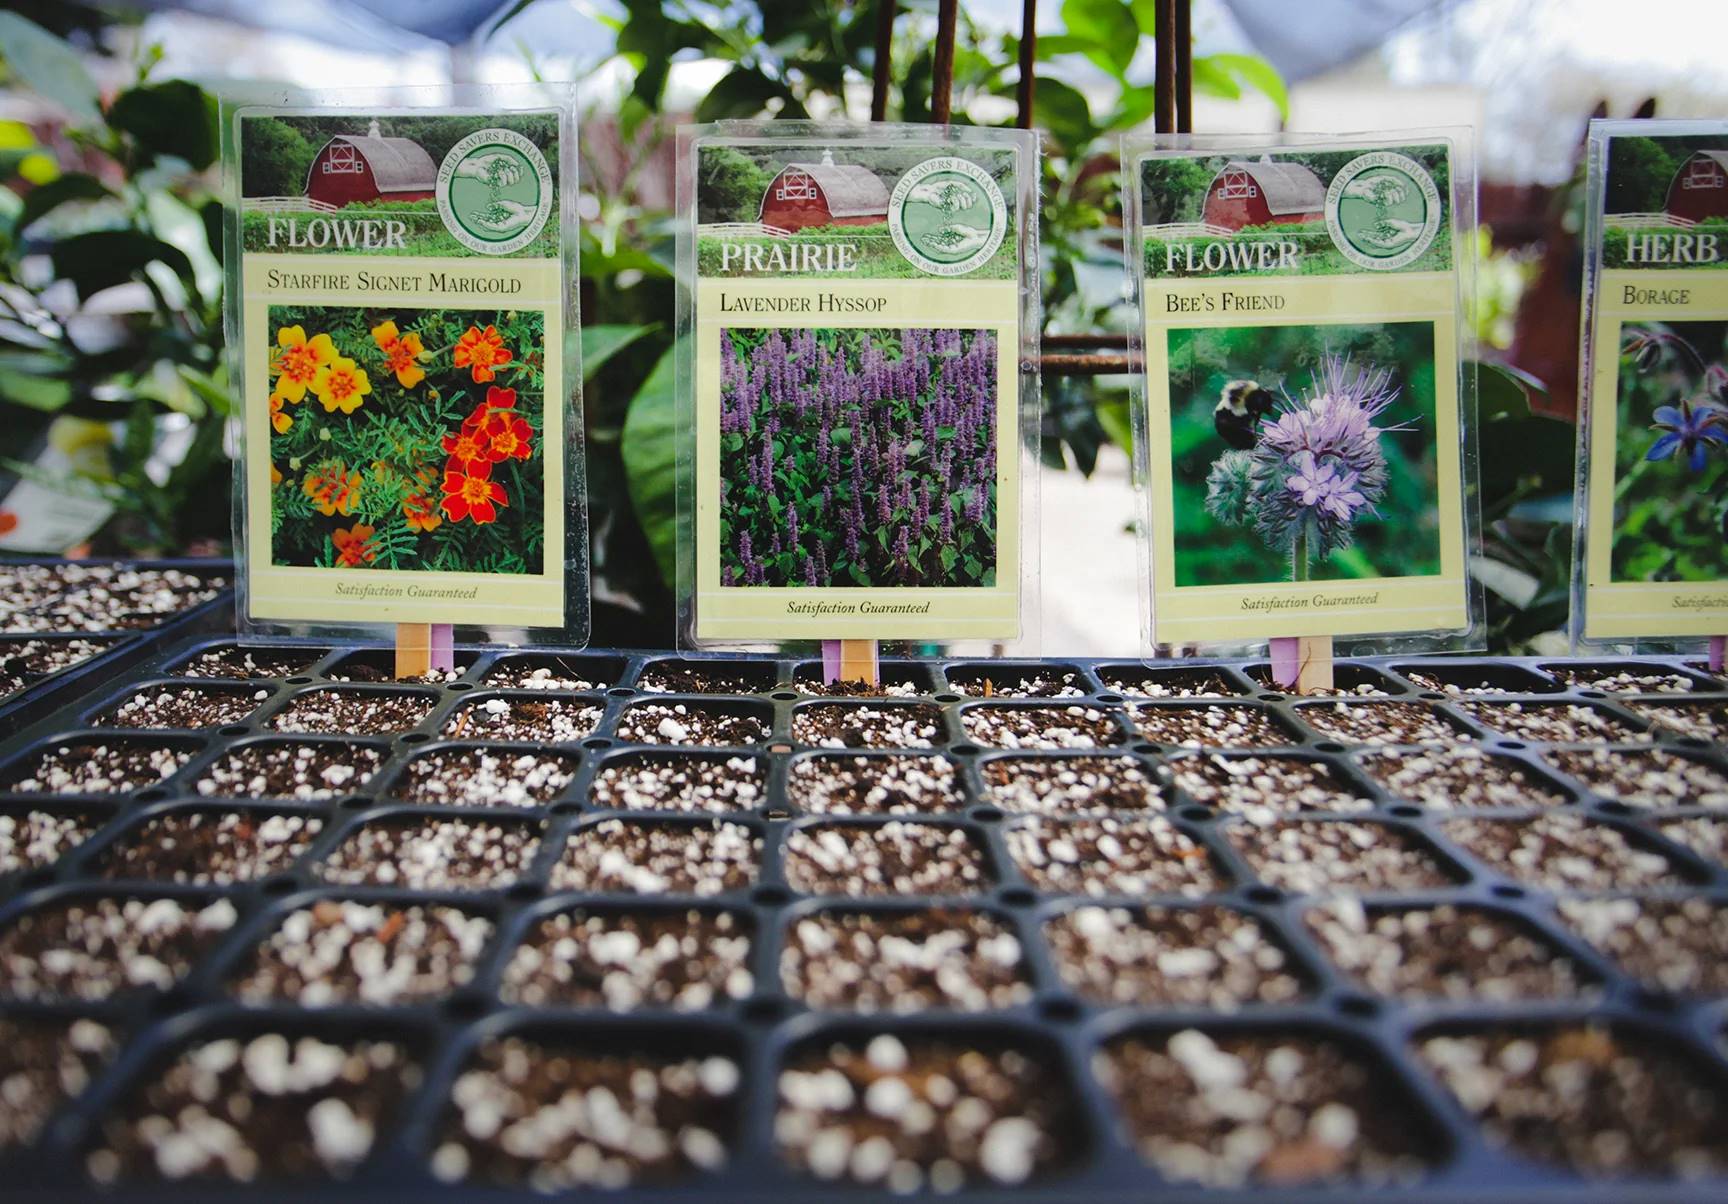
Step 2: Selecting and Storing Beet Seeds
Choosing the right beet seeds is essential for a successful growing experience. Here are some key considerations when selecting and storing beet seeds:
- Seed selection: Look for beet seed varieties that are well-suited to your climate and growing conditions. There are many different varieties available, ranging from traditional red beets to golden beets and even striped or multicolored varieties. Consider factors such as flavor, size, and days to maturity when making your selection.
- Seed quality: Opt for high-quality seeds from reputable suppliers. Check the seed packet for the germination rate, which indicates the percentage of seeds that are likely to sprout. Aim for seeds with a germination rate of at least 80% to ensure a good yield.
- Seed storage: Proper storage helps maintain seed viability. Store beet seeds in a cool, dry, and dark place, such as a sealed container in the refrigerator. Make sure to label the container with the seed variety and the date of purchase to keep track of their freshness.
- Seed viability: Beet seeds typically remain viable for about two to four years, although germination rates may decrease over time. To test seed viability, place a few seeds on a damp paper towel and keep them in a warm spot. If they sprout within a week or two, the seeds are still viable.
- Seed saving: If you want to save beet seeds for future planting, allow a few plants to bolt and produce flowers. After the flowers fade, seed pods will develop. Allow the pods to dry on the plant, and then harvest and store the seeds in a cool, dry place for future use.
By carefully selecting and storing your beet seeds, you set the foundation for a successful growing season. Remember to choose varieties that suit your taste preferences and growing conditions, and to store the seeds properly for optimal viability.
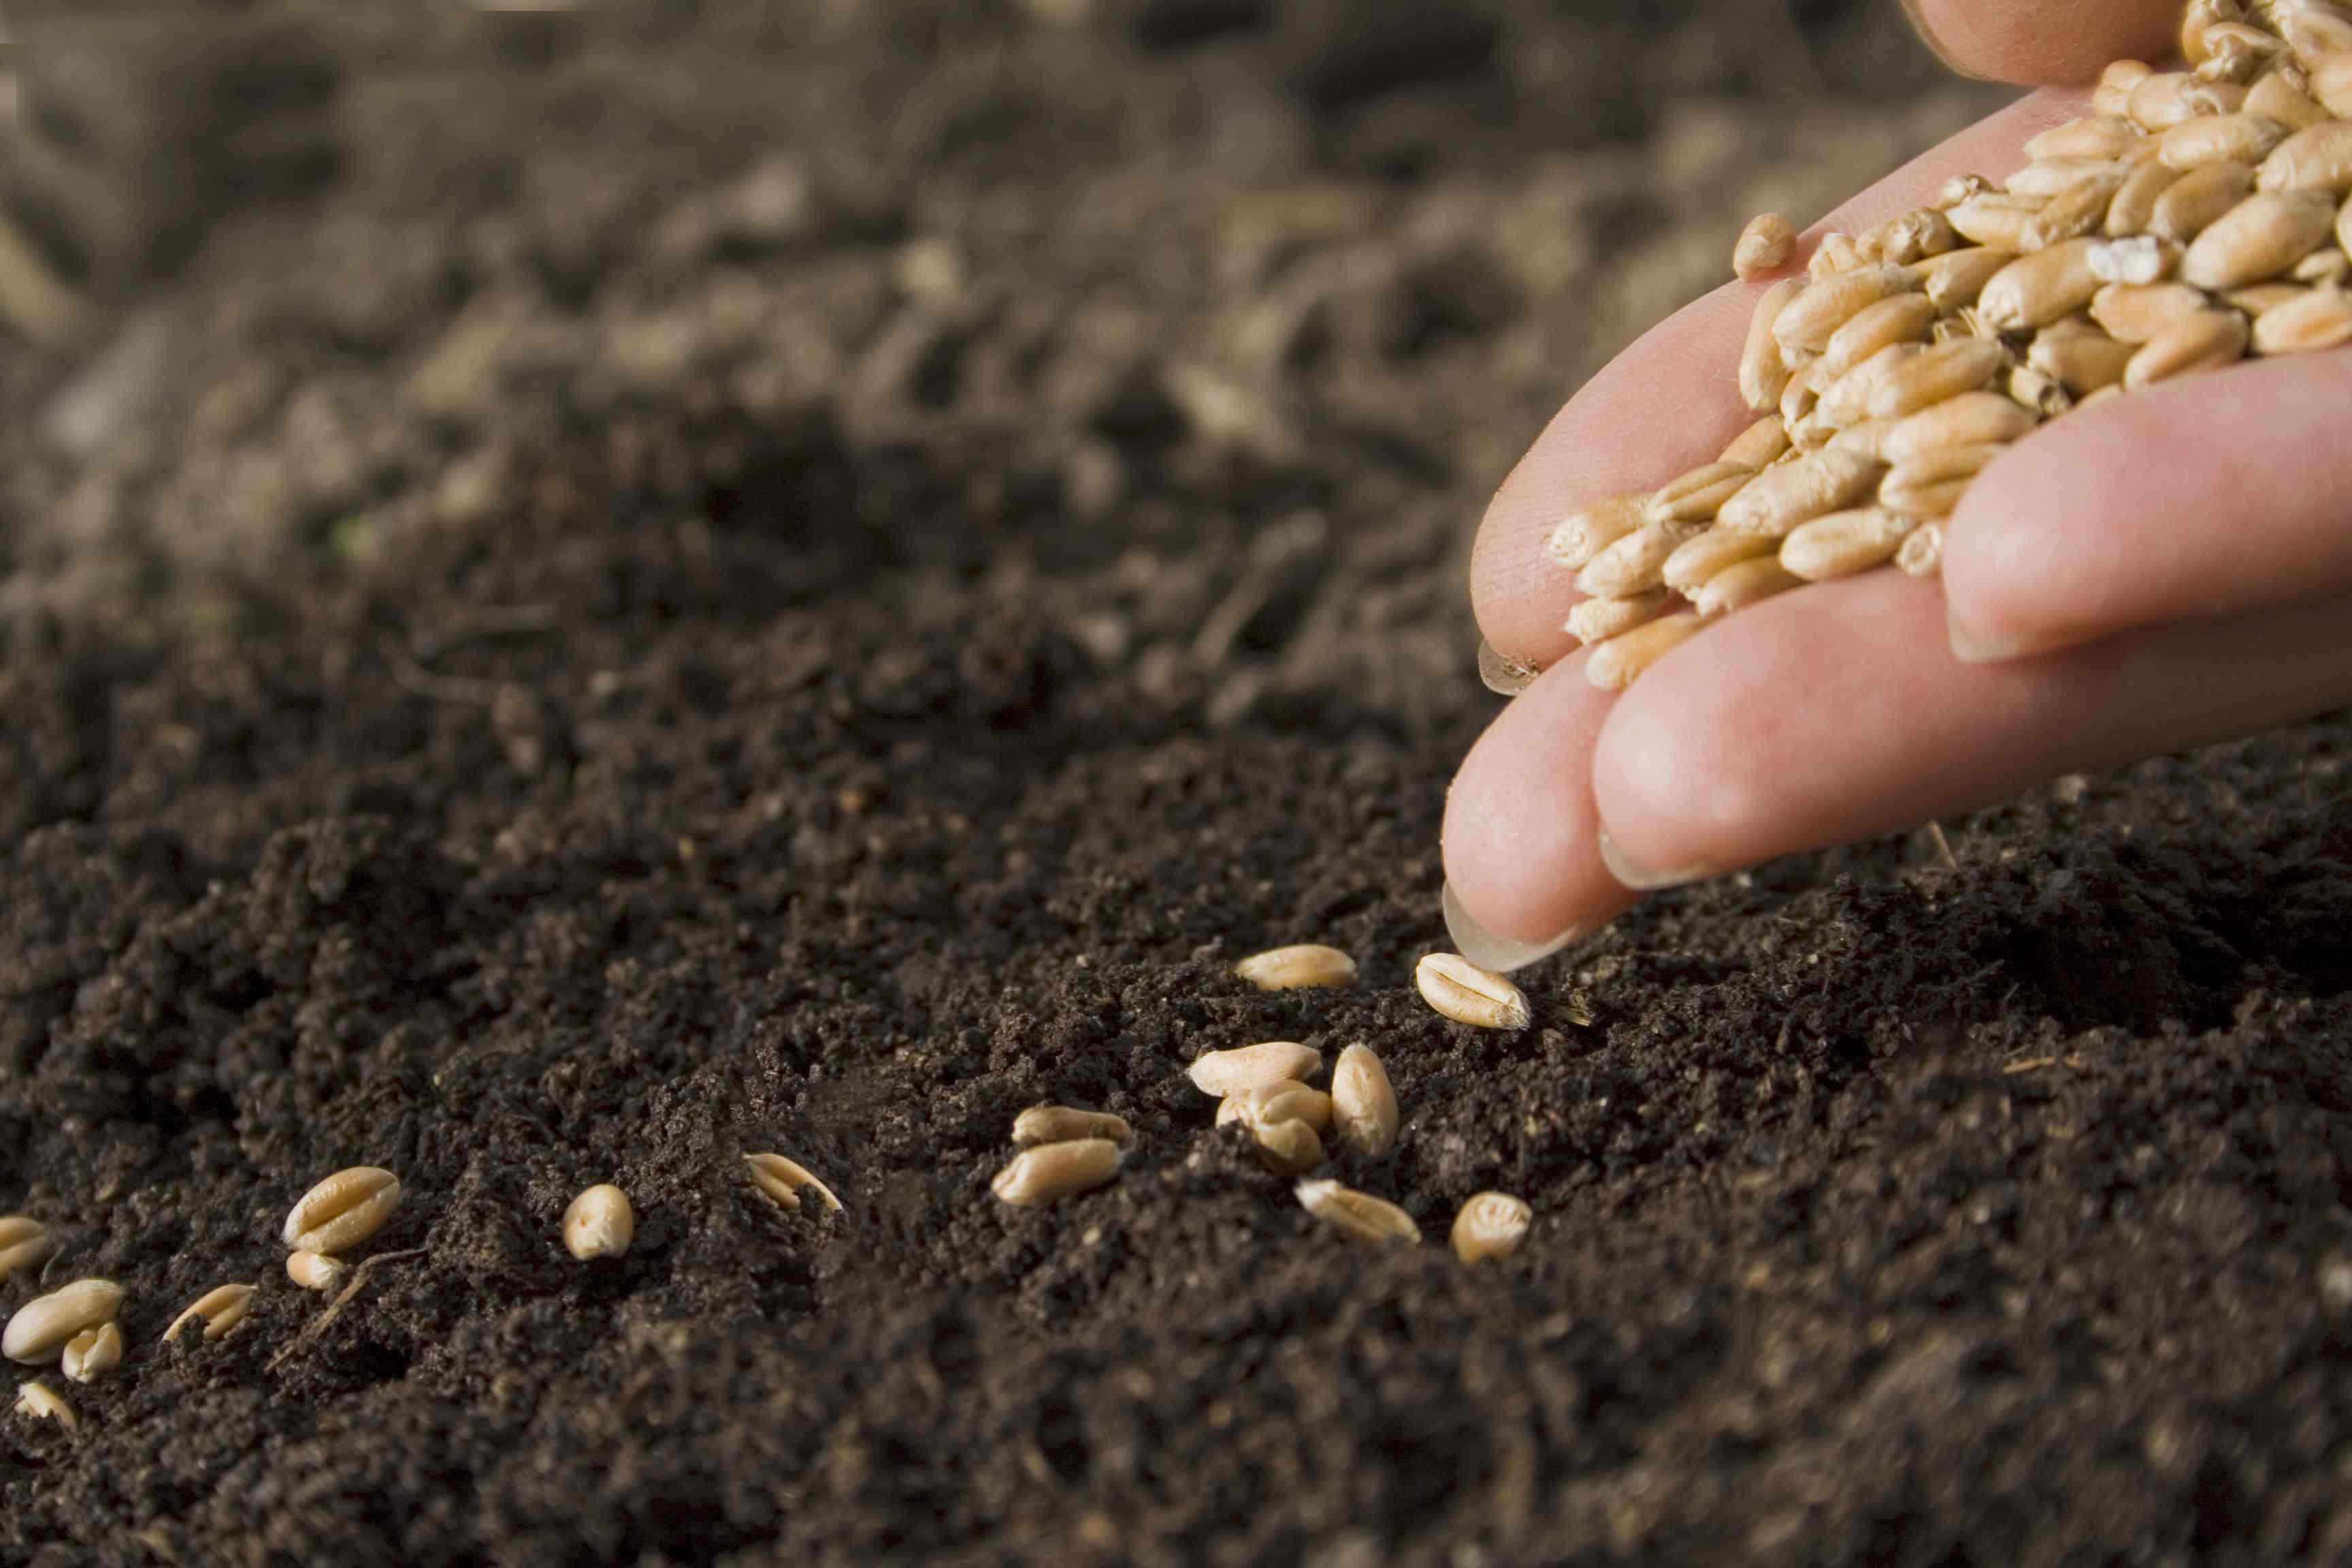
Step 3: Planting Beet Seeds
Now that you have prepared the soil and selected your beet seeds, it’s time to get planting! Follow these steps to ensure proper planting of your beet seeds:
- Sowing depth: Beets are relatively small seeds, so plant them at a depth of about half an inch to one inch. You can create furrows using the edge of a garden hoe or your finger, spacing them about two to four inches apart.
- Seed spacing: Thinly sow the beet seeds along the furrows, placing them about one to two inches apart. If you prefer larger beets, space the seeds further apart to allow room for growth.
- Seed covering: Once the seeds are in place, gently cover them with a thin layer of soil, approximately one-fourth to half an inch deep. Pat down the soil gently to ensure good seed-to-soil contact.
- Watering: After planting, give the soil a gentle watering to help settle it around the seeds. Avoid overwatering, as the seeds may be dislodged or rot. Keep the soil consistently moist throughout the germination period.
- Thinning: When the seedlings are about one to two inches tall, it’s time to thin them out. Remove the weaker seedlings, leaving the stronger ones spaced about four to six inches apart. Thinning ensures that each beet plant has enough space to develop and reduces competition for nutrients.
Remember, beets prefer cooler temperatures, so if necessary, you can provide some shade or use shade cloth to protect the young seedlings during hot summer days.
By following these planting steps, you will give your beet seeds the best chance to germinate and grow into healthy plants. Soon enough, you’ll start to see the vibrant green tops emerge from the soil, a promising sign of a bountiful beet harvest in the future.
Step 4: Watering and Caring for Beet Plants
Proper watering and regular care are essential for the healthy growth of your beet plants. Here are some tips to help you maintain optimal moisture levels and ensure the well-being of your beets:
- Watering: Beets require consistent moisture throughout their growing period. Keep the soil evenly moist, but not soggy, by watering the plants regularly. Aim for about one inch of water per week, either through rainfall or irrigation. Avoid overwatering, as it can lead to rot or disease. Use a soaker hose or drip irrigation system to deliver water directly to the soil, minimizing leaf wetness and reducing the chances of fungal diseases.
- Mulching: Applying a layer of organic mulch around your beet plants helps conserve moisture, suppress weed growth, and maintain more even soil temperatures. Spread a 2-3 inch layer of straw, wood chips, or grass clippings around the plants, being careful not to cover the seedlings themselves. Mulching also prevents soil compaction and protects the shallow beet roots from damage during cultivation.
- Fertilizing: Beets are moderate feeders and benefit from a balanced fertilizer applied at planting time. Use a slow-release organic fertilizer or incorporate compost into the soil to provide essential nutrients. Avoid excessive nitrogen fertilizers, as they can result in lush foliage growth at the expense of root development.
- Weed control: Keep the area around your beet plants free from weeds. Regularly remove any weeds that compete for nutrients and water. Hand-pulling or shallow cultivation can help keep weed growth in check without damaging the shallow beet roots.
- Pest and disease management: Beets are generally resilient to pests and diseases, but it’s still important to monitor your plants for any issues. Inspect the leaves for signs of pests such as aphids or flea beetles. If needed, use organic pest control methods like neem oil or insecticidal soap to address infestations. Additionally, practicing crop rotation and maintaining good air circulation can help prevent diseases like leaf spot or root rot.
By providing adequate water, mulching, fertilizing appropriately, and staying vigilant against pests and diseases, you will ensure the health and vigor of your beet plants. With proper care, your beets will thrive and reward you with a plentiful and delicious harvest.
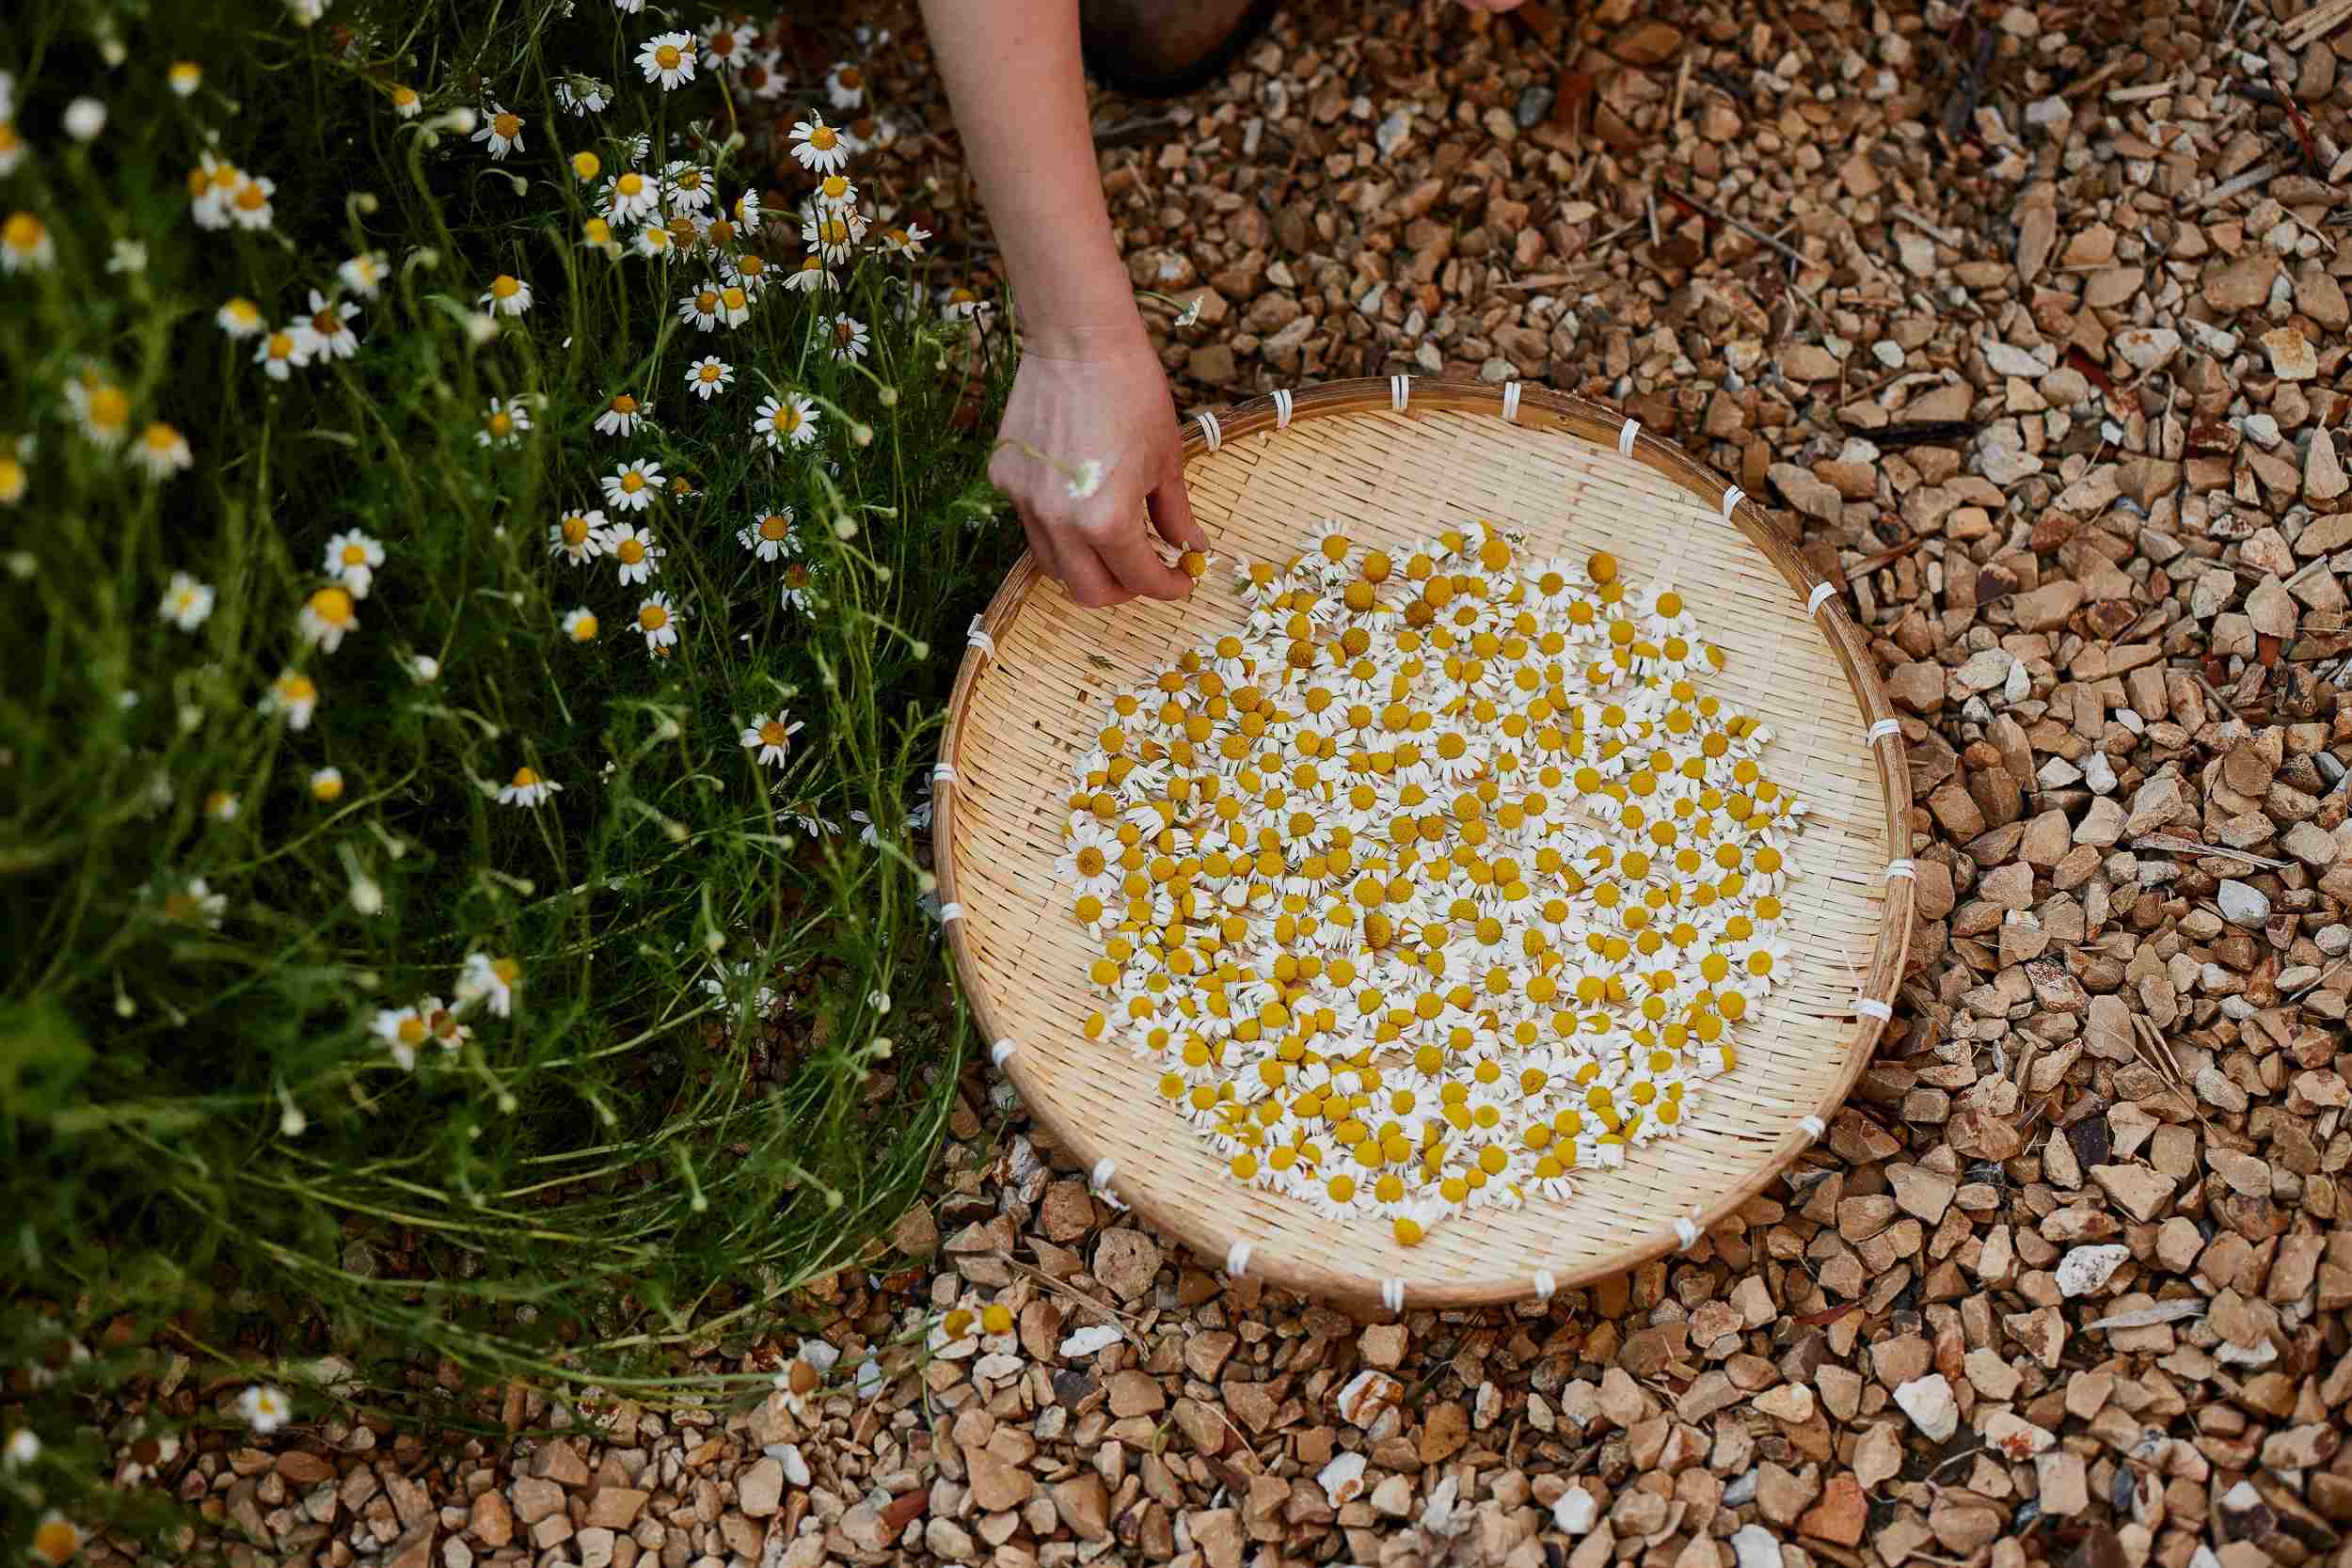
Step 5: Harvesting Beet Roots
The time has finally come to harvest your beautiful beet roots! Harvesting at the right time is crucial to ensure the best flavor and texture. Follow these guidelines to ensure a successful beet harvest:
- Timing: Beets are typically ready for harvest around 50 to 70 days after planting, depending on the variety. You can harvest them earlier for small, tender beets or wait longer for larger roots. The size and maturity information on the seed packet can help guide your decision.
- Visual cues: Look for visual signs that your beets are ready to be harvested. The tops of the beets will have grown to a desirable size, and the shoulders of the root may begin to emerge from the soil. Gently brush away some soil near the top of the beet to assess its size and color.
- Harvesting: To harvest the beets, gently loosen the soil around the roots using a garden fork or hand trowel. Carefully pull the roots out, grasping them near the base to avoid damaging the tops. Trim off the leafy tops, leaving about an inch of stem intact. Avoid washing the beets until you’re ready to use them as this can compromise their shelf life.
- Storage: If you’re not planning to use the beets immediately, store them properly to maintain their freshness. Remove the greens, as they draw moisture away from the roots. Store the beet roots in a cool and dark place, such as a root cellar or refrigerator. They can last for several weeks to a few months when stored correctly.
Remember that beet greens are edible and nutritious as well. If you choose to harvest the greens, do so sparingly, as removing too many leaves can weaken the plant’s growth and reduce the size of the root.
Now that you’ve successfully harvested your beets, it’s time to enjoy the fruits of your labor! Whether roasted, pickled, or added to your favorite recipes, freshly harvested beets will add a burst of flavor and freshness to your culinary creations.
Step 6: Additional Tips and Considerations
As you continue on your edible gardening journey with beets, here are some additional tips and considerations to keep in mind:
- Succession planting: Consider staggering your beet plantings to ensure a continuous harvest. Sow a new batch of seeds every few weeks to extend your beet season and have a fresh supply throughout the growing season.
- Companion planting: Beets thrive when planted alongside certain companion plants. Pairing them with plants like lettuce, onions, and bush beans can provide benefits such as improved pest control, increased pollination, and efficient use of garden space.
- Leaf harvest: Don’t forget to harvest and enjoy the nutritious beet greens throughout the growing season. You can pick the outer leaves when they’re young and tender, leaving the inner leaves to continue growing and supplying energy to the root.
- Beet pests: While beets are relatively pest-resistant, keep an eye out for common pests such as aphids, flea beetles, and root maggots. Monitor your plants regularly and take appropriate measures to control and prevent infestations. Organic pest control methods, like introducing beneficial insects or using insecticidal soap, can be effective.
- Seed saving: If you want to save beet seeds for future planting, allow some of the plants to go to seed. Beets are biennial plants, meaning they take two years to complete their life cycle. In the second year, they will produce flowers and seed pods. Allow the pods to dry on the plant, collect the seeds, and store them properly for future use.
- Experiment and enjoy: Edible gardening is a journey of exploration and discovery. Don’t be afraid to try different beet varieties, growing techniques, and culinary preparations. Have fun and savor the experience of growing and enjoying your own homegrown beets!
With these additional tips in mind, you’re well-equipped to continue your successful beet-growing adventure. Embrace the joy of edible gardening, tending to your plants, and savoring the delicious rewards that come from nurturing your own beet harvest.
Conclusion
Congratulations on completing the journey to grow your own beet garden! By following the steps outlined in this article, from preparing the soil to harvesting your beets, you have gained the knowledge and skills to enjoy a successful and rewarding edible gardening experience.
Beets are a versatile and nutritious vegetable that can be enjoyed in various culinary preparations. From vibrant salads to roasted side dishes, the flavors and possibilities are endless. By growing your own beets, you have the advantage of knowing that they are fresh, organic, and free from harmful pesticides.
Remember to continue caring for your beet plants by providing adequate water, regular care, and attention. Keep an eye out for pests and diseases, and take appropriate measures to manage them in an environmentally-friendly manner.
As you embark on your future edible gardening endeavors, consider using the knowledge and experience gained from growing beets to explore other vegetables and herbs. The possibilities are endless, and the satisfaction of growing your own food is truly rewarding.
Enjoy the journey, experiment with different beet varieties and culinary creations, and most importantly, have fun. Edible gardening is not only about the delicious rewards; it’s also about connecting with nature, fostering sustainability, and cultivating a deeper appreciation for the food we eat.
Happy beet gardening!