Home>Types of Gardening>Edible Gardening>How Long Does It Take To Grow Chia Seeds
Edible Gardening
How Long Does It Take To Grow Chia Seeds
Modified: January 22, 2024
Learn how long it takes to grow chia seeds in your edible garden. Discover valuable insights and tips for a successful harvest with our expert guide on edible gardening.
(Many of the links in this article redirect to a specific reviewed product. Your purchase of these products through affiliate links helps to generate commission for Chicagolandgardening.com, at no extra cost. Learn more)
Table of Contents
Introduction
Welcome to the world of edible gardening! If you have a green thumb and a love for fresh, homegrown produce, then edible gardening is the perfect hobby for you. From juicy tomatoes to crisp lettuce, growing your own food allows you to enjoy the taste of nature’s bounty right in your backyard.
One popular plant that can be grown in an edible garden is chia seeds. Chia seeds originated from the desert plant Salvia hispanica, which is native to Central and South America. These tiny seeds are incredibly nutritious, packed with fiber, protein, and healthy fats. They are also a rich source of vitamins and minerals, making them a fantastic addition to any healthy diet.
If you’re new to edible gardening or considering adding chia seeds to your garden, you may be wondering how long it takes for these nutritious seeds to grow. In this article, we will explore the factors that influence the growth rate of chia seeds, the germination period, optimal growing conditions, and the time it takes for chia seeds to reach maturity.
Whether you have a small garden plot or are planning to grow chia seeds in containers, understanding the timeline of their growth process will help you plan and care for them effectively. So, let’s dive in and discover the secrets of growing chia seeds!
Factors Affecting Chia Seed Growth Rate
Several factors can influence the growth rate of chia seeds. Understanding these factors will help you create the ideal conditions for your chia plants to thrive.
1. Soil Quality: Chia seeds prefer well-draining soil with a pH level between 6.0 and 8.0. Soil that is rich in organic matter and has good moisture retention will provide a favorable environment for chia seed germination and growth.
2. Temperature: Chia seeds thrive in warm weather conditions. The ideal temperature for germination is between 70°F and 85°F (21°C and 29°C). Cooler temperatures may slow down the germination process, while extreme heat can be detrimental to the growth of chia plants.
3. Sunlight: Chia seeds require ample sunlight to grow. They thrive in full sun, which means they should receive at least 6 to 8 hours of direct sunlight each day. Insufficient sunlight can result in weak and leggy plants.
4. Watering: Proper watering is crucial for chia seed germination and growth. Overwatering can lead to root rot and other fungal diseases, while underwatering can cause the plants to wither. Aim to keep the soil evenly moist, but not waterlogged.
5. Pest and Disease Control: Chia plants are relatively pest and disease resistant, but they can still be vulnerable to certain issues. Keep a close eye on your plants for any signs of pests or diseases, and take appropriate measures to control them.
6. Thinning and Spacing: Proper spacing between chia plants is essential for their healthy growth. When the seedlings are around 2 to 3 inches tall, thin them out to maintain a distance of about 8 to 12 inches between each plant. This allows them enough space to develop large and sturdy stems.
7. Nutrient Availability: Chia plants require essential nutrients for optimal growth. Before planting, amend your soil with compost or organic fertilizers to ensure a steady supply of nutrients. Regularly monitor the nutrient levels and make any necessary adjustments as your chia plants grow.
By taking these factors into consideration and providing the optimal conditions, you can enhance the growth rate of your chia seeds and enjoy a bountiful harvest. Now that we have explored the factors that influence chia seed growth rate, let’s move on to the next section to understand the germination period of chia seeds.
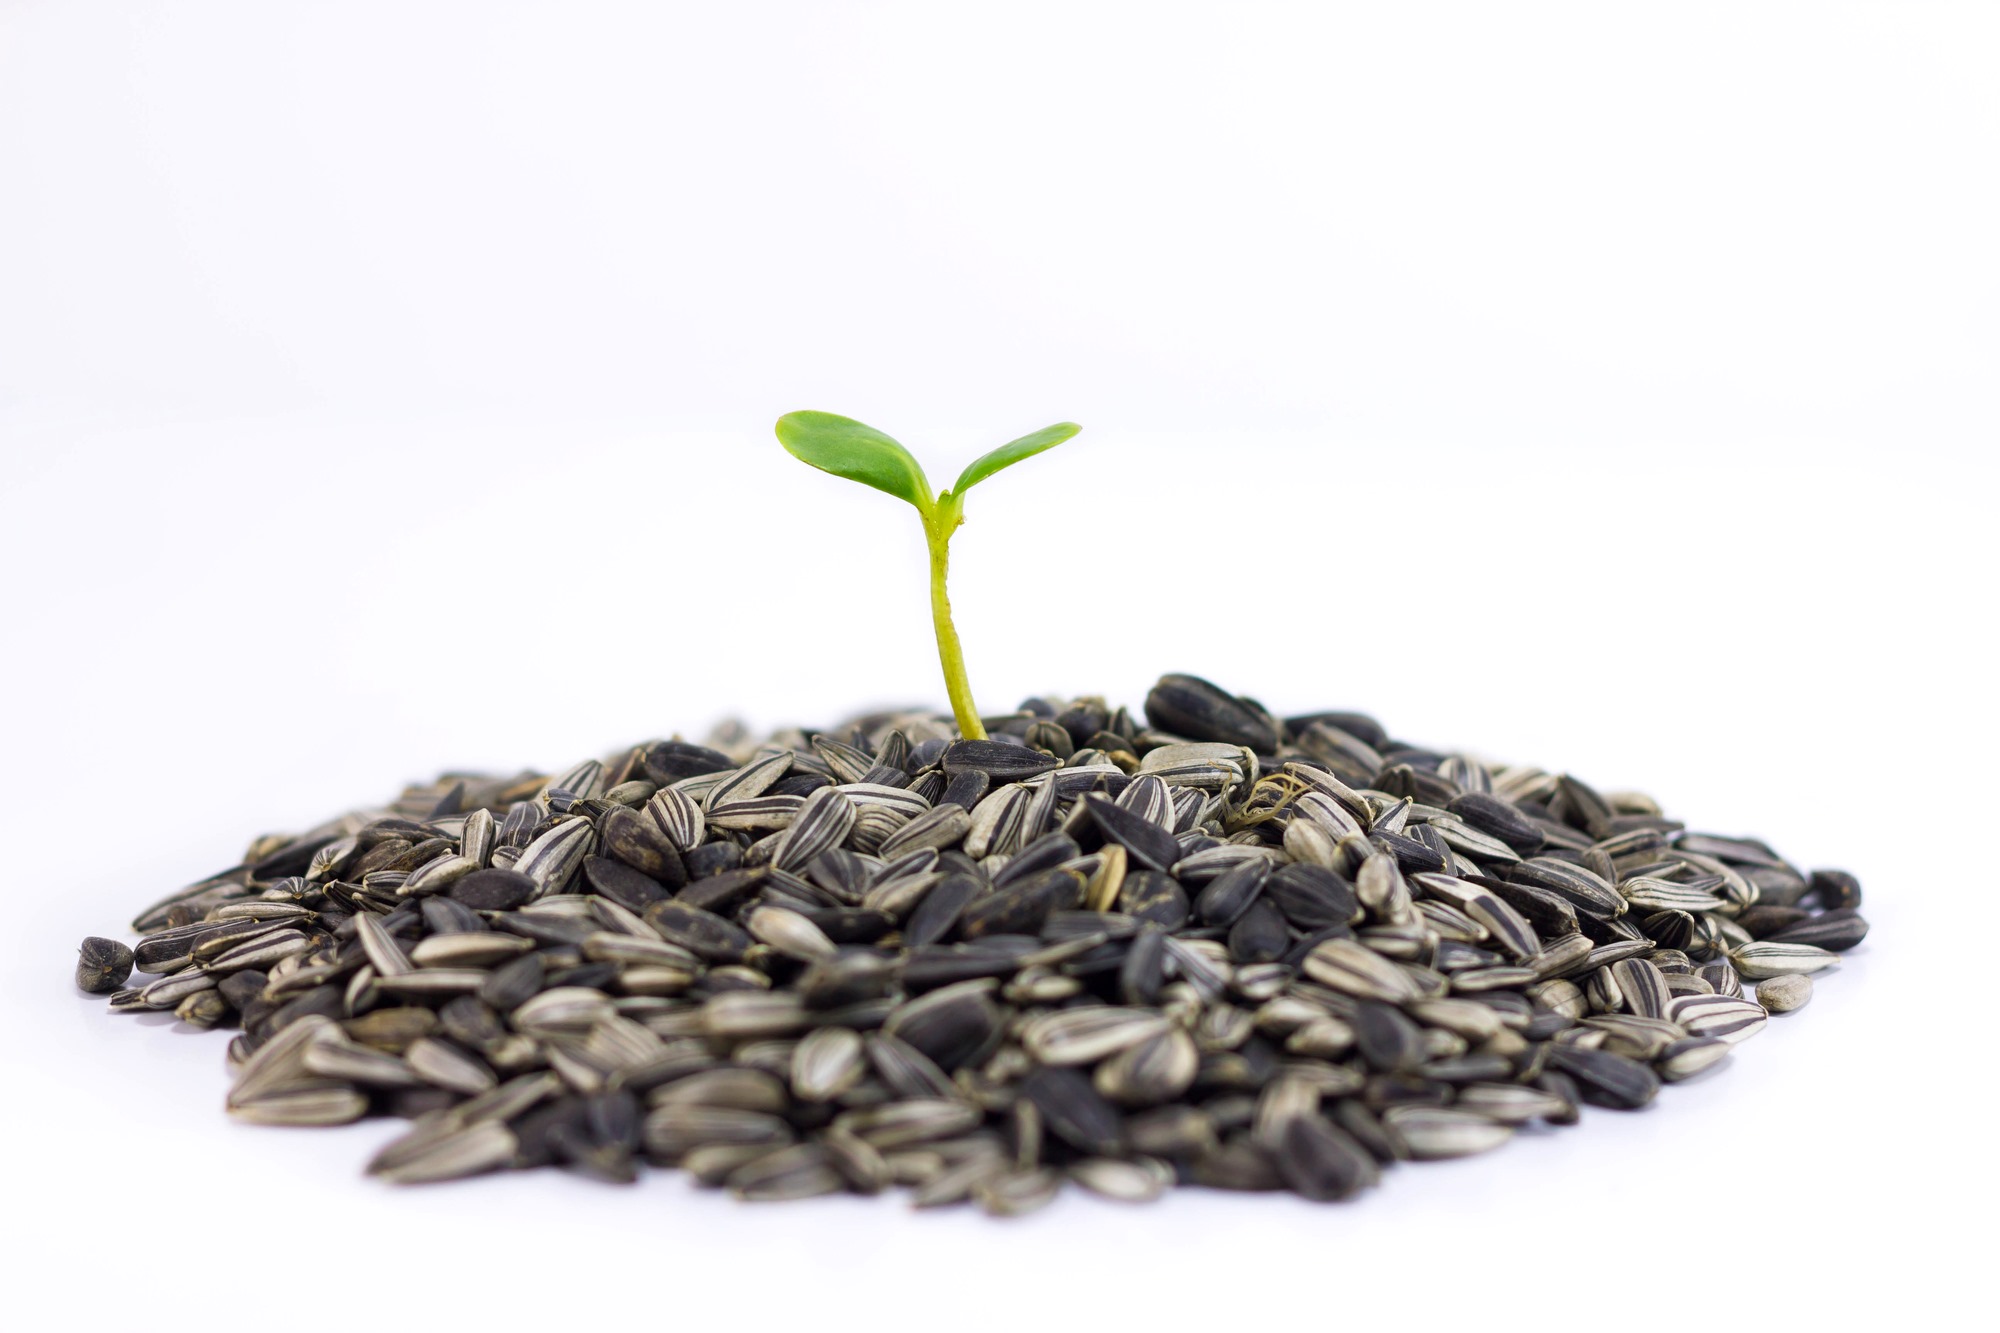
Germination Period of Chia Seeds
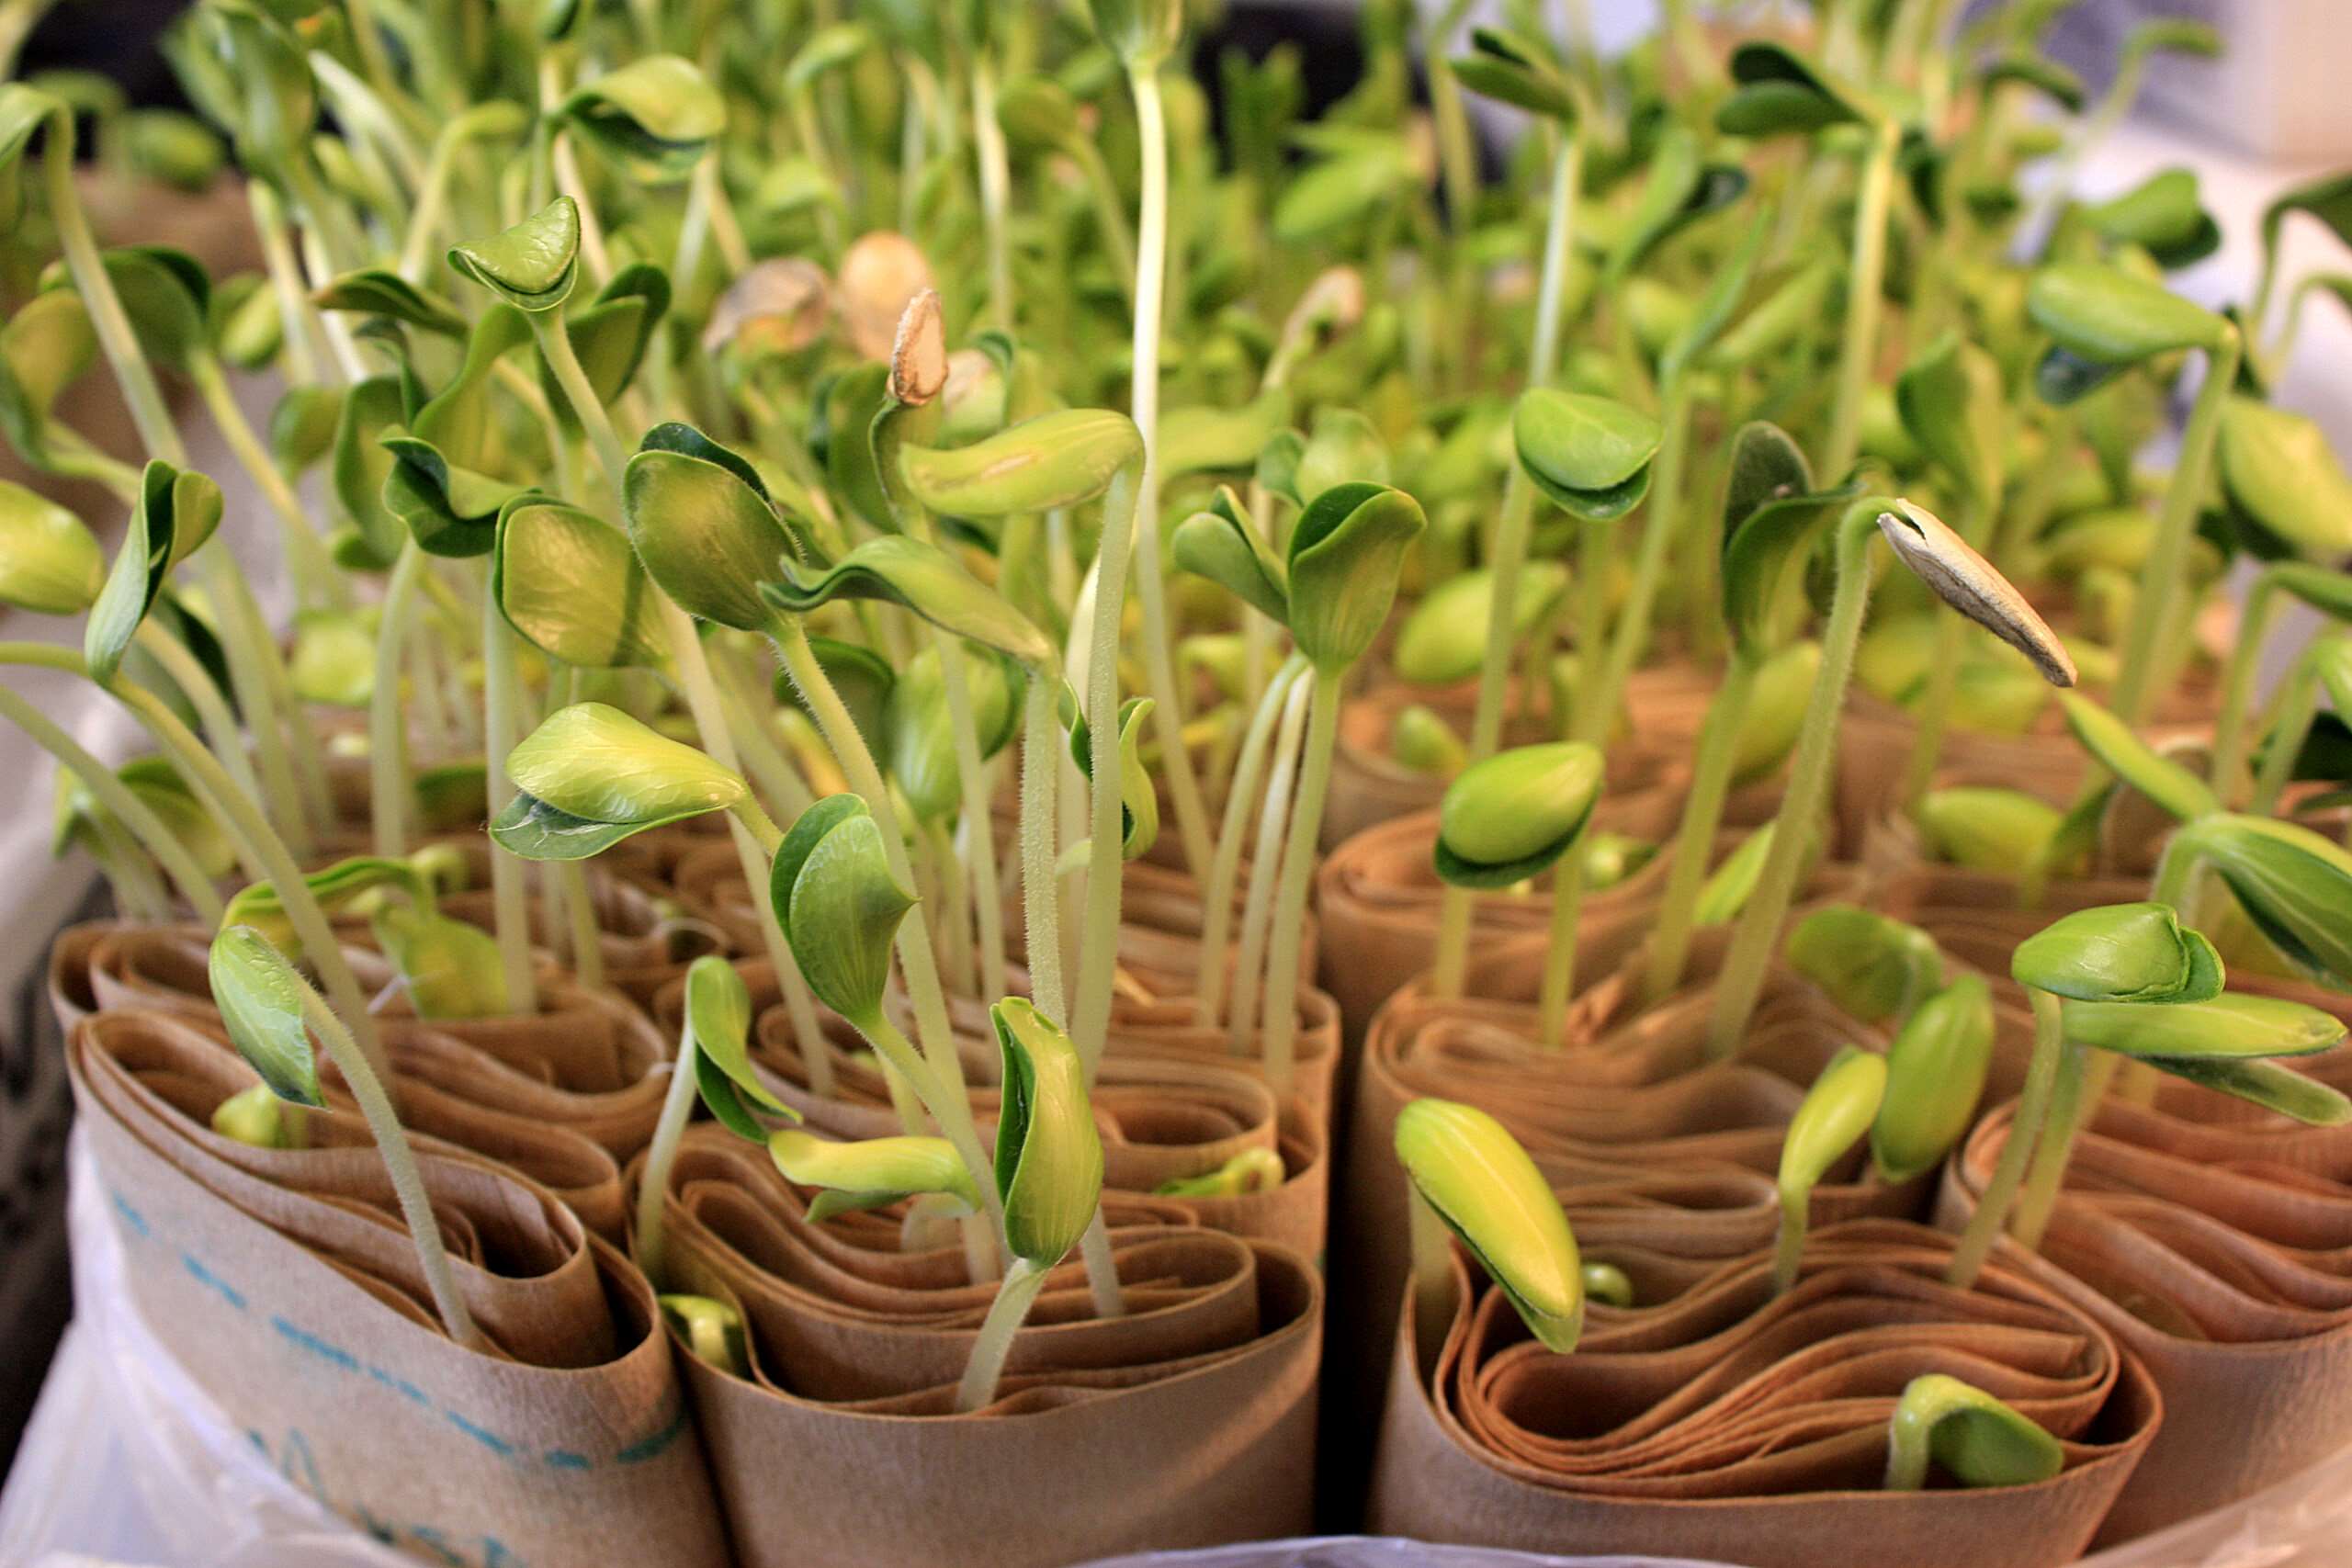
The germination period refers to the time it takes for chia seeds to sprout and start growing into seedlings. Patience is key during this stage, as it may take a couple of weeks for the seeds to germinate.
On average, chia seeds take anywhere from 7 to 14 days to germinate, depending on the growing conditions and seed quality. It is important to note that chia seeds have a hard outer shell, which can be beneficial for their long-term storage but can also delay germination.
To enhance the germination process, you can soak the chia seeds in water for a few hours or overnight before planting. This helps soften the seed coat and promotes quicker sprouting. Alternatively, you can scarify the seeds by gently rubbing them with sandpaper or nicking them with a knife. This slight abrasion allows water to penetrate the shell more easily, speeding up germination.
During the germination period, it is crucial to provide the optimal growing conditions for the chia seeds. Keep the soil consistently moist but not waterlogged, as excessive moisture can lead to rotting. Maintain a warm and well-lit environment, ensuring the seeds receive sufficient sunlight or grow lights.
As the chia seeds germinate, you will start to see tiny green sprouts emerge from the soil. These sprouts will develop into seedlings over time, with their first set of true leaves appearing within a few weeks. Once the seedlings have established themselves and are growing well, you can move on to the next stage of their growth journey.
Understanding the germination period of chia seeds allows you to plan and monitor their progress effectively. Now that we have covered the germination period, let’s move on to the optimal growing conditions for chia seeds.
Optimal Growing Conditions for Chia Seeds
To ensure the successful growth and development of chia seeds, it is important to provide optimal growing conditions. Consider the following factors when cultivating chia seeds in your garden:
1. Sunlight: Chia seeds thrive in full sun. Choose a location that receives at least 6 to 8 hours of direct sunlight each day. If you have limited sunlight in your garden, consider using reflective materials or grow lights to supplement the light levels.
2. Soil: Chia seeds prefer well-draining soil with a pH level between 6.0 and 8.0. Ensure the soil is loose and rich in organic matter, allowing for proper root development. If your soil is heavy or clay-like, consider adding compost or organic matter to improve its texture.
3. Watering: Chia seeds require regular watering to keep the soil moist but not saturated. Water deeply, making sure the entire root zone is adequately hydrated. Avoid overhead watering, as it can lead to fungal disease. Consider using drip irrigation or a soaker hose for efficient and targeted watering.
4. Temperature: Chia seeds prefer warm weather and thrive in temperatures between 70°F and 85°F (21°C and 29°C). They can tolerate cooler temperatures but may have slower growth. Protect the young seedlings from frost, as they are more vulnerable to cold temperatures.
5. Fertilization: Chia seeds are not heavy feeders, but they can benefit from a balanced organic fertilizer during the growing season. Apply a slow-release organic fertilizer before planting and supplement with liquid fertilizers as needed following the product instructions.
6. Pest and Disease Management: Chia plants are generally resistant to pests and diseases, but it’s still important to monitor them regularly. Watch out for common garden pests like aphids or snails and address any infestations promptly. Practice good sanitation by removing any dead plant matter to minimize the risk of diseases.
7. Mulching: Applying a layer of organic mulch around the chia plants can help regulate soil moisture, suppress weed growth, and improve overall soil health. Use straw, wood chips, or compost as mulch, making sure to keep it away from the base of the plants to prevent rot.
By providing the optimal growing conditions, you will encourage healthy growth and abundant harvests from your chia plants. Now that we have covered the optimal growing conditions, let’s move on to the duration it takes for chia seeds to reach maturity.
Duration for Chia Seeds to Reach Maturity
Chia seeds, from germination to maturity, undergo a growth process that typically spans several months. The time it takes for chia seeds to reach maturity can vary depending on various factors, including the specific variety of chia, growing conditions, and climate.
On average, it takes approximately 90 to 120 days for chia seeds to reach maturity. However, this timeline can be influenced by factors such as temperature, sunlight exposure, and soil fertility. Warmer temperatures and ample sunlight can expedite the growth process, leading to earlier maturity.
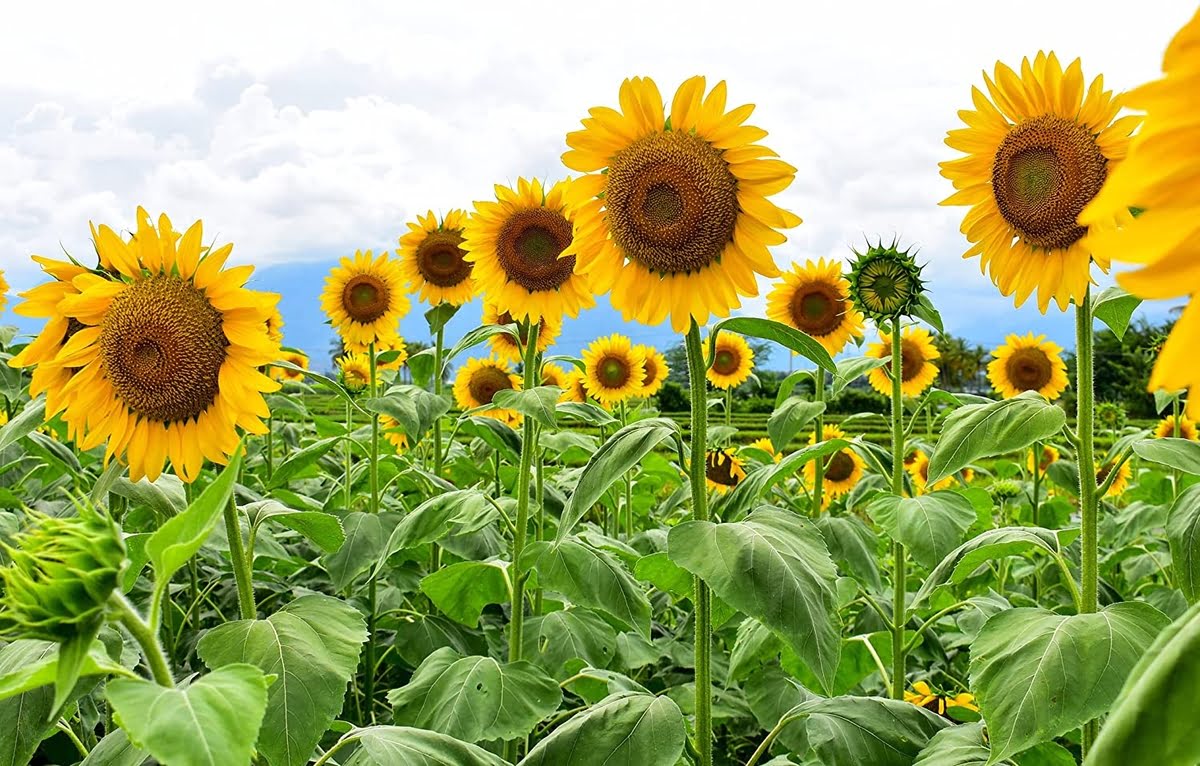
During the growth period, you will witness significant changes in the chia plants. As they mature, the plants develop sturdy stems and display vibrant green foliage. They also produce beautiful clusters of small, purple or white flowers, adding a touch of beauty to your garden.
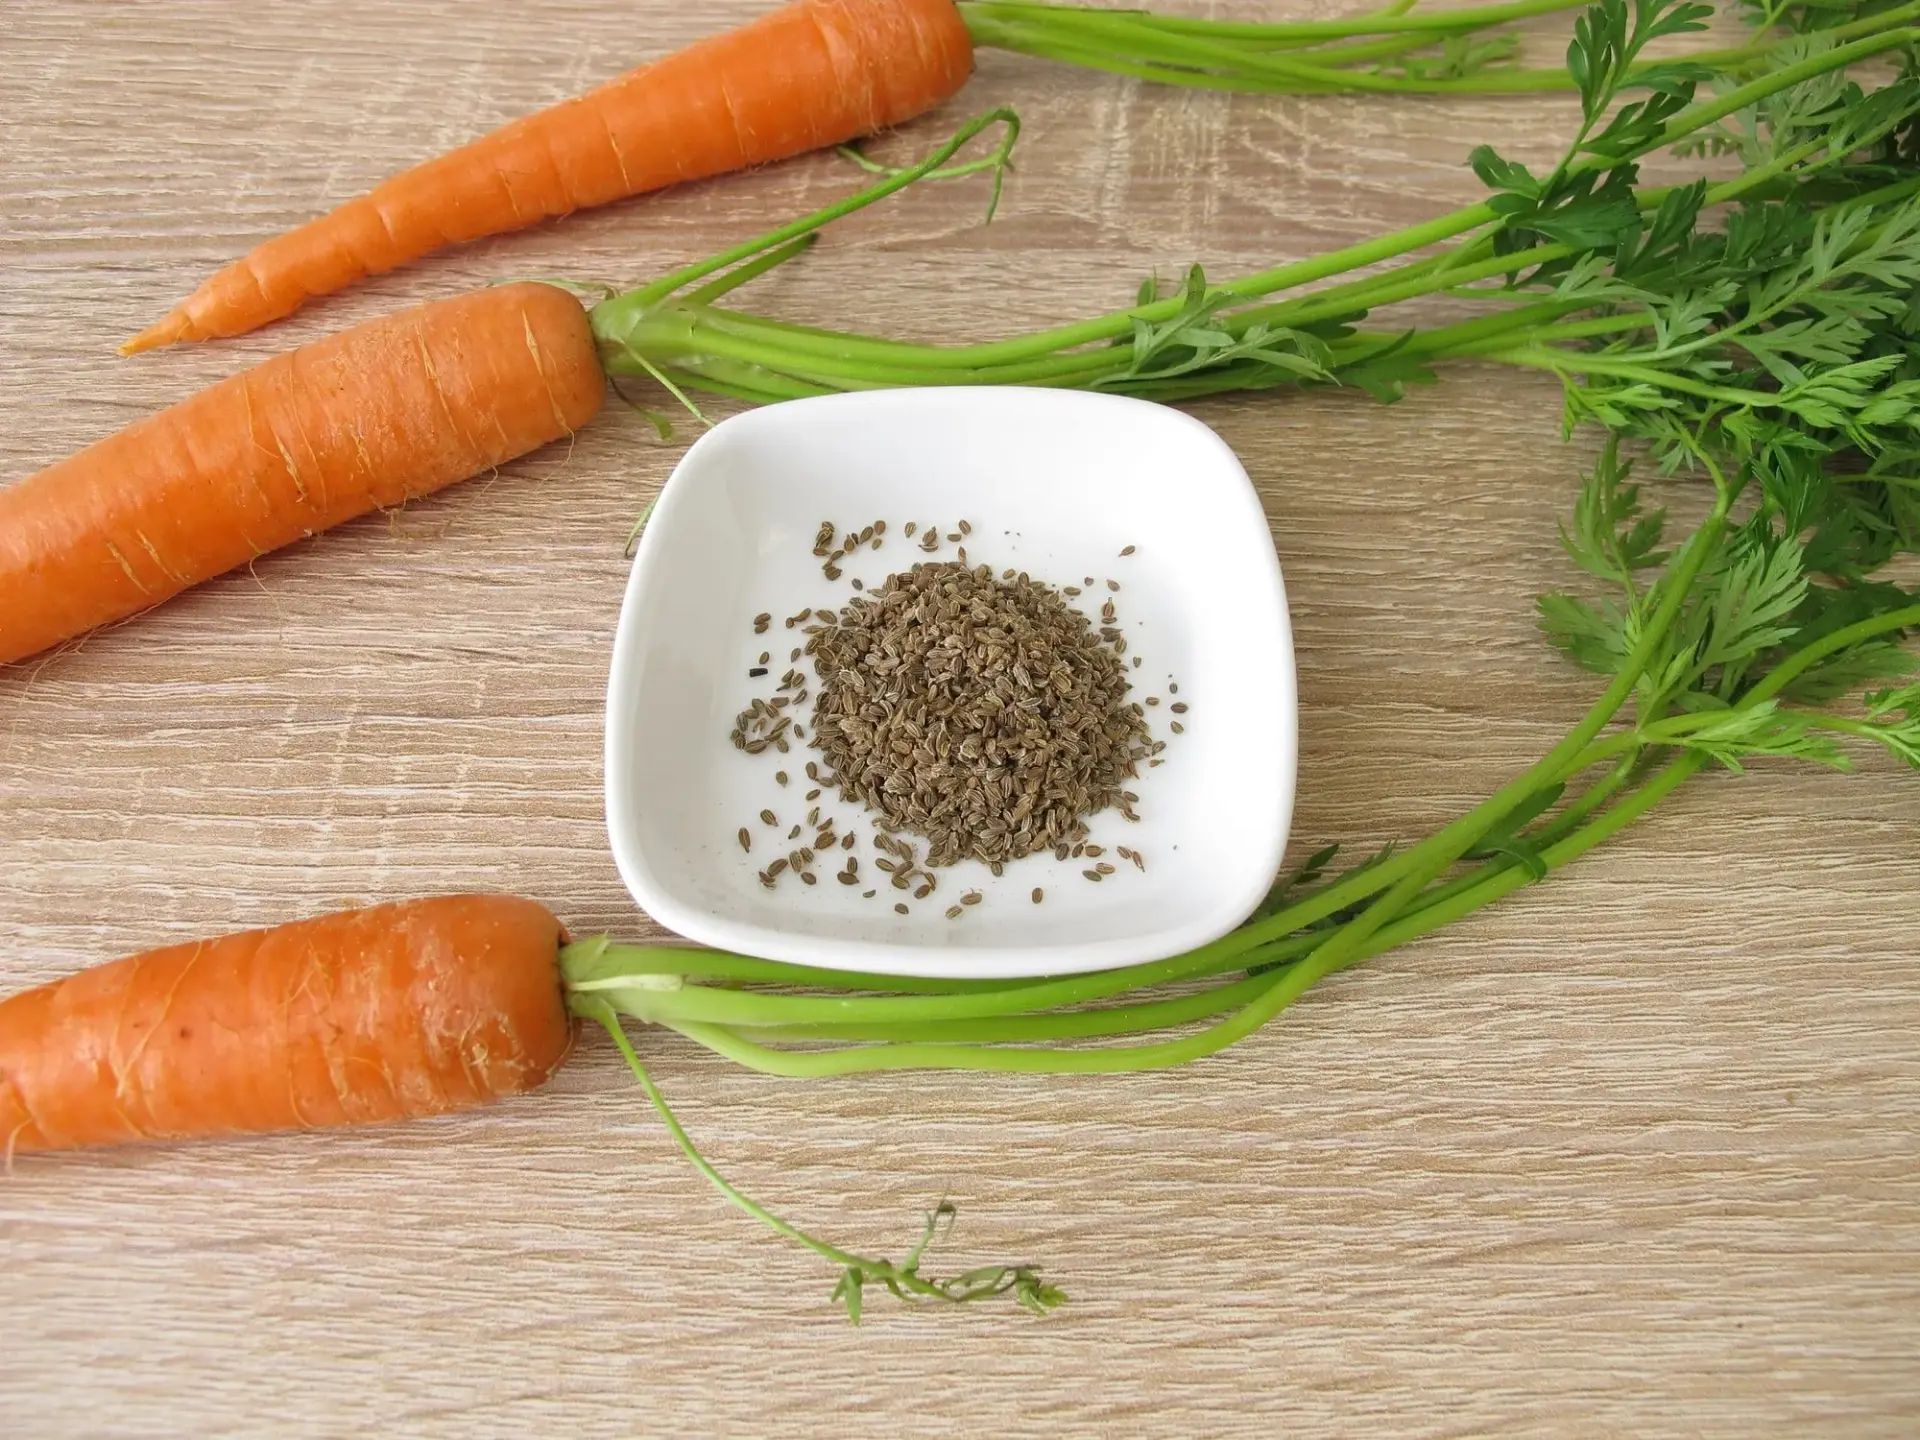
Once the flowers are pollinated, they give way to the formation of seed heads. These seed heads contain numerous chia seeds that will continue to mature and ripen over the next few weeks. As the seeds mature, they will gradually turn from green to a distinctive dark color.
To determine if your chia seeds are ready for harvest, gently press a seed between your fingers. If it feels firm and hard, it is an indication that the seeds have reached maturity. The process of maturation is essential for developing the full nutritional potential of the chia seeds.
It is important to harvest the chia seeds at the right time to ensure optimal quality and flavor. Harvesting too early can result in underdeveloped seeds with lower nutritional content, while harvesting too late may cause the seeds to shatter and scatter in the garden.
By understanding the duration it takes for chia seeds to reach maturity, you can plan and prepare for the harvest accordingly. In the next section, we will discuss the process of harvesting chia seeds and how to store them for long-term use.
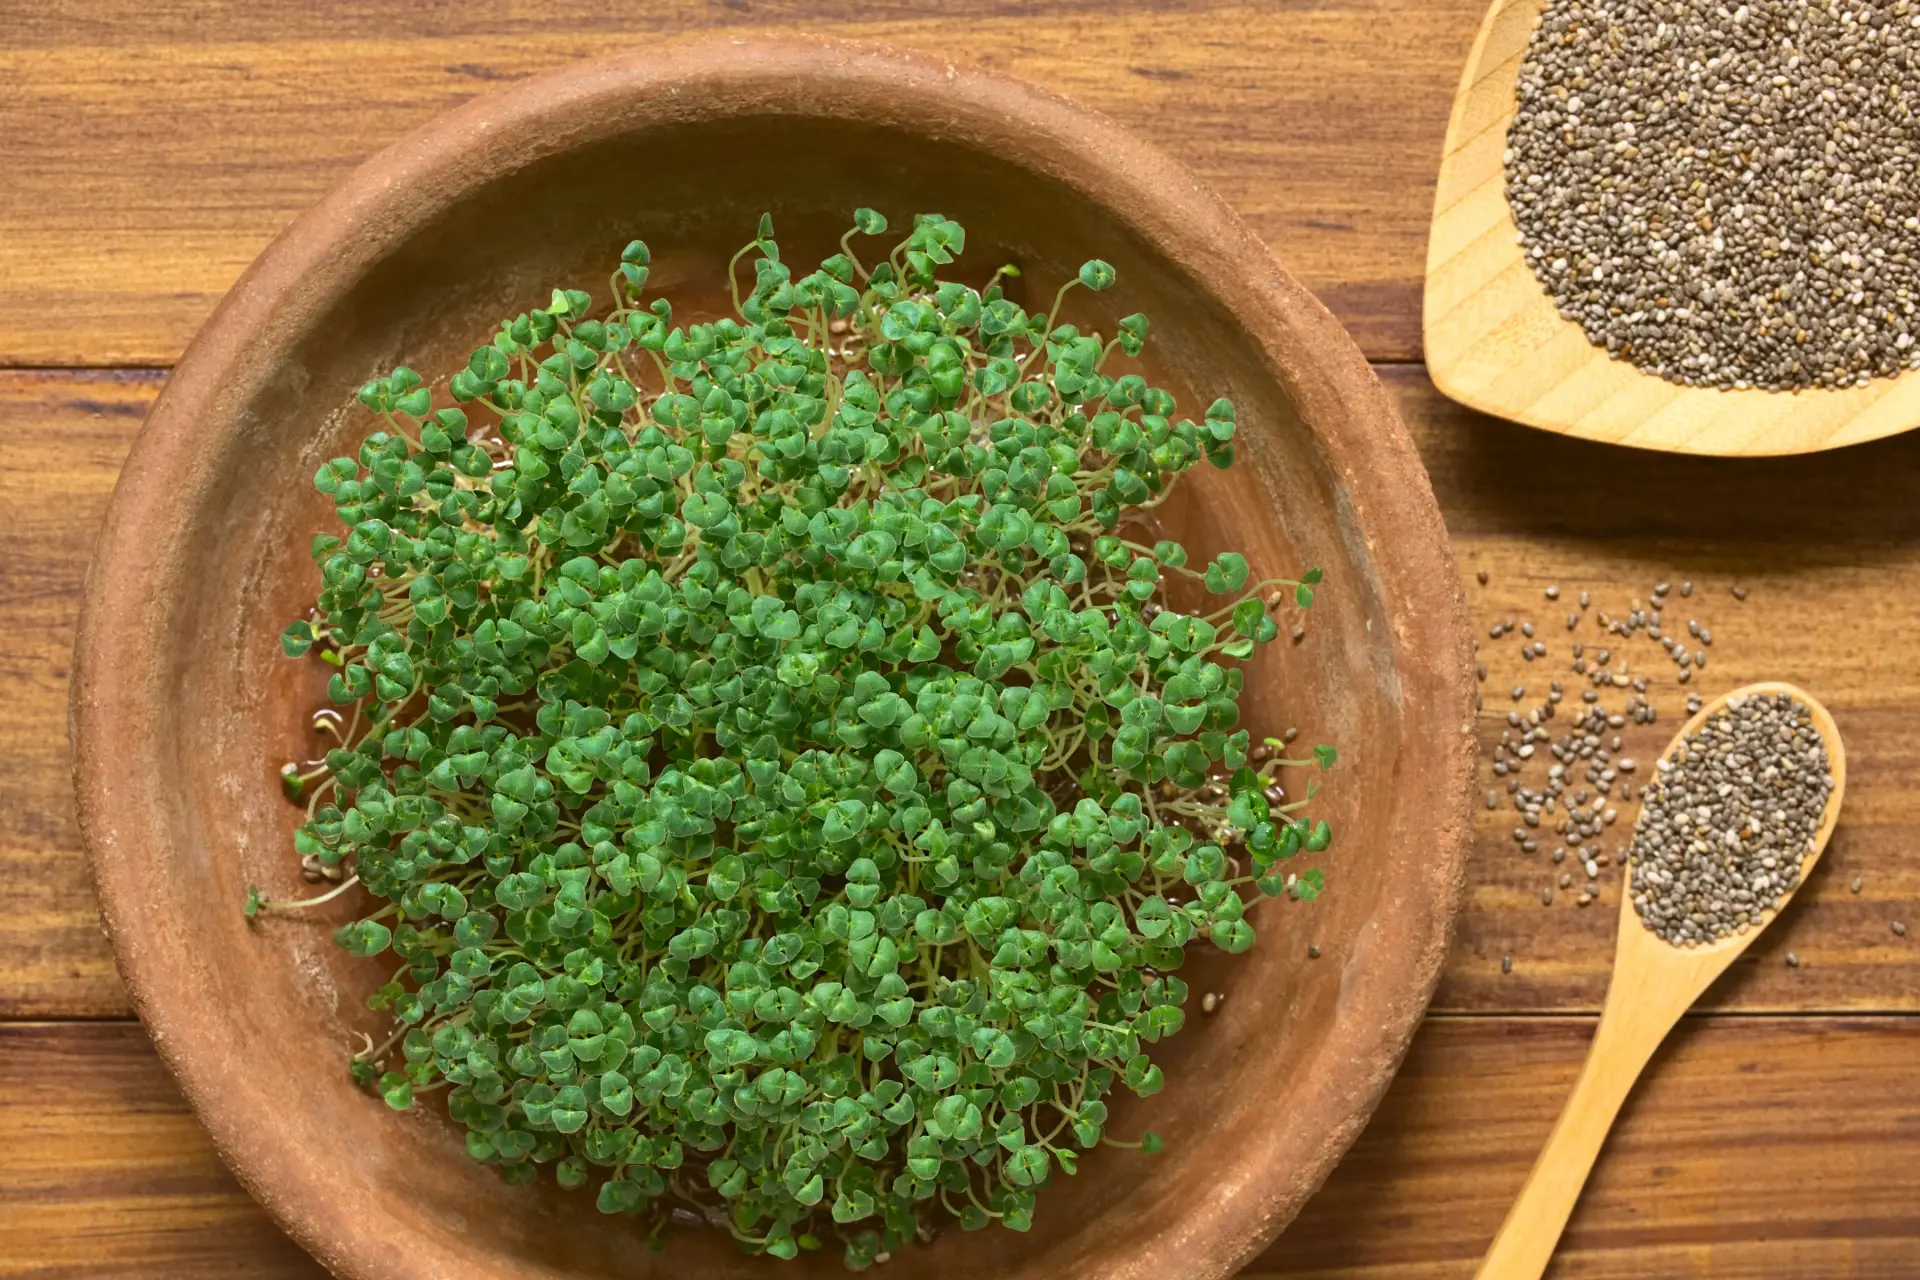
Harvesting Chia Seeds
Harvesting chia seeds is an exciting and rewarding part of growing chia plants. It is important to wait until the chia seeds are fully mature before harvesting to ensure optimal flavor and nutritional content. Here’s a step-by-step guide to help you harvest and store your chia seeds:
- Observation: Monitor the chia plants closely and look for signs of seed maturity. The seed heads will have turned a dark color, indicating that the seeds are ripe and ready to be harvested.
- Timing: Choose a dry and sunny day to harvest the chia seeds. Avoid harvesting when the plants are wet, as moisture can reduce seed quality and increase the risk of mold or rot.
- Collection: Hold a container or a cloth bag beneath the seed heads and gently rub or shake them to release the seeds. The mature seeds will fall into the container while the remaining plant material can be discarded or composted.
- Cleaning: To remove any remaining plant debris, place the collected seeds in a fine-mesh sieve or strainer. Rinse the seeds under running water and gently agitate them to remove dirt, dry bits of flowers, and any remaining chaff.
- Drying: Spread the cleaned seeds in a single layer on a clean, dry surface such as a tray or a screen. Allow them to air dry in a well-ventilated area away from direct sunlight. Stir or turn the seeds occasionally to ensure even drying. Proper drying is crucial to prevent mold or moisture damage during storage.
- Storage: Once the chia seeds are completely dry, transfer them to airtight containers such as glass jars or resealable bags. Store the containers in a cool, dark place to maintain optimum seed quality. Properly stored chia seeds can stay fresh for up to three years.
Remember to label your containers with the harvest date and any other relevant information. This will help you keep track of the seed’s freshness and ensure proper rotation when using them in your recipes or for future planting.
Now that you know how to harvest and store chia seeds, you can enjoy the fruits of your labor and use them in a variety of culinary applications!
Conclusion
Growing chia seeds in your edible garden can be a rewarding experience. By understanding the factors that influence their growth rate, the germination period, optimal growing conditions, and the duration it takes for them to reach maturity, you can successfully cultivate these nutritious seeds.
Providing the optimal conditions, such as adequate sunlight, well-draining soil, proper watering, and regular care, will help your chia seeds thrive. The germination period of chia seeds is typically around 7 to 14 days, and it is important to be patient during this stage.
As the chia seeds mature, they develop into beautiful plants, complete with clusters of purple or white flowers. Once the flowers are pollinated and the seeds ripen, they can be harvested. Ensuring the seeds are fully mature before harvesting will guarantee their optimal flavor and nutritional content.
Properly harvesting and storing chia seeds is essential for maintaining their freshness and quality. By following the appropriate steps, including cleaning, drying, and storing them in airtight containers, you can enjoy the benefits of your homegrown chia seeds for years to come.
Whether you use chia seeds in smoothies, baked goods, or as a topping for salads and yogurt, these tiny nutritional powerhouses will add a healthy boost to your meals. So why not embark on an edible gardening adventure and start growing your own chia seeds? Happy gardening!