Home>Types of Gardening>Edible Gardening>How Long Does It Take To Grow Onions From Bulbs

Edible Gardening
How Long Does It Take To Grow Onions From Bulbs
Published: January 22, 2024
Learn how long it takes to grow onions from bulbs in your edible gardening journey. Find expert tips and advice for successful onion cultivation.
(Many of the links in this article redirect to a specific reviewed product. Your purchase of these products through affiliate links helps to generate commission for Chicagolandgardening.com, at no extra cost. Learn more)
Table of Contents
Introduction
Growing your own onions can be a rewarding and fulfilling experience. Not only do onions add flavor and depth to a variety of dishes, but they are also versatile in their culinary uses. From salads and soups to stir-fries and stews, onions are a staple in many kitchens.
One of the advantages of growing onions from bulbs is that it saves time compared to growing them from seeds. Onion bulbs, also known as sets, are small immature onions that have been carefully cultivated and prepared for planting. They already have the basic structure needed to grow into mature onions.
When it comes to growing onions from bulbs, timing is key. Onions prefer cooler temperatures and a longer growing season to develop into large, healthy bulbs. By understanding the right conditions and following proper planting techniques, you can successfully grow onions from bulbs in your own backyard.
In this article, we’ll guide you through the process of growing onions from bulbs, from choosing the right varieties to harvesting and storing your crops. Whether you are a novice gardener or have some experience, this comprehensive guide will provide you with the necessary information to achieve a successful onion harvest.
So, roll up your sleeves, put on your gardening gloves, and let’s dive into the wonderful world of growing onions from bulbs!
Choosing the Right Onion Bulbs
When it comes to growing onions from bulbs, selecting the right variety is essential. There are different types of onions available, each offering its own unique flavor and growing requirements. Here are some factors to consider when choosing the right onion bulbs for your garden:
- Day Length: Onions are categorized as either short-day, intermediate-day, or long-day varieties, depending on the number of daylight hours required for bulb formation. Short-day onions are best suited for regions with mild winters and short summers, while long-day onions thrive in areas with longer daylight hours and cool summers. Intermediate-day onions are a versatile choice for those in between.
- Flavor and Use: Onions come in a range of flavors, from sweet and mild to pungent and strong. Consider the flavor profile you prefer for your culinary needs and select bulbs accordingly. Sweet varieties like Vidalia and Walla Walla are excellent for salads and sandwiches, while stronger varieties like Spanish and red onions add a robust flavor to cooked dishes.
- Growing Conditions: Onions require well-drained soil with a pH level between 6.0 and 7.5. They prefer full sun exposure for at least six hours a day. Take into account your specific growing conditions, such as soil composition, moisture levels, and sunlight availability, when choosing the right onion bulbs.
- Storage Capability: Some onion varieties have a longer shelf life and are better suited for storage. If you want to enjoy your onions over an extended period, opt for bulbs that have good storage capabilities, such as ‘Copra’ or ‘Yellow Storage’ onions.
Once you have considered these factors, you can purchase your onion bulbs from a reputable nursery or garden center. Look for bulbs that are firm and free from soft spots or signs of disease. Healthy bulbs will have dry outer layers and intact roots.
Remember, the quality of your onion bulbs will directly impact the success of your harvest. By choosing the right variety and obtaining high-quality bulbs, you’re setting the foundation for a bountiful onion-growing experience.
Planting Onion Bulbs
Now that you have selected the perfect onion bulbs, it’s time to get them planted in your garden. Here’s a step-by-step guide on how to plant your onion bulbs:
- Prepare the Soil: Onions thrive in loose, well-drained soil. Before planting, remove any weeds or debris and loosen the soil with a garden fork or tiller. Incorporate compost or well-rotted organic matter to improve fertility and drainage.
- Select the Planting Location: Choose a sunny area in your garden where your onions will receive at least six hours of direct sunlight each day. Onions also prefer slightly acidic to neutral soils with a pH level between 6.0 and 7.5.
- Plant at the Right Time: Onion bulbs should be planted as soon as the soil can be worked in early spring. The exact timing may vary depending on your location and the variety of onions you are planting. Follow the guidelines provided on the seed packet or by your local extension service.
- Planting Depth: Gently press the onion bulb into the soil, pointed end facing up, until the top of the bulb is level with the soil surface. Space the bulbs about 4-6 inches apart to allow for proper growth and bulb development.
- Watering: After planting, thoroughly water the soil to settle it around the bulbs. Onions require consistent moisture, especially during the early stages of growth. Keep the soil evenly moist, but avoid overwatering, as this can lead to rot and disease.
- Mulching: Apply a layer of mulch around the onion plants to help conserve moisture, suppress weed growth, and regulate soil temperatures. Organic mulches such as straw or shredded leaves work well for onions.
- Thinning: As your onion plants start to grow, you may notice that they are growing too close together. To ensure proper airflow and bulb development, thin the plants by removing the weaker or smaller seedlings. Aim for a spacing of 4-6 inches between each plant.
Remember to monitor the soil moisture regularly and water your onion plants whenever necessary. With proper care and attention, your onion bulbs will begin to grow and develop into mature, flavorful onions.
Watering and Fertilizing Onions
Proper watering and fertilization are crucial for the healthy growth and development of onion plants. Here are some guidelines to help you keep your onions well-hydrated and nourished:
Watering:
Onions require regular and consistent moisture to grow successfully. Here are some tips for watering your onion plants:
- Moisture Needs: Onions prefer moist soil but not waterlogged conditions. Water deeply once or twice a week to ensure the soil is evenly moist, especially during dry spells or hot weather.
- Avoid Overwatering: Onions are susceptible to diseases like root rot if they are exposed to excessively wet conditions. Ensure good drainage in the soil and avoid overwatering, which can lead to waterlogged roots.
- Watering Methods: Water the soil at the base of the plants, rather than wetting the foliage. This helps prevent the onset of fungal diseases and promotes stronger root growth.
- Mulching: Applying a layer of organic mulch around the onions can help retain moisture in the soil, regulate soil temperature, and reduce weed growth. Avoid placing mulch directly against the onion stems to prevent rotting.
Fertilizing:
To ensure your onion plants have the necessary nutrients for healthy growth, you’ll need to provide them with balanced fertilization. Here’s what you need to know:
- Soil Testing: Before applying fertilizer, it is advisable to conduct a soil test to understand the nutrient composition of your soil. This will help you determine the specific fertilizer requirements for your onions.
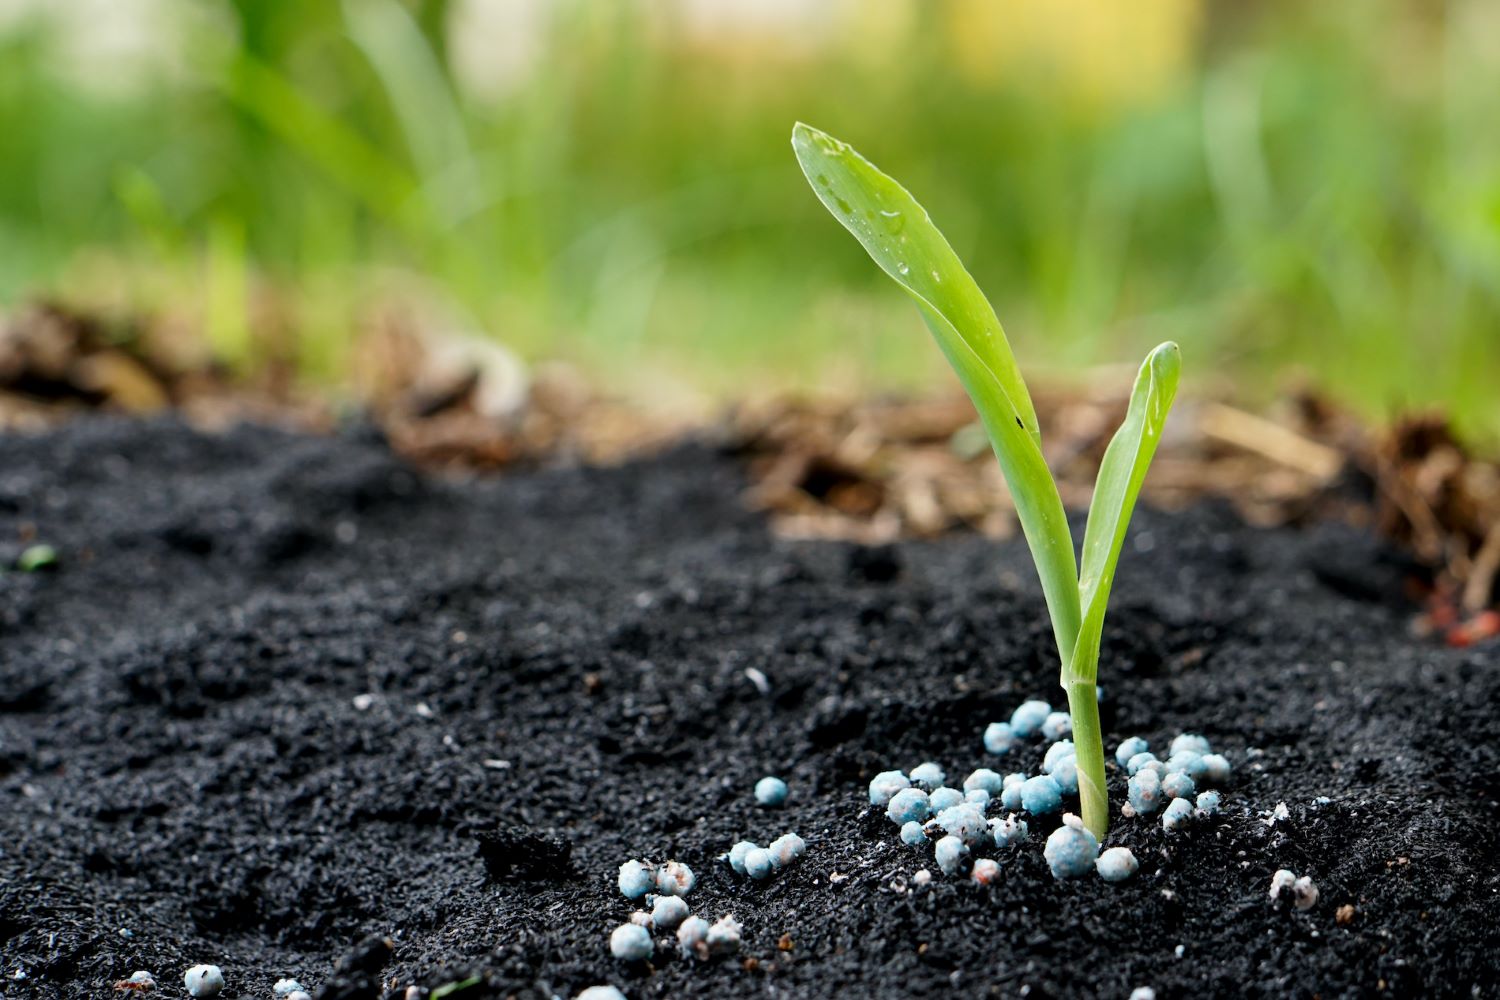
- Well-Balanced Fertilizer: Onions benefit from a fertilizer that has a balanced ratio of nitrogen, phosphorus, and potassium (NPK). Look for a fertilizer with an NPK ratio of around 10-10-10 or 20-20-20.
- Application Timing: Apply fertilizer when the onion plants have established their roots, around 3-4 weeks after planting. Avoid fertilizing too early, as it can result in excessive foliage growth instead of bulb development.
- Application Method: Spread the fertilizer evenly around the onion plants, keeping it a few inches away from the stems. Lightly incorporate the fertilizer into the soil and water thoroughly to ensure proper absorption.
- Side-Dressing: As the onion plants continue to grow, you can provide additional fertilizer by side-dressing. Apply a small amount of fertilizer along the sides of the rows, being careful not to let it come into direct contact with the plants.
By maintaining the proper watering schedule and supplying the necessary nutrients, you’ll give your onion plants the best chance of thriving and producing robust bulbs.
Managing Weed Growth
Keeping your onion bed free from weeds is essential for the health and productivity of your plants. Weeds compete with onions for nutrients, water, and sunlight, and can hinder their growth. Here are some effective methods to manage weed growth in your onion patch:
- Regular Weed Inspection: Take the time to regularly inspect your onion bed and promptly remove any emerging weeds. The earlier you address the issue, the easier it will be to keep the weeds under control.
- Mulching: Applying a layer of organic mulch, such as straw or shredded leaves, around your onion plants can help suppress weed growth. Mulch not only helps to smother existing weeds but also prevents new weed seeds from germinating.
- Hand Pulling: For weeds that manage to emerge through the mulch, hand pulling is an effective method. Ensure that you pull the weeds out by their roots, being careful not to disturb the onion plants in the process.
- Cultivation: Using a handheld cultivator or a garden hoe, lightly cultivate the soil around your onion plants to disrupt weed growth. Be cautious not to damage the onion roots or bulbs while doing so.
- Organic Weed Control: If hand pulling and cultivation are not sufficient to manage weed growth, you can consider using organic weed control methods. These may include using vinegar or boiling water to target specific weed patches, or employing natural pre-emergent herbicides derived from corn gluten meal or other organic materials.
Remember, it is essential to stay diligent and consistent in your efforts to manage weeds in your onion bed. Regularly monitor for weed growth and apply the appropriate control methods to keep your onions thriving.
Protecting Onions from Pests
Just like any other plants, onions can be vulnerable to pests that can cause damage to their foliage and bulbs. However, with proper prevention and management, you can protect your onions from common pests. Here are some effective strategies:
- Row Covers: Using row covers can help prevent pests from accessing your onion plants. These covers act as a physical barrier, preventing insects from laying eggs on the foliage or feeding on the plants.
- Companion Planting: Planting onions alongside companion plants can help deter pests. For example, planting onions with marigolds can repel aphids, while planting them with carrots can confuse onion fly larvae due to the strong scent of the carrot foliage.
- Insecticidal Soap: If you notice a pest infestation on your onion plants, using insecticidal soap can help control the problem. Apply the soap according to the instructions on the product label, targeting the affected areas of the plants.
- Organic Pest Control: Consider using organic pest control methods, such as neem oil or garlic spray, to protect your onions from pests. These natural alternatives are generally safe for the environment and can effectively deter a wide range of pests.
- Good Cultural Practices: Maintaining healthy onion plants through good cultural practices can also minimize the risk of pest infestations. This includes regular watering, proper spacing between plants, and removing any damaged or diseased foliage promptly.
It is worth noting that prevention is often the most effective approach to pest control. By incorporating these protective measures into your onion care routine, you can minimize the risk of pests damaging your plants.
Harvesting Onions
Harvesting onions is an exciting culmination of your hard work and patience. Knowing the right time to harvest is crucial, as it determines the quality and storage potential of your bulbs. Here’s what you need to know about harvesting onions:
- Observing Bulb Maturity: Onions are ready for harvest when the foliage starts to turn yellow and flop over. This indicates that the bulbs have reached maturity and have stopped growing.
- Timing: Depending on the variety and growing conditions, onions are typically ready for harvest 90 to 120 days after planting. Monitor the progression of your plants and keep track of the planting date to estimate the harvest time.
- Digging: Use a garden fork or a trowel to gently loosen the soil around the base of the onion plants. Be cautious not to damage the bulbs during this process.
- Drying: After harvesting, it is important to allow the onions to dry for a few days to cure their skins. Lay the onions in a well-ventilated area with good airflow, out of direct sunlight. This process helps the outer skin to dry and thicken, which aids in their storage.
- Trimming: Once the onions are dry, trim the roots and foliage down to about an inch from the bulb. This helps remove excess moisture and prevents rotting during storage.
- Inspecting: Before storing your onions, inspect them for any signs of damage, disease, or rot. Discard any bulbs that are soft, moldy, or showing signs of decay.
- Storing: Proper storage conditions are essential for keeping your harvested onions fresh. Place the cured onions in a well-ventilated location with low humidity and temperatures around 40-50°F (4-10°C). Store them in mesh bags, hanging racks, or crates to allow for airflow and prevent moisture buildup.
Remember that properly cured and stored onions can last for several months, providing you with a steady supply well beyond the harvesting season. Enjoy the satisfaction of using your homegrown onions in your favorite recipes!
Storing Onions
Proper storage is essential to maximize the shelf life of your harvested onions. Here are some essential tips for storing onions:
- Curing: After harvesting, it’s important to cure the onions to extend their storage life. Allow them to dry in a well-ventilated area with good air circulation for two to three weeks. This curing process toughens the outer skins, helping to protect the bulbs during storage.
- Prepping for Storage: Once the onions are fully cured, remove any loose soil or debris from the outer skins. Do not wash the onions, as moisture can lead to spoiling. Trim the tops, leaving about an inch of stem, and gently remove any loose or excess outer layers.
- Choosing the Right Storage Area: Select a storage location that is cool, dry, and well-ventilated. The ideal storage temperature for onions is between 32-40°F (0-4°C). Avoid storing them near fruits, as the ethylene gas produced by fruits can cause onions to spoil faster.
- Storage Containers: Store onions in mesh bags, paper bags, or well-ventilated crates. These containers allow for air circulation, preventing moisture buildup and rot. Avoid storing onions in plastic bags, as they can trap moisture and promote spoilage.
- Separate Storage: Keep different onion varieties separate during storage to prevent the flavor and aroma of one variety from transferring to another.
- Regular Inspection: Periodically check your stored onions for any signs of spoilage or decay. Discard any onions that show mold, soft spots, or sprouting to prevent the spread of decay to other bulbs.
- Usage Priority: Consume the onions that show signs of spoilage or sprouting first, as they will not store well. Use the firm and healthy onions later in the storage period.
By following these storage guidelines, you can enjoy your homegrown onions for several months, ensuring a fresh supply for your culinary endeavors throughout the year.
Conclusion
Growing onions from bulbs can be a rewarding and enjoyable experience. With the right knowledge and techniques, you can successfully cultivate your own onions, adding a fresh and flavorful touch to your culinary creations. From choosing the right onion bulbs to harvesting and storing the mature bulbs, each step in the process contributes to the success of your onion-growing journey.
By carefully selecting the appropriate onion bulbs and providing them with the necessary growing conditions, you can ensure the healthy development of your plants. Regular watering, proper fertilization, and diligent weed management are crucial for the optimal growth and productivity of your onion patch. Protecting your onions from pests and diseases will safeguard your harvest, allowing you to enjoy the fruits of your labor.
Harvesting onions at the right time and implementing proper storage techniques will help prolong the shelf life of your onions, ensuring a steady supply of homegrown goodness. With a well-ventilated and cool storage area, you can savor the flavors of your onions for several months after harvest.
Whether you are a seasoned gardener or a beginner, growing onions from bulbs is a gratifying endeavor that allows you to become more self-sufficient and connect with the natural world. So, roll up your sleeves, follow the steps outlined in this guide, and embark on your edible gardening journey to grow delicious, homegrown onions!