Home>Types of Gardening>Edible Gardening>How Long Does It Take For Pumpkin Seeds To Germinate
Edible Gardening
How Long Does It Take For Pumpkin Seeds To Germinate
Modified: February 10, 2024
Discover the timeline for pumpkin seed germination in your edible garden. Learn how long it takes for pumpkin seeds to sprout and grow into healthy plants.
(Many of the links in this article redirect to a specific reviewed product. Your purchase of these products through affiliate links helps to generate commission for Chicagolandgardening.com, at no extra cost. Learn more)
Table of Contents
Introduction
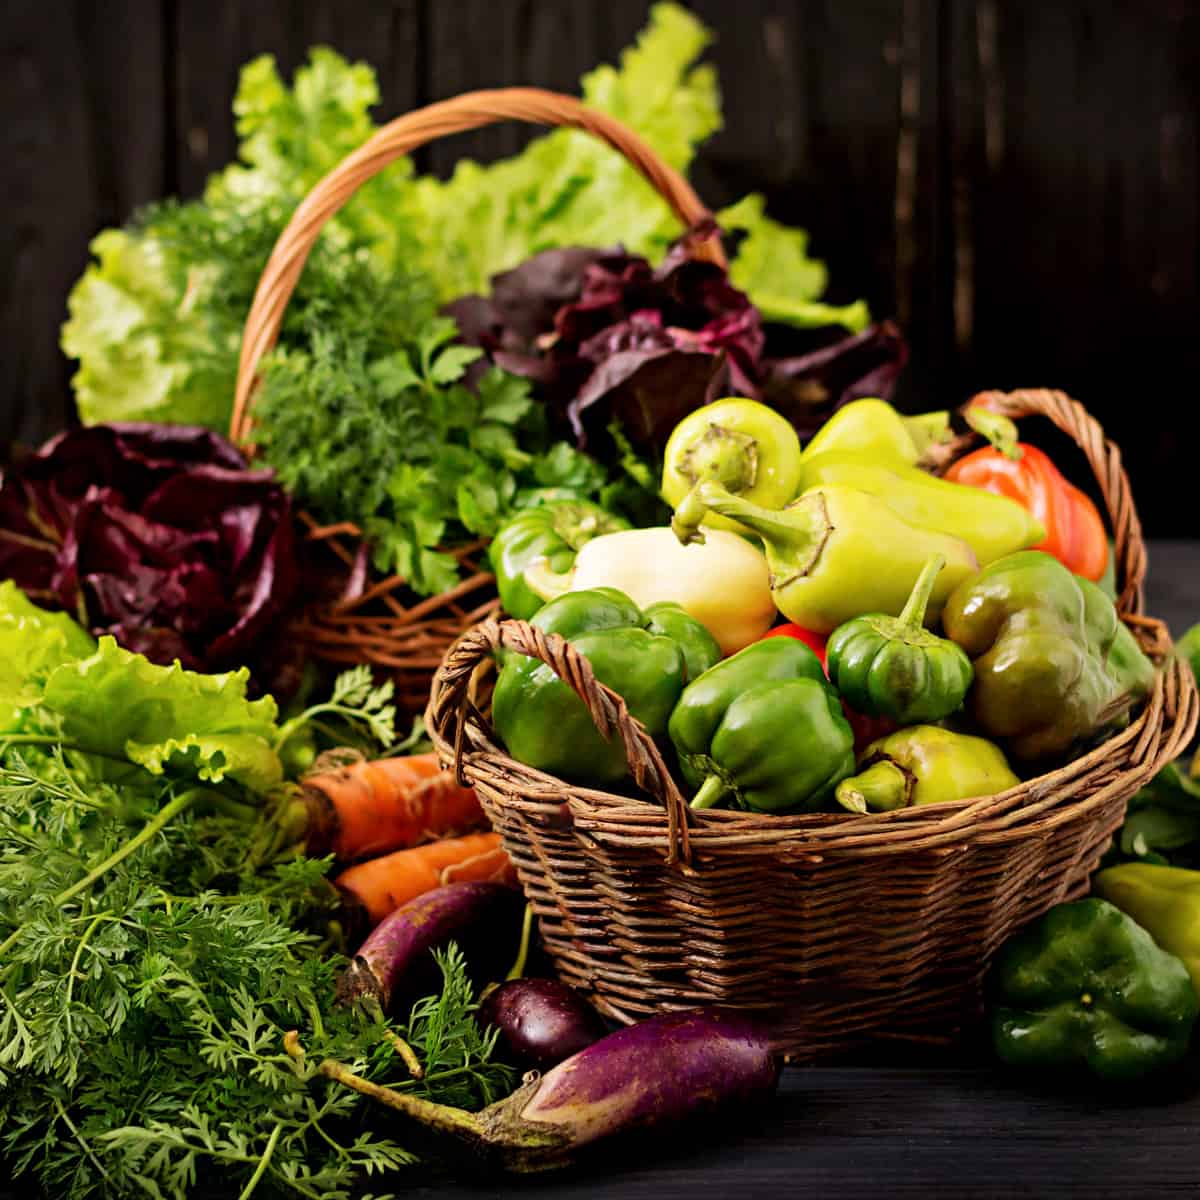
Welcome to the fascinating world of edible gardening! Whether you have a spacious backyard or a small balcony, growing your own food is not only rewarding but also sustainable. One of the most popular and versatile vegetables to grow is the pumpkin. Known for its vibrant colors and delicious flavors, pumpkins are a staple in many dishes, especially during the fall season.
If you’re just starting your edible gardening journey, you may be wondering how long it takes for pumpkin seeds to germinate. Germination is the process in which a seed sprouts and develops into a plant, and it is a crucial step in the plant’s life cycle. Understanding the germination time for pumpkin seeds is essential for planning and maintaining a successful garden.
The germination time for pumpkin seeds can vary depending on several factors. In this article, we will explore these factors and provide you with a step-by-step guide to germinate your pumpkin seeds effectively. We’ll also offer tips and troubleshooting advice to ensure a smooth growing process.
So, whether you’re a seasoned gardener or a beginner, let’s dive into the exciting world of pumpkin seed germination and discover how you can grow your own pumpkins from the ground up!
Factors Affecting Germination Time
The germination time for pumpkin seeds can be influenced by various factors. Understanding these factors and how they affect seed germination can help you create optimal conditions for successful growth. Here are some important factors to consider:
- Seed Quality: The quality of the pumpkin seeds you choose plays a significant role in germination time. Fresh, healthy seeds are more likely to germinate quickly compared to old or damaged seeds. It’s always a good idea to purchase seeds from reputable sources or save seeds from mature, disease-free pumpkins.
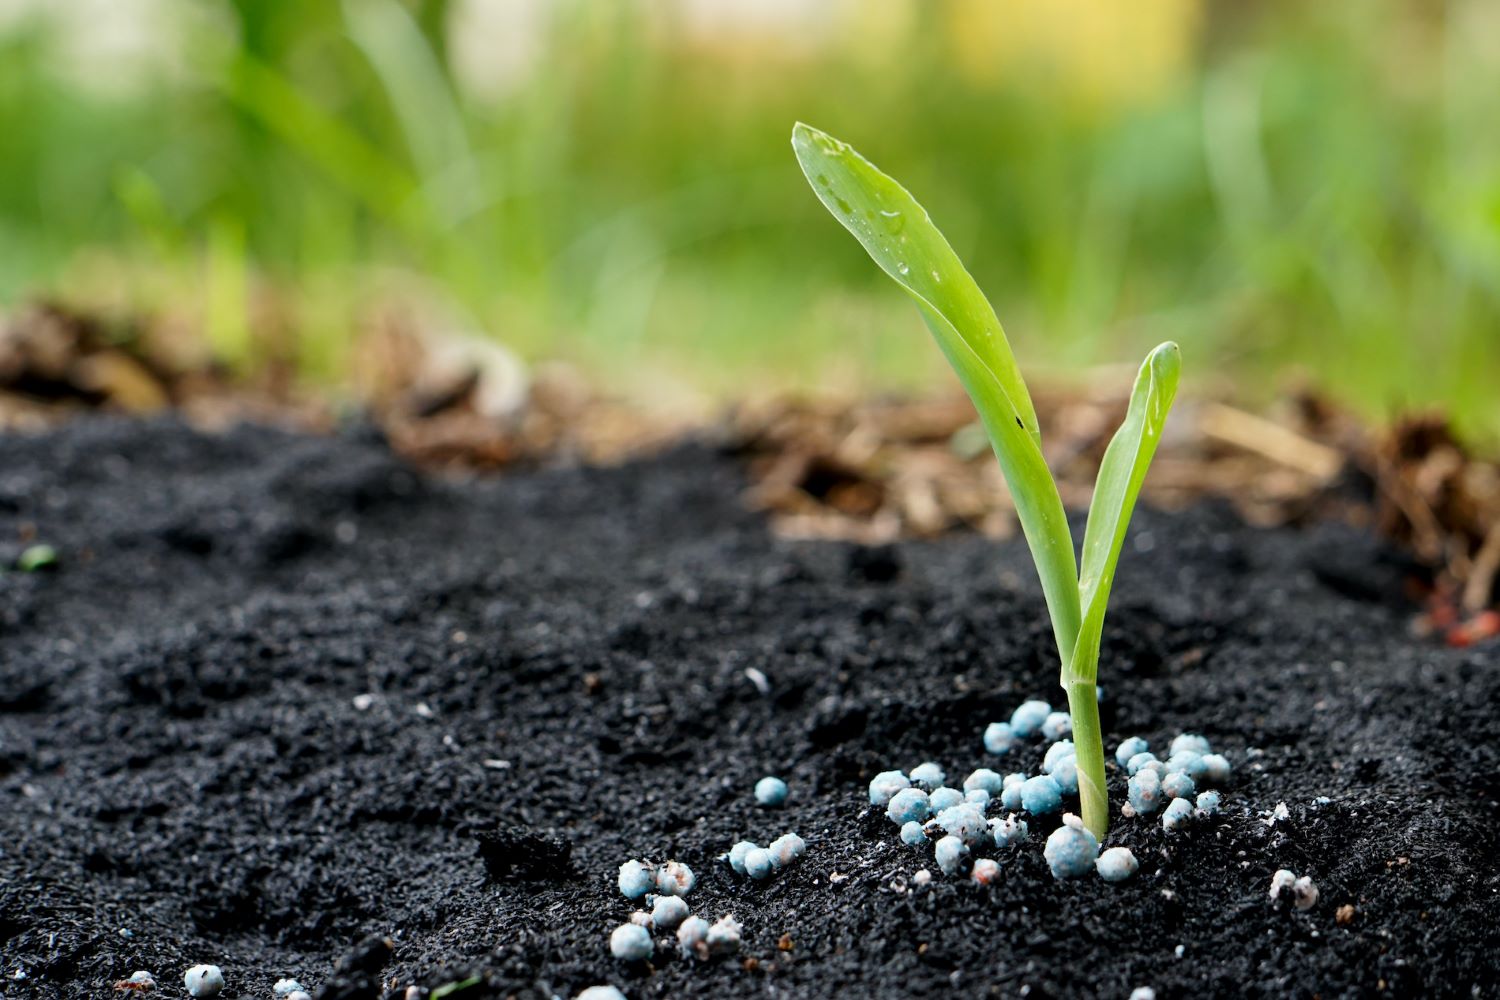
- Temperature: Temperature plays a crucial role in seed germination. Pumpkin seeds generally prefer warm soil temperatures ranging from 70°F to 85°F (21°C to 29°C). Cooler soil temperatures can slow down germination, while excessively high temperatures can negatively impact seed viability.
- Moisture: Adequate moisture is essential for seed germination. Dry soil can prevent seeds from absorbing water and initiating the germination process. On the other hand, excessive moisture can lead to fungal diseases and rot. Maintaining a balanced level of moisture is crucial for optimal germination.
- Light: Unlike some other seeds, pumpkin seeds do not require light for germination. In fact, they tend to germinate better in darkness. Therefore, you don’t need to place the seeds in direct sunlight or provide artificial lighting during the germination process.
- Seed Treatments: Some gardeners use seed treatments to enhance germination. These treatments can include scarification (scratching the seed coat to promote water absorption), soaking in water, or even using natural substances like compost tea or seaweed extract. While these treatments aren’t necessary for all pumpkin varieties, they can potentially speed up germination.
By considering these factors and creating ideal conditions, you can significantly impact the germination time of your pumpkin seeds. Providing the right environment will help your seeds sprout and develop into healthy seedlings, ensuring a successful start to your pumpkin-growing journey.
Optimal Conditions for Germination
To maximize the germination success of your pumpkin seeds, it’s crucial to provide them with optimal growing conditions. By creating the ideal environment, you can encourage quick and healthy seed germination. Here are the optimal conditions for germinating pumpkin seeds:
- Soil Quality: Start with well-draining soil that is rich in organic matter. A loose and crumbly soil texture allows the seeds to establish roots easily and ensures proper moisture retention.
- Soil Temperature: Maintaining a consistent soil temperature between 70°F and 85°F (21°C to 29°C) is crucial for successful germination. You can use a soil thermometer to monitor the temperature and adjust as needed.
- Moisture Level: Keep the soil consistently moist but not overly saturated. Ensure that the soil is damp to the touch, but avoid excessive waterlogging, as this can lead to rot and fungal diseases.
- Planting Depth: Plant the pumpkin seeds at a depth of about 1 inch (2.5 cm) into the soil. This depth allows for proper moisture absorption and protects the seeds from drying out.
- Spacing: Leave adequate space between the seeds to allow room for growth. For small varieties, space the seeds about 2 to 3 feet apart, while larger varieties may require spacing of 4 to 6 feet.
- Protection from Pests: Take measures to protect the germinating seeds from pests, such as birds, squirrels, or insects. You can cover the newly planted seeds with a lightweight row cover or create a physical barrier to prevent damage.
- Patience and Monitoring: Germination can take anywhere from 5 to 10 days, sometimes longer, depending on various factors. Patience is key during this stage. Regularly monitor the moisture levels and keep an eye out for any signs of sprouting.
By ensuring these optimal conditions are met, you provide the best possible environment for your pumpkin seeds to germinate successfully. Keep in mind that every variety may have slight variations in specific requirements. Therefore, it’s always a good idea to check the seed packet or do some research for variety-specific guidelines.
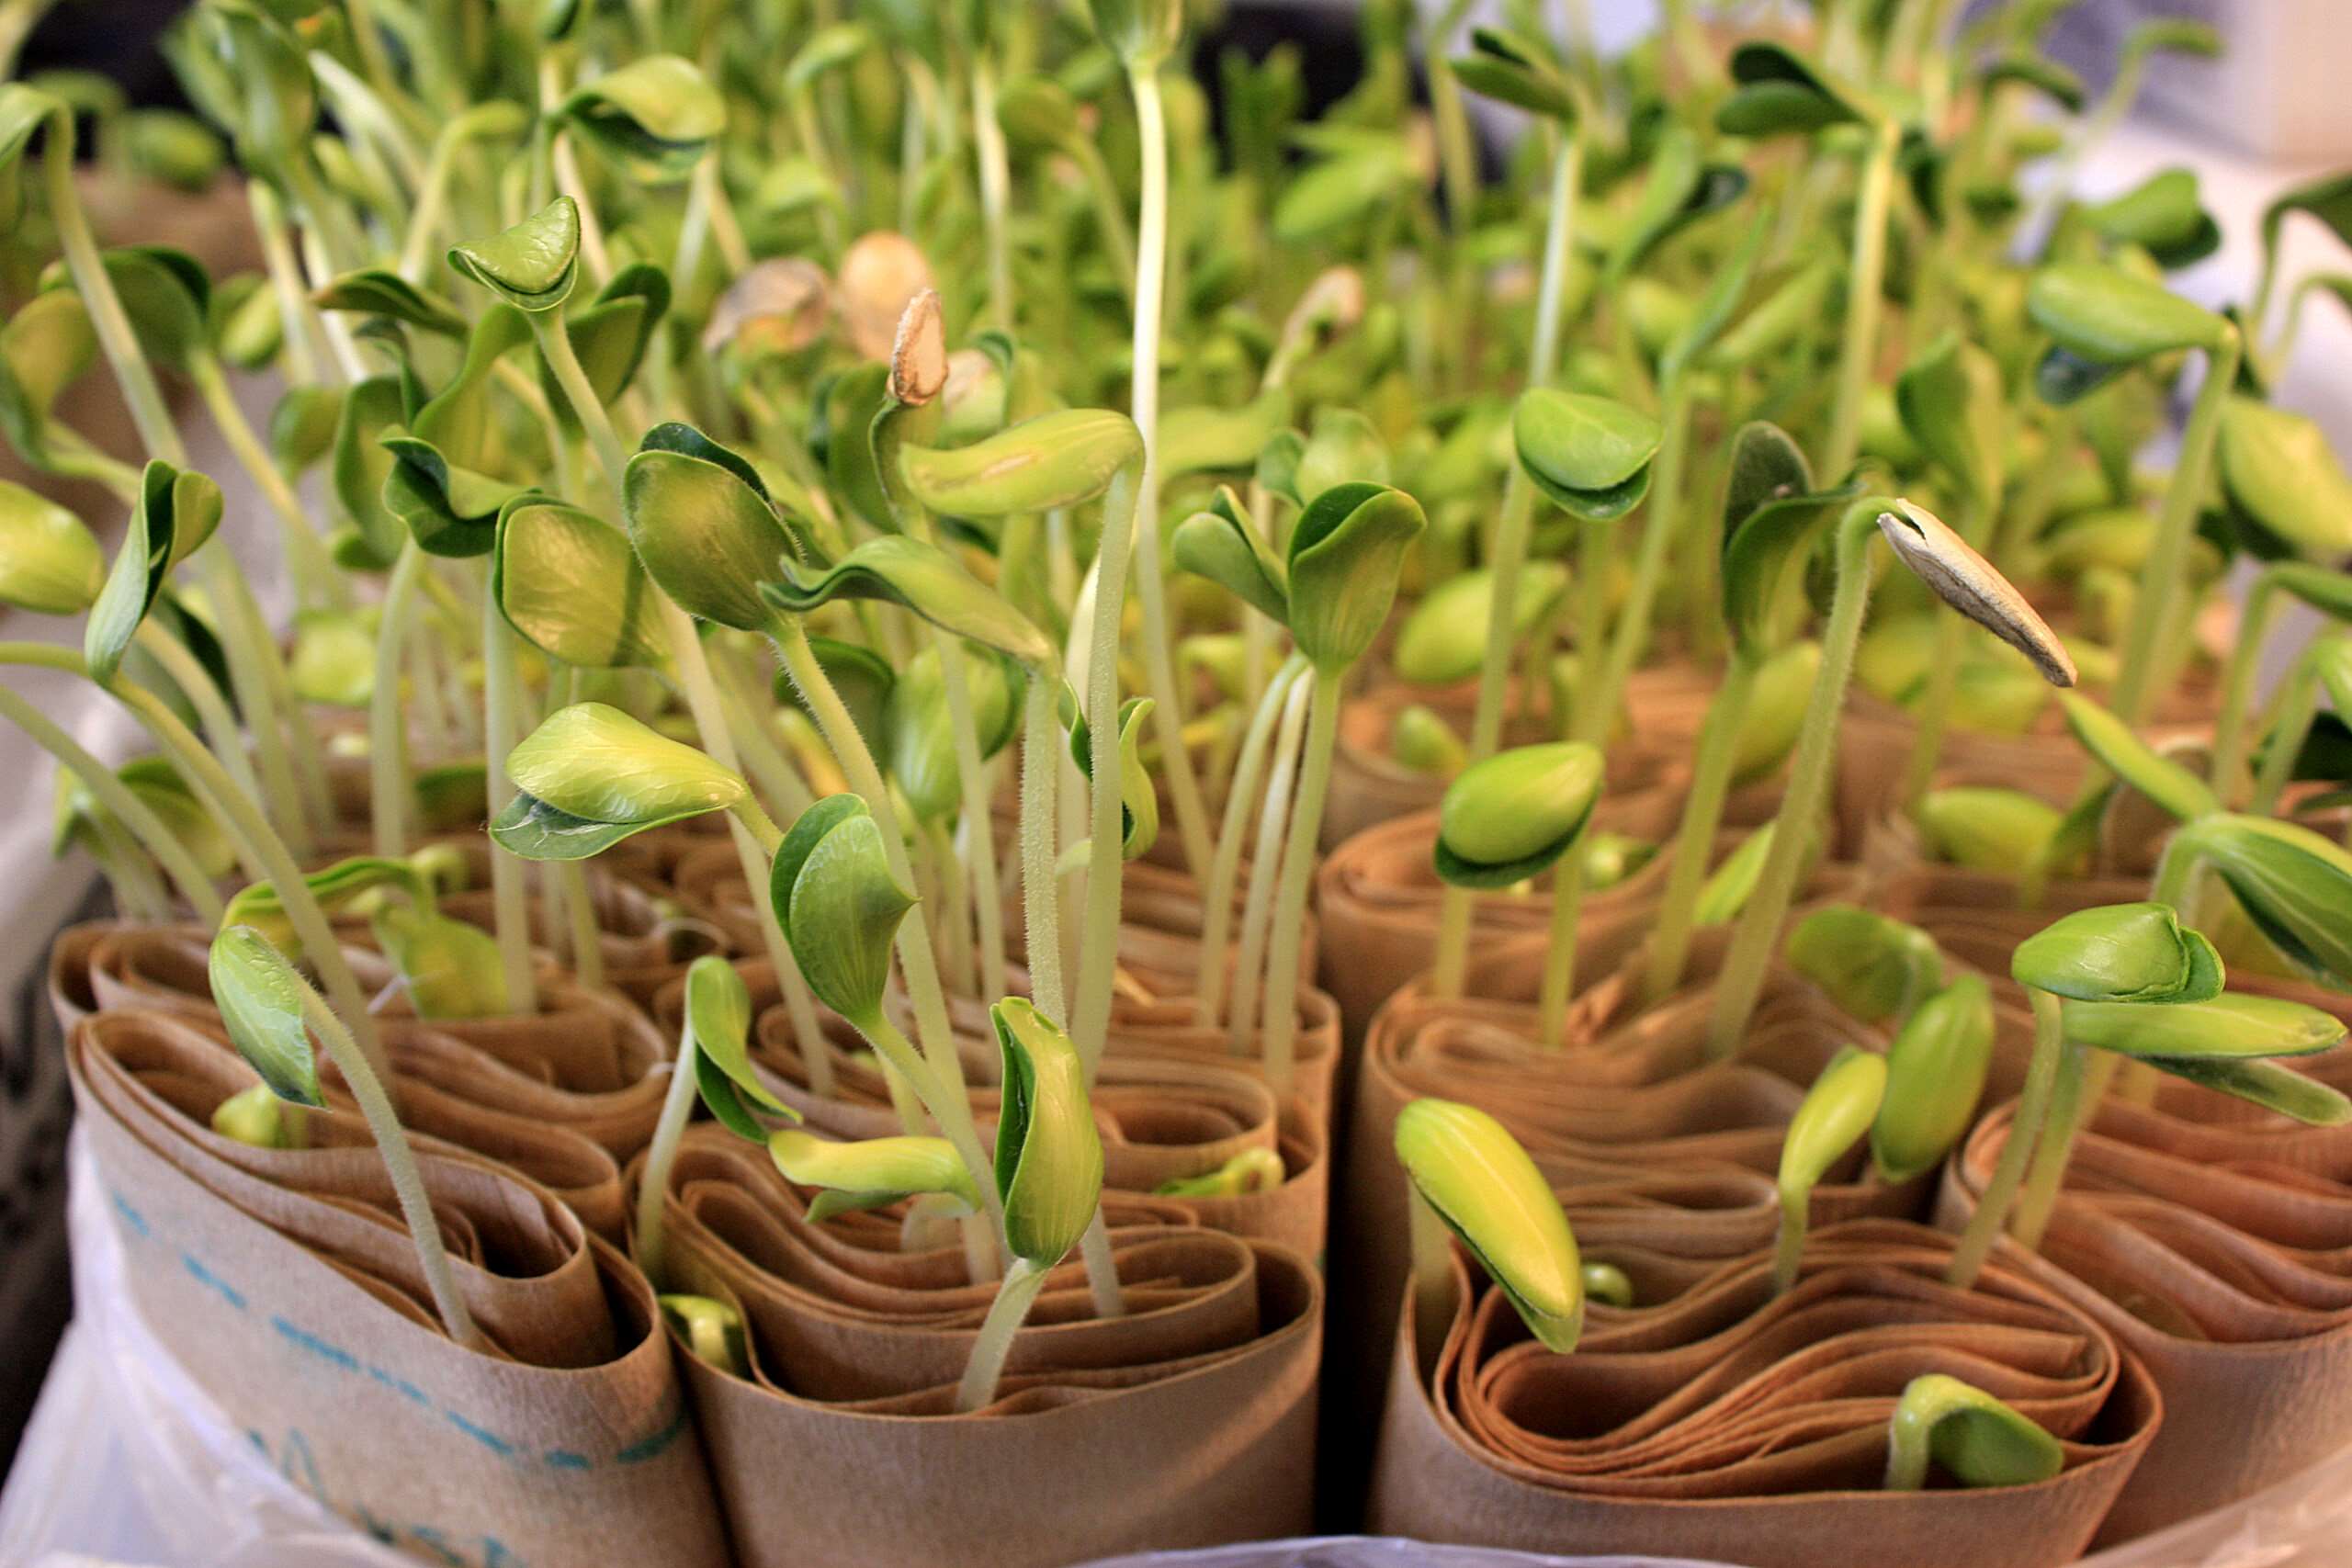
Germination Time for Pumpkin Seeds
The germination time for pumpkin seeds can vary depending on multiple factors, including seed quality, temperature, moisture, and other environmental conditions. On average, pumpkin seeds take around 5 to 10 days to germinate. However, it’s important to note that germination times can vary from variety to variety.
Some pumpkin varieties may have a shorter germination period, sprouting within 5 to 7 days, while others may take slightly longer, up to 10 to 14 days. It’s crucial to be patient during this process and avoid disturbing the seeds once they are planted. Any disruption can delay or inhibit germination.
As mentioned earlier, temperature plays a significant role in germination time. If the soil temperature is on the lower end of the optimal range (70°F to 75°F), germination may take longer. Conversely, if the temperature is on the higher end of the range (80°F to 85°F), germination may occur more rapidly. Ensuring a consistent and ideal soil temperature can help promote quicker germination.
It’s important to keep in mind that germination time is not an exact science and can be influenced by various factors, including the freshness and quality of the seeds, the specific pumpkin variety, and the growing conditions. Monitoring the progress of your seeds and providing the optimal conditions for germination will increase the chances of success.
If you notice that some seeds have not germinated after the average germination period, you can gently dig around the area to check for any signs of root development. If the seeds appear healthy and show signs of sprouting, allow them more time to fully emerge. However, if the seeds show no signs of life, it may be necessary to replant fresh seeds.
Remember, gardening is a patient and rewarding process. By understanding the factors that influence germination time and providing the best possible conditions for your pumpkin seeds, you’ll enhance your chances of a successful and fruitful gardening experience.
Step-by-Step Guide to Germinate Pumpkin Seeds
Germinating pumpkin seeds is a straightforward process that requires a few simple steps. By following this step-by-step guide, you’ll increase the chances of successful germination and have healthy pumpkin seedlings in no time:
- Choose high-quality seeds: Select fresh, healthy pumpkin seeds from a reliable source. Ensure that the seeds are not damaged or shriveled.
- Prepare the soil: Use well-draining soil mixed with compost to provide the necessary nutrients. Fill seed trays or pots with the soil mixture, leaving about an inch of space at the top.
- Plant the seeds: Make a small hole, about 1 inch deep, in the soil with your finger or a pencil. Place one or two pumpkin seeds in each hole and cover them with soil, gently firming the soil around the seeds.
- Water the seeds: Moisten the soil evenly with a gentle spray of water. Be careful not to overwater, as this can lead to rot. Maintain a consistently moist but not waterlogged environment.
- Provide optimal temperature and light: Place the seed trays or pots in a warm location with a temperature range of 70°F to 85°F (21°C to 29°C). Keep the seeds out of direct sunlight as they prefer darkness during the germination process.
- Monitor and maintain moisture: Regularly check the moisture level in the soil and water as needed to keep the soil evenly moist. Avoid letting the soil dry out completely or become overly saturated.
- Be patient and wait for germination: Germination typically occurs within 5 to 10 days, but it can take longer for some varieties. Avoid disturbing the soil or checking the seeds too often, as this can disrupt the germination process.
- Transplant seedlings: Once the seedlings have developed their first set of true leaves, they can be transplanted into larger containers or into the garden, ensuring they have enough space to grow and thrive.
By following these steps and providing the optimal conditions for germination, you’ll give your pumpkin seeds the best chance of success. Remember to monitor the progress of your seedlings and make any necessary adjustments to ensure their healthy growth.
Tips for Successful Germination
Germinating pumpkin seeds successfully requires attention to detail and a little bit of know-how. To improve your chances of a successful germination process, here are some helpful tips:
- Choose the right variety: Select pumpkin varieties that are known for their reliable germination rates. Look for varieties that are suited to your specific climate and growing conditions.
- Pre-soak the seeds: Some gardeners find it beneficial to pre-soak pumpkin seeds for a few hours or overnight before planting. This can help soften the seed coat and speed up germination.
- Start with seed trays: Using seed trays allows for easy monitoring and transplanting of seedlings. Use biodegradable pots or trays to reduce transplant shock and disturb the roots as little as possible.
- Use bottom heat: If you have difficulty maintaining consistent soil temperatures, consider using a seedling heat mat under the seed trays. This can provide the warmth that pumpkin seeds need for quicker germination.
- Provide good air circulation: Proper air circulation is important for preventing fungal diseases. Avoid overcrowding the seed trays and make sure there is adequate space between seedlings.
- Avoid overwatering: While it’s important to keep the soil moist, be cautious not to overwater. Overly saturated soil can lead to rot and inhibit proper germination. Water the seeds gently and maintain a balanced moisture level.
- Protect from pests: Take precautions to protect your pumpkin seeds from pests such as birds, rodents, and insects. Consider using protective netting or covers until the seedlings are more established.
- Keep a germination journal: Keep track of the date you planted the seeds, the germination time, and any special observations or techniques you used. This information can be valuable for future gardening seasons.
- Learn from experience: Be open to learning from each gardening season. Observe the success and challenges you encounter during the germination process and make adjustments accordingly.
By implementing these tips, you can increase the likelihood of successful germination and enjoy healthy pumpkin plants in your garden. Remember, each gardening experience is unique, so don’t be afraid to experiment and find what works best for you and your pumpkin seeds.
Common Problems and Troubleshooting
While germinating pumpkin seeds is usually a straightforward process, you may encounter some common problems along the way. Here are a few issues you might come across and some troubleshooting solutions to help you overcome them:
- Poor germination: If you notice low or poor germination rates, it could be due to old or low-quality seeds. Make sure to use fresh, viable seeds from reputable sources. If the germination rate is consistently low, consider adjusting your growing conditions or trying a different variety.
- Damping-off: Damping-off is a fungal disease that can cause seedlings to wilt and collapse. To prevent damping-off, ensure proper air circulation, avoid overwatering, and use sterilized soil or potting mix.
- Slow germination: If your seeds are taking longer than expected to germinate, it could be due to low soil temperature or insufficient moisture. Check the temperature and moisture levels and make adjustments as needed.
- Pest damage: Birds, rodents, and insects can sometimes damage or eat the germinating seeds. Protect your seed trays or pots with netting or covers until the seedlings are more established and less vulnerable.
- Mold or fungus growth: Excessive moisture and poor air circulation can lead to mold or fungus growth on the soil surface. Make sure to provide proper ventilation and avoid overwatering. If mold or fungus appears, remove it carefully and adjust watering practices.
- Seedlings are leggy or weak: Leggy or weak seedlings can result from insufficient light or overcrowded seed trays. Ensure that your seedlings receive adequate light by placing them in a bright location or using artificial grow lights. Thin out seedlings if they become overcrowded.
- Seedlings with yellow leaves: Yellowing leaves in seedlings can indicate nutrient deficiencies or overwatering. Avoid overwatering and make sure your seedlings are receiving proper nutrition. Consider using a balanced fertilizer if needed.
Remember, gardening is a continuous learning process, and encountering challenges is a part of the journey. By troubleshooting and adjusting your approach, you’ll gain valuable experience and improve your germination success in the long run. Don’t be discouraged—experiment, learn from your mistakes, and enjoy watching your pumpkin seeds grow into healthy plants.
Conclusion
Congratulations on learning all about germinating pumpkin seeds! By understanding the factors that affect germination time, providing optimal growing conditions, and implementing the tips and troubleshooting solutions, you are well-equipped to successfully germinate your pumpkin seeds.
Remember to start with high-quality seeds, create the ideal environment with proper soil, temperature, moisture, and spacing, and be patient as you wait for the germination process to unfold. Keep a close eye on your seedlings, ensuring they have the necessary care and protection from pests. And don’t forget to learn from each gardening experience, making adjustments and improvements along the way.
Now that you have the knowledge and tools, it’s time to put them into practice and enjoy the rewarding journey of growing pumpkins in your own garden. From seed to harvest, the process of nurturing your pumpkin plants will bring you joy, satisfaction, and delicious homegrown pumpkins to enjoy in your favorite recipes.
So, grab your gardening tools, embrace the pleasure of getting your hands dirty, and watch as your pumpkin seeds sprout, grow, and thrive. Happy gardening!