Home>Types of Gardening>Edible Gardening>When Should Pumpkin Seeds Be Planted
Edible Gardening
When Should Pumpkin Seeds Be Planted
Published: September 11, 2023
Discover when to plant pumpkin seeds for a successful edible gardening season. Gain essential tips and tricks from our expert guide.
(Many of the links in this article redirect to a specific reviewed product. Your purchase of these products through affiliate links helps to generate commission for Chicagolandgardening.com, at no extra cost. Learn more)
Table of Contents
Introduction
Edible gardening is a rewarding and fulfilling hobby that allows you to grow your own food and experience the joy of harvesting fresh produce right from your backyard. One popular plant that many gardeners love to grow is the pumpkin. Pumpkins not only add a splash of vibrant color to your garden but they are also versatile in the kitchen, lending themselves to a variety of delicious recipes.
However, successfully growing pumpkins starts with knowing when to plant the seeds. Timing is crucial to ensure that the seeds have the best chance of germinating and thriving in your garden. Factors such as climate, soil conditions, and the specific pumpkin variety you choose will play a role in determining the optimal planting time.
In this article, we will delve into the factors you need to consider before planting pumpkin seeds, as well as the best time to plant them. We will also provide step-by-step instructions on how to plant the seeds and offer tips on caring for your pumpkin plants throughout their growth. Finally, we will discuss common issues you may encounter and share advice on harvesting and using pumpkin seeds.
Whether you are a novice gardener or have years of experience, this article will serve as a comprehensive guide to help you successfully grow your own pumpkins and enjoy the bountiful harvests they bring.
Factors to Consider Before Planting Pumpkin Seeds
Before you rush to plant your pumpkin seeds, there are several important factors to consider that will help ensure the success of your crop.
1. Climate: Pumpkins thrive in warm climates with temperatures between 70-90 degrees Fahrenheit. Ideally, the soil temperature should be above 60 degrees Fahrenheit for successful germination. Be sure to check your local climate and determine if it aligns with these temperature ranges.
2. Growing season: Pumpkins require a long growing season, typically ranging from 80 to 120 days, depending on the variety. It is essential to know the length of your growing season and select a pumpkin variety that can mature within that timeframe.
3. Soil conditions: Pumpkins prefer well-draining soil that is rich in organic matter. Ensure that your soil is loose, friable, and has a pH level between 6.0 and 7.0. You can improve the soil quality by adding compost or well-rotted organic matter to increase its fertility.
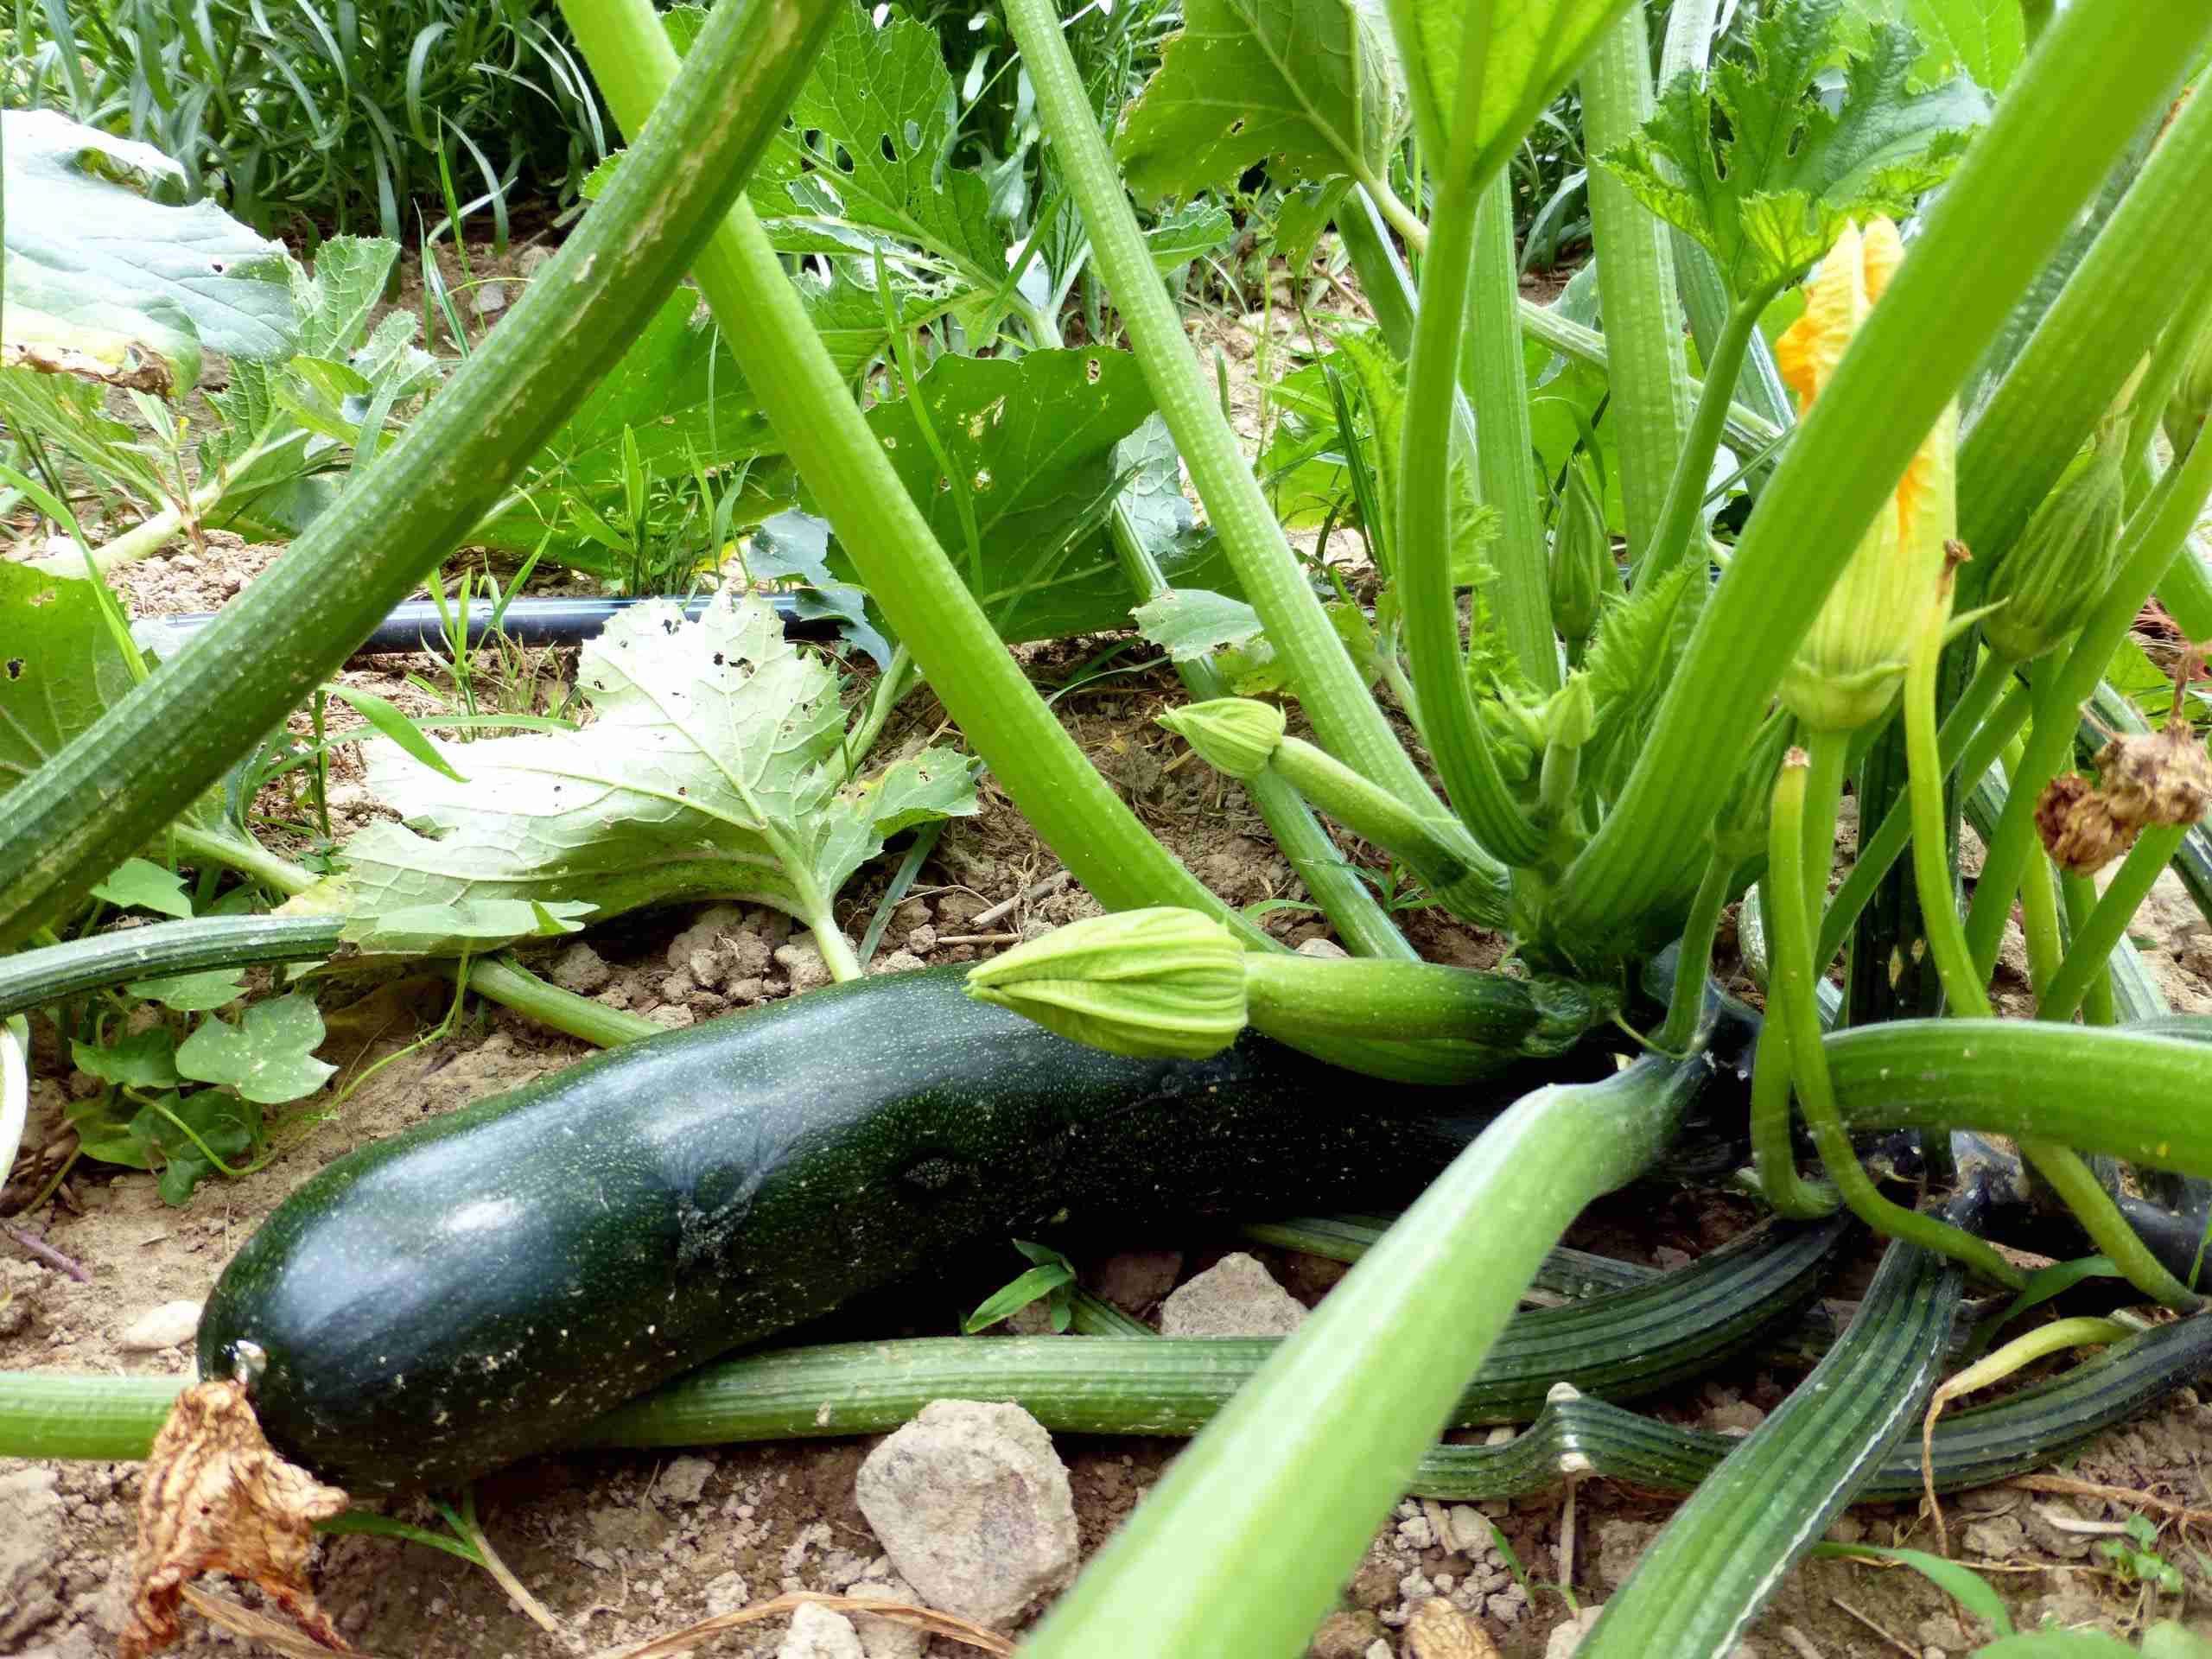
4. Space: Pumpkins are known for their sprawling vines, so it’s important to allocate enough space for them to grow. Each pumpkin plant requires approximately 50-100 square feet of space to spread their vines. Make sure you have adequate room in your garden or consider growing them in containers with trellises for vertical growth.
5. Sunlight: Like most plants, pumpkins require ample sunlight to thrive. Choose a location in your garden that receives at least 6-8 hours of direct sunlight daily.
6. Pollination: Pumpkins are insect-pollinated plants, and bees play a vital role in the pollination process. Ensure that your garden has enough pollinators or consider hand-pollinating the flowers to ensure proper fruit set.
7. Pest and disease management: Pumpkin plants can be susceptible to various pests and diseases, including powdery mildew, squash bugs, and vine borers. Research the common pests and diseases in your area and develop a plan for prevention and management.
By considering these factors before planting your pumpkin seeds, you will be setting the stage for a healthy and productive pumpkin garden. Taking the time to prepare and ensure the right conditions will greatly increase your chances of a successful harvest.
Best Time to Plant Pumpkin Seeds
The timing of planting pumpkin seeds is crucial for the successful growth and development of your pumpkin plants. While the specific timing may vary depending on your location and climate, there are general guidelines to follow.
1. Frost-free date: It is important to wait until after the risk of frost has passed before planting your pumpkin seeds. Pumpkin plants are highly sensitive to frost, and exposure to freezing temperatures can stunt growth or even kill the plants. Check with your local agricultural extension office or consult a gardening calendar to determine the average frost-free date in your area.
2. Soil temperature: Pumpkin seeds require warm soil for germination. The optimal soil temperature for planting pumpkin seeds is between 70-90 degrees Fahrenheit. Use a soil thermometer to regularly monitor the temperature. If the soil is still too cold, consider using row covers or black plastic mulch to warm the soil before planting.
3. Timing: Generally, pumpkin seeds can be planted directly in the garden about 2-4 weeks after the last frost date. Planting too early can expose the young plants to cool temperatures and frost, while planting too late may not allow enough time for the pumpkins to fully mature before the first frost in the fall. Refer to the seed packet or consult with local gardening resources to determine the recommended planting timeframe for your specific pumpkin variety.
4. Succession planting: If you live in an area with a short growing season, consider using succession planting to extend your pumpkin harvest. Instead of planting all your pumpkin seeds at once, stagger the planting over a few weeks to ensure a continuous supply of pumpkins throughout the growing season.
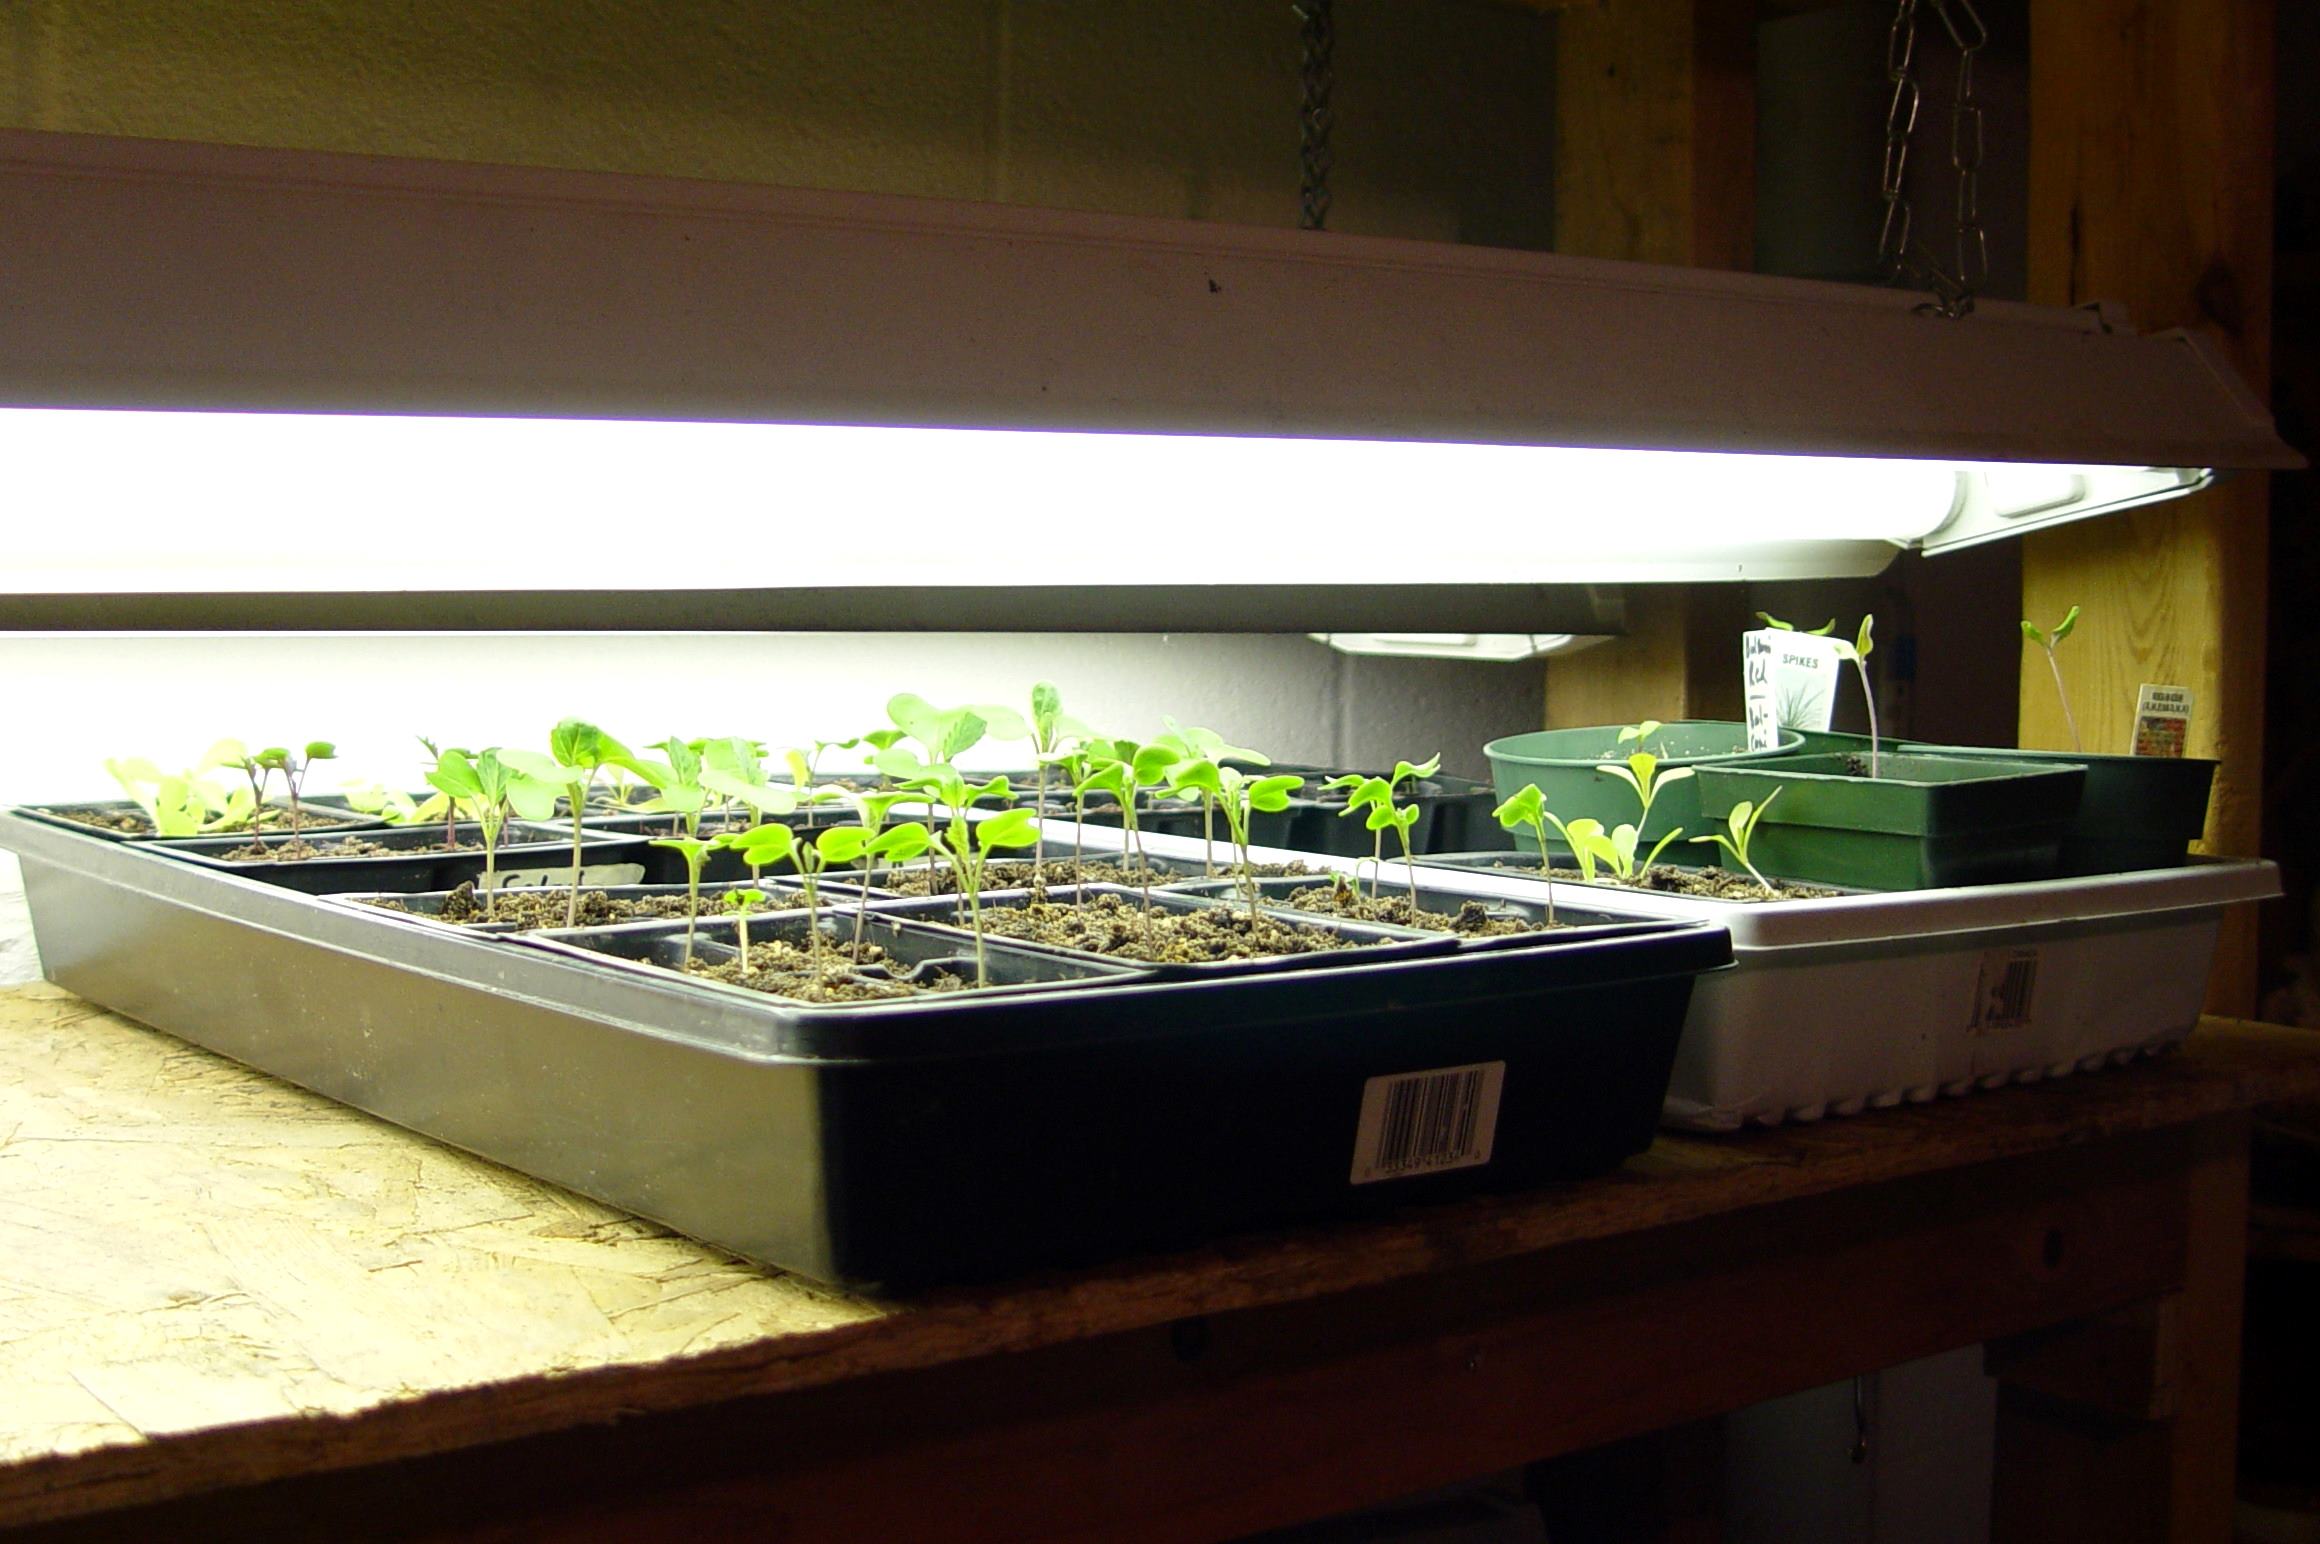
5. Transplants: If you want to get a head start on the growing season, you can start pumpkin seeds indoors 2-3 weeks before the last frost date. Use biodegradable peat pots or seedling trays filled with seed starting mix. Once the seedlings have developed a few sets of true leaves, they can be transplanted into the garden.
Remember to consider your specific climate, microclimate, and the length of your growing season when determining the best time to plant your pumpkin seeds. By planting at the appropriate time, you will provide your pumpkin plants with the optimal conditions for growth, leading to healthy vines and a plentiful harvest.
Steps for Planting Pumpkin Seeds
Planting pumpkin seeds is a relatively straightforward process, but a little attention to detail can go a long way in ensuring successful germination and growth. Follow these steps to give your pumpkin seeds the best start:
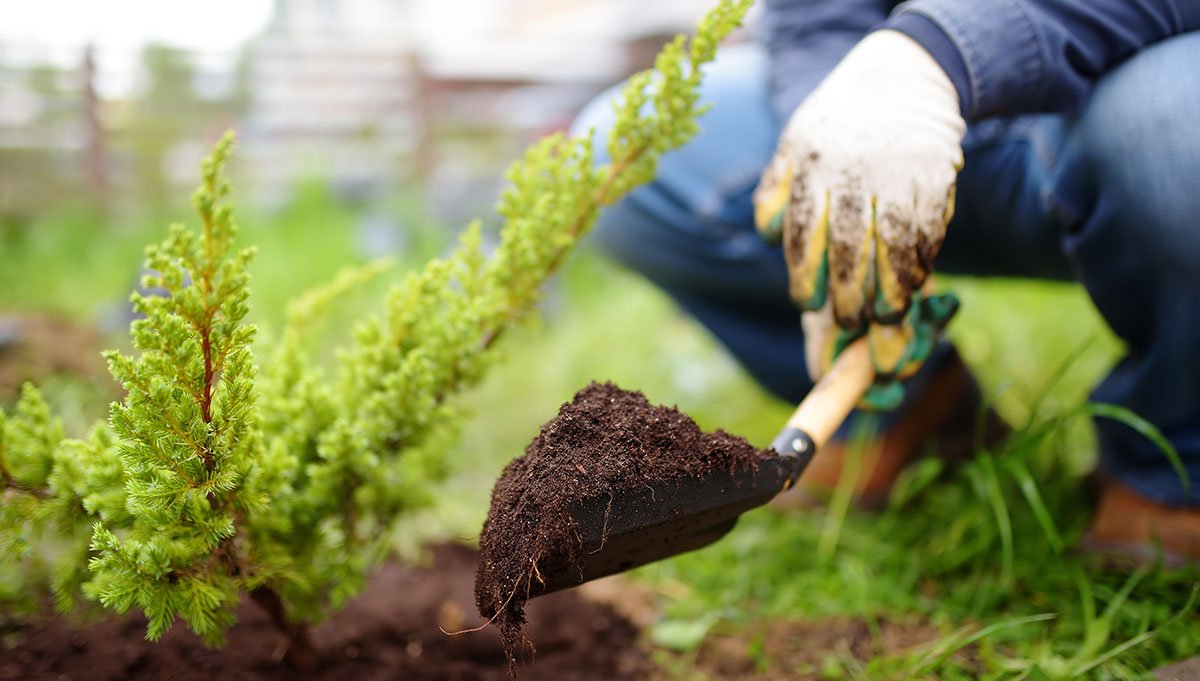
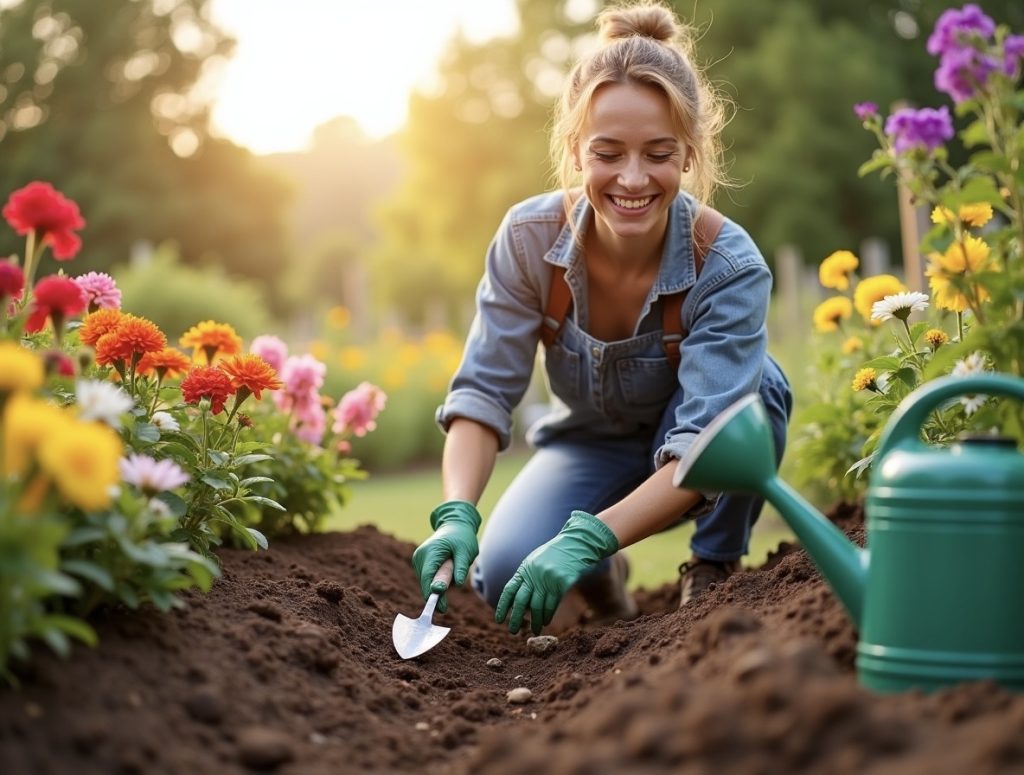
1. Prepare the soil: Choose a sunny spot in your garden and prepare the soil by removing any debris, weeds, or rocks. Loosen the soil to a depth of 12-15 inches and amend it with compost or well-rotted organic matter to improve its nutrient content and moisture retention.
2. Create mounds or hills: Pumpkin plants prefer well-drained soil, so it helps to create mounds or hills in your garden bed. Build up the soil into mounds or small hills about 18-24 inches in diameter. This aids in drainage and warms the soil faster.
3. Space the hills: Leave a distance of 5-6 feet between each mound or hill to allow ample space for the pumpkin vines to spread. This spacing also helps with air circulation and prevents the spread of diseases.
4. Sow the seeds: Plant 2-3 pumpkin seeds per hill, about 1 inch deep. Place the seeds on their side to prevent moisture from collecting on the top and causing rot. Gently cover the seeds with soil and pat it down lightly.
5. Water thoroughly: After planting, water the seeds thoroughly. Keep the soil consistently moist but not waterlogged. Maintaining adequate moisture is crucial for germination, so water regularly, especially during dry spells or hot weather.
6. Provide support: If you have chosen a large or vining pumpkin variety, consider providing support for the vines. You can install trellises or stakes around the hills to allow the vines to climb. This helps save space in the garden and keeps the pumpkins off the ground, reducing the risk of rot.
7. Thin the seedlings: When the seedlings have developed their first true leaves, thin them so that only the strongest and healthiest plant remains in each hill. This ensures that the remaining plant has enough space, nutrients, and sunlight to thrive.
8. Mulch: Mulching around the base of the plants can help conserve moisture, suppress weed growth, and regulate soil temperature. Use organic mulch, such as straw or shredded leaves, and apply it in a layer about 2-3 inches deep.
By following these steps, you will set your pumpkin seeds up for success and give them the best conditions to germinate, grow, and produce bountiful pumpkins. With a little care and attention, you will soon be enjoying the sight of vibrant pumpkin vines filling your garden.
Caring for Pumpkin Seeds After Planting
Once your pumpkin seeds have been planted, it is essential to provide proper care and maintenance to ensure healthy growth and a bountiful harvest. Here are some important steps to take care of your pumpkin seeds after planting:
1. Watering: Keep the soil consistently moist, especially during the early stages of growth and during dry spells. Water deeply at the base of the plants to encourage strong root development. Avoid overhead watering, as wetting the foliage can increase the risk of diseases.
2. Fertilizing: Pumpkins are heavy feeders and require regular fertilization to support their vigorous growth. Apply a balanced organic fertilizer or compost around the base of the plants every few weeks. Be careful not to over-fertilize, as this can lead to excessive foliage growth at the expense of fruit development.
3. Weed control: Regularly weed the pumpkin patch to prevent competition for nutrients and reduce the risk of pests and diseases. Use organic mulch to suppress weed growth and maintain soil moisture.
4. Training and pruning: If you have opted for a vining pumpkin variety, train the vines to grow in the desired direction, whether on a trellis or along the ground. Prune off any excessive foliage or side shoots that may shade the developing fruit and hinder air circulation.
5. Pest and disease management: Monitor your pumpkin plants for signs of pest infestations, such as squash bugs or vine borers. Inspect the plants regularly and take prompt action if any pests are detected. Use organic pest control methods, such as handpicking or the application of insecticidal soap. Additionally, keep an eye out for common pumpkin diseases like powdery mildew and treat them accordingly to prevent their spread.
6. Support the fruit: As the pumpkins start to form, provide support for larger fruits to prevent them from resting directly on the ground. Use straw, cardboard, or small boards to lift the pumpkins and avoid rotting or damage caused by moisture and pests.
7. Monitor for ripeness: Regularly check the progress of your pumpkins to determine their ripeness. Look for a deep color, firm rind, and a dried-out stem. Harvest the pumpkins when the vine starts to wither and the stem easily detaches from the fruit.
By following these care and maintenance practices, you will give your pumpkin seeds the best chance to develop into healthy and productive plants. With proper care, you can look forward to a plentiful harvest of delicious pumpkins that you can enjoy in an array of culinary creations.
Common Issues and Troubleshooting
While growing pumpkin seeds can be an exciting and rewarding experience, it is not without its challenges. Here are some common issues that you may encounter while growing pumpkin plants and some troubleshooting tips:
1. Powdery mildew: Powdery mildew appears as a white powdery film on the leaves and stems of pumpkin plants. It can hinder photosynthesis and weaken the plant. To prevent powdery mildew, ensure proper air circulation by spacing plants adequately and avoid overhead watering. If the disease does occur, treat it with organic fungicides or use a mixture of baking soda and water as a natural remedy.
2. Blossom end rot: Blossom end rot causes the bottoms of developing pumpkins to become dark and mushy. This is typically a result of calcium deficiency or irregular watering. Ensure consistent soil moisture and provide adequate calcium through fertilization or by adding powdered limestone to the soil.
3. Pest infestation: Pumpkin plants can be susceptible to pests such as squash bugs, vine borers, and cucumber beetles. Monitor your plants regularly and handpick any pests you spot. You can also use organic pest control methods such as insecticidal soap or neem oil. Encouraging beneficial insects such as ladybugs and lacewings can help control pest populations.
4. Insufficient pollination: Poor pollination can result in underdeveloped or misshapen pumpkins. Increase pollination success by providing a habitat for pollinators such as bees and butterflies in your garden. If pollination seems insufficient, you can hand-pollinate by transferring pollen from male to female flowers using a small brush or cotton swab.
5. Inadequate fruit set: If your pumpkin plants are growing healthy foliage but not setting enough fruit, it could be due to various factors, including temperature extremes, lack of sunlight, or inadequate pollination. Ensure your plants are receiving enough sunlight, maintain consistent soil moisture, and encourage pollinator activity in your garden.
6. Vine rot: Excessive moisture or poor drainage can lead to vine rot, causing the vine to decay at the base and spread up the plant. To prevent vine rot, ensure proper drainage in your garden beds or use raised beds. Avoid overwatering and improve air circulation around the plants.
7. Small fruit size: If your pumpkins are consistently small in size, it may be due to inadequate nutrients in the soil, lack of pollination, or overcrowding of plants. Address nutrient deficiencies by amending the soil with compost or organic fertilizer. Ensure proper pollination by encouraging pollinator activity, and provide adequate space for each plant to grow.
By being aware of these common issues and applying appropriate troubleshooting techniques, you can overcome challenges and increase the chances of a successful pumpkin harvest. Remember to regularly monitor your plants, maintain proper care practices, and seek advice from local gardening resources or fellow gardeners if needed.
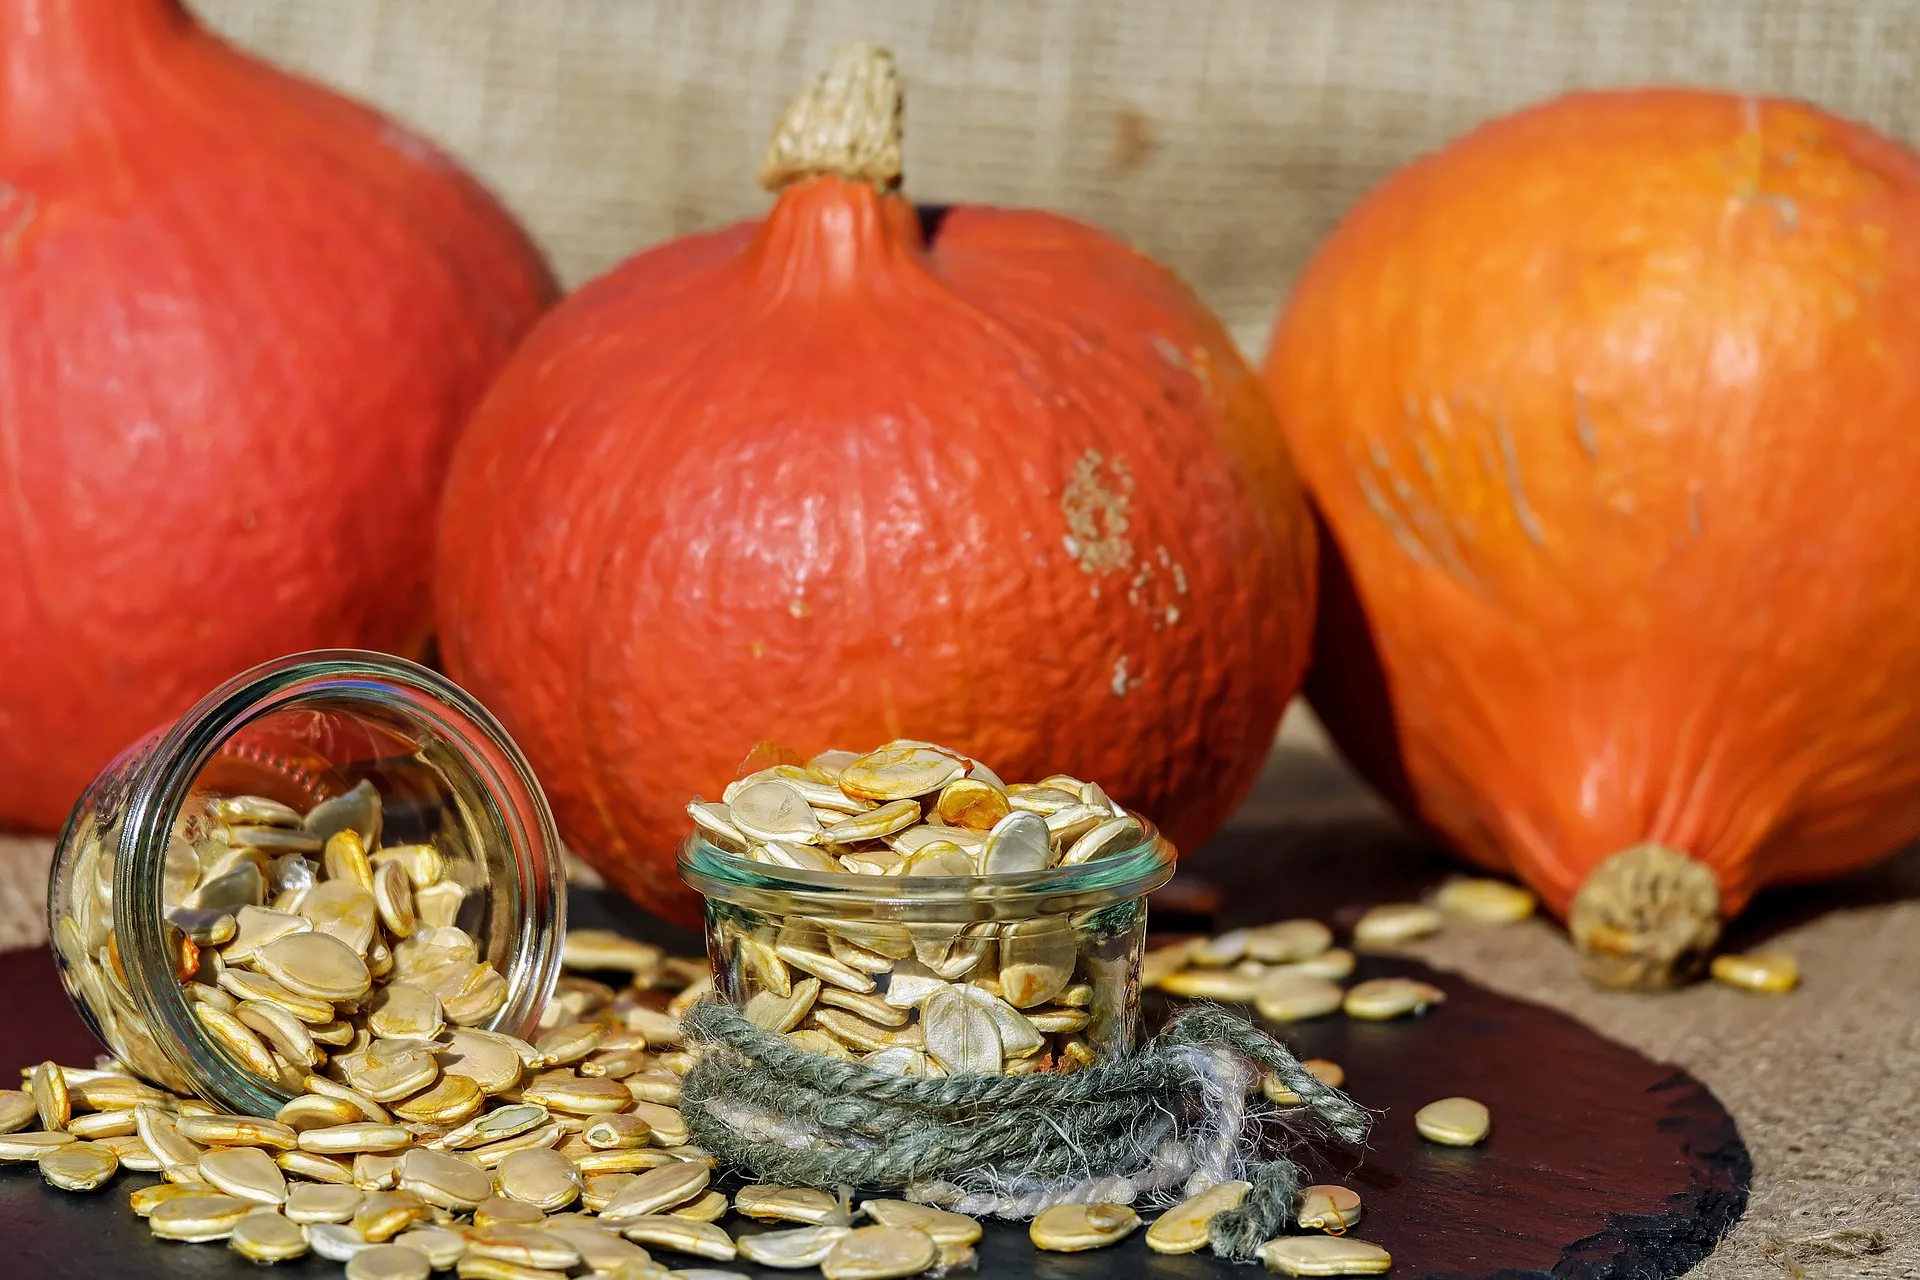
Harvesting and Using Pumpkin Seeds
One of the many joys of growing pumpkins is harvesting the seeds, which can be a delicious and nutritious addition to your culinary endeavors. Here is a guide on how to harvest and utilize pumpkin seeds:
1. Harvesting: The first step in enjoying pumpkin seeds is to harvest them from your mature pumpkins. Wait until the pumpkin is fully ripe and the vine starts to wither. Use a sharp knife or shears to cut the stem of the pumpkin, leaving a few inches of stem attached. This stem acts as a handle during the seed removal process.
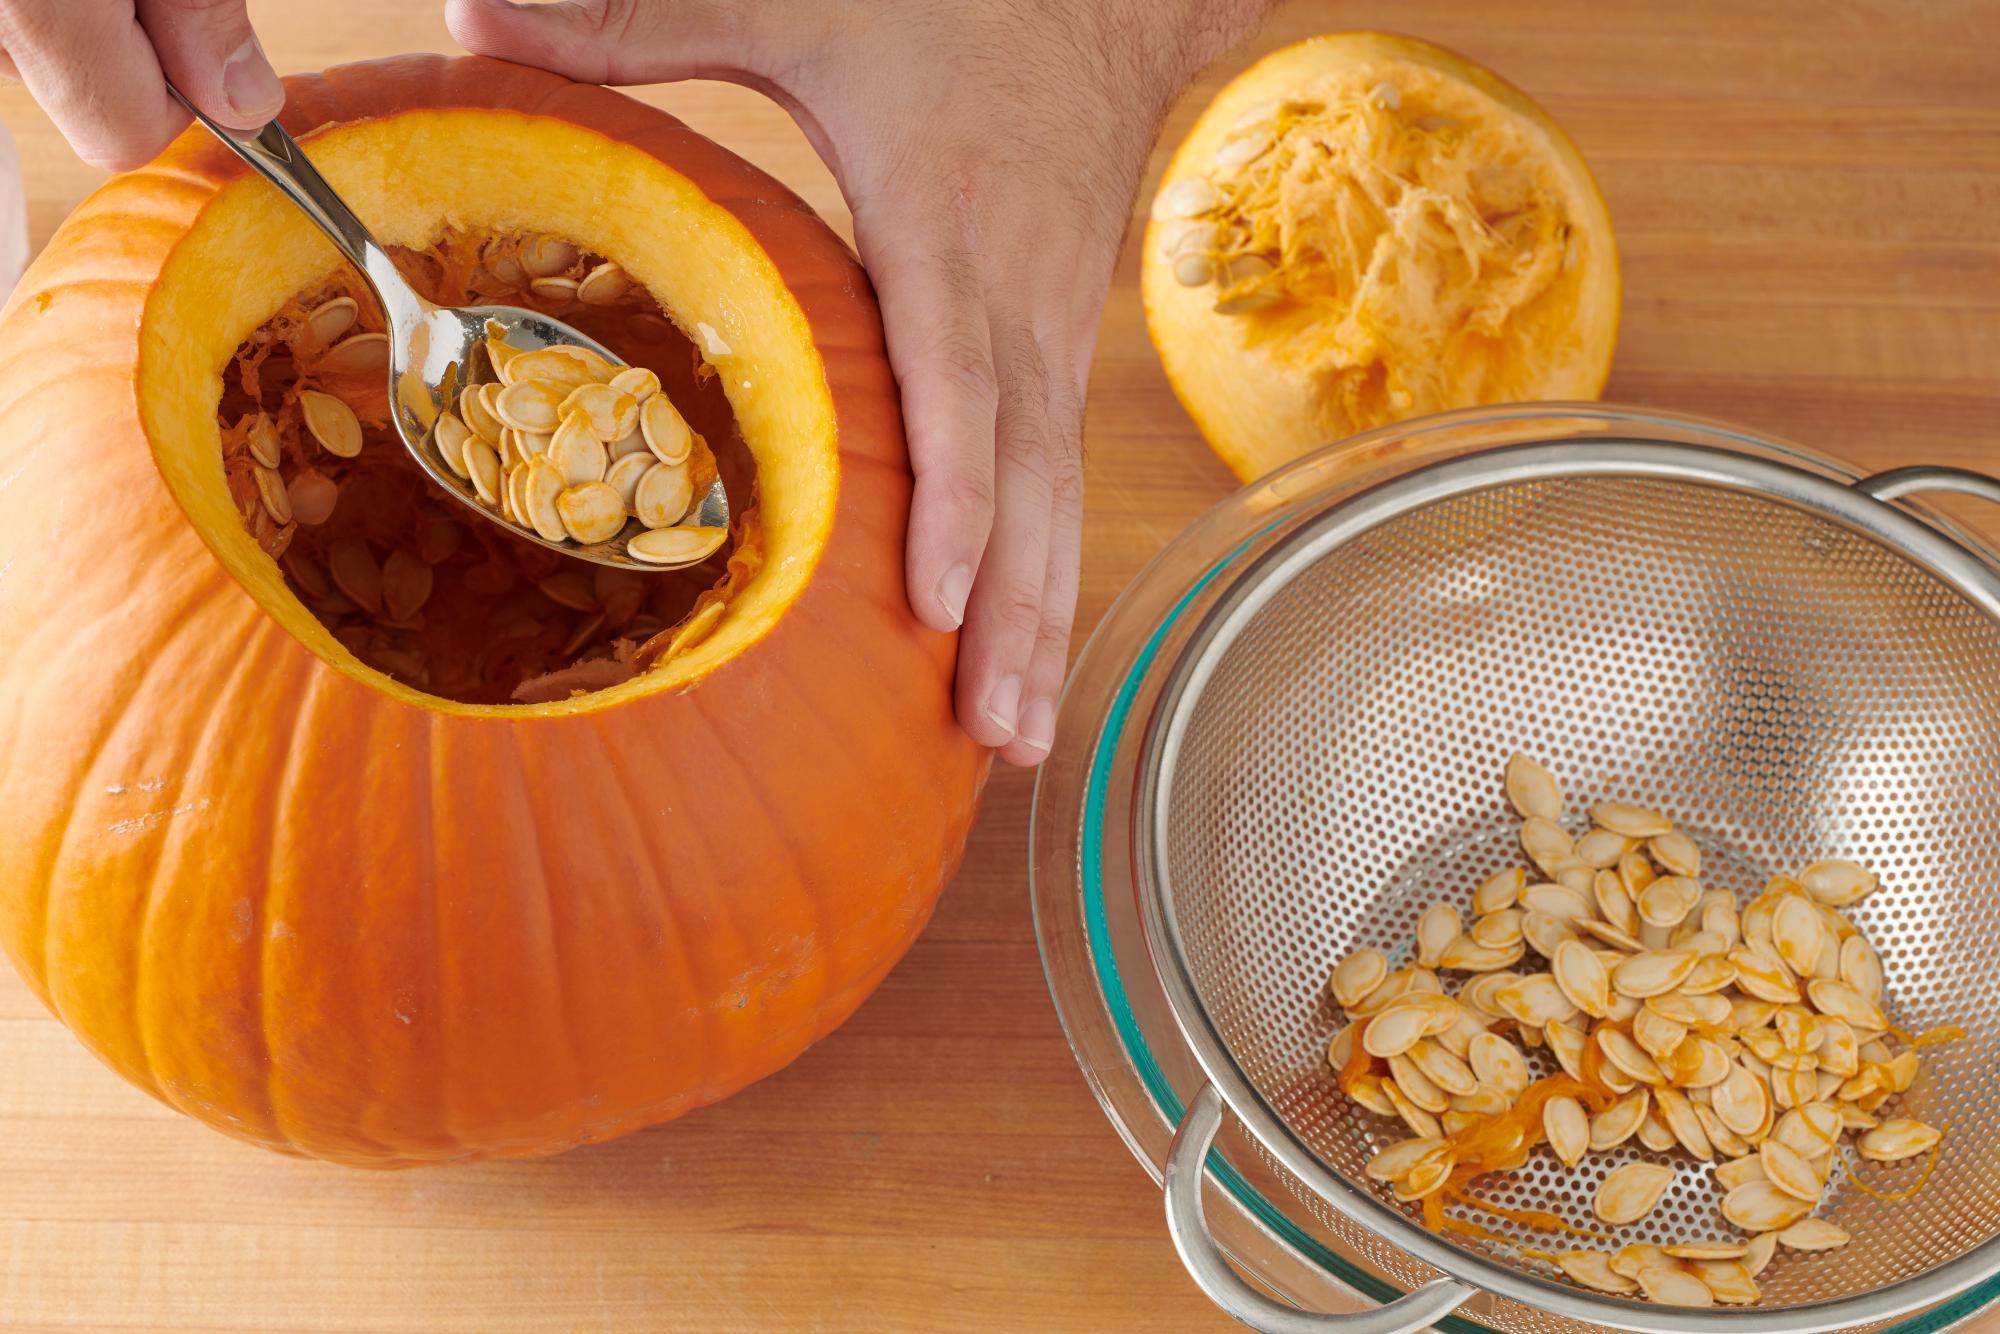
2. Seed extraction: To extract the seeds, carefully cut or pry open the pumpkin. Use a spoon or your hands to scoop out the seeds and stringy pulp from the pumpkin’s interior. Place the seeds in a colander or sieve and rinse them thoroughly under running water to remove any remaining pulp or residue.
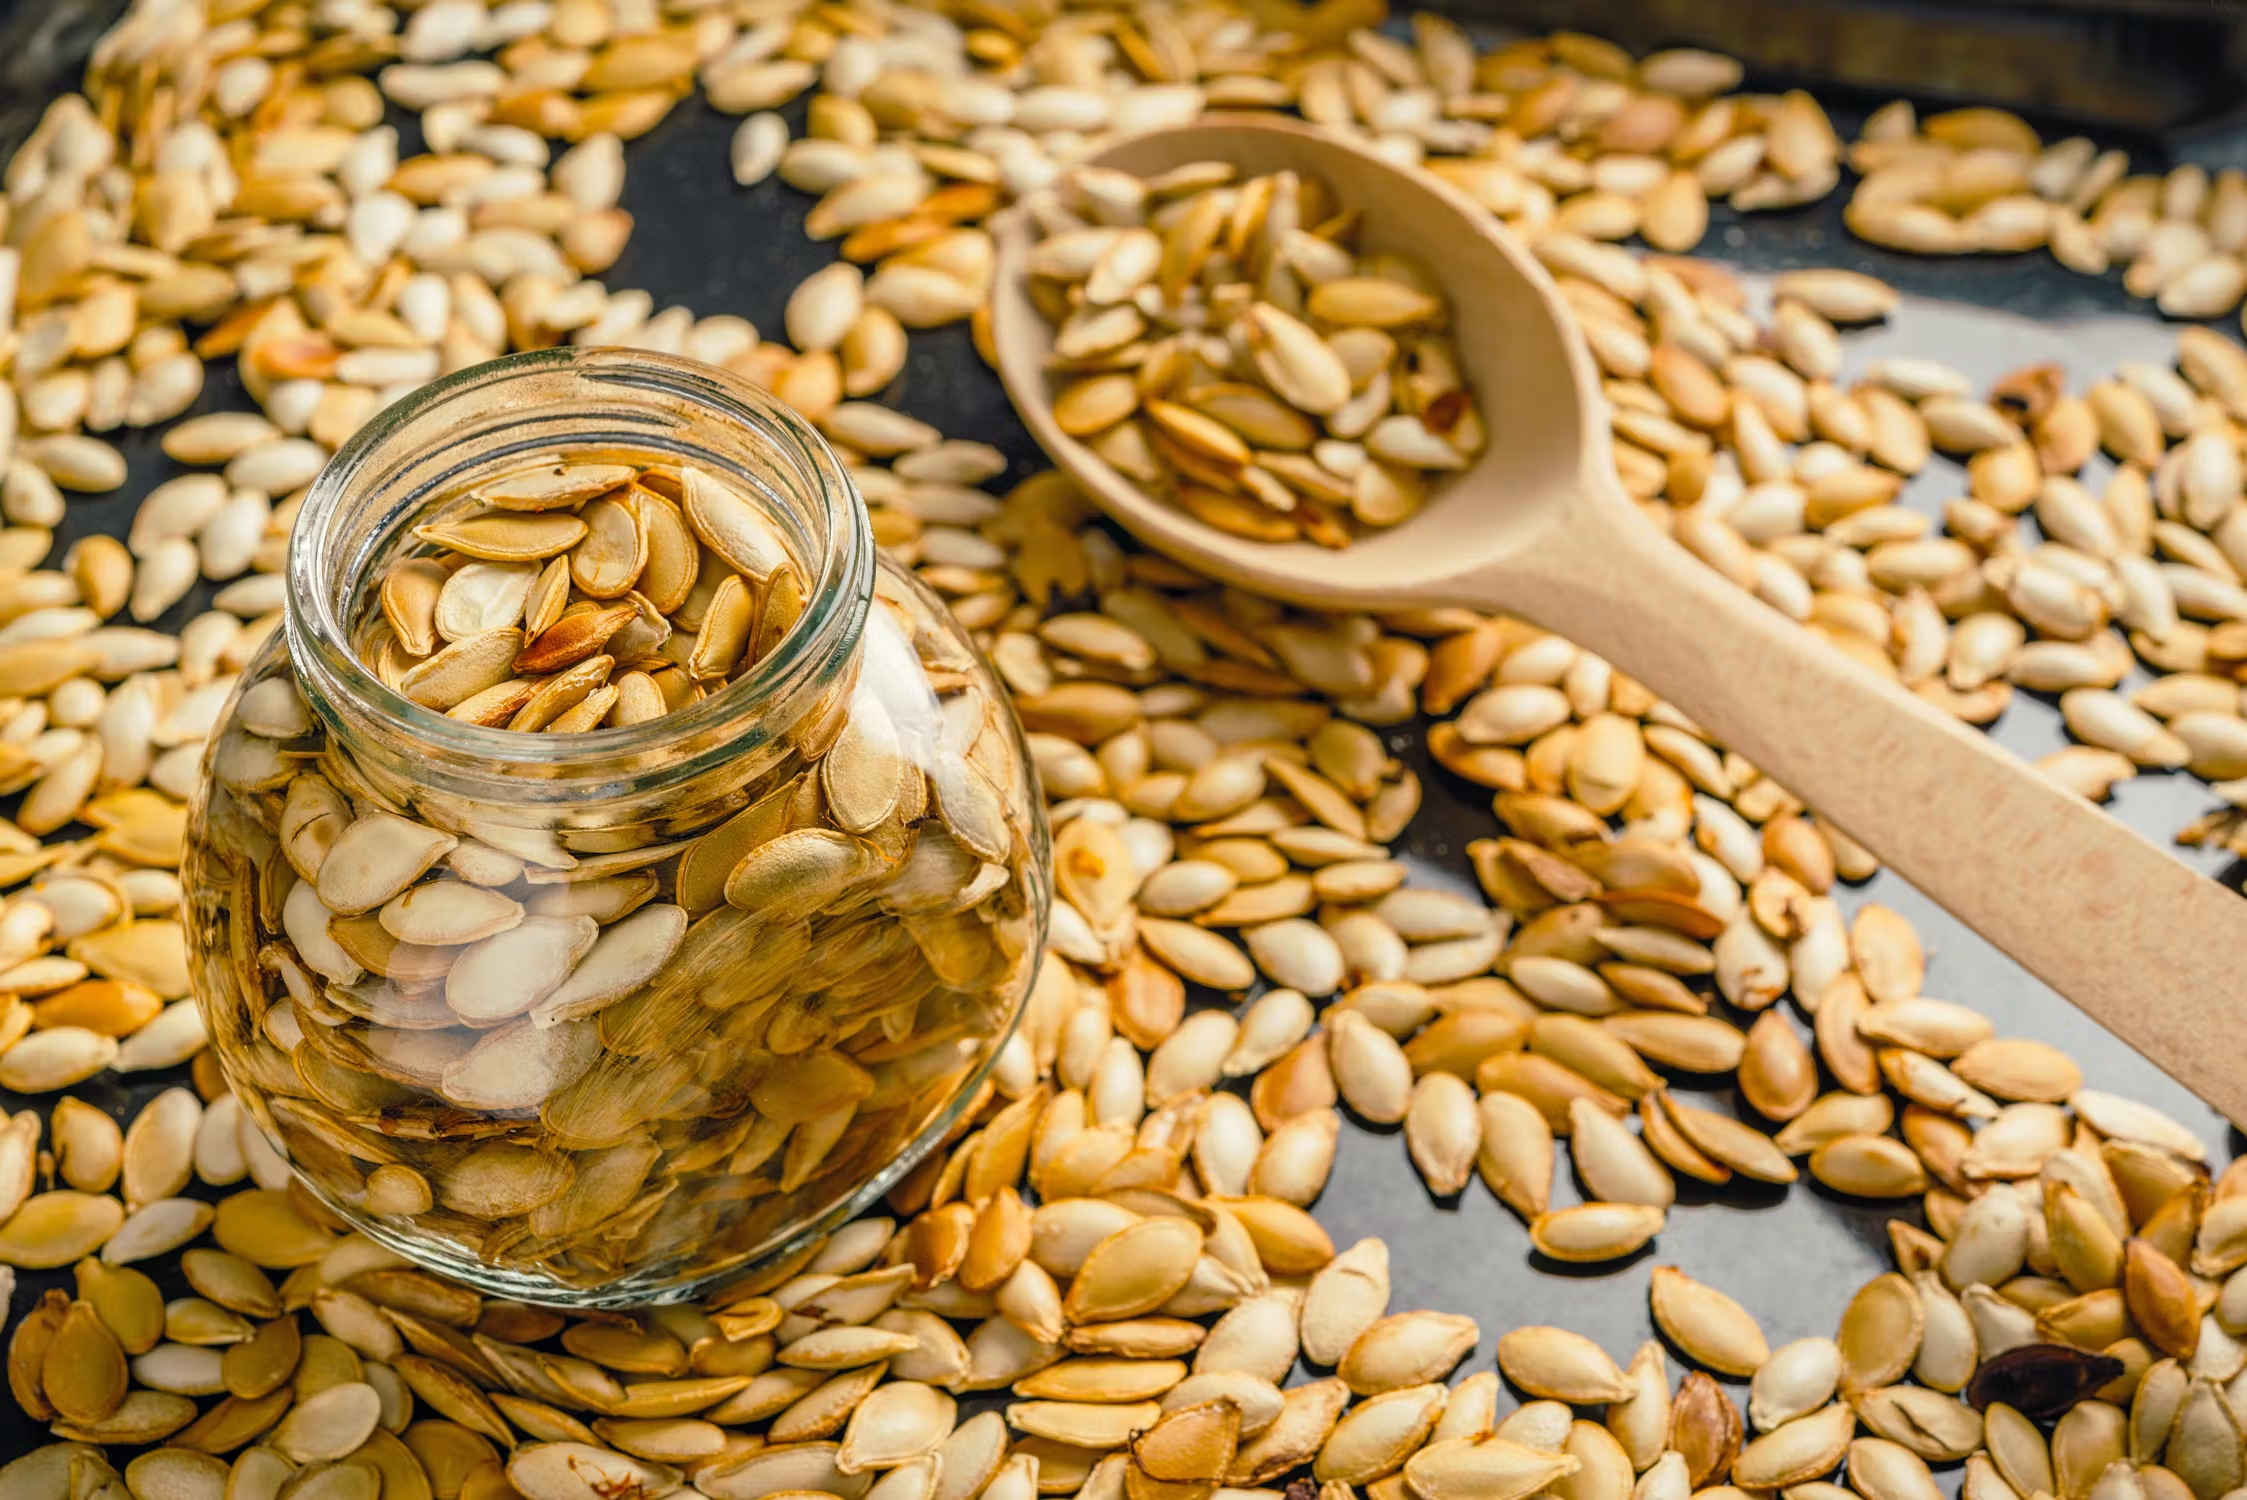
3. Seed cleaning: After rinsing, spread the pumpkin seeds on a clean kitchen towel or a baking sheet lined with parchment paper. Allow them to dry completely for a day or two. Once dry, gently rub the seeds with your hands or a cloth to remove any remaining fibrous strands or debris.
4. Roasting: Roasting pumpkin seeds brings out their nutty flavor and makes them a popular snack. Preheat your oven to 325°F (162°C). Toss the cleaned and dried pumpkin seeds with a little olive oil or melted butter, then season with salt or your preferred seasonings such as cinnamon, garlic powder, or chili flakes. Spread the seeds on a baking sheet in a single layer and roast for about 15-20 minutes, or until they turn golden brown. Stir the seeds halfway through the roasting process to ensure even browning.
5. Creative uses: In addition to roasting, there are plenty of creative ways to use pumpkin seeds. Add them to granola, trail mix, or salads for an extra crunch. Incorporate them into baked goods like cookies or bread for added texture and flavor. You can also grind the seeds to make homemade pumpkin seed butter or use them in savory dishes such as soups, stews, or pesto sauce.
6. Storage: Proper storage will help maintain the freshness and flavor of your pumpkin seeds. Once roasted and cooled, store them in an airtight container in a cool, dry place. Alternatively, you can refrigerate or freeze them for longer-term storage, ensuring they remain crispy and delicious for future use.
By following these steps, you can harvest, clean, roast, and utilize the seeds from your homegrown pumpkins. Not only are pumpkin seeds a tasty snack, but they are also rich in nutrients such as protein, fiber, and essential minerals. So, enjoy the fruits of your labor and explore the many delightful ways to incorporate pumpkin seeds into your favorite recipes.
Conclusion
Growing pumpkins from seeds is a fulfilling and rewarding experience, allowing you to enjoy the beauty of sprawling vines, vibrant orange fruits, and the delicious taste of homegrown pumpkins. By considering factors such as climate, soil conditions, and timing, you can increase your chances of a successful pumpkin harvest.
We explored the importance of preparing the soil, creating mounds or hills, and properly spacing the pumpkin seeds to promote healthy growth. We also discussed the significance of watering, fertilizing, and providing support to the growing pumpkins. Additionally, we highlighted common issues such as pests, diseases, and improper fruit set, offering troubleshooting tips to help overcome these challenges.
Furthermore, we covered the exciting process of harvesting pumpkin seeds and the various ways to utilize them. From roasting to incorporating them into sweet and savory recipes, pumpkin seeds add a delightful crunch and nutty flavor to dishes while providing valuable nutritional benefits.
Throughout this journey of growing and caring for pumpkin seeds, it’s crucial to embrace the joys and challenges that come with edible gardening. Remember to adapt these guidelines to your specific location, climate, and pumpkin variety, and don’t hesitate to seek advice from local gardening resources or fellow gardeners.
So, roll up your sleeves, get your hands dirty, and witness the magic of nurturing pumpkin seeds into thriving plants. With patience, care, and a little bit of luck, you’ll be rewarded with a bountiful harvest of pumpkins that you can enjoy in a variety of delicious ways. Happy gardening!