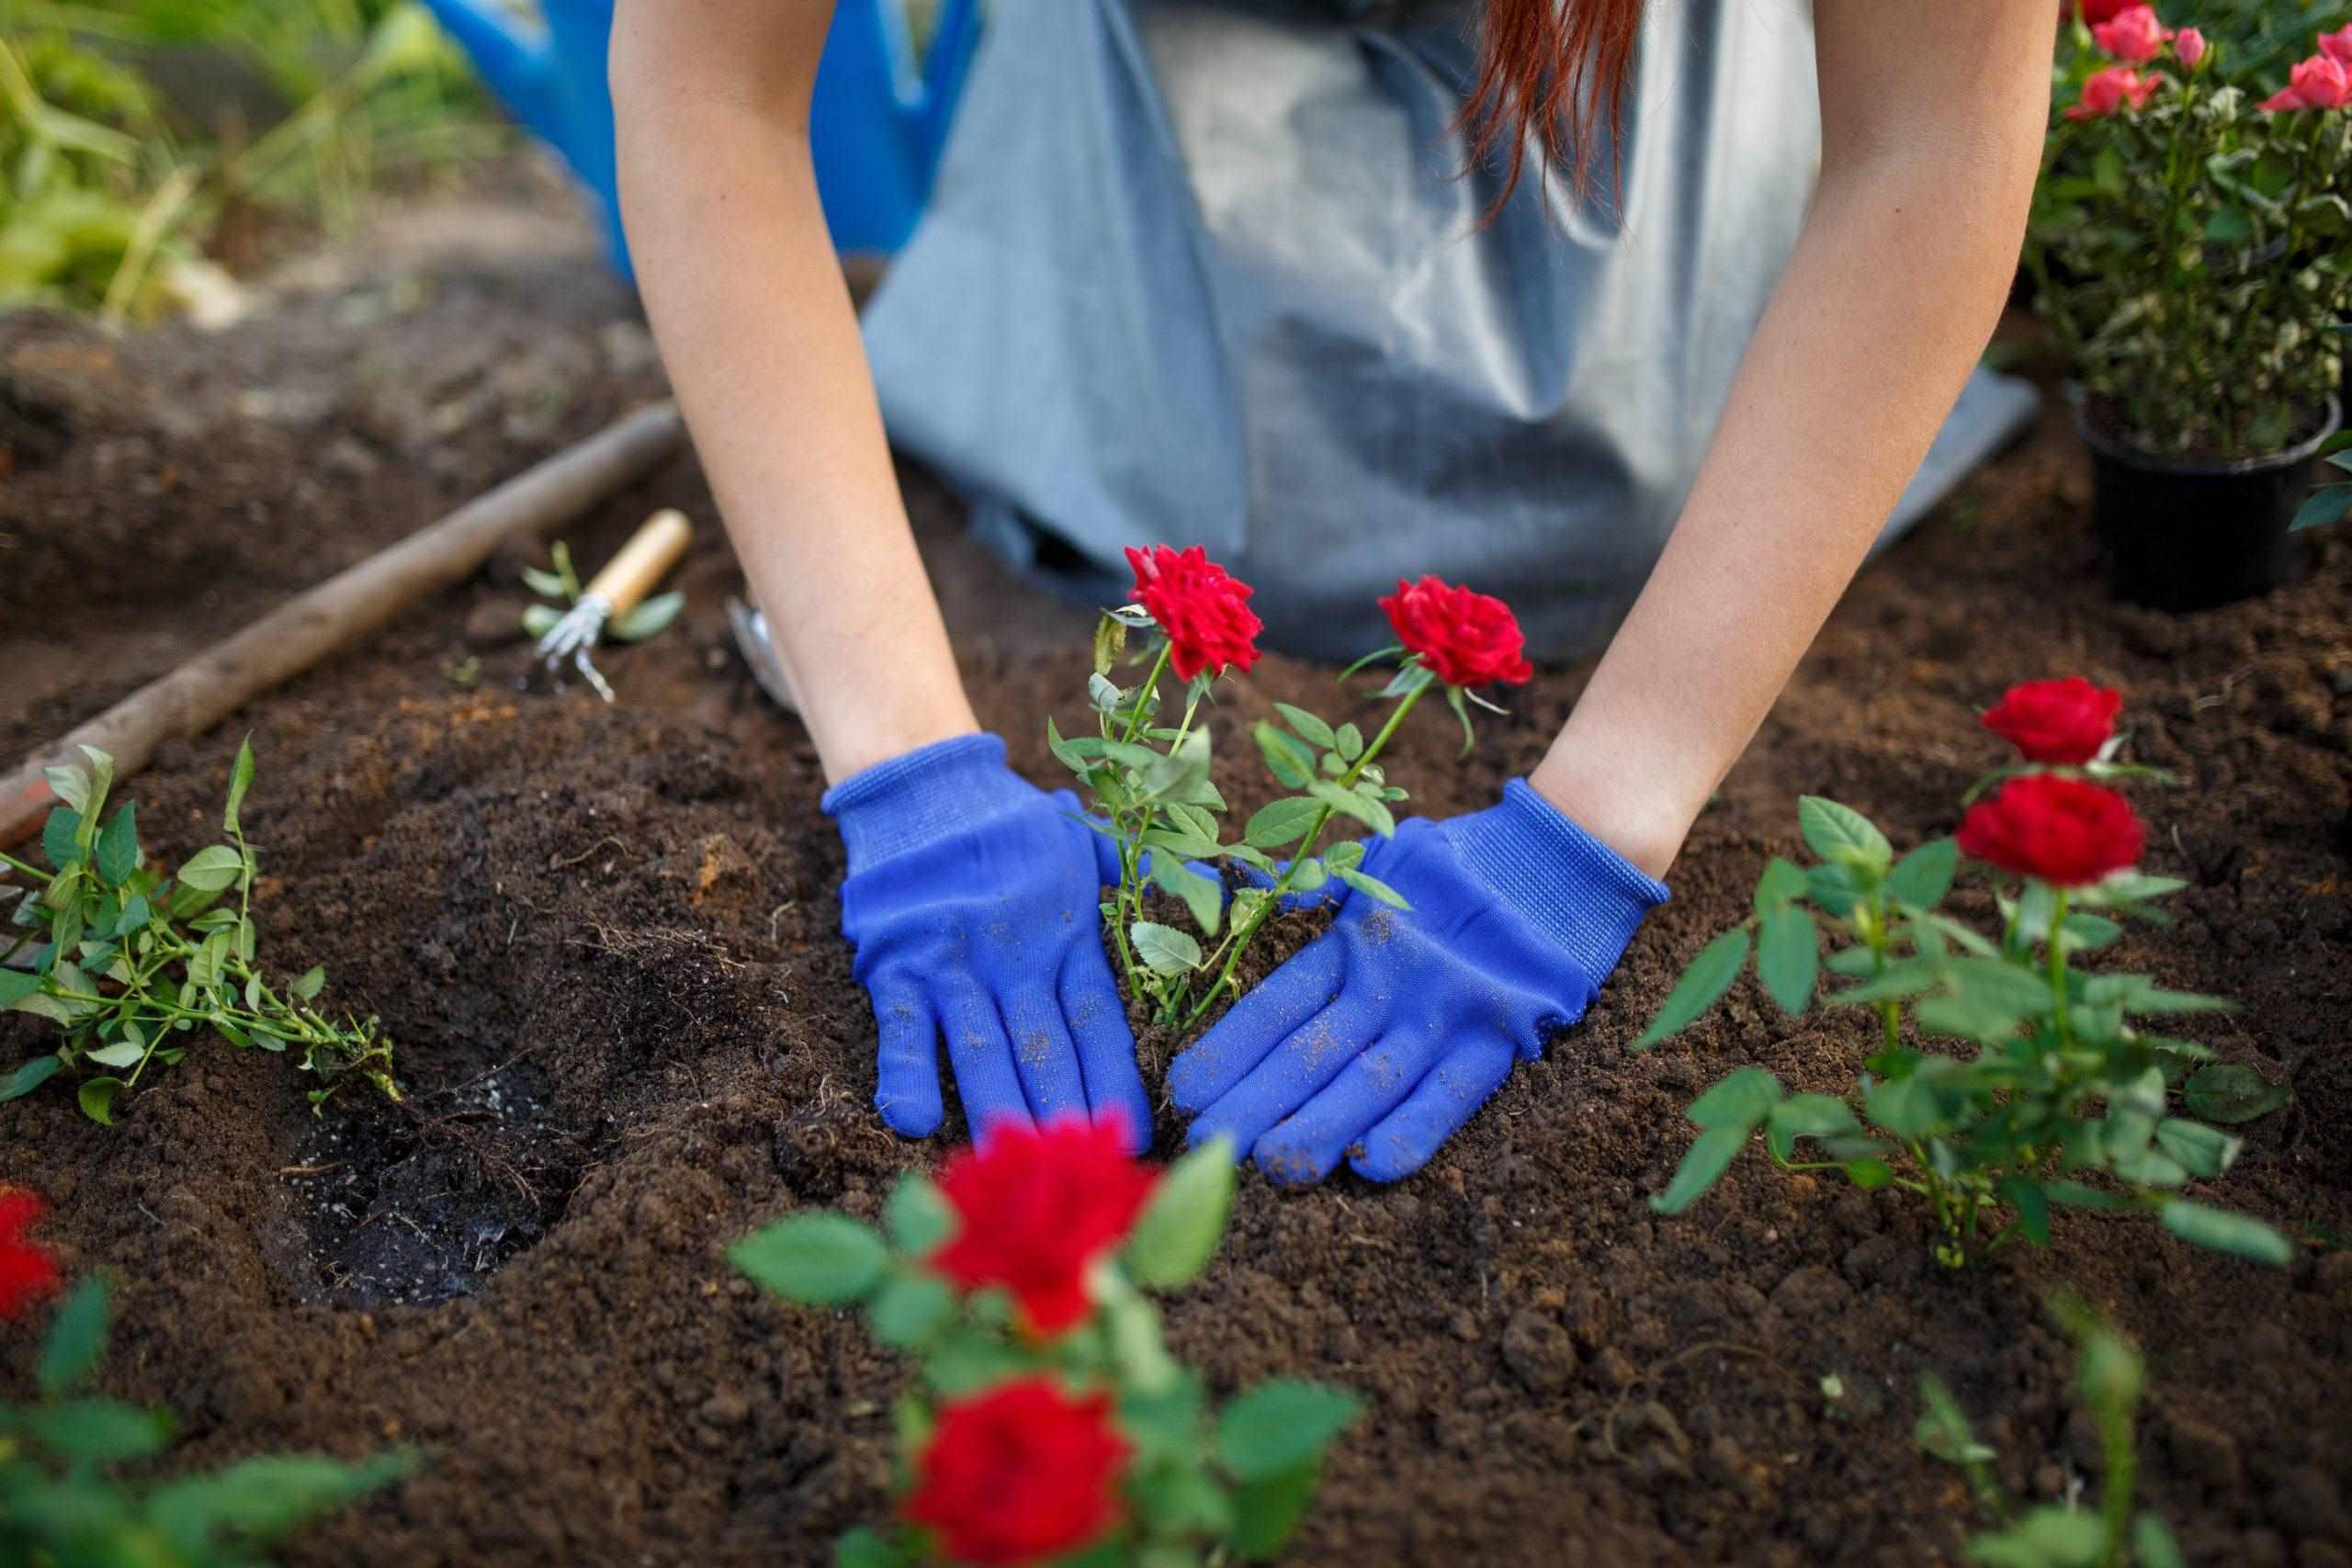
Home>Types of Gardening>Ornamental Gardening>How To Plant Desert Rose Seeds
Ornamental Gardening
How To Plant Desert Rose Seeds
Modified: February 9, 2024
Learn how to plant desert rose seeds and create a stunning ornamental garden with our step-by-step guide. Enhance your gardening skills and beautify your outdoor space!
(Many of the links in this article redirect to a specific reviewed product. Your purchase of these products through affiliate links helps to generate commission for Chicagolandgardening.com, at no extra cost. Learn more)
Table of Contents
- Introduction
- Step 1: Gather the necessary materials
- Step 2: Prepare the planting medium
- Step 3: Scarify the desert rose seeds
- Step 4: Soak the seeds in water
- Step 5: Sow the seeds in the planting medium
- Step 6: Provide the right growing conditions
- Step 7: Water and fertilize the desert rose seeds
- Step 8: Monitor and care for seedlings
- Step 9: Transplant the seedlings
- Step 10: Enjoy your blooming desert rose
Introduction
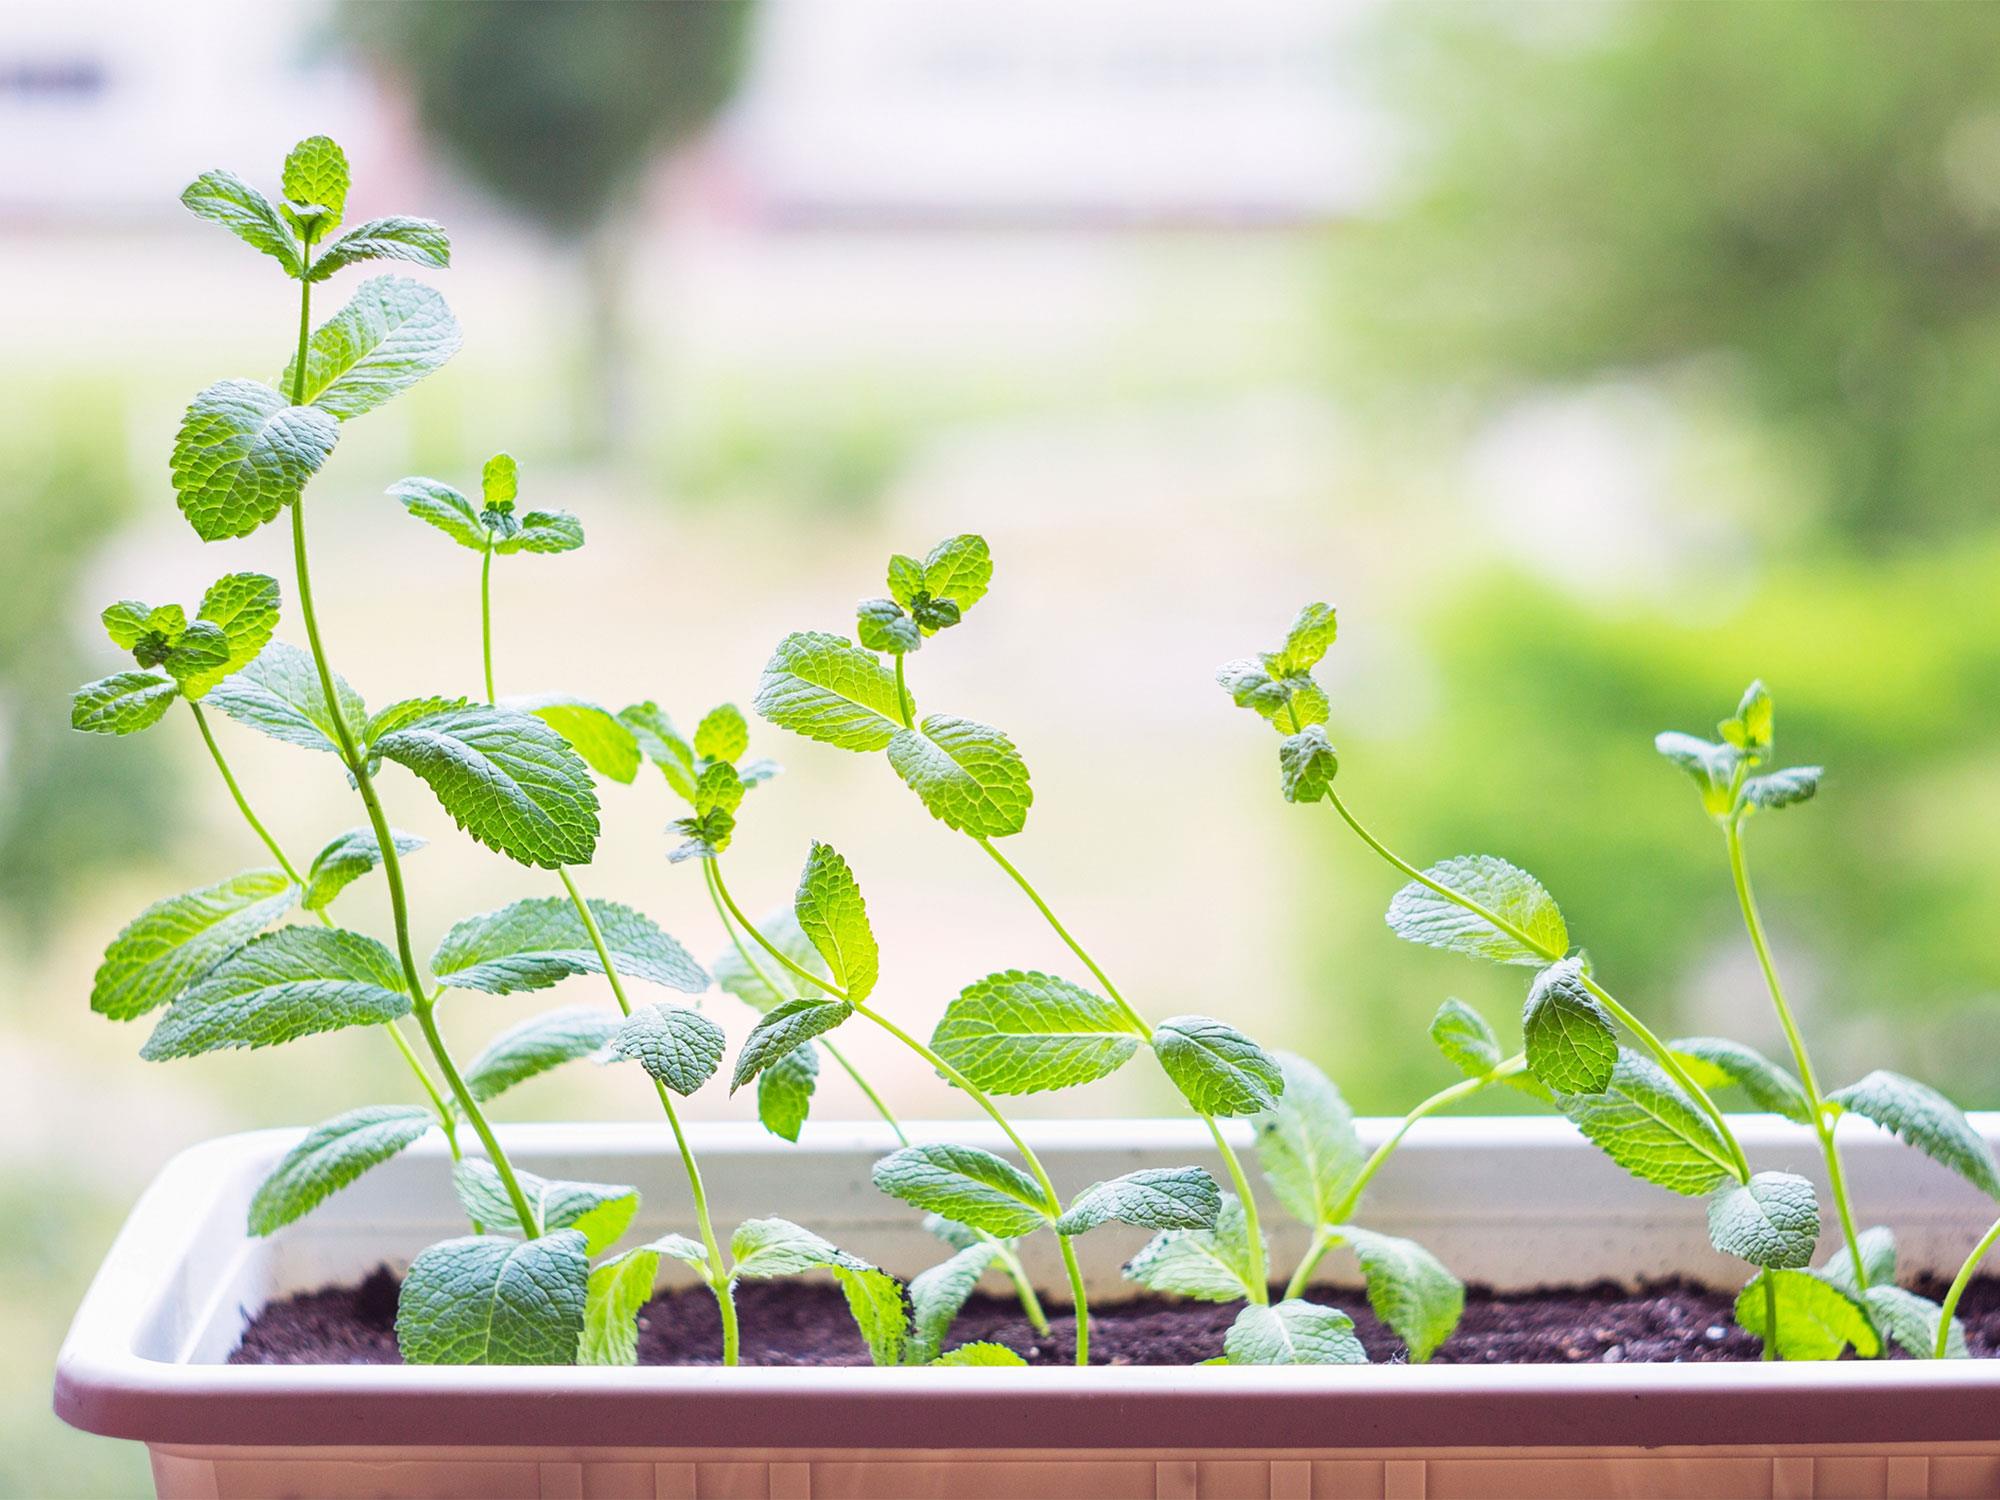
Ornamental gardening is not only a rewarding hobby, but it also adds beauty and charm to any outdoor space. There are countless plants available to choose from, each with its own unique characteristics and benefits. One such plant that captures the attention of garden enthusiasts is the desert rose, also known as Adenium obesum.
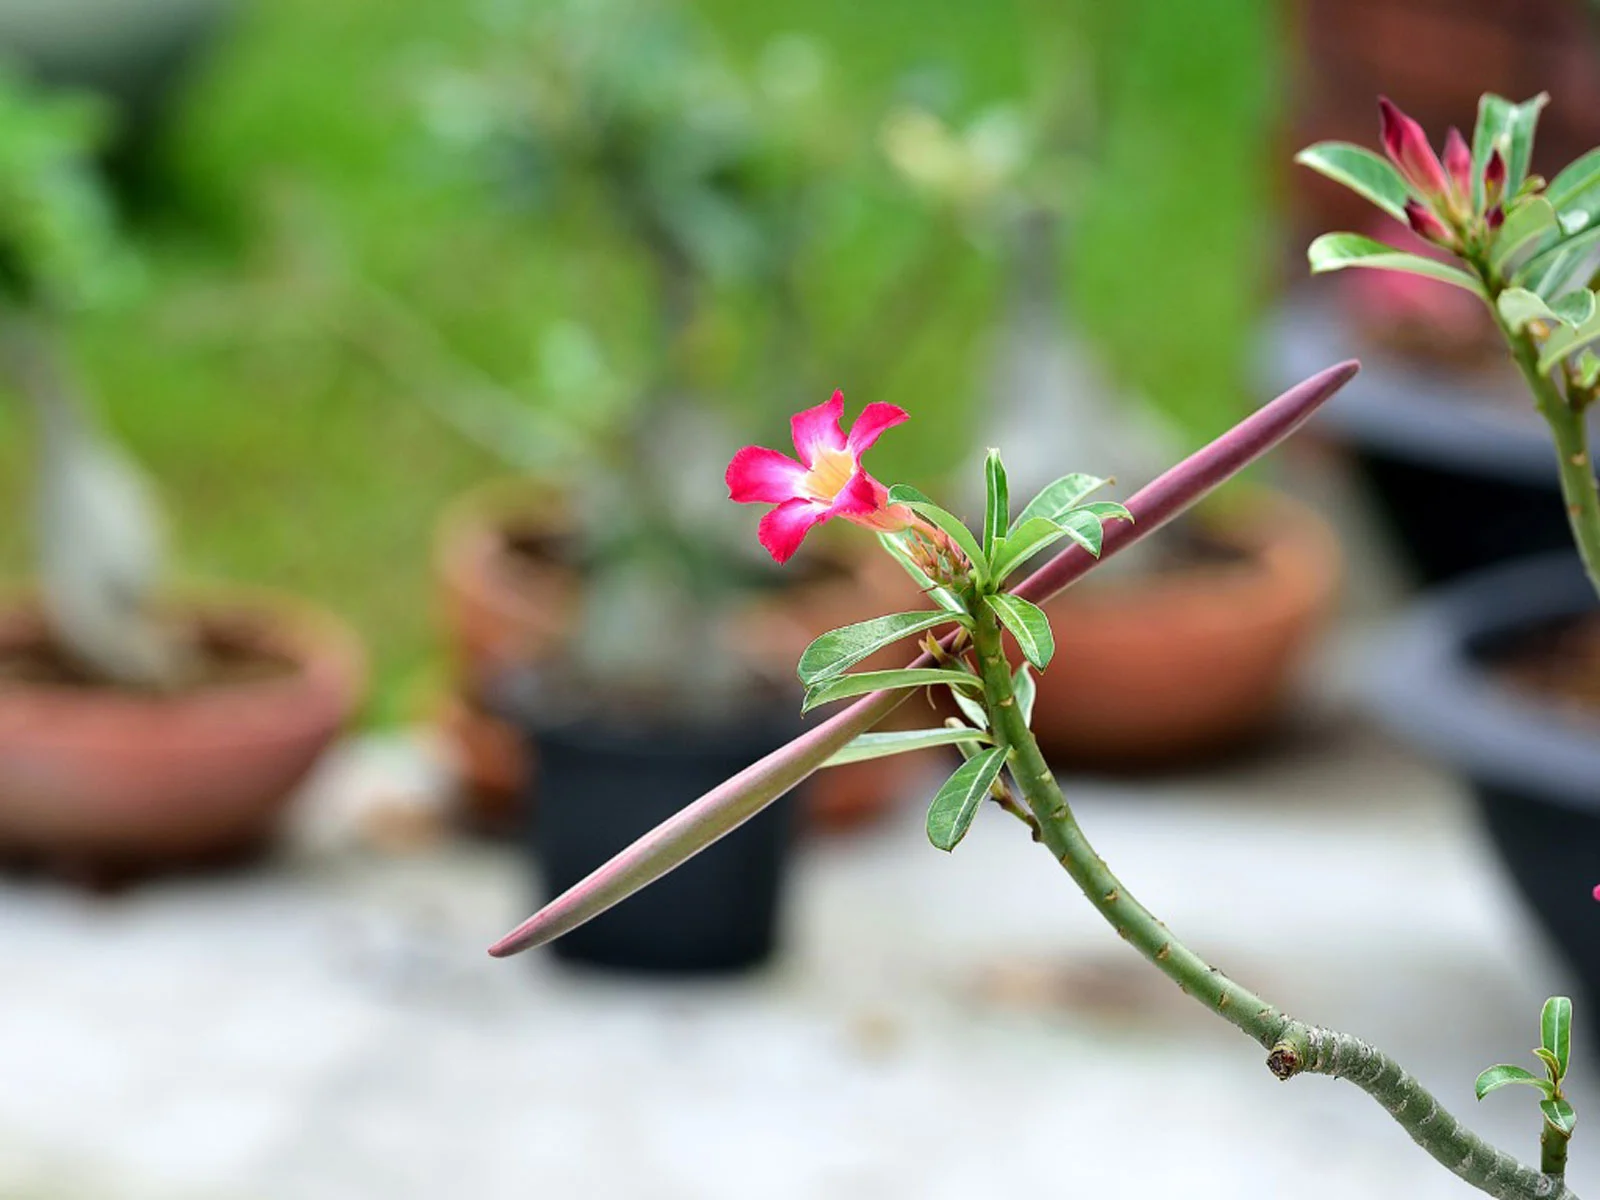
The desert rose is a fascinating succulent that is native to the arid regions of Africa and the Arabian Peninsula. It is renowned for its stunning flowers, which come in a variety of vibrant hues such as pink, red, and white. With its intricate, rose-like blooms and attractive caudex, the desert rose is an eye-catching addition to any garden or patio.
Planting desert rose seeds can be an exciting adventure and a fantastic way to grow these beautiful plants from scratch. While it may seem daunting at first, with the right knowledge and preparation, you can successfully cultivate and nurture desert rose seedlings to maturity.
In this guide, we will walk you through the step-by-step process of planting desert rose seeds. From gathering the necessary materials to providing the right growing conditions, we’ll cover everything you need to know to ensure your seeds thrive and flourish. So dust off your gardening gloves and let’s embark on this enchanting journey together!
Step 1: Gather the necessary materials
Before you start planting your desert rose seeds, it’s essential to gather all the necessary materials to ensure a successful and smooth process. Here are the items you’ll need:
- Desert rose seeds: Obtain fresh seeds from a reputable supplier or harvest them from mature desert rose plants if available. Make sure the seeds are free from any signs of damage or disease.
- Planting medium: Choose a well-draining mixture that consists of equal parts of perlite, sand, and potting soil. This combination provides the ideal conditions for the seeds to germinate and grow.
- Seedling trays or pots: Opt for small containers with drainage holes to plant the seeds. Alternatively, you can use biodegradable peat pots, which can be directly planted into the ground without disturbing the seedlings’ delicate roots.
- Polythene bags: Transparent plastic bags or cling wrap will help create a mini greenhouse effect, providing the seeds with the warmth and humidity they need for germination.
- Misting bottle: A fine-mist spray bottle will be handy for watering the seeds gently without causing disturbance.
- Watering can or spray bottle: Once the seedlings have germinated, you’ll need a watering can or spray bottle to water them as they grow.
- Grow lights or a sunny location: A well-lit area with indirect sunlight is essential for the successful growth of desert rose seedlings. If natural light is limited, consider using grow lights to provide the necessary brightness.
- Fertilizer: Choose a balanced fertilizer suitable for succulent plants. Look for one with a higher concentration of phosphorus, as this nutrient promotes flower production.
- Plant labels: It’s helpful to label your seed trays or pots with the seed variety and date of planting. This way, you can keep track of each seed’s progress and determine when it’s time to transplant them.
- Gardening tools: Gather common gardening tools such as a trowel, gardening gloves, a small hand rake, and pruning shears. These will come in handy for various tasks throughout the planting and care process.
Now that you have all the necessary materials, you’re ready to move on to the next step: preparing the planting medium.
Step 2: Prepare the planting medium
The success of your desert rose seedlings depends greatly on the quality of the planting medium. By providing a well-draining and nutrient-rich medium, you create the ideal conditions for the seeds to germinate and establish strong roots. Follow these steps to prepare the planting medium:
- Start by gathering equal parts of perlite, sand, and potting soil in a mixing container. Perlite improves drainage, while sand provides additional aeration, and potting soil offers essential nutrients.
- Thoroughly mix the ingredients together until well combined. This ensures uniform distribution of particles, preventing waterlogging and nutrient imbalances.
- Transfer the planting medium to the seedling trays or pots, filling them up to approximately ¾ full. Leave some space at the top to prevent overflow when watering.
- Gently firm the planting medium in each container, ensuring it is evenly distributed and level. This provides a stable environment for the seeds to settle without shifting or sinking.
- Water the planting medium lightly until it is evenly moist. Avoid soaking the medium, as excessive moisture can lead to rotting of the seeds.
Once the planting medium is prepared, you’re now ready to move on to the next step: scarifying the desert rose seeds. This crucial step helps to break the seed coat and enhance germination rates by enabling water absorption. So let’s dive into the exciting process of scarification in the next step!
Step 3: Scarify the desert rose seeds
Scarification is an important step in preparing desert rose seeds for germination. The tough outer seed coat of desert rose seeds can inhibit water absorption, making it difficult for the embryo to emerge. Scarifying the seeds helps to break this barrier and improve germination rates. Follow these steps to scarify your desert rose seeds:
- Fill a small bowl with warm water and place the seeds into it. Let them soak for 24 hours. This process softens the seed coat, making it easier to scarify.
- Prepare a sharp knife or sandpaper. An alternative method is to use nail clippers or a file. Choose a method that you are comfortable with and can effectively scarify the seeds.
- Carefully hold the seed with a pair of tweezers or use gloves to protect your fingers from accidental slips. Gently rub the seed with the knife or sandpaper, focusing on one area of the seed coat at a time.
- Make small, shallow cuts or scratches on the seed coat. Avoid cutting too deeply into the seed, as this may damage the embryo inside.
- Rotate the seed and repeat the process, creating cuts or scratches on different parts of the seed coat. This ensures multiple entry points for water absorption.
- After scarification, return the seeds to the warm water and let them soak for another 24 hours. This allows the seeds to absorb moisture and initiate the germination process.
Scarification can significantly improve germination rates, but it is important to be careful and gentle during the process. Once you have scarified the seeds, it’s time to move on to the next step: soaking the seeds in water. Let’s continue this exciting journey together!
Step 4: Soak the seeds in water
After scarifying the desert rose seeds, it’s time to give them a rejuvenating soak in water. This step helps to rehydrate the seeds and initiate the germination process. Here’s how to properly soak your desert rose seeds:
- Fill a shallow container or a small plastic bag with clean, room temperature water. Make sure the water level is enough to fully submerge the seeds.
- Gently place the scarified seeds into the water, ensuring they are completely immersed. Use a spoon or tweezers to handle the seeds delicately and prevent any damage.
- Let the seeds soak in water for approximately 24 hours. This allows them to absorb moisture and activate the growth process.
- During the soaking period, periodically check the water level and replenish it if necessary. The seeds should remain submerged throughout the entire duration.
- Avoid leaving the seeds in water for too long, as it can lead to rotting. Once the soaking time is up, remove the seeds from the water and move on to the next step: sowing the seeds in the planting medium.
The soaking process is crucial as it kickstarts the germination process by softening the seeds and triggering hormonal changes. Now that your desert rose seeds have been rejuvenated, it’s time to sow them in the prepared planting medium. Let’s proceed to the next step and witness the magic of growth!
Step 5: Sow the seeds in the planting medium
Now that your desert rose seeds are scarified and soaked, it’s time to sow them in the prepared planting medium. This step involves planting the seeds at the right depth and providing them with optimal conditions for germination. Follow these steps to sow your desert rose seeds:
- Using your finger or a small wooden dowel, create small holes in the planting medium. The holes should be about ¼ to ½ inch deep.
- Place one scarified seed into each hole, making sure the embryo is facing upwards. Gently cover the seeds with the surrounding planting medium.
- Water the planting medium lightly to settle the seeds and provide them with initial moisture. Be careful not to overwater, as excessive moisture can lead to fungal diseases.
- Cover the seedling trays or pots with polythene bags or cling wrap. This creates a mini greenhouse effect, trapping heat and humidity to promote germination.
- Place the trays or pots in a warm location with indirect sunlight. Aim for a consistent temperature of around 75-85°F (24-29°C) to provide optimal conditions for germination.
- Check on the seeds regularly to ensure the planting medium remains moist. Use a misting bottle to lightly spray water if needed.
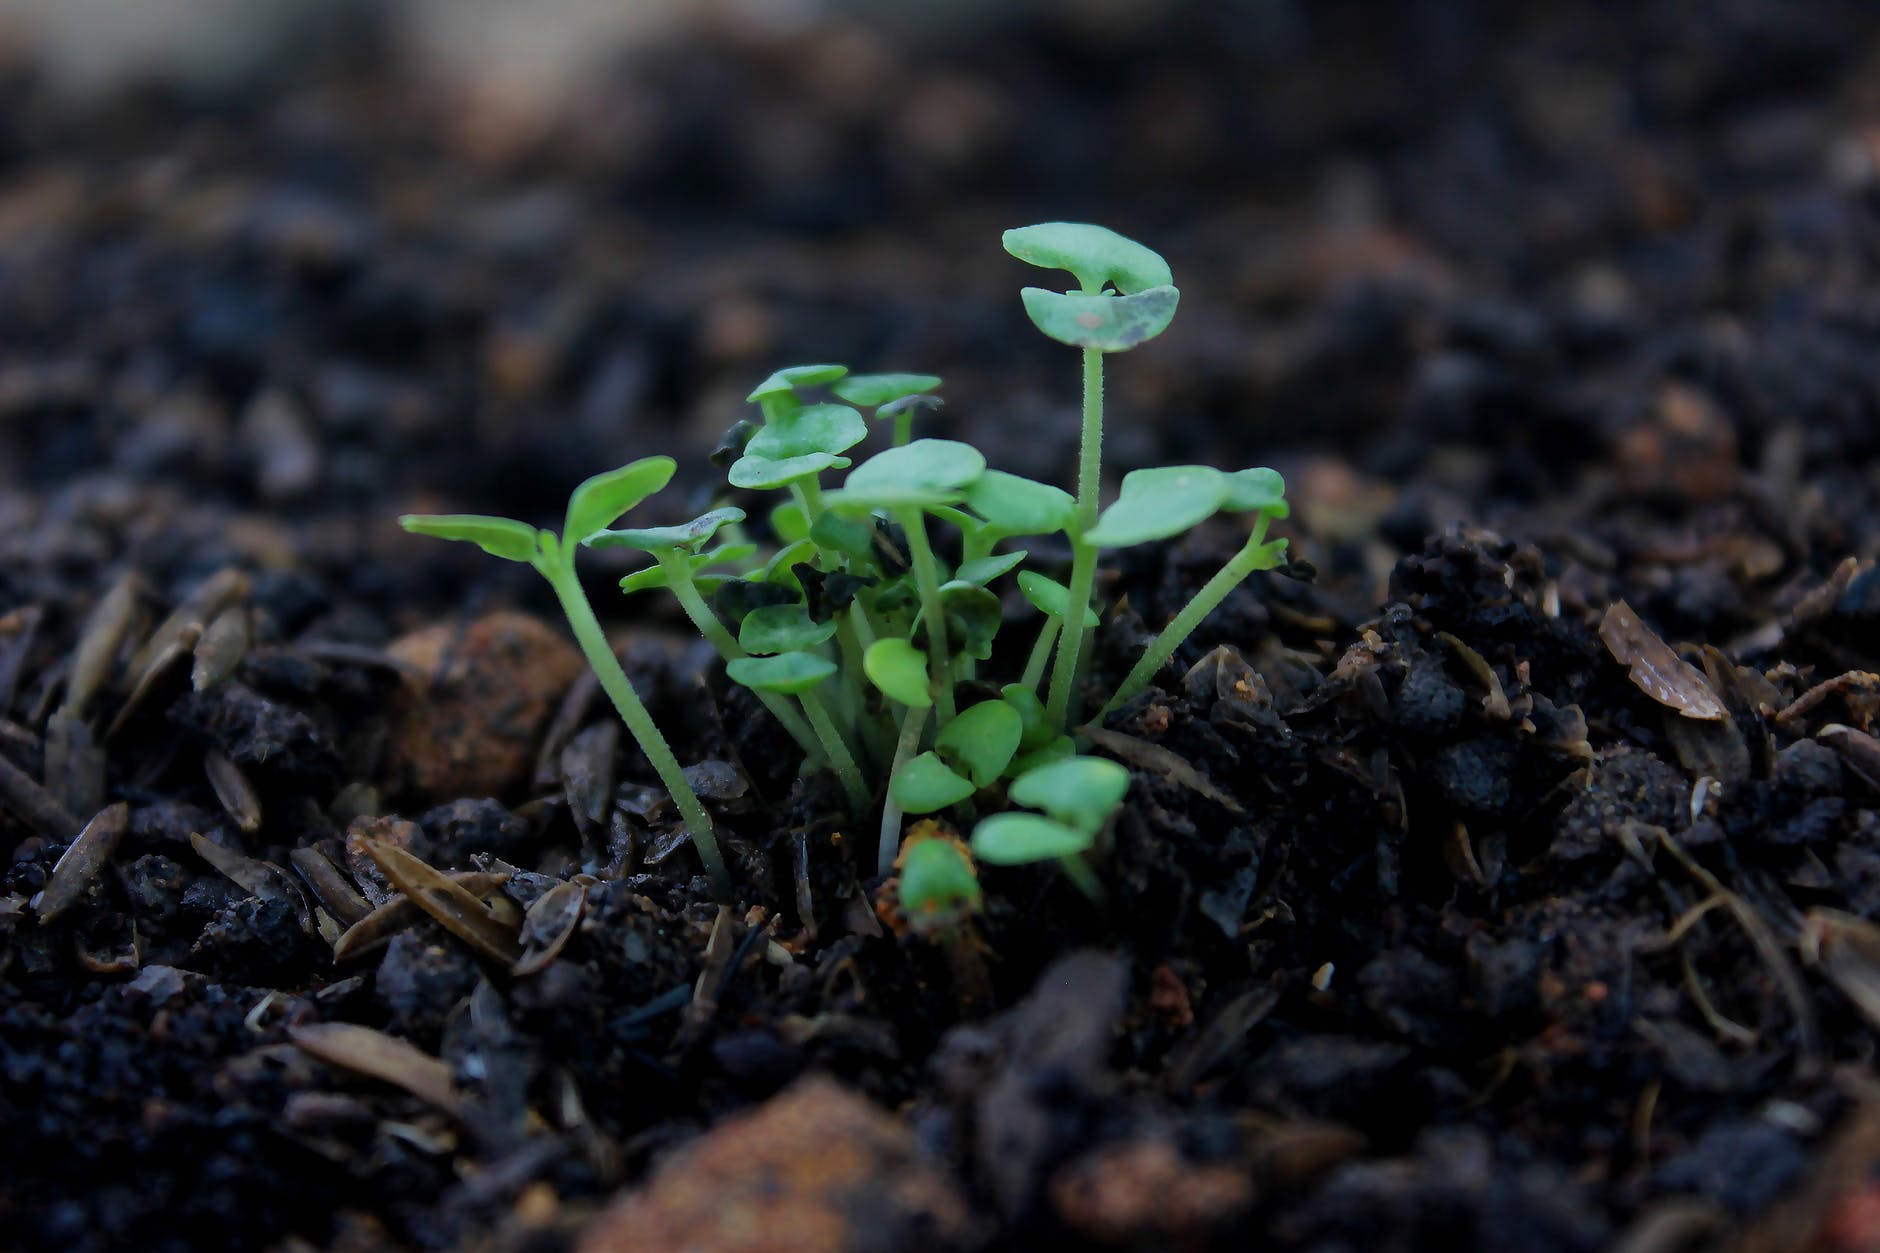
- Germination can take anywhere from a few days to several weeks, depending on the seed quality and conditions. Be patient and maintain consistent care during this period.
Sowing the desert rose seeds in the planting medium sets the stage for their growth and development. With the right balance of moisture, warmth, and care, you’ll soon witness the emergence of tiny seedlings. So let’s move on to the next step and learn how to provide the right growing conditions for your desert rose seedlings!
Step 6: Provide the right growing conditions
Creating the right growing conditions is crucial for the successful development of your desert rose seedlings. By providing the optimal environment, you can ensure that the seedlings receive the necessary nutrients, light, and airflow. Follow these steps to provide the right growing conditions for your desert rose seedlings:
- Place the seedling trays or pots in a location with bright, indirect sunlight. A south-facing window or a spot with fluorescent grow lights can provide the required amount of light for healthy growth.
- Maintain a consistent temperature of around 70-80°F (21-27°C) during the day and slightly cooler temperatures at night. Avoid exposing the seedlings to drafts or extreme temperature fluctuations.
- Ensure adequate airflow around the seedlings to prevent the growth of mold or fungal diseases. You can achieve this by placing a small fan nearby or by gently wafting air around the plants using your hand.
- Monitor the humidity levels around the seedlings. Desert rose seedlings prefer a moderately humid environment. If the air is too dry, you can place a tray filled with water near the seedlings to increase humidity.
- Rotate the seedling trays or pots periodically to ensure even exposure to light. This prevents the seedlings from leaning towards one direction and encourages upright growth.
- Keep an eye out for pests such as aphids, mealybugs, or spider mites. If you notice any signs of infestation, gently remove the pests by hand or use organic pest control methods.
- Avoid overcrowding the seedlings. Once they start to grow, thin out any weak or overcrowded seedlings to give the remaining ones ample space to thrive.
By providing the right growing conditions, you will foster healthy growth and ensure the long-term success of your desert rose seedlings. In the next step, we will discuss watering and fertilizing the seedlings to promote strong and robust growth. So let’s move forward on this green journey!
Step 7: Water and fertilize the desert rose seeds
Proper watering and fertilization are essential for the healthy development of your desert rose seedlings. By providing them with adequate moisture and nutrients, you can ensure vigorous growth and vibrant blooms. Follow these steps to effectively water and fertilize your desert rose seeds:
- Water the seedlings consistently to keep the planting medium evenly moist. Avoid overwatering, as it can lead to root rot and damp conditions that promote fungal diseases. Ideally, the top inch of the planting medium should be slightly dry before watering again.
- Use a watering can or a misting bottle with a fine spray to water the seedlings gently. Direct the water at the base of the seedlings, avoiding the leaves to prevent fungal issues. Aim for moistening the soil without creating puddles.
- Apply a balanced, water-soluble fertilizer formulated for succulent plants, following the instructions on the packaging. Start fertilizing the seedlings when they have developed their first true leaves. Apply the fertilizer every 2-4 weeks during the growing season.
- Consider using a fertilizer with a higher concentration of phosphorus to promote flower production. This is especially important as the seedlings mature and transition into flowering plants.
- Monitor the seedlings’ response to the fertilizer. If you notice signs of fertilizer burn (e.g., yellowing leaves or wilting), dilute the fertilizer or reduce the frequency of application.
- Regularly check the seedlings for any signs of nutrient deficiencies, such as yellowing or stunted growth. Adjust the fertilizer application as needed to ensure proper nutrient uptake.
Remember, it’s crucial to find the right balance when watering and fertilizing your desert rose seedlings. Observing their growth and responding to their needs will help ensure healthy and thriving plants. In the next step, we’ll discuss how to monitor and care for the seedlings as they continue to grow. Let’s continue on this green journey together!
Step 8: Monitor and care for seedlings
As your desert rose seedlings continue to grow, it’s essential to monitor and provide proper care to ensure their health and vitality. By staying vigilant and addressing any issues promptly, you can nurture strong and resilient plants. Follow these steps to monitor and care for your desert rose seedlings:
- Regularly inspect the seedlings for any signs of stress or disease. Look for yellowing leaves, wilting, or discoloration, as they may indicate nutrient deficiencies or pest infestations.
- Remove any dead or yellowing leaves to improve air circulation and reduce the risk of fungal diseases. Use clean and sterile pruning shears or scissors to make clean cuts.
- Adjust the watering frequency and amount based on the specific needs of your seedlings. Factors like temperature, humidity, and the growth stage of the plants can affect their water requirements. Aim to keep the soil consistently moist but not waterlogged.
- Continue to provide adequate lighting for the seedlings. If natural light is limited, supplement with grow lights to ensure they receive the necessary intensity and duration of light for proper growth.
- Keep an eye out for common pests that can affect desert rose plants, such as aphids or spider mites. If you notice signs of pest infestation, use organic pest control methods or consult with a local garden center for appropriate treatments.
- Gradually acclimate the seedlings to outdoor conditions, if you plan to eventually transplant them to the garden. Start by placing them in a shaded area for a few hours a day, gradually increasing the duration and intensity of sunlight.
- Provide support for taller seedlings by staking them using bamboo sticks or twine. This will prevent bending or breaking of the fragile stems as the plants grow taller.
- Observe and enjoy the growth of your desert rose seedlings! Take note of any unique characteristics or early signs of blooming, which can vary depending on the specific variety of desert rose you are growing.
By diligently monitoring and caring for your seedlings, you can ensure their successful transition into healthy, mature desert rose plants. In the next step, we’ll discuss how to transplant the seedlings to their permanent location. Let’s continue nurturing these beautiful plants on our green journey!
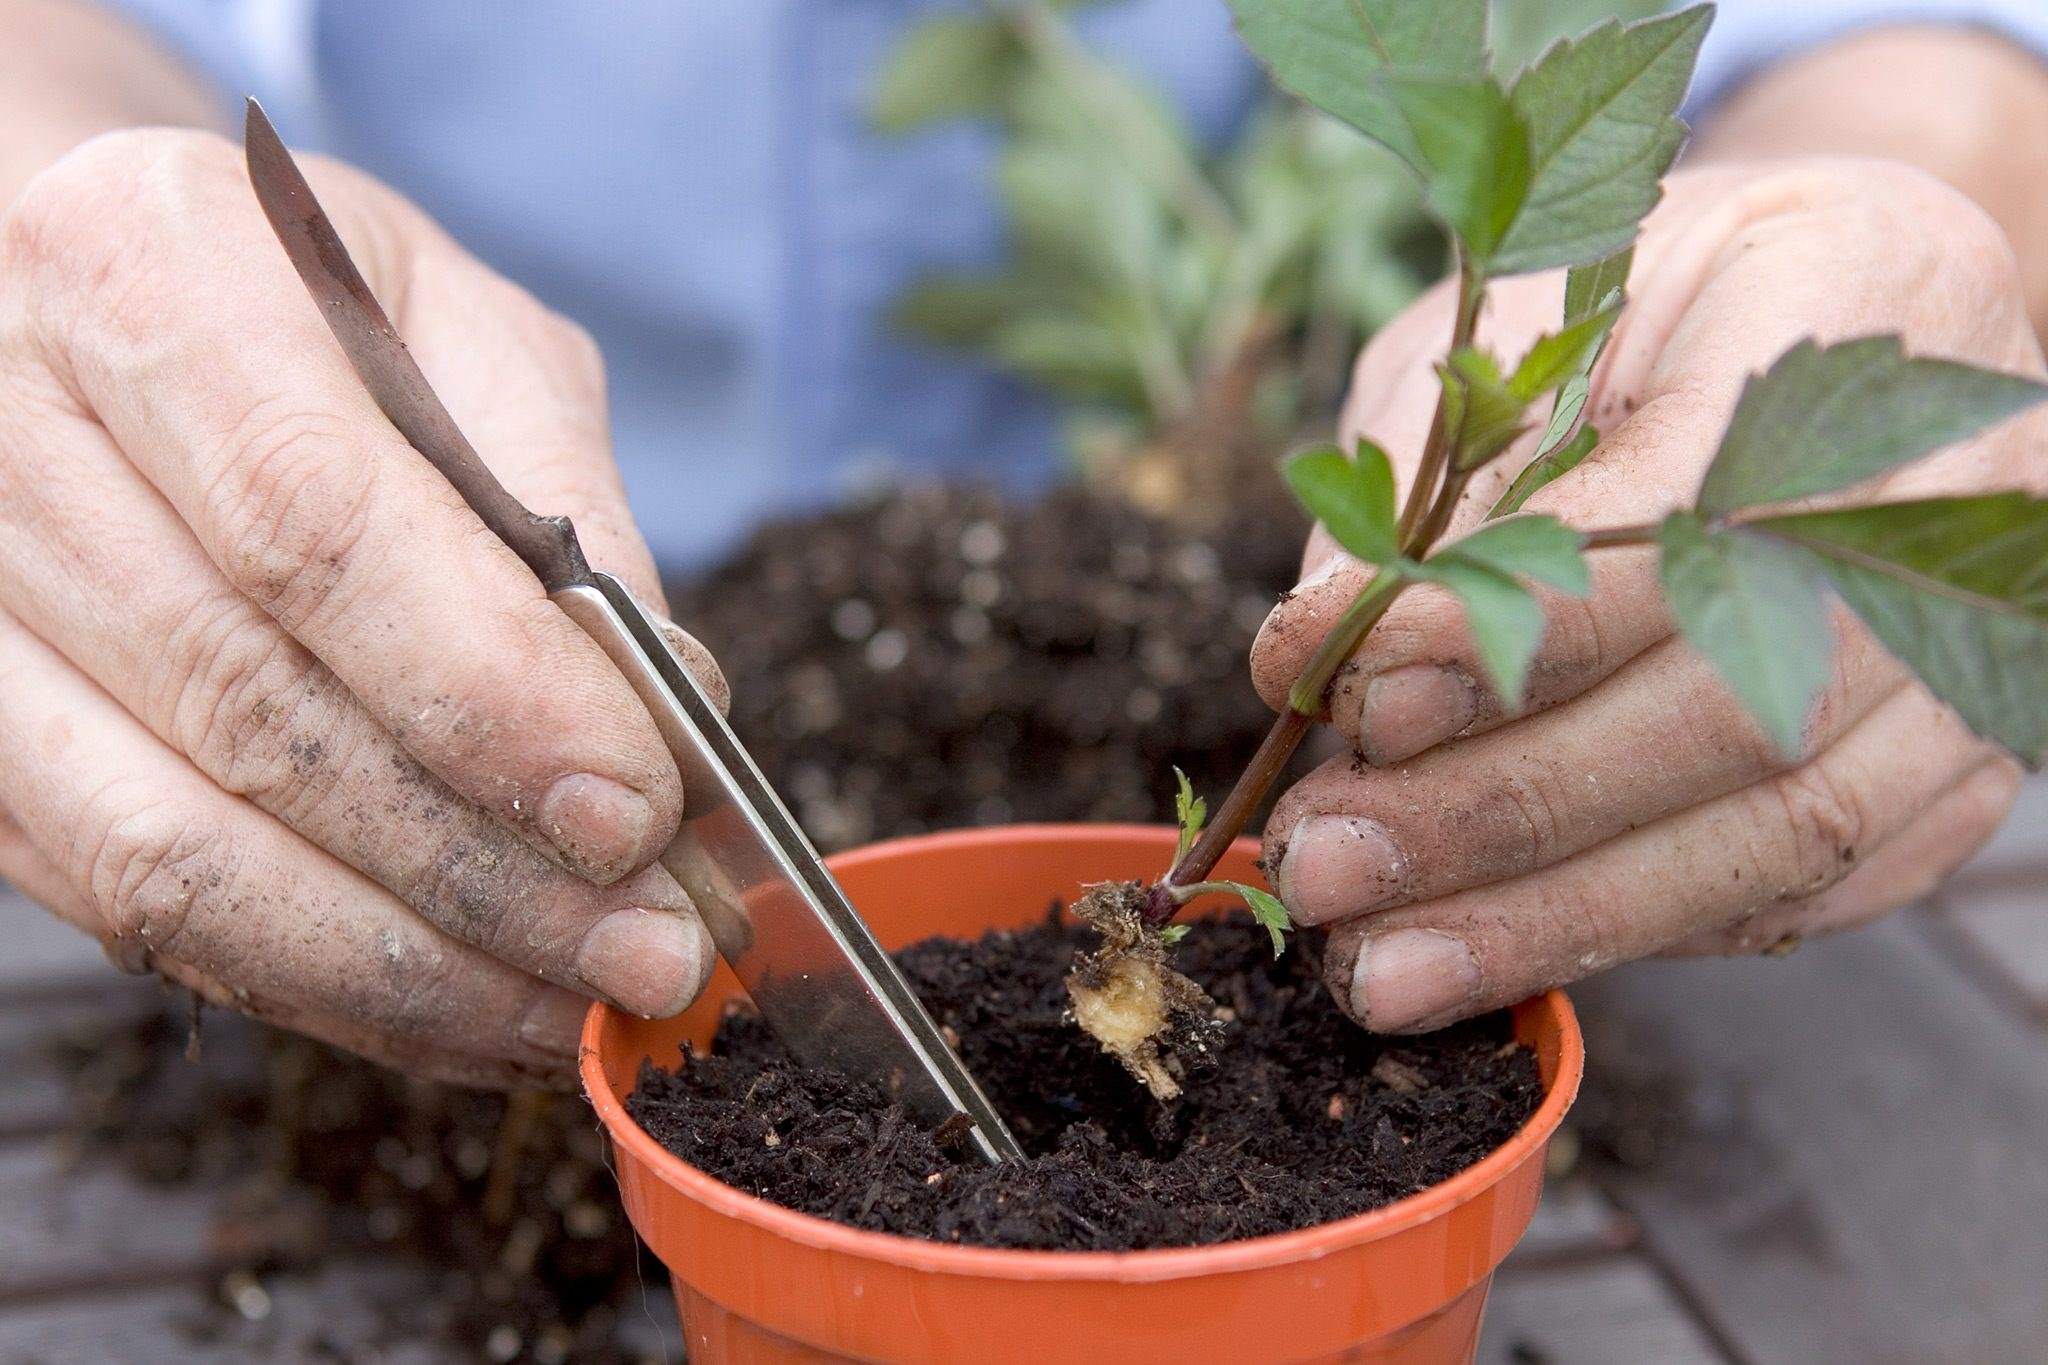
Step 9: Transplant the seedlings
Transplanting your desert rose seedlings to their permanent location is an exciting milestone in their journey. This step allows the plants to establish themselves in a larger space and continue their growth towards maturity. Follow these steps to successfully transplant your desert rose seedlings:
- Choose a well-draining location in your garden or a large pot with drainage holes. Desert roses prefer sandy or gravelly soil that allows excess water to drain freely.
- Prepare the planting hole or the pot by loosening the soil and removing any weeds or debris. Ensure the hole or pot is large enough to accommodate the seedling’s root system without crowding or bending the roots.
- Remove the seedling from its current container by gently loosening the soil around the roots. Be careful not to damage the delicate roots during this process.
- Place the seedling into the prepared hole or pot, positioning it at the same depth as it was in its previous container. Backfill the hole or pot with the surrounding soil, gently firming it around the roots.
- Water the transplanted seedling immediately to help settle the soil and remove any air pockets around the roots. Provide enough water to moisten the soil thoroughly, but avoid overwatering to prevent root rot.
- After transplanting, monitor the newly transplanted seedlings closely for a few days. Watch for any signs of transplant shock, such as drooping leaves or wilting. Provide shade or protect the seedlings from intense sunlight until they recover.
- Continue to water the transplanted seedlings regularly, keeping the soil consistently moist but not soggy. Adjust the watering schedule based on the specific needs of the individual plants.
- Protect the transplanted seedlings from extreme weather conditions, such as frost or intense heat. Use temporary covers or shade cloths as needed to shield the plants until they become more established.
- Gradually acclimate the transplanted seedlings to full sun exposure by increasing their exposure to direct sunlight over a period of several days. This helps the plants adjust to the new environment without suffering sunburn.
Transplanting the seedlings requires careful handling and attention to ensure their successful adaptation to their new home. With proper care and maintenance, your desert rose seedlings will continue to thrive and delight you with their stunning blooms. In the final step, we’ll explore the joy of witnessing your desert rose in full bloom. Let’s continue this exciting journey together!
Step 10: Enjoy your blooming desert rose
After months of patient care and nurturing, your desert rose seedlings have finally grown into beautiful, blooming plants. Now it’s time to sit back, relax, and enjoy the stunning display of colors and intricate flowers. Here are some tips to fully appreciate and care for your blooming desert rose:
- Admire the vibrant and unique flowers of your desert rose. Each variety can have different colors and patterns, so take the time to appreciate the beauty of your individual plants.
- Continue to provide proper care and maintenance for your desert rose. Ensure it receives adequate sunlight, water, and occasional fertilization to support continuous blooming and overall health.
- Deadhead spent flowers regularly to encourage further blooming and maintain a neat appearance. This involves removing faded blooms by cutting or pinching them off at the base of the flower stem.
- Monitor the plant for any signs of pests or diseases such as aphids, mealybugs, or fungal issues. Take timely action to address these problems to prevent them from affecting the plant’s health.
- Adjust watering and fertilization based on the plant’s needs and the specific environmental conditions. Remember that desert roses prefer drier conditions, so be cautious not to overwater.
- Consider providing support for the branches of your desert rose, especially during periods of heavy blooming. This will prevent the stems from bending or breaking under the weight of the flowers.
- Take the time to learn about and appreciate the unique characteristics and growth habits of desert roses. They are fascinating plants that can grow into stunning bonsai-like specimens with proper pruning and training.
- Share the joy of your blooming desert rose with friends and fellow gardeners. They will surely appreciate the beauty and uniqueness of this exotic plant.
- Capture the beauty of your blooming desert rose through photography or artwork. Immortalize these moments to cherish and share with others.
- Finally, take a moment to reflect on the journey of growing and caring for your desert rose from a tiny seedling to a blooming, mature plant. Appreciate the patience, effort, and love you’ve invested in nurturing your garden.
Congratulations! You have successfully grown and enjoyed the splendor of your blooming desert rose. By following the steps outlined in this guide and continuing to provide proper care, your desert rose will bring you joy and beauty for many seasons to come. Keep nurturing and growing, and may your garden flourish with enchanting desert roses!