Home>Types of Gardening>Ornamental Gardening>How To Get Seeds From Roses
Ornamental Gardening
How To Get Seeds From Roses
Modified: January 22, 2024
Learn how to collect seeds from roses and enhance your ornamental gardening skills. Find step-by-step guidance and expert tips to ensure successful seed harvesting and propagation.
(Many of the links in this article redirect to a specific reviewed product. Your purchase of these products through affiliate links helps to generate commission for Chicagolandgardening.com, at no extra cost. Learn more)
Table of Contents
Introduction
Welcome to the world of ornamental gardening! If you have a passion for beautiful flowers and lush greenery, then ornamental gardening is the perfect hobby for you. And when it comes to ornamental gardening, roses are an absolute must-have in any garden. Not only do they add a touch of elegance and romance to your outdoor space, but they also offer a myriad of possibilities for propagating new plants.
In this comprehensive guide, we will delve into the fascinating world of rose seeds. Many gardeners assume that roses can only be propagated through cuttings or grafting, but the truth is that you can also grow roses from seeds. While it may require a bit more patience and care, the reward of seeing your own unique roses bloom is undoubtedly worth the effort.
Before we get into the nitty-gritty of collecting and sowing rose seeds, it’s important to have a basic understanding of what rose seeds are and how they differ from other methods of propagation. Rose seeds are the product of the pollination process, where pollen from one rose variety is transferred to the stigma of another variety. This results in the formation of seeds inside the rose hips, which are the fruit-like structures that develop after the roses have bloomed.
Now that we have a general idea of what rose seeds are, let’s explore the process of collecting and preparing them for sowing. By following these steps and cultivating a bit of patience, you’ll be well on your way to growing your very own beautiful and unique roses.
Understanding Rose Seeds
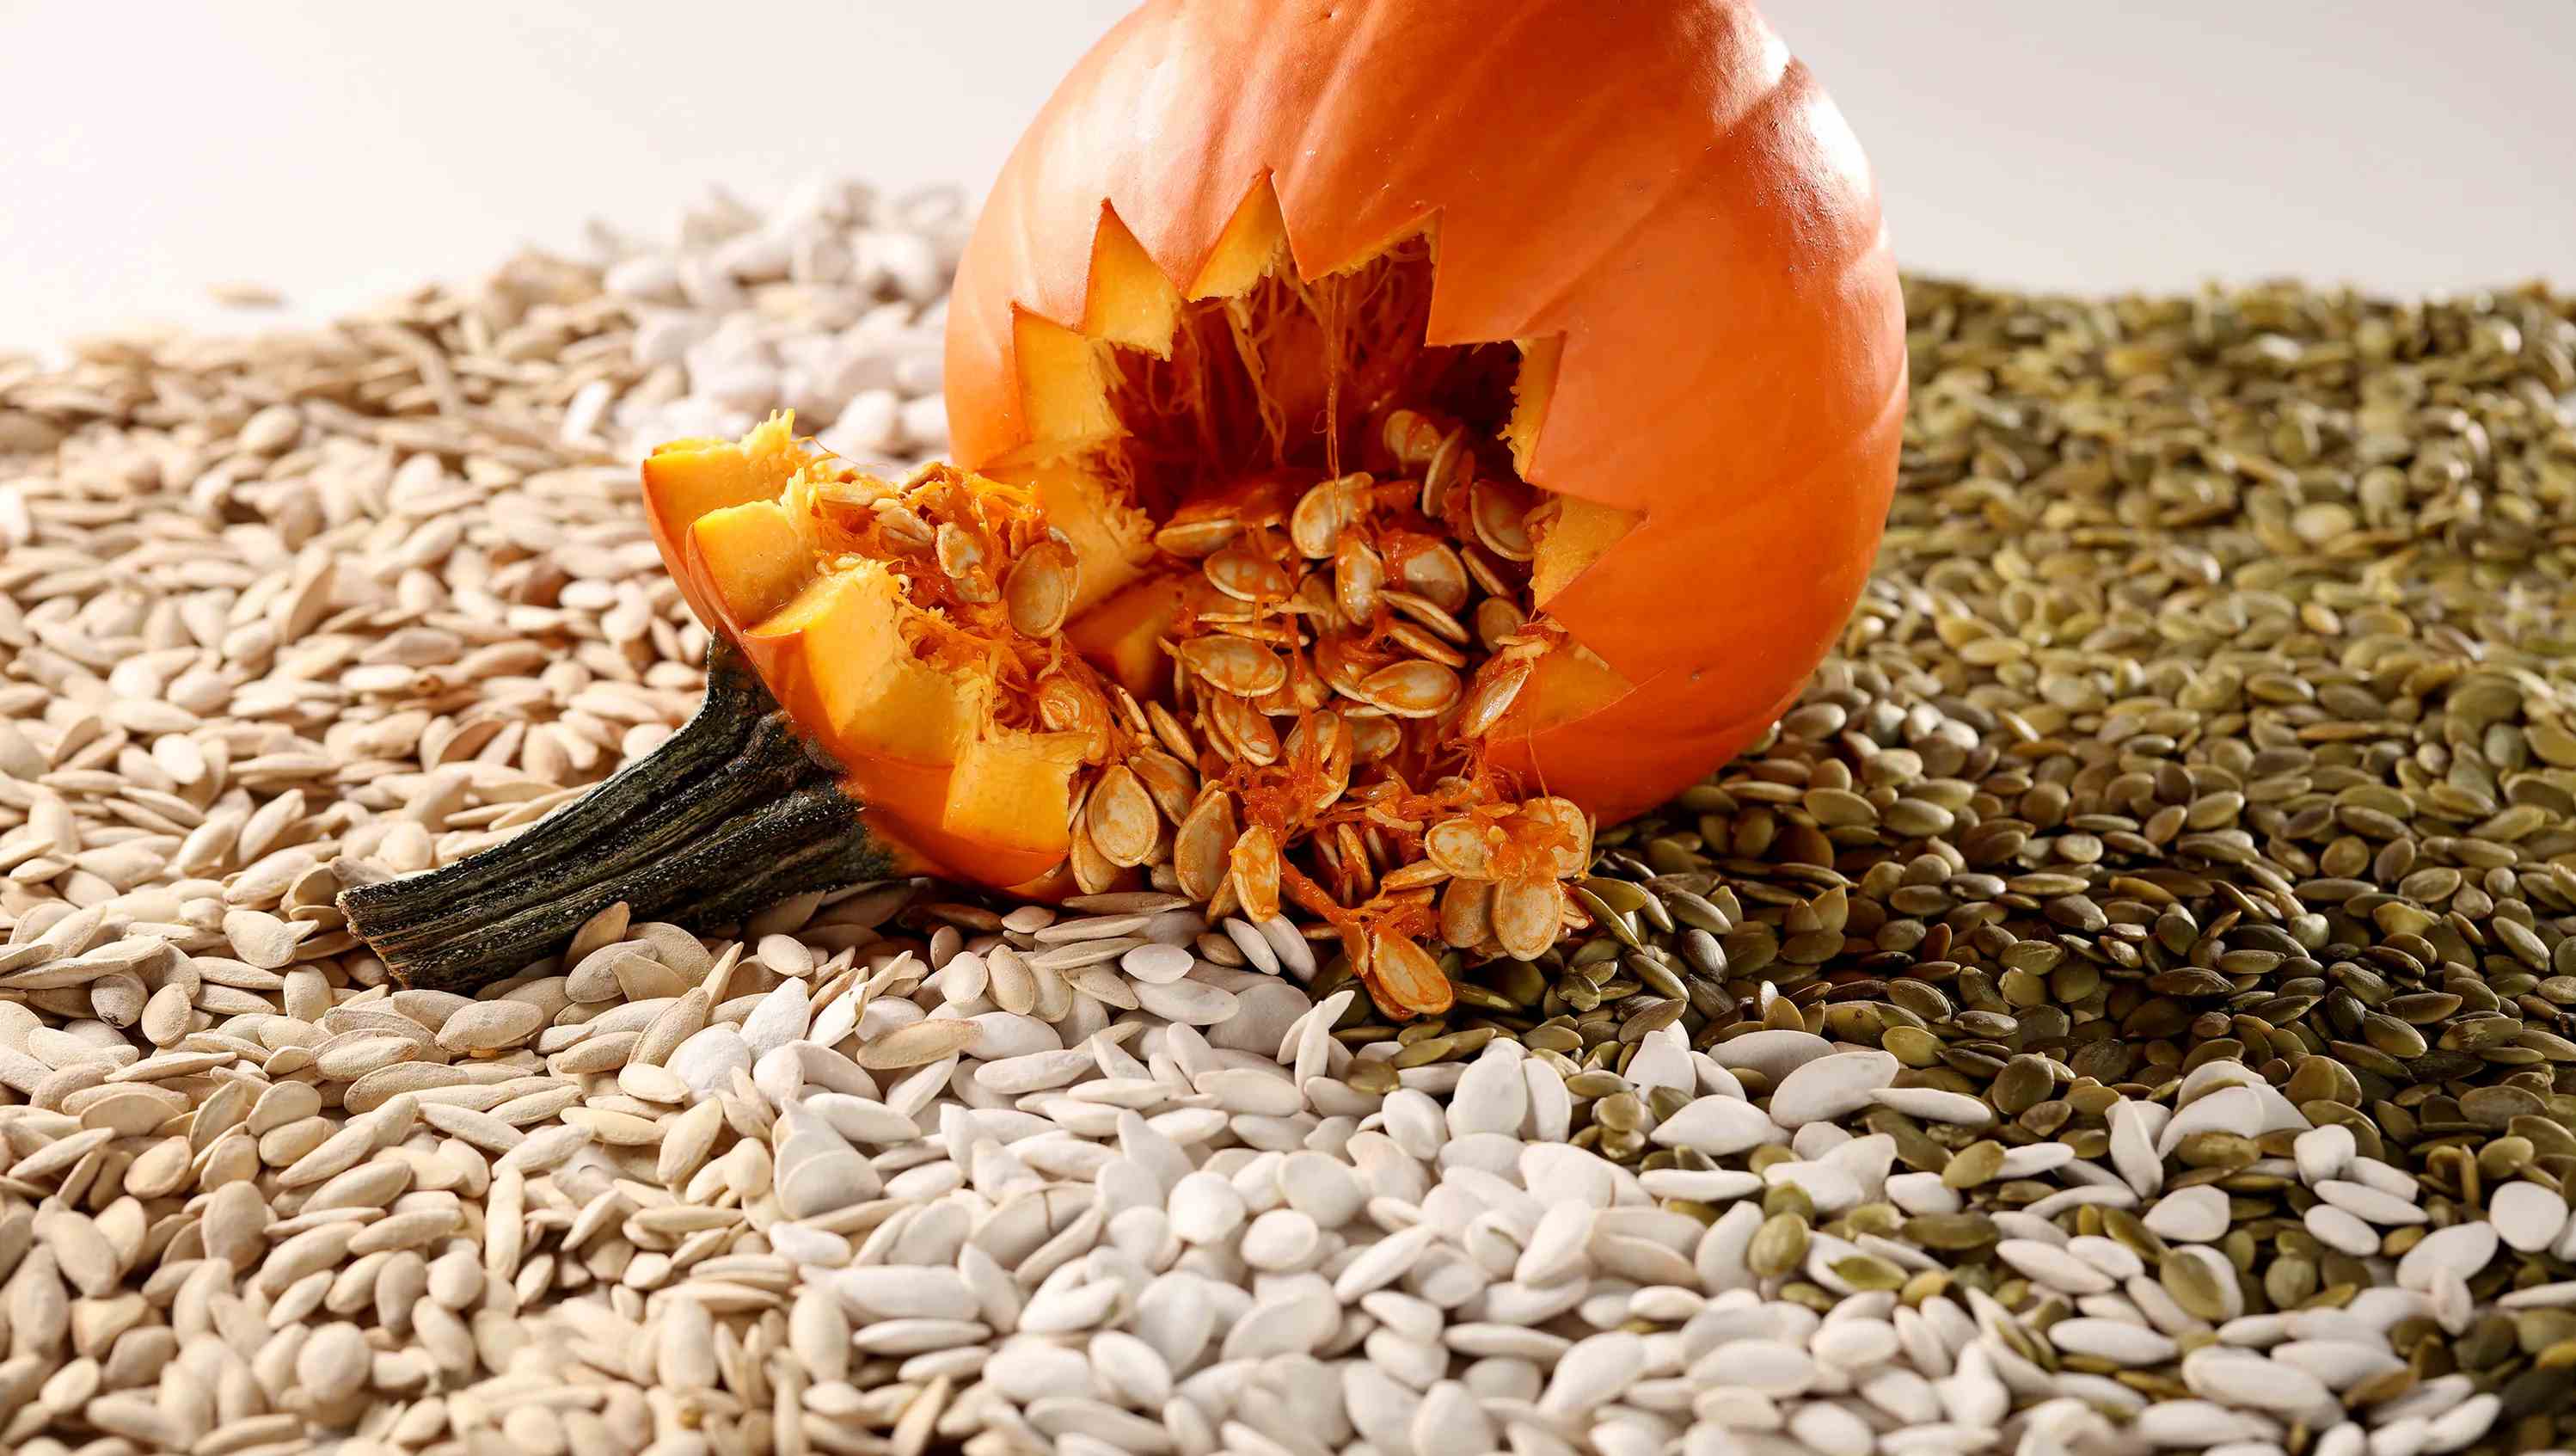
Rose seeds, also known as rose hips, are the reproductive structures that develop after the roses have bloomed. These small and often colorful fruits contain the seeds that can be used to propagate new roses. It’s important to note that not all roses produce viable seeds, as some modern hybrid roses have been bred for their ornamental qualities rather than their seed production.
When a rose is pollinated, usually by bees or other insects, the pollen lands on the stigma, which is part of the female reproductive system. The pollen then travels down the style and fertilizes the ovules, which are contained within the ovary. As the fertilized ovules develop, they form seeds within the rose hip.
Unlike some other plants, rose seeds require a period of cold stratification in order to germinate. This mimics the natural process that a seed would go through during the winter months. It’s nature’s way of ensuring that the seeds don’t germinate prematurely and have the best chance of survival.
Each rose hip typically contains multiple seeds, although not all of them will be viable. Some seeds may be empty, while others may not have matured enough to be viable. It’s important to collect a good number of rose hips to increase the chances of obtaining viable seeds.
It’s worth mentioning that growing roses from seeds can result in new and unique varieties. When roses are propagated through cuttings or grafting, they retain the exact characteristics of the parent plant. However, when grown from seeds, roses have the potential to display new colors, forms, and even fragrances. This adds an element of excitement and surprise to the propagation process.
Now that we have a better understanding of what rose seeds are and how they are formed, let’s move on to the next step in the process: preparing the roses for seed collection.
Preparing the Roses for Seed Collection
Before you can collect rose seeds, it’s important to prepare the roses for the process. Here are some key steps to follow:
- Wait for the right time: Roses produce rose hips, which contain the seeds, after the blooms have faded. Wait until the rose hips are fully developed and have turned a deep, rich color. This indicates that the seeds are mature and ready for collection.
- Gather the necessary tools: To collect rose seeds, you will need a pair of pruning shears or sharp scissors, a clean container, and gloves to protect your hands.
- Choose healthy rose plants: Select healthy rose bushes that have produced high-quality blooms. This will increase the likelihood of obtaining viable seeds.
- Sanitize your tools: Before you begin collecting the rose seeds, make sure to clean and sterilize your pruning shears or scissors. This helps prevent the spread of diseases or infections between plants.
- Remove any dried petals or debris: Take a moment to remove any dried petals or debris from the rose hip. This will make the seed collection process easier and prevent any contaminants from interfering with the seeds.
- Cut the rose hip: Using your sanitized pruning shears or scissors, carefully cut the rose hip from the rose plant. Make sure to leave a small portion of the stem attached to the rose hip.
- Place the rose hips in a container: Collect the cut rose hips in a clean container. Avoid overcrowding them to prevent damage or mold formation.
By preparing the roses in these ways, you’re setting yourself up for success in the seed collection process. Once you’ve gathered the rose hips, it’s time to move on to the next step: collecting the rose seeds themselves.
Collecting Rose Seeds
Collecting rose seeds is an exciting step in the propagation process. By following these guidelines, you can ensure a successful collection:
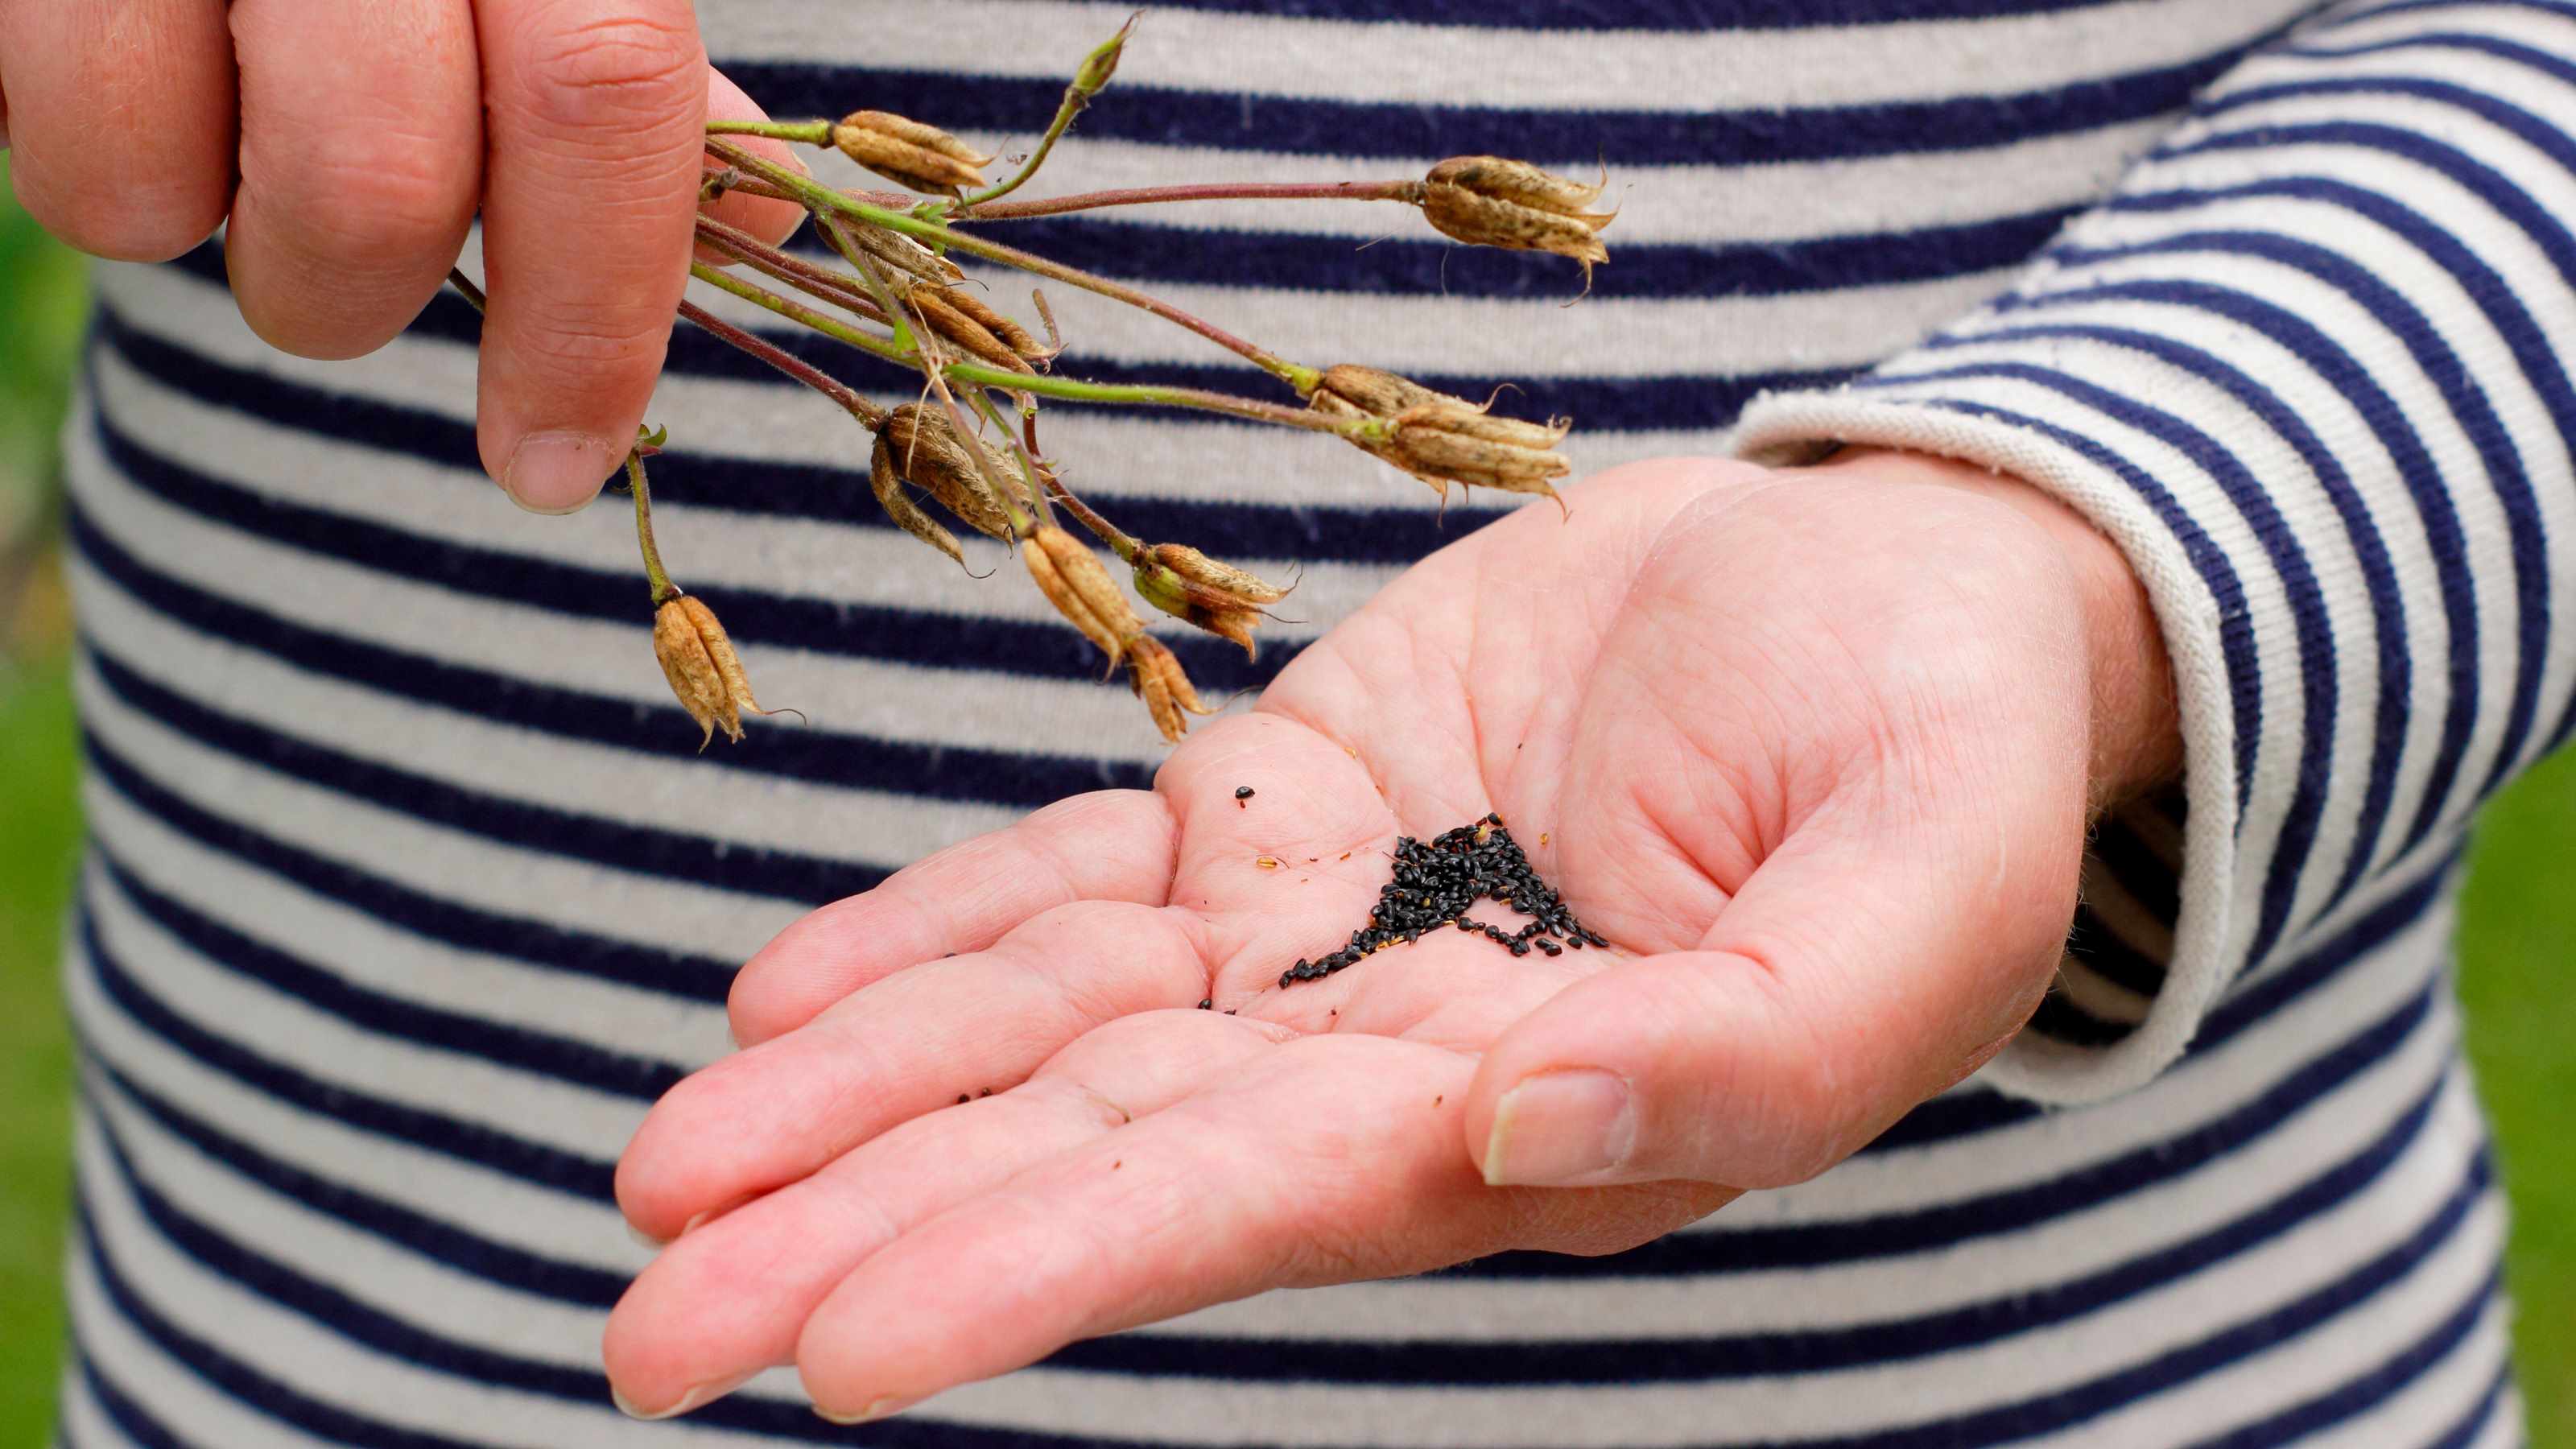
- Extract the seeds from the rose hip: To extract the seeds from the rose hip, gently squeeze or scrape the flesh of the rose hip. This will cause the seeds to be released from the hip.
- Separate the viable seeds: Not all seeds will be viable, so it’s important to separate the good seeds from the nonviable ones. Viable seeds are typically plump and firm, while nonviable seeds may be shriveled or discolored.
- Remove any pulp or debris: After separating the viable seeds, rinse them in clean water to remove any remaining pulp or debris. You can use a fine sieve or strainer to help with this process.
- Dry the seeds: Lay the cleaned rose seeds out on a paper towel or a clean plate. Allow them to air dry for a few days until they are completely dry. This will prevent mold or fungal growth during storage.
- Label and store the seeds: Once the seeds are dry, transfer them to a small envelope or a labeled container. Make sure to clearly label the variety and date of collection. Store the seeds in a cool, dry place until you’re ready to sow them.
Remember, the success of germinating rose seeds depends on their freshness and viability. It’s best to collect and sow the seeds within a year of their extraction for optimal results. With the collection process complete, it’s time to move on to the next step: cleaning and drying the rose seeds.
Cleaning and Drying Rose Seeds
After collecting rose seeds, it’s essential to clean and dry them properly to ensure successful germination. Follow these steps to clean and dry your rose seeds:
- Prepare a cleaning solution: Mix a solution of one part bleach to nine parts water. This will help disinfect the seeds and prevent the growth of any pathogens.
- Soak the seeds: Place the collected rose seeds in the cleaning solution and let them soak for about 15 minutes. This will sanitize the seeds and help eliminate any potential diseases or pests.
- Rinse the seeds: After soaking, rinse the seeds thoroughly under running water to remove any residue from the cleaning solution.
- Strain the seeds: Use a fine mesh strainer to strain out the excess water from the seeds. Be careful not to damage the seeds during this process.
- Dry the seeds: Spread the cleaned rose seeds in a single layer on a paper towel or a screen. Place them in a well-ventilated area away from direct sunlight. Allow the seeds to air dry completely. This process may take several days depending on the humidity in your area.
- Check for moisture content: To ensure that the seeds are adequately dried, you can perform a simple moisture test. Gently press a seed between your fingers; if it feels firm and there is no moisture present, then the seeds are dry and ready for storage.
- Store the seeds: Once the rose seeds are dry, transfer them to a clean, labeled envelope or a small airtight container. Store them in a cool and dry place, such as a refrigerator or a seed storage box. Properly stored rose seeds can remain viable for years, providing you with the opportunity to sow them at a later time.
By following these cleaning and drying steps, you can ensure that your rose seeds are in optimal condition for germination. Now that the seeds are cleaned and dried, it’s time to move on to the next step: storing the rose seeds.
Storing Rose Seeds
Proper storage is essential to maintain the viability of your rose seeds for future sowing. Here are some key steps to ensure that your rose seeds remain viable:
- Label the storage container: Use a permanent marker or a label to clearly identify the variety and the date of collection on the container holding the rose seeds. This will help you keep track of the seeds and their viability over time.
- Choose a suitable storage location: Store the rose seeds in a cool, dark, and dry place. A refrigerator or a seed storage box in a cool basement or cellar is ideal. Avoid areas with fluctuating temperatures and high humidity, as this can reduce the viability of the seeds.
- Consider moisture control: To protect the seeds from moisture, you can place a moisture-absorbing packet or a small amount of silica gel in the storage container. This will help minimize the risk of mold or fungal growth.
- Regularly check the seeds: Periodically check the stored rose seeds for any signs of deterioration. Discard any seeds that appear shriveled, moldy, or discolored. This will ensure that only viable seeds are used for sowing.
- Keep the seeds undisturbed: Avoid frequent handling or moving of the seeds to minimize the risk of damage. The less the seeds are disturbed, the better their chances of staying viable.
- Monitor the storage conditions: Keep an eye on the storage conditions, especially the temperature and humidity levels. Adjust as necessary to maintain the optimal conditions for seed viability.
- Consider seed stratification: While not necessary for all rose varieties, some may benefit from a period of cold stratification to enhance germination. Before sowing, research the specific requirements of the rose variety and follow the recommended duration of stratification, if needed.
By storing your rose seeds properly and monitoring their condition regularly, you can preserve their viability for a longer period. When you’re ready to sow the seeds, you can move on to the next step: sowing rose seeds.
Sowing Rose Seeds
Sowing rose seeds is an exciting step in the journey of growing your own roses. By following these guidelines, you can increase the chances of successful germination and growth:
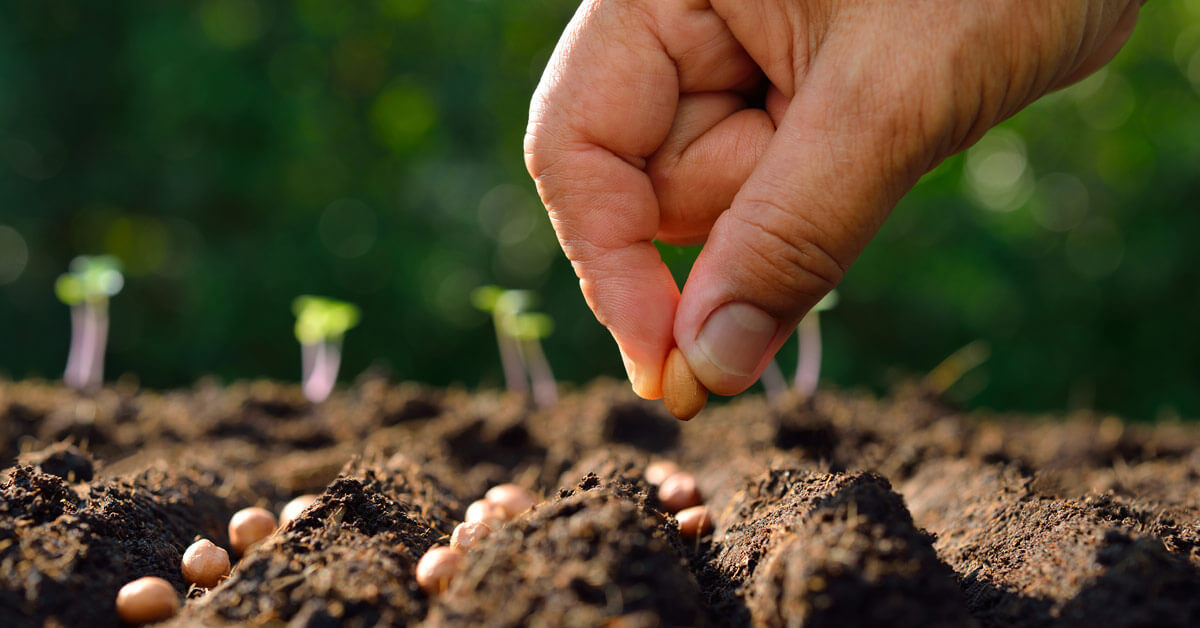
- Choose the right time: Sow rose seeds in early spring when the soil has started to warm up. This will provide the seeds with optimal conditions for germination and establishment.
- Prepare the soil: Select a well-draining, fertile soil for sowing rose seeds. Remove any weeds or debris and loosen the soil to provide a loose and crumbly texture that allows for root penetration.
- Sow the seeds: Place the rose seeds on the soil surface, spacing them at least an inch apart. Lightly press the seeds into the soil using your fingers or a small tool. Do not bury the seeds too deeply, as they require light to germinate.
- Water the seeds: After sowing, gently water the seeds using a watering can or a gentle spray. Ensure that the soil is moist but not saturated. Avoid overwatering, as this can lead to seed rot or fungal diseases.
- Provide proper conditions: Place a plastic cover or a clear plastic dome over the seeded area to create a mini greenhouse effect. This helps maintain a higher humidity level and encourages faster germination. Keep the soil consistently moist but not waterlogged.
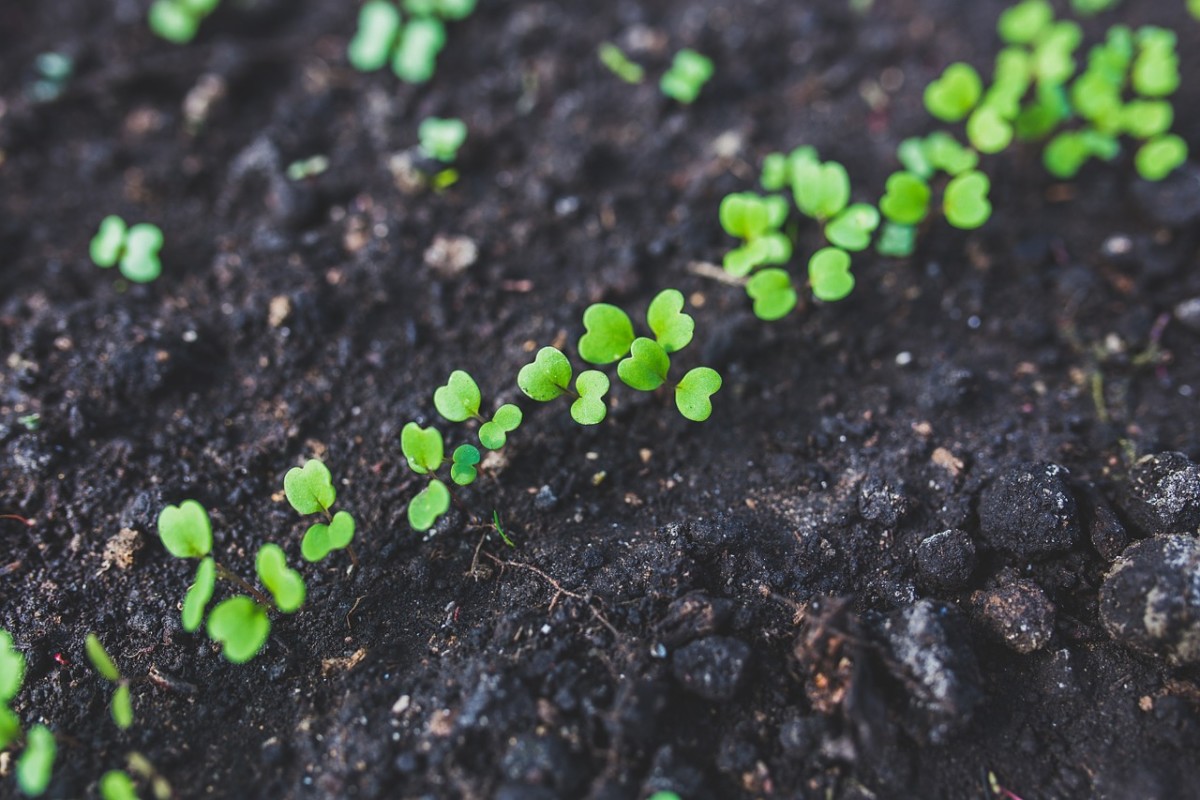
- Be patient and monitor progress: Rose seeds may take several weeks to months to germinate, so patience is key. Keep an eye on the seeded area and monitor moisture levels regularly. As the seeds germinate and seedlings emerge, gradually introduce them to more direct sunlight.
- Transplant seedlings: Once the seedlings have developed a few sets of true leaves and are strong enough to handle, they can be transplanted into individual containers or into the desired garden spot. Choose a location with well-draining soil and sufficient sunlight for optimal growth.
- Provide ongoing care: As the rose seedlings grow, keep them well-watered and provide regular fertilization to promote healthy development. Protect young plants from extreme weather conditions and pests by providing appropriate shelter or using organic pest control methods.
By sowing your rose seeds with care and providing the right conditions, you can witness the magic of new rose seedlings appearing. With ongoing nurturing and dedication, these seedlings will grow into beautiful rose bushes, enriching your garden for years to come.
Caring for Rose Seedlings
Once your rose seedlings have emerged, it’s important to provide them with proper care to ensure their healthy growth and development. Follow these essential guidelines to care for your rose seedlings:
- Watering: Keep the soil consistently moist, but avoid overwatering. Aim to provide deep, regular waterings rather than frequent shallow ones. Water at the base of the plants to avoid wetting the foliage, as this can encourage disease.
- Pruning: As the seedlings grow, you may need to prune them to encourage branching and bushier growth. Trim back any leggy or weak stems and remove any suckers that may emerge from the base of the plants. This will promote a strong and well-shaped plant.
- Fertilizing: Feed your rose seedlings with a balanced, water-soluble fertilizer according to the manufacturer’s instructions. Apply the fertilizer every few weeks during the growing season to provide essential nutrients for healthy growth.
- Weed control: Keep the area around your rose seedlings free from weeds. Weeds can compete with your seedlings for nutrients and moisture, so regular weeding is important for their well-being. Use a shallow cultivation technique to avoid damaging the delicate roots of the seedlings.
- Protection from pests and diseases: Monitor your rose seedlings regularly for the presence of pests such as aphids, mites, or caterpillars. If necessary, use organic pest control methods to mitigate any infestations. Additionally, keep an eye out for any signs of diseases like black spot or powdery mildew and take appropriate measures to prevent their spread.
- Provide support: As the rose seedlings grow taller, they may require support to prevent bending or breakage. Insert bamboo stakes or use plant supports to help keep the young plants upright and stable.
- Hardening off: Before transitioning your rose seedlings to their permanent garden spot, gradually expose them to outdoor conditions. This process, known as hardening off, helps acclimate the seedlings to the wind, sun, and temperature variations.
- Transplanting: Once your rose seedlings have grown strong and sturdy, it’s time to transplant them into the desired garden spot. Choose a location with well-draining soil, adequate sunlight, and sufficient air circulation. Dig a hole slightly larger than the root ball and gently place the seedling, ensuring it’s at the same depth as it was in its previous container.
By providing proper care and attention, your rose seedlings will flourish and develop into beautiful, healthy rose bushes. Enjoy the journey of nurturing and watching these seedlings transform into stunning additions to your garden.
Conclusion
Embarking on the journey of propagating roses from seeds can be a rewarding and fulfilling experience for any ornamental gardener. From understanding the anatomy of rose seeds to collecting, cleaning, and storing them properly, each step in the process requires patience, care, and attention to detail.
By following the guidelines outlined in this comprehensive guide, you’ll be well-equipped to successfully collect, prepare, and sow rose seeds. Remember to choose healthy roses, wait for the right time to collect the rose hips, and handle the seeds with care during the cleaning and drying process. Proper storage of the seeds in cool and dry conditions will ensure their viability for future sowing.
When it’s time to sow the seeds, provide them with the right growing conditions, including well-draining soil, proper watering, and adequate sunlight. As the seedlings emerge and grow, continue to provide diligent care, including pruning, fertilizing, and protecting them from pests and diseases.
With time and dedication, your rose seedlings will transform into beautiful rose bushes, enhancing the beauty of your garden and filling the air with delightful fragrances. The joy of growing roses from seeds lies not only in the process itself but also in the anticipation and surprise of seeing unique and exquisite roses bloom.
So, embrace the magic of ornamental gardening, and let the world of rose propagation unfold before your eyes. Happy gardening!