Home>Types of Gardening>Ornamental Gardening>How To Get Seeds From Zinnias
Ornamental Gardening
How To Get Seeds From Zinnias
Published: September 14, 2023
Learn how to get high-quality seeds from your zinnias with our step-by-step guide to ornamental gardening.
(Many of the links in this article redirect to a specific reviewed product. Your purchase of these products through affiliate links helps to generate commission for Chicagolandgardening.com, at no extra cost. Learn more)
Table of Contents
Introduction
Welcome to the world of ornamental gardening, where the vibrant and captivating beauty of flowers takes center stage. If you’re a fan of colorful and eye-catching blooms, then zinnias are a must-have addition to your garden. These stunning annual flowers not only add a pop of color but also attract pollinators, such as bees and butterflies, making them a favorite among gardeners.
While buying zinnia plants from nurseries is a common way to incorporate them into your garden, another cost-effective and rewarding option is to grow them from seeds. Not only does this give you a wider variety of zinnia options, but it also allows you to enjoy the process of nurturing your plants from their earliest stages.
In this guide, we will walk you through the process of collecting zinnia seeds, giving you the opportunity to grow these stunning flowers season after season. With a little patience and some basic knowledge, you’ll soon be on your way to creating an enchanting zinnia garden in your backyard.
Step 1: Choosing the Right Zinnias
Before you can start harvesting zinnia seeds, it’s essential to choose the right zinnias to ensure successful growth and a bountiful seed harvest. Zinnias come in a wide range of colors, sizes, and varieties, so you’ll have plenty of options to choose from. Here are a few factors to consider when selecting zinnias for seed collection:
- Open-pollinated varieties: It’s best to choose open-pollinated zinnia varieties for seed harvesting, as these plants produce seeds that will remain true to their parent plants. Avoid hybrid varieties, as their seeds may not produce the same characteristics as the parent plant.
- Healthy and disease-free plants: Look for zinnia plants that are healthy and free from any signs of disease or pest infestation. Healthy plants are more likely to produce quality seeds.
- Mature blooms: Select zinnia plants that have fully matured blooms. The flowers should be past their prime and beginning to fade, indicating that the seeds inside are developing and ready for harvesting.
- Desired characteristics: Consider the specific characteristics you want in your zinnia plants, such as color, size, and petal shape. Choose plants that possess these desired traits to ensure that your future zinnia plants exhibit the same features.
It’s worth noting that zinnias are incredibly adaptable and can thrive in various growing conditions. Whether you prefer small, compact zinnias for containers or tall, robust varieties for flower beds, there’s a zinnia plant that will suit your needs. Take the time to explore different zinnia varieties and choose the ones that resonate with your personal preference and gardening goals.
Once you have selected the perfect zinnias for seed collection, it’s time to move on to the next step: allowing the flowers to mature.
Step 2: Allowing Flowers to Mature
After choosing the right zinnias for seed collection, it’s crucial to allow the flowers to mature fully before harvesting the seeds. This step is important because mature flowers ensure that the seeds are fully developed and viable for planting. Here’s how you can let your zinnia flowers reach their full maturity:
- Observe the flower heads: As the zinnia flowers start to fade, carefully observe the flower heads. The petals will begin to wither and dry out, and the center of the flower, known as the seed head, will start to harden and take on a brown or tan color.
- Check the timeline: Depending on the zinnia variety, it typically takes around 4-6 weeks for the flowers to fully mature. Keep track of the planting date to ensure you don’t harvest the seeds too early.
- Avoid excessive moisture: During this stage, it’s essential to resist the temptation to water the zinnia plants excessively. Overwatering can lead to mold or rot, preventing the seeds from developing properly.
- Protect from extreme weather: Extreme weather conditions, such as heavy rain, strong winds, or frost, can damage the zinnia flowers and affect the seed development. If possible, provide some protection, such as covering the plants or moving them to a sheltered location, during extreme weather events.
Remember, patience is key during this stage. Allow the zinnia flowers ample time to naturally mature and dry out before moving on to the next step. Harvesting the seeds too early can result in immature or non-viable seeds, which won’t germinate effectively when it comes time to plant them.
Once you’ve confirmed that the zinnia flowers have reached their full maturity, it’s time to move on to the exciting part – harvesting the zinnia seeds.
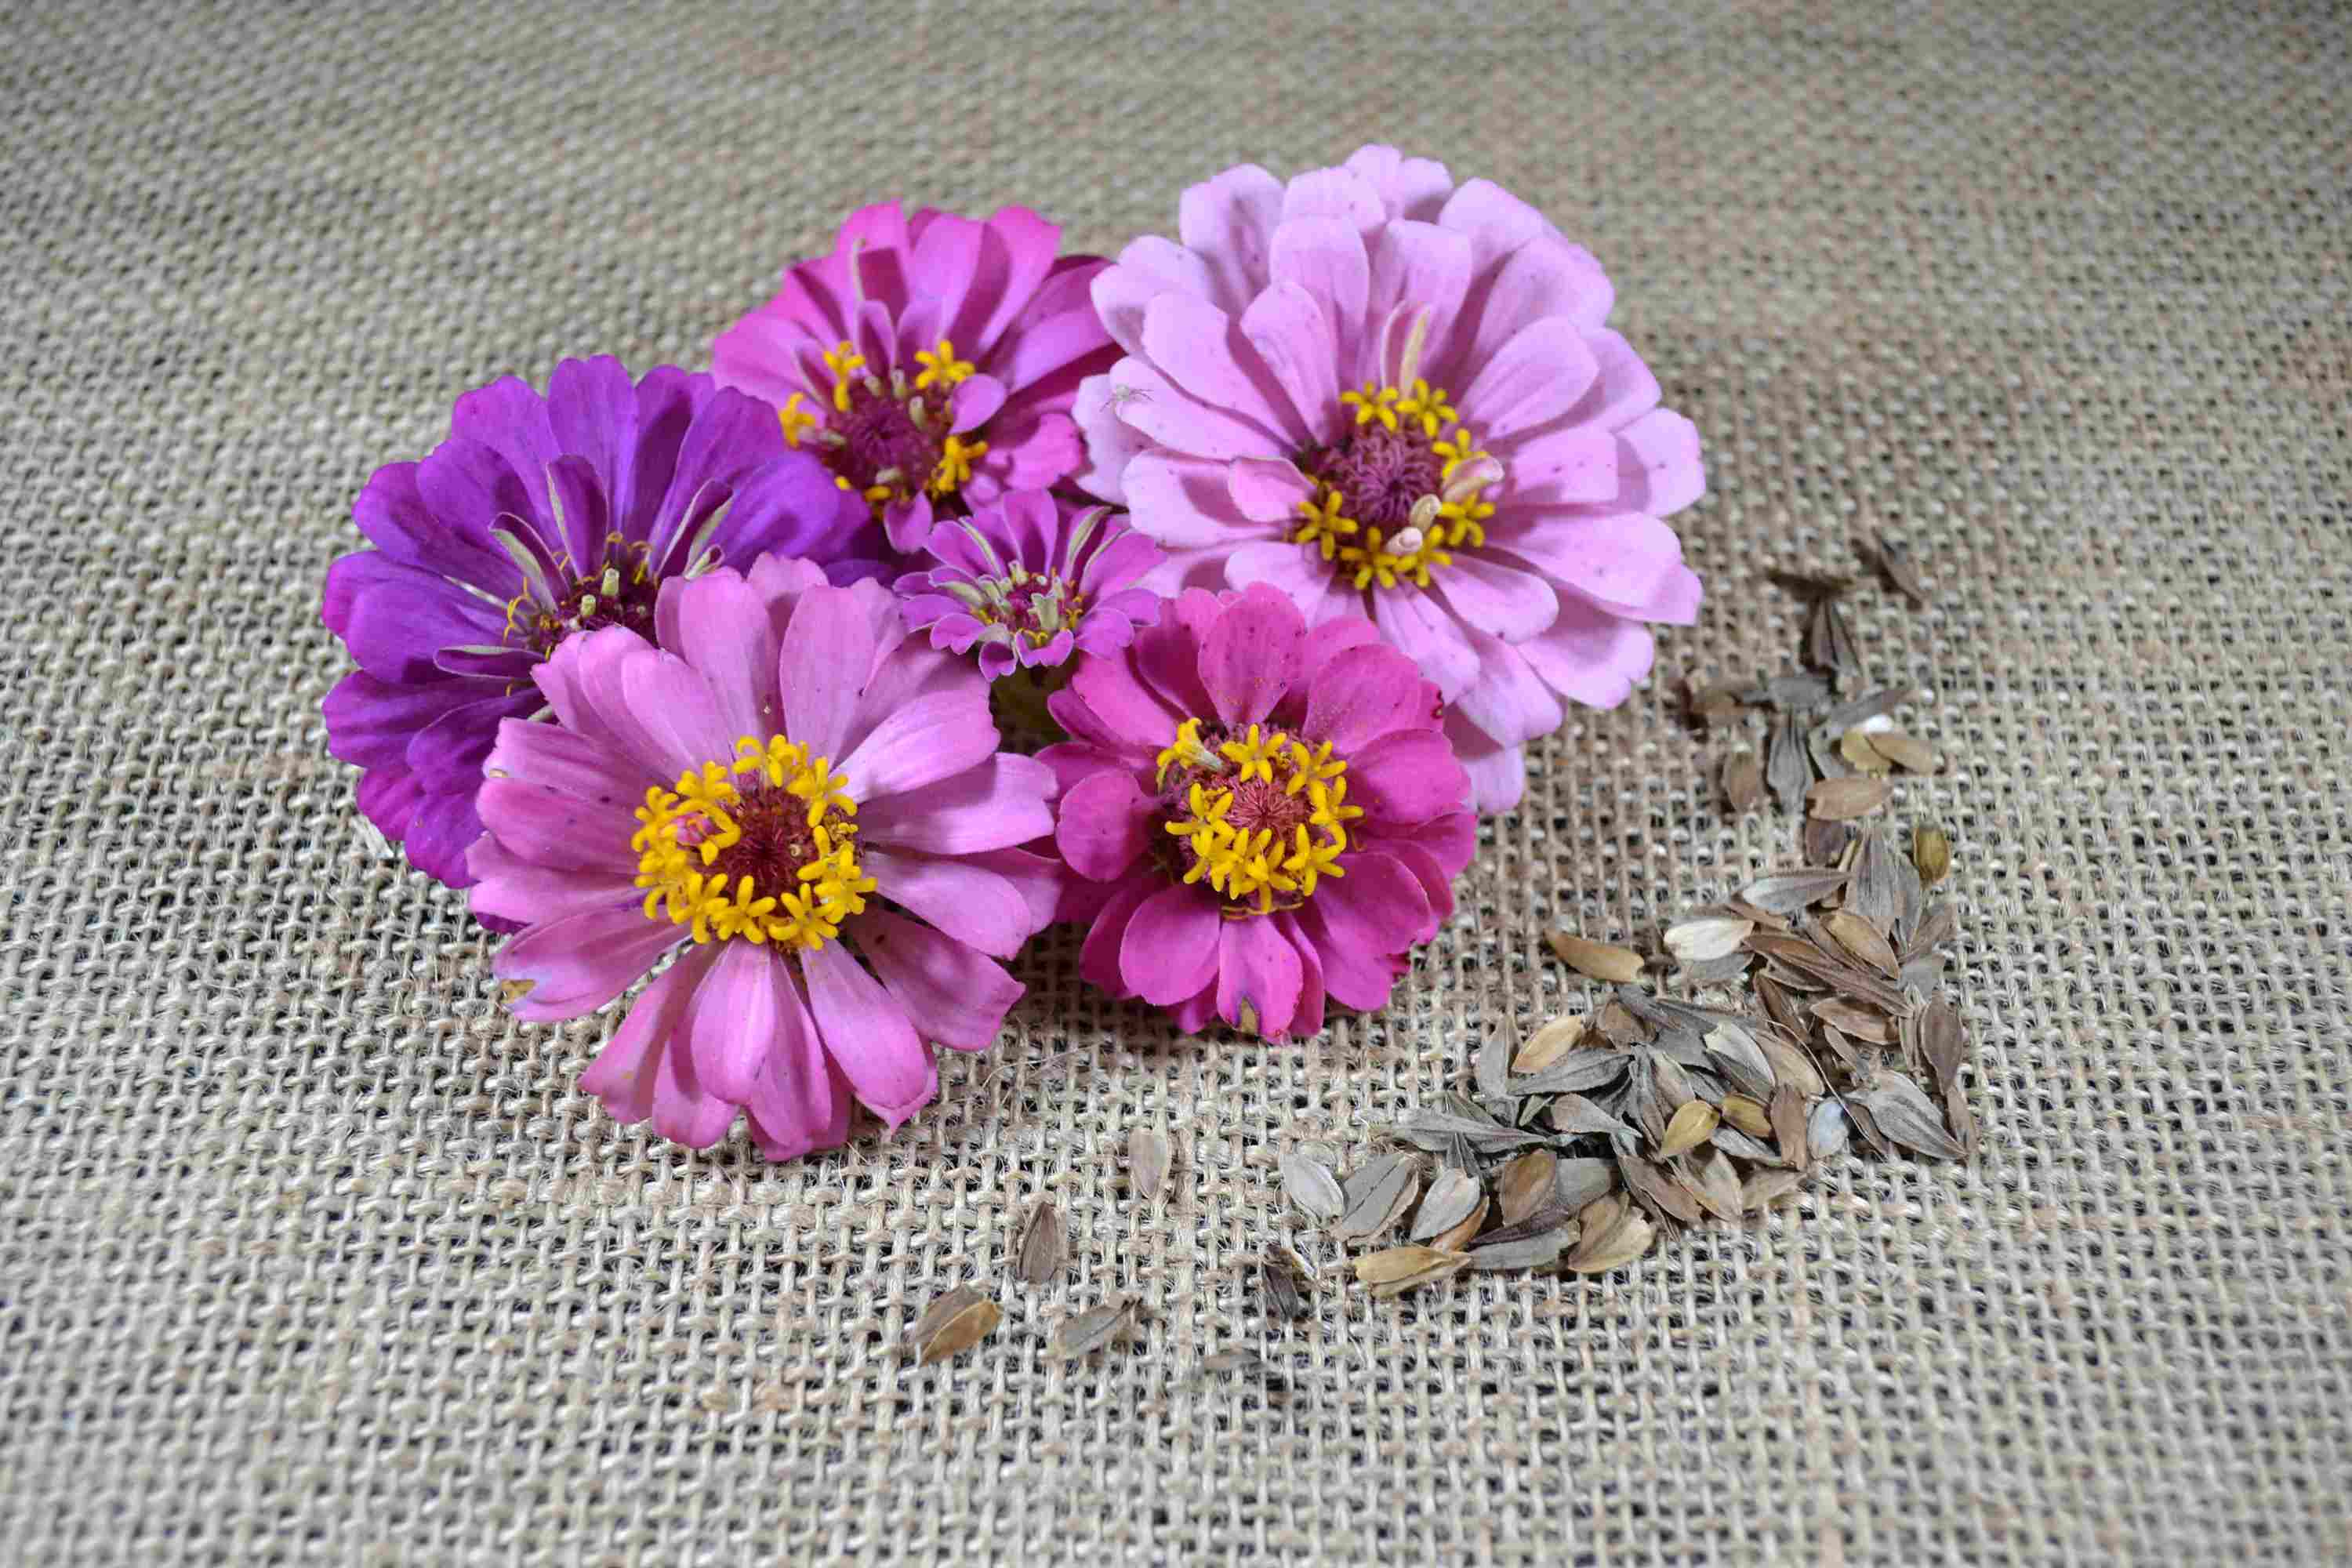
Step 3: Harvesting Zinnia Seeds
Harvesting zinnia seeds is a simple and rewarding process that allows you to collect the fruits of your labor. Follow these steps to ensure a successful seed harvest:
- Select the seed heads: Identify the zinnia flowers that are fully matured and ready for seed harvest. These will be the dried-out flower heads that have turned brown or tan in color. Cut or pluck these seed heads from the plant, ensuring that you include the stem as well.
- Prepare a collection container: Get a sturdy container, such as a paper bag or envelope, to collect the zinnia seeds. Make sure the container is clean and dry to prevent any moisture from compromising the seeds’ quality.
- Remove excess debris: Gently shake or tap the seed heads over the collection container to dislodge any excess debris or chaff. This will help separate the seeds from any unwanted material.
- Break open the seed heads: Use your fingers or a clean, dry cloth to break open the dried seed heads. Inside, you will find small, dark seeds. Separate the seeds from the seed heads and discard any remaining debris.
- Inspect the seeds: Take a moment to inspect the seeds for their quality. Discard any seeds that appear damaged, discolored, or unusually small. Keeping only the healthy and viable seeds will ensure successful germination and growth.
It’s important to handle the zinnia seeds with care to prevent any damage or loss. Avoid crushing or mishandling the seeds, as this can negatively impact their viability.
With the zinnia seeds harvested, it’s time to move on to the final step – drying and storing them properly.
Step 4: Drying and Storing Zinnia Seeds
Properly drying and storing zinnia seeds is crucial to maintain their viability and ensure successful germination in the future. Here are the steps to follow:
- Drying the seeds: Spread the harvested zinnia seeds in a single layer on a clean, dry paper towel or a screen. Make sure to space them out to allow for proper airflow. Place the seeds in a well-ventilated, dry area out of direct sunlight. Allow the seeds to air dry for about a week or until they feel completely dry to the touch.
- Test for dryness: To test if the seeds are sufficiently dry, try bending them. If they snap instead of bending, it’s a good indication that they are ready for storage.
- Label and package: Once the zinnia seeds are completely dry, label an airtight container or small envelopes with the variety and date of collection. Transfer the seeds into the labeled container or envelopes, ensuring they are fully sealed to prevent moisture from entering.
- Store in a cool, dark place: Place the labeled container or envelopes in a cool, dark, and dry location, such as a pantry or refrigerator. The ideal temperature for seed storage is around 40 to 50 degrees Fahrenheit (4 to 10 degrees Celsius).
- Monitor and rotate: Periodically check on your stored zinnia seeds to ensure there is no condensation or mold forming. If any moisture is detected, remove the affected seeds and allow the remaining seeds to continue drying. Additionally, rotating the container or envelopes every few months will prevent any potential moisture build-up.
By following these steps, you can ensure that your zinnia seeds remain viable and ready for planting in the next growing season. Properly stored zinnia seeds can retain their viability for up to three years, providing you with ample opportunities to grow these beautiful flowers year after year.
Now that you have successfully harvested, dried, and stored your zinnia seeds, you are well-equipped to fill your garden with a stunning display of zinnias in the seasons to come!
Conclusion
Congratulations! You have completed the process of harvesting, drying, and storing zinnia seeds. By following these steps, you have set yourself up for success in growing beautiful zinnia flowers from your own collected seeds. The journey of ornamental gardening is filled with joy, patience, and the satisfaction of nurturing life.
Remember, choosing the right zinnias, allowing the flowers to fully mature, and harvesting the seeds at the right time are critical for a successful seed collection. Proper drying and storage ensure that your zinnia seeds remain viable and ready for future planting.
As you embark on your next gardening season, you can now look forward to sowing your saved zinnia seeds and witnessing the colorful and vibrant blooms that will grace your garden. Whether you’re planting them in flower beds, containers, or cutting gardens, zinnias are sure to captivate with their beauty and attract pollinators to your outdoor space.
Enjoy the process of growing zinnias from seeds and experiment with different varieties to create a stunning and diverse garden display. With a little care and attention, your zinnia plants will reward you with a breathtaking symphony of colors, adding a touch of nature’s splendor to your home.
So, get ready to let your creativity bloom, as you nurture zinnias from seeds and watch them flourish into magnificent flowers that bring joy and beauty to your ornamental garden. Happy gardening!