Home>Types of Gardening>Edible Gardening>How To Save Seeds From Squash
Edible Gardening
How To Save Seeds From Squash
Modified: January 22, 2024
Learn how to save seeds from squash and incorporate them into your edible gardening routine. Discover the secrets of sustainable seed-saving for a bountiful harvest.
(Many of the links in this article redirect to a specific reviewed product. Your purchase of these products through affiliate links helps to generate commission for Chicagolandgardening.com, at no extra cost. Learn more)
Table of Contents
- Introduction
- Why Save Seeds from Squash
- Choosing the Right Squash for Seed Saving
- Necessary Tools and Materials
- Step-by-Step Process of Saving Squash Seeds
- Cleaning and Storing Squash Seeds
- Tips for Successful Seed Saving
- Common Challenges and Troubleshooting
- Frequently Asked Questions (FAQs) about Saving Squash Seeds
- Conclusion
Introduction
Welcome to the world of edible gardening! If you’re a gardening enthusiast looking to level up your skills, saving seeds from squash is a rewarding and sustainable practice that you should embrace. Not only does saving squash seeds allow you to grow your favorite varieties year after year, but it also helps in preserving genetic diversity and reducing dependence on commercial seed suppliers.
When you save seeds from your squash plants, you become a steward of the plant’s genetic legacy. By selecting and saving seeds from the best, healthiest, and most vibrant plants, you can improve the resilience and adaptability of future generations. It’s a fascinating process that connects you to nature’s cycle of life, and it’s an excellent way to deepen your understanding and appreciation for edible gardening.
Whether you’re a seasoned gardener or just starting out, this comprehensive guide will equip you with the knowledge and skills to successfully save seeds from squash. We’ll cover the importance of saving seeds, how to choose the right squash varieties for seed saving, the tools and materials you’ll need, the step-by-step process of seed saving, and tips for successful seed storage. So let’s dig in and explore the world of saving squash seeds!
Why Save Seeds from Squash
Squash is a versatile and popular vegetable in many home gardens. From the vibrant hues of summer squash to the hearty and comforting flavors of winter squash, this plant family offers a wide array of delicious options. So why should you bother saving seeds from squash? Here are a few compelling reasons:
- Preserving heirloom varieties: When you save seeds from squash, you contribute to the preservation of heirloom varieties. These unique and often rare varieties have been passed down through generations, and saving their seeds helps sustain their genetic diversity.
- Cost-effective: By saving seeds, you can reduce your gardening expenses. Instead of purchasing new seeds each season, you can rely on the seeds you’ve saved from previous years.
- Adaptation to local conditions: When you save seeds from squash plants that have thrived in your specific growing environment, you are effectively selecting for plants that are better adapted to local conditions. Over time, this process can improve the overall resilience and productivity of your garden.
- Promoting self-sufficiency: Saving seeds from squash empowers you to be self-sufficient and less reliant on commercial seed suppliers. It gives you the ability to grow your own food and ensures a consistent supply of high-quality seeds for future planting seasons.
- Educational value: Seed saving is a fantastic educational opportunity for children and beginner gardeners. It allows them to learn about plant life cycles, genetics, and the importance of biodiversity in a hands-on and engaging way.
Saving seeds from squash not only benefits you as a gardener but also contributes to the larger movement of preserving agricultural biodiversity. With each seed you save, you are playing a vital role in conserving and protecting the valuable genetic resources of our food crops.
Choosing the Right Squash for Seed Saving
When it comes to saving seeds from squash, selecting the right varieties is crucial. Not all squash varieties are suitable for seed saving, as some are hybrids or cross-pollinate easily, resulting in undesirable traits in the offspring. Here are a few factors to consider when choosing squash plants for seed saving:
- Open-pollinated varieties: Look for squash varieties that are open-pollinated, meaning they can reproduce true to type from saved seeds. Open-pollinated varieties have stable genetics and are more likely to produce offspring with similar characteristics to the parent plant.
- Isolation distance: Squash plants of the same species can cross-pollinate with each other, leading to hybridization. To prevent unwanted cross-pollination, consider the isolation distance required for each squash type. For example, different varieties of Cucurbita pepo (such as zucchini and pumpkin) should be isolated by at least ½ mile to avoid cross-pollination.
- Variety suitability: Certain squash varieties are more conducive to seed saving than others. Some varieties have traits that make seed extraction and cleaning easier, while others may have longer shelf life for storing seeds. Research different varieties or consult seed saving resources to find the ones most suitable for your seed saving efforts.
- Pollinators: Squash plants rely on pollinators, such as bees, to transfer pollen from male to female flowers. Ensure that your garden has a healthy population of pollinators to increase the chances of successful pollination and seed development.
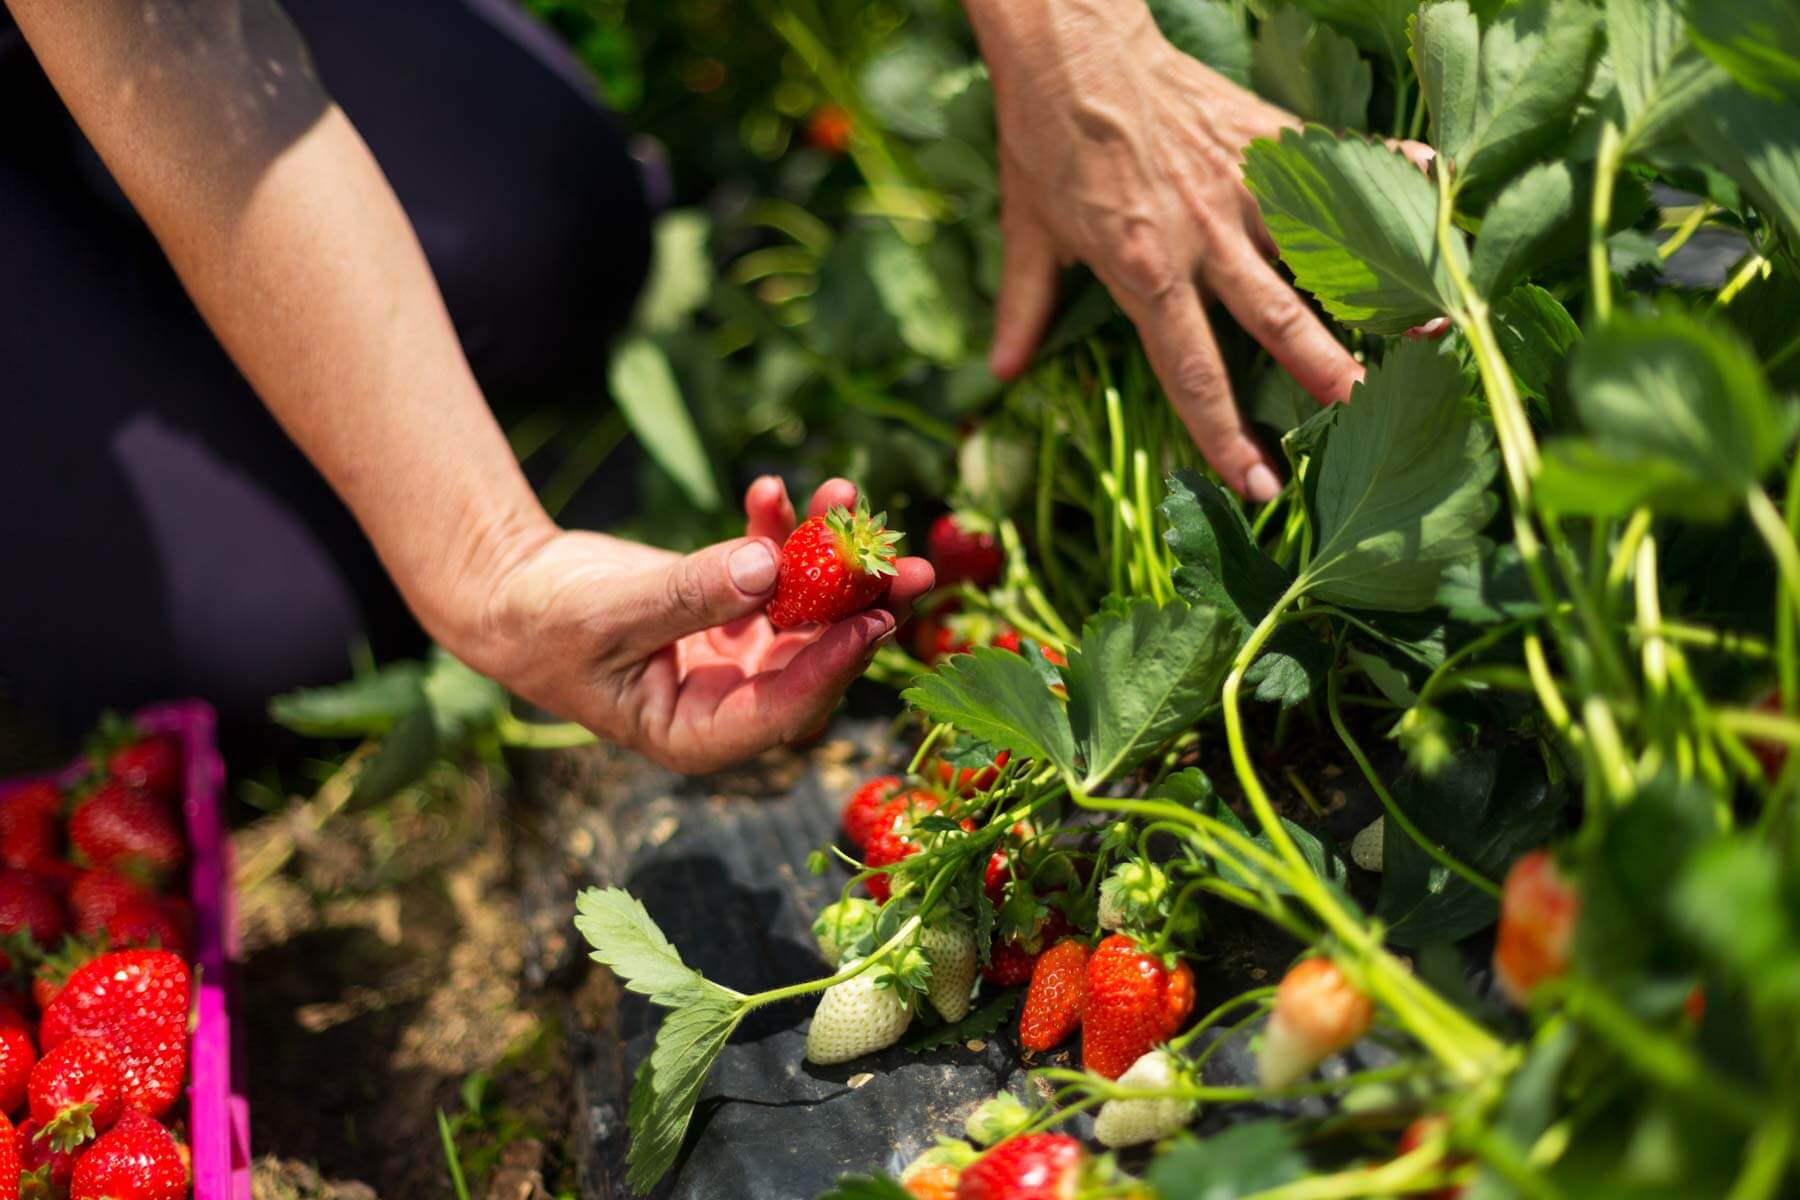
- Healthy plants: Choose squash plants that are healthy, disease-free, and producing fruit of good quality. Healthy plants are more likely to produce viable seeds that will germinate successfully in the following growing seasons.
By carefully selecting the right squash varieties for seed saving, you can optimize your chances of producing high-quality and true-to-type seeds. Remember to keep records of the varieties you’re saving seeds from, as well as any specific isolation distances or considerations, to ensure a successful and consistent seed saving practice year after year.
Necessary Tools and Materials
Before you embark on the journey of saving seeds from squash, it’s essential to gather the necessary tools and materials. Here’s a list of what you’ll need:
- Sharp knife or pruners: To harvest squash, you’ll need a sharp knife or pruning shears to cleanly cut the fruit from the vine without damaging the seeds inside.
- Ripe squash: Choose mature, fully ripened squash for seed saving. Look for squash that has reached its full color and shows signs of maturity, such as a hard skin or fully developed seeds inside.
- Cutting board or clean work surface: Use a cutting board or a clean work surface to safely cut open the squash and access the seeds.
- Bowl or container: Have a bowl or container on hand to collect the seeds as you remove them from the squash.
- Water: You’ll need water for seed cleaning and washing. Make sure you have a source of clean water nearby.
- Fine mesh strainer or sieve: A fine mesh strainer or sieve is necessary for separating the seeds from the pulp during the cleaning process.
- Drying screens or trays: After cleaning the seeds, you’ll need a drying surface to spread them out and allow them to dry thoroughly. Drying screens or trays with good airflow are ideal for this purpose.
- Labels and markers: To keep track of the different varieties and their respective seeds, have labels and markers ready to write down important details.
- Airtight containers or seed packets: Once the seeds are completely dry, store them in airtight containers or seed packets. This will keep them protected from moisture and pests, ensuring good seed viability.
- Storage location: Find a cool, dark, and dry location to store your seeds. A cellar, pantry, or refrigerator are all excellent options for long-term seed storage.
Having these tools and materials ready will make the process of saving seeds from squash much smoother and more enjoyable. Remember, cleanliness is essential throughout the entire process to ensure the seeds remain viable and free from mold or diseases. Take your time and enjoy each step of the seed saving journey!
Step-by-Step Process of Saving Squash Seeds
Saving seeds from squash is a simple and rewarding process. Follow these step-by-step instructions to successfully save squash seeds:
- Choose mature squash: Select fully ripened squash that has reached its maximum size and color. Look for squash with a hard skin and fully developed seeds inside.
- Harvest the squash: Use a sharp knife or pruning shears to cut the squash from the vine, leaving a short stem intact. Handle the squash with care to avoid bruising or damaging the seeds.
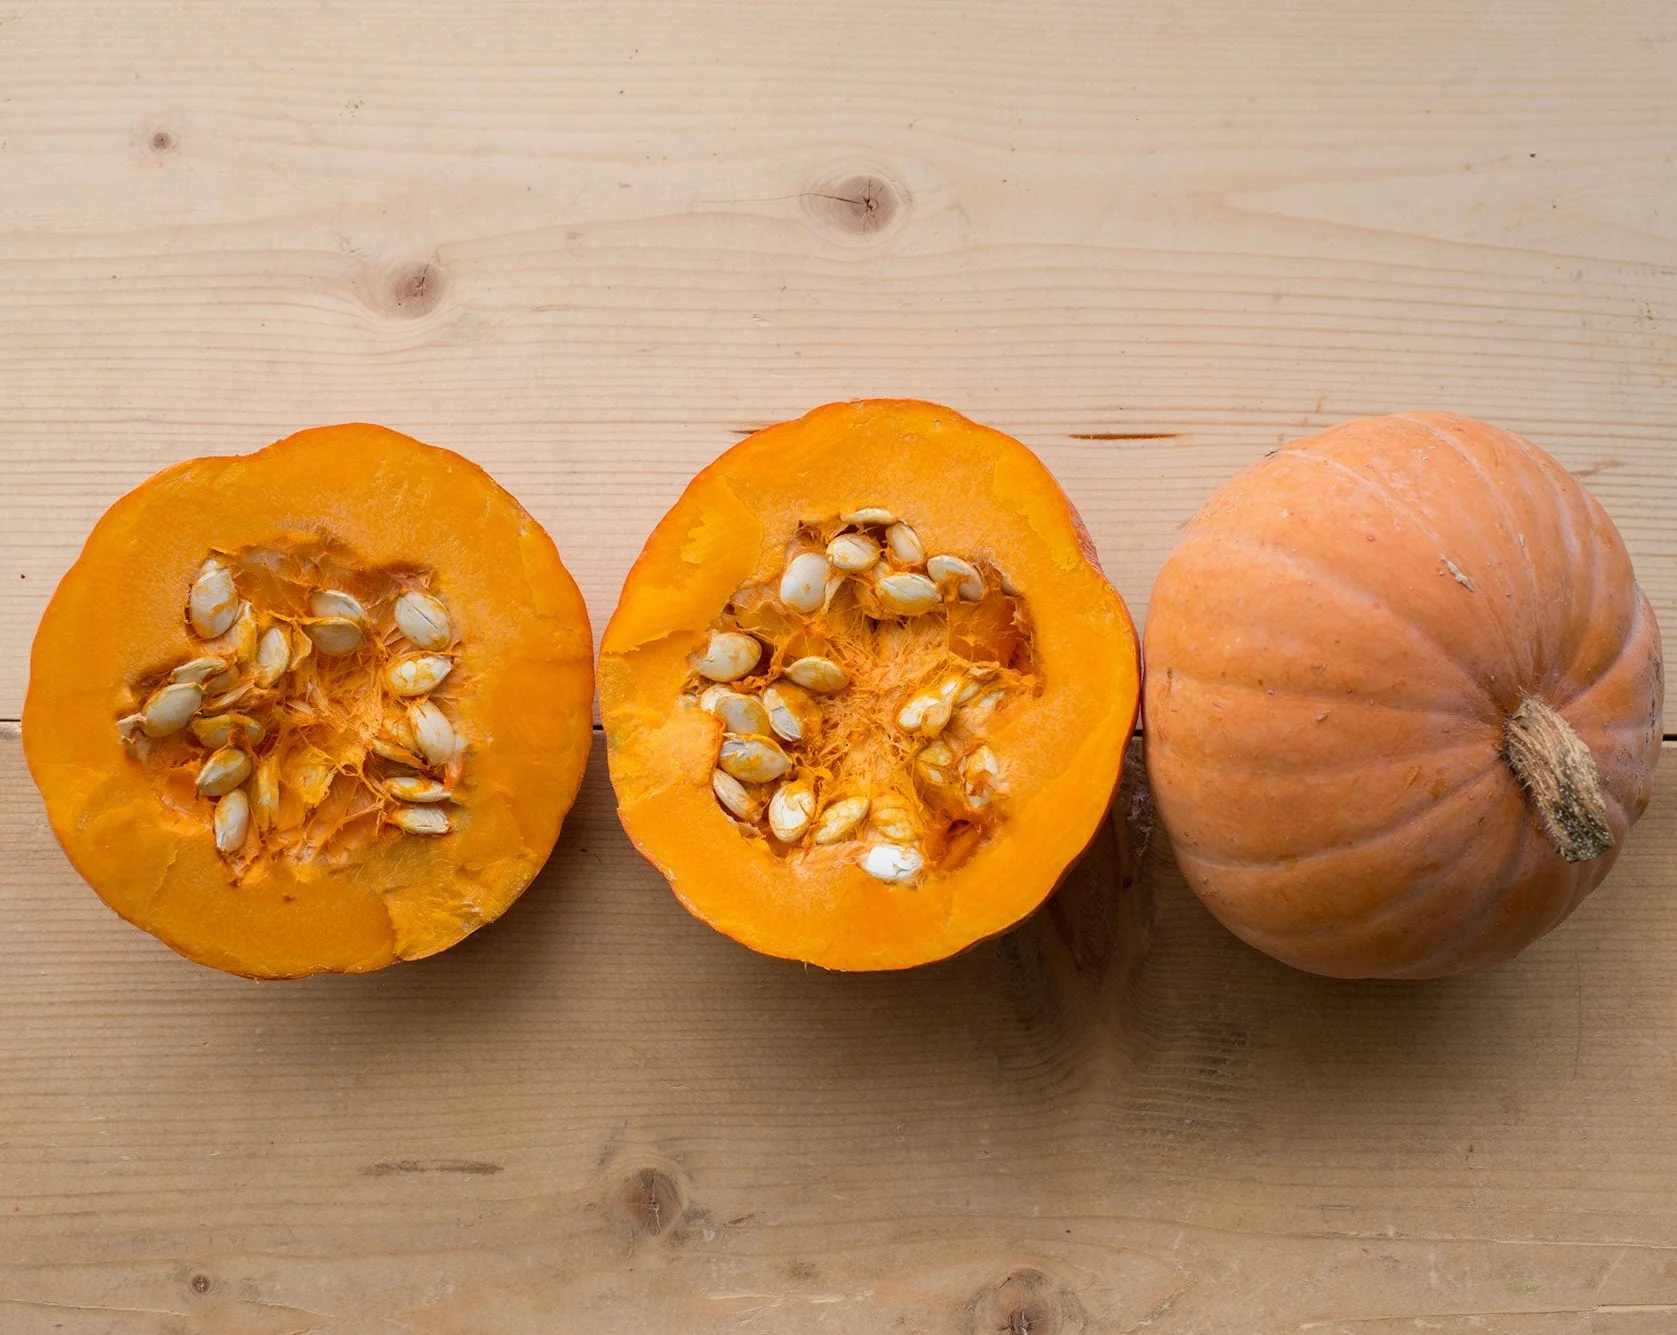
- Cut open the squash: Place the squash on a clean work surface and carefully cut it open lengthwise. Use a spoon or your hands to scoop out the seeds and surrounding pulp into a bowl or container.
- Separate the seeds from the pulp: Fill the bowl or container with water and agitate the mixture. The good seeds will sink to the bottom while the pulp and debris will float. Carefully pour off the floating pulp and debris, using a fine mesh strainer or sieve if necessary to catch any remaining seeds.
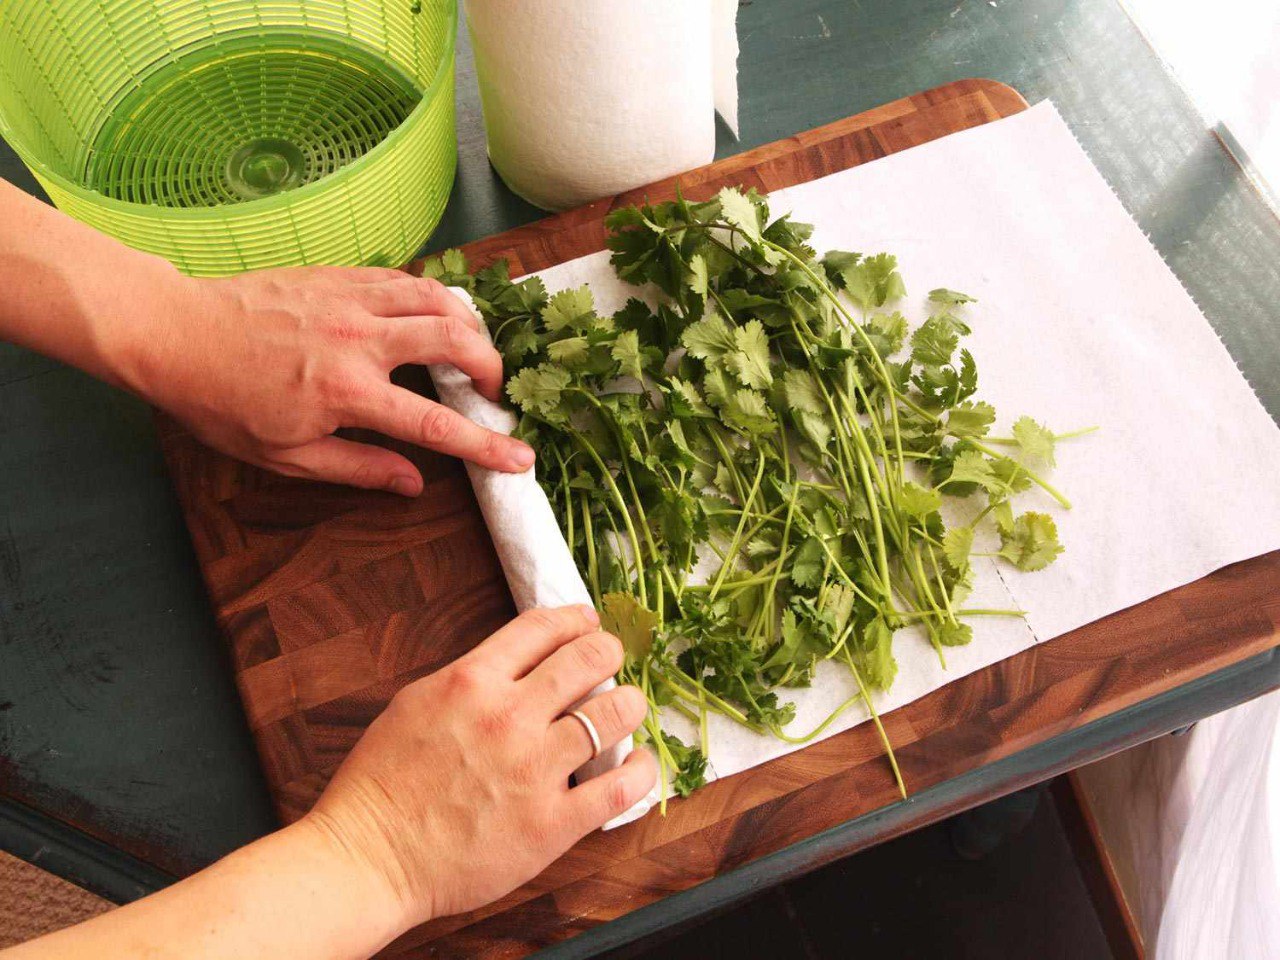
- Clean the seeds: Rinse the cleaned seeds under running water to remove any remaining pulp residue. Gently rub the seeds between your fingers to ensure they are thoroughly clean. Allow the seeds to air dry completely on drying screens or trays.
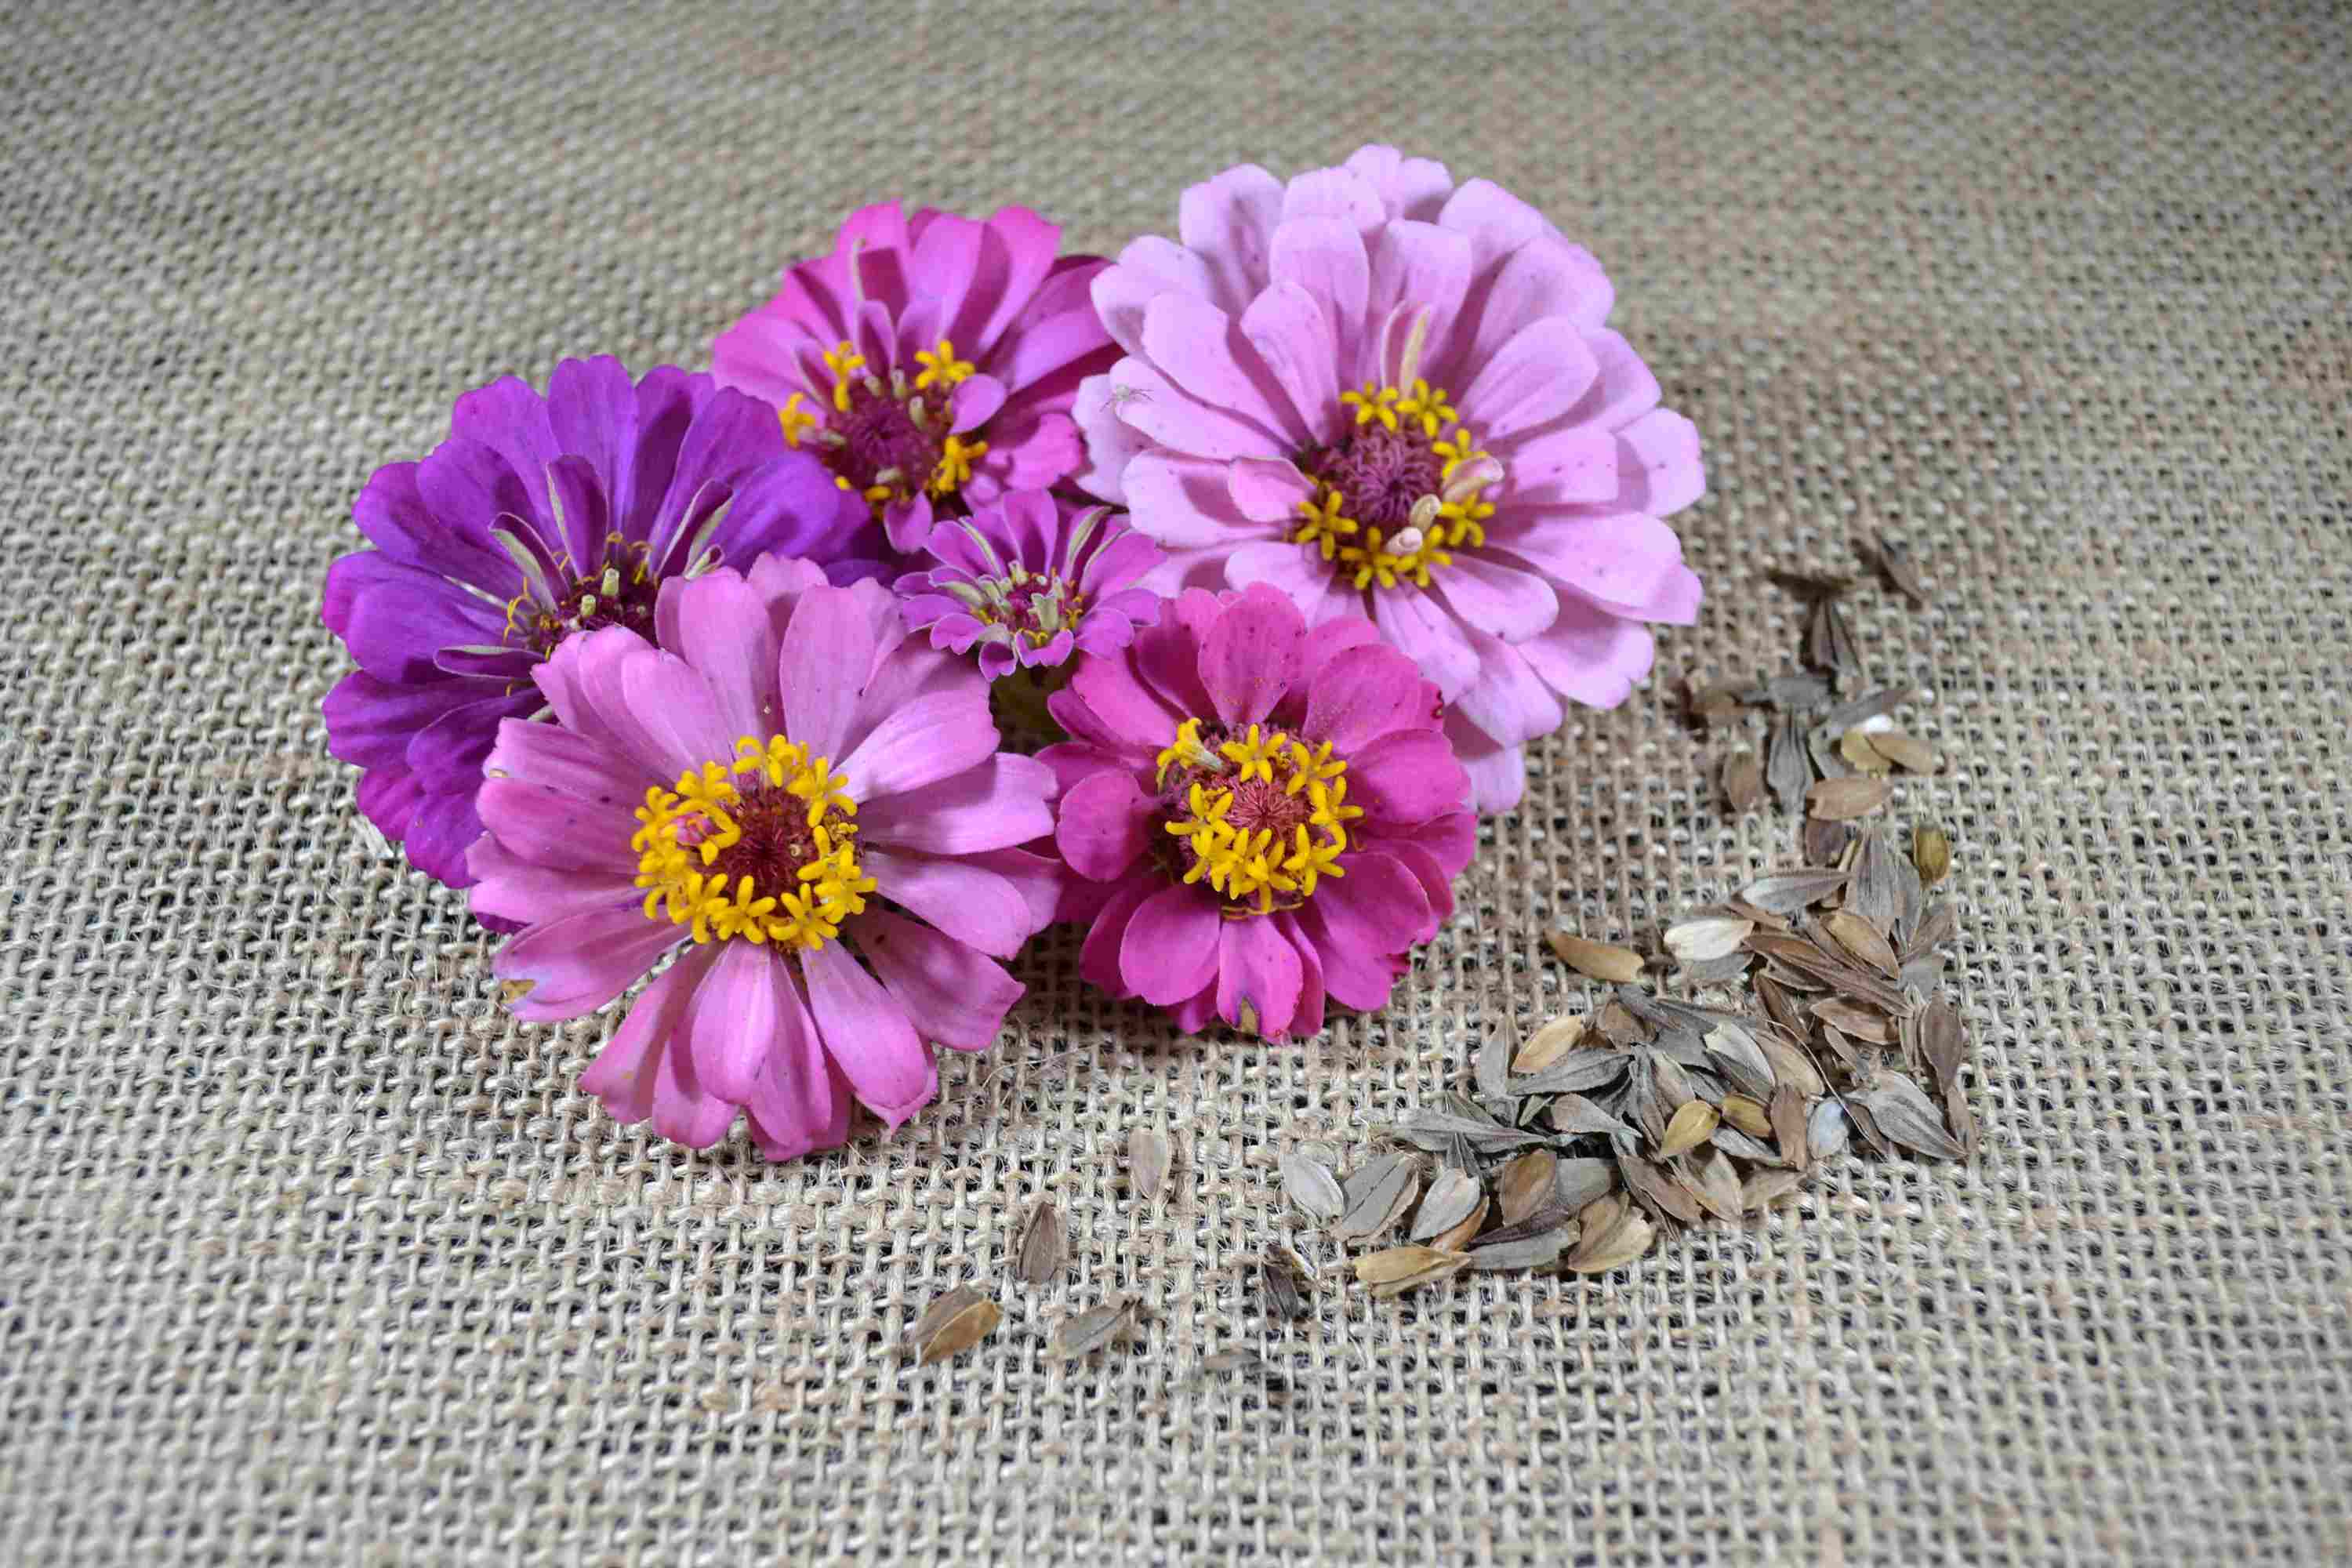
- Label and store the seeds: Once the seeds are dry, label them with the variety and date of collection. Transfer the seeds to airtight containers or seed packets and store them in a cool, dark, and dry location.
That’s it! By following these steps, you can successfully save seeds from squash in your garden. Remember to select the healthiest and best-performing plants for seed saving to ensure the strongest genetic traits are passed on to future generations. Happy seed saving!
Cleaning and Storing Squash Seeds
After the seeds have been separated from the pulp, it’s important to clean and properly store them to ensure their longevity and viability. Follow these steps to clean and store your squash seeds:
- Rinse the seeds: Once the seeds are separated from the pulp, rinse them under cool running water. Gently rub the seeds between your fingers to remove any remaining pulp or debris. Be careful not to damage the seeds in the process.
- Dry the seeds: Place the cleaned seeds on drying screens or trays in a well-ventilated area. Allow the seeds to air dry completely, which may take a couple of days. Make sure the seeds are thoroughly dry before moving on to the next step.
- Perform a seed viability test (optional): If you are unsure about the viability of your saved seeds, you can perform a simple germination test. Place a few seeds on a moist paper towel, fold it over, and keep it in a warm location. Check the seeds after a week to see if they sprout. This will give you an idea of the seed’s viability.
- Label and store the seeds: Once the seeds are completely dry and you have verified their viability, label them with the variety and date of collection. Transfer the seeds to airtight containers or seed packets to protect them from moisture and pests. Store the seeds in a cool, dark, and dry location, such as a cellar, pantry, or refrigerator.
- Monitor and rotate stored seeds: Regularly check on your stored seeds to ensure they remain dry and free from mold or pests. If necessary, rotate the seeds by using older seeds first and replenishing your stock with fresh seeds from subsequent harvests.
By properly cleaning and storing your squash seeds, you can maintain their viability and maximize their chances of successful germination in the future. Remember to keep track of the variety and date of collection, as well as any other details that may be relevant for your gardening records. Enjoy the satisfaction of knowing you have a stash of seeds ready for the next planting season!
Tips for Successful Seed Saving
Saving seeds from squash can be a fun and rewarding experience. To increase your chances of success, here are some helpful tips to keep in mind:
- Select healthy plants: Choose the healthiest and most vigorous plants for seed saving. Look for plants that are free from diseases, pests, and nutrient deficiencies. Robust plants are more likely to produce quality seeds.
- Isolate different squash varieties: Different varieties of squash can cross-pollinate, leading to hybridization. To maintain the purity of your seed stock, ensure proper isolation distances or employ physical barriers (such as netting) to prevent unwanted cross-pollination.
- Allow squash to fully ripen: Harvest squash for seed saving only when it is fully ripe. This ensures that the seeds inside are mature and have reached their maximum quality and potential for germination.
- Keep records: Maintain a garden journal or record system to keep track of the different varieties, dates of collection, and any other relevant information. This will help you organize your seed collection and make informed decisions in the future.
- Practice proper seed cleaning techniques: Clean the seeds thoroughly by removing all pulp and debris. Rinse the seeds under running water and air dry them completely before storing. This helps prevent mold and fungal growth during storage.
- Ensure proper seed storage: Store the seeds in airtight containers or seed packets. Keep them in a cool, dark, and dry location, as exposure to moisture and heat can diminish seed viability. Regularly monitor the stored seeds to check for signs of degradation or pests.
- Rotate seedstock: To maintain seed vitality, use older seeds first and replenish your stock with fresh seeds from subsequent harvests. This ensures a continuous supply of viable seeds and prevents the loss of genetic diversity.
- Experiment and learn: Saving seeds from squash is a skill that develops with experience. Don’t be afraid to experiment, observe, and learn from your efforts. Each season presents an opportunity to improve your seed saving techniques and choose the best-performing plants for future generations.
By following these tips, you increase the likelihood of successful seed saving and maintain the quality and viability of your squash seed collection. Seed saving is not only a sustainable practice but also a way to connect with nature and nurture a deeper understanding of the plant life cycle. Enjoy the journey of seed saving and the bountiful harvest it can bring!
Common Challenges and Troubleshooting
While saving seeds from squash can be a straightforward process, there may be some challenges that you encounter along the way. Here are a few common issues and troubleshooting tips to help you navigate these challenges:
- Poor germination: If you experience low germination rates with your saved squash seeds, it could be due to various factors such as improper seed storage, incorrect seed extraction techniques, or poor seed quality. Ensure that the seeds are properly cleaned, completely dry, and stored in the appropriate conditions. Additionally, consider performing a seed viability test prior to planting to gauge the seed’s ability to germinate successfully.
- Undesirable traits in offspring: If you’re seeing undesirable traits in the plants grown from your saved squash seeds, such as unusual fruit shape or off-flavors, it may indicate cross-pollination with different squash varieties. To prevent cross-pollination, ensure proper isolation distances or use physical barriers to protect your plants from unwanted pollen transfer.
- Poor seed storage: Improper seed storage can lead to decreased seed viability. If you notice mold, moisture, or pests in your stored seeds, it’s important to address these issues promptly. Ensure that the seeds are completely dry before storage, use airtight containers or seed packets, and keep them in a cool, dark, and dry location to prolong their shelf life.
- Limited or no pollinators: Squash plants heavily rely on pollinators for successful fruit set and seed development. In the absence of pollinators, you may experience limited fruit production or inadequate seed formation. To attract and support pollinators, consider planting pollinator-friendly flowers nearby, creating bee-friendly habitats, or hand pollinating the squash plants using a small brush or cotton swab.
- Inconsistent seed quality: If you’re finding that saved seeds from your squash plants are inconsistent in terms of quality or traits, it may be due to poor seed selection. Make sure to save seeds from the healthiest and best-performing plants to maintain and improve the desired traits in your seed stock over time. Regular selection and seed saving from the strongest plants will help enhance the overall quality of your squash seeds.
If you encounter any challenges while saving seeds from squash, don’t get discouraged. Seed saving is a skill that improves with practice and observation. By troubleshooting and implementing the necessary adjustments, you can overcome these challenges and continue to enjoy the satisfaction of saving your own squash seeds.
Frequently Asked Questions (FAQs) about Saving Squash Seeds
Here are some frequently asked questions about saving seeds from squash:
- Can I save seeds from any type of squash?
- How do I know when a squash is ready to harvest for seed saving?
- What is the best way to clean squash seeds?
- How long can squash seeds be stored?
- Do I need to hand pollinate squash plants for better seed saving?
While you can technically save seeds from any type of squash, it’s important to note that some squash varieties are hybrids or prone to cross-pollination. To ensure the seeds you save are true to type, it’s best to choose open-pollinated varieties and practice proper isolation techniques.
A squash is ready to be harvested for seed saving when it has reached its full maturity. Look for signs such as hard skin, deep color, and fully developed seeds inside the fruit. Avoid harvesting immature squash that may produce seeds with low viability.
To clean squash seeds, separate them from the pulp and debris by rinsing them under cool running water. Agitate the seeds in water and pour off the floating pulp. Use a fine mesh strainer or sieve to catch any remaining seeds. Finally, air dry the cleaned seeds completely before storing.
Squash seeds can be stored for several years if properly dried and stored in optimal conditions. However, the germination rate may decrease over time. It’s recommended to use older seeds first and replenish your stock with fresh seeds from subsequent harvests to ensure better germination rates.
In most cases, hand pollination is not necessary for squash plants as they are mostly insect-pollinated. However, if you have limited pollinators in your garden or are growing different squash varieties close to each other, hand pollination can help ensure proper pollen transfer and prevent unwanted cross-pollination.
These are just a few commonly asked questions about saving seeds from squash. Remember, seed saving is an art that requires observation, experimentation, and learning. As you gain experience, you’ll develop your own techniques and discover what works best for your specific squash varieties and growing conditions.
Conclusion
Saving seeds from squash is a fulfilling and sustainable practice that allows you to preserve heirloom varieties, reduce dependency on commercial seed suppliers, and contribute to the conservation of agricultural biodiversity. By selecting the right squash varieties, practicing proper seed cleaning and storage techniques, and troubleshooting any challenges that may arise, you can successfully save seeds for future growing seasons.
Throughout this guide, we’ve explored the importance of saving seeds, choosing the right squash varieties, gathering the necessary tools and materials, and following a step-by-step process for seed saving. We’ve also discussed tips for successful seed saving, common challenges, and provided answers to frequently asked questions.
Now, armed with this knowledge, it’s time to put it into practice and embark on your seed saving journey. Experiment with different varieties, observe the traits of your plants, and discover the joy of growing with your own saved seeds. Remember, seed saving is not just about the act itself, but also about fostering a deeper connection with nature, promoting self-sufficiency, and safeguarding the genetic diversity of our food crops.
So, grab your knife, select your healthiest squash plants, and start saving those seeds. As you continue to save and share seeds, you contribute to a resilient and sustainable future for edible gardening. Happy seed saving!