Home>Types of Gardening>Edible Gardening>How To Cook Squash Seeds
Edible Gardening
How To Cook Squash Seeds
Modified: January 22, 2024
Learn how to cook squash seeds in this step-by-step guide for edible gardening enthusiasts. Discover the best techniques to roast and season squash seeds for a tasty and nutritious snack.
(Many of the links in this article redirect to a specific reviewed product. Your purchase of these products through affiliate links helps to generate commission for Chicagolandgardening.com, at no extra cost. Learn more)
Table of Contents
Introduction
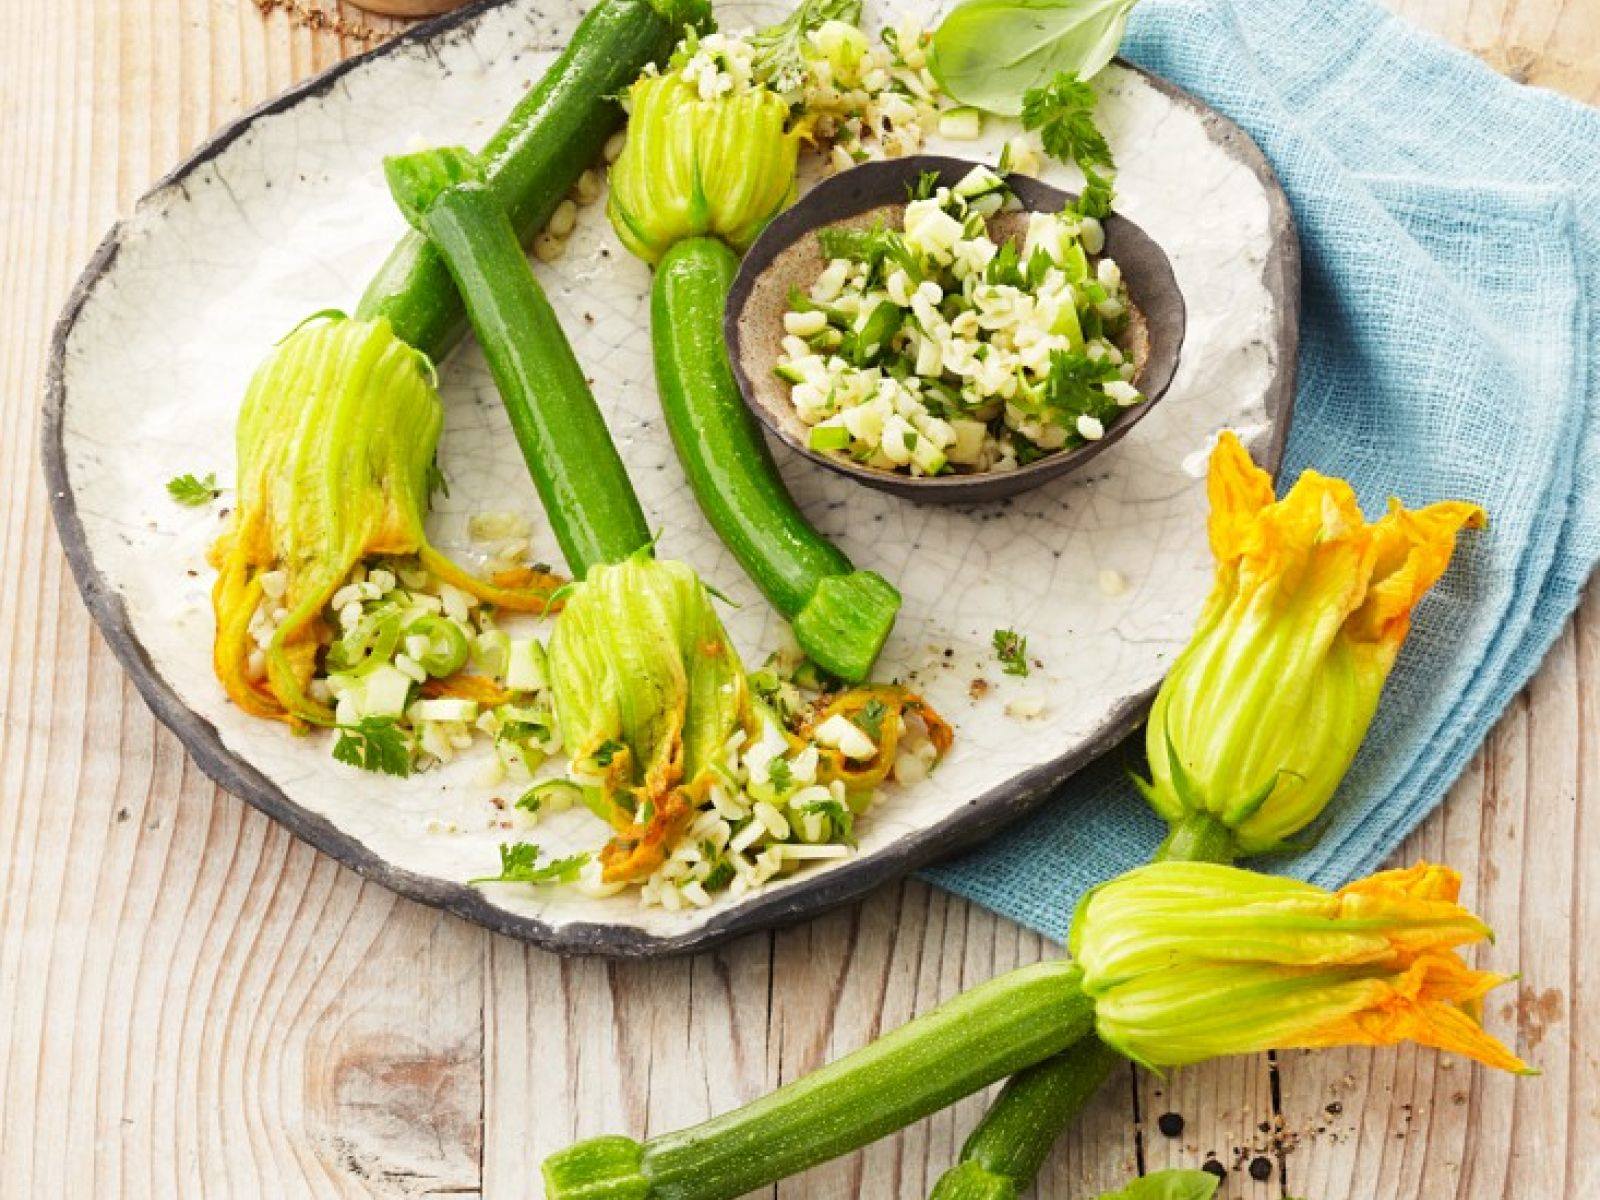
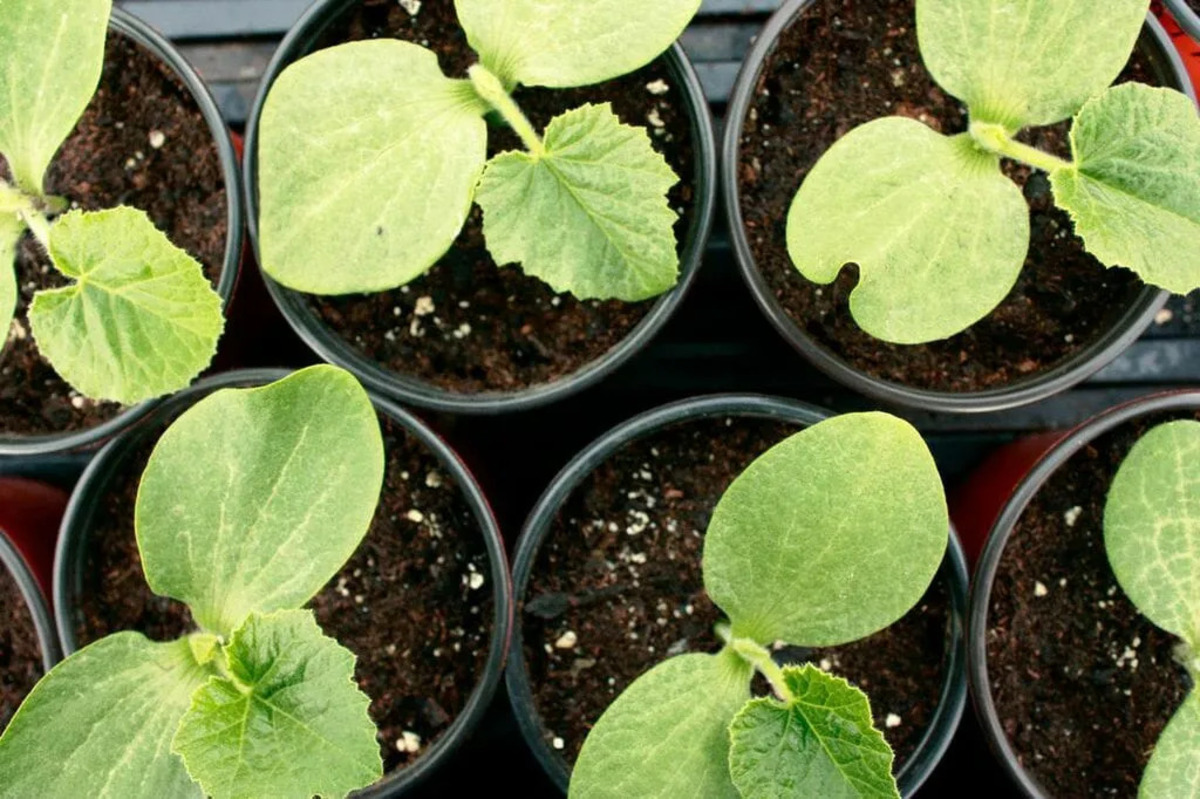
Welcome to the world of edible gardening! There’s something incredibly rewarding about growing your own food and enjoying the fruits of your labor. One plant that often finds its way into home gardens is squash. Not only are squash delicious and versatile in the kitchen, but they also offer a bonus – their seeds can be cooked and enjoyed as a nutritious snack.
Squash seeds are packed with essential nutrients such as protein, healthy fats, fiber, vitamins, and minerals. By cooking and seasoning these seeds, you can create a delectable treat that is not only tasty but also beneficial for your health.
In this article, we will guide you through the process of cooking squash seeds to perfection. From harvesting the seeds to storing the cooked seeds, we’ll cover each step to ensure you have a delightful snack that you can enjoy anytime.
So grab your gardening gloves and let’s dive into the wonderful world of cooking squash seeds!
Step 1: Harvesting the Squash Seeds
The first step in cooking squash seeds is harvesting them from your mature squash. Wait until the squash is fully ripened on the vine before harvesting. The squash should have a hard skin and a deep color, indicating that the seeds inside are mature.
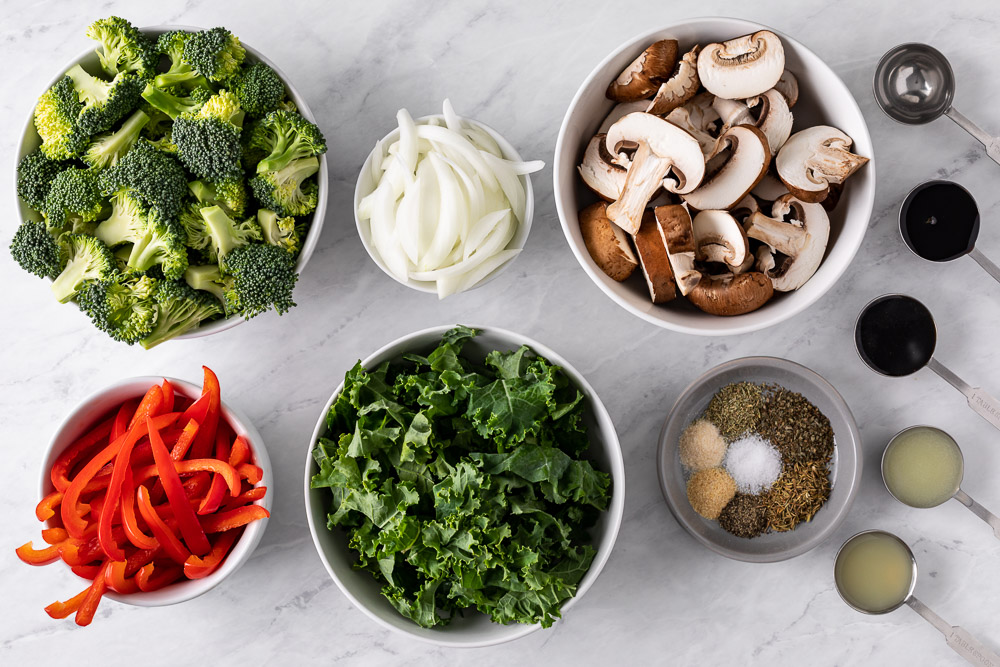
To harvest the seeds, gently cut open the squash using a sharp knife. Scoop out the seeds and the surrounding pulp with a spoon or your fingers. Place the seeds in a bowl or a colander to separate them from the pulp.
It’s important to note that different types of squash have different sizes and shapes of seeds. Some squash varieties, like pumpkins, have large seeds, while others, like zucchini, have smaller ones. Regardless of the size, all squash seeds can be cooked and enjoyed.
Once you have gathered all the seeds, discard any damaged or shriveled ones. Rinse the seeds under cool water to remove any remaining pulp or debris. Use your fingers to gently rub the seeds and ensure they are clean.
After rinsing the seeds, pat them dry with a clean towel or paper towel. Ensure that the seeds are completely dry before proceeding to the next step. Any moisture on the seeds can result in uneven roasting and may affect the taste and texture of the final product.
That’s it for step 1! You have successfully harvested and cleaned the squash seeds, and they are now ready for the next stage of the cooking process. Let’s move on to step 2: cleaning the squash seeds.
Step 2: Cleaning the Squash Seeds
Now that you have harvested the squash seeds, it’s time to ensure they are perfectly cleaned before cooking. This step is essential to remove any remaining debris or pulp and to ensure the best possible flavor for your roasted squash seeds.
Begin by placing the harvested seeds in a colander or strainer. Run the seeds under cool water and use your fingers to gently rub and agitate them. This will help dislodge any remaining pulp or residue.
Continue rinsing and agitating the seeds until the water runs clear. This ensures that all debris and impurities are removed from the seeds.
Once the seeds are clean, transfer them to a bowl lined with a clean kitchen towel or paper towels. Gently pat them dry to remove any excess moisture.
At this stage, it is important to note that some gardeners prefer to soak the squash seeds in a saltwater solution for a few hours prior to cleaning. This soaking method can help remove any remaining mucilage and enhance the flavor of the roasted seeds. If you choose this method, make sure to rinse the seeds thoroughly after soaking before moving on to the drying process.
After drying the seeds, give them a quick visual inspection. Remove any remaining bits of pulp or debris that may have been missed during the cleaning process.
Once you have completed these cleaning steps, your squash seeds are now perfectly clean and ready for roasting. In the next step, we will guide you through the process of roasting the seeds to golden perfection.
Step 3: Roasting the Squash Seeds
Roasting the squash seeds is an essential step to bring out their delicious nutty flavor and crunchy texture. The roasting process will transform these seeds into a delightful snack that you can enjoy on its own or add to salads, soups, or baked goods.
Before you start roasting, preheat your oven to 325°F (163°C). Line a baking sheet with parchment paper or coat it lightly with cooking spray to prevent the seeds from sticking.
In a bowl, toss the cleaned and dried squash seeds with a drizzle of oil. You can use your favorite cooking oil such as olive oil, avocado oil, or melted coconut oil. Make sure to coat the seeds evenly with the oil for a uniform roast.
Next, season the seeds with your choice of seasonings. You can keep it simple and sprinkle them with a little salt, or get creative with a variety of flavors. Some popular seasonings for roasted squash seeds include garlic powder, onion powder, paprika, cayenne pepper, or a sprinkle of your favorite herbs and spices.
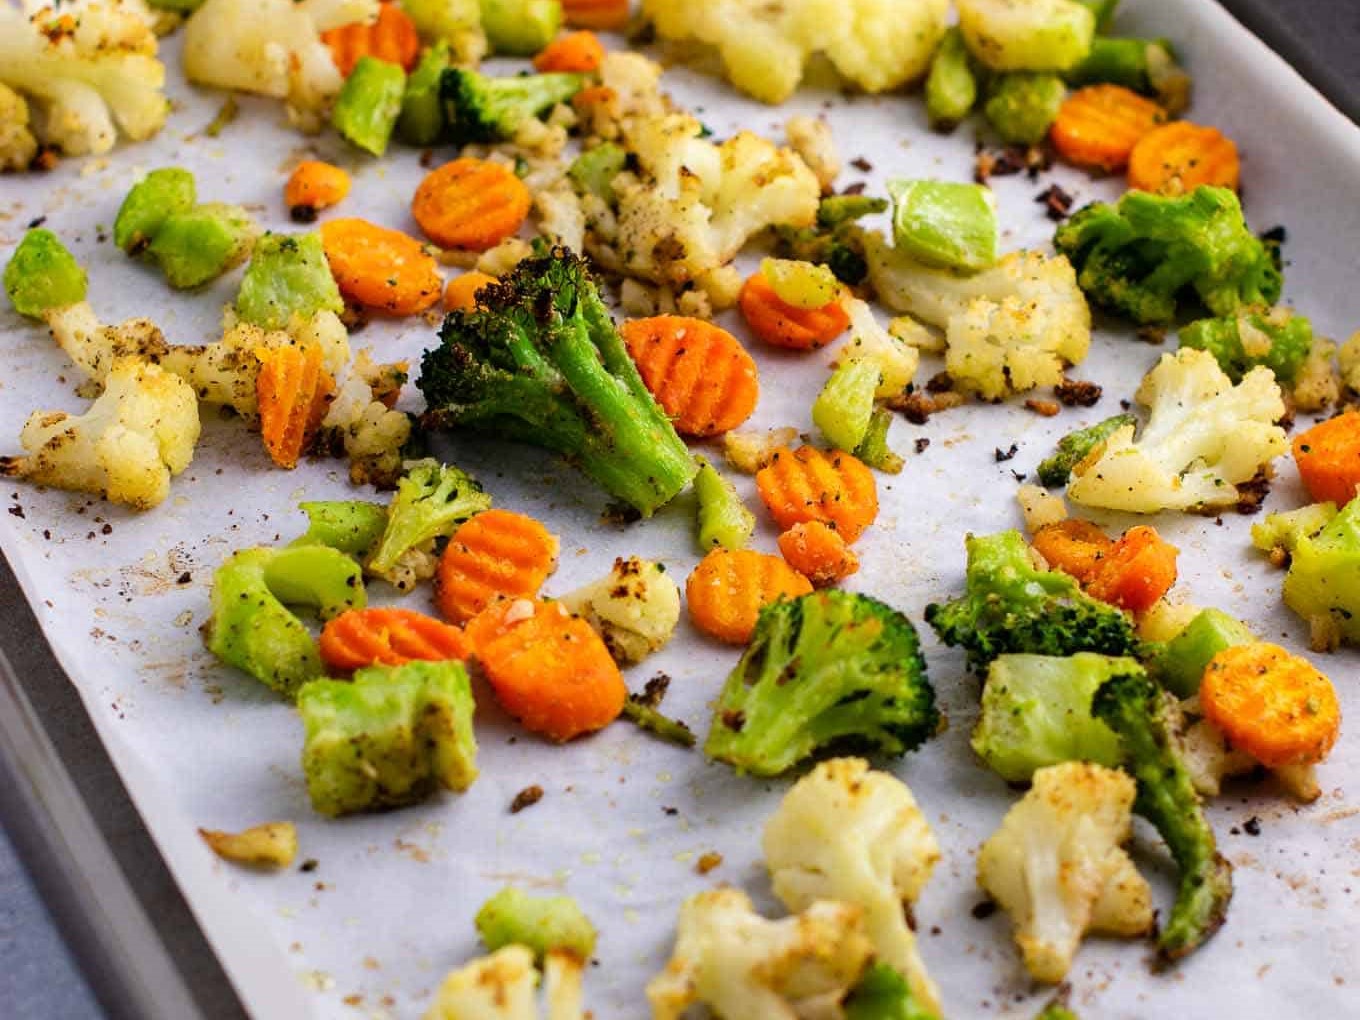
Once the seeds are coated and seasoned, spread them out in a single layer on the prepared baking sheet. Make sure they are evenly spaced to allow for proper air circulation and even roasting.
Place the baking sheet in the preheated oven and bake the seeds for about 20-25 minutes, or until they turn golden brown. Keep a close eye on them towards the end of the baking time to prevent them from burning.
During baking, you may hear some popping sounds as the seeds expand and release their moisture. This is perfectly normal and a sign that the seeds are roasting nicely.
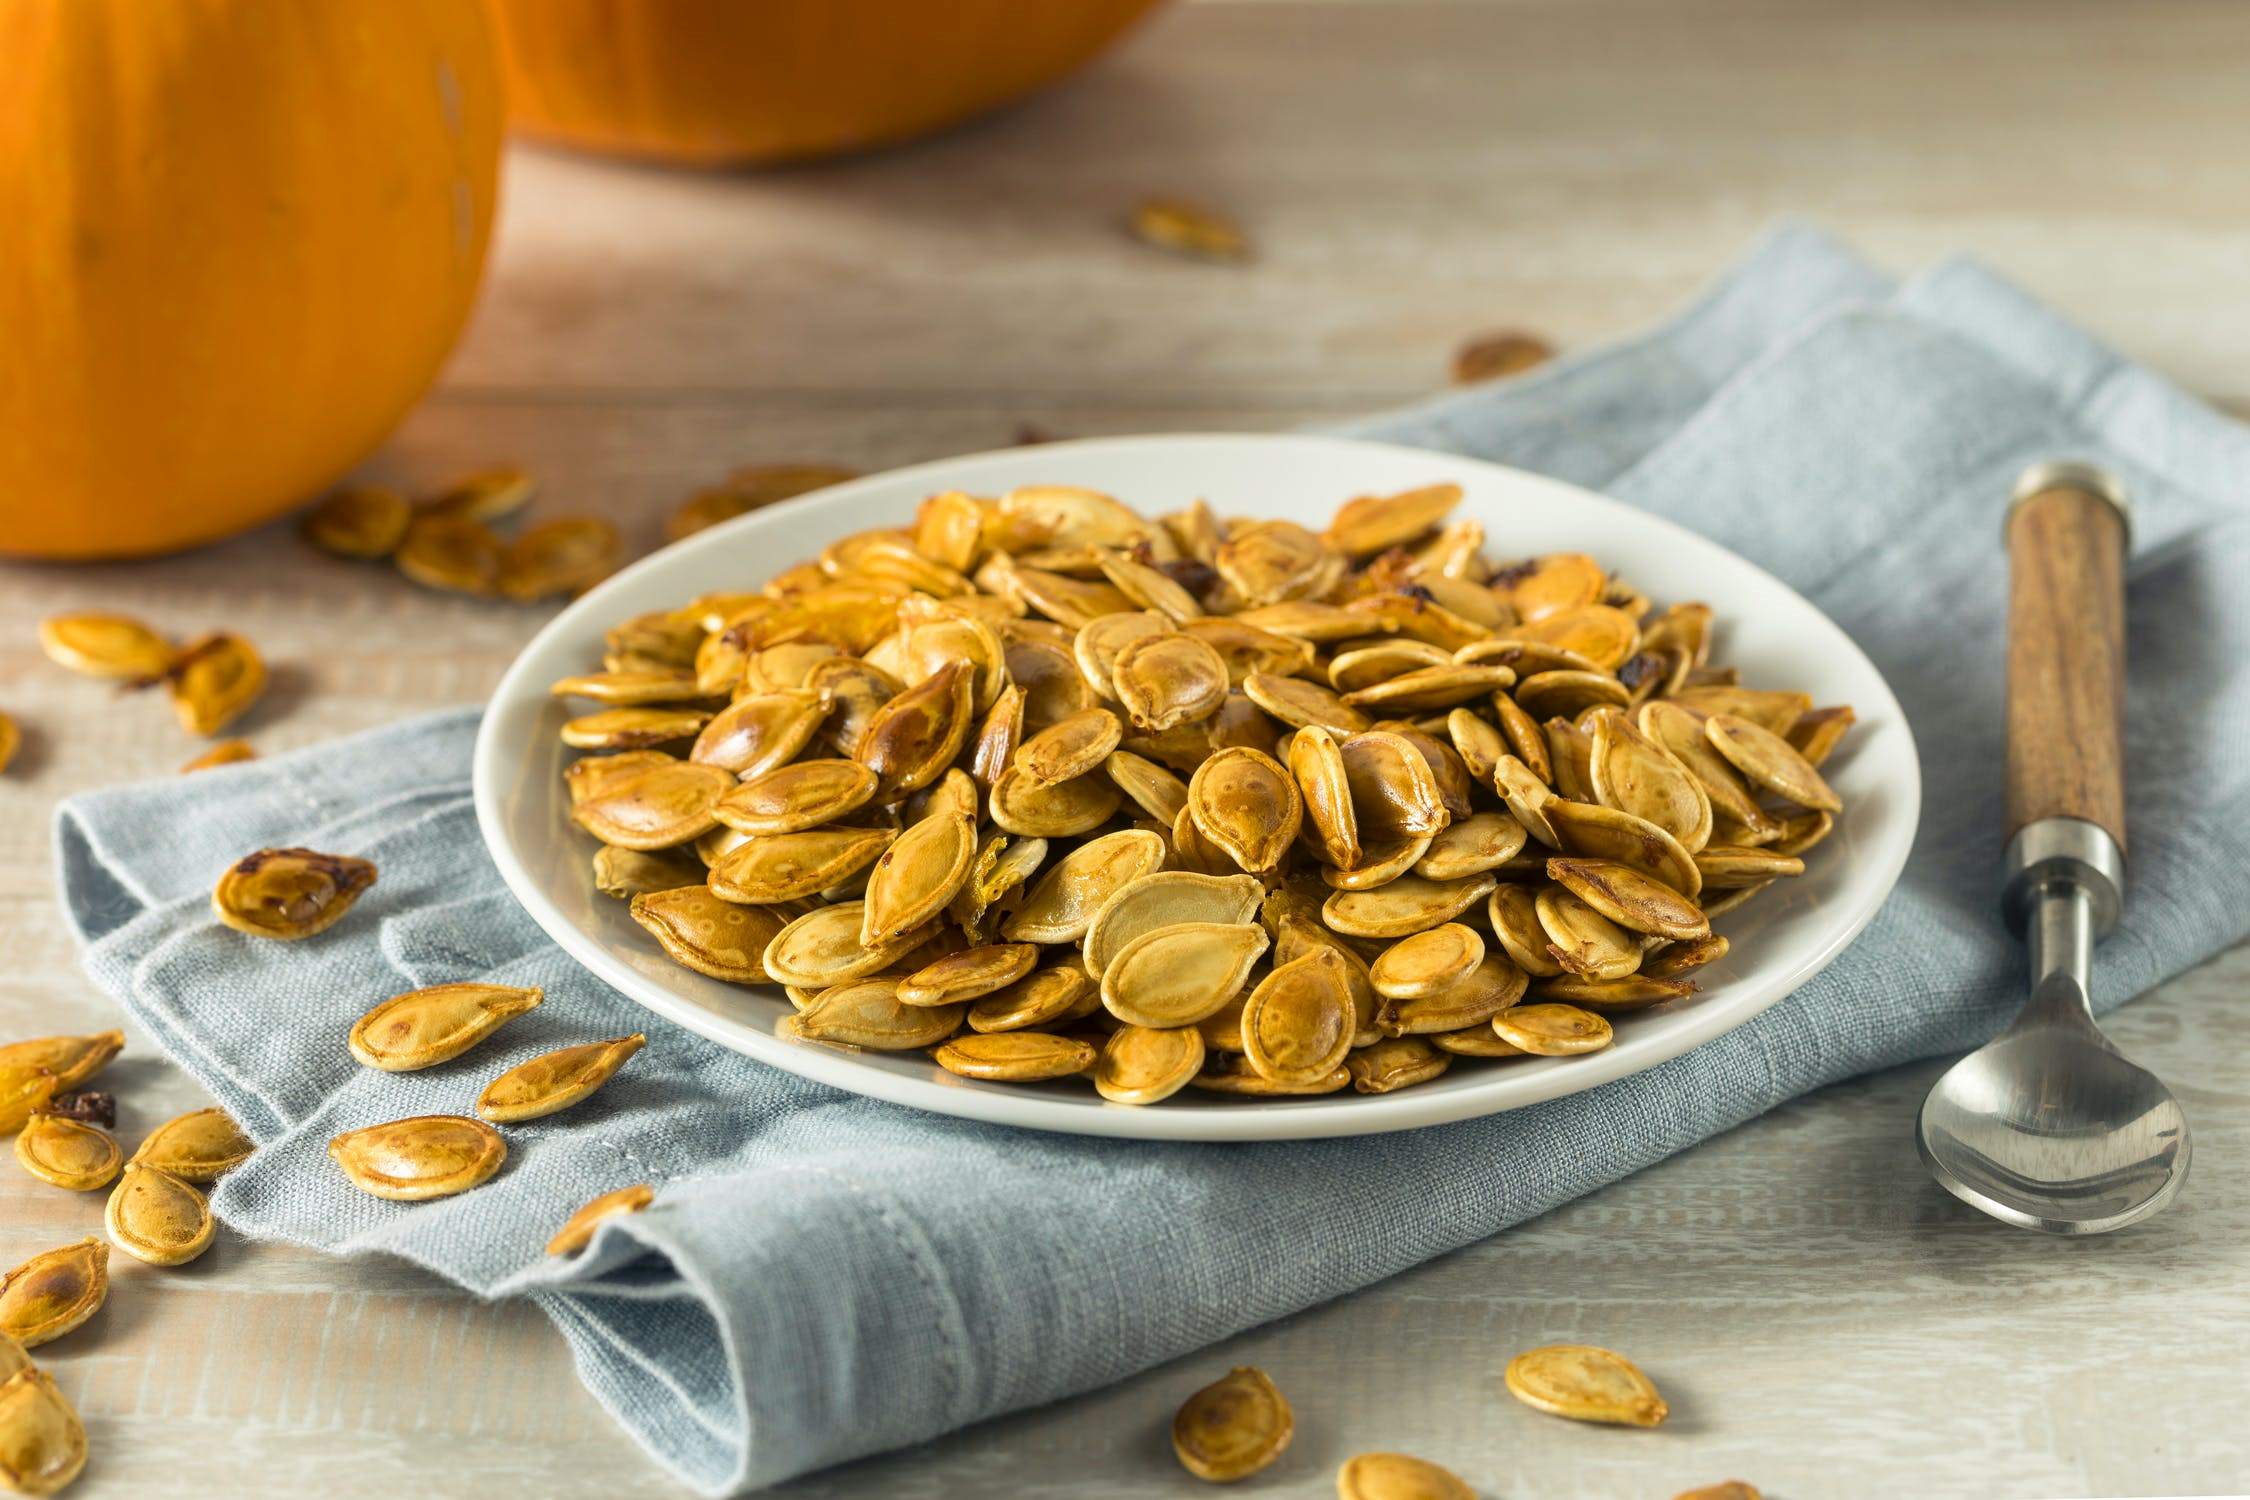
Once the seeds are golden brown and crispy, remove them from the oven and let them cool completely on the baking sheet. They will continue to crisp up as they cool.
Congratulations! You have successfully roasted the squash seeds to perfection. Now it’s time to move on to the next step: seasoning the roasted squash seeds.
Step 4: Seasoning the Roasted Squash Seeds
Now that you have roasted the squash seeds to a delicious golden brown, it’s time to take them to the next level by adding some flavorful seasonings. Seasoning the roasted seeds will enhance their taste and provide a delightful burst of flavor with every bite.
Transfer the freshly roasted squash seeds to a clean bowl. At this stage, the seeds should be cool to the touch before adding the seasonings.
There are numerous options for seasoning roasted squash seeds, so feel free to get creative and experiment with different flavors. Here are a few popular seasoning ideas:
- Salt and Pepper: Keep it simple yet delicious by sprinkling the seeds with a combination of salt and freshly ground black pepper.
- Sweet and Spicy: Mix things up by combining a pinch of sugar or honey with a dash of cayenne pepper or chili powder. This combination adds a delightful combination of sweet and spicy flavors.
- Garlic and Herb: Add a savory twist by tossing the seeds with garlic powder, dried herbs such as rosemary, thyme, or oregano, and a pinch of salt.
- Barbecue: Give your roasted seeds a smoky and tangy flavor by seasoning them with your favorite barbecue spice blend. This option is perfect for those who enjoy a hint of barbecue flavor.
Once you have chosen your seasoning, sprinkle it over the roasted squash seeds while tossing gently to ensure even distribution. Taste a few seeds to adjust the seasoning according to your preference.
Remember, you can always start by lightly seasoning the roasted seeds and add more seasoning as needed. This allows you to tailor the flavor to your liking without overpowering the natural nutty taste of the seeds.
After seasoning, give the seeds a final toss to ensure all the seasonings are well incorporated.
Your seasoned roasted squash seeds are now ready to be enjoyed as a delicious and nutritious snack. However, if you prefer to savor them later, you can store them for future enjoyment. Let’s move on to the final step: storing the cooked squash seeds.
Step 5: Storing the Cooked Squash Seeds
Once you’ve seasoned your roasted squash seeds to perfection, you may want to save some for later enjoyment. Proper storage is crucial to maintain their freshness and crispiness over time.
Allow the seasoned roasted squash seeds to cool completely before storing them. If you store them while they are still warm, condensation can form and make the seeds lose their crunch.
To store the cooked squash seeds, place them in an airtight container or a resealable bag. Make sure to remove as much air as possible from the container or bag before sealing it. This helps to prevent moisture from getting in and keeps the seeds fresh longer.
Store the container or bag of seeds in a cool, dry place, such as a pantry or cupboard. Avoid exposing them to direct sunlight or heat, as this can shorten their shelf life.
If stored properly, roasted squash seeds can last for several weeks. However, for the best flavor and crunch, it is recommended to consume them within one to two weeks.
To retain their optimum freshness, avoid refrigerating the seeds. The moisture present in the refrigerator can cause the seeds to lose their crispness.
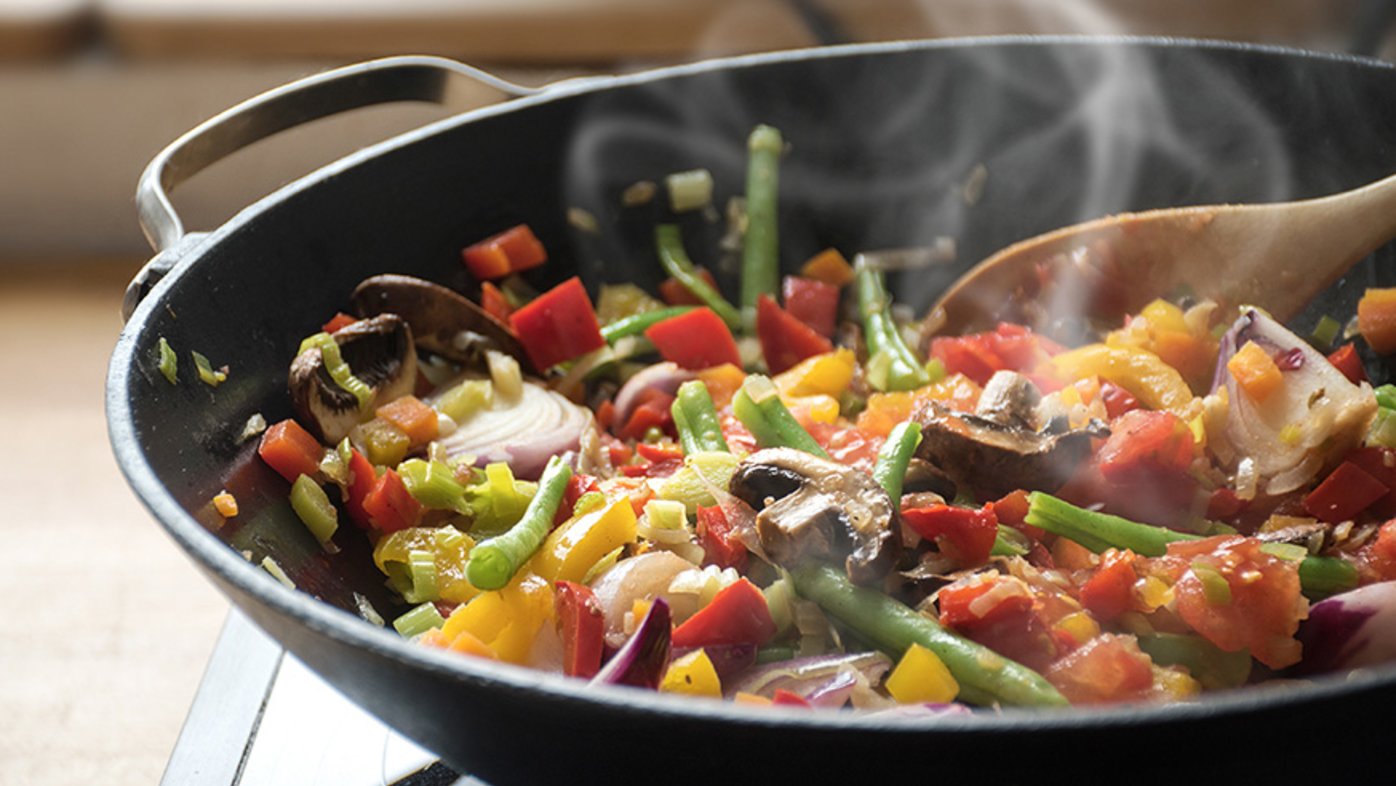
Whenever you’re ready to enjoy the cooked squash seeds, simply take them out of storage, and they’re ready to delight your taste buds. They make for a satisfying snack on their own, a crunchy addition to salads or trail mix, or a topping for soups and roasted vegetables.
So, whether you snack on them immediately or save them for later, storing the cooked squash seeds properly will ensure that you can enjoy their deliciousness for weeks to come.
Conclusion
Cooking squash seeds is a wonderful way to make the most of your homegrown squash and enjoy a nutritious and tasty snack. By following the simple steps outlined in this article, you can easily harvest, clean, roast, season, and store squash seeds, allowing you to indulge in their deliciousness whenever you desire.
From the moment you harvest the mature squash and extract the seeds to the final step of seasoning and storing, each stage of the process contributes to creating a delightful treat that can be enjoyed on its own or incorporated into various recipes.
Remember to choose squash that is fully ripened for harvesting, clean the seeds thoroughly to remove any debris, and roast them to a golden, crispy perfection. The seasoning options are endless, allowing you to personalize the flavor of your roasted seeds to suit your taste preferences.
Once seasoned, store the cooked squash seeds in a cool and dry place for optimal freshness. This way, you can enjoy them as an on-the-go snack, a nutritious topping, or a flavorful addition to your favorite dishes.
So, tap into your edible gardening skills, add squash to your garden, and embark on the journey of cooking squash seeds. It’s not only a satisfying culinary experience but also a rewarding way to use every part of your homegrown produce.
Get creative, experiment with different seasonings, and savor the deliciousness of these roasted treats. Happy cooking!