Home>Types of Gardening>Edible Gardening>How To Harvest Seeds From Flowers
Edible Gardening
How To Harvest Seeds From Flowers
Modified: January 22, 2024
Learn the art of edible gardening and discover how to harvest seeds from flowers. Enhance your gardening skills and grow your own fresh produce!
(Many of the links in this article redirect to a specific reviewed product. Your purchase of these products through affiliate links helps to generate commission for Chicagolandgardening.com, at no extra cost. Learn more)
Table of Contents
- Introduction
- Why Harvesting Seeds from Flowers is Beneficial
- Choosing the Right Flowers for Seed Harvesting
- When to Harvest Seeds from Flowers
- Tools and Materials Needed
- Step-by-Step Guide to Harvesting Seeds from Flowers
- Cleaning and Drying Seeds
- Storing and Labeling Seeds
- Tips and Precautions for Successful Seed Harvesting
- Conclusion
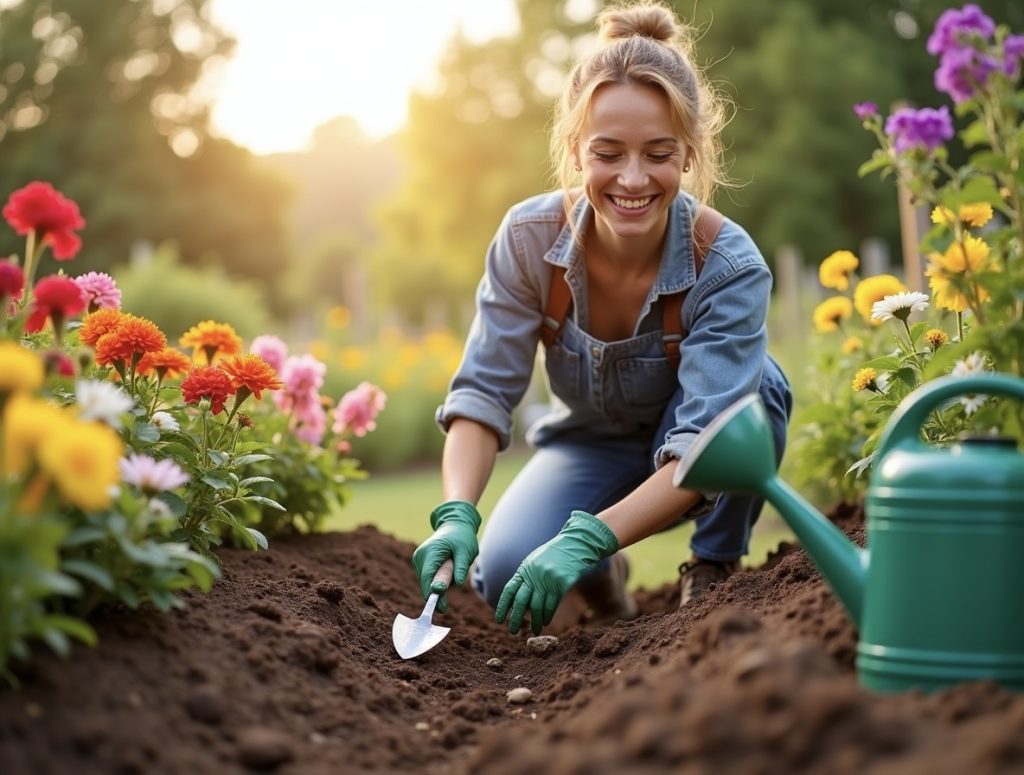
Introduction
Welcome to the world of edible gardening, where the joy of growing your own food can truly be experienced. One of the most rewarding aspects of gardening is the ability to harvest seeds from flowers. By carefully collecting and storing these seeds, you can ensure a continuous supply of beautiful blooms and delicious fruits and vegetables.
Harvesting seeds from flowers allows you to preserve the genetic diversity of plants, save money on buying new seeds each year, and even share the seeds with other gardeners. It’s a sustainable practice that connects you to nature and helps you develop a deeper appreciation for the cycle of life.
This article will guide you through the process of harvesting seeds from flowers, providing you with the knowledge and skills you need to succeed. You’ll learn how to choose the right flowers, determine the perfect time for seed harvest, and properly clean, dry, and store your seeds for future use. So, put on your gardening gloves and let’s dive in!
Why Harvesting Seeds from Flowers is Beneficial
Harvesting seeds from flowers offers a multitude of benefits for both gardeners and the environment. Here are a few compelling reasons why you should consider incorporating seed harvesting into your gardening practices:
- Budget-friendly: By harvesting and saving seeds from your flowers, you can significantly cut down on your gardening expenses. Purchasing seeds every season can add up, but by collecting and storing your own seeds, you’ll have an endless supply of new plants without spending a dime.
- Promotes biodiversity: Seed saving plays a vital role in preserving biodiversity. Commercially available seeds often come from a limited range of varieties. By saving seeds from your own flowers, you contribute to maintaining a diverse gene pool of plants, which is crucial for long-term sustainability and resilience in the face of pests, diseases, and climate change.
- Preserves heirloom varieties: Many gardeners are passionate about preserving heirloom or heritage plant varieties, which are often passed down from generation to generation. By saving seeds, you can continue the legacy of these unique, open-pollinated plants, maintaining their distinct characteristics and flavors.
- Empowers self-sufficiency: Saving seeds empowers you to be more self-sufficient in your gardening efforts. Rather than relying on seed suppliers, you become independent and have control over your plant selection, ensuring that you always have a supply of seeds tailored to your garden’s specific needs.
- Sharing and community building: Seed saving is a practice that encourages sharing and community building among gardeners. By saving seeds and exchanging them with fellow gardeners, you contribute to the growth of a vibrant gardening community. This not only allows you to expand your plant collection but also fosters the exchange of knowledge and experiences.
Overall, harvesting seeds from flowers is a sustainable and cost-effective way to enhance your garden. It helps preserve biodiversity, conserve heirloom varieties, and promotes self-sufficiency and community engagement. So, why not give it a try and reap the rewards of this rewarding gardening practice?
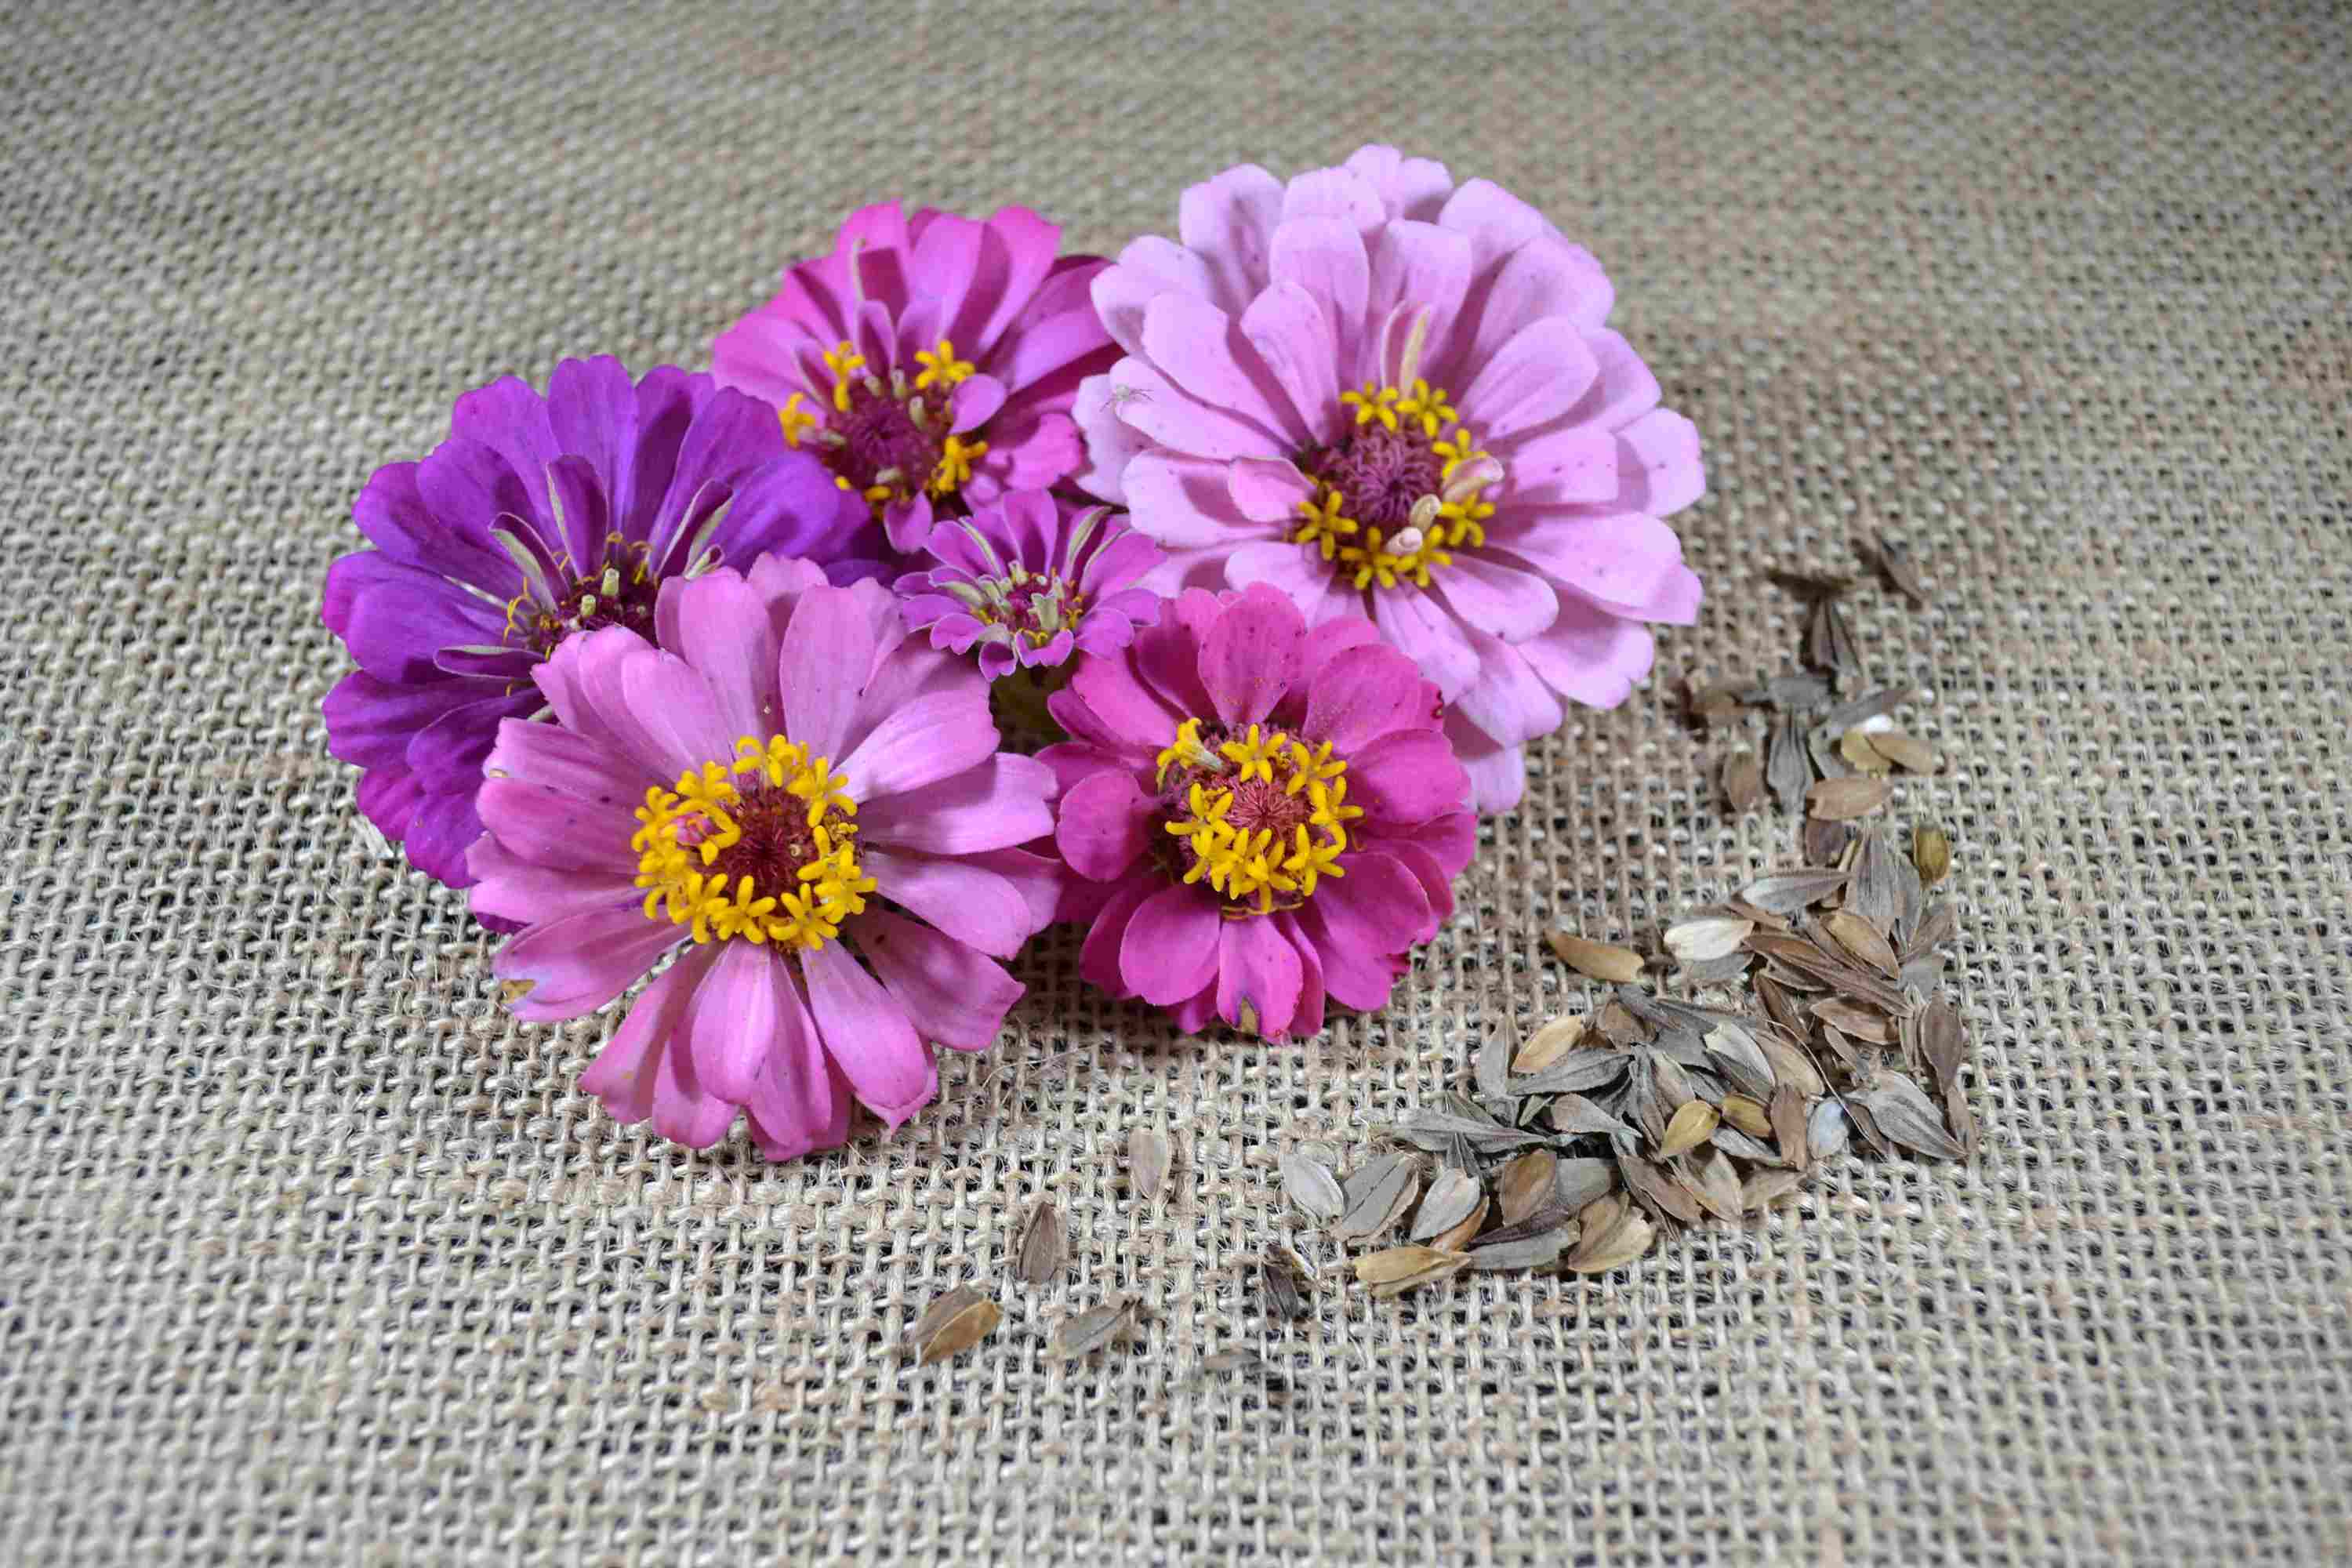
Choosing the Right Flowers for Seed Harvesting
When it comes to harvesting seeds from flowers, it’s important to choose the right plants that are suitable for seed saving. Not all flowers produce viable seeds, and some may require specialized techniques for successful germination. Here are some factors to consider when selecting flowers for seed harvesting:
- Open-pollinated varieties: Look for flowers that are open-pollinated rather than hybrid varieties. Open-pollinated plants produce seeds that are true to their parent plants, ensuring that the next generation will retain the same desirable characteristics.
- Sturdy and healthy plants: Choose flowers that are healthy and disease-free. Strong and robust plants are more likely to produce high-quality seeds that will result in healthy offspring.
- Non-GMO and chemical-free: If you’re passionate about organic gardening, opt for flowers that have not been treated with chemicals or genetically modified. This ensures that the seeds you harvest are free from any unwanted substances.
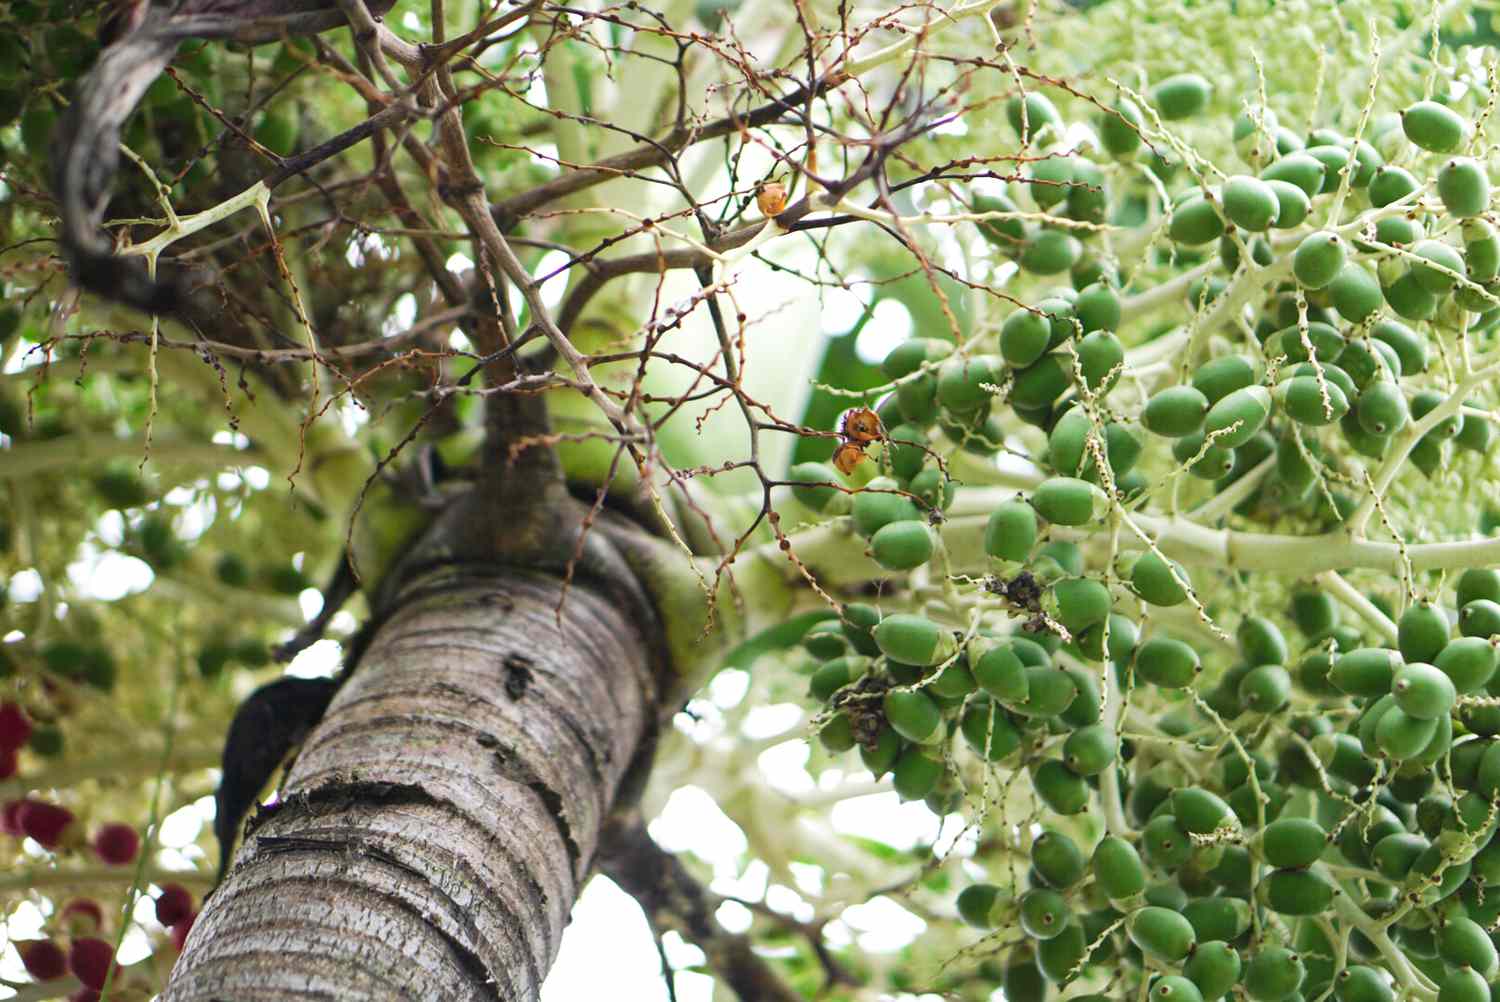
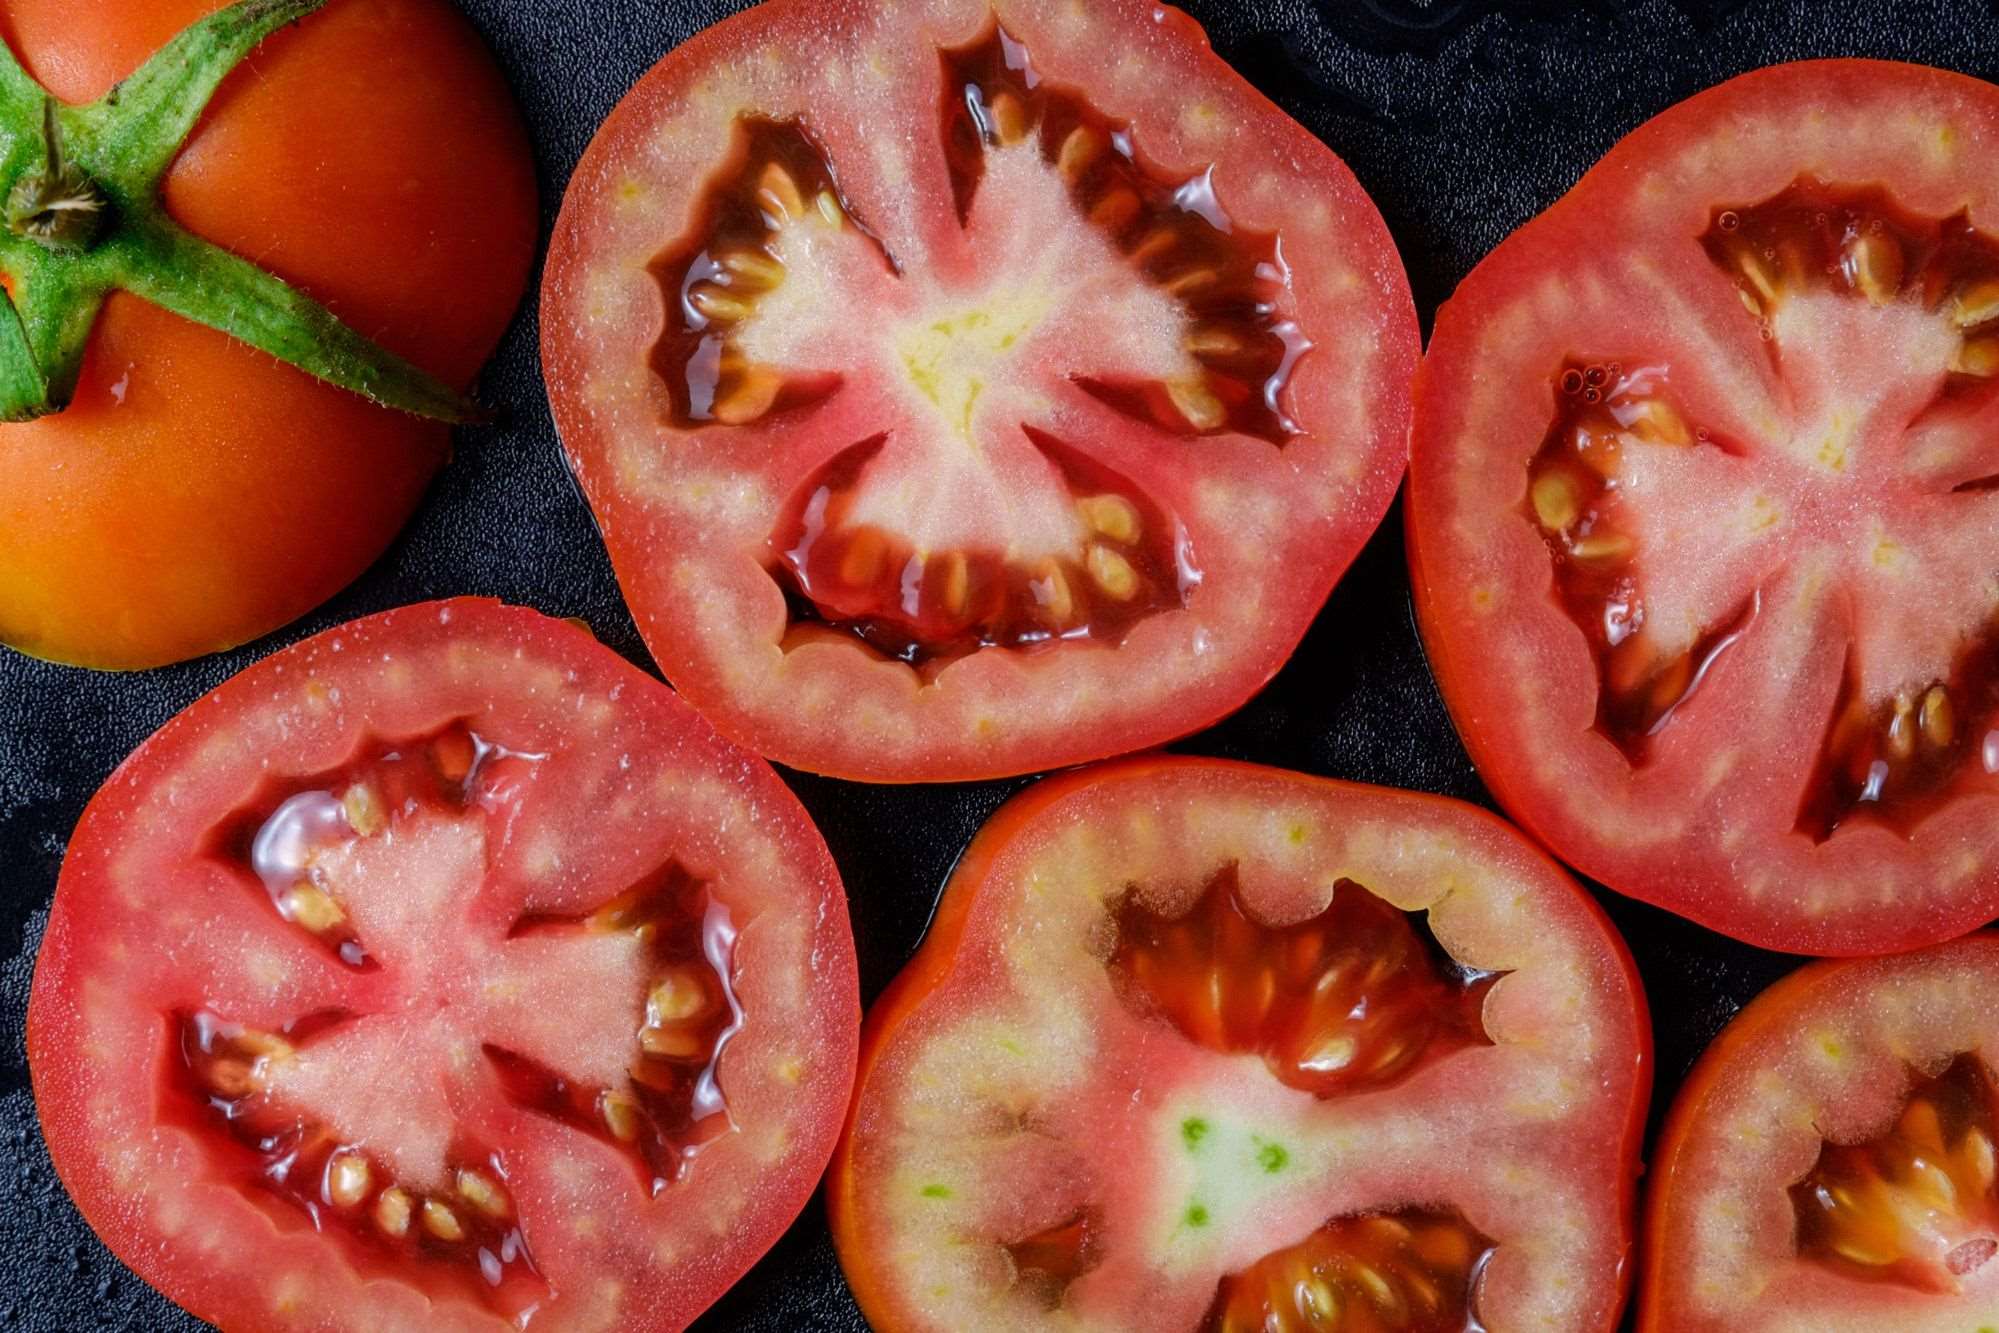
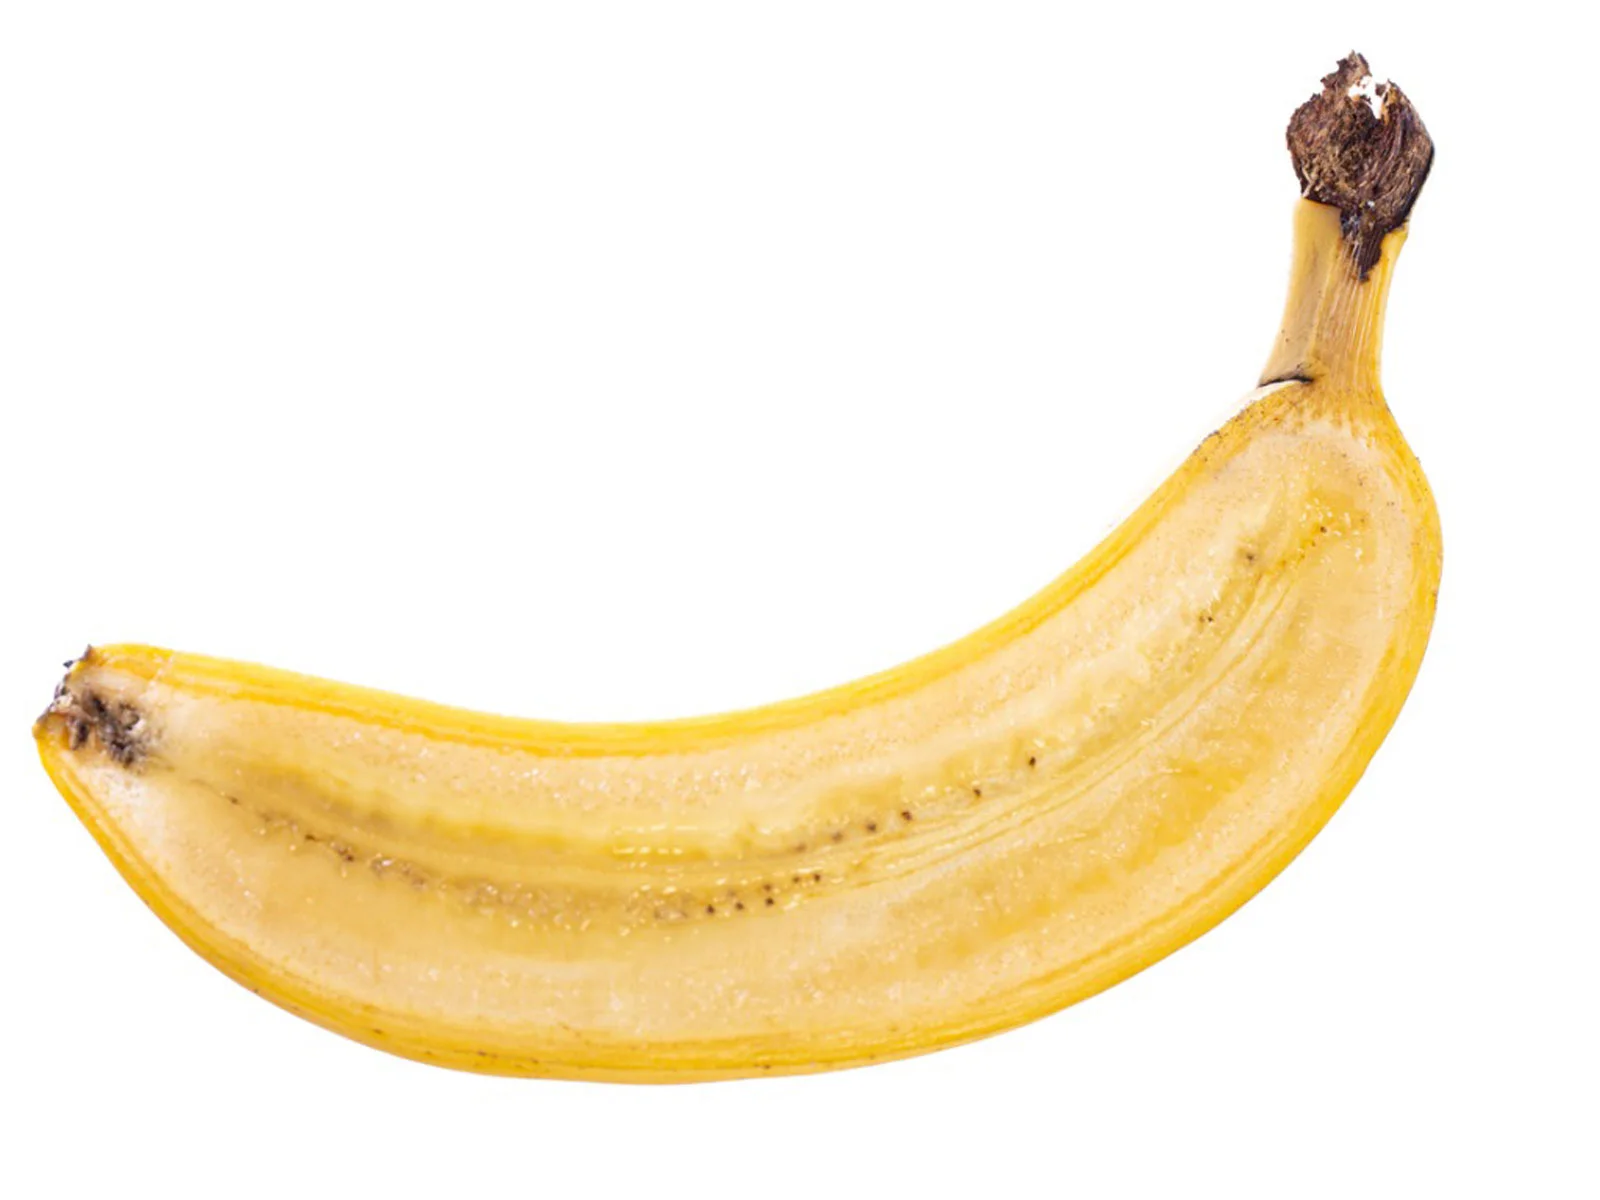
- Flowers with mature seed pods: Pay attention to the stage of the flower’s life cycle when harvesting seeds. Look for flowers with mature seed pods or fruits. This is indicated by the pod turning brown and drying out, or the fruit reaching its full size and becoming plump.
- Self-pollinating or insect-pollinated: Consider the pollination method of the flowers. Self-pollinating flowers, such as beans or lettuce, are more likely to produce seeds that remain true to their parent plants. Insect-pollinated flowers, such as sunflowers or zinnias, may cross-pollinate with other varieties if planted too closely, resulting in offspring with different characteristics.
Researching specific flower species and their seed-saving requirements is essential to maximize your success. Keep in mind that some flowers may require additional techniques such as hand-pollination or isolation to ensure seed purity. Consulting gardening books or online resources can provide detailed information on the specific requirements for each flower.
By carefully selecting the right flowers for seed harvesting, you set yourself up for a successful and rewarding seed-saving experience. So, take the time to choose plants that align with your goals and gardening principles, and get ready to embark on a journey of cultivating and preserving beautiful blooms from your own harvested seeds.
When to Harvest Seeds from Flowers
Knowing the right time to harvest seeds from flowers is crucial for successful seed saving. Timing can vary depending on the plant species and the type of flower. Here are some general guidelines to help you determine when to harvest seeds:
- Observe seed maturity: Each flower has its own timeline for seed development. Observe the flowers closely and wait until the seeds have fully matured. This is usually indicated by a change in color or texture of the seed pod or fruit. For example, seeds from annual flowers like marigolds are ready for harvesting when the flower heads turn brown and dry out.
- Avoid collecting seeds too early: It’s important not to harvest seeds too early, as they may not be fully developed and may not germinate successfully. Be patient and allow the seeds to ripen fully on the plant before collecting them.
- Consider weather conditions: Harvesting seeds during dry weather is preferable, as moisture can decrease seed viability and increase the risk of mold or fungal problems. Choose a sunny day when the weather is dry to ensure the best possible conditions for seed collection.
- Look for signs of seed dispersal: Some plants have natural mechanisms for seed dispersal, such as seed pods that burst open or fruits that drop from the plant. To prevent loss of seeds, harvest them just before they would naturally disperse, but after they have fully matured.
- Take note of the plant’s life cycle: Understanding the life cycle of the flower can also guide you in determining the appropriate time for seed harvest. Some plants produce seeds after the flowers fade, while others develop seeds simultaneously with the blooms. Researching the specific plant’s life cycle will help you identify the ideal time for seed collection.
It’s worth noting that not all flowers produce seeds at the same time. Some may have a longer flowering period, while others only produce seeds toward the end of the season. Regular observation and monitoring of your garden will help you identify when each individual flower is ready for seed harvesting.
By harvesting seeds at the right time, you ensure that they have reached their full maturity, increasing the chances of successful germination and future growth. So, be attentive to the signs of seed maturity and plan your seed-saving activities accordingly to maximize your gardening success.
Tools and Materials Needed
Before diving into the process of harvesting seeds from flowers, it’s essential to gather the necessary tools and materials to make your seed-saving journey smoother. Here are the key items you’ll need:
- Garden shears or scissors: These tools are essential for cutting the flower heads or seed pods from the plant. Choose a sharp pair of shears or scissors to ensure clean cuts and minimize damage to the plant.
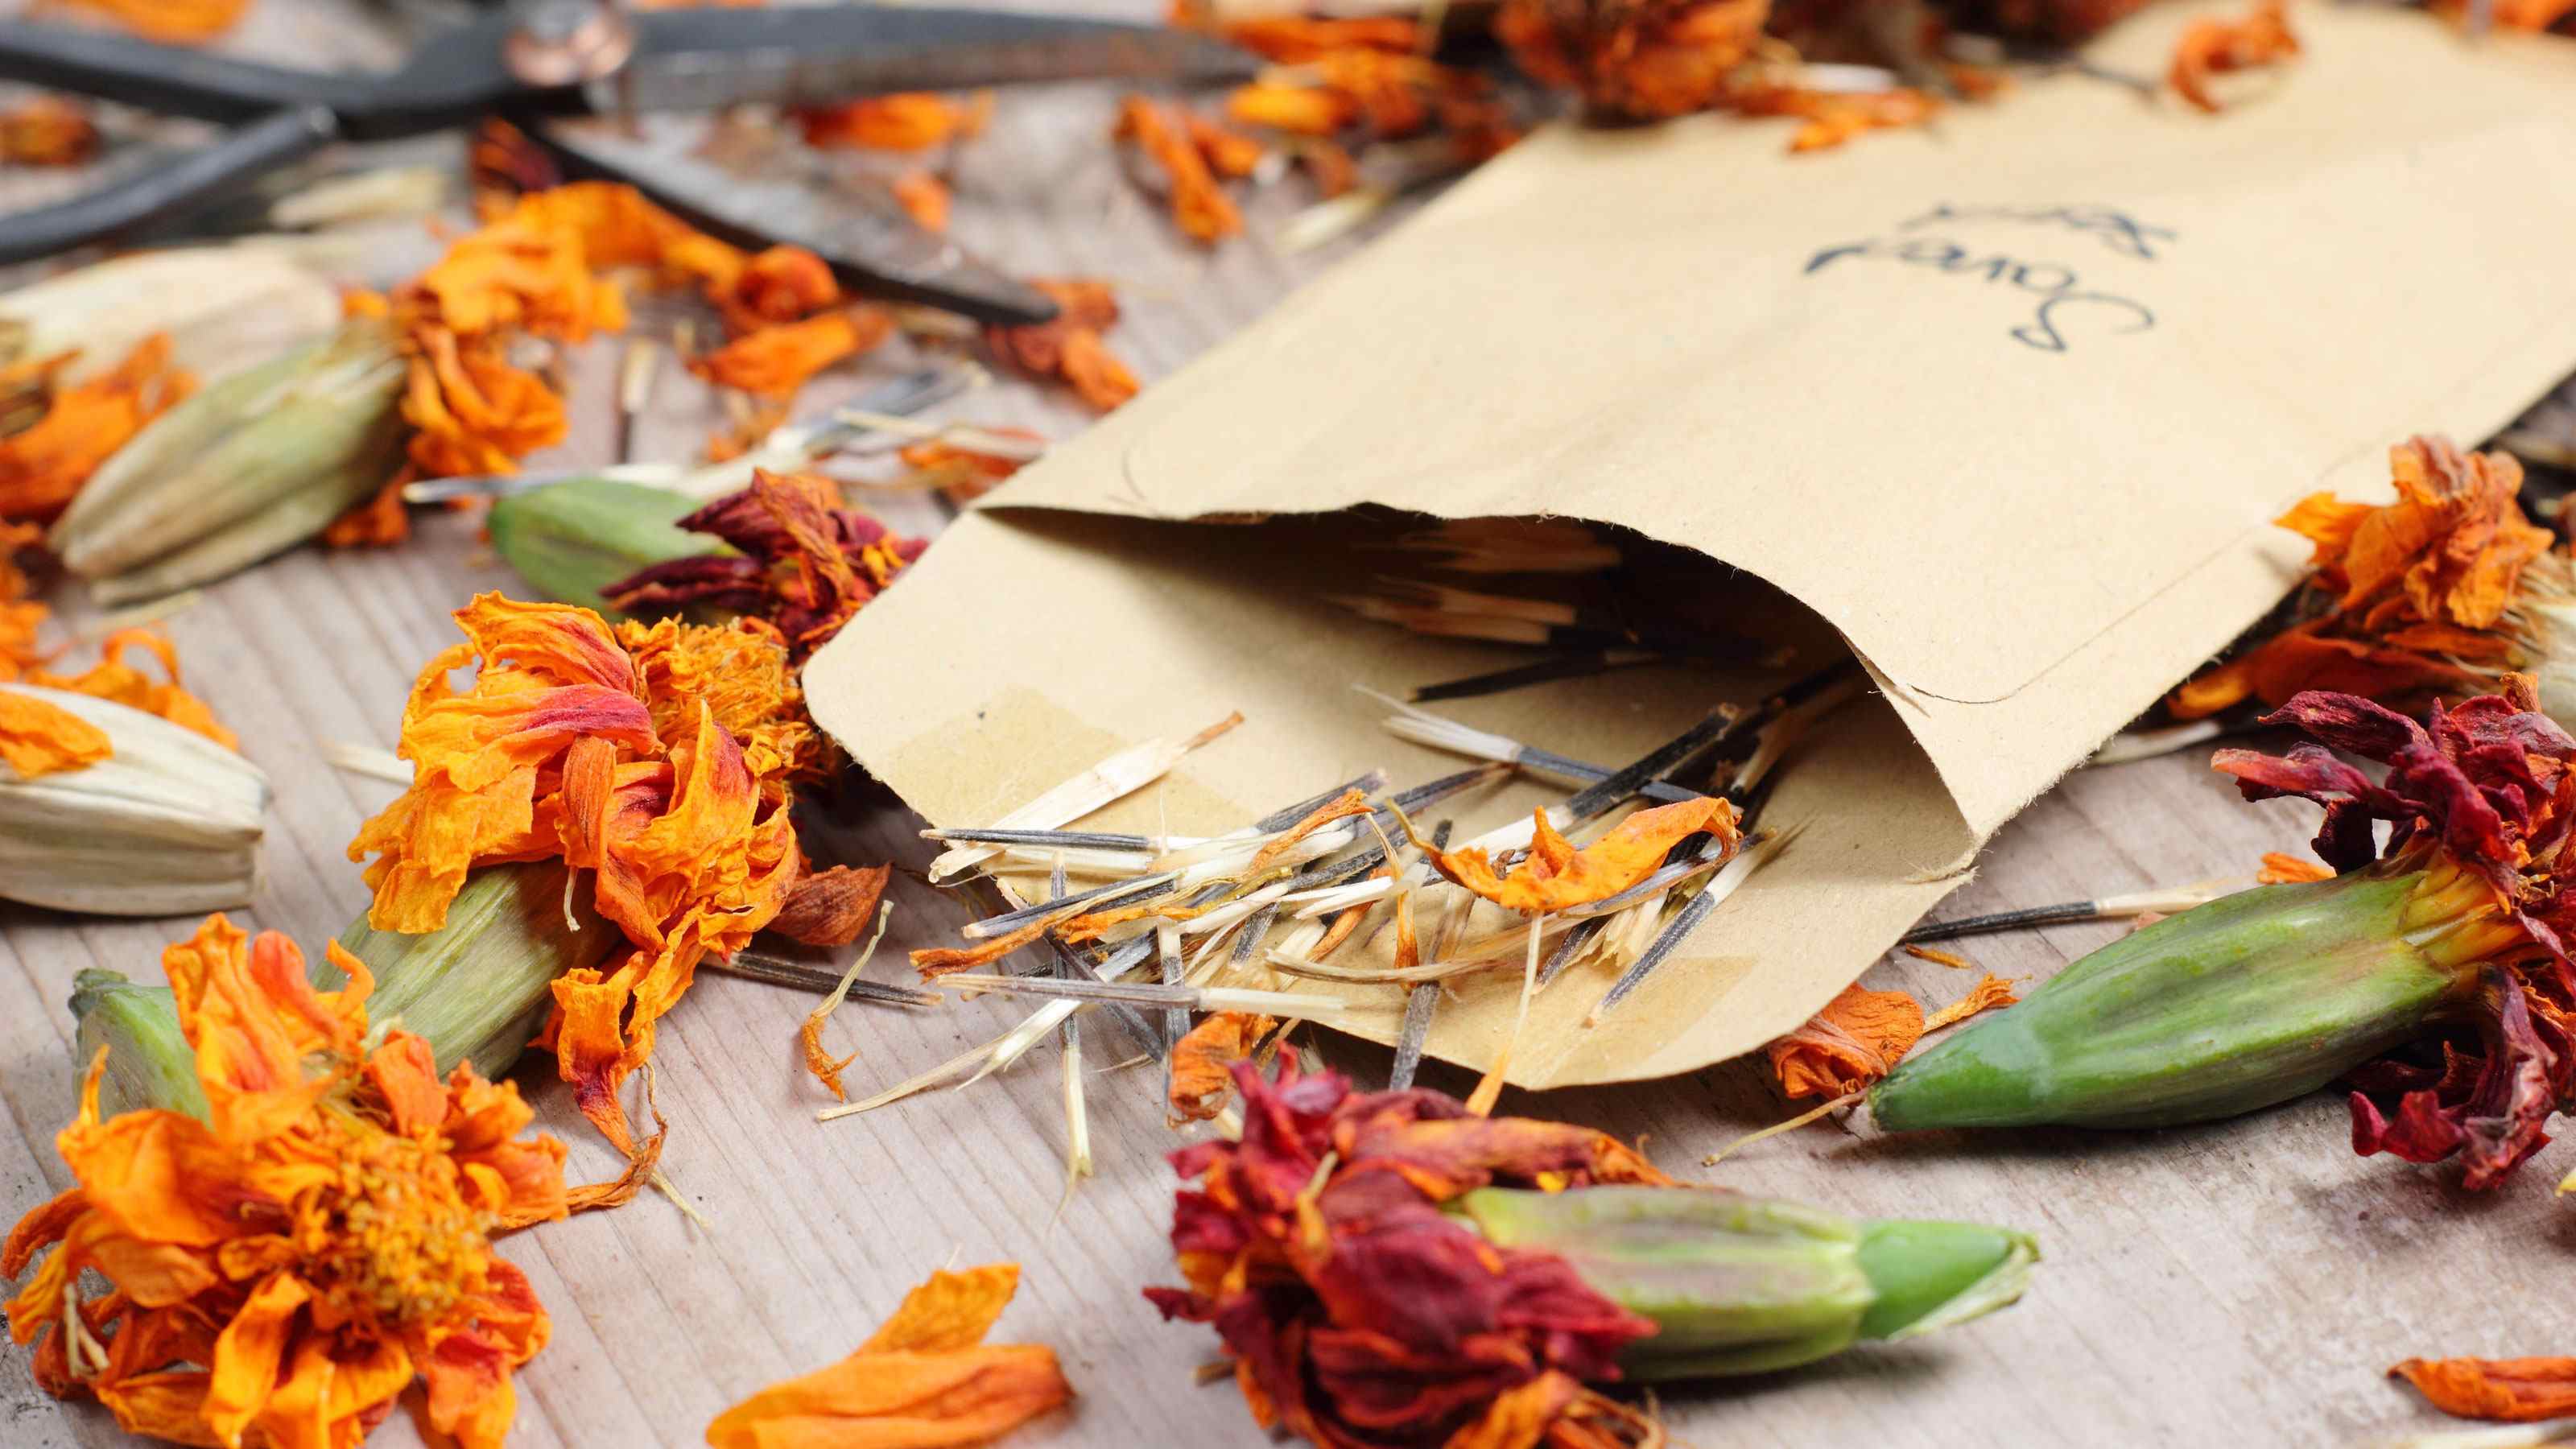
- Seed collection containers: Use small containers or envelopes to store the harvested seeds. These containers should be clean, dry, and labeled with the name of the flower and the date of collection. You can use small paper envelopes, plastic bags, or small glass jars for this purpose.
- Gloves: Wearing gloves will protect your hands from any prickly or thorny plants that you might encounter while collecting seeds. Choose lightweight, breathable gloves that allow for dexterity.
- Labels and permanent markers: Proper labeling is crucial to keep your seeds organized. Use labels or small tags and permanent markers to clearly mark the name of the flower and any other relevant information, such as color or variety.
- Paper bags: Paper bags are useful for collecting seeds that naturally disperse from pods or fruits. Place the bag over the seed head and gently secure it to collect the seeds as they fall out.
- Tweezers or small utensils: For some plants, tiny seeds can be challenging to handle. Use tweezers or small utensils to pick up and transfer small seeds to their storage containers with precision.
- Storage containers: Once you’ve harvested and cleaned the seeds, you’ll need suitable storage containers to keep them safe and dry. Use airtight containers such as glass jars, plastic containers with tight lids, or seed envelopes to store the seeds.
- Desiccant or drying agents: To ensure the longevity and viability of the seeds, it’s important to dry them thoroughly. Use drying agents like silica gel packets or rice grains to absorb excess moisture from the seeds and prevent molding.
- Cool, dry, and dark storage area: Find a cool, dry, and dark location to store your harvested seeds. A pantry shelf, cellar, or the refrigerator can provide the ideal conditions for seed storage.
Gathering these tools and materials beforehand will ensure that you have everything you need for a successful seed-saving process. So, equip yourself with these essential items, and get ready to embark on your seed-saving adventure!
Step-by-Step Guide to Harvesting Seeds from Flowers
Harvesting seeds from flowers may seem intimidating at first, but with a step-by-step approach, it becomes an enjoyable and rewarding process. Follow these steps to successfully harvest seeds from your favorite flowers:
- Choose the right time for seed harvest: Refer to the specific guidelines for the flower species you’re working with to determine the ideal time for seed collection. Ensure that the seeds have matured and are fully developed on the plant.
- Cut the seed heads or pods: Use garden shears or scissors to cut the seed heads or pods from the plant. Place the cuttings in a clean container or paper bag to prevent any seeds from being lost.
- Separate the seeds from the plant material: Depending on the flower, you may need to remove the seeds from the plant material. This can be done by gently rubbing or crushing the dried seed heads or pods, allowing the seeds to fall into the container.
- Clean the seeds: To remove any remaining debris or plant matter, you’ll need to clean the seeds. This can be done by winnowing the seeds, which involves gently blowing on them or using a fan to separate the lightweight seeds from the chaff. Alternatively, you can use fine mesh screens or sieves to sift out the unwanted material.
- Dry the seeds: Properly drying the seeds is essential to prevent mold or rot. Spread the clean seeds in a single layer on a paper towel or drying screen and place them in a cool, well-ventilated area. Allow the seeds to air dry for at least a week or until they are completely dry and brittle.
- Label and store the seeds: Once the seeds are completely dry, transfer them to labeled storage containers. Use envelopes, glass jars, or airtight plastic bags, and be sure to include the name of the flower, the date of collection, and any other relevant information. Store the containers in a cool, dry, and dark location to maintain seed viability.
By following these step-by-step instructions, you can successfully harvest and store seeds from your flowers. Remember to be patient, take your time, and enjoy the process. With practice, you’ll become more confident in your seed-saving abilities and be able to expand your collection of vibrant blooms for future gardening endeavors.
Cleaning and Drying Seeds
After harvesting seeds from flowers, it’s important to properly clean and dry them to ensure their long-term viability. Proper cleaning removes any debris or plant matter, while thorough drying prevents mold or rot. Follow these steps to clean and dry your harvested seeds:
- Remove any attached plant material: Start by removing any attached plant material, such as petals, stems, or seed pods. Gently separate the seeds from the remaining plant matter.
- Winnow the seeds: Some seeds may have thin husks or chaff that needs to be removed. This can be done through winnowing, a process of separating the seeds from the chaff by using air. Stand near a gentle breeze or use a fan to blow away the lighter chaff and allow the heavier seeds to fall into a clean container.
- Sieve or screen the seeds: For smaller seeds or those with fine debris, use fine-mesh sieves or screens to sift out any remaining bits of plant material. Gently shake the sieve or screen to allow the seeds to pass through while retaining the unwanted material. Repeat this step until the seeds are clean.
- Rinse if necessary: In some cases, you may need to rinse the seeds with water to remove any stubborn debris. Use a fine-mesh strainer and gently rinse the seeds under running water. Make sure to dry them thoroughly afterwards to prevent any moisture-related issues.
- Dry the seeds: Proper drying is crucial to prevent the seeds from rotting or molding. Spread the clean seeds in a single layer on a paper towel, a drying screen, or a clean, dry surface. Place them in a well-ventilated area that is out of direct sunlight. Allow the seeds to air dry completely, which may take a week or longer depending on the seed size and humidity level.
- Check for dryness: To ensure that the seeds are completely dry, check their moisture content. They should feel hard, dry, and brittle. If they still feel soft or flexible, continue drying them until they reach the desired level of dryness.
Once the seeds are thoroughly cleaned and dried, you can proceed to store them properly for future use. Keep in mind that moisture is the enemy of seed storage, so it’s essential to store them in a cool, dry, and dark place to maintain their viability.
By following these cleaning and drying steps, you can ensure that your harvested seeds are clean, free from debris, and properly prepared for storage. This will enhance their chances of successful germination and allow you to enjoy a thriving garden in the seasons to come.
Storing and Labeling Seeds
Proper storage and labeling of harvested seeds are vital for maintaining their viability and ensuring that they stay organized for future gardening endeavors. Here are some key steps to follow when storing and labeling your seeds:
- Choose suitable storage containers: Select containers that are clean, dry, and airtight to store your seeds. Options include glass jars, plastic containers with tight lids, seed envelopes, or small resealable plastic bags. Make sure the containers are free from any moisture or contaminants.
- Label the storage containers: Clearly label each storage container with the name of the flower, the date of collection, and any other important information such as variety or color. This will help you easily identify the seeds and keep track of their age and origin.
- Add desiccant or drying agents: To maintain seed viability and prevent deterioration due to moisture, consider adding desiccant packets or drying agents to the storage containers. These substances, such as silica gel packets or rice grains, help absorb any residual moisture that may still be present in the seeds.
- Store in a cool, dry, and dark location: Find a suitable storage location that is cool, dry, and dark to prevent any damage to the seeds. Ideally, the storage area should have a temperature between 32-41°F (0-5°C), low humidity, and no exposure to direct sunlight.
- Monitor the storage conditions: Regularly check the storage area to ensure that the temperature and humidity levels remain stable. If any signs of moisture or mold are observed, immediately remove and dry the affected seeds before returning them to the storage containers.
- Organize and categorize the seeds: Depending on your preference, you can organize the seeds by type, flower family, or planting season. This makes it easier to locate and access specific seeds when needed. A simple filing system or seed storage organization tool can be helpful in this process.
Remember to periodically assess the viability of your stored seeds. Some seeds may have a shorter lifespan than others, so it’s important to regularly test their germination rates to determine their freshness and viability.
By properly storing and labeling your seeds, you ensure their long-term viability and maintain the integrity of your seed collection. With well-organized seeds, you will have the confidence and convenience of knowing exactly what you have available for your future gardening projects.
Tips and Precautions for Successful Seed Harvesting
Harvesting seeds from flowers is a rewarding process that requires careful attention and proper techniques. To ensure successful seed harvesting, here are some tips and precautions to consider:
- Choose healthy and vigorous plants: Harvest seeds from plants that are healthy, robust, and free from diseases or pests. This increases the likelihood that the offspring will be strong and resilient.
- Allow seeds to fully mature: Patience is key when it comes to seed harvesting. Wait until the seeds have fully matured on the plant, ensuring their maximum viability and germination potential.
- Avoid harvesting seeds from hybrid varieties: Hybrid plants do not produce stable offspring, as they are the result of cross-pollination. Instead, focus on open-pollinated or heirloom varieties for seed saving to maintain the desired characteristics in the next generation.
- Practice isolation methods for cross-pollinating plants: If you have different varieties of the same plant species, take precautions to prevent cross-pollination. Separate the plants by a sufficient distance or use physical barriers, such as mesh or bags, to avoid unwanted cross-pollination.
- Take note of flowering times: Keep a record of the flowering times for each plant species in your garden. This will help you anticipate the ideal time for seed harvesting and ensure that you don’t miss the opportunity.
- Store harvested seeds properly: Follow proper storage practices by keeping your harvested seeds in a cool, dry, and dark location. Regularly check on the stored seeds to monitor their condition and discard any that show signs of rot, mold, or pest damage.
- Keep detailed records: Maintain a seed-saving journal or spreadsheet to track the specifics of each seed variety, including the date of collection, source, and any notable characteristics. This information will be valuable for future reference and for sharing with fellow gardeners.
- Learn from experienced gardeners: Seek advice and guidance from experienced gardeners or local seed-saving groups. They can provide valuable tips, techniques, and insights specific to your region, climate, and plant varieties.
- Support seed diversity: Participate in seed exchanges or share your harvested seeds with other gardeners. This not only expands the variety in your garden but also contributes to the preservation of seed diversity on a larger scale.
Remember that seed harvesting is an ongoing learning experience. Each year, you’ll gain more knowledge and refine your techniques. Embrace the process, be open to experimentation, and enjoy the journey of collecting, preserving, and sharing the seeds from your beautiful flowering plants.
Conclusion
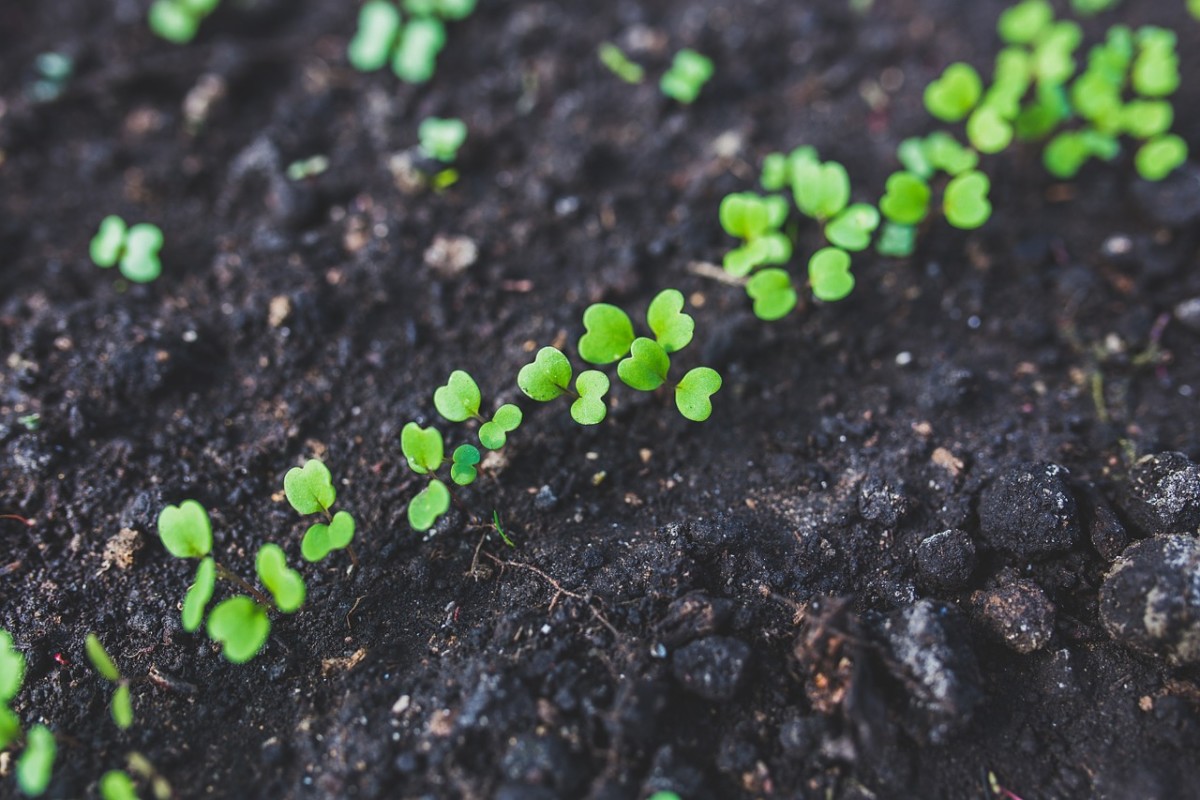
Harvesting seeds from flowers is a fulfilling and sustainable practice that allows you to preserve the beauty, diversity, and flavors of your garden. By following the step-by-step process outlined in this article, you can successfully collect, clean, dry, store, and label your harvested seeds, ensuring their viability for future planting seasons.
From the benefits of seed harvesting, such as saving money and promoting biodiversity, to choosing the right flowers and knowing when to harvest the seeds, you now have a strong foundation to embark on your seed-saving journey. Remember to select open-pollinated varieties, maintain healthy plants, and be patient as you wait for the seeds to reach full maturity.
Properly cleaning and drying the seeds is crucial to prevent the growth of mold or rot. Ensure that your seeds are thoroughly dried before storing them in a cool, dry, and dark location. Labeling and organizing the seeds will help you keep track of their information and maintain an efficient seed collection system.
Throughout the process, take precautions and follow the advice of experienced gardeners to refine your seed-saving techniques. Share your knowledge and excess seeds with other gardeners, contributing to a vibrant community that values seed diversity and sustainability.
Embarking on the journey of harvesting seeds from flowers not only allows you to continue the cycle of life but also connects you to the heritage and resilience of plants. With dedication, patience, and a love for nature, you can play an essential role in preserving and expanding the wonders of your garden for years to come.