Home>Gardening Tips and Tricks>Maximizing Yield>How To Harvest Sunflower Seeds For Eating
Maximizing Yield
How To Harvest Sunflower Seeds For Eating
Modified: January 22, 2024
Learn how to maximize your sunflower seed yield with our step-by-step guide on harvesting sunflower seeds for eating.
(Many of the links in this article redirect to a specific reviewed product. Your purchase of these products through affiliate links helps to generate commission for Chicagolandgardening.com, at no extra cost. Learn more)
Table of Contents
Introduction
Harvesting sunflower seeds for eating is a delightful and rewarding process that allows you to enjoy the nutritious and versatile benefits of this beloved plant. Sunflower seeds are not only delicious but also packed with essential nutrients, including healthy fats, protein, and fiber. Whether you want to snack on them, use them as a topping for salads and baked goods, or incorporate them into your favorite recipes, knowing how to harvest sunflower seeds is the first step in maximizing yield.
But why go through the trouble of harvesting your own sunflower seeds when you can easily find them in stores? Well, apart from the satisfaction of growing and harvesting your own food, there are other reasons why homegrown sunflower seeds are worth the effort. Firstly, you have complete control over the quality and purity of the seeds. By avoiding the use of pesticides and other chemicals, you can ensure a healthier, more natural product. Secondly, harvesting your own sunflower seeds allows you to experiment with different varieties and flavors that may not be readily available in stores.
In this article, we will take you through a step-by-step journey of how to harvest sunflower seeds for eating. From selecting the sunflower heads to roasting and storing the seeds, we will provide you with all the tips and tricks you need to maximize your yield and enjoy the freshest, tastiest sunflower seeds right from your garden.
Step 1: Selecting the Sunflower Heads
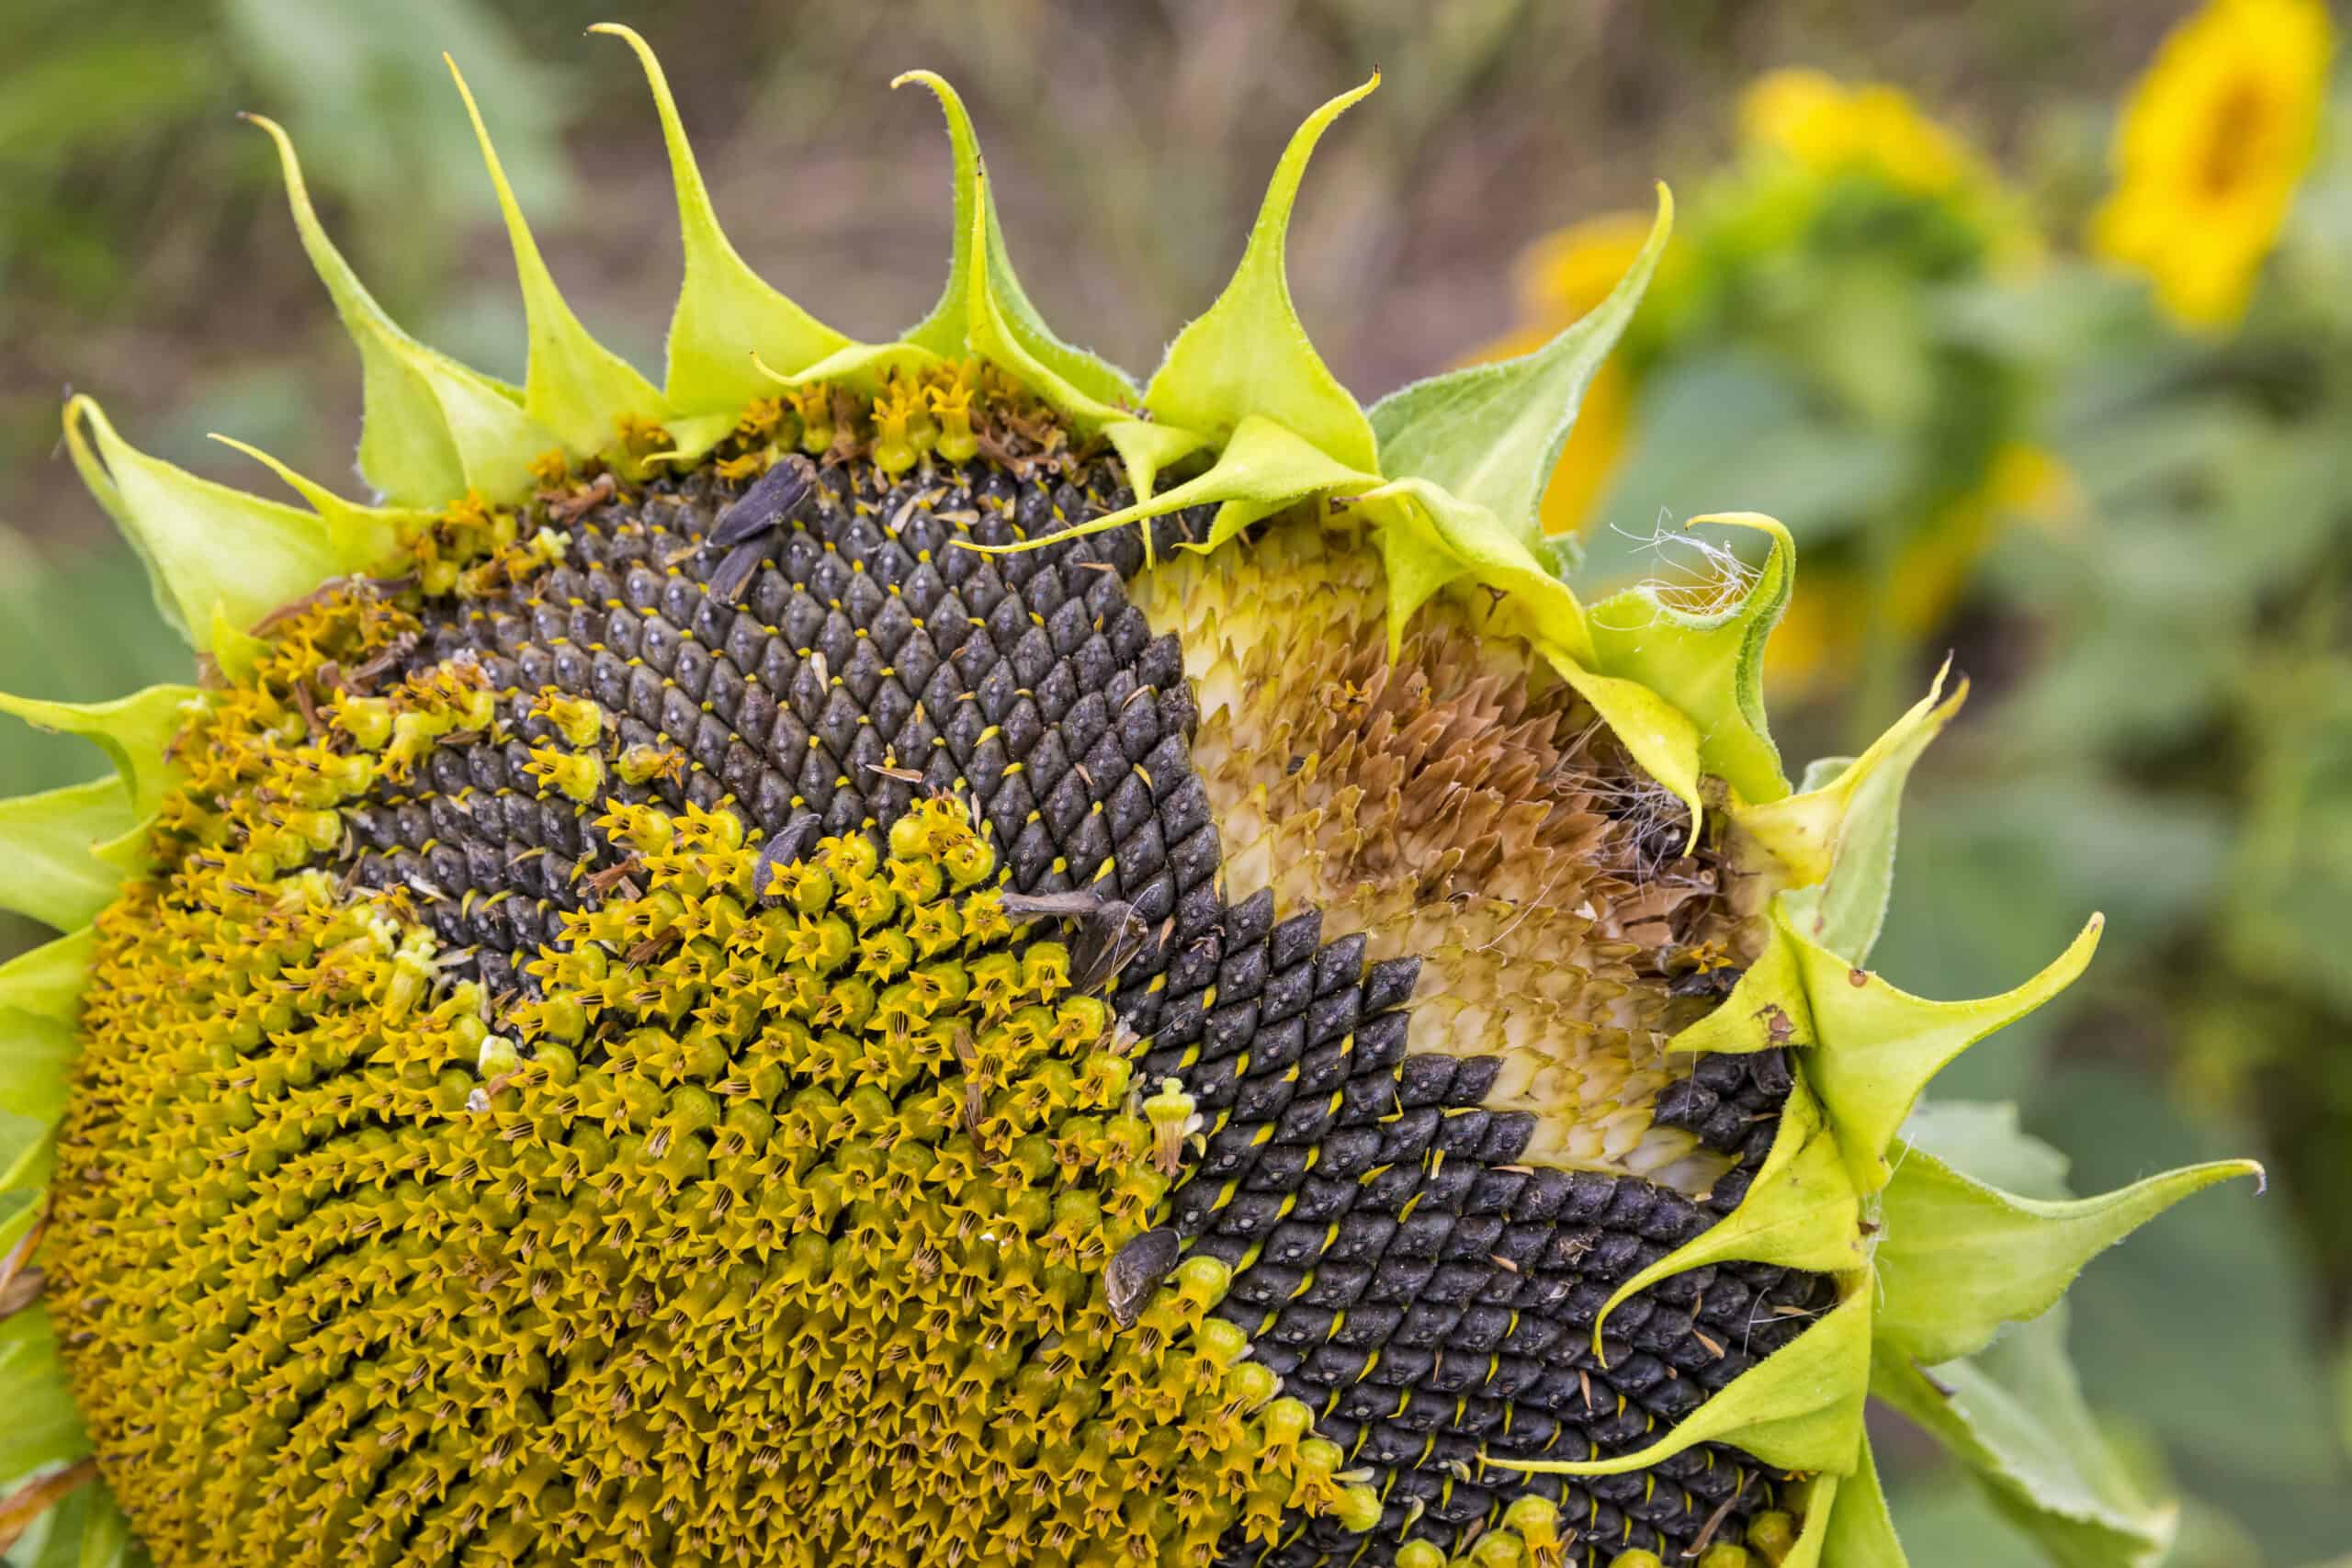
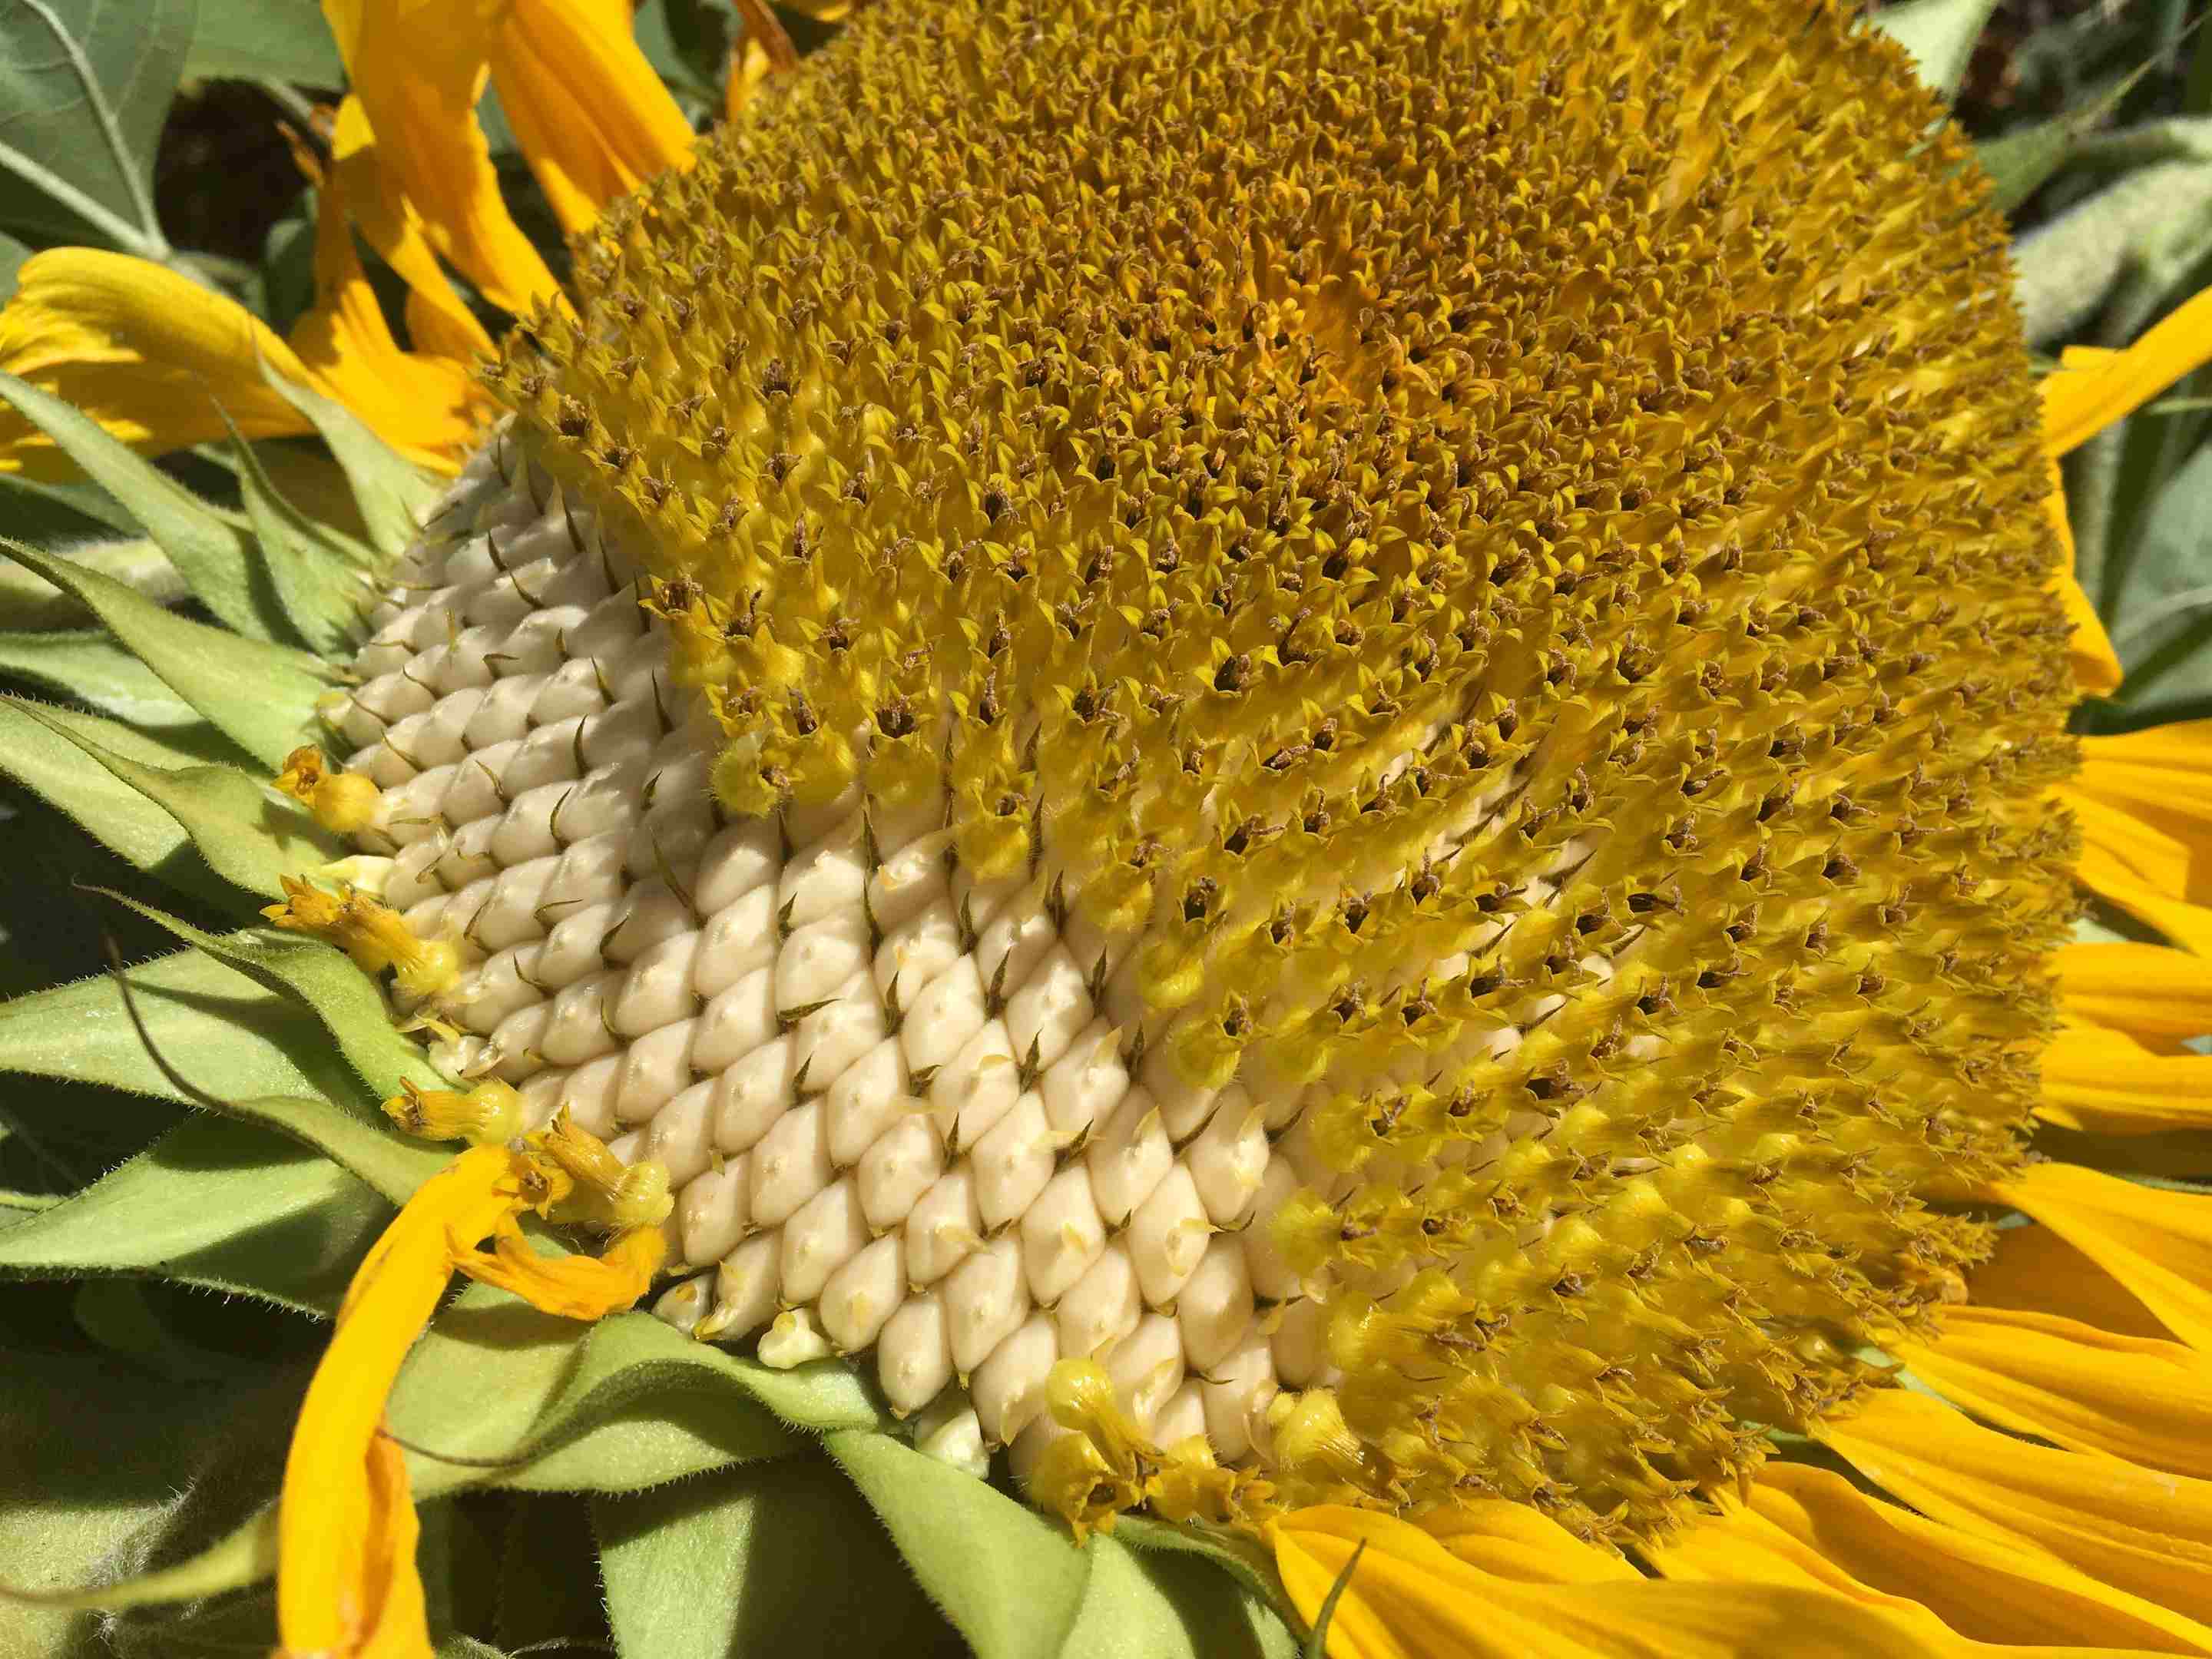
The first step in harvesting sunflower seeds is selecting the right sunflower heads. Look for sunflower plants that have fully matured and developed large, healthy heads. Look for heads that have started to droop and the back of the flower head has turned brown and dry. This indicates that the seeds inside are fully developed and ready for harvesting.
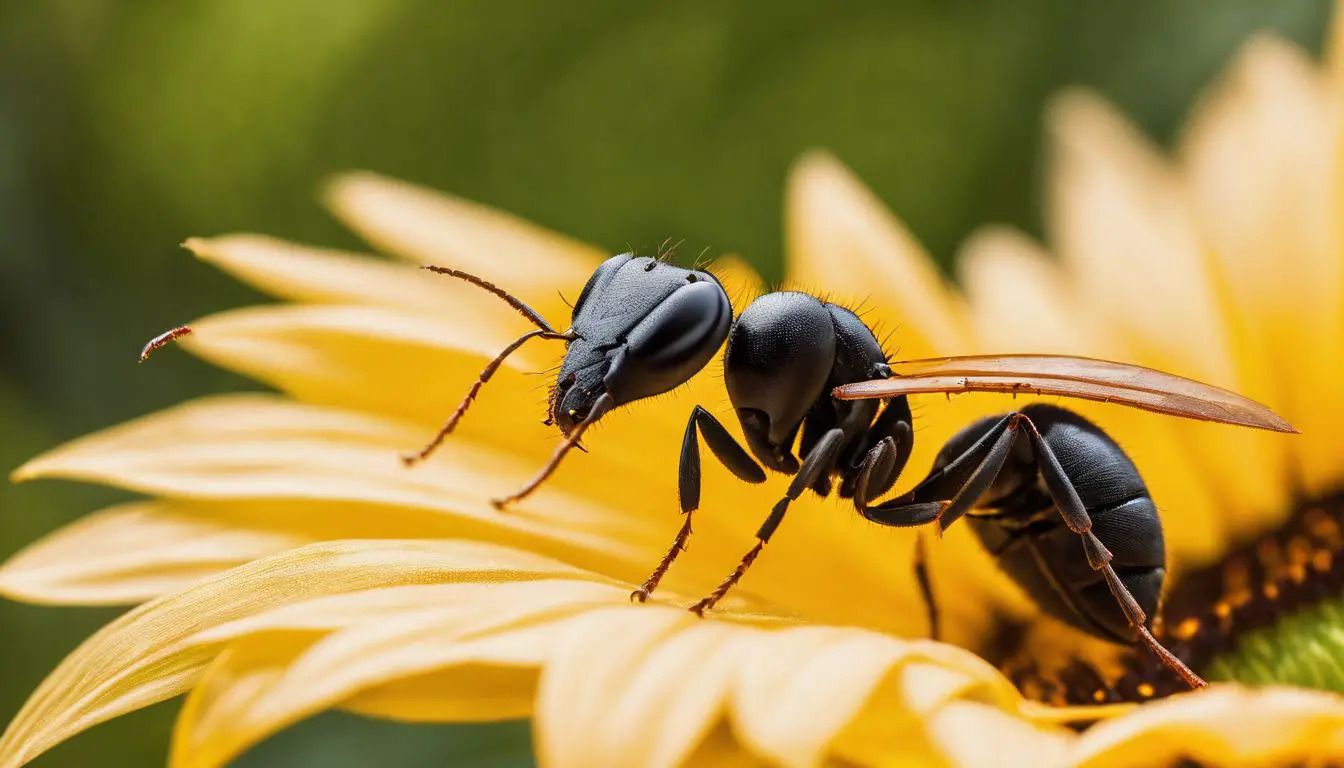
Inspect the heads for signs of damage or disease. Avoid selecting heads that have visible mold, rot, or insect infestations, as these can affect the quality of the seeds. Choose sunflower heads that are uniform in color and shape, and avoid any that appear shriveled or discolored.
Consider the size of the sunflower heads as well. Larger heads will generally yield more seeds, but keep in mind that they may also take longer to dry and require more space for storage. Choose a size that suits your needs and available resources.
When selecting sunflower heads, it’s also important to consider the variety of sunflower you are harvesting. Different varieties have different seed sizes and flavors. If you have specific preferences, do some research beforehand to find the variety that best suits your taste.
Once you have chosen the sunflower heads for harvesting, use pruners or a sharp knife to cut the heads, leaving about 12-18 inches of stem attached. This will make it easier to handle and allow for proper drying. Place the cut heads in a clean, dry container to continue with the next step.
Step 2: Drying the Sunflower Heads
After selecting the sunflower heads, it’s important to properly dry them before extracting the seeds. Drying the heads ensures that the seeds ripen fully and are easier to remove. The drying process also helps to prevent mold or rot from developing during storage.
To begin the drying process, find a well-ventilated area with low humidity. A dry, airy room or a covered outdoor space will work well. Avoid areas that are exposed to direct sunlight, as this can lead to uneven drying and damage the seeds.
Start by removing any excess leaves or debris from the sunflower heads. This will help prevent moisture from getting trapped and promote better airflow during the drying process.
Next, arrange the sunflower heads in a single layer on a drying rack or a mesh screen. Make sure to leave some space between each head to allow for proper airflow. If you don’t have a drying rack or mesh screen, you can also tie the sunflower heads together in small bundles and hang them upside down from a ceiling or a rod.
Let the sunflower heads dry for about two to three weeks, or until the back of the flower heads and the attached stems are completely dry and brittle. This indicates that the seeds inside have reached their optimal ripeness. During the drying process, it’s important to periodically check and rotate the heads to ensure even drying and prevent any moisture from accumulating.
Once the sunflower heads are properly dried, gently tap them with your hand or a stick to loosen the seeds. You should hear a hollow sound, indicating that the seeds are loose and ready for extraction.
That concludes step two of harvesting sunflower seeds. In the next step, we will cover how to remove the seeds from the sunflower heads.
Step 3: Removing the Seeds from the Sunflower Heads
Now that the sunflower heads are properly dried, it’s time to remove the seeds. This step requires a bit of patience and careful handling, but the rewards are well worth it.
Start by finding a clean, flat surface to work on, such as a large tray or a table covered with a clean cloth. Place a bucket or a large bowl nearby to collect the seeds as you remove them.
Gently hold the sunflower head over the collection container and use your fingers or a small tool, like a butter knife or a fork, to loosen the seeds from the flower head. Begin at the outer edge of the head and work your way inward. Apply a gentle twisting motion to separate the seeds from the seed head. Avoid applying too much pressure as this can damage the seeds.
As you remove the seeds, you may notice that some seeds still have bits of the flower head attached. Take a moment to remove any remaining debris or flower petals, ensuring that only the clean seeds make their way into the collection container.
Continue this process until you have removed all the seeds from the sunflower head. It’s worth mentioning that sunflower heads can contain hundreds of seeds, so be prepared for a bit of time investment.
Once you have finished removing the seeds from the sunflower heads, give them a quick inspection to ensure there are no remnants of the flower head or debris mixed in. Any remaining debris can affect the taste and texture of the seeds, so it’s important to thoroughly clean them.
That concludes step three of harvesting sunflower seeds. In the next step, we will cover how to clean the sunflower seeds to ensure they are ready for consumption or further processing.
Step 4: Cleaning the Sunflower Seeds
After removing the sunflower seeds from the heads, it’s essential to clean them thoroughly to remove any remaining debris or impurities. This step ensures that the seeds are ready for consumption or further processing.
Start by placing the seeds in a large bowl of water. Swirl them around gently to help loosen any dirt, dust, or small particles. After a few minutes, you’ll notice that the lighter debris will start to float to the surface.
Using a fine-mesh sieve or a slotted spoon, carefully skim off the floating debris. Avoid pouring the seeds and water directly into the sieve, as this may result in losing some of the seeds. Instead, separate the seeds from the water using the sieve or spoon, ensuring that only the clean seeds remain in the bowl.
Next, drain the water and transfer the seeds onto a clean kitchen towel or a paper towel. Gently pat the seeds dry, absorbing any remaining moisture. Make sure to handle the seeds delicately to prevent any damage.
Inspect the seeds once again, ensuring that they are clean and free from any remaining debris. Remove any shriveled or discolored seeds, as these may indicate that they are not viable for consumption.
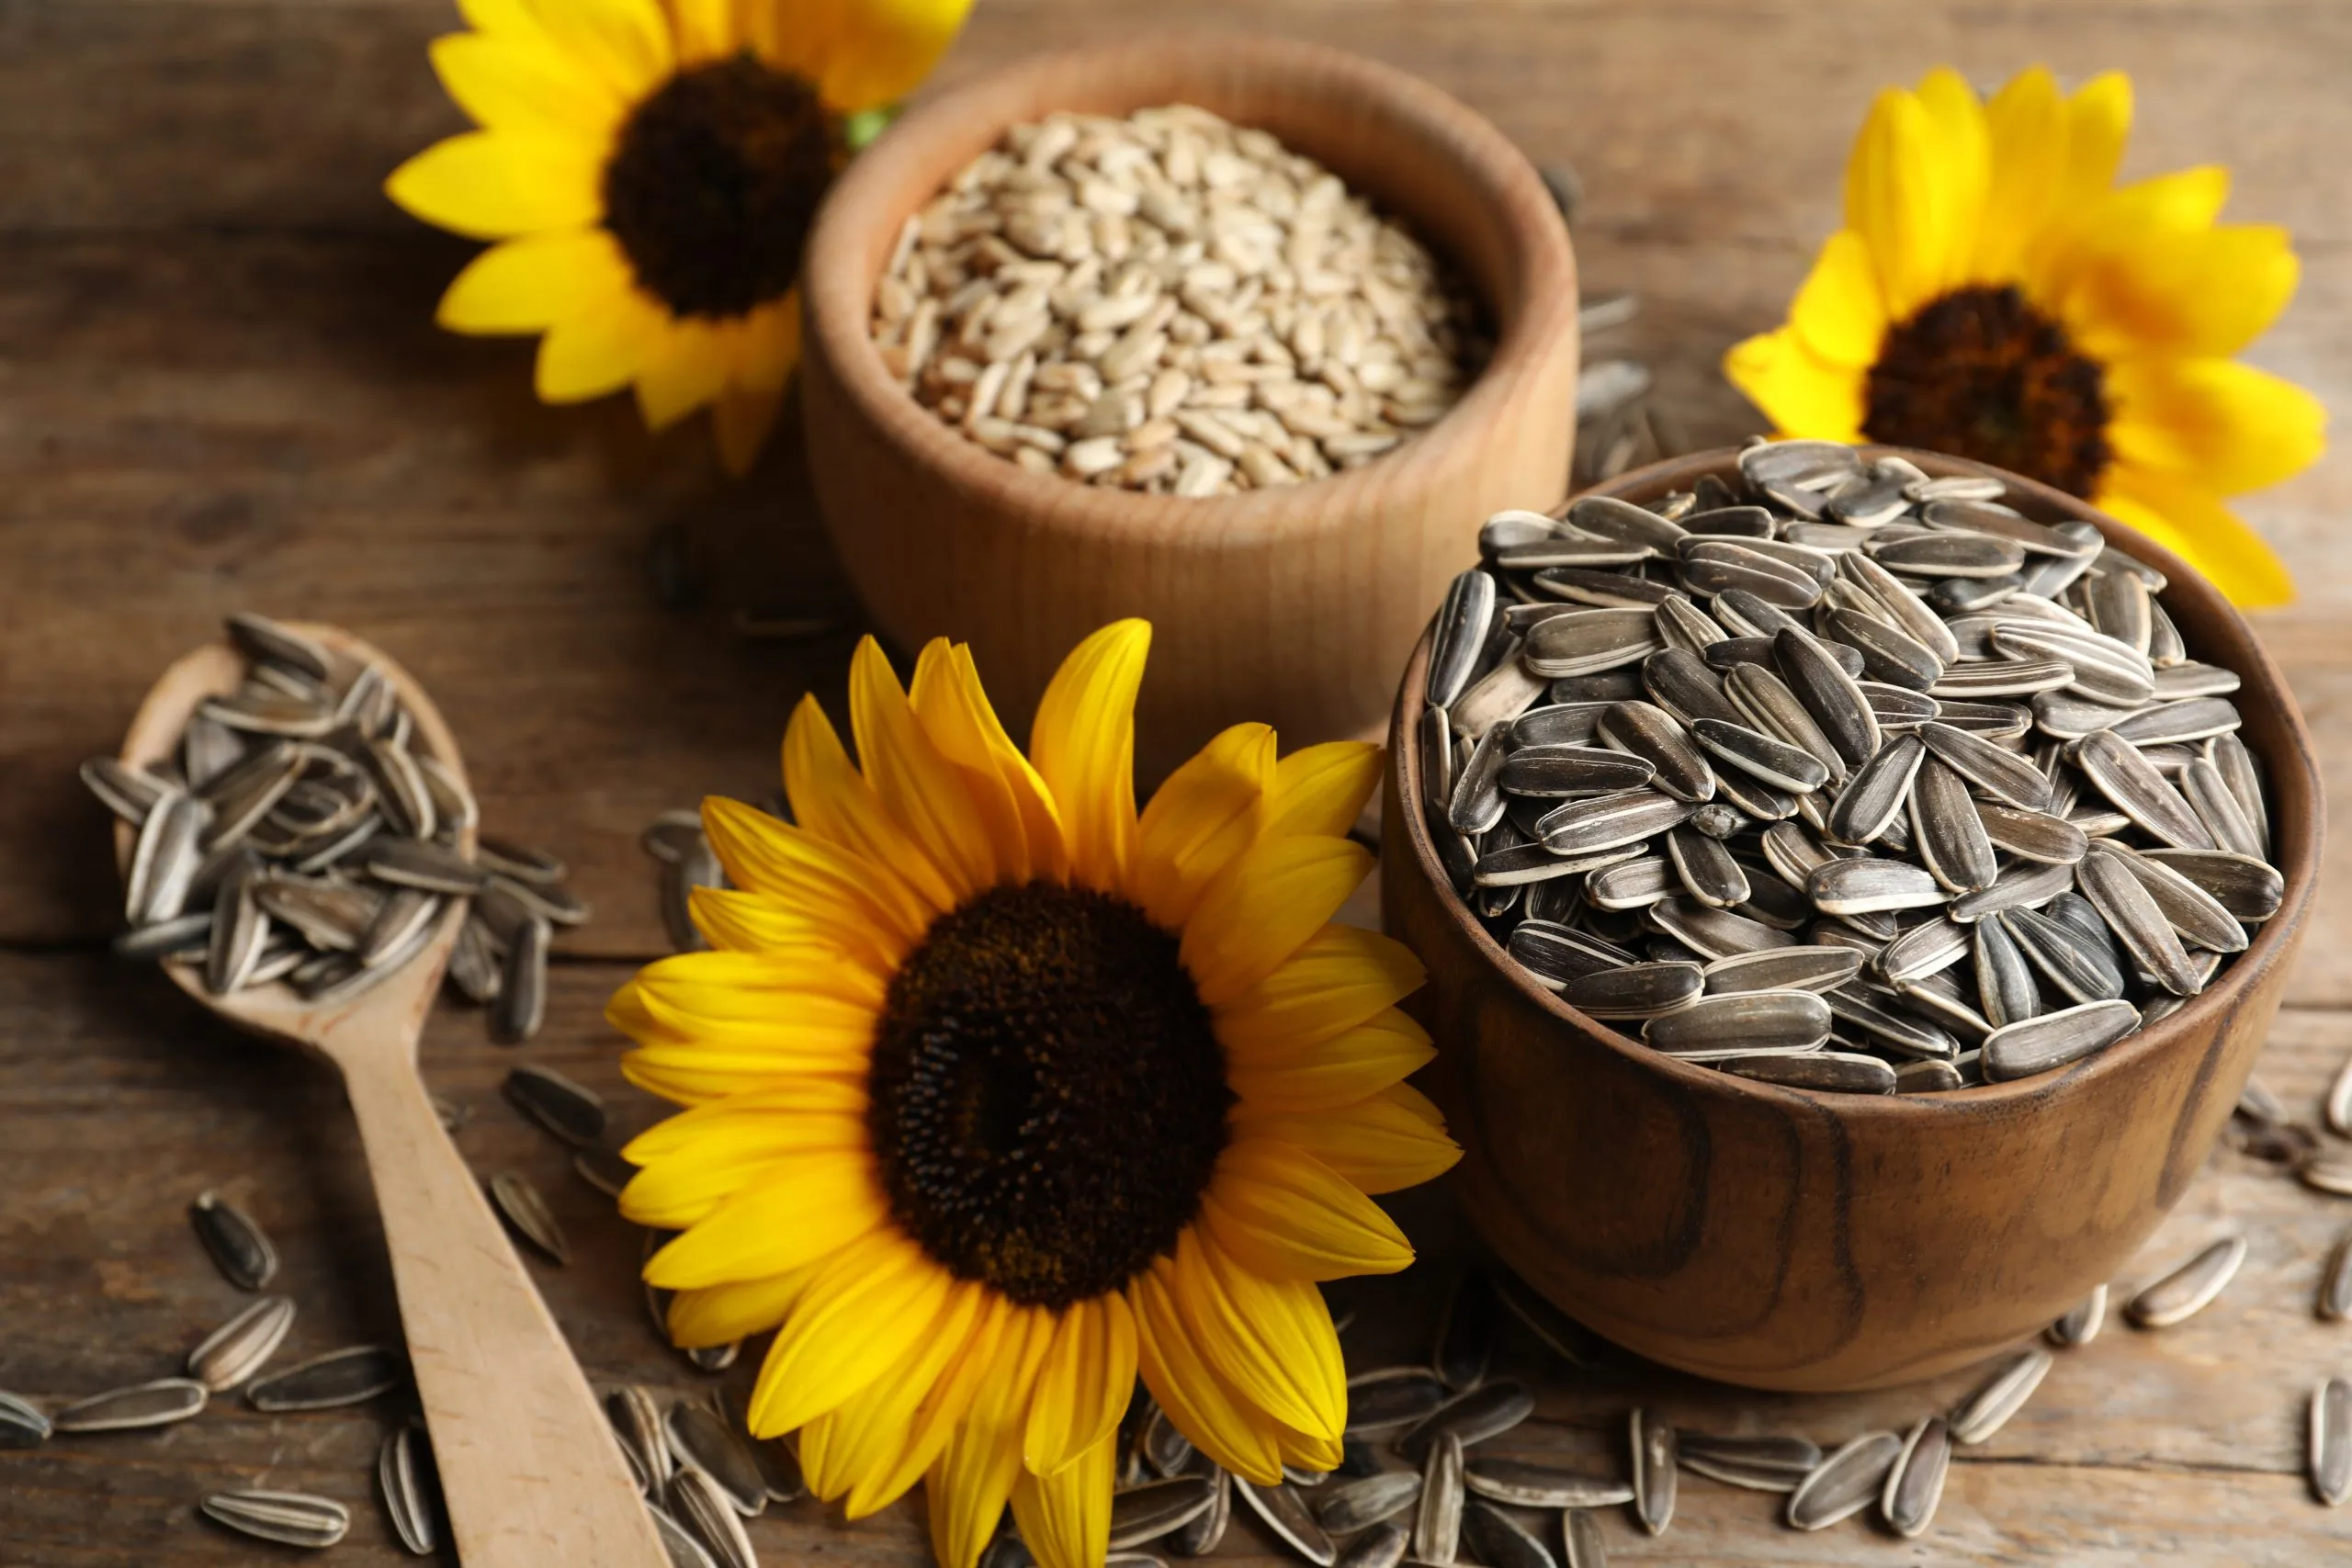
At this point, you may also want to remove any shells or hulls that may be present in the collection of sunflower seeds. While some people enjoy eating the seeds with the shells intact, others prefer to remove them for easier consumption. To remove the shells, you can gently crack the seeds between your teeth or use your fingers to separate the shell from the edible seed inside.
Once you are satisfied with the cleanliness and quality of the sunflower seeds, they are ready for further processing or immediate consumption.
That concludes step four of harvesting sunflower seeds. In the next step, we will explore the process of roasting the sunflower seeds to enhance their flavor and texture.
Step 5: Roasting the Sunflower Seeds
Roasting sunflower seeds is a popular way to enhance their flavor and add a delicious crunch. This step will take your freshly harvested sunflower seeds to a whole new level of enjoyment.
Start by preheating your oven to 325°F (163°C). While the oven is heating up, spread the cleaned sunflower seeds in a single layer on a baking sheet. Make sure to evenly distribute the seeds for even roasting.
Place the baking sheet with the sunflower seeds in the preheated oven. Roast the seeds for about 10-15 minutes, or until they turn golden brown. Keep a close eye on them to prevent any burning, as they can go from golden to burnt quickly.
During the roasting process, you may notice that the seeds will start to crack and release their natural oils, which is what gives them their characteristic flavor and texture. The roasting time may vary depending on the size and moisture content of the seeds, so it’s important to monitor them closely.
Once the sunflower seeds are nicely roasted, remove them from the oven and allow them to cool completely on the baking sheet. As they cool, they will continue to crisp up, so don’t rush this step. Once cooled, you can enjoy the roasted sunflower seeds as a snack, add them to salads, trail mixes, or incorporate them into your favorite recipes.
If you prefer flavored sunflower seeds, you can also try adding your favorite seasonings before roasting. Toss the cleaned seeds in a bowl with a drizzle of olive oil or melted butter, then sprinkle them with your desired seasonings, such as salt, garlic powder, paprika, or even a touch of cinnamon and sugar for a sweet twist. Mix well to ensure the seeds are evenly coated before spreading them on the baking sheet for roasting.
That concludes step five of harvesting sunflower seeds. In the final step, we will discuss the importance of properly storing your freshly harvested and roasted sunflower seeds for long-term enjoyment.
Step 6: Storing the Sunflower Seeds
Properly storing your freshly harvested or roasted sunflower seeds is essential to maintain their freshness, flavor, and texture over time. Here are some tips to ensure you can enjoy your sunflower seeds for an extended period:
1. Cool and Dry Environment: Store your sunflower seeds in an airtight container, such as a glass jar or a resealable plastic bag. Place the container in a cool and dry area, away from direct sunlight and heat sources. This will help preserve the quality of the seeds and prevent them from becoming rancid.
2. Avoid Moisture: Moisture can quickly spoil sunflower seeds, causing mold or rot. Make sure the seeds are completely dry before storing them. Consider adding a moisture absorber, such as a silica gel packet, to the storage container to keep the seeds dry and fresh.
3. Label and Date: To keep track of the freshness of your sunflower seeds, label the storage container with the date of harvest or the date of roasting. This will help you prioritize the use of older seeds first to ensure they are enjoyed at their best.
4. Freezing Option: If you have a large quantity of sunflower seeds and want to extend their shelf life even further, you can freeze them. Place the seeds in an airtight freezer bag or a freezer-safe container, removing as much air as possible, and freeze them for up to a year. Thaw them at room temperature before using.
5. Regularly Check for Freshness: Over time, sunflower seeds can lose their freshness and become stale. Periodically check the stored seeds for any signs of rancidity or off-putting flavors. If you notice any negative changes, it’s best to discard and replace them.
By following these storage tips, you can ensure that your sunflower seeds stay fresh and delicious for an extended period, allowing you to enjoy them as a healthy snack or add them to your favorite recipes whenever you desire.
With Step 6, we have covered all the essential steps for harvesting sunflower seeds for eating. Now, armed with this knowledge, you are ready to embark on your sunflower seed harvesting adventure and maximize your yield for a truly satisfying and flavorful experience!
Conclusion
Harvesting sunflower seeds for eating is a rewarding process that allows you to enjoy the delicious and nutritious benefits of these versatile seeds. By following the steps outlined in this guide, you can ensure a successful harvest and maximize your yield.
From selecting the right sunflower heads to drying, removing, cleaning, and roasting the seeds, each step plays a crucial role in the final outcome. Choose mature sunflower heads, dry them thoroughly, remove the seeds with care, clean them meticulously, and roast them to perfection for a delightful flavor and texture.
One of the significant advantages of harvesting your own sunflower seeds is the control you have over the quality and purity of the seeds. By avoiding chemicals and pesticides, you can be confident in the natural and healthy product you are consuming.
Don’t forget about the versatility of sunflower seeds. They can be enjoyed as a snack on their own, added to salads, baked goods, or incorporated into your favorite recipes for an added crunch and nutritional boost.
Remember to store your freshly harvested or roasted sunflower seeds in a cool, dry place to maintain their freshness and flavor over time. Proper storage techniques will ensure that you can enjoy the seeds for an extended period.
So, why not give sunflower seed harvesting a try? With a little time and effort, you can experience the satisfaction of growing and harvesting your own food while enjoying the delicious taste and nutritional benefits of sunflower seeds.
Now that you have mastered the art of sunflower seed harvesting, go out and start reaping the rewards of your own homegrown bounty.