Home>Types of Gardening>Edible Gardening>How To Save Tomato Seeds For Planting Next Year

Edible Gardening
How To Save Tomato Seeds For Planting Next Year
Published: September 5, 2023
Learn how to save tomato seeds for planting next year and ensure a successful edible gardening season. Explore step-by-step instructions and expert tips.
(Many of the links in this article redirect to a specific reviewed product. Your purchase of these products through affiliate links helps to generate commission for Chicagolandgardening.com, at no extra cost. Learn more)
Table of Contents
Introduction
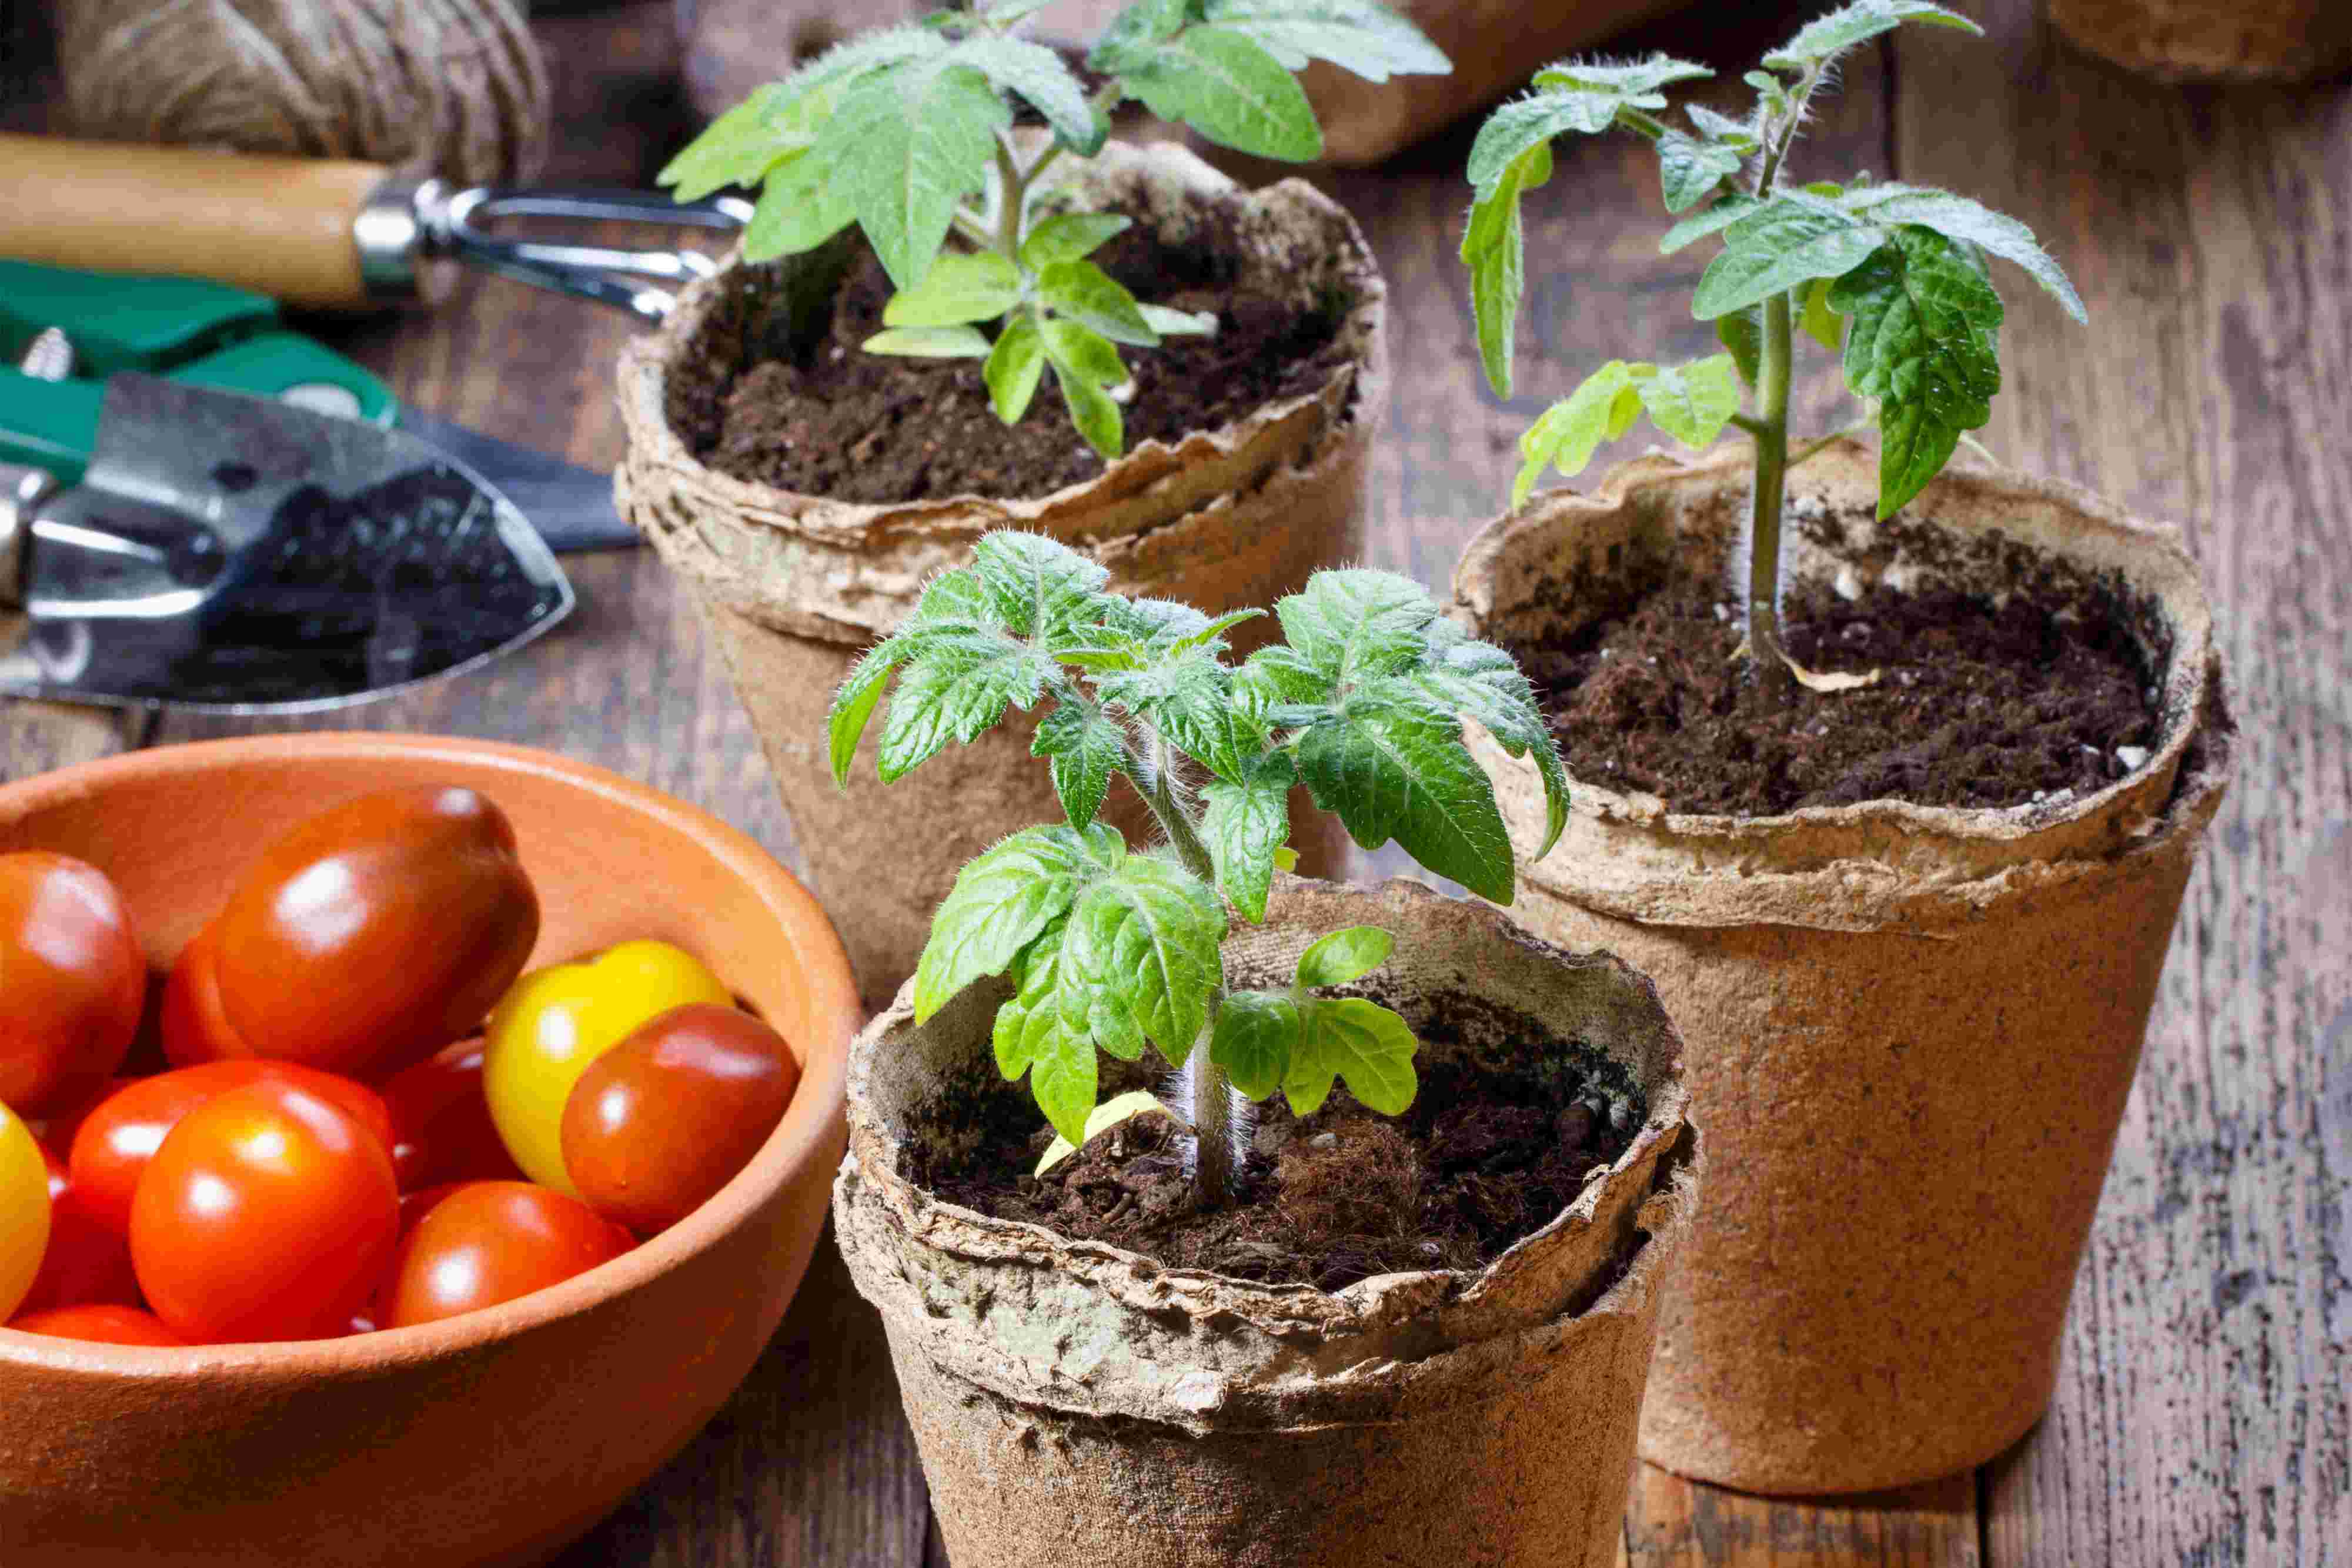
Welcome to the exciting world of edible gardening! There’s nothing quite like the satisfaction of growing your own delicious and nutritious fruits and vegetables. And when it comes to edible gardening, tomatoes are undoubtedly one of the most popular and rewarding crops to cultivate. But did you know that you can save the seeds from your ripe tomatoes and plant them again next year? Not only does this practice save you money, but it also allows you to maintain the unique characteristics of your favorite tomato varieties. In this article, we will explore the art of saving tomato seeds for planting in the future.
Why should you bother saving tomato seeds when you can easily purchase them at your local gardening store or online? Well, there are several benefits to seed saving. First and foremost, it allows you to become more self-sufficient and less reliant on external sources for your gardening needs. By saving your own tomato seeds, you can create a sustainable cycle of seed production that ensures a continuous supply of your favorite tomato varieties for years to come.
Another advantage of saving tomato seeds is the preservation of unique traits and flavor profiles. Over time, commercial seed suppliers may discontinue or modify certain tomato varieties, making it difficult for you to find the exact taste and characteristics you love. By saving and planting seeds from your own homegrown tomatoes, you can maintain the specific traits that make your tomatoes stand out – whether it’s a vibrant color, exceptional sweetness, or a perfect balance of acidity.
Furthermore, saving tomato seeds is a great way to connect with the fascinating history and heritage of tomatoes. Many heirloom and heritage tomato varieties have been passed down through generations, each with a story to tell. By continuing the cycle of seed saving, you become part of this rich tradition and contribute to the preservation of biodiversity in our edible gardens.
Now that you understand the benefits of saving tomato seeds, let’s dive into the steps you need to follow in order to successfully save and store tomato seeds for planting next year. Whether you’re a seasoned gardener or just starting out, this process is relatively simple and can be done with minimal equipment and resources. Get ready to embark on a new gardening adventure and watch as your tomato plants flourish year after year!
Benefits of Saving Tomato Seeds
Saving tomato seeds goes beyond just the financial savings and convenience of growing your own tomatoes. There are several other benefits that come with seed saving that make it a worthwhile practice for any gardener. Here are some of the key advantages:
- Budget-friendly: One of the most obvious benefits of saving tomato seeds is the cost savings. Instead of purchasing new seeds each year, you can simply save seeds from your existing tomato plants. This not only reduces your gardening expenses but also allows you to allocate your budget towards other gardening supplies or plant varieties.
- Preserving heirloom and rare varieties: Seed saving is essential for preserving heirloom and rare tomato varieties. Many unique and flavorful tomato cultivars are becoming increasingly rare as commercial agriculture focuses on uniformity and mass production. By saving seeds from these unique varieties, you are helping to maintain genetic diversity and preserve the rich history of tomatoes.
- Customization and adaptation: Saving seeds gives you the opportunity to select and develop tomato plants that are perfectly adapted to your specific growing conditions. Over time, you can save seeds from the plants that perform exceptionally well in your garden, resulting in stronger and more resilient tomatoes that are suited to your local climate and soil conditions.
- Educational and rewarding experience: Seed saving provides a valuable educational experience, allowing you to delve deeper into the life cycle of plants and understand the intricacies of pollination and reproduction. It’s a hands-on way to learn about plant biology and gain a deeper appreciation for the natural processes that govern our gardens.
- Quality control: When you save your own tomato seeds, you have complete control over the quality and purity of the seeds. You can ensure that your plants are free from any chemical treatments or genetic modifications, giving you peace of mind that you’re growing organic, healthy tomatoes.
- Sharing with others: Seed saving also provides you with the opportunity to share your favorite tomato varieties with friends, family, and fellow gardeners. By sharing seeds, you are not only spreading the joy of gardening but also contributing to the conservation of rare and unique tomato cultivars.
As you can see, there are numerous benefits to saving tomato seeds. From cost savings and preserving rare varieties to customization and educational experiences, seed saving is a rewarding and sustainable practice that allows you to have a greater connection to your garden. So, grab those ripe tomatoes and start saving those seeds for a fruitful gardening journey!
Choosing the Right Tomatoes for Seed Saving
When it comes to seed saving, selecting the right tomatoes is crucial. Not all tomato varieties are suitable for seed saving, as some are hybrids or genetically modified organisms (GMOs) that do not reliably reproduce from saved seeds. To ensure successful seed saving, follow these guidelines when choosing tomatoes for seed saving:
- Open-pollinated and heirloom varieties: Look for tomato varieties that are open-pollinated or heirlooms. These varieties have been naturally pollinated and have stable genetic traits, making them more likely to produce consistent offspring. Avoid hybrids, which are a cross between two different varieties and do not produce true-to-type seeds.
- Non-GMO: It is important to select tomatoes that are non-GMO. GMO tomatoes have been genetically modified in a laboratory, and the resulting seeds may not produce plants with the desired characteristics. Choose organic or non-GMO certified tomatoes to ensure the quality and integrity of your saved seeds.
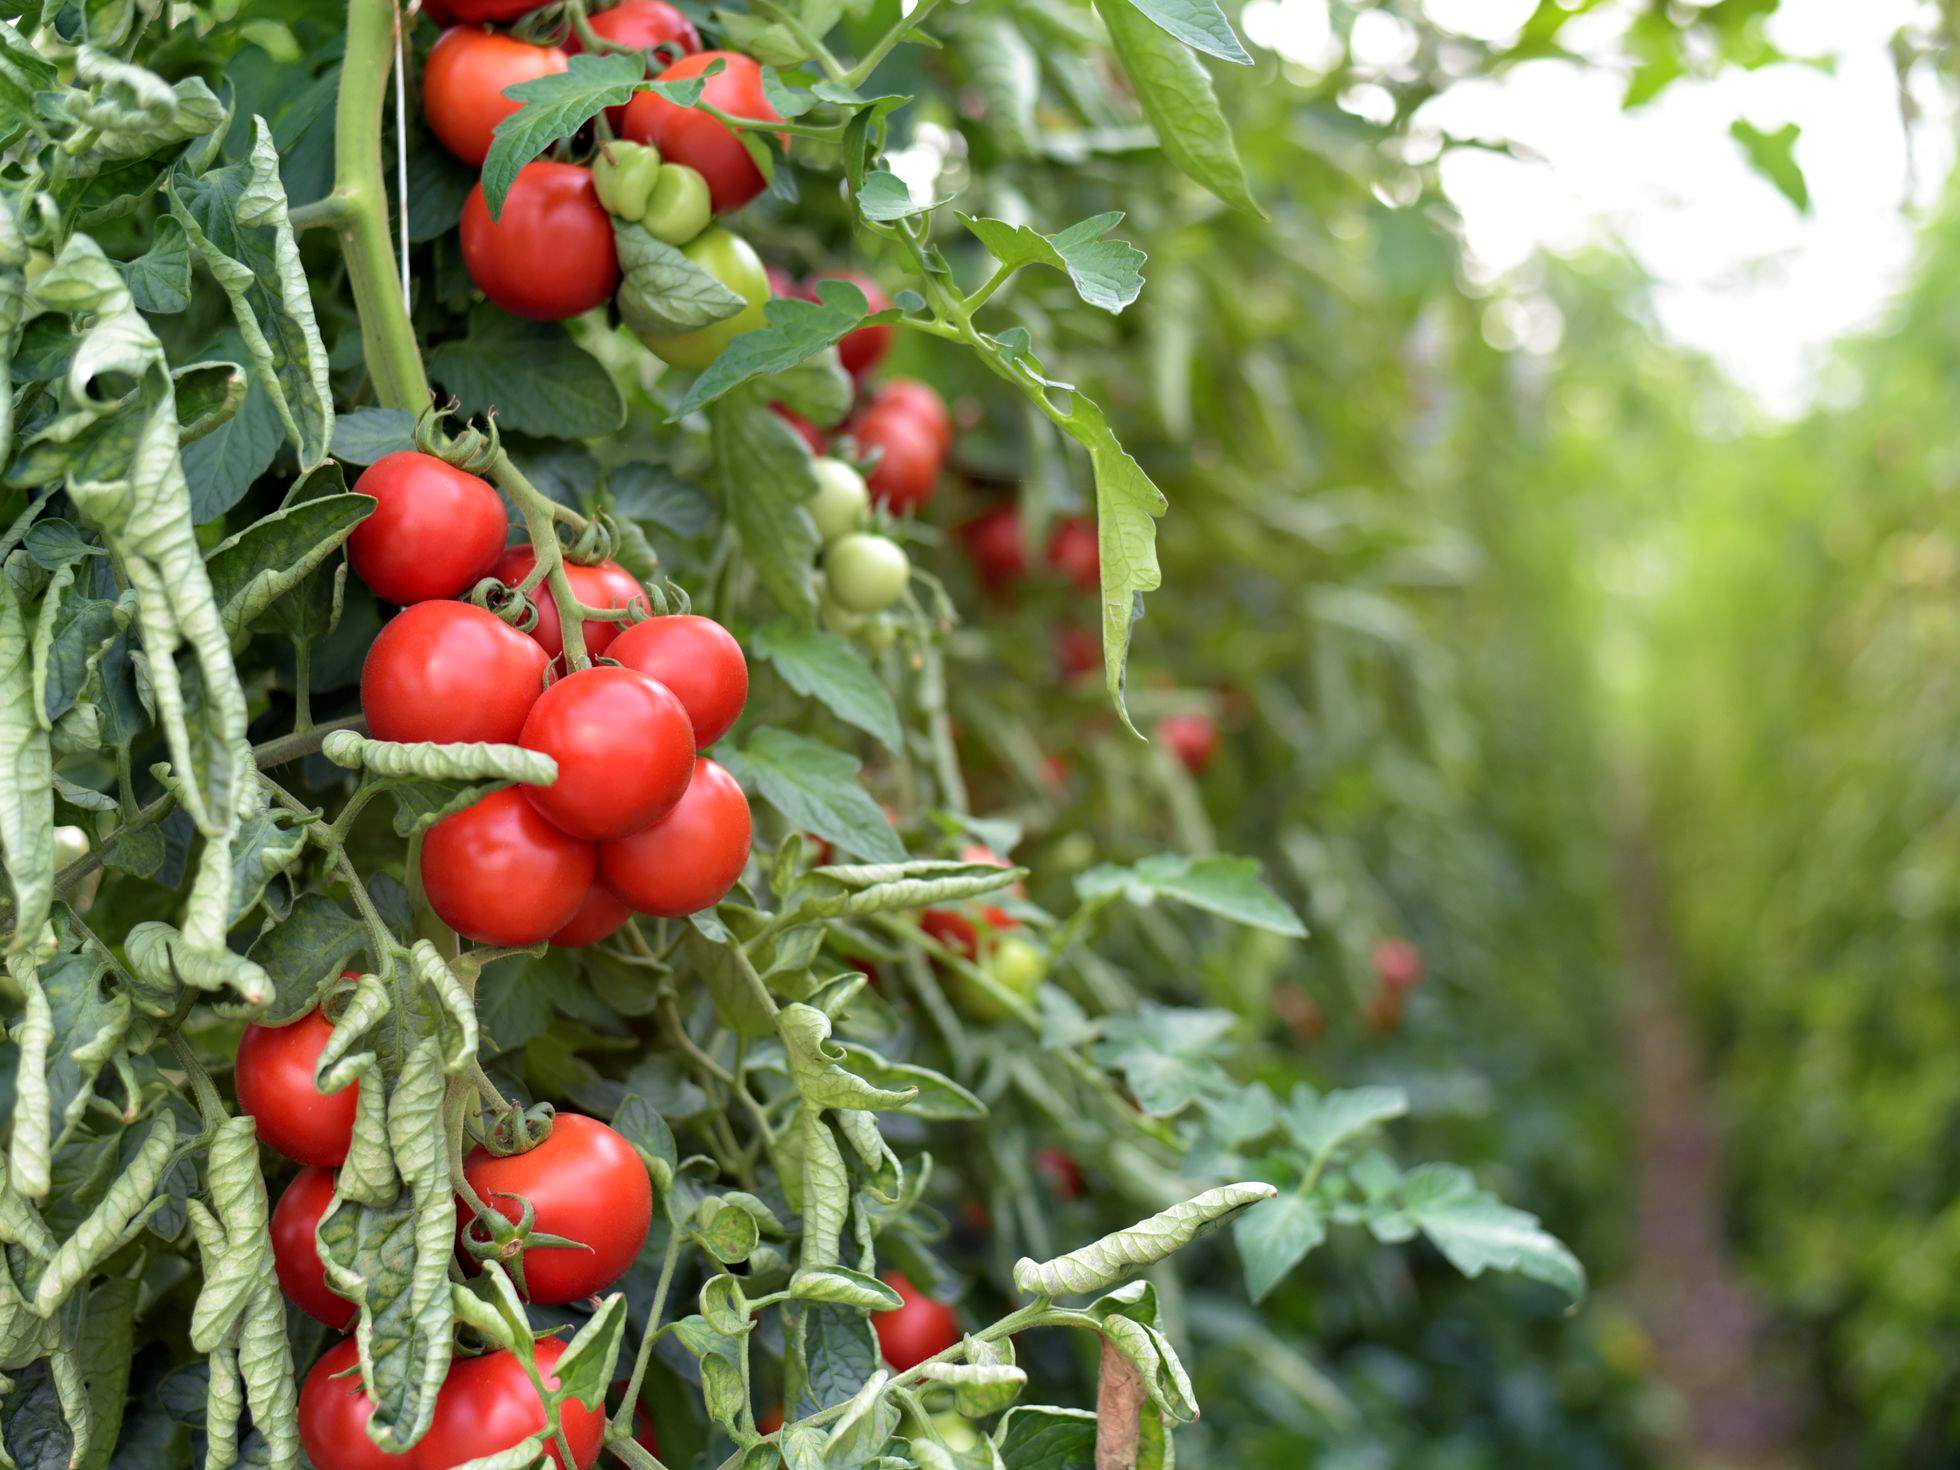
- Mature and disease-free fruits: Select fully mature, healthy tomatoes for seed saving. The fruits should be free from any signs of disease, rot, or pest damage. By choosing healthy tomatoes, you increase the chances of obtaining viable seeds that will give rise to robust and productive plants.
- Flavor and traits: Consider the flavor, texture, and other desirable characteristics of the tomatoes you plan to save seeds from. Focus on varieties that have exceptional taste, unique colors, or specific traits that you would like to preserve and pass on to future generations.
- Isolation distance: If you plan to save seeds from multiple tomato varieties, make sure to maintain an adequate distance between the different varieties to prevent cross-pollination. This can be achieved by spacing the plants or using physical barriers like netting or cages. Cross-pollination can result in unexpected traits in the offspring, making it difficult to maintain the desired characteristics of a specific variety.
Remember, selecting the right tomatoes is the first step in successful seed saving. By choosing open-pollinated, non-GMO, mature, and disease-free fruits with desirable flavors and traits, you can ensure that your saved tomato seeds will yield healthy and productive plants. Now that you know how to choose the right tomatoes for seed saving, let’s move on to the next step in the seed saving process: properly harvesting tomato seeds.
Properly Harvesting Tomato Seeds
Harvesting tomato seeds requires some careful attention to ensure successful seed saving. Here are the steps to properly harvest tomato seeds:
- Choose fully ripe tomatoes: Select tomatoes that are fully ripe but not overripe. Look for fruits that have reached their peak color and are firm to the touch. Overripe tomatoes may have seeds that are not fully developed or viable.
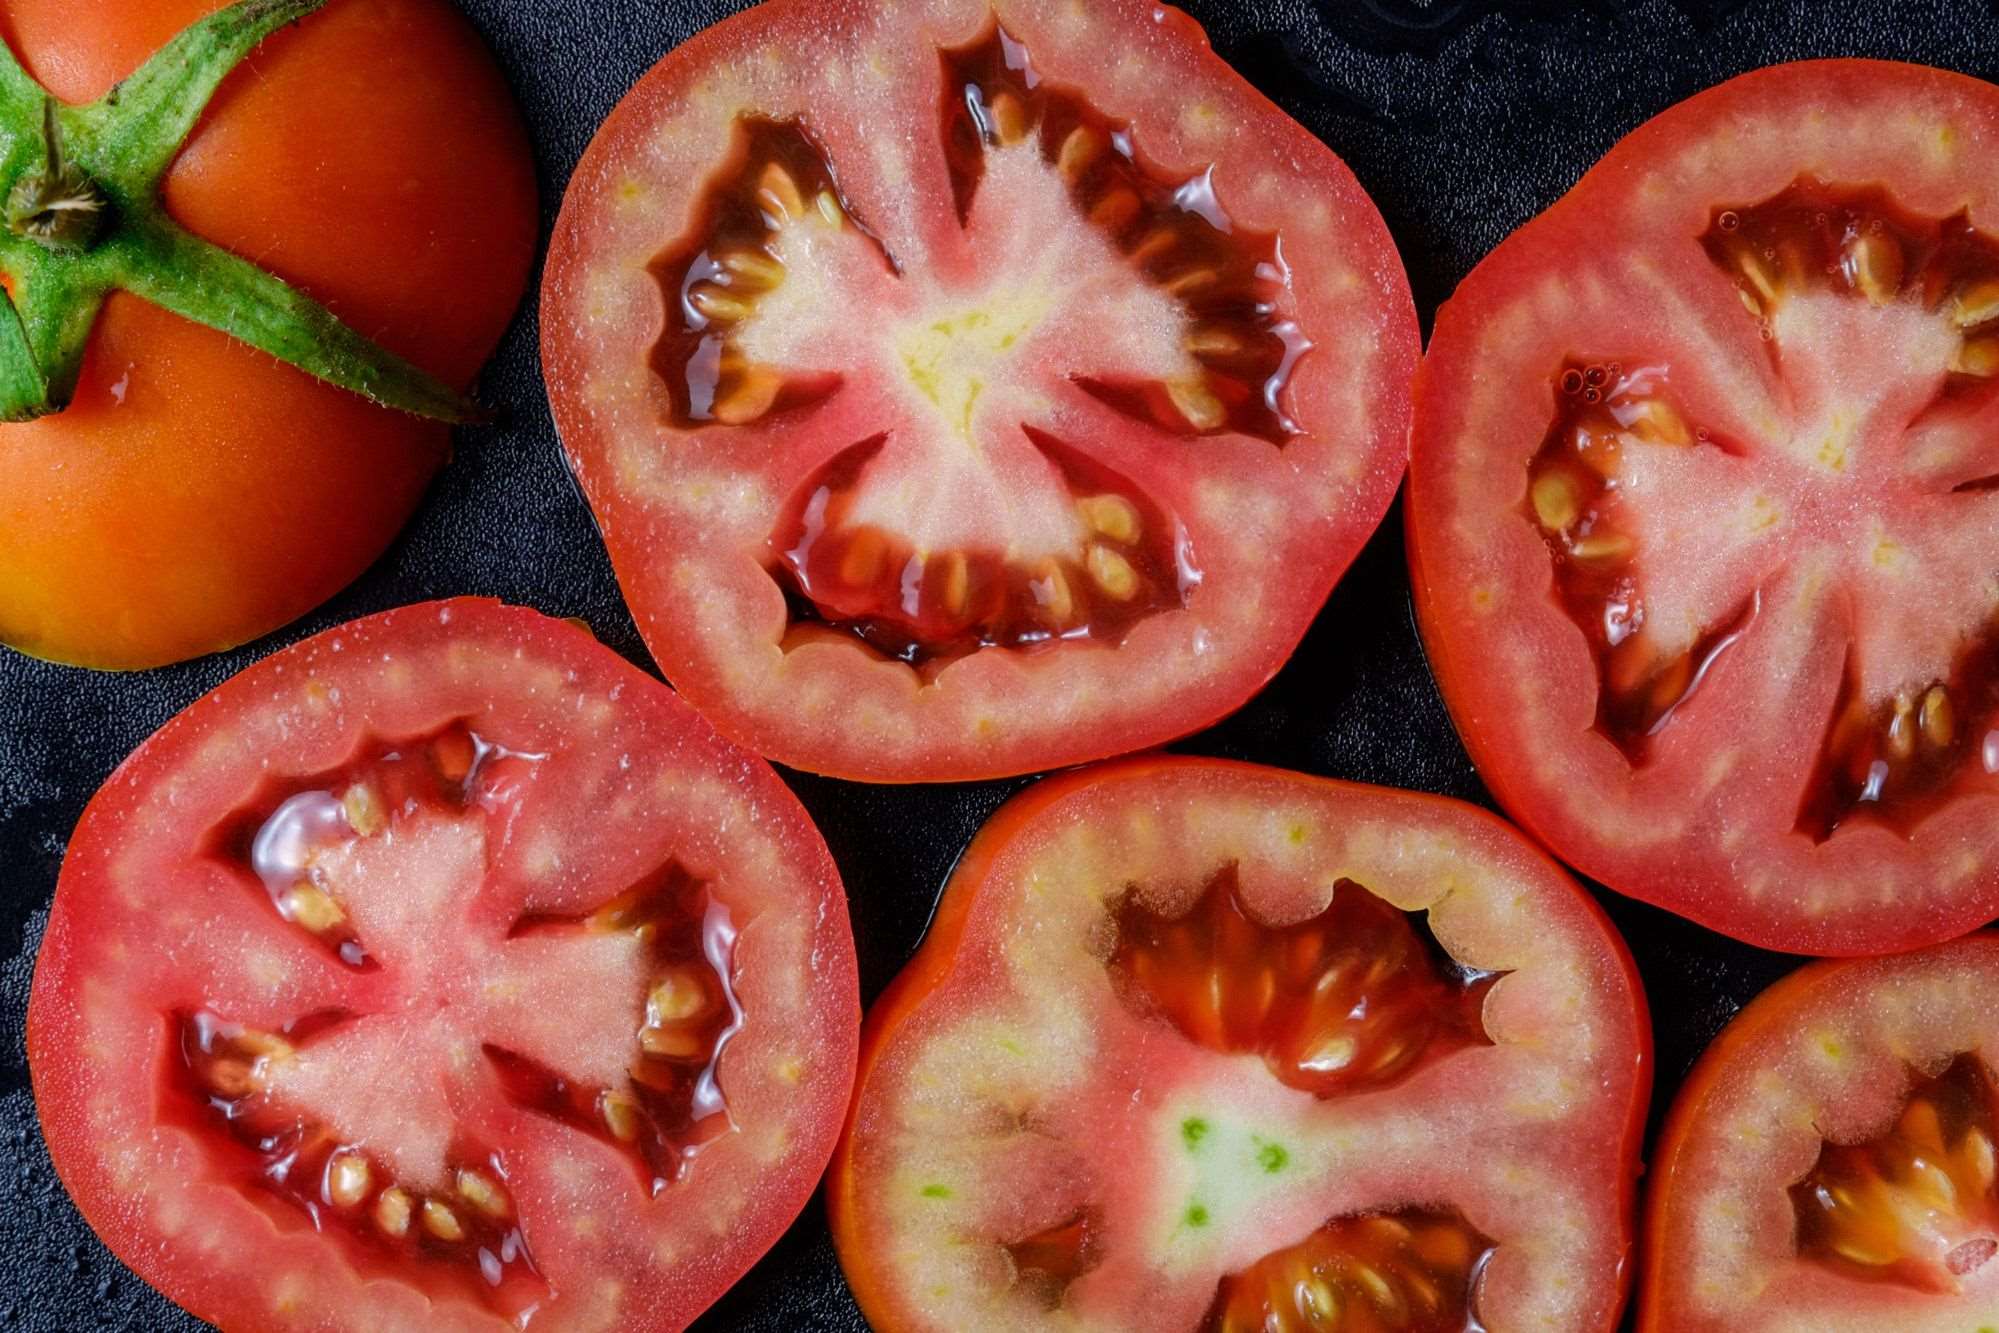
- Cut the tomatoes: Use a sharp knife or scissors to cut the tomatoes in half horizontally. This will provide easy access to the seed-filled chambers inside.
- Remove the gel and seeds: Gently squeeze the tomato halves over a bowl or container to extract the gel and seeds. Avoid squishing the tomatoes too forcefully, as this can damage the seeds. The gel surrounding the seeds contains natural substances that can inhibit germination if not removed.
- Transfer to a fermentation container: Place the gel and seed mixture into a fermentation container, such as a glass or plastic jar. Make sure to label the container with the tomato variety and date of collection for future reference.
- Add water and stir: Add about twice the volume of water as the tomato seeds and pulp in the fermentation container. Stir the mixture to break up the gel and help separate the seeds from the pulp.
- Allow fermentation: Cover the fermentation container with a breathable cloth or plastic wrap secured with a rubber band. Place it in a warm area, away from direct sunlight. Allow the mixture to ferment for 2-5 days. During this time, fermentation will break down the gel and pulp, helping to release the seeds and remove any potential pathogens.
- Check for fermentation completion: After a few days, check the fermentation container. You should see a layer of mold forming on top of the mixture, and the liquid should have a sour odor. This indicates that fermentation is complete.
- Separate and rinse the seeds: Pour the fermented mixture into a fine-mesh sieve or colander and rinse under running water. Gently rub the seeds with your fingers to remove any remaining pulp. Make sure to rinse thoroughly until the water runs clear.
- Dry the seeds: Spread the seeds in a single layer on a paper towel, a coffee filter, or a fine-mesh drying screen. Place them in a well-ventilated area away from direct sunlight. Stir or shuffle the seeds occasionally to promote even drying. Allow the seeds to dry completely, which usually takes about one to two weeks.
- Label and store the seeds: Once the seeds are completely dry, label them with the tomato variety and date of collection. Store the seeds in airtight containers, such as glass jars or sealed envelopes, in a cool, dry, and dark place. Properly stored tomato seeds can remain viable for several years.
Properly harvesting tomato seeds ensures that you obtain viable and healthy seeds for future planting. Now that you have successfully harvested the seeds, it’s time to move on to the next step in the seed saving process: fermenting the tomato seeds.
Fermenting the Tomato Seeds
Fermenting tomato seeds is an important step in the seed saving process. This method helps remove the gel that surrounds the seeds and can inhibit germination if not removed. Follow these steps to ferment your tomato seeds:
- Transfer the seed-filled pulp to a jar: After extracting the gel and seeds from the ripe tomatoes, transfer the mixture to a glass or plastic jar. Make sure to label the jar with the tomato variety and date of collection.
- Add water to the jar: Add about twice the volume of water as the seed and pulp mixture in the jar. The water will help break down the gel and facilitate the fermentation process.
- Stir the mixture: Gently stir the mixture using a clean spoon or stick. This will help break up the gel and pulp, allowing the seeds to separate and sink to the bottom of the jar.
- Cover the jar: Cover the jar with a breathable cloth or plastic wrap secured with a rubber band. This will allow air circulation while preventing insects or debris from entering the jar.
- Place in a warm area: Find a warm spot in your home, away from direct sunlight, and place the jar there. The optimal temperature for fermentation is around 70-80°F (21-27°C).
- Allow fermentation: Let the mixture ferment for 2-5 days. During this time, naturally occurring bacteria and yeast will break down the gel and pulp, effectively separating the seeds and removing any potential pathogens.
- Check for fermentation completion: After a few days, check the fermentation container. You should notice a layer of mold forming on top of the mixture, and the liquid should have a sour odor. These signs indicate that the fermentation process is complete.
- Separate and rinse the seeds: Pour the fermented mixture into a fine-mesh sieve or colander. Rinse the seeds thoroughly under running water while gently rubbing them to remove any remaining pulp. Continue rinsing until the water runs clear.
- Dry the seeds: Spread the rinsed seeds in a single layer on a paper towel, a coffee filter, or a fine-mesh drying screen. Place them in a well-ventilated area away from direct sunlight. Stir or shuffle the seeds occasionally to ensure even drying. Allow the seeds to dry completely, which typically takes about one to two weeks.
- Label and store the seeds: Once the seeds are thoroughly dried, label them with the tomato variety and date of collection. Store the seeds in airtight containers, such as glass jars or sealed envelopes, in a cool, dry, and dark place. Properly stored tomato seeds can remain viable for several years.
Fermenting tomato seeds is a crucial step in seed saving, as it helps remove the gel and pulp, ensuring the viability of the seeds. Now that you have completed the fermentation process, the next step is washing and drying the tomato seeds.
Washing and Drying Tomato Seeds
Washing and drying tomato seeds is an important step to ensure the longevity and viability of the seeds for future planting. Follow these steps to properly wash and dry your tomato seeds:
- Prepare a fine-mesh sieve or colander: Find a sieve or colander with a fine mesh that will allow water to pass through while retaining the small tomato seeds. Ensure that the sieve or colander is clean and free from any residue.
- Transfer the seeds to the sieve or colander: Pour the fermented tomato seeds onto the sieve or colander. Use your fingers to gently separate any clumps or clusters of seeds to ensure proper washing.
- Rinse the seeds under running water: Hold the sieve or colander under a gentle stream of running water. Use your fingers to move the seeds around, rinsing them thoroughly. Rub the seeds gently to remove any remaining pulp. Continue rinsing until the water runs clear.
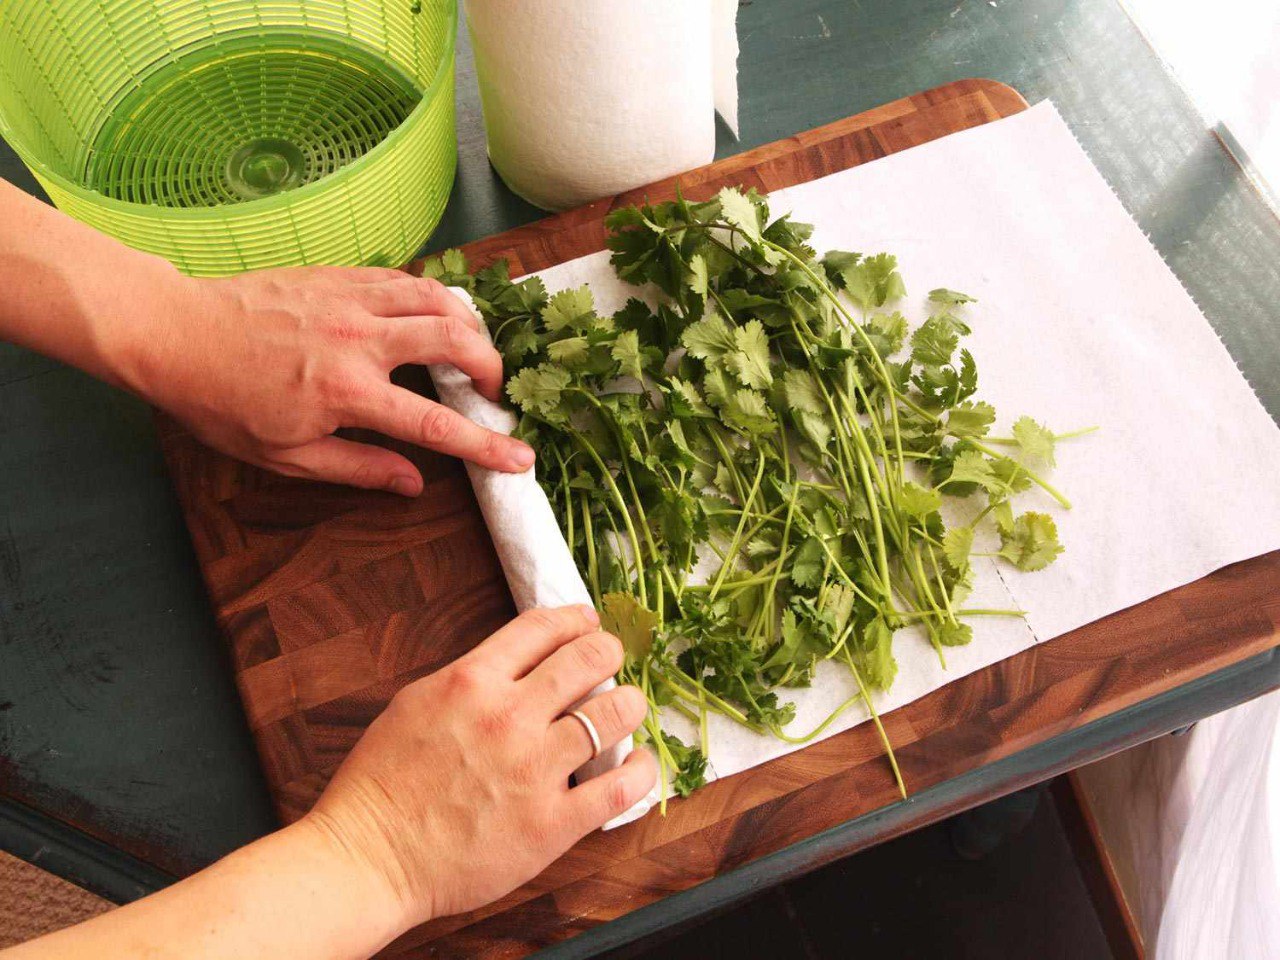
- Pat the seeds dry: Once the seeds are rinsed, transfer them to a clean paper towel or a dry, absorbent cloth. Gently pat the seeds dry, removing excess water. Be careful not to rub or crush the seeds, as they are delicate at this stage.
- Spread the seeds for drying: Transfer the damp seeds to a clean surface, such as a paper plate or another dry paper towel. Spread them out in a single layer, ensuring they are not touching each other. This will allow for proper airflow during the drying process.
- Dry the seeds in a well-ventilated area: Place the seeds in a well-ventilated area away from direct sunlight. Ensure that the drying area is dry and free from any moisture. Stir or shuffle the seeds occasionally to prevent clustering and promote even drying.
- Allow the seeds to dry completely: Drying time can vary, but it usually takes about one to two weeks for the tomato seeds to dry completely. The seeds should be hard and crispy to the touch. Avoid drying them too quickly, as this may lead to uneven drying and reduced seed viability.
- Label and store the seeds: Once the tomato seeds are completely dry, label them with the tomato variety and the date of collection. Store the seeds in airtight containers, such as glass jars, envelopes, or seed packets. Place the containers in a cool, dry, and dark location. Properly stored tomato seeds can remain viable for several years.
Washing and drying your tomato seeds ensures that they are clean, dry, and ready for storage. By following these steps, you can optimize the longevity and viability of your saved tomato seeds. Now that you have completed the washing and drying process, it’s time to move on to storing the tomato seeds for future planting.
Storing Tomato Seeds for Next Year
Proper storage of tomato seeds is essential to maintain their viability and ensure successful germination when you’re ready to plant them. Follow these steps to store your tomato seeds for next year:
- Ensure seeds are completely dry: Before storing the seeds, ensure they are fully dried. Properly dried seeds have a hard and crispy texture. If there is any residual moisture, the seeds may mold or deteriorate during storage.
- Label and organize the seeds: Label each storage container, such as glass jars, envelopes, or seed packets, with the name of the tomato variety and the date of collection. This step prevents confusion and allows you to easily identify and select the seeds when it’s time to plant them.
- Choose suitable storage containers: Select airtight containers that provide protection from moisture, light, and temperature fluctuations. Glass jars with tight-fitting lids are ideal for storing tomato seeds, but envelopes or seed packets made from moisture-resistant material can also be effective.
- Store seeds in a cool, dry, and dark place: Choose a storage location that is cool, dry, and away from direct sunlight. Basement storage areas, refrigerators, or cool cupboards are great options. Avoid storing seeds in places with high humidity, as moisture can lead to mold and seed degradation.
- Monitor the storage environment: Regularly check the storage environment for any signs of moisture, pests, or temperature fluctuations. Remove any damaged or moldy seeds immediately to prevent the spread of contamination to other seeds.
- Control temperature and humidity: Maintain a consistent temperature and humidity level in the storage area. Extreme temperature fluctuations and high humidity can decrease seed viability. Aim for a temperature range of 40-50°F (4-10°C) and a humidity level of 30-50% for optimal seed storage.
- Perform germination tests: Periodically perform germination tests on a small sample of stored seeds to ensure their viability. This involves planting a controlled number of seeds in a suitable growing medium and observing the germination rate. If the germination rate drops significantly, it may be necessary to refresh your seed stock with fresh seeds.
- Replace old seeds if necessary: Over time, the viability of stored tomato seeds may diminish. It is a good practice to replace older seeds with fresh ones every few years to maintain higher germination rates and healthy plant growth.
By following these steps, you can store your tomato seeds properly and increase their chances of successful germination and healthy plant growth in the future. Now that you have learned how to store tomato seeds, you are well-equipped to maintain a diverse and productive garden year after year.
Troubleshooting and Common Mistakes
While saving tomato seeds is a relatively straightforward process, it’s not uncommon to encounter some challenges along the way. Here are some common mistakes and troubleshooting tips to help you overcome potential issues:
- Poor seed quality: If your saved tomato seeds are not germinating or producing weak seedlings, the quality of the original seeds may be the issue. Ensure that you are starting with high-quality seeds from healthy and disease-free tomatoes.
- Inadequate fermentation: Insufficient fermentation can lead to seeds that are not fully separated from the pulp or cause mold to develop during storage. Be sure to allow the proper fermentation time (2-5 days) and check for signs of completed fermentation, such as the presence of mold and a sour odor.
- Incomplete drying: Seeds that are not adequately dried can become moldy or develop moisture-related issues during storage. Make sure to dry the seeds completely in a well-ventilated area, and avoid storing them before they are crispy and dry to the touch.
- Inaccurate labeling: Accurate labeling is essential for keeping track of the tomato varieties and the dates of seed collection. Make sure to label your containers correctly to avoid confusion and misidentification when it’s time to plant the seeds.
- Inadequate storage conditions: Improper storage conditions can lead to decreased seed viability. Ensure that your tomato seeds are stored in a cool, dry, and dark environment. Avoid storing them in areas with high humidity or exposed to fluctuations in temperature.
- Improper isolation: If you save seeds from multiple tomato varieties, improper isolation can result in cross-pollination. This can lead to unpredictable offspring with mixed traits. Maintain adequate distance or use physical barriers to prevent cross-pollination between different tomato varieties.
- Skipping germination tests: Regularly performing germination tests on a small sample of stored seeds helps ensure their viability. Skipping this step may result in wasting time and effort on planting non-viable seeds. Conduct germination tests to assess the quality of your stored tomato seeds.
- Forgetting to refresh seed stock: Over time, the viability of stored tomato seeds can decrease, resulting in lower germination rates. It’s a good practice to refresh your seed stock every few years by obtaining fresh seeds or saving new seeds from healthy tomatoes.
By being aware of these common mistakes and taking precautions to avoid them, you can increase the chances of successfully saving and storing your tomato seeds. Remember, each gardening journey is a learning experience, and troubleshooting along the way is a natural part of the process.
Conclusion
Congratulations! You have now learned the art of saving tomato seeds for planting in the future. By following the steps outlined in this article, you can enjoy the benefits of seed saving, including cost savings, preservation of unique tomato varieties, customization of plants, educational experiences, and the joy of sharing seeds with others.
Remember to choose the right tomatoes for seed saving, ensuring they are open-pollinated, non-GMO, mature, and disease-free. Properly harvest the seeds by removing the gel and pulp, and ferment them to break down the gel and remove potential pathogens. Then, wash and dry the seeds thoroughly to ensure their longevity and viability during storage. Finally, store the seeds in cool, dry, and dark conditions, properly labeled and organized for future use.
As you embark on your seed saving journey, don’t be discouraged by any challenges or mistakes you may encounter along the way. With time and practice, you will develop your own techniques and become more confident in saving tomato seeds and expanding your garden’s diversity.
Remember, seed saving is not only a practical and cost-effective approach to gardening, but it is also a way to connect with the rich history and heritage of tomatoes. Each seed holds the potential to grow into a thriving plant, providing you with a bountiful harvest year after year.
So, embrace the rewarding experience of saving tomato seeds and enjoy the journey of nurturing and cultivating your own unique tomato varieties. Happy gardening!