Home>Gardening Tips and Tricks>Problem Solving>How To Preserve Tomato Seeds
Problem Solving
How To Preserve Tomato Seeds
Published: September 10, 2023
Learn the best techniques for preserving tomato seeds and solving common problems. Find step-by-step instructions and expert tips to ensure successful seed saving.
(Many of the links in this article redirect to a specific reviewed product. Your purchase of these products through affiliate links helps to generate commission for Chicagolandgardening.com, at no extra cost. Learn more)
Table of Contents
Introduction
Preserving tomato seeds is a valuable skill that allows you to save and grow your favorite tomato varieties year after year. Whether you have heirloom tomatoes with unique flavors or hybrid tomatoes with outstanding traits, preserving their seeds will ensure a continuous supply of these beloved fruits. Not only does seed preservation provide you with a sustainable source of seeds, but it also allows you to maintain the specific characteristics of the tomatoes you love.
In this article, we will guide you through the process of preserving tomato seeds step by step. From harvesting the tomatoes to storing the seeds for future use, this comprehensive guide will give you the knowledge and confidence to successfully preserve tomato seeds.
But why should you bother preserving tomato seeds when you can simply buy new seeds each year? Well, for starters, preserving seeds is cost-effective, as you won’t need to purchase seeds each season. Additionally, by saving and regrowing your own seeds, you have complete control over the quality and variety of your tomatoes. You can select the best plants to save seeds from, ensuring that your future crops are just as delicious and productive.
Moreover, saving seeds is an act of conservation. As biodiversity in our food system faces challenges, preserving heirloom and rare tomato varieties helps safeguard their genetic makeup for future generations. By participating in seed preservation, you contribute to the continuation of diverse and resilient tomato species.
Now that you understand the importance of preserving tomato seeds, let’s dive into the step-by-step process to effectively save and store these valuable gems.
Step 1: Harvesting Tomatoes
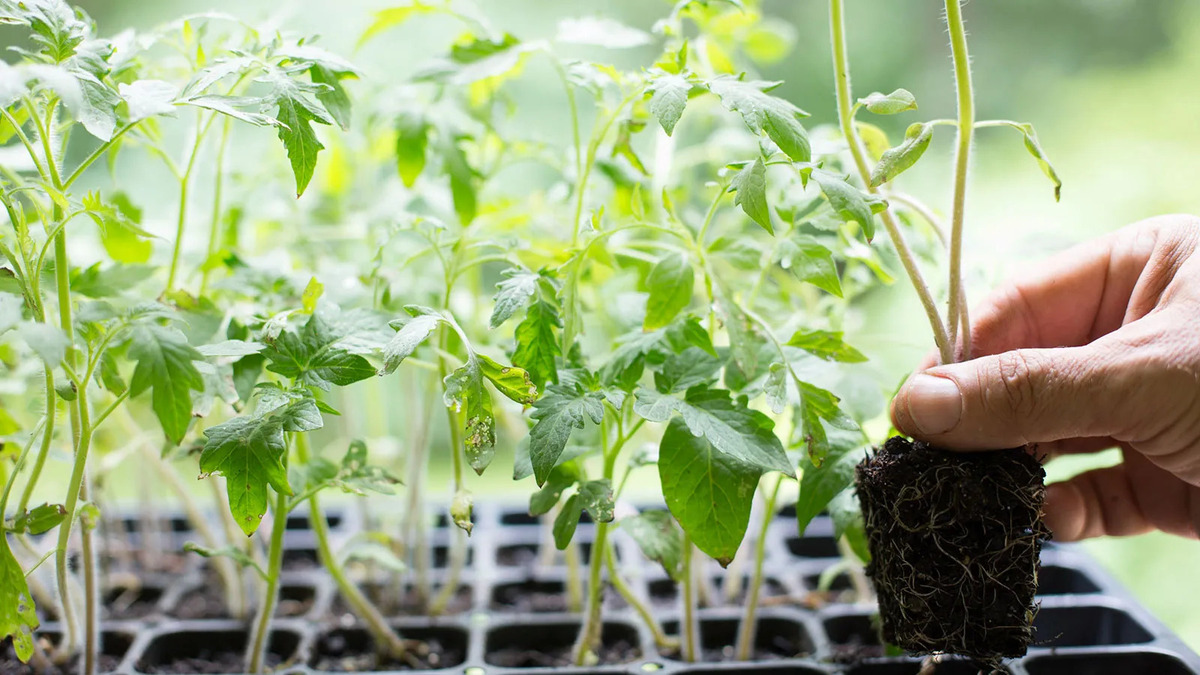
The first step in preserving tomato seeds is to harvest ripe, healthy tomatoes from your garden. When it comes to seed preservation, selecting the right tomatoes is crucial. Choose fully ripe tomatoes that are free from any signs of damage or disease. This ensures that the seeds within the tomatoes are mature and healthy.
To harvest the tomatoes, gently twist or cut the stem from the plant, leaving a small portion attached to the fruit. Be careful not to bruise or damage the tomatoes during the harvest process, as this can affect the quality of the seeds inside.
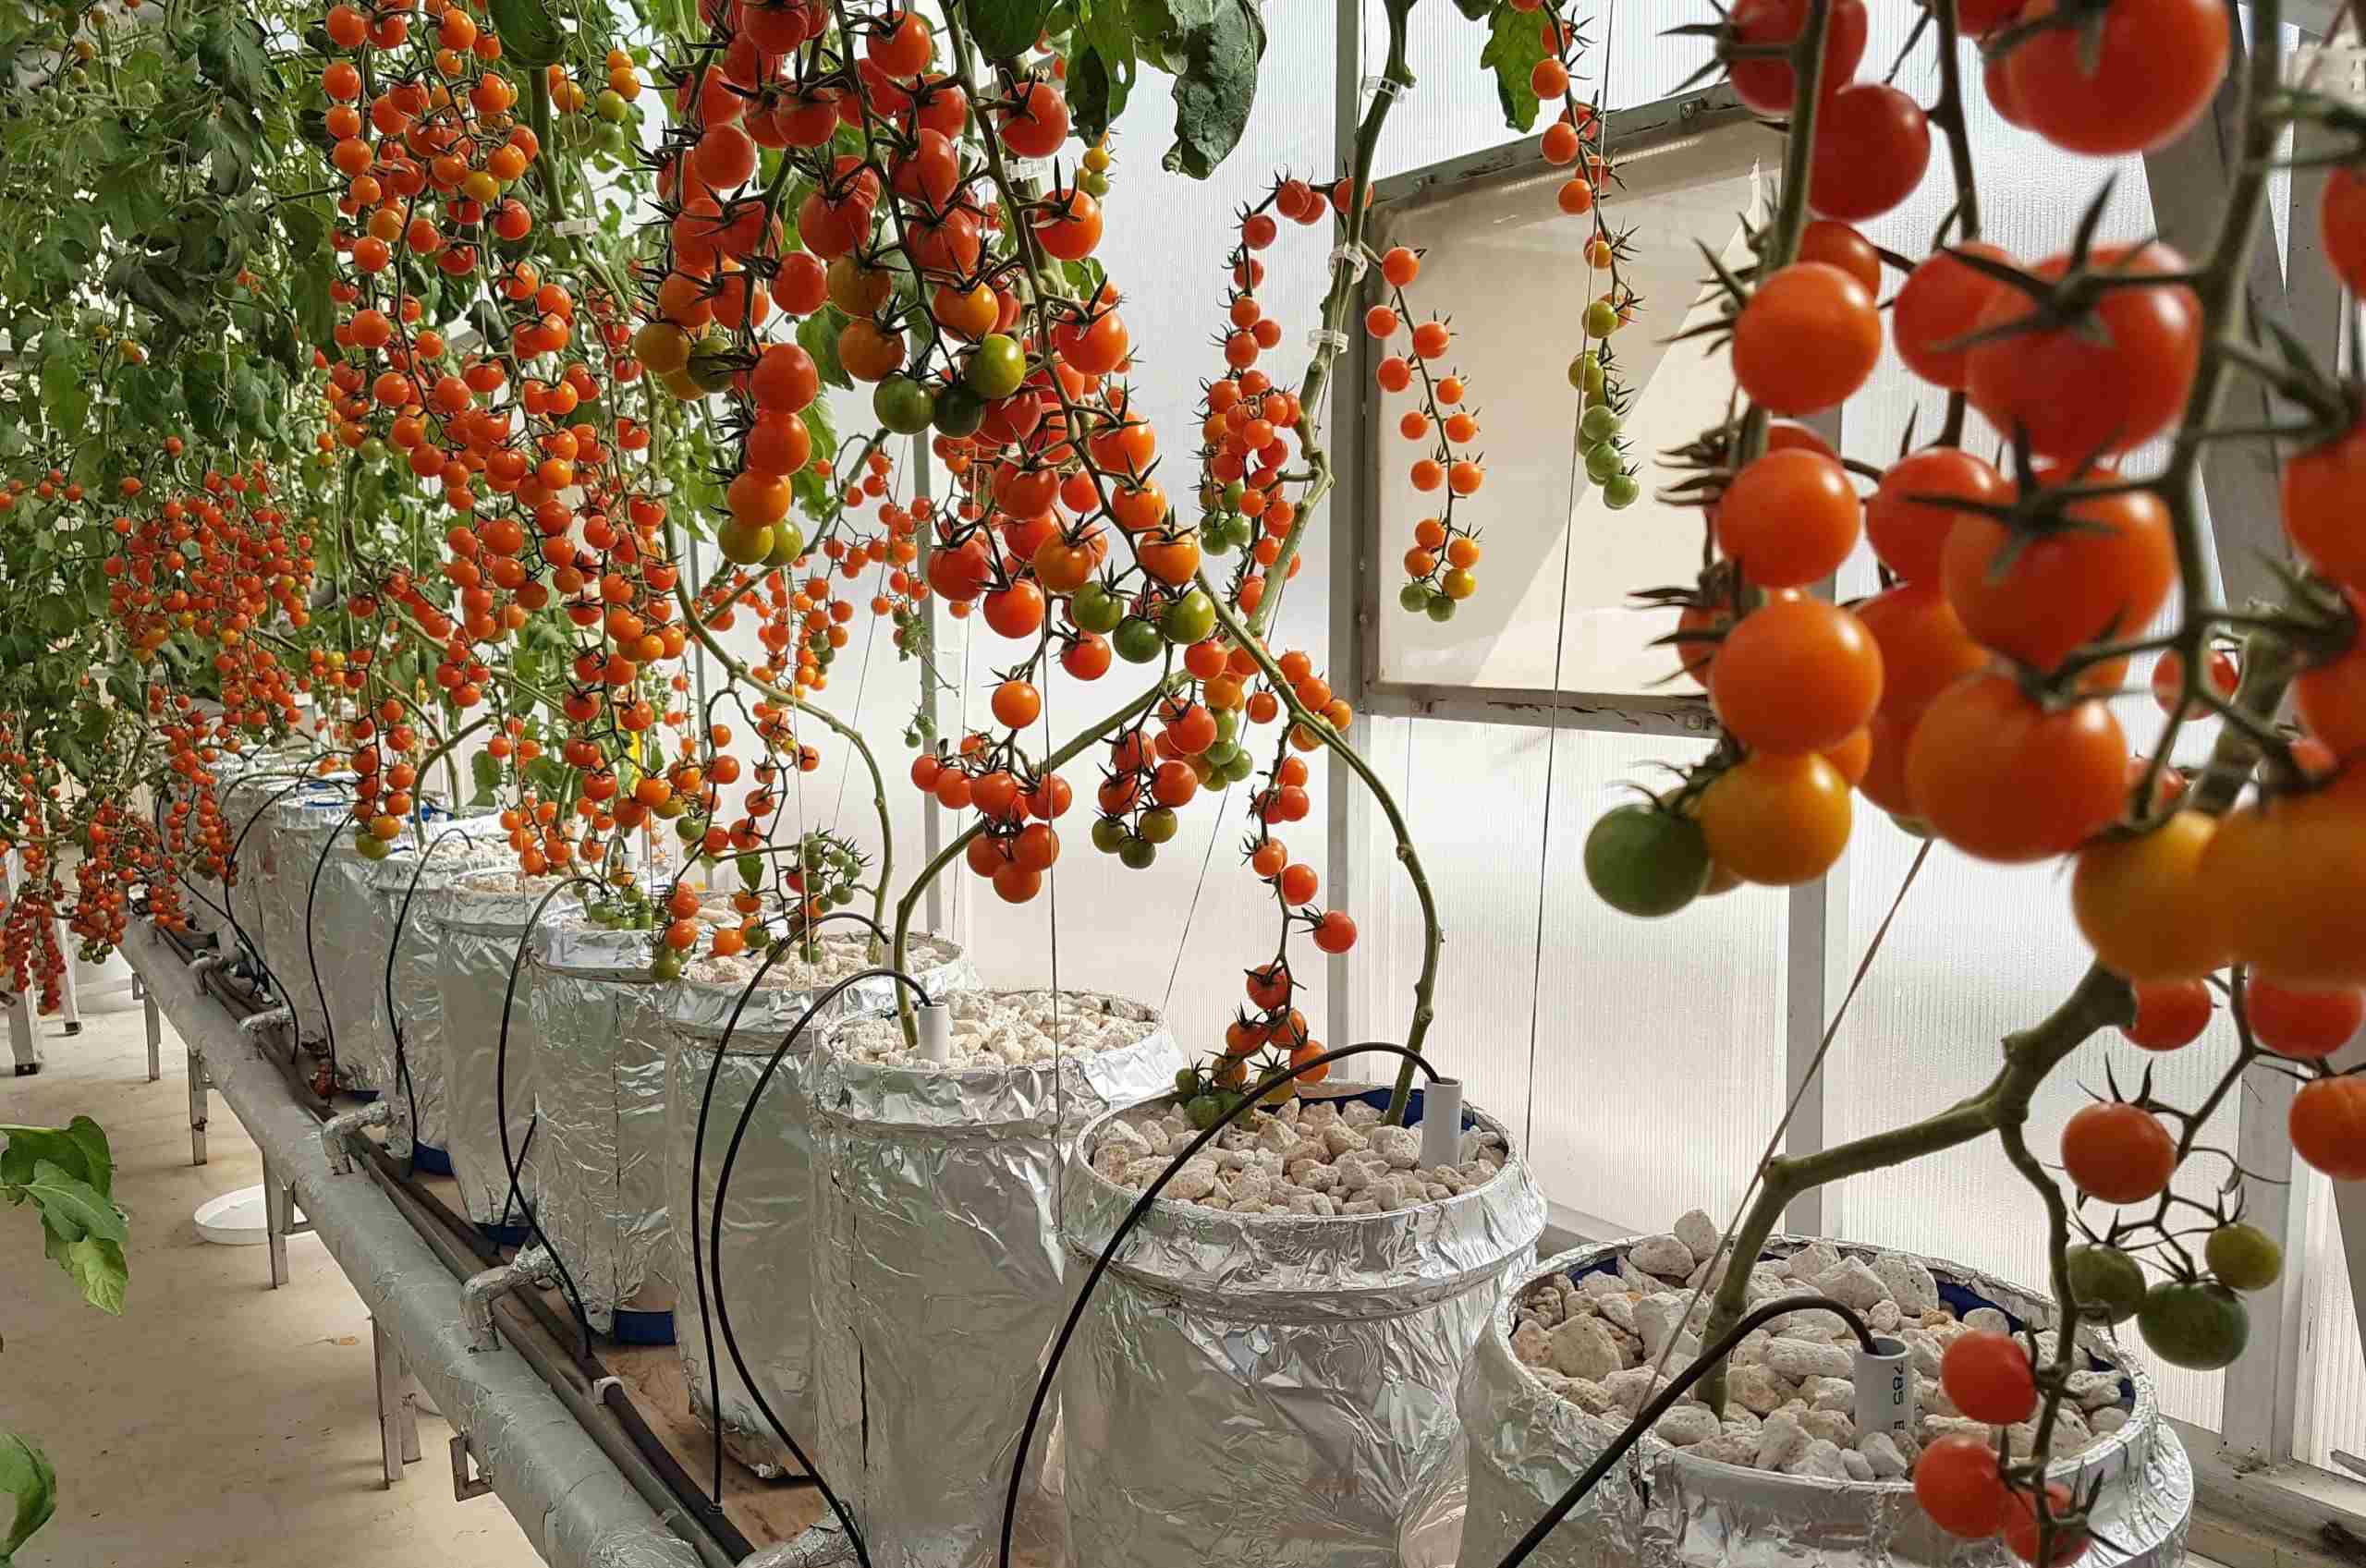
It’s important to note that not all tomato varieties are suitable for saving seeds. Hybrid tomatoes, which are a cross between different varieties, may not produce true-to-type offspring. It’s best to focus on saving seeds from open-pollinated or heirloom tomato varieties, as these will reliably produce plants that are identical to the parent plant.
Once you’ve harvested the tomatoes, make sure to label them properly. Use a permanent marker to write the variety name and the date of harvest on each tomato. This will help you keep track of different varieties and their respective seed-saving timelines.
Remember, the quality of the seeds you save depends on the quality of the tomatoes you choose. So, take your time to carefully select the best tomatoes for seed preservation, ensuring the future success of your tomato plants.
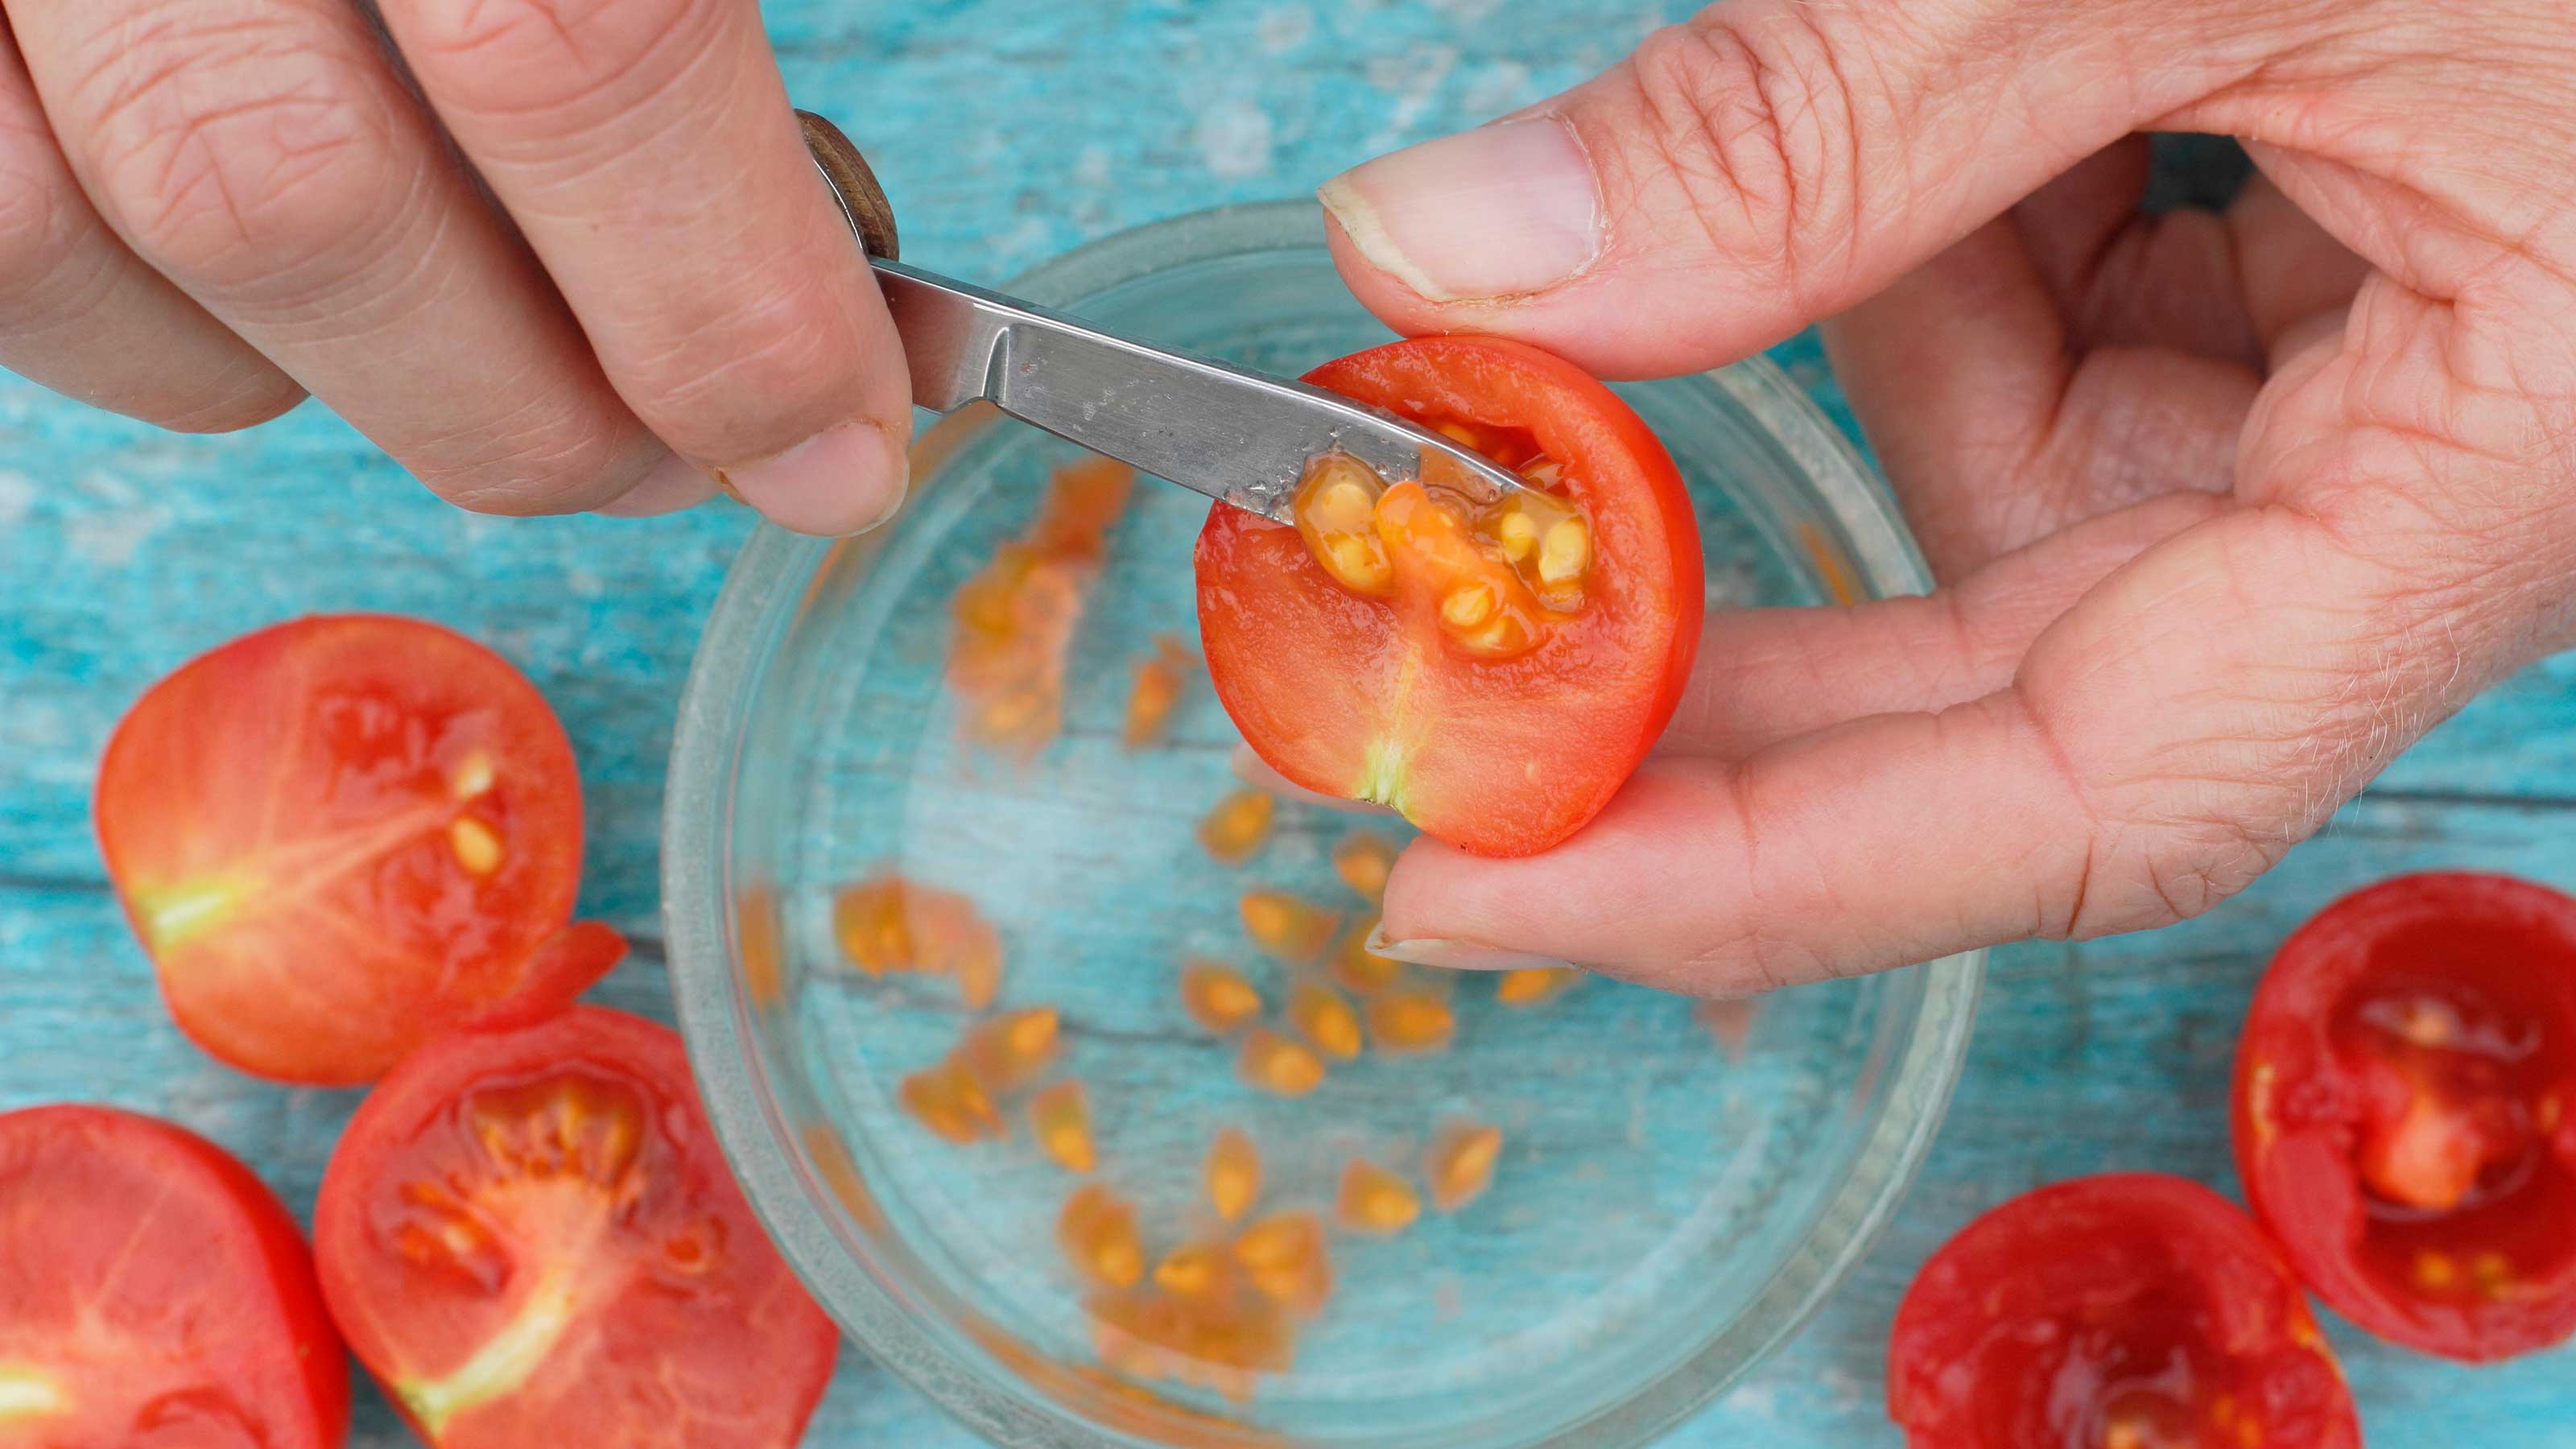
Step 2: Extracting Tomato Seeds
After harvesting the ripe tomatoes, the next step in preserving tomato seeds is to extract them from the fruit. This process involves removing the gel-like substance that surrounds the seeds, as it may inhibit germination if left intact.
To begin, cut the tomatoes in half horizontally using a sharp knife. You will notice a cluster of seeds surrounded by a jelly-like substance in each tomato half. Using a spoon or your fingers, gently scoop out the seed mass into a clean container. Be careful not to damage the seeds during this process.
Once you have extracted the seed mass, place it in a glass jar or container. Add some water to the container, filling it about halfway. The water will help separate the seeds from the gel coating and facilitate the fermentation process.
Cover the container with a breathable material, like a cheesecloth or coffee filter, and secure it with a rubber band. This will allow air circulation while keeping out debris and insects. Place the container in a warm and well-ventilated area, away from direct sunlight.
Now, let the seed mass ferment for around two to five days. During this fermentation period, beneficial bacteria present on the tomato seeds will break down the gel coating, effectively disinfecting the seeds and improving their germination rates. The fermentation process is complete when you observe a layer of mold forming on top of the liquid.
Remember to check the container daily and stir the mixture gently. The fermentation process may produce a strong odor, but this is normal. Just be patient and wait for the seeds to ferment fully.
Once the fermentation is complete, proceed to the next step of cleaning and drying the tomato seeds.
Step 3: Fermenting Tomato Seeds
Fermenting tomato seeds is a crucial step in the seed preservation process. It helps to remove the gel coating surrounding the seeds, which can inhibit germination if left unremoved. This fermentation process also helps to kill any potential pathogens on the seeds, improving their overall health and viability.
To begin the fermentation process, transfer the extracted seed mass and water mixture into a glass jar or container. Make sure the container is clean and free from any residue that may interfere with the fermentation process.
Next, cover the container with a breathable material like a cheesecloth or coffee filter and secure it with a rubber band. This allows air circulation while preventing the entry of debris or insects.
Place the container in a warm and well-ventilated area, away from direct sunlight. The ideal temperature for fermentation is around 70-80°F (21-27°C). The warmth and air circulation will facilitate the growth of beneficial bacteria that will break down the gel coating surrounding the seeds.
Allow the seeds to ferment for approximately two to five days. During this time, you may observe some bubbling or a layer of mold forming on top of the mixture. This is a sign that the fermentation process is taking place as intended.
It is important to check the fermentation mixture daily and stir it gently. This helps to ensure that all the seeds come into contact with the beneficial bacteria and are equally exposed to the fermentation process.
After the fermentation period is complete, the gel coating around the seeds should have broken down and separated from the seeds. The water in the container may appear murky and have a strong odor. This is natural and indicates that the fermentation process was successful.
Now that the fermentation process is done, it’s time to move on to the next step of cleaning and drying the tomato seeds.
Step 4: Cleaning and Drying Tomato Seeds
Once the tomato seeds have undergone the fermentation process, it’s time to clean and dry them. This step ensures that the seeds are free from any remaining debris or moisture, allowing for better storage and germination.
Start by transferring the fermented seed mixture into a strainer or sieve. Rinse the seeds under running water, using your fingers to gently rub away any remaining gel coating. The water will help wash away the remaining debris and separate the seeds from any impurities.
After rinsing, spread the seeds out on a paper towel or a fine mesh screen to dry. Make sure to arrange them in a single layer so that they dry evenly and do not clump together.
Place the drying seeds in a well-ventilated area away from direct sunlight. Additionally, ensure that the area has low humidity to prevent the seeds from becoming moldy during the drying process.
Leave the seeds to air dry for approximately one to two weeks. During this time, regularly check the seeds to ensure that they are drying properly and not showing any signs of mold or moisture. If you spot any moldy seeds, remove them from the batch to prevent the spread of mold to other seeds.
Once the seeds are fully dry, they should feel hard and brittle. Gently rub them between your fingers to ensure that no moisture remains. Properly dried tomato seeds have a moisture content of around 5-8%.
Once the tomato seeds are completely dry, they are ready for storage to preserve their viability for future use.
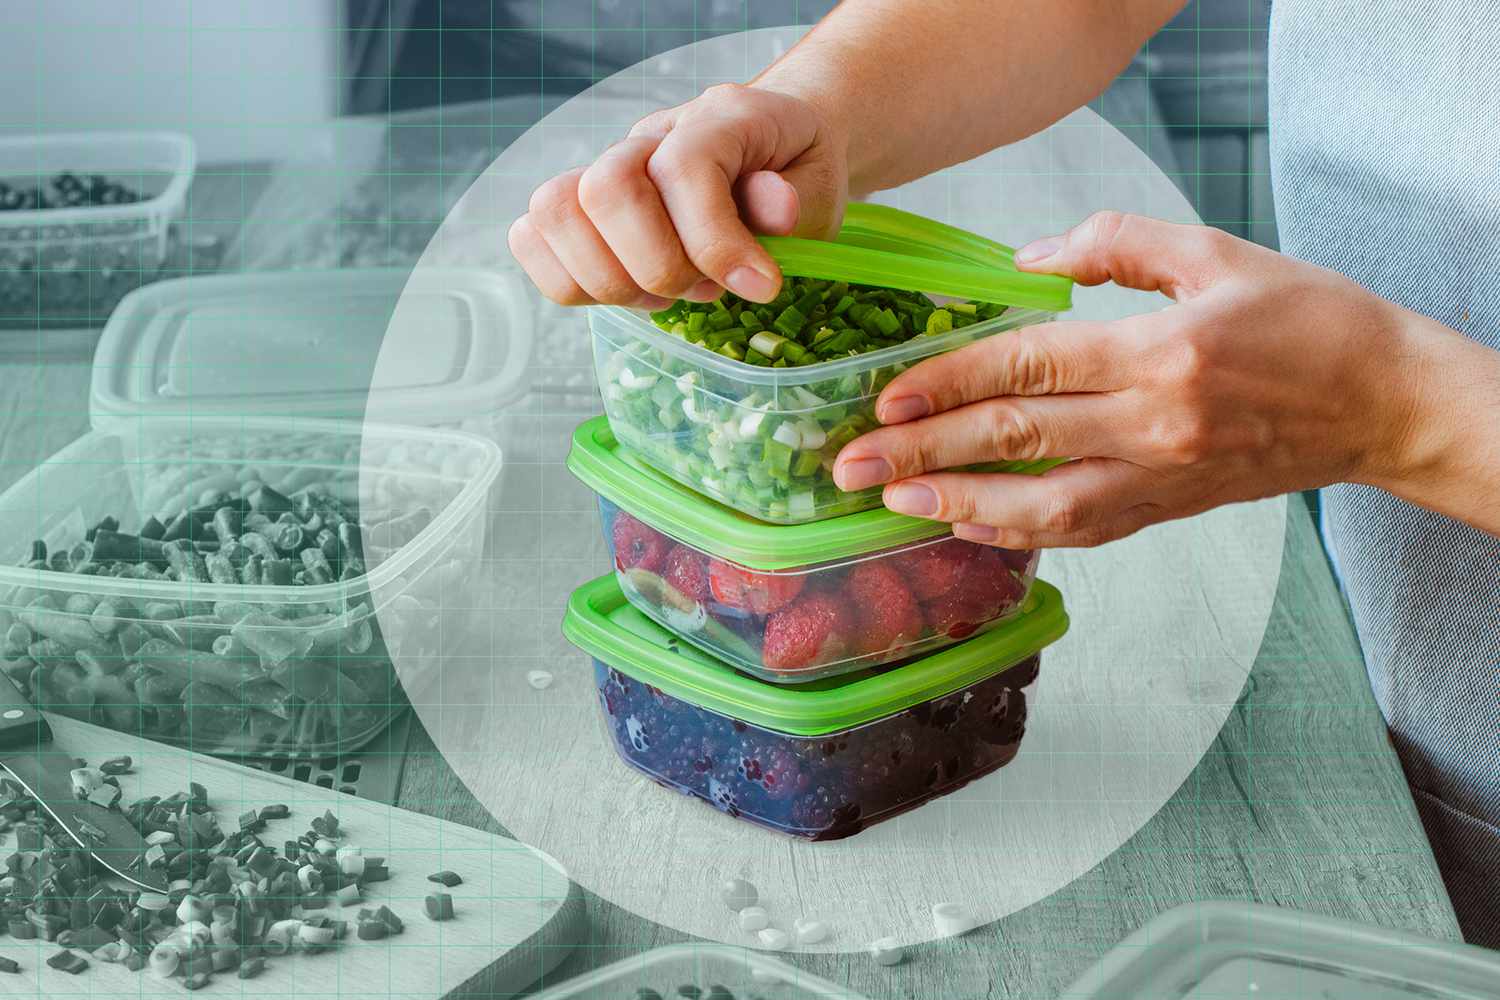
Step 5: Storing Tomato Seeds
After cleaning and drying the tomato seeds, it’s important to store them properly to maintain their freshness and viability for future use. Here are some guidelines for effective seed storage:
Firstly, ensure that the tomato seeds are completely dry before storing them. Any remaining moisture can lead to mold or seed spoilage, reducing their viability.
Next, transfer the dried seeds into airtight containers such as glass jars, envelopes, or seed packets. These containers will protect the seeds from moisture and pests. It’s a good practice to label each container with the variety name and harvest date for easy identification later on.
For extra protection against moisture, you can add moisture-absorbing packets or silica gel to the seed containers. These help to absorb any remaining moisture and maintain the seeds’ quality during storage.
Store the seed containers in a cool, dry, and dark place, away from direct sunlight and temperature fluctuations. The ideal storage temperature for tomato seeds is between 40-50°F (4-10°C). A basement, pantry, or refrigerator can be suitable storage locations.
Periodically check on the stored seeds to ensure that no mold or moisture has developed. If you notice any signs of mold or deterioration, remove those seeds immediately to prevent the spread to other seeds.
Lastly, it’s a good practice to conduct regular germination tests by planting a small sample of the seeds to check their viability. This will help you assess the quality of your stored seeds and determine if they are still suitable for planting.
By following these storage guidelines, you can preserve tomato seeds for several years, allowing you to grow healthy, productive plants from saved seeds season after season.
Conclusion
Preserving tomato seeds is a rewarding and valuable skill that allows you to grow your favorite tomato varieties year after year. By following the step-by-step process of harvesting, extracting, fermenting, cleaning, and storing tomato seeds, you can ensure a continuous supply of high-quality seeds for future planting.
By preserving tomato seeds, you have the opportunity to cultivate unique, heirloom, or rare tomato varieties that may not be readily available in the market. You can also maintain the specific characteristics and flavors of your favorite tomatoes, ensuring consistent results in your garden and kitchen.
Seed preservation is not only a cost-effective method, but it also promotes sustainability and biodiversity in our food system. By saving and regrowing your own seeds, you reduce reliance on commercial seed sources and contribute to the preservation of diverse tomato varieties.
Remember to carefully select ripe, healthy tomatoes for seed saving, ensuring that they come from open-pollinated or heirloom varieties. The fermentation process is vital to remove the gel coating and improve seed viability, while proper cleaning and drying ensure the seeds are ready for storage.
Store the dried seeds in airtight containers in a cool, dark, and dry location, checking them periodically for any signs of moisture or mold. Conducting regular germination tests helps assess the seed quality over time.
By preserving tomato seeds, not only do you gain self-sufficiency and control over your food production, but you also contribute to the rich heritage of tomato varieties and the future of our agricultural biodiversity.
So, embark on your seed preservation journey and enjoy the satisfaction of growing your own tomatoes from saved seeds. With a little effort and attention to detail, you’ll be able to preserve and propagate your favorite tomato varieties for seasons to come.