Home>Gardening News and Trends>Latest News>How To Preserve Fruit And Vegetables
Latest News
How To Preserve Fruit And Vegetables
Modified: January 22, 2024
Discover the latest news on how to preserve fruit and vegetables, including tips, techniques, and recipes. Keep your produce fresh and flavorful for longer with these helpful insights.
(Many of the links in this article redirect to a specific reviewed product. Your purchase of these products through affiliate links helps to generate commission for Chicagolandgardening.com, at no extra cost. Learn more)
Table of Contents
Introduction
Welcome to our comprehensive guide on how to preserve fruits and vegetables! Whether you’re a seasoned gardener with an abundance of produce or simply looking to make the most of your grocery store haul, learning how to preserve fruits and vegetables is a valuable skill that can help reduce food waste and ensure a steady supply of nutrient-rich ingredients year-round.
Preserving fruits and vegetables allows you to extend their shelf life while maintaining their flavor, nutritional value, and overall quality. By using various preservation methods, you can enjoy your favorite fruits and vegetables even when they are out of season.
Not only does preserving produce help you save money, but it also allows you to enjoy the taste of freshly-picked fruits and vegetables long after they’ve left the garden or store shelves. Furthermore, preserving your own fruits and vegetables gives you control over the ingredients, ensuring they are free from additives and preservatives.
In this article, we will explore different methods of preserving fruits and vegetables. From freezing and canning to dehydrating, pickling, and fermenting, you’ll discover a wide range of techniques that will enable you to enjoy the flavors of summer all year round. Whether you prefer sweet jams and jellies, tangy pickles, or dried fruits for snacking, we have you covered!
So, if you’re ready to embark on a journey of preserving fruits and vegetables, let’s dive into the various methods, tips, and tricks to make the most out of your garden or grocery store haul.
Importance of Preserving Fruits and Vegetables
Preserving fruits and vegetables is not only a practical way to reduce food waste but also a way to enjoy the benefits of fresh produce all year long. Here are some key reasons why preserving fruits and vegetables is important:
- Minimizing food waste: Preserving fruits and vegetables helps prevent them from spoiling and ending up in the trash. By preserving the excess harvest or surplus store-bought produce, we can make the most out of every piece of fruit or vegetable and reduce our carbon footprint.
- Extending the shelf life: Preservation methods such as freezing, canning, and dehydrating can significantly extend the shelf life of fruits and vegetables. Consequently, you can enjoy their freshness, flavor, and nutritional value long after their usual expiration date.
- Cost savings: Preserving fruits and vegetables allows you to buy in bulk or take advantage of seasonal abundance when prices are lower. By preserving these items, you can avoid paying premium prices for out-of-season produce and save money in the long run.
- Availability of out-of-season produce: Preserving fruits and vegetables enables you to enjoy your favorite produce even when it’s not in season. By freezing or canning fruits and vegetables during their peak harvest time, you can savor their flavors all year round and avoid relying on imported or artificially ripened produce.
- Control over ingredients: When you preserve fruits and vegetables at home, you have full control over the ingredients used. You can choose organic produce, eliminate additives and preservatives, and customize flavors to suit your preferences.
- Health benefits: Preserving fruits and vegetables at their freshest ensures that their nutritional content is preserved. Freezing or drying fruits and vegetables at their peak ripeness helps retain essential vitamins, minerals, and antioxidants, providing you with a healthy supply of nutrient-rich ingredients.
By understanding the importance of preserving fruits and vegetables, you can make informed decisions about how to best utilize and store your produce. With the right preservation techniques, you can enjoy the taste, nutritional benefits, and cost savings of fresh fruits and vegetables throughout the year.
Methods of Preservation
Preserving fruits and vegetables can be achieved through various methods, each offering its own unique benefits and flavor profiles. Here are some popular methods of preserving fruits and vegetables:
- Freezing: Freezing is a simple and convenient method of preservation that helps retain the texture, flavor, and nutrients of fruits and vegetables. By blanching the produce before freezing, you can help prolong its shelf life and maintain its quality.
- Canning: Canning involves packing fruits and vegetables into jars and sealing them to create a vacuum. This method effectively preserves the produce by preventing the growth of microorganisms. Canned fruits and vegetables can be stored for long periods without losing their taste and nutritional value.
- Dehydrating: Dehydrating involves removing the moisture from fruits and vegetables, which inhibits the growth of bacteria and molds. Dehydrated fruits and vegetables have an extended shelf life and are lightweight, making them perfect for snacking or as ingredients in various recipes.
- Pickling: Pickling involves preserving fruits and vegetables in a brine or vinegar solution, creating a tart and tangy flavor profile. This method not only adds a burst of flavor but also helps preserve the produce by creating an acidic environment that inhibits the growth of harmful bacteria.
- Fermenting: Fermentation is a traditional preservation method that not only extends the shelf life of fruits and vegetables but also enhances their flavor and introduces probiotics to your diet. During fermentation, the sugars in the produce are converted into acids and carbon dioxide, creating a tangy and slightly fizzy final product.
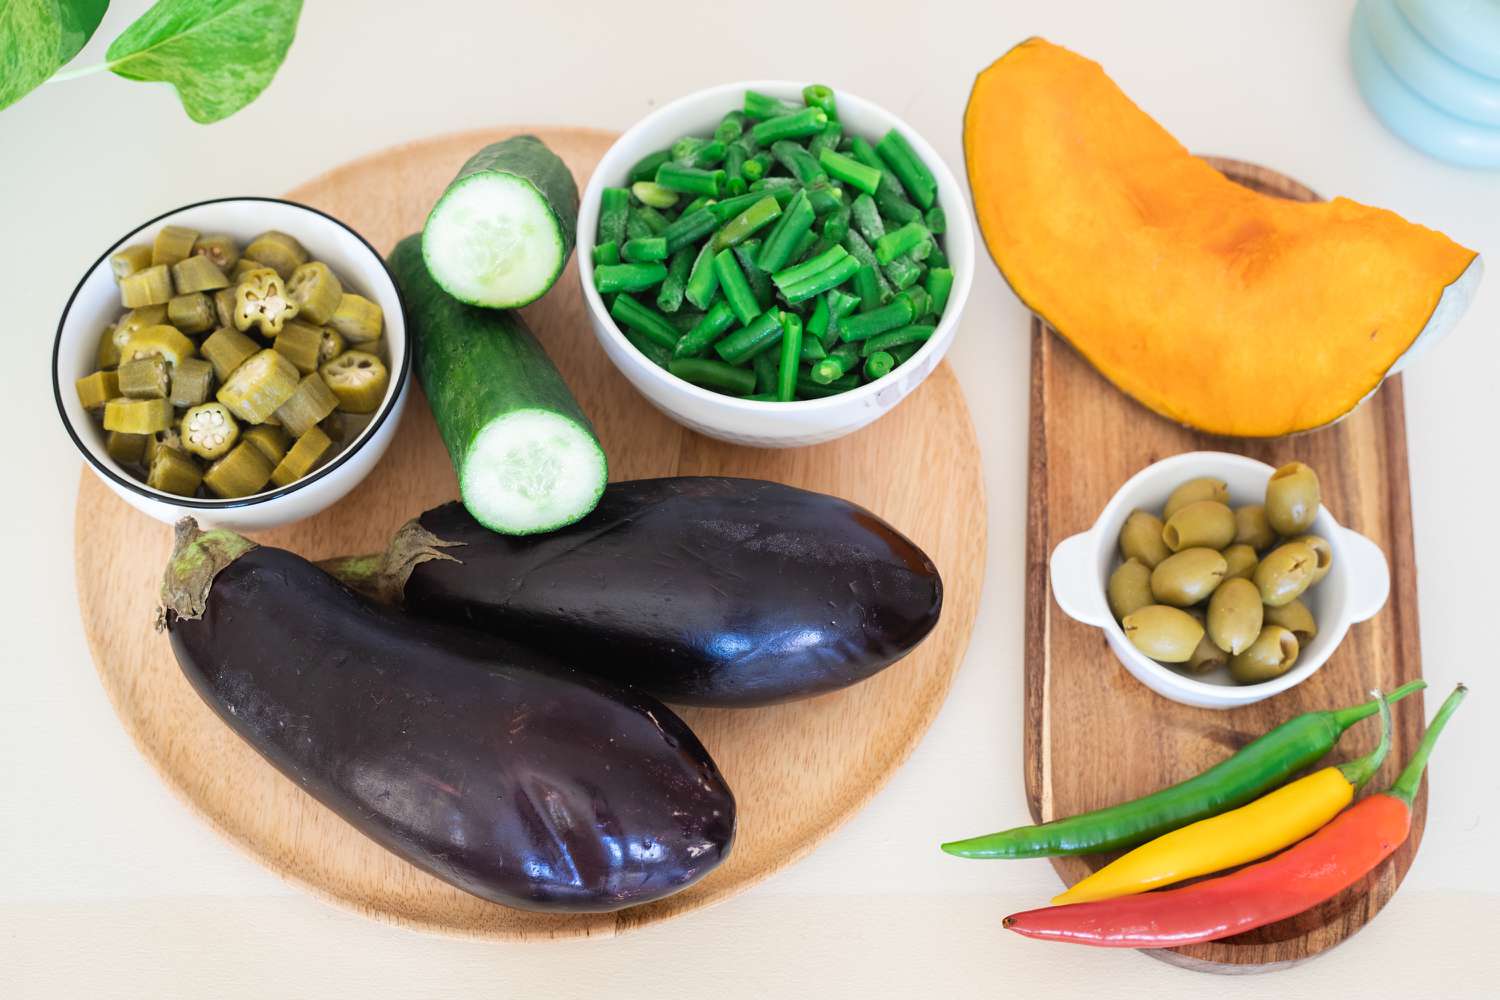
- Salting: Salting is a preservation technique commonly used for vegetables, such as cucumbers, cabbage, and eggplant. The salt draws out the moisture from the produce, creating an environment where harmful bacteria cannot survive. The salted vegetables can be enjoyed as is or used as ingredients in various dishes.
- Storing in Oil: Storing fruits or vegetables in oil is a method that helps preserve the produce while imparting a rich and flavorful taste. This technique is popular for preserving herbs and can also be used for other produce like tomatoes and peppers.
Each preservation method offers its own set of advantages and can cater to different preferences and recipes. Experimenting with these various techniques will not only allow you to enjoy the flavors of fruits and vegetables throughout the year but will also add diversity to your meals.
Freezing
Freezing is one of the simplest and most popular methods of preserving fruits and vegetables. It is an excellent way to maintain their texture, flavor, and nutritional value for an extended period. Here’s a closer look at the freezing method:
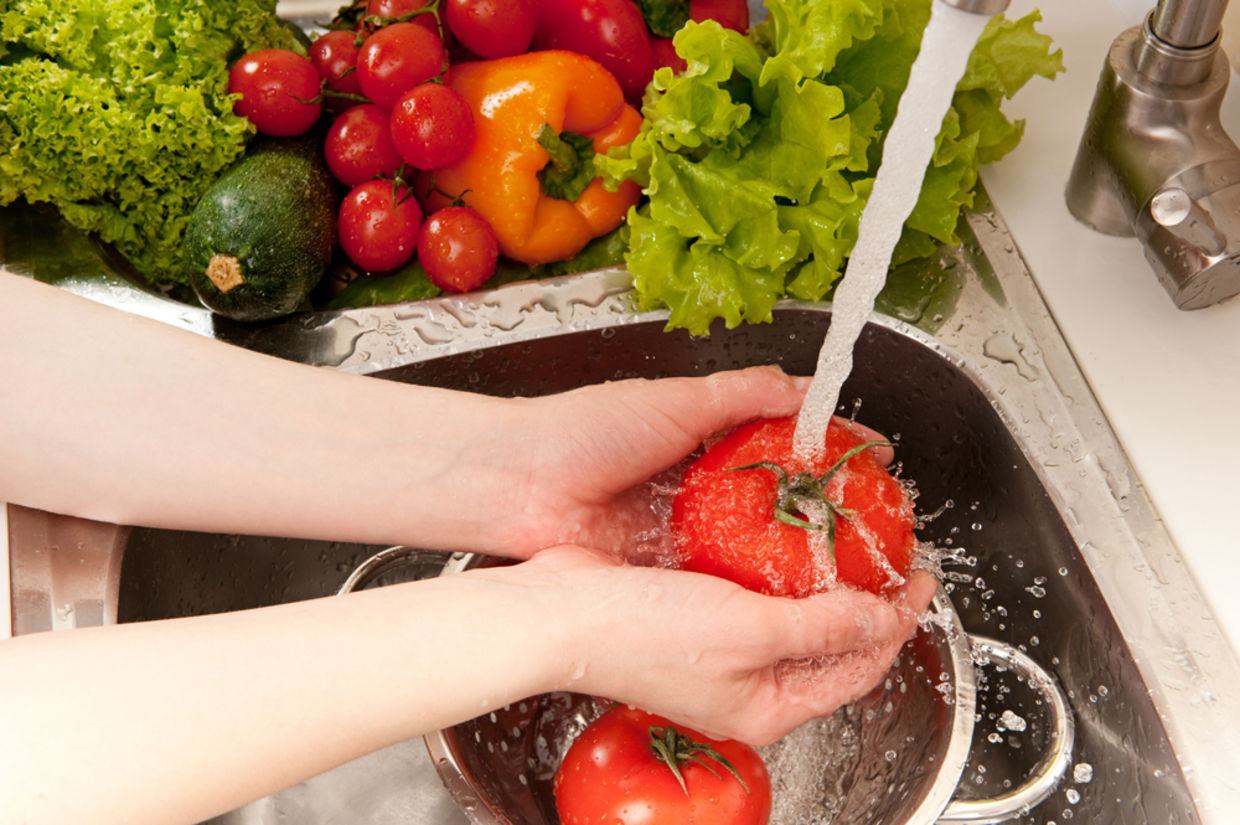
1. Preparation: Before freezing, it’s important to ensure that the fruits and vegetables are at their peak freshness. Wash them thoroughly and remove any bruised or damaged areas. Peel, slice, or chop them as desired, keeping in mind that some fruits and vegetables may require blanching before freezing.
2. Blanching: Blanching involves briefly boiling or steaming the produce before freezing. This process helps to deactivate enzymes that can cause discoloration, loss of flavor, and deterioration in texture. Each fruit or vegetable may have a specific blanching time, so it’s important to follow a reliable blanching guide for accurate results.
3. Cooling: After blanching, quickly cool the fruits or vegetables by submerging them in ice water. This halts the cooking process and helps to maintain their crispness and color.
4. Packaging: Once the produce is properly blanched and cooled, it’s time to package them for freezing. Use freezer-safe containers or bags to prevent freezer burn and maintain the quality of the produce. Remove as much air as possible before sealing the packaging to minimize the risk of freezer burn.
5. Labeling and Dating: Properly label each container or bag with the contents and the date of freezing. It’s recommended to use the oldest produce first to maintain freshness and prevent waste.
6. Freezing: Place the packaged fruits and vegetables in the freezer, ensuring they are stored in a way that allows for efficient air circulation. Quick freezing is ideal, so set your freezer to the coldest setting or use the fast-freeze feature, if available.
7. Storage and Usage: Frozen fruits and vegetables can typically be stored for approximately 8 to 12 months. It’s important to note that while the produce will remain safe to eat after this time, there may be some deterioration in taste and texture. To maintain optimal flavor and quality, it’s best to use the frozen produce within the recommended storage time.
Freezing fruits and vegetables allows you to enjoy the taste of fresh produce long after the growing season. Whether you freeze whole fruits, sliced vegetables, or purées for sauces and smoothies, this preservation method provides a convenient and accessible way to extend the life of your favorite produce.
Canning
Canning is a popular method of preserving fruits and vegetables that involves sealing them in jars or cans. This method creates a vacuum environment, preventing the growth of bacteria, yeasts, and molds, and allowing the produce to be stored for long periods without losing taste and nutritional value. Here’s a closer look at the canning process:
1. Sterilization: Before beginning the canning process, it’s important to properly clean and sterilize the jars, lids, and tools. This helps to eliminate any bacteria that could potentially spoil the food.
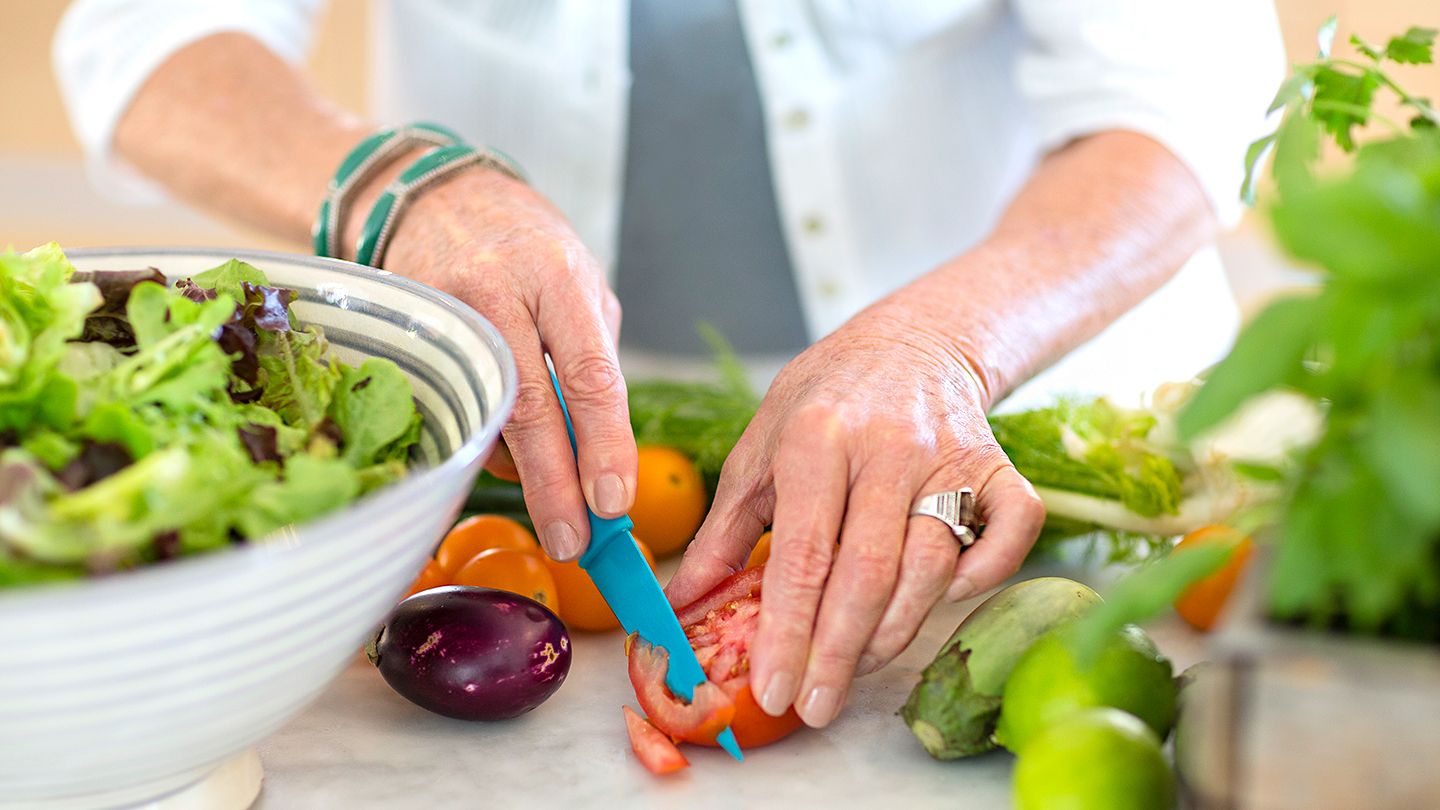
2. Preparation: Wash the fruits or vegetables thoroughly and prepare them as needed, such as peeling, pitting, and cutting into appropriate sizes.
3. Cooking: Cook the produce in a liquid or syrup to soften them and enhance flavors. This step is crucial for ingredients that are low in acidity, as it helps ensure the safety of the canned food.
4. Filling: Carefully pack the cooked fruits or vegetables into the sterilized jars, leaving the appropriate headspace at the top, as specified in the canning recipe. This allows for proper expansion during the canning process.
5. Sealing: Wipe the jar rims clean and place the prepared lids on top. Secure the lids tightly with the screw bands, but be careful not to overtighten. This allows for air to escape during processing and creates a proper seal.
6. Processing: Place the filled jars in a canner or a large pot filled with water. Ensure that the jars are fully submerged, and the water level is about 1 to 2 inches above the jar lids. Process the jars according to the specified recipe and processing time based on the ingredients being canned.
7. Cooling and Sealing: Once the processing time is complete, carefully remove the jars from the canner and place them on a towel-lined countertop. Allow them to cool undisturbed for several hours. As they cool, you may hear a popping sound, indicating that the jars are properly sealed.
8. Labeling: Label each jar with the contents and the date of canning. This helps you keep track of shelf life and easily identify the canned produce in your pantry.
Canned fruits and vegetables can be stored for an extended period, typically one to two years, provided they remain properly sealed. Proper canning techniques ensure that the flavor, texture, and nutritional value are preserved, allowing you to enjoy the taste of fresh produce long after the growing season has ended.
Dehydrating
Dehydrating is a method of preserving fruits and vegetables by removing their moisture content. This preservation technique not only extends the shelf life of produce but also concentrates the flavors, resulting in delicious and nutrient-dense snacks or ingredients. Here’s a closer look at the dehydrating process:
1. Preparation: Start by selecting fresh, ripe fruits and vegetables. Wash them thoroughly and remove any damaged or bruised areas. For fruits, remove pits, cores, and seeds. For vegetables, remove stems and any tough or fibrous parts.
2. Slicing: Slice the fruits and vegetables into thin, even pieces. This ensures that they will dehydrate evenly and at a consistent rate. You can use a sharp knife or a mandoline slicer for precision.
3. Pre-Treatment (Optional): Some fruits, like apples and pears, may benefit from a quick pre-treatment to prevent browning. Soaking the sliced produce in lemon juice or a mixture of water and ascorbic acid can help maintain their color.
4. Dehydrating: Arrange the sliced fruits and vegetables on dehydrator trays in a single layer, making sure they do not overlap. Set the dehydrator to the appropriate temperature, usually between 125°F and 160°F (52°C to 71°C), and let it run for several hours to several days, depending on the type and thickness of the produce.
5. Testing for Doneness: Check the produce periodically during the dehydrating process to determine its readiness. Fruits should be pliable but not sticky, while vegetables should be crisp and brittle. If necessary, rotate trays or adjust the dehydrator settings to ensure even drying.
6. Cooling: Once the produce is dehydrated to your desired texture, remove the trays from the dehydrator and let them cool completely. This helps to remove any residual moisture and ensures that the produce is properly dried.
7. Storing: Store the dehydrated fruits and vegetables in airtight containers or sealed bags. Keep them in a cool, dry place away from sunlight. Properly dehydrated produce can be stored for months and even years, but it’s important to periodically check for signs of spoilage or moisture.
Dehydrated fruits and vegetables make for healthy and convenient snacks. They can also be rehydrated and used in various recipes such as soups, stews, trail mixes, and baked goods. Dehydrating allows you to enjoy the flavors and nutritional benefits of produce long after their peak season has passed.
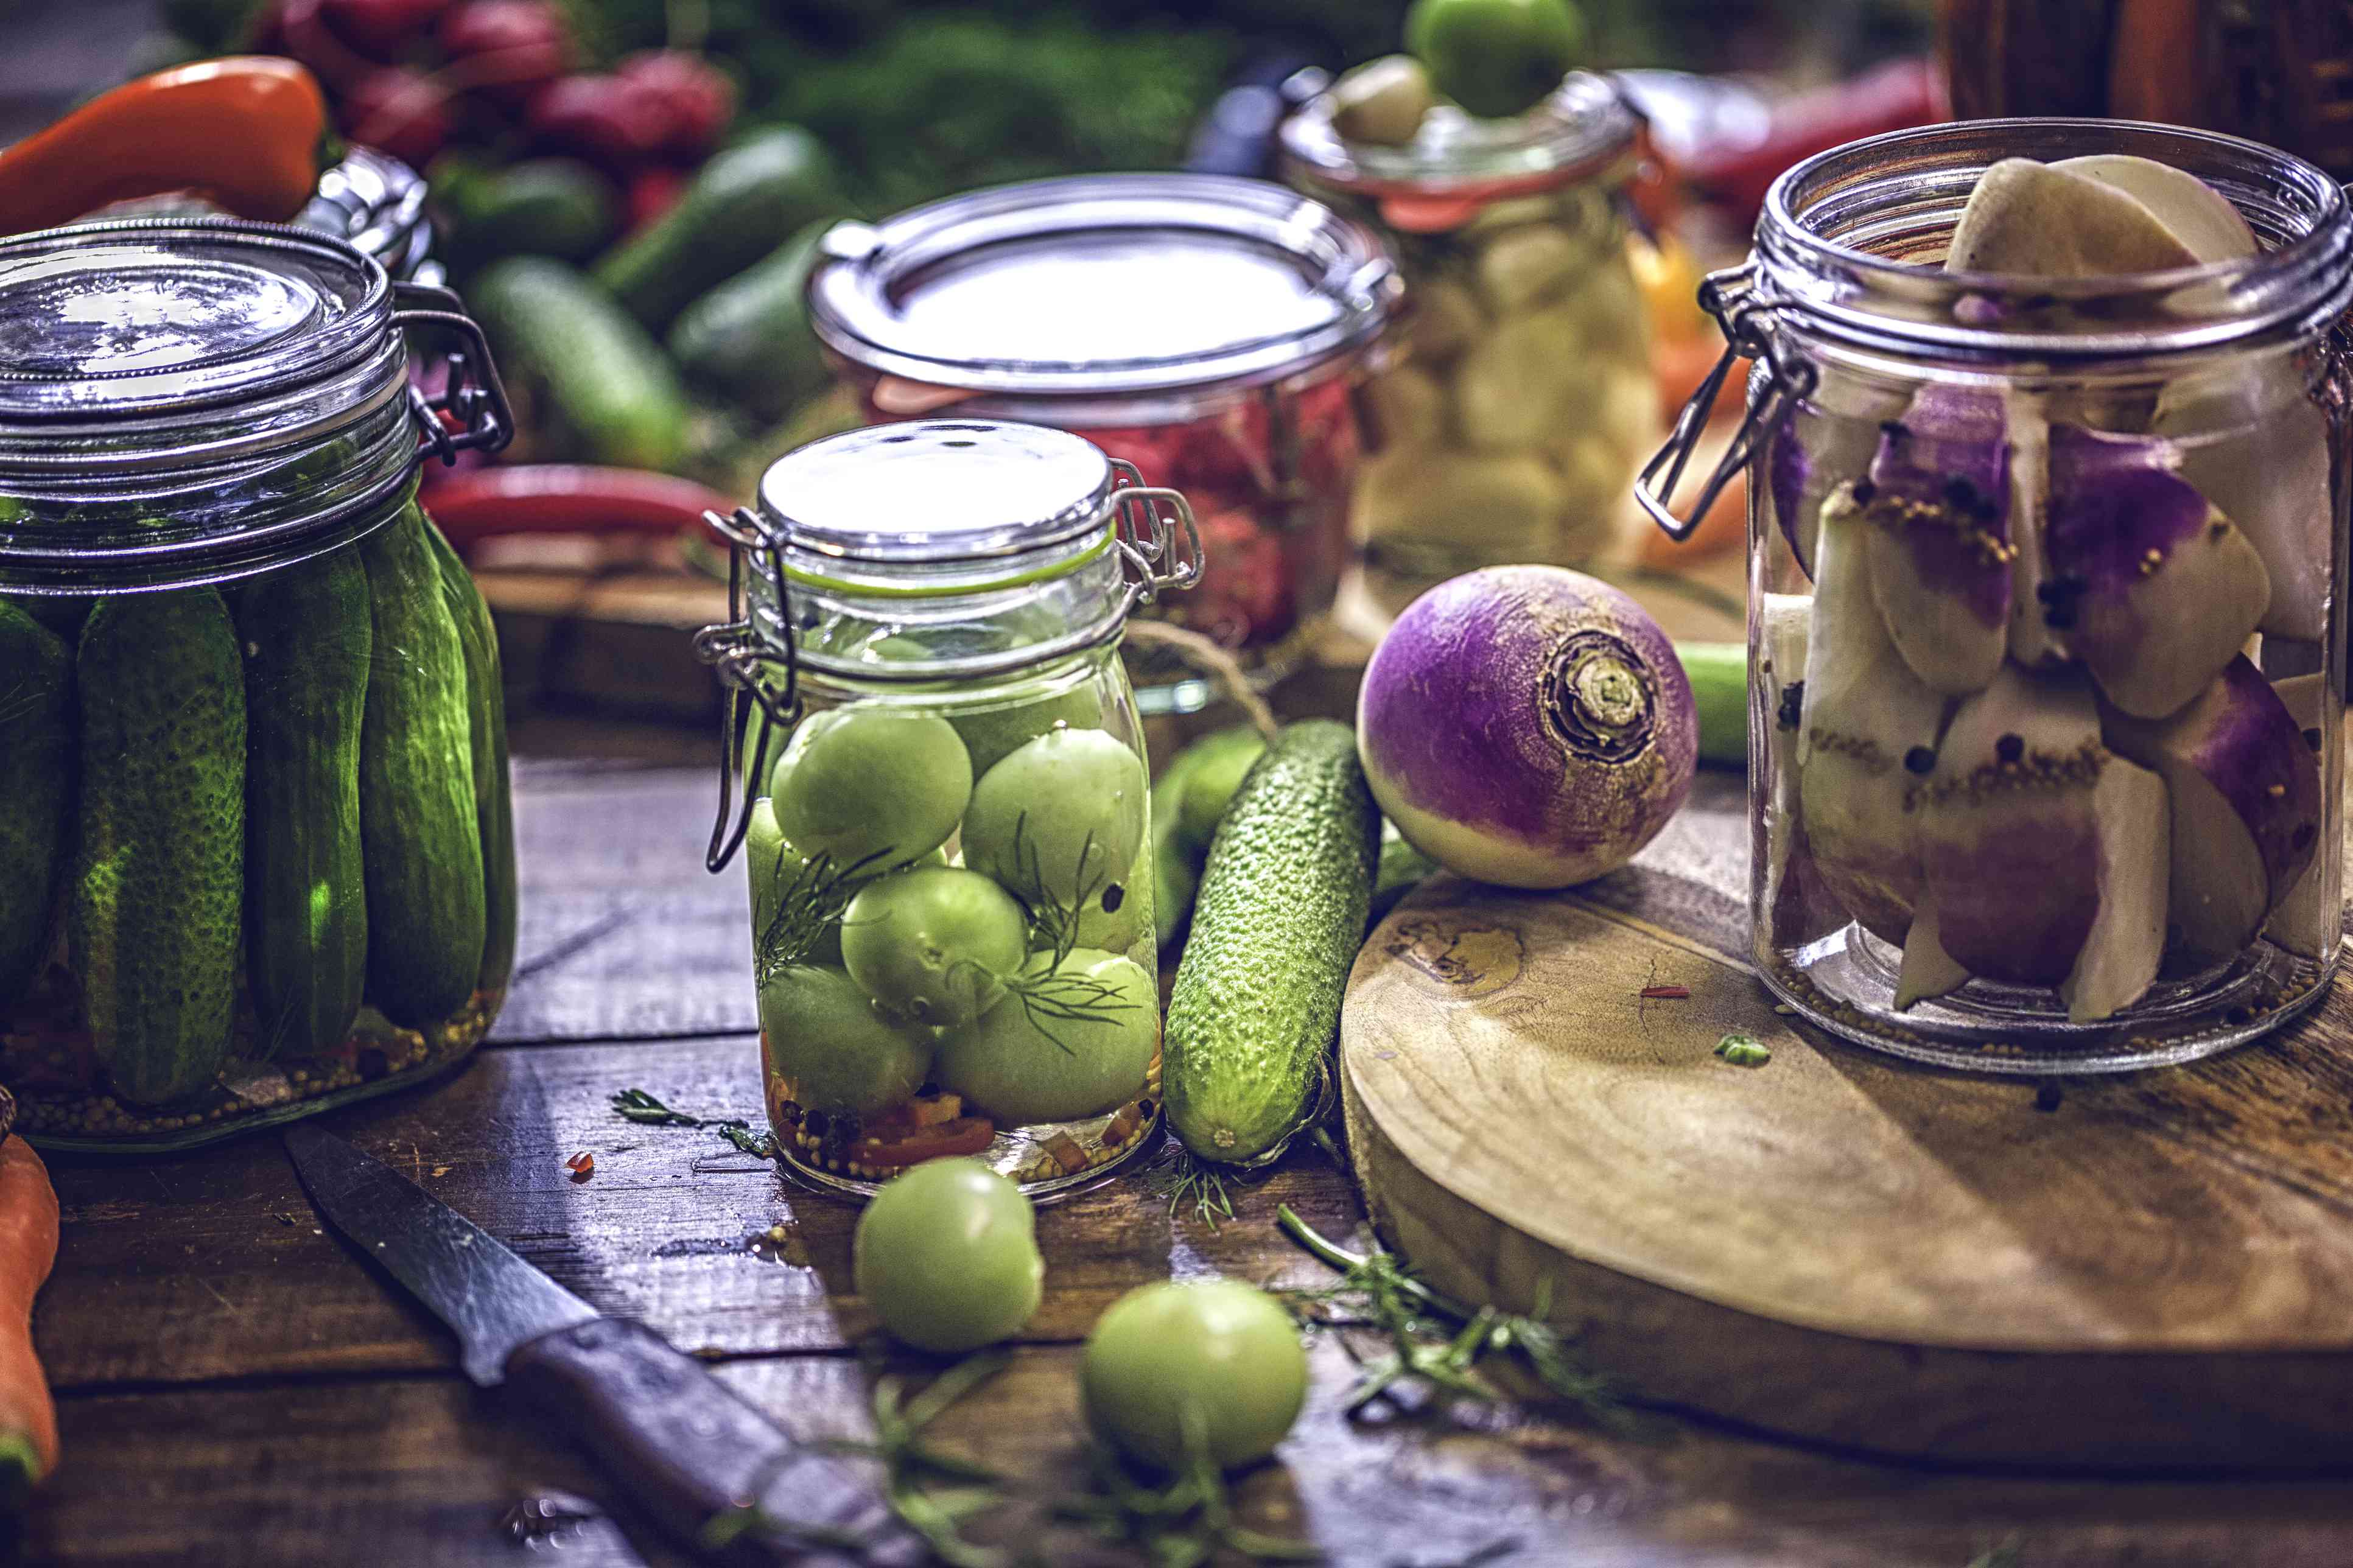
Pickling
Pickling is a preservation method that involves preserving fruits and vegetables in a brine or vinegar solution. This method not only extends the shelf life of the produce but also imparts a tangy and flavorful taste. Pickled fruits and vegetables add a delicious zing to salads, sandwiches, and as a condiment on their own. Here’s a closer look at the pickling process:
1. Choosing Produce: Select fresh and firm fruits and vegetables for pickling. Popular choices include cucumbers, carrots, onions, peppers, and green beans. You can also experiment with fruits like peaches, watermelon rinds, or even grapes.
2. Preparing the Brine: Prepare a brine solution by combining vinegar, water, and salt. The ratio of vinegar to water can vary depending on personal preference, but a typical ratio is equal parts vinegar and water. Add salt to the mixture, adjusting the amount according to taste.
3. Flavoring: Enhance the flavor of the pickles by adding spices, herbs, and garlic to the brine. Common additions include dill, mustard seeds, coriander seeds, peppercorns, cloves, or red pepper flakes. You can adjust the combination of flavors based on your taste preferences.
4. Preparing the Produce: Wash and trim the produce as necessary. For cucumbers, remove the ends and slice them into spears or rounds. For other vegetables, consider their size and shape, and cut them accordingly. Some vegetables, like onions, may benefit from blanching to soften them before pickling.
5. Sterilizing Jars: Sterilize jars and their lids by washing them in hot, soapy water or running them through a dishwasher. Alternatively, you can submerge them in boiling water for a few minutes. Ensuring cleanliness helps prevent unwanted bacteria from spoiling the pickles.
6. Filling Jars: Pack the prepared fruits or vegetables into the sterilized jars tightly, leaving some headspace at the top. You can add fresh herbs or spices to the jars for extra flavor if desired.
7. Pouring the Brine: Carefully pour the brine mixture over the fruits or vegetables, ensuring that they are completely covered. Tap the jars gently to release any air bubbles and add more brine if necessary.
8. Sealing: Wipe the jar rims clean and place the lids on top. Secure the lids tightly, but avoid overtightening. This allows the gases produced during fermentation to escape while keeping the pickles airtight.
9. Fermentation: Store the pickled jars in a cool, dark place for several weeks to allow the flavors to develop. During this time, the pickles undergo fermentation, which enhances their taste. Check the jars periodically for any signs of spoilage.
Pickled fruits and vegetables can be stored for months in cool storage conditions. Once opened, store them in the refrigerator to maintain their freshness. Pickling not only preserves produce but also transforms their flavors, creating a tangy and satisfying addition to your meals.
Fermenting
Fermenting is an ancient preservation method that not only extends the shelf life of fruits and vegetables but also introduces beneficial probiotics and enhances their flavors. Fermented fruits and vegetables add a unique tanginess to dishes and provide a natural source of gut-friendly bacteria. Here’s a closer look at the fermenting process:
1. Selection and Preparation: Choose fresh and ripe fruits or vegetables for fermentation. Wash them thoroughly and remove any bruised or damaged areas. It’s important to work with clean utensils and containers to prevent unwanted bacteria from contaminating the fermentation process.
2. Cutting and Packing: Cut the fruits or vegetables into small pieces or slices to maximize their surface area for fermentation. Pack them tightly into a clean fermentation vessel, leaving some headspace at the top to allow for expansion during the fermentation process.
3. Salt and Brine: Sprinkle salt over the packed produce. The salt helps create an environment that discourages the growth of harmful bacteria, allowing beneficial lactic acid bacteria to thrive. Some vegetables may require additional brine to ensure they’re fully submerged. To prepare the brine, dissolve salt in water and pour it over the vegetables.
4. Weights and Cover: Place a weight or fermentation stone on top of the fruits or vegetables to keep them submerged in the brine. This prevents exposure to oxygen and ensures proper fermentation. Cover the vessel with a clean cloth or lid to protect it from contaminants while allowing gases to escape.
5. Fermentation Time: The length of fermentation can vary depending on factors such as temperature and personal taste preference. Fermentation typically takes several days to a few weeks. It’s important to taste-test the ferment occasionally to determine the degree of tanginess and the desired level of fermentation.
6. Burping and Skimming: During fermentation, gases are released. Burp the vessel periodically by slightly lifting the weights or opening the lid to release excess gas. Additionally, skim off any mold or scum that may form on the surface. Ferments below the brine are safe to consume as long as they taste and smell good.
7. Storing: Once the fermentation process is complete, transfer the fermented fruits or vegetables to airtight containers and store them in the refrigerator. Fermented foods can continue to develop flavors over time but typically have a shelf life of several months when refrigerated.
Fermented fruits and vegetables offer a unique flavor profile and are great additions to various dishes, such as salads, sandwiches, or as condiments. They provide a delightful tanginess while introducing beneficial bacteria to support gut health.
Salting
Salting is a traditional method of preserving vegetables that involves drawing out their moisture through the application of salt. This technique not only extends the shelf life of vegetables but also creates unique flavors and textures. Salting is commonly used for vegetables like cucumbers, cabbage, and eggplant. Here’s a closer look at the salting process:
1. Washing and Trimming: Start by thoroughly washing the vegetables and removing any stems, leaves, or tough outer layers. For cucumbers, remove the ends and slice them as desired. For cabbage, remove the outer leaves and cut it into smaller pieces or shred it.
2. Salting: Sprinkle salt evenly over the prepared vegetables. The salt draws out the moisture from the vegetables, creating an environment where harmful bacteria cannot survive. The amount of salt used may vary depending on personal preference and the type of vegetable being salted. Use non-iodized salt or specifically designed pickling salt for better results.
3. Weighting: Place a weight on top of the salted vegetables to help extract the moisture. This can be done by placing a plate or a lid directly on top of the vegetables and adding something heavy, such as a jar filled with water, to provide pressure. The weight helps to ensure the vegetables remain submerged in their own liquid.
4. Draining and Rinsing: Allow the salted vegetables to sit for a specified period, typically 1 to 2 hours, depending on the vegetable and desired level of salting. During this time, the salt will draw out the moisture from the vegetables. Drain off the excess liquid and rinse the vegetables thoroughly to remove any excess salt.
5. Packaging: Pack the salted and rinsed vegetables tightly into clean jars or containers. Make sure there is enough liquid to cover the vegetables. This can be achieved by using a brine solution made by dissolving salt in water. The salt concentration in the brine should be sufficient to preserve the vegetables and prevent spoilage.
6. Storing: Seal the jars or containers tightly and store them in a cool, dark place. The salted vegetables can last several months when stored properly. It’s important to periodically check for signs of spoilage and discard any vegetables that show signs of mold, fermentation, or off flavors.
Salting is an effective method of preserving vegetables that not only enhances their shelf life but also creates unique textures and flavors. Whether you’re making pickles, sauerkraut, or salted eggplant, salting is a time-tested preservation technique that allows you to enjoy the bounty of your harvest or prolong the availability of fresh produce.
Storing in Oil
Storing fruits or vegetables in oil is a preservation method that not only helps extend their shelf life but also imparts rich and flavorful tastes. This technique is particularly popular for preserving herbs, but can also be used for other produce like tomatoes, peppers, or garlic. Here’s a closer look at the process of storing fruits and vegetables in oil:
1. Selection and Preparation: Choose fresh and high-quality fruits or vegetables for preservation. Ensure that they are thoroughly washed and dried to remove any dirt or moisture that could introduce bacteria into the oil.
2. Cutting and Drying: Cut the produce into suitable sizes or shapes. For herbs, remove the leaves from the stems and discard any damaged or discolored parts. Allow the produce to air dry completely to ensure there is no excess moisture.
3. Sterilizing Jars or Containers: Properly clean and sterilize the glass jars or containers you will use to store the produce. You can wash them in hot, soapy water or run them through the dishwasher. This step helps prevent bacterial growth and maintains the quality of the preserved fruits or vegetables.
4. Adding Herbs or Spices: Before layering the produce in the jars, you have the option to add herbs or spices for extra flavor. Common choices include garlic, peppercorns, rosemary, or chili flakes. This step is particularly useful when preserving garlic cloves.
5. Layering Fruits or Vegetables: Begin layering the prepared produce in the sterilized jars, making sure there are no air pockets. Fill the jars about three-quarters full, leaving enough space at the top to submerge the produce completely in oil.
6. Adding Oil: Pour a high-quality oil such as olive oil or vegetable oil into the jars to completely cover the fruits or vegetables. Ensure that the oil reaches the top of the jar, leaving no room for air. This helps create a barrier that prevents oxidation and spoilage.
7. Sealing and Storage: Secure the jars with airtight lids or caps. Store the jars in a cool, dark place away from direct sunlight to preserve the quality of the preserved fruits or vegetables. It’s important to note that storing fruits or vegetables in oil does not provide an indefinite shelf life, so it’s recommended to consume them within a reasonable time frame.
Storing fruits or vegetables in oil not only helps prolong their shelf life but also infuses them with rich and robust flavors. Whether you’re preserving fresh herbs for culinary uses or preserving other produce for added convenience and taste, this method allows you to enjoy the flavors and benefits of the fruits or vegetables long after their peak season.
Conclusion
Preserving fruits and vegetables is a valuable skill that allows us to make the most of seasonal abundance, reduce food waste, and enjoy the flavors of fresh produce all year round. Whether you choose to freeze, can, dehydrate, pickle, ferment, salt, or store in oil, each preservation method offers its own unique benefits and flavors.
Freezing is a convenient method for preserving the texture and taste of fruits and vegetables, while canning allows us to store produce in jars for extended periods, maintaining their quality and nutritional value. Dehydrating concentrates flavors and creates versatile and delicious dried snacks or ingredients.
Pickling and fermenting introduce tangy and probiotic-rich options that add zest and health benefits to meals. Salting preserves vegetables by drawing out moisture, creating unique textures and flavors. Storing fruits and vegetables in oil imparts richness and adds depth to various dishes.
Each preservation method offers a variety of options to suit personal preferences and desired flavors. By practicing these techniques, we can reduce food waste, save money, and enjoy the tastes of summer harvests during colder months.
So, whether you have a bountiful garden, want to make the most of your grocery store haul, or simply desire to have a pantry stocked with homemade preserves, understanding the art of preserving fruits and vegetables opens up a world of culinary possibilities. Embrace the joy of creating your own pickles, dried fruits, frozen delights, and more.
Preserving fruits and vegetables is not only about extending shelf life or convenience; it is an act of connecting with nature’s bounty, promoting sustainability, and embracing the joy of rediscovering flavors throughout the year. So, let’s embark on this journey of preservation and savor the goodness of fresh produce, even when it’s out of season.