Home>Gardening News and Trends>Latest News>How To Dry Insects To Preserve

Latest News
How To Dry Insects To Preserve
Modified: January 22, 2024
Discover the latest news on how to dry insects to preserve them for collections and scientific study. Learn effective techniques and best practices in this informative guide.
(Many of the links in this article redirect to a specific reviewed product. Your purchase of these products through affiliate links helps to generate commission for Chicagolandgardening.com, at no extra cost. Learn more)
Table of Contents
Introduction
Welcome to the fascinating world of insect preservation! Whether you are an entomology enthusiast, a student working on a biology project, or simply intrigued by the intricacies of the insect world, learning how to dry insects is a valuable skill to have. By preserving insects, you can create a collection that not only showcases the diversity and beauty of these tiny creatures but also serves as a valuable educational resource.
Preserving insects involves carefully drying them to prevent decay and maintain their physical integrity. This process not only allows you to study and admire the insects up close but also ensures their longevity for future generations to appreciate. In this article, we will guide you through the step-by-step process of drying insects, highlighting different methods and providing useful tips along the way.
Before diving into the specifics, it’s essential to gather the necessary equipment. You’ll need a few basic items to successfully preserve insects, so be sure to have them on hand before you begin. Once you have your equipment ready, we can embark on this enthralling journey of insect preservation together. Let’s get started!
Equipment Needed
Before you can start drying insects, it’s important to gather the necessary equipment. Here is a list of items you will need:
- Entomology forceps: These specialized tweezers are essential for handling delicate insect specimens without causing damage.
- Pinning board: A pinning board is used to position and secure the insects during the drying process. It typically consists of a foam or cork surface on which you can insert insect pins.
- Insect pins: These slender pins are used to mount the insects onto the pinning board. They come in various sizes to accommodate different insect species.
- Pinning block: A pinning block is a tool that helps position the insect in a specific orientation on the pinning board. It ensures that the insect is mounted in a natural and aesthetically pleasing way.
- Container: A container with a tight-fitting lid is needed to store the drying insects. It should be clean, dry, and pest-proof to prevent any damage to the specimens.
- Drying agent: Depending on the drying method you choose, you may need a drying agent such as silica gel or a desiccant. These substances help remove excess moisture from the insects, facilitating the drying process.
- Labeling materials: It’s crucial to label your dried insects with the species name, collection date, and any other relevant information. You can use small labels or stickers along with waterproof ink or a permanent marker.
- Field notebooks: Keeping a field notebook handy allows you to record important details about the insects you collect. This includes the location, habitat, behavior, and any specific observations you make.
Having these essential tools and materials at your disposal will ensure that you can effectively preserve and document your insect specimens. Now that you have everything you need, let’s move on to the next step: catching the insects!
Step 1: Catching the Insects
Before you can begin the process of drying insects, you need to catch them. This step requires some patience and observational skills, as different insects can be found in various habitats and at different times of the year. Here are some tips to help you effectively catch insects:
- Choose the right time: Many insects are more active during certain times of the day. For example, butterflies and bees are often seen during the daytime, while moths and beetles are more active at night. Research the behavior and habits of the insects you want to collect to ensure you’re in the right place at the right time.
- Explore different habitats: Insects can be found in a wide range of environments, from forests and meadows to gardens and wetlands. Identify the preferred habitats of the insects you’re after and explore those areas. Look for places where these insects are likely to congregate, such as flowers, water sources, or decaying organic matter.
- Use appropriate catching methods: Different insects require different methods of capture. Some can be caught by using a net to gently sweep them out of the air, while others may need to be carefully picked up or lured into traps. It’s important to handle insects gently and avoid causing them harm.
- Be observant: Pay attention to the behavior and movement of insects. Look for patterns, such as preferred feeding or mating areas, and use this knowledge to your advantage. Remember to respect the natural environment and only collect insects where it is legal and ethical to do so.
- Document your findings: Keep a field notebook with you to record details about the insects you collect. Note the location, time of observation, and any specific characteristics or behaviors you observe. This documentation will be valuable for later reference and helps contribute to scientific understanding.
Remember to approach insect catching with a sense of curiosity and respect for these fascinating creatures. Take only what you need for preservation and release any unnecessary captures back into their natural habitat. Once you have successfully caught the insects, it’s time to move on to the next step: preparing the specimens.
Step 2: Preparing the Specimens
After successfully catching the insects, it’s time to prepare them for the drying process. Proper preparation ensures that the specimens are ready and optimized for preservation. Here are the essential steps to follow:
- Gently handle the insects: Insects are delicate creatures, and handling them with care is crucial. Use entomology forceps to hold the insects by their wings, being cautious not to damage their bodies or wings during the process.
- Remove excess debris: Inspect each specimen to remove any dirt, dust, or other debris that may have come in contact with it. Use a soft brush or a blow of gentle air to carefully clean the insects without causing any harm.
- Position the insects: Place the insects on a pinning board to get them into the desired position. Use a pinning block to ensure the insects are correctly oriented, with their wings spread out naturally and their legs arranged in a natural posture.
- Secure the insects with pins: Carefully insert an appropriate-sized insect pin through the center of the thorax or the body of each insect. Be cautious not to damage any essential structures, such as wings or legs, during this process.
- Label the specimens: Attach a small label or sticker to each insect pin with relevant information such as the species name, location, and date of collection. This labeling ensures that the specimens are properly identified and helps maintain an organized collection.
- Record additional data: In your field notebook, note any specific observations or details about each specimen, such as its behavior, habitat, or notable features. This additional information will be valuable for future reference or research purposes.
By properly preparing the specimens, you ensure their integrity and make the drying process more efficient. It’s important to be patient and meticulous during this step, as the quality and accuracy of your preparations will directly impact the overall preservation of the insects. Once the specimens are prepared, it’s time to move on to selecting a suitable drying method.
Step 3: Choosing a Drying Method
Once you have prepared the insect specimens, the next step is to choose a suitable drying method. There are various methods available, each with its own advantages and considerations. Here are three common drying methods to consider:
- Method 1: Air Drying: Air drying is the simplest and most traditional method of drying insects. It involves hanging the prepared specimens in a dry, well-ventilated area away from direct sunlight. This method is ideal for small and delicate insects but may take longer for larger specimens.
- Method 2: Using Silica Gel: Silica gel is a desiccant commonly used for preserving insects. It absorbs moisture from the surroundings, speeding up the drying process. To use this method, place the prepared specimens in a container with a layer of silica gel at the bottom. Ensure that the specimens do not come into direct contact with the silica gel, as it can cause damage.
- Method 3: Oven Drying: Oven drying is a faster method that requires controlled heat. Place the prepared specimens in an oven set to a low temperature (around 120°F or 50°C) for a few hours. Make sure to monitor the temperature closely to avoid overheating and causing damage to the specimens.
When choosing a drying method, consider the size and fragility of the specimens, the time available, and the resources at hand. It’s important to choose a method that will preserve the integrity of the insects while ensuring efficient drying. Regardless of the method you choose, remember to avoid direct sunlight, as it can cause fading or discoloration of the specimens.
Each drying method has its own advantages, so feel free to experiment and find the one that works best for you. Whichever method you choose, make sure to monitor the drying process regularly and adjust as needed. Once the insects are adequately dried, it’s time to move on to the next step: storing the dried insects.
Method 1: Air Drying
Air drying is a simple and traditional method for drying insects. It relies on natural airflow to gradually remove moisture from the specimens. This method is ideal for small and delicate insects and requires minimal equipment. Here’s a step-by-step guide on how to air dry your insect specimens:
- Choose a suitable location: Find a clean, dry, and well-ventilated area where you can hang the prepared specimens. This can be a room, a covered outdoor area, or a drying cabinet.
- Hang the specimens: Using insect pins, carefully hang each prepared specimen from a piece of string or a pinning strip. Ensure that the wings and legs are spread naturally and that the specimens are not touching each other.
- Avoid direct sunlight: Place the hanging specimens away from direct sunlight, as it can cause fading or discoloration. Indirect natural light is preferable.
- Monitor the drying process: Regularly check the specimens to assess their drying progress. The time required for air drying will vary depending on the size and humidity of the environment.
- Patience is key: Air drying can take several days to a few weeks, depending on the size of the insects and the humidity levels. Avoid rushing the process to ensure that the specimens are fully dried without any risk of decay.
- Check for complete dryness: After a suitable amount of time, carefully examine the specimens to ensure they are fully dried. The wings should be stiff and rigid, and there should be no signs of moisture or flexibility in the body.
While air drying is a simple and accessible method, it is important to take precautions to avoid any interference or damage during the drying process. Keep the area clean and free from pests that may damage the specimens. It is also important to monitor the humidity levels, especially in humid climates, to prevent mold growth or decay.
Air drying is a versatile method that can be used for a variety of insect species. It allows for natural drying without the use of additional drying agents or heat sources. Once the specimens are fully dried, they can be stored for long-term preservation or used for educational and research purposes.
Method 2: Using Silica Gel
Using silica gel is a popular method for drying insects. Silica gel is a desiccant that effectively absorbs moisture from the surroundings, speeding up the drying process. It is commonly available in small packets or can be purchased in bulk. Here’s a step-by-step guide on how to dry your insect specimens using silica gel:
- Prepare the container: Choose a clean and dry container with a tight-fitting lid. Place a layer of silica gel at the bottom of the container. Ensure that the silica gel is evenly distributed.
- Place the specimens: Carefully position the prepared insect specimens on top of the layer of silica gel. Make sure that the specimens do not come into direct contact with the silica gel, as it can cause damage to the delicate structures.
- Seal the container: Close the container tightly to create an airtight environment. This allows the silica gel to effectively absorb the moisture from the surrounding air.
- Monitor the drying process: Regularly check the progress of the drying process. The time required will depend on the size and moisture content of the specimens. It may take several days to a few weeks for the insects to completely dry.
- Replace the silica gel: Over time, the silica gel will absorb moisture and may become saturated. Replace the silica gel with fresh, dry granules if you notice it has become moist. This will ensure efficient drying.
- Check for complete dryness: After an appropriate amount of time, examine the specimens to ensure they are fully dry. The wings should be stiff and rigid, and there should be no signs of moisture or flexibility in the body.
Using silica gel provides a controlled drying environment that helps preserve the color, shape, and delicate structures of the insects. It is particularly useful for drying larger specimens or in environments with high humidity levels. However, caution must be taken to prevent the insects from coming into direct contact with the silica gel, as it may cause damage.
Remember to handle the silica gel with care, as it can be irritating if it comes into contact with the eyes or skin. Store the silica gel in a dry place, away from moisture, when not in use. Once your insect specimens are completely dry, they can be stored or displayed for personal enjoyment or educational purposes.
Method 3: Oven Drying
Oven drying is a faster method for drying insects and is particularly useful for larger specimens. This method utilizes controlled heat to remove moisture from the specimens. Here’s a step-by-step guide on how to oven dry your insect specimens:
- Preheat the oven: Set your oven to a low temperature, around 120°F (50°C). It’s crucial not to exceed this temperature, as higher heat can cause damage to the specimens.
- Prepare a drying tray: Place a drying tray or a wire rack covered with a fine mesh screen in the oven. This will ensure proper air circulation and prevent the specimens from sticking to the oven surface.
- Position the specimens: Carefully position the prepared insect specimens on the drying tray. Make sure to arrange them in a single layer, ensuring ample space between each specimen for even drying.
- Monitor the drying process: Keep a close eye on the drying process to prevent overheating or burning. Check the specimens regularly, as oven drying can take several hours to a day, depending on the size and moisture content of the insects.
- Use a thermometer: Place an oven-safe thermometer inside the oven to monitor the temperature. This will help ensure that the oven remains at a safe and stable temperature throughout the drying process.
- Check for complete dryness: After a suitable amount of time, carefully examine the specimens to ensure they are fully dried. The wings should be stiff and rigid, and there should be no signs of moisture or flexibility in the body.
Oven drying provides efficient and relatively quick results, making it an excellent choice for drying larger or more resilient insect specimens. However, it’s important to keep a close eye on the drying process to avoid overheating or uneven drying. Always follow the safety instructions provided by the oven manufacturer, and never leave the oven unattended during the drying process.
After oven drying, allow the specimens to cool down before handling or storing them. Once completely dry, your insect specimens will be ready for long-term preservation or for use in educational displays or research.
Step 4: Drying the Insects
With your chosen drying method in place, it’s time to proceed with the actual drying of the insect specimens. This step involves carefully monitoring the drying process and ensuring that the insects are adequately dried without any risk of decay or damage. Here’s a step-by-step guide on how to dry your insects:
- Choose an appropriate drying environment: Depending on the drying method you’ve selected, ensure that the environment is clean, dry, and well-ventilated. This creates an ideal setting for moisture removal without causing any harm to the specimens.
- Arrange the specimens: Place the prepared insect specimens in the designated drying area. Make sure to follow the specific instructions of your chosen drying method, such as hanging the specimens, positioning them on drying racks, or placing them in containers with drying agents.
- Monitor the drying process: Regularly check the specimens to assess the progress of the drying process. Depending on the size of the specimens and the chosen drying method, it may take a few days to several weeks for the insects to completely dry.
- Ensure optimal drying conditions: Maintain a consistent temperature and humidity level in the drying environment. Excessive moisture or fluctuating temperatures can result in mold growth or deterioration of the specimens.
- Inspect for complete dryness: After an appropriate drying period, carefully inspect the specimens. The wings should be stiff and rigid, and there should be no signs of moisture or flexibility in the body. Any residual moisture can lead to decay over time.
- Allow for cooling: If heat was involved in the chosen drying method, allow the specimens to cool down before handling or storing them. This prevents any potential damage caused by the heat.
Throughout the drying process, it’s essential to be patient and observant. Keep a record of the drying time and any observations you make during the process. This information will be valuable for future reference and ensure consistent results in your insect preservation endeavors.
Remember, each drying method requires different considerations, so it’s important to follow the specific instructions for your chosen method. With proper monitoring and attention to detail, you can successfully dry your insect specimens, preserving their beauty and scientific value.
Step 5: Storing the Dried Insects
After successfully drying your insect specimens, it’s important to store them properly to ensure their long-term preservation. Proper storage will protect the dried insects from damage caused by pests, moisture, and environmental factors. Here’s a step-by-step guide on how to store your dried insects:
- Select suitable storage containers: Choose containers that are clean, dry, and able to provide adequate protection. Options include glass or plastic display cases, specimen boxes, or specialized insect storage units.
- Use archival materials: Line the storage containers with archival-quality materials such as acid-free paper or foam. These materials are non-reactive and will help prevent damage to the insects over time.
- Arrange the insects: Position the dried insect specimens in the storage containers. Make sure they are secured with pins or other appropriate mounting methods to prevent movement or damage during storage.
- Label the containers: Attach labels with relevant information to your storage containers. Include the species name, collection date, location, and any additional observations or important details about the specimens.
- Store in a suitable environment: Place the storage containers in a clean, dry, and cool environment. Avoid areas with excessive humidity, temperature fluctuations, or exposure to direct sunlight. These factors can cause deterioration or damage to the dried insects.
- Regularly inspect and maintain: Periodically check the stored specimens for any signs of damage, pests, or deterioration. Replace damaged containers or materials as necessary to maintain the integrity of the collection.
Proper storage ensures that your dried insect specimens remain protected and preserved for years to come. With the right containers, archival materials, and a suitable storage environment, you can maintain the quality and longevity of your insect collection.
Having a well-organized and labeled collection allows for easy access and reference, whether it’s for personal enjoyment, educational purposes, or scientific research. Keep a catalog or inventory of your collection for easy tracking and retrieval of specific specimens.
By following these storage guidelines, you can ensure that your dried insects maintain their beauty, scientific value, and educational potential, making your collection a valuable resource for both present and future generations.
Conclusion
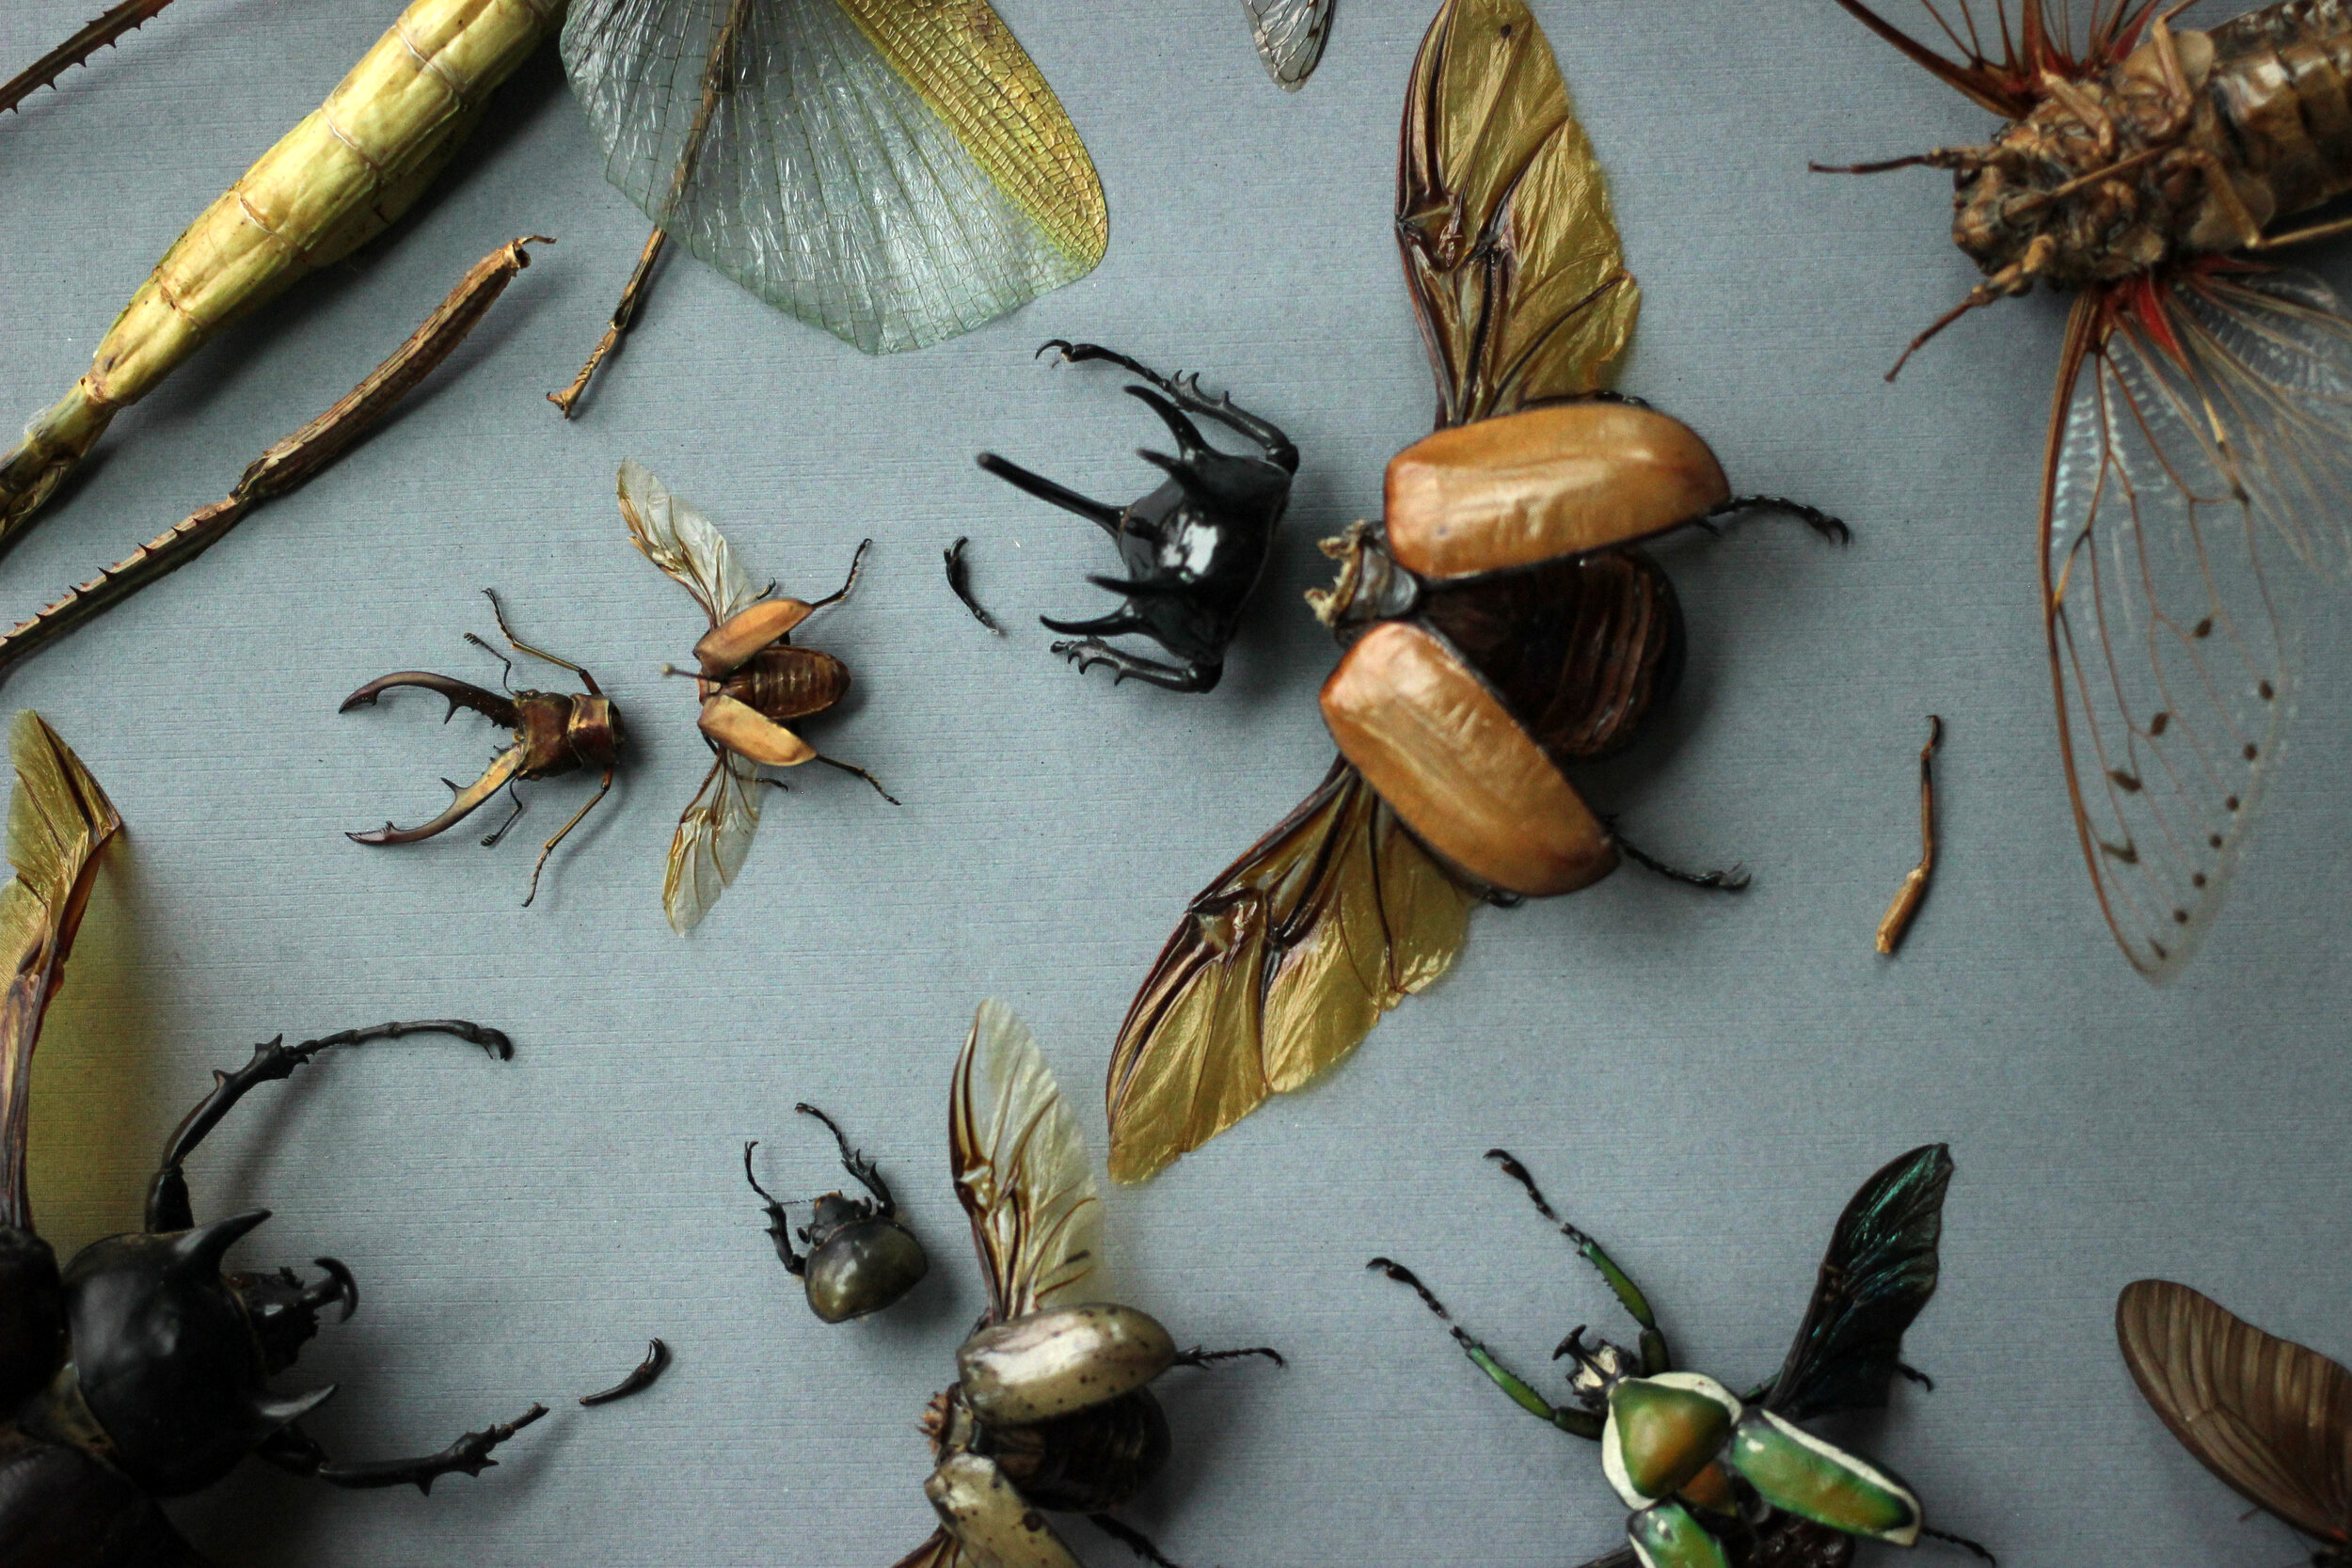
Preserving and drying insects is an exciting and rewarding endeavor that allows you to delve into the intricate world of these captivating creatures. By following the step-by-step process outlined in this guide, you can successfully dry and preserve your insect specimens for long-term enjoyment and educational purposes.
From catching the insects and preparing them for drying to choosing a suitable drying method and properly storing the dried specimens, each step is essential for maintaining the integrity and longevity of your collection.
Remember to approach the process with patience and attention to detail. Take the time to properly handle and prepare the specimens, ensuring that they are free from debris and positioned correctly. Select a drying method that suits your needs and resources, whether it’s air drying, using silica gel, or oven drying.
Proper storage is equally important to protect your dried insects from damage, humidity, and pests. Utilize suitable containers and archival materials to maintain the quality and condition of your specimens. Regularly inspect and maintain your collection to ensure its long-term preservation.
Whether you are a hobbyist, a collector, or a student, the dried insects you preserve can serve as educational tools, artistic inspiration, or valuable contributions to scientific research. Your collection has the potential to spark curiosity, promote environmental awareness, and provide insights into the fascinating world of insects.
So embrace the wonder of insect preservation and enjoy the beauty and diversity of these incredible creatures as you embark on your own journey of insect drying and preservation. Happy preserving!

