Home>Gardening News and Trends>Latest News>How To Pin Insects For Collection
Latest News
How To Pin Insects For Collection
Modified: January 22, 2024
Discover the latest news and learn how to effectively pin insects for your collection. Master the techniques in this comprehensive guide.
(Many of the links in this article redirect to a specific reviewed product. Your purchase of these products through affiliate links helps to generate commission for Chicagolandgardening.com, at no extra cost. Learn more)
Table of Contents
Introduction
Collecting and preserving insects is not only a fascinating hobby but also a valuable scientific endeavor. Whether you are a seasoned entomologist or a beginner enthusiast, pinning insects for collection is a crucial skill to acquire. Proper pinning ensures that the specimens are preserved in a way that they can be studied, classified, and appreciated for years to come.
Not only does pinning insects allow you to create a stunning collection, it also offers an opportunity to learn about the incredible diversity of insects and their intricate anatomy. Plus, having a personal collection of preserved insects can be a source of great pride and joy.
In this article, we will guide you through the process of pinning insects for collection, from catching the specimens to labeling and preserving them. By following these steps, you will be well-equipped to create a high-quality insect collection that can serve as a valuable educational resource or an impressive display.
So, grab your net, pinning board, and insect collection box, and let’s dive into the intriguing world of pinning insects!
Materials Needed
Before you begin the process of pinning insects, it’s essential to gather all the necessary materials. These materials will ensure that you can handle and preserve the insects properly. Here’s a list of the key materials you will need:
- Entomological Pins: These specialized pins are made of stainless steel and come in various sizes. They have pointed tips for easy insertion into the insect’s body without causing damage.
- Pinning Board: The pinning board provides a stable surface for pinning and arranging the insects. It is typically made of foam or cork, allowing you to pin the insects without them moving or falling off.
- Pinning Forceps: These fine-tipped forceps are used to hold and position the delicate parts of the insect during pinning. They allow for precise handling, minimizing the risk of damage.
- Killing Jar: This airtight container is filled with a killing agent, such as ethyl acetate or potassium cyanide. It is used to euthanize the insects quickly and humanely before pinning.
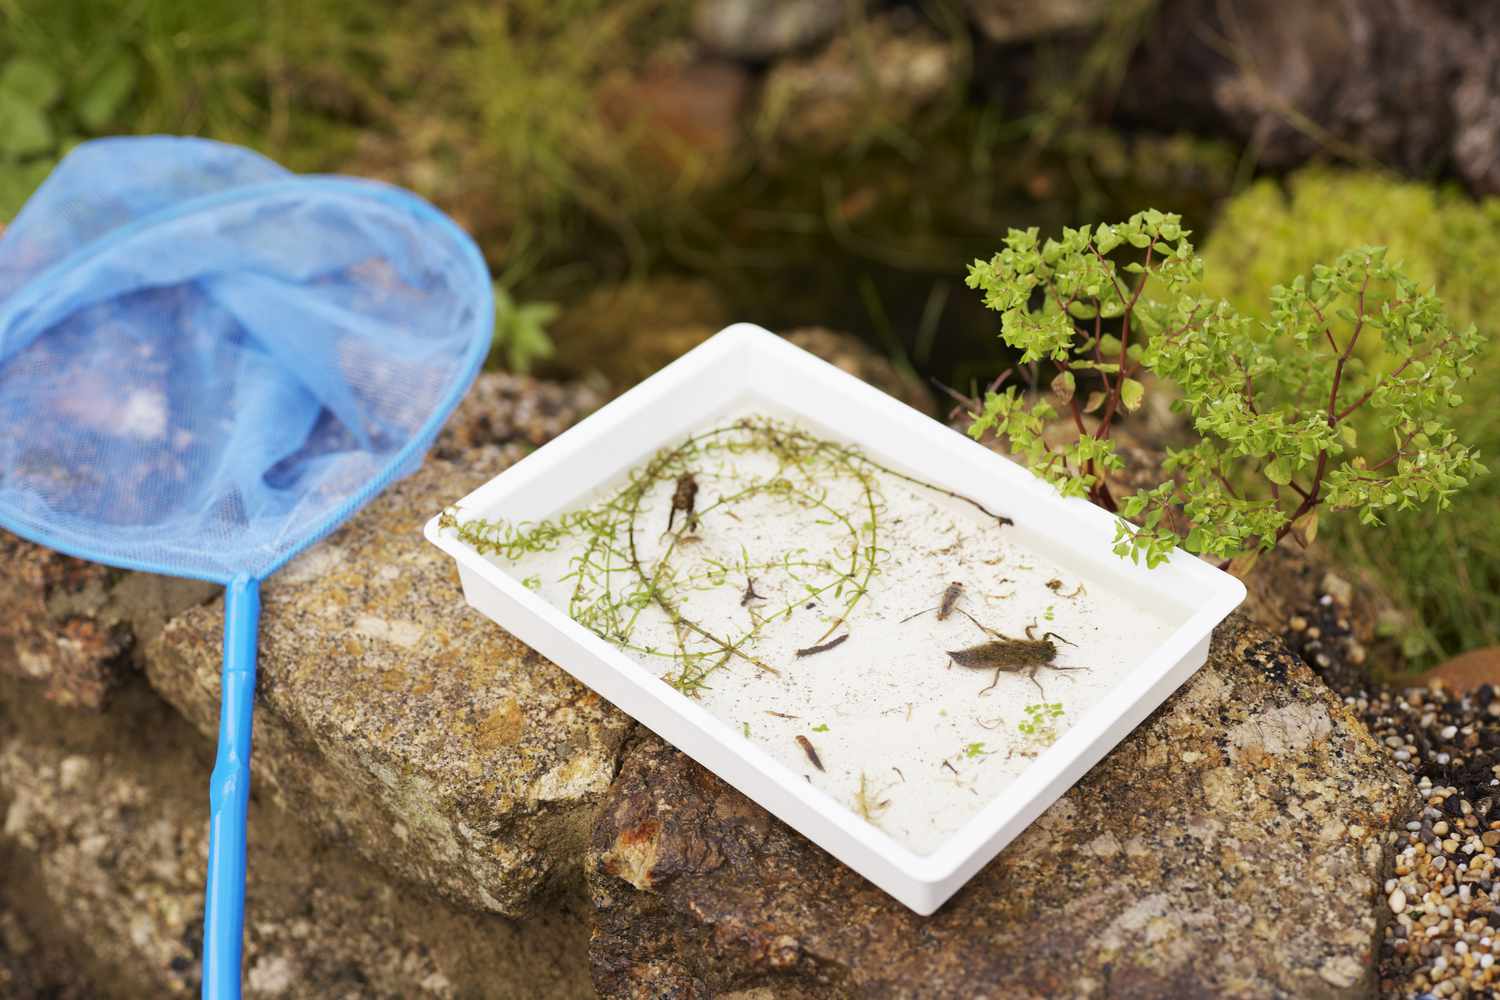
- Insect Net: An insect net with a sturdy handle is essential for catching insects in the field. It should have a fine mesh to prevent the escape of smaller insects.
- Labeling Supplies: To properly identify and document the specimens, you will need labels, a waterproof marker, and small pins or glue to attach the labels to the pins.
- Storage Containers: You will need storage containers, such as glass or plastic display cases, to safely store and protect the pinned specimens from damage, dust, and pests.
It’s crucial to ensure that all materials, especially the pins and forceps, are clean and sterilized before use. This helps prevent the spread of disease or contamination between specimens. Additionally, wearing gloves and using a magnifying glass can further enhance your accuracy and hygiene during the pinning process.
By having these essential materials ready, you will be well-prepared to embark on your exciting journey of pinning insects and building your collection.
Step 1: Catching the Insects
The first step in pinning insects for collection is to catch the specimens. This is where your skills as an insect hunter come into play. Here’s a guide on how to effectively capture insects:
- Choose the Right Time and Location: Insects are most active during specific times of the day and in certain habitats. Research the insect species you want to collect to determine the ideal time and location for capturing them. For example, butterflies are often found in sunny areas, while moths are more active at night.
- Use an Insect Net: Equip yourself with a sturdy insect net designed to capture insects without causing them harm. Approach the insect cautiously, ensuring that the net completely covers it, and swiftly sweep the net in an arc-like motion to trap the insect inside.
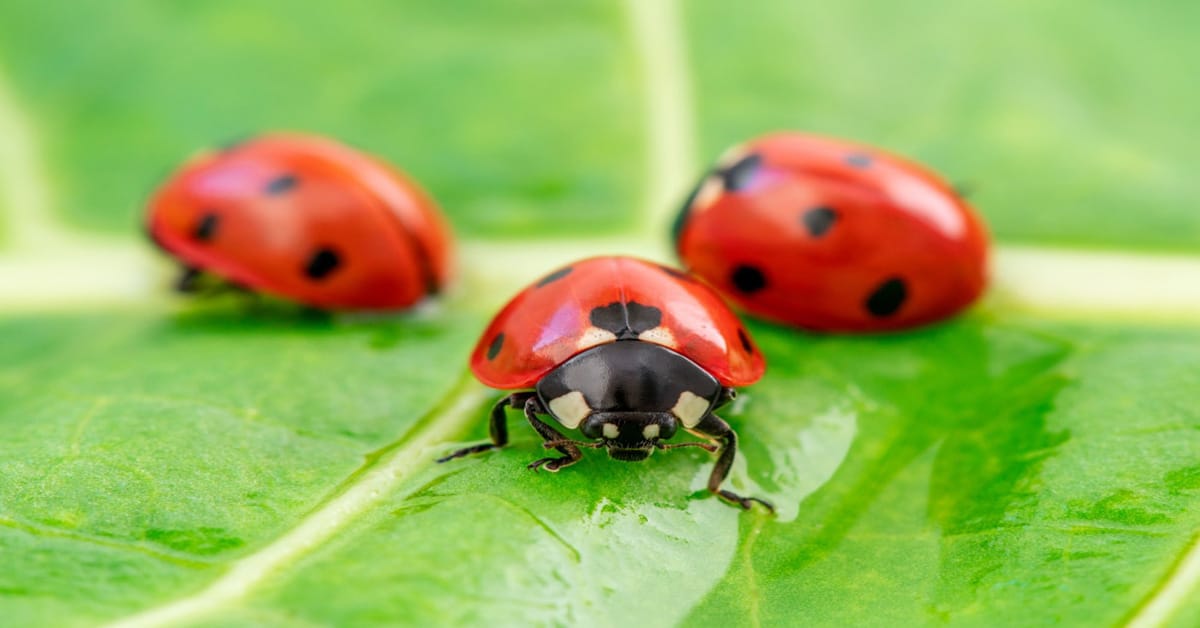
- Handle with Care: Once you have captured the insect, handle it gently to avoid injuring delicate body parts or wings. Take extra care when handling fragile insects like butterflies and beetles.
- Euthanize the Insect: To ensure humane treatment, it is essential to euthanize the insect before pinning. This can be done by placing the captured insect in a killing jar filled with a quick-acting and safe killing agent, such as ethyl acetate. Leave the insect in the jar for a few minutes until it has ceased moving.
- Avoid Overcollecting: While it can be tempting to collect as many specimens as possible, it is crucial to practice responsible collection. Avoid overcollecting rare or endangered species, and remember to leave behind enough insects to maintain the ecological balance.
Remember to record the date, location, and any specific observations about the insect’s behavior or habitat. This information will be invaluable for future reference and can contribute to scientific research or simply enhance your personal collection documentation.
With a methodical approach, patience, and respect for nature, you can capture a diverse range of insect species to add to your collection.
Step 2: Preparing the Pinning Board
The next step in pinning insects for collection is to prepare the pinning board. This is where you will secure the insects in their natural position for optimal display and preservation. Follow these steps to prepare the pinning board:
- Select a Suitable Pinning Surface: Choose a clean and flat surface for pinning the insects. Cork boards and foam boards are commonly used as they provide a stable base for pinning without damaging the delicate insect specimens.
- Position the Insect: Remove the insect from the killing jar using pinning forceps or your fingers (if properly trained). Gently hold the insect by the thorax (midsection) or wings and position it on the pinning board.
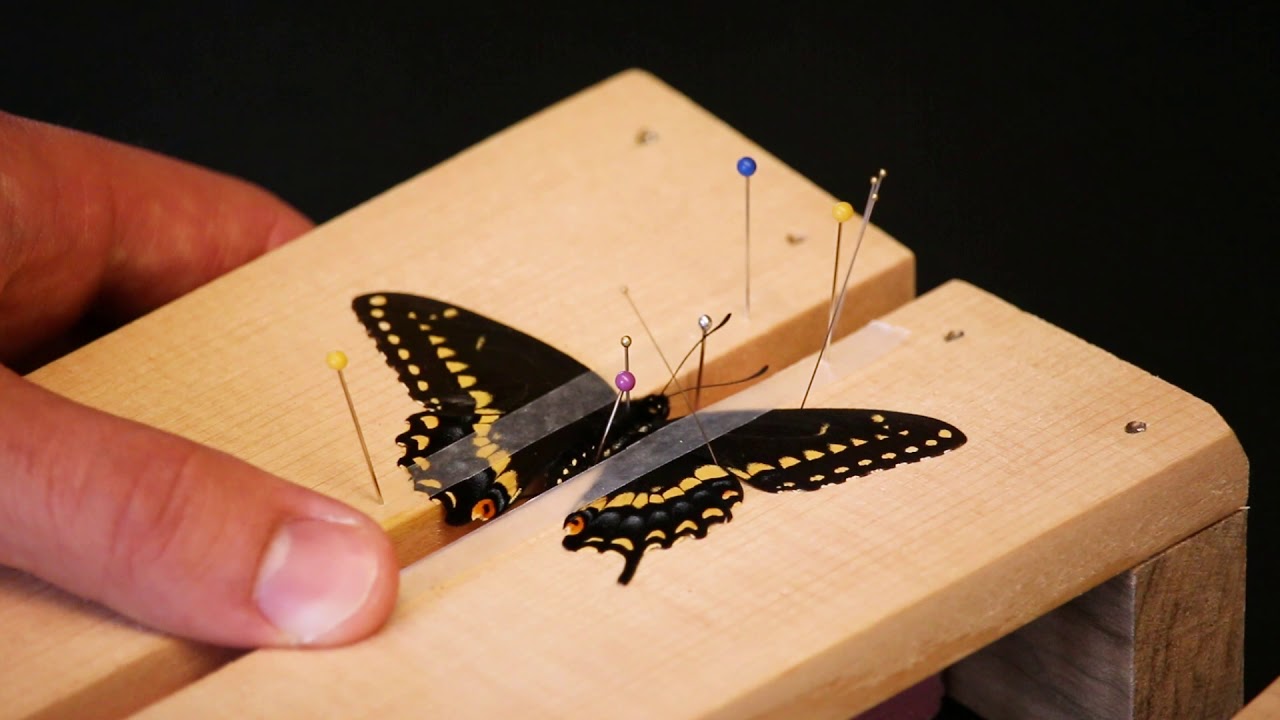
- Pinning Technique: Carefully insert an entomological pin through the center of the insect’s thorax, going straight down into the board. Place the pin at a slight angle, ensuring it is secure and stable. For larger insects, additional pins may be required to support and position the legs or wings.
- Alignment and Spacing: Arrange the insects on the pinning board in a systematic and aesthetically pleasing manner. Ensure there is sufficient space between each specimen to allow for examination and future adjustments if needed.
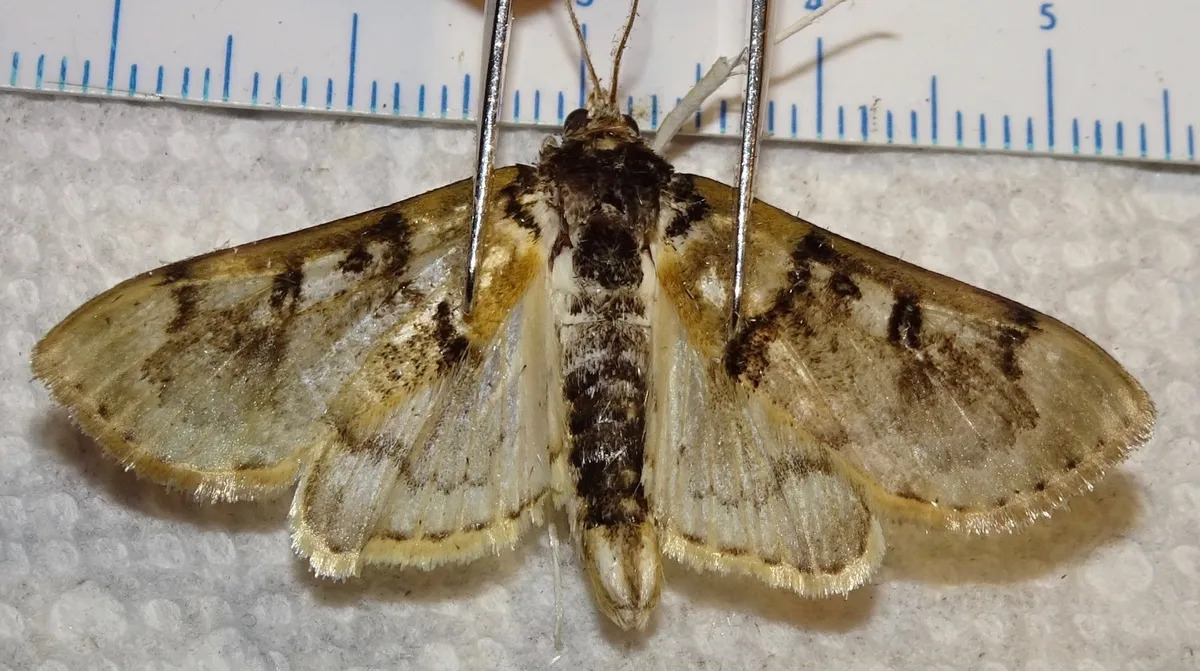
- Handling Delicate Specimens: Some insects, such as butterflies, have delicate wings that can be easily damaged during the pinning process. To minimize the risk, gently spread the wings apart and secure them using small strips of paper or cardstock placed beneath the wings and pinned through the center.
- Record the Insect Details: While the insect is still on the pinning board, record relevant information such as the species name, date of collection, location, and any additional notes or observations. This information will be useful for identification and reference purposes.
Remember to handle the insects with care to avoid damaging their fragile bodies or wings. Patience and precision are key when preparing the pinning board, as it will ensure that your insect specimens are securely and beautifully displayed for years to come.
Step 3: Mounting the Insects
Once you have prepared the pinning board and positioned the insects, it’s time to mount them securely to ensure their long-term preservation. Follow these steps to properly mount the insects:
- Double-check the Pinning: Ensure that the insects are securely pinned to the pinning board. Gently wiggle the insect to verify that it is stable and does not move or slide on the pin.
- Arrange the Appendages: Take a close look at the insect’s body and appendages to ensure they are in their natural position. Use pinning forceps to carefully adjust the antennae, legs, and other body parts as necessary.
- Straighten the Wings: If the insect has wings, carefully straighten them out using soft brushes, such as a small paintbrush or a soft-bristled toothbrush. Be gentle to prevent damaging the delicate wing scales.
- Allow for Drying: Once the insects are properly mounted, leave them undisturbed for a few days in a well-ventilated area. This allows the specimens to dry completely, reducing the risk of fungal growth and preserving their natural appearance.
- Remove Excess Moisture: If the insects appear moist or damp after mounting, you can place a paper towel or a small packet of silica gel near the pinned specimens. This helps absorb any remaining moisture and promotes faster drying.
- Inspect and Adjust: After the insects have dried, inspect them closely for any signs of damage, misalignment, or unevenness. Make any necessary adjustments to ensure the specimens are in their best condition for future display or study.
Mounting insects requires precision and attention to detail. Taking the time to properly position and arrange the appendages will result in a visually appealing collection that accurately represents the natural form of the insects.
Remember, the drying process is crucial for preserving the specimens effectively. So, exercise patience and restraint to allow the insects to dry completely before moving on to the next step.
Step 4: Labeling the Specimens
Properly labeling your pinned specimens is an essential step in building a comprehensive insect collection. The labels provide important information about each specimen, allowing for easy identification and reference. Follow these steps to effectively label your insect specimens:
- Prepare Labels: Cut small rectangular or square labels from archival-quality paper or cardstock. These materials are durable and won’t deteriorate over time. The size of the labels should be proportionate to the size of the insect and easily readable.
- Record Relevant Information: On each label, write down essential information such as the species name, date of collection, location, and collector’s name. You may also include additional details, such as habitat or behavior observations, if desired.
- Attach the Labels: There are several methods for attaching labels to the pinned insects. Some prefer to use small pins or stainless steel insect specimen pins to secure the labels through the pinning board beneath the insect. Alternatively, you can use archival adhesive glue to adhere the labels directly to the pin.
- Be Neat and Legible: Write the information on the labels in a neat and legible manner, using a waterproof and fade-resistant marker. Consider using separate labels for duplicate specimens or variations within the same species.
- Consistency is Key: Adopt a consistent labeling format throughout your collection for easy organization and cataloging. This includes using the same size, shape, and placement of labels for uniformity.
- Keep a Record: Once the labels are attached, it’s important to maintain a separate record or database of your insect collection. This serves as a backup and allows for easy retrieval of information if the labels become detached or damaged.
Labeling your specimens accurately and consistently is vital for future identification and research purposes. It adds value to your collection and ensures that the information is preserved alongside the specimens for generations to come.
Remember to handle the labels and pins with care to avoid unnecessary damage to your pinned insects. With meticulous labeling, your insect collection will be informative, organized, and readily accessible for study and admiration.
Step 5: Storing the Collection
Once you have completed the process of pinning and labeling your insect specimens, it’s crucial to store them properly to ensure their long-term preservation. Here are some guidelines for storing your insect collection:
- Select Appropriate Storage Containers: Choose storage containers that are sturdy, dust-proof, and insect-proof. Glass-top display cases or plastic storage boxes with tight-fitting lids are commonly used for storing pinned insect collections.
- Organize by Species or Categories: Group your specimens by species or categories to facilitate easy retrieval and organization. You can use dividers or trays within the storage containers to keep each species separate.
- Protect from Light and Moisture: Keep your insect collection away from direct sunlight and sources of moisture, as these can cause damage and deterioration. Store them in a cool and dry place to prevent mold growth or color fading.
- Monitor for Pests: Regularly inspect your collection for any signs of pests, such as beetles or moths, which can damage the specimens. Consider using pest deterrents like moth repellent sachets or desiccant packets to protect against moisture and pests.
- Handle with Care: When accessing or moving your insect collection, handle the storage containers with care to minimize any potential damage to the specimens. Avoid dropping or jostling the containers, as this can lead to dislodged or damaged specimens.
- Update and Maintain: Periodically check and update the labels on your specimens as needed. Ensure that all pins are still secure and the insects are in good condition. If any specimens show signs of deterioration or damage, consider replacing them or seeking advice for restoration.
By implementing proper storage techniques, you can protect your insect collection from decay, damage, and deterioration. Regular maintenance and surveillance will help ensure the quality and longevity of your prized collection.
Remember that an insect collection is a valuable educational resource and a testament to the incredible diversity of the insect world. With proper storage, your collection can be enjoyed and admired for generations to come.
Conclusion
Collecting and pinning insects for a collection is a rewarding endeavor that allows us to appreciate the remarkable diversity and beauty of the insect world. By following the steps outlined in this guide, you can create a high-quality insect collection that serves as a valuable educational resource and brings joy to those who view it.
Remember to start by gathering all the necessary materials, such as pins, pinning boards, forceps, and labeling supplies. Catch the insects responsibly, ensuring you respect their habitats and the environment. Once you have captured the insects, proceed to the pinning board, where you will secure them in their natural positions with precision and care.
Labeling the specimens accurately is crucial for identification and reference purposes. Attach durable labels with essential information, including species names, dates of collection, and locations. Organize your pinned insects systematically, and maintain a separate record or database to keep track of your collection.
Finally, store your insect collection properly to ensure its long-term preservation. Choose suitable storage containers that protect the specimens from light, moisture, and pests. Regularly monitor and maintain your collection to keep it in excellent condition for future generations to admire and study.
Building an insect collection is a labor of love that fosters a deeper understanding and appreciation for the intricate world of insects. It allows us to explore the fascinating attributes and behaviors of these tiny creatures while contributing to scientific knowledge.
So, embrace the adventure, explore the outdoors, and start pinning insects for a collection that will captivate, educate, and inspire for years to come.