Home>Gardening Tips and Tricks>Problem Solving>How To Capture Insects
Problem Solving
How To Capture Insects
Modified: January 22, 2024
Learn effective problem-solving techniques for capturing insects with our comprehensive guide on how to capture insects. Discover helpful tips and tools!
(Many of the links in this article redirect to a specific reviewed product. Your purchase of these products through affiliate links helps to generate commission for Chicagolandgardening.com, at no extra cost. Learn more)
Table of Contents
Introduction
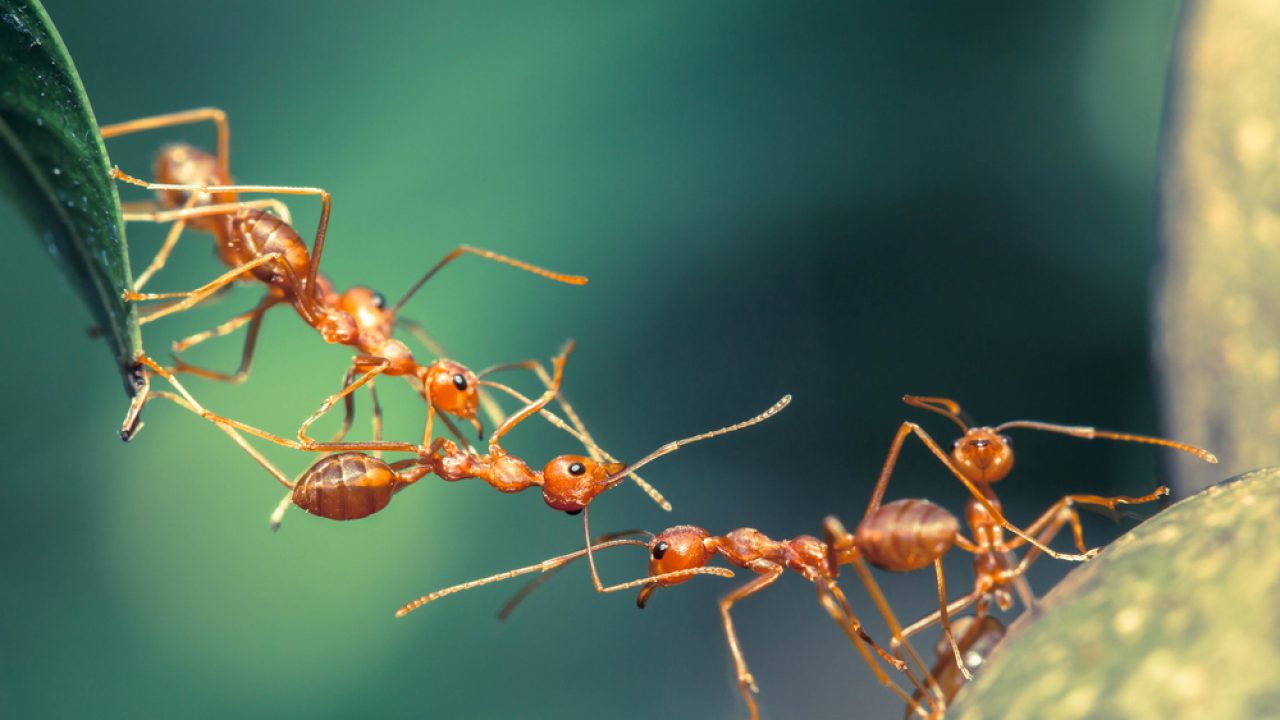
Welcome to the fascinating world of insect photography! Capturing stunning images of these tiny creatures can be both challenging and rewarding. Whether you are an amateur photographer or a seasoned pro, this guide will provide you with valuable insights and techniques to elevate your insect photography skills to the next level.
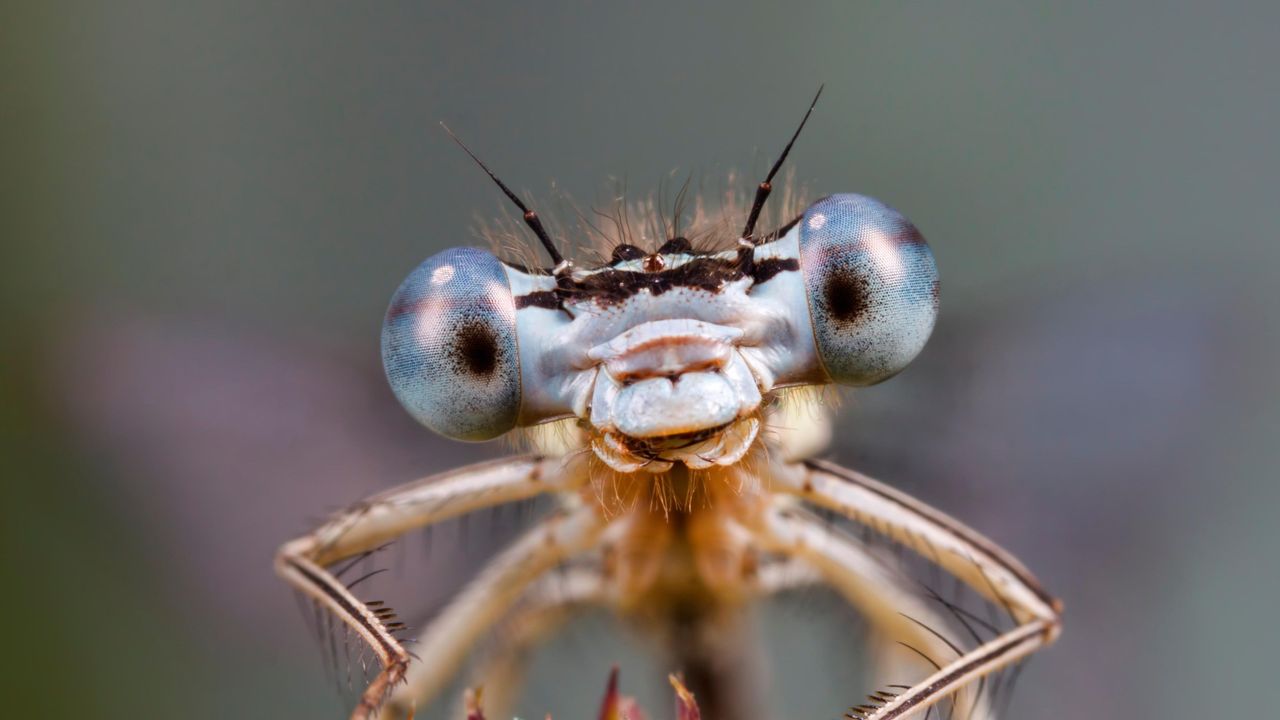
Why photograph insects, you ask? Well, insects are incredibly diverse and offer a wide range of subject matter. From intricate patterns on butterfly wings to the delicate structures of a dragonfly’s body, there is no shortage of captivating details to capture. Additionally, photographing insects allows us to appreciate the beauty and complexity of the natural world on a whole new level.
Before diving in, it is important to note that insect photography requires patience, observation, and a deep understanding of your subjects. You will need to choose the right equipment, master composition techniques, and overcome the challenges of lighting and capturing fast-moving insects.
This guide will walk you through each step of the process, from selecting the right equipment to post-processing your images. So grab your camera, put on your walking shoes, and get ready to explore the world of insect photography!
Choosing the Right Equipment
When it comes to insect photography, having the right equipment can make a significant difference in the quality of your images. Here are some key factors to consider when selecting your gear:
- Camera: Ideally, you should choose a camera with manual controls and the ability to shoot in RAW format. This will give you more control over the exposure, white balance, and post-processing of your images.
- Lens: A macro lens is essential for capturing the intricate details of insects. Look for a lens with a 1:1 magnification ratio to showcase the subject in life-size proportions. A focal length of 90mm to 105mm is a popular choice, as it provides a good balance between working distance and magnification.
- Tripod: Insect photography often requires steady hands and precise focusing. Investing in a sturdy tripod will eliminate camera shake and allow you to fine-tune your composition.
- Extension Tubes or Close-up Filters: If a dedicated macro lens is out of your budget, extension tubes or close-up filters can be an affordable alternative. These accessories allow you to achieve closer focusing distances, enabling you to capture detailed shots of insects.
- Remote Shutter Release: To further minimize camera shake, use a remote shutter release or the self-timer function on your camera to trigger the shutter without touching the camera body.
- Additional Accessories: Consider investing in a diffuser or reflector to control lighting, as well as a beanbag or small tripod for low-angle shots. Carrying a comfortable backpack or bag will also help you transport your gear while exploring different shooting locations.
Remember, the specific gear you choose will depend on your budget, shooting style, and the types of insects you plan to photograph. It’s always a good idea to research and read reviews before making any purchase.
Now that you have an understanding of the essential equipment, let’s move on to setting up your camera for insect photography.
Setting Up Your Camera
Before you start capturing stunning insect photographs, it’s crucial to configure your camera settings properly. Here are the key factors to consider:
- Shooting Mode: Switch your camera to manual or aperture priority mode (A or Av) for better control over the depth of field. This allows you to isolate the subject and blur the background, resulting in visually appealing images.
- Aperture: Use a wide aperture (small f-number) to create a shallow depth of field. This will help to bring your main subject into sharp focus while blurring the background. Experiment with different aperture settings to achieve the desired effect.
- ISO: Keep your ISO as low as possible to minimize noise in your images. Start with a lower ISO setting (e.g., 100 or 200) and gradually increase it if you need a faster shutter speed in low-light conditions.
- Focus: Select the autofocus (AF) mode and choose a single focus point. Use the center focus point for better accuracy and control. For more precise focusing, switch to manual focus or use focus stacking techniques for capturing multiple images at different focus distances and merging them later in post-processing.
- Exposure Compensation: Adjust the exposure compensation if necessary to achieve the correct exposure. Brightly-colored insects on dark backgrounds may require positive exposure compensation, while insects on bright backgrounds may need negative compensation.
- White Balance: Set the white balance to match the lighting conditions or shoot in RAW format for the flexibility to adjust the white balance during post-processing.
- Drive Mode: Use the continuous shooting mode to capture multiple frames in quick succession. Insects are often fast-moving, and this will increase your chances of getting a sharp image.
Additionally, familiarize yourself with the various camera buttons and dials to quickly adjust settings on the fly. Take the time to explore your camera’s menu and customize settings that align with your shooting preferences.
Now that your camera is set up, it’s time to understand the behavior of insects to capture them in their natural habitat. Let’s explore this in the next section.
Understanding Insect Behavior
As a successful insect photographer, understanding the behavior of your subjects is crucial. Knowing how insects behave will help you anticipate their movements, capture unique moments, and create compelling compositions. Here are some important aspects to consider:
- Time of Day: Different insects are active at different times of the day. Some species are more active in the early morning or late afternoon when the temperature is cooler. Research the behavior of the insects you want to photograph to determine the best time to find them.
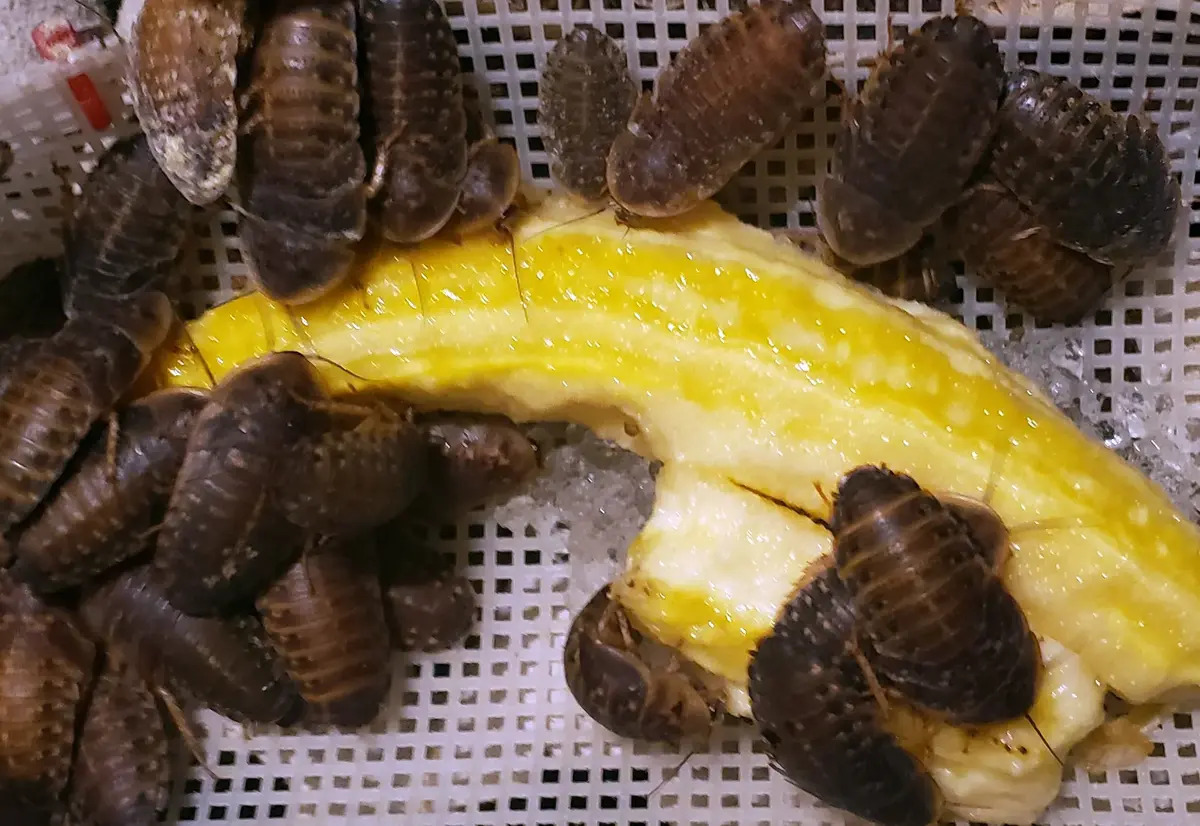
- Mating and Feeding Habits: Insects are often engaged in important activities like mating or feeding. Understanding their habits can significantly increase your chances of getting interesting shots. For example, butterflies are attracted to flowers, while certain beetles may be found near decaying wood or vegetation.
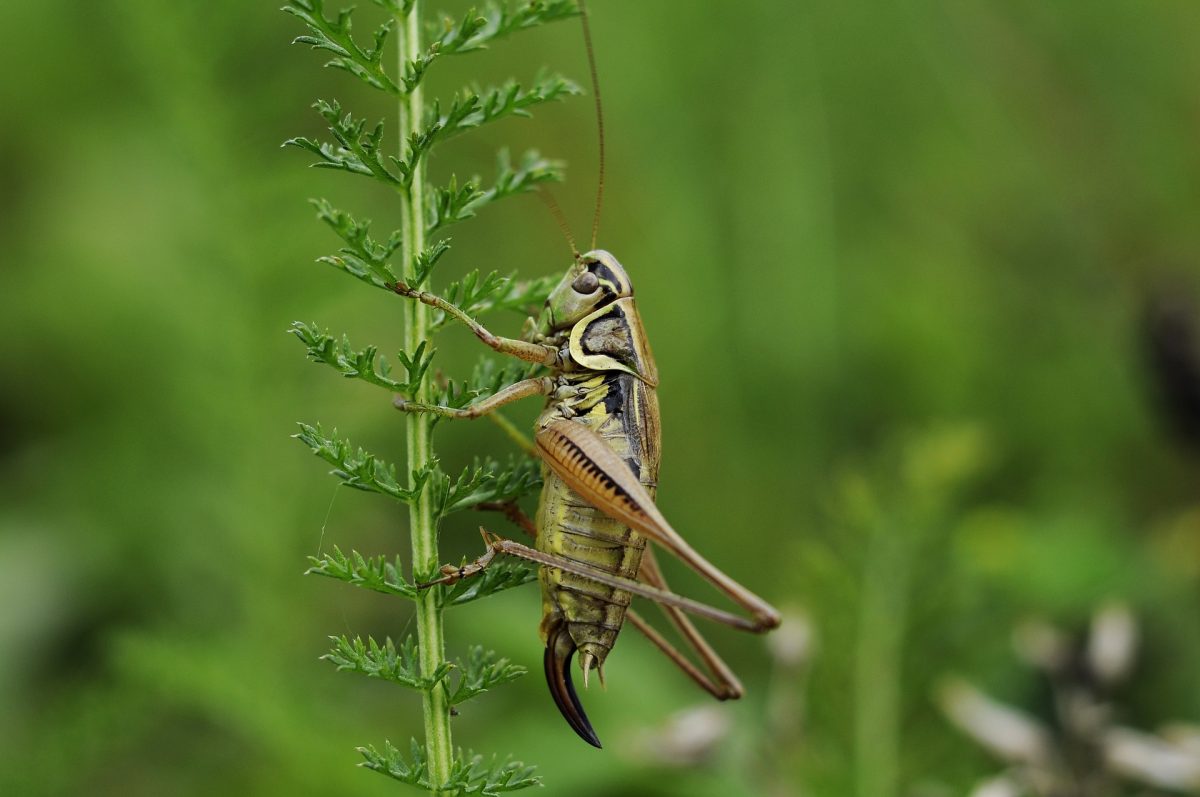
- Resting and Basking: Insects will often take breaks to rest or warm themselves in the sun. Look for them on leaves, branches, or rocks where they are more likely to be stationary. This provides an opportunity to capture detailed shots without the need for high-speed capture.
- Flight Patterns: Many insects are airborne and have distinct flight patterns. Observe their flight paths and learn how they navigate their surroundings. This knowledge will help you anticipate their movements and get ready for the perfect shot.
- Seasonal Behavior: Insect behavior can vary depending on the season. Research the life cycles and migration patterns of different insects to plan your photography outings accordingly. For example, dragonflies are commonly seen near bodies of water during the summer months.
- Camouflage and Defensive Mechanisms: Some insects have evolved to blend in with their surroundings or have developed unique defense mechanisms. Take the time to study the insects you are photographing to understand their natural camouflage or any behavior that may be triggered by threats or disturbances.
Patience and observation are key when it comes to understanding insect behavior. Spend time in nature, observe their habits, and take notes on what you observe. This knowledge will give you an advantage in capturing stunning and unique images.
Now that you have a better understanding of insect behavior, let’s move on to finding the perfect spot to photograph these fascinating creatures.
Finding the Perfect Spot
When it comes to insect photography, finding the perfect spot is crucial to capture stunning images. Consider the following tips to help you locate the ideal location:
- Natural Habitats: Insects thrive in specific natural habitats. Research the preferred habitats of the insects you want to photograph. For example, butterflies are often found near gardens or meadows, while dragonflies are commonly seen around bodies of water like ponds or streams.
- Flower Gardens and Fields: Insects are often attracted to flowers for nectar or pollen. Look for flower gardens or fields with a wide variety of blooms. These locations provide ample opportunities to capture insects in their natural element.
- Wooded Areas: Forests or wooded areas are home to a diverse range of insects. Explore paths, trails, or even your own backyard to discover insects nestled among the foliage or resting on tree trunks.
- Wetland Areas: Wetland areas, such as marshes or swamps, are rich in insect life. They offer unique opportunities to photograph water-dwelling insects like water striders or damselflies.
- Urban Environments: Don’t overlook urban environments for insect photography. City parks, botanical gardens, or even your own backyard can provide surprising opportunities to capture insects in urban settings.
- Research and Local Knowledge: Consult local field guides, online resources, or speak to local naturalists to gain insights into the best spots for specific insects in your area. They can provide valuable information about nesting sites, migration patterns, or seasonal behavior.
- Be Respectful: Remember to respect the environment and the insects you are photographing. Avoid disturbing or damaging their habitats. Stay on designated paths and use a telephoto lens or macro lens to capture close-up shots without getting too close to the insects.
Exploring different locations will allow you to encounter a variety of insects and unique photographic opportunities. So grab your camera and go on an adventure to find the perfect spot for your insect photography!
Now that you know how to find the perfect spot, let’s move on to mastering composition techniques for capturing visually compelling insect images.
Mastering Composition
Composition plays a crucial role in creating visually pleasing and impactful insect photographs. Here are some composition techniques to help you master the art of capturing stunning images:
- Rule of Thirds: Imagine dividing your frame into a grid of nine equal sections. Positioning your main subject along the lines or at the intersections of these gridlines can add balance and interest to your composition.
- Leading Lines: Utilize leading lines to guide the viewer’s eye towards the main subject. These lines can be found in the environment, such as the veins of a leaf or the stem of a flower.
- Foreground and Background: Pay attention to the foreground and background elements to add depth and context to your image. Including elements like flowers, leaves, or natural textures can enhance the overall composition.
- Diagonal and Dynamic Angles: Experiment with diagonal lines and dynamic angles to add a sense of movement or drama to your photos. Tilted or slanted compositions can create a sense of action or energy.
- Perspective and Scale: Play with different perspectives to add interest and showcase the size or intricacy of your subject. Capture insects from eye-level, get low to the ground for a bug’s-eye view, or shoot from above to highlight patterns or formations.
- Negative Space: Leave empty space around your subject to create a sense of simplicity and focus on the main subject. Negative space can also be used to emphasize the intricate details and patterns of the insect.
- Background Blur: Utilize a wide aperture and shallow depth of field to blur the background and make your subject stand out. This technique helps to isolate the insect and draw attention to its unique characteristics.
Remember, rules are meant to be broken, and experimenting with composition techniques can lead to unique and creative results. Don’t be afraid to try different angles, perspectives, and compositions to capture the essence and beauty of your insect subjects.
Now that you have mastered composition techniques, let’s move on to controlling lighting to enhance your insect photography.
Controlling Lighting
Lighting is a crucial element in photography, and controlling it effectively can make a significant difference in the quality of your insect images. Here are some tips to help you control lighting for captivating results:
- Natural Light: Take advantage of natural light whenever possible. Soft, diffused light during the golden hours (early morning or late afternoon) can create a warm and gentle atmosphere for your insect photography. Avoid harsh midday light, which can cast unflattering shadows.
- Diffusers and Reflectors: Use diffusers or reflectors to soften and control the intensity of natural light. Diffusers can be positioned between the light source and your subject to create a softer, more even light. Reflectors can bounce light onto the subject to fill in shadows.
- Flash and Speedlights: When working in low-light conditions or to add fill light, consider using flash or speedlights. Diffuse the flash using a softbox, a small diffuser, or a piece of white cloth to avoid harsh and direct lighting on the insect.
- Backlighting: Experiment with backlighting to create a magical and ethereal effect. Position your subject between the light source and your camera, and adjust the exposure to retain details and avoid overexposure.
- Artificial Lighting: For more control over the lighting, consider using continuous LED lights or studio strobes. These lights allow you to position the light source to achieve the desired effect, highlighting specific details or creating dramatic shadows.
- Experiment with Shadows: Shadows can add depth and dimension to your insect images. Embrace the play of light and shadows by positioning your subject in a way that casts interesting shadows or using natural objects to create shadow patterns.
- Macro Diffusers: When shooting close-up and macro images, consider using specialized macro diffusers or softboxes that attach to your lens. These accessories help soften the light and distribute it evenly on the subject, reducing harsh shadows and reflections.
Remember to assess the lighting conditions and adjust your camera settings accordingly. Be patient and observant, waiting for the perfect lighting moments to capture the beauty of insects.
Now that you have learned how to control lighting, let’s move on to the specific challenges of macro insect photography.
Handling Macro Insect Photography
Macro insect photography allows you to capture the intricate details of insects up close. However, it comes with its own set of challenges. Here are some tips to help you overcome those challenges and master the art of macro insect photography:
- Use a Tripod: Shooting at close distances requires stability to ensure sharp images. Use a sturdy tripod to keep your camera steady and minimize camera shake. This is especially important when using slower shutter speeds or shooting in low-light conditions.
- Focus and Depth of Field: Achieving a sharp focus and sufficient depth of field can be challenging in macro photography. Use a small aperture (higher f-number) to increase your depth of field and focus on the most important part of the insect. Consider using focus stacking techniques to capture multiple images at different focus distances and merge them in post-processing for maximum sharpness.
- Patience and Observation: Insects can be skittish and move unpredictably. Be patient, observe their behavior, and anticipate their movements. Take your time to compose your shot and wait for the perfect moment to capture their unique characteristics.
- Maintain a Safe Distance: When photographing potentially dangerous insects or in environments with venomous species, always prioritize your safety and maintain a safe distance. Use telephoto lenses or extension tubes to capture close-up shots without getting too close to the subject.
- Remove Distractions: Pay attention to the background and remove any distracting elements that could take away from the main subject. Use natural elements like leaves or flowers to create a pleasing and complementary backdrop.
- Be Mindful of Lighting: Macro photography can cast shadows or block light from reaching your subject. Experiment with different angles and positioning to ensure that the insect is well-lit and the details are properly highlighted.
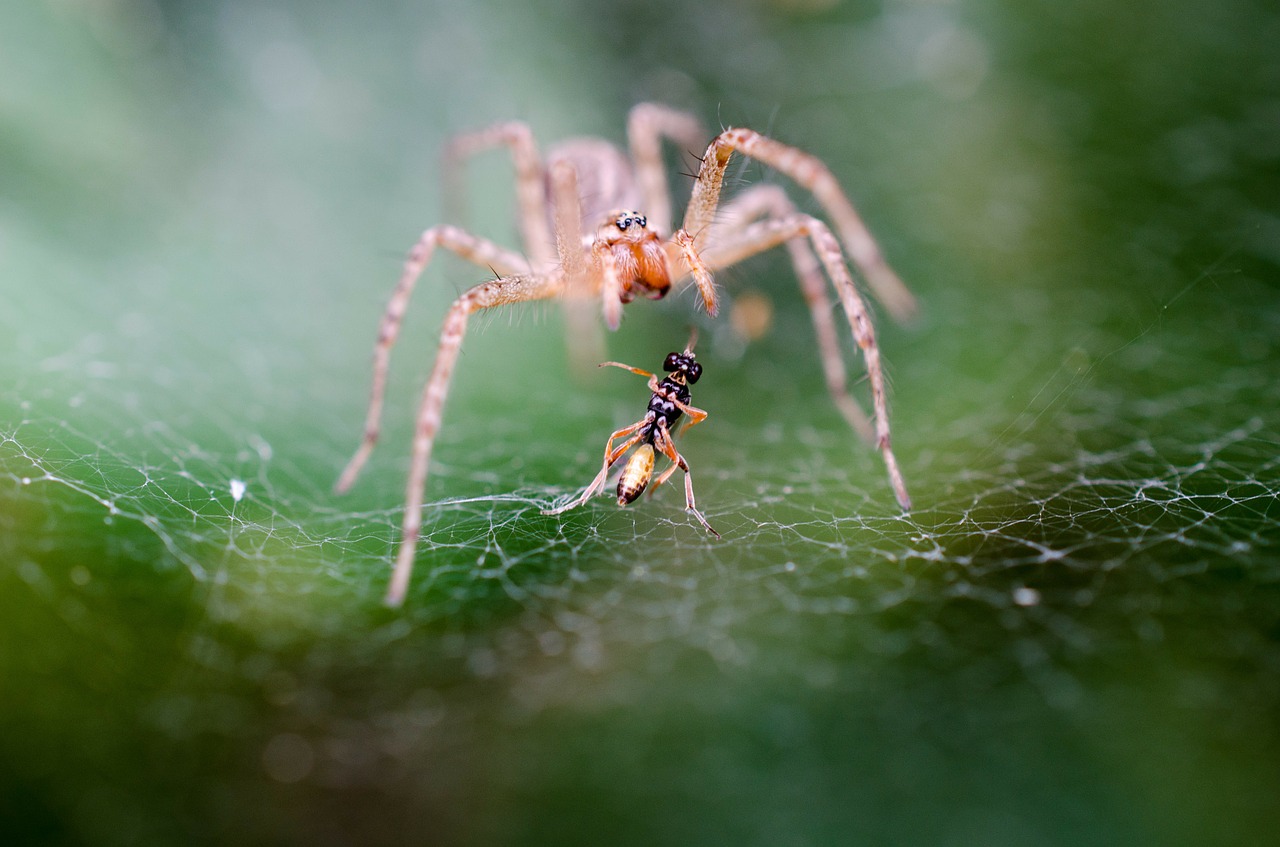
- Take Advantage of Natural Moments: Insects may exhibit interesting behaviors or interactions that can make for captivating images. Observe and patiently wait for these moments to capture truly unique shots.
- Stay Prepared and Carry Essentials: Insect photography requires being quick on your feet. Keep your camera settings optimized for macro shooting, have spare batteries and memory cards on hand, and carry any additional accessories or lenses you may need for different situations.
Keep practicing and experimenting to develop your own techniques and style in macro insect photography. It may take time and patience, but the rewards of capturing those close-up details are well worth the effort.
Now, let’s explore how to overcome the challenge of fast-moving insects and capture them in action.
Dealing with Fast-Moving Insects
Fast-moving insects can present a unique challenge in insect photography. However, with the right techniques and preparation, you can capture them in action and freeze their swift movements. Here’s how to deal with fast-moving insects:
- Use High Shutter Speeds: To freeze the motion of fast-moving insects, set your camera to a high shutter speed. Start with a minimum of 1/500th of a second and adjust accordingly to capture the desired level of detail and stop the motion.
- Pre-Focus and Track: Anticipate the movement of the insect and pre-focus on a spot where you expect it to land or pass through. Use continuous autofocus mode and track the insect as it moves through the frame. This technique increases the chances of capturing a sharp image.
- Burst Mode: Utilize the burst or continuous shooting mode on your camera to capture a series of frames in rapid succession. This increases your chances of capturing the perfect action shot and allows you to choose the best image from the sequence.
- Predict and Prepare: Familiarize yourself with the behavior of the specific insect you are photographing. Study their flight patterns and learn to anticipate their movements. This knowledge will help you position yourself for the optimal shot when the opportunity arises.
- Observe and Wait: Find a strategic vantage point and patiently observe the behavior of the insect. Take note of patterns, feeding habits, or moments of rest. By understanding their movements, you can be prepared to capture them in action.
- Continuous Light Source: Use a continuous light source, such as an LED panel or ring light, to ensure sufficient illumination for high-speed captures. This helps to freeze the motion and reduces the chances of motion blur.
- Practice Panning: Panning is a technique where you follow the movement of the insect with your camera as it flies. By moving the camera along with the subject, you can create a sense of motion while keeping the insect relatively in focus.
- Keep a Steady Hand: When shooting handheld, it’s important to maintain a steady hand to avoid camera shake. Use proper handholding techniques and consider using image stabilization if your camera or lens has this feature.
Remember, capturing fast-moving insects requires patience, practice, and a bit of luck. Keep refining your skills, experimenting with different techniques, and observing insect behavior to increase your chances of getting that perfect action shot.
Now that you are equipped with strategies to capture fast-moving insects, let’s move on to the next step—the post-processing phase, where you can enhance your insect images even further.
Post-Processing Tips and Tricks
Post-processing is an essential step in enhancing your insect photographs and bringing out their full potential. Here are some tips and tricks to consider during the post-processing phase:
- Organize and Backup: Start by organizing your images and creating a backup of your original files. This ensures that your precious captures are safe and allows you to revert to the original files if needed.
- Adjust Exposure and White Balance: Use editing software such as Adobe Lightroom or Capture One to fine-tune the exposure and white balance of your images. Make necessary adjustments to ensure accurate colors and correct any overexposure or underexposure.
- Enhance Details: Apply sharpening techniques to enhance the fine details of your insect subjects. Use tools like the clarity or sharpening sliders to make the textures and patterns more prominent without overdoing it.
- Remove Distractions: Use clone stamp or healing brush tools to remove any distractions or imperfections in your images. This can include dust spots, stray hairs, or unwanted elements that may divert attention from the main subject.
- Adjust Contrast and Vibrance: Fine-tune the contrast and vibrance to make your subject stand out. Adjust the levels or curves to improve the tonal range and create a pleasing balance of highlights and shadows.
- Crop and Composition: Crop your images, if necessary, to enhance the composition or remove any unwanted elements. Experiment with different aspect ratios to find the most pleasing composition for each photograph.
- Experiment with Color Grading: Though insects display beautiful natural colors, you can experiment with color grading techniques to add a creative touch to your images. Adjust the hue, saturation, or use split-toning to create a specific mood or atmosphere.
- Apply selective adjustments: Use adjustment brushes, gradients, or masks to selectively enhance certain areas of your image. This allows you to emphasize the subject, highlight specific details, or darken distracting elements.
- Preserve Natural Appearance: While post-processing can enhance your images, it’s important to maintain a natural appearance. Avoid excessive editing that can make your images appear unrealistic or unnatural.
- Save and Export: Finally, save your edited images in a high-quality format such as TIFF or PNG, and export them in a web-friendly format like JPEG for online sharing or printing.
Remember, post-processing is a personal creative process, and the level of editing will depend on your artistic vision. Use these tips as guidelines and experiment to develop your unique style and showcase the beauty of your insect subjects.
Now that your images are ready to be shared with the world, it’s time to wrap up our insect photography journey. Happy shooting and editing!
Conclusion
Insect photography is a fascinating and rewarding genre that allows you to explore the intricate beauty of the natural world. By following the tips and techniques outlined in this guide, you can elevate your skills and capture stunning images of these small but captivating creatures.
Remember to choose the right equipment for the job, set up your camera correctly, and understand the behavior of the insects you are photographing. Finding the perfect spot and mastering composition techniques will help you create visually appealing images that tell a story.
Controlling lighting, handling macro photography, and capturing fast-moving insects require patience, observation, and practice. These skills, combined with proficient post-processing techniques, will take your insect photography to the next level.
Throughout your photographic journey, always prioritize the well-being and safety of the insects and their habitats. Respect the environment, follow ethical practices, and never disturb or harm the creatures you encounter.
Whether you’re a beginner or seasoned photographer, the key to becoming a successful insect photographer lies in practice, experimentation, and a deep appreciation for the natural world. So grab your camera, venture into the outdoors, and let the magic of insect photography unfold before your lens.
Happy shooting!