Home>Gardening News and Trends>Latest News>How To Photograph Insects
Latest News
How To Photograph Insects
Published: December 5, 2023
Discover the latest news and expert tips on how to photograph insects, capturing their intricate details and behavior. Enhance your skills and explore the fascinating world of macro photography.
(Many of the links in this article redirect to a specific reviewed product. Your purchase of these products through affiliate links helps to generate commission for Chicagolandgardening.com, at no extra cost. Learn more)
Table of Contents
Introduction
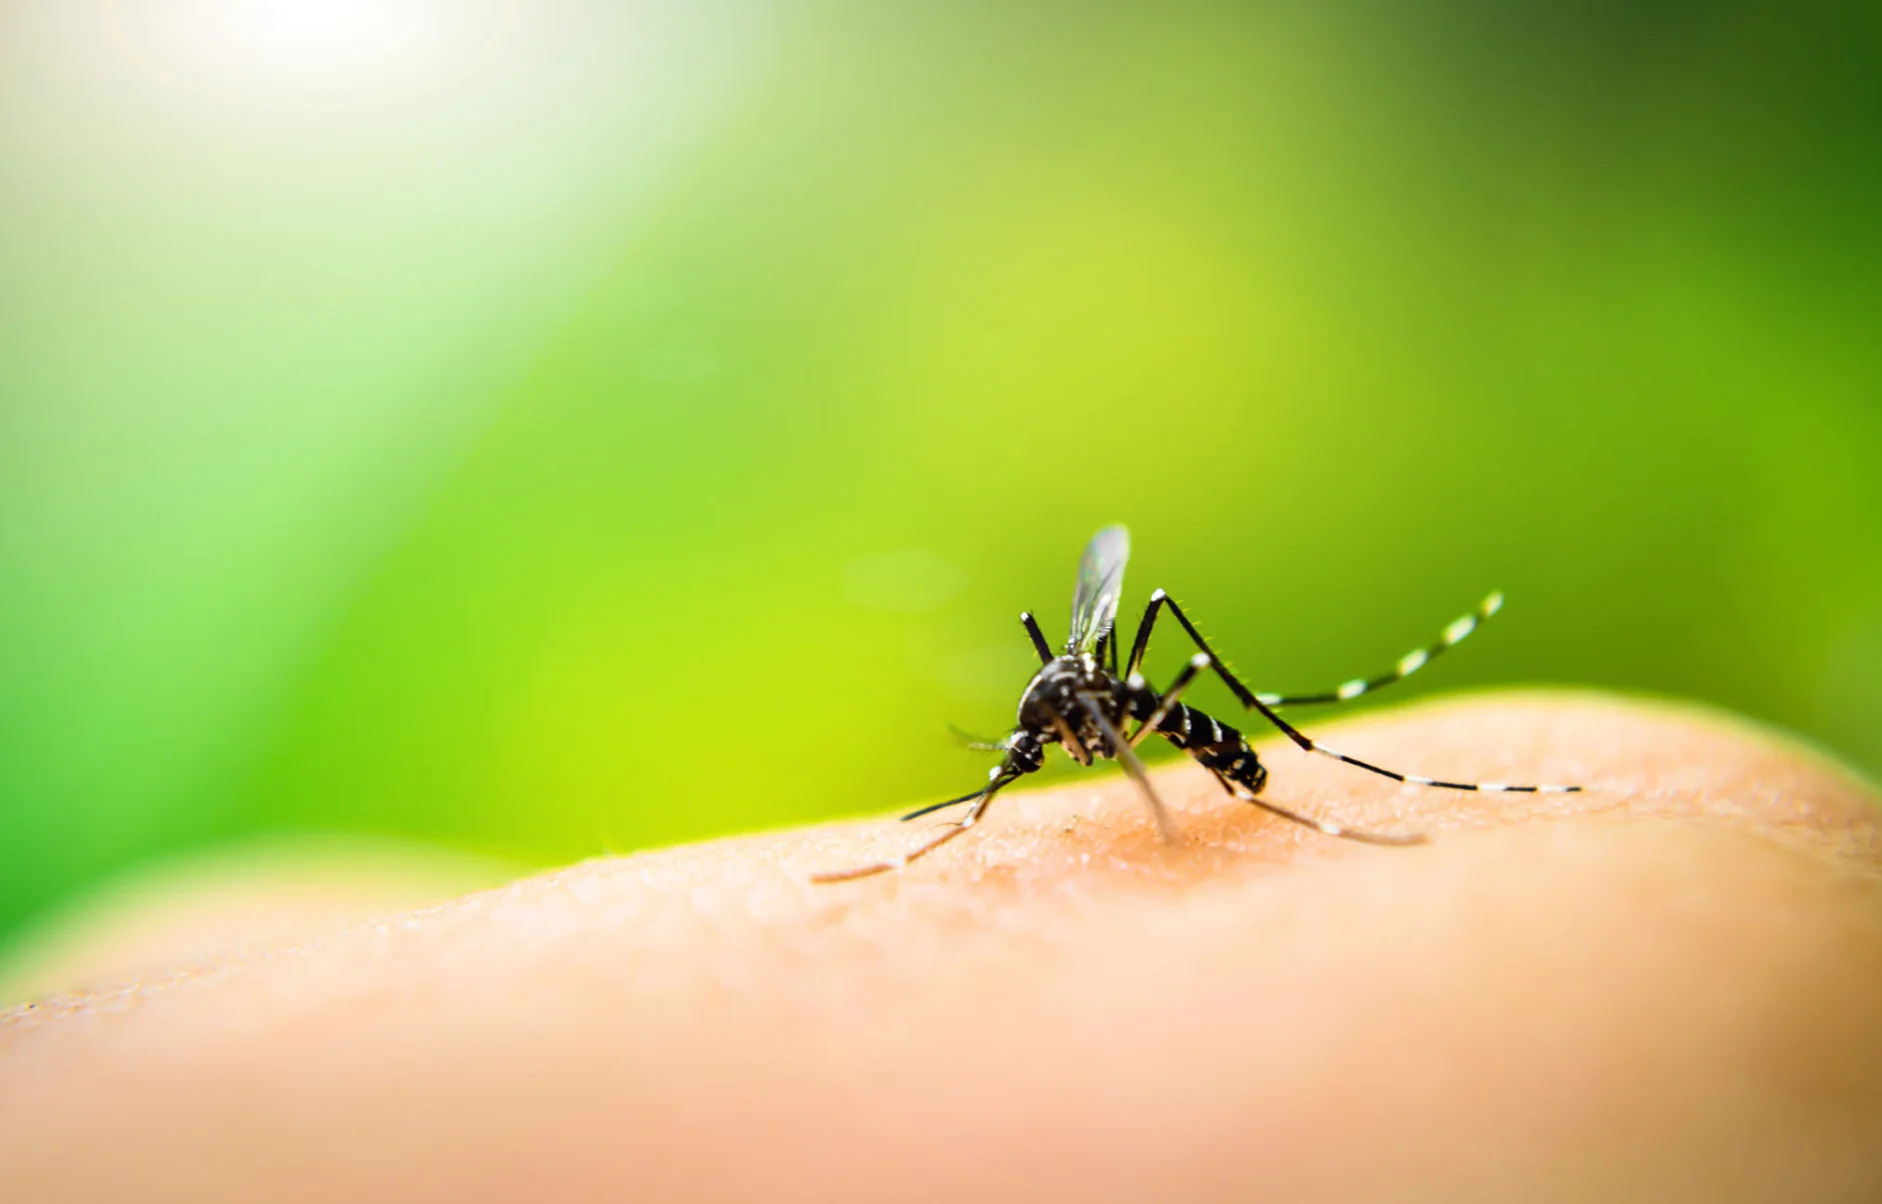
Welcome to the fascinating world of insect photography, where you can capture the intricate details of these tiny creatures and showcase their beauty in stunning images. Whether you are a professional photographer or someone who simply enjoys capturing the wonders of nature, photographing insects can be an exciting and rewarding experience. In this article, we will provide you with valuable tips and techniques to help you master the art of insect photography.
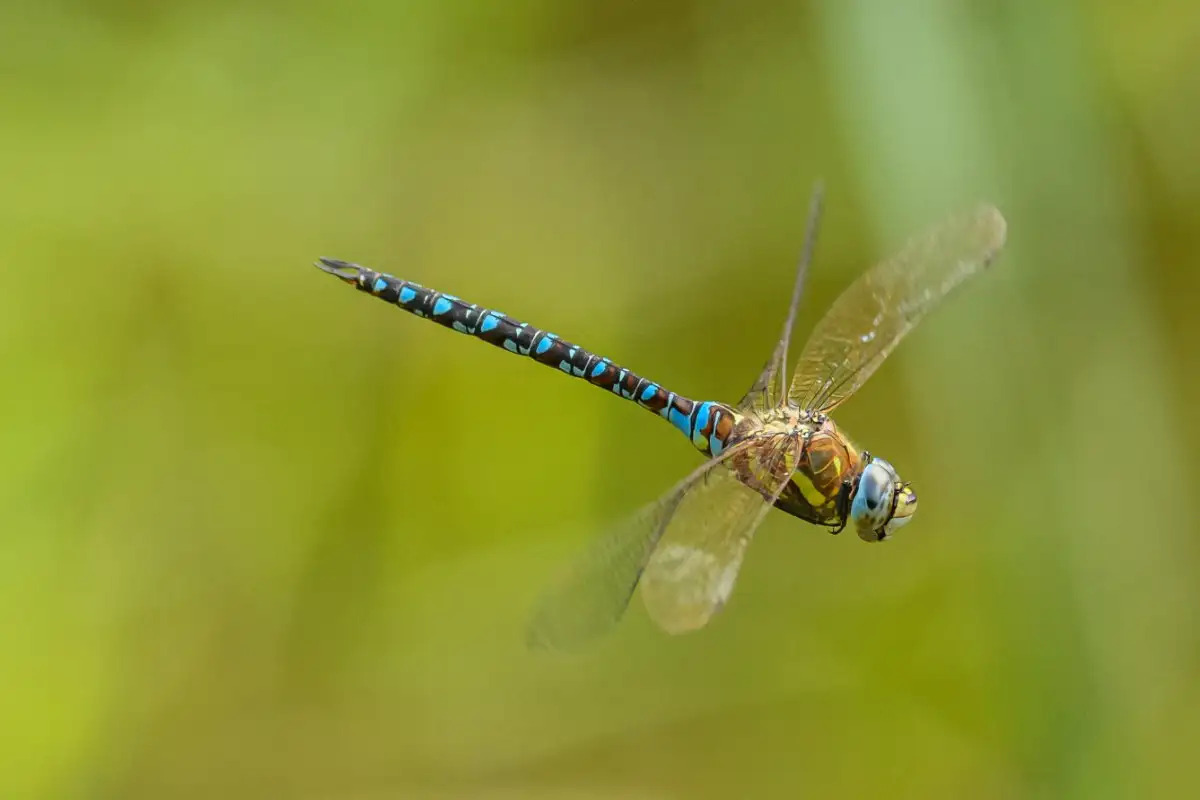
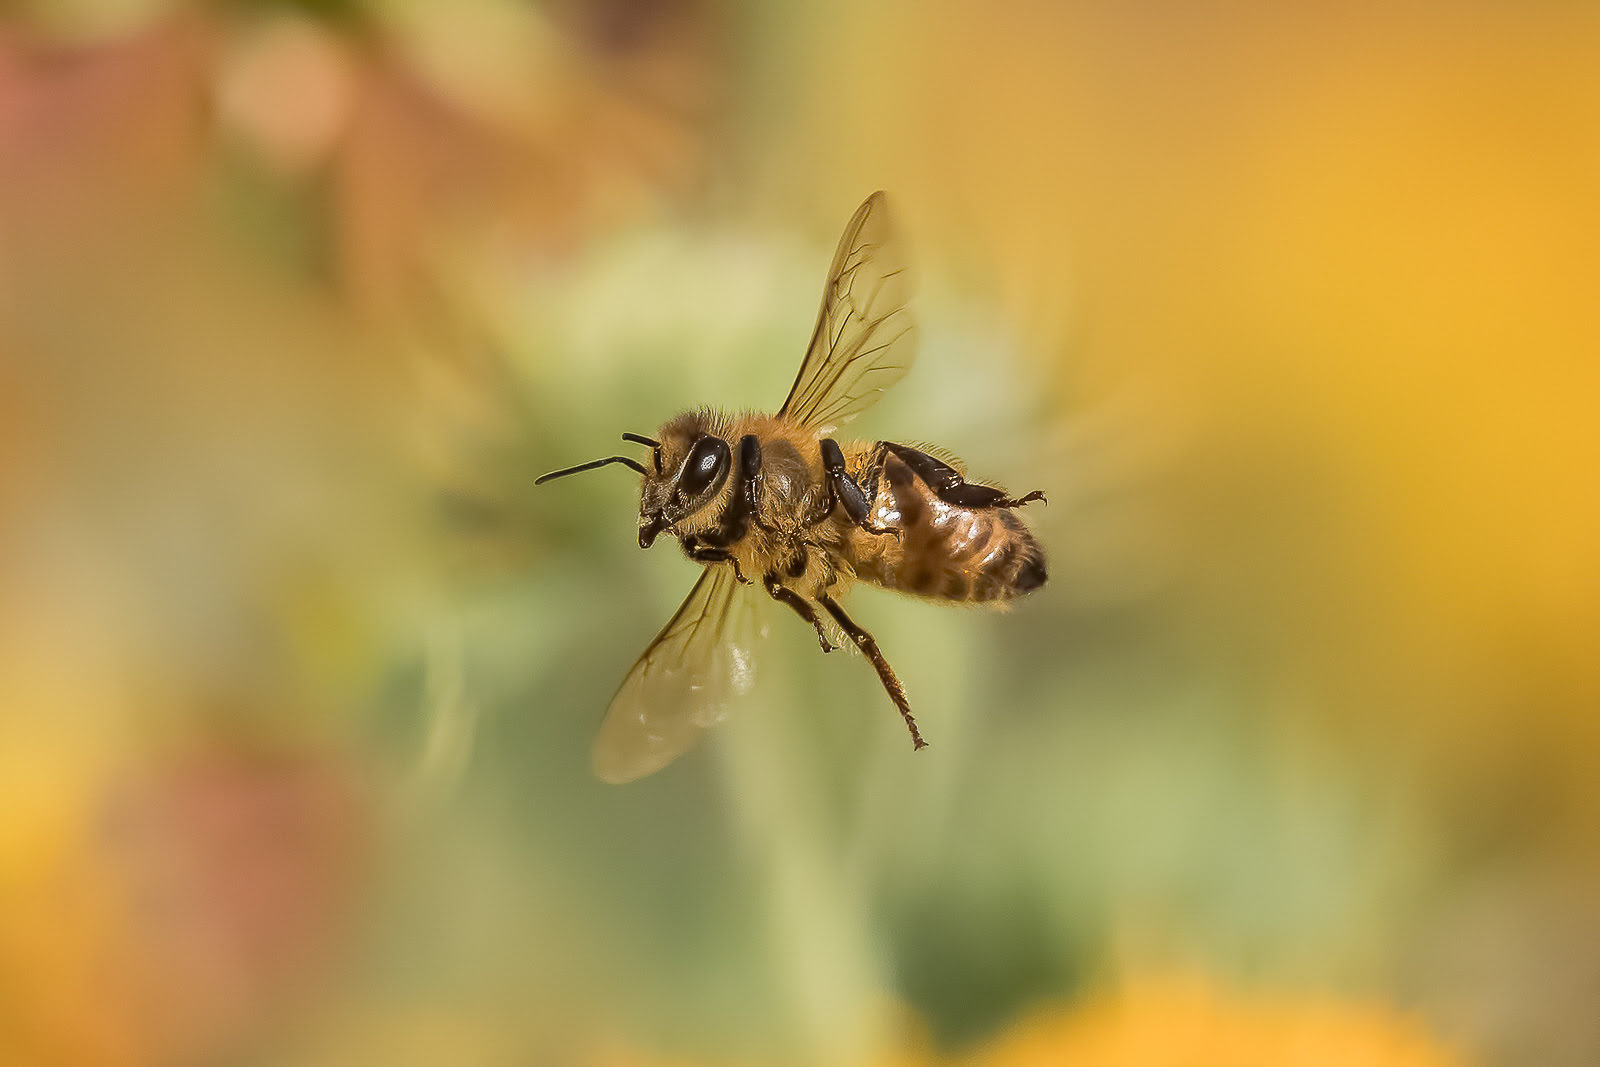
Macro photography, which involves taking close-up shots of small subjects, is especially well-suited for capturing the intricate details of insects. With the right equipment, lighting techniques, and composition skills, you can create captivating images that showcase the often-overlooked beauty of these creatures.
Photographing insects is a unique challenge due to their small size, quick movements, and often unpredictable behavior. It requires patience, observation, and a good understanding of your subject. By learning the right techniques and approaches, you will be able to capture stunning images that not only highlight the natural beauty of insects but also tell a story about their lives.
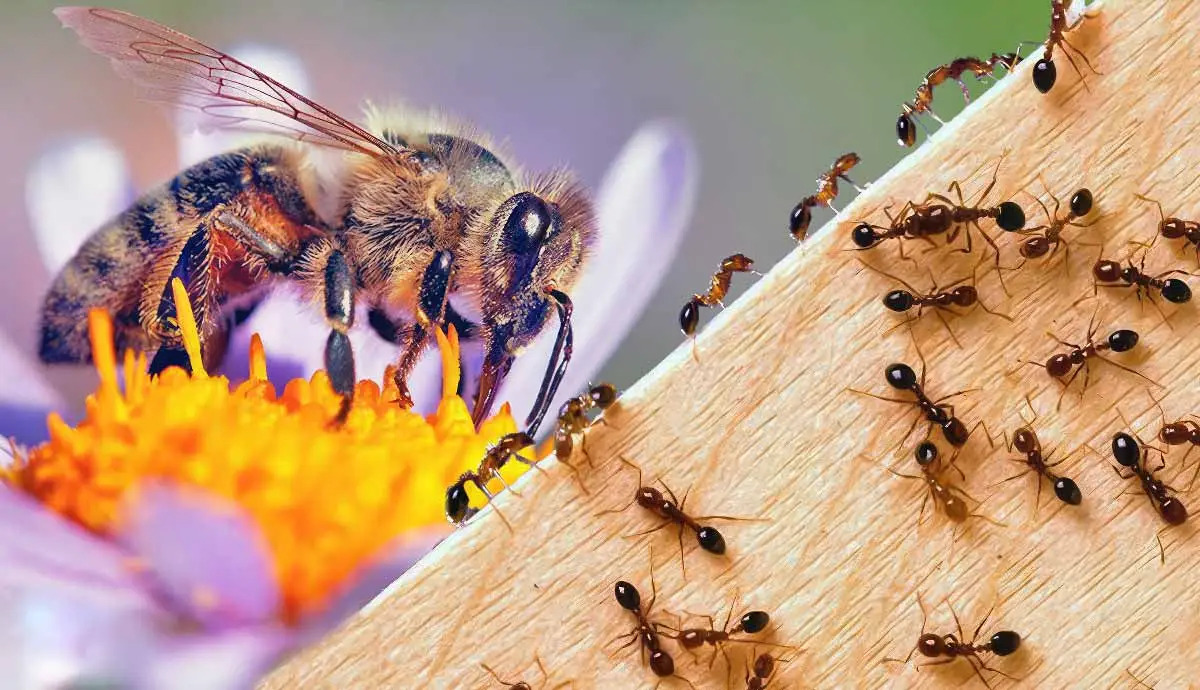
Whether you are in your backyard, exploring a nearby park, or venturing into a remote wilderness, there are countless opportunities to encounter insects and photograph them in their natural habitats. So, let’s dive into the world of insect photography and discover how to capture these remarkable creatures through the lens of your camera.
Equipment Needed
Photographing insects requires certain equipment to ensure that you can capture their intricate details effectively. While you don’t necessarily need the most advanced gear, having the right tools can greatly enhance your results. Here are some essential equipment you’ll need:
- Macro Lens: A macro lens is a must-have for insect photography as it allows you to focus at very close distances and achieve high magnification. Look for a lens with a focal length of at least 90mm to 105mm, as this will provide a good working distance from your subject.
- Extension Tubes or Close-Up Filters: If you don’t have a macro lens, extension tubes or close-up filters can be alternative options. They help to increase the magnification capabilities of your existing lenses, allowing you to get closer to your subject.
- Tripod: A sturdy tripod is essential for keeping your camera steady, especially when shooting at high magnification or in low light conditions. Look for a tripod that is lightweight yet sturdy, with adjustable legs and a ball head for easy positioning.
- Remote Shutter Release: To minimize camera shake and ensure sharp images, use a remote shutter release or a cable release to trigger the camera without physically touching it.
- Diffuser and Reflector: To control the lighting and soften harsh shadows, a diffuser can be used to spread and soften the light source, while a reflector can bounce light onto the subject for more even illumination.
- Flash or Ring Light: While natural light is often preferred for insect photography, having a flash or ring light can help in situations with inadequate lighting or for creating unique lighting effects.
- Camera Bag: Invest in a good camera bag that is spacious, well-padded, and offers easy access to your gear. This will protect your equipment and make it easier to transport it to different locations.
Remember, having the right equipment is important, but it’s also essential to understand how to use it effectively. Experiment with different gear combinations and settings to find what works best for you and your photography style. With the right equipment and techniques, you’ll be ready to capture stunning images of insects in no time.
Lighting Techniques
Lighting plays a crucial role in insect photography, as it can greatly impact the overall look and feel of your images. Here are some effective lighting techniques to consider when capturing insects:
- Utilize Natural Light: Shooting insects in natural light can result in stunning and vibrant images. The best time to photograph insects is during the golden hours, which are the first few hours after sunrise and the last few hours before sunset. The soft, warm light during these times creates a beautiful glow that can enhance the details and colors of your subjects.
- Diffuse Harsh Light: When photographing insects in direct sunlight, the intense light can create harsh shadows and wash out colors. Use a diffuser to soften the light and create more even lighting. A piece of white fabric or translucent material can also be used to achieve this effect.
- Add Fill Light: In situations with strong shadows or when the subject is in a shaded area, adding fill light can help balance the exposure. Use a reflector or a small flash to bounce light onto the subject from a different angle, providing a natural and pleasing illumination.
- Backlighting: Experimenting with backlighting can result in unique and creative images. Position the light source behind the insect, allowing the light to shine through the wings or other translucent parts. This technique can create a beautiful glow and highlight the intricate details of the subject.
- Macro Ring Flash: For close-up insect photography, a macro ring flash can be a valuable tool. This type of flash attaches directly to the lens and provides an even and diffused light source, eliminating harsh shadows and ensuring proper illumination of the subject.
- Experiment with Light Angles: Try different angles and positions of light to capture the insect from various perspectives. Side lighting can accentuate textures and details, while front lighting can highlight the colors and patterns of the subject. Play around with different lighting angles to achieve the desired effect.
Remember, the key to successful lighting techniques in insect photography is to experiment and adapt to the specific conditions you encounter. Remain patient and observant, and make adjustments as necessary to achieve the best results. Understanding and harnessing the power of light will greatly enhance your insect photographs.
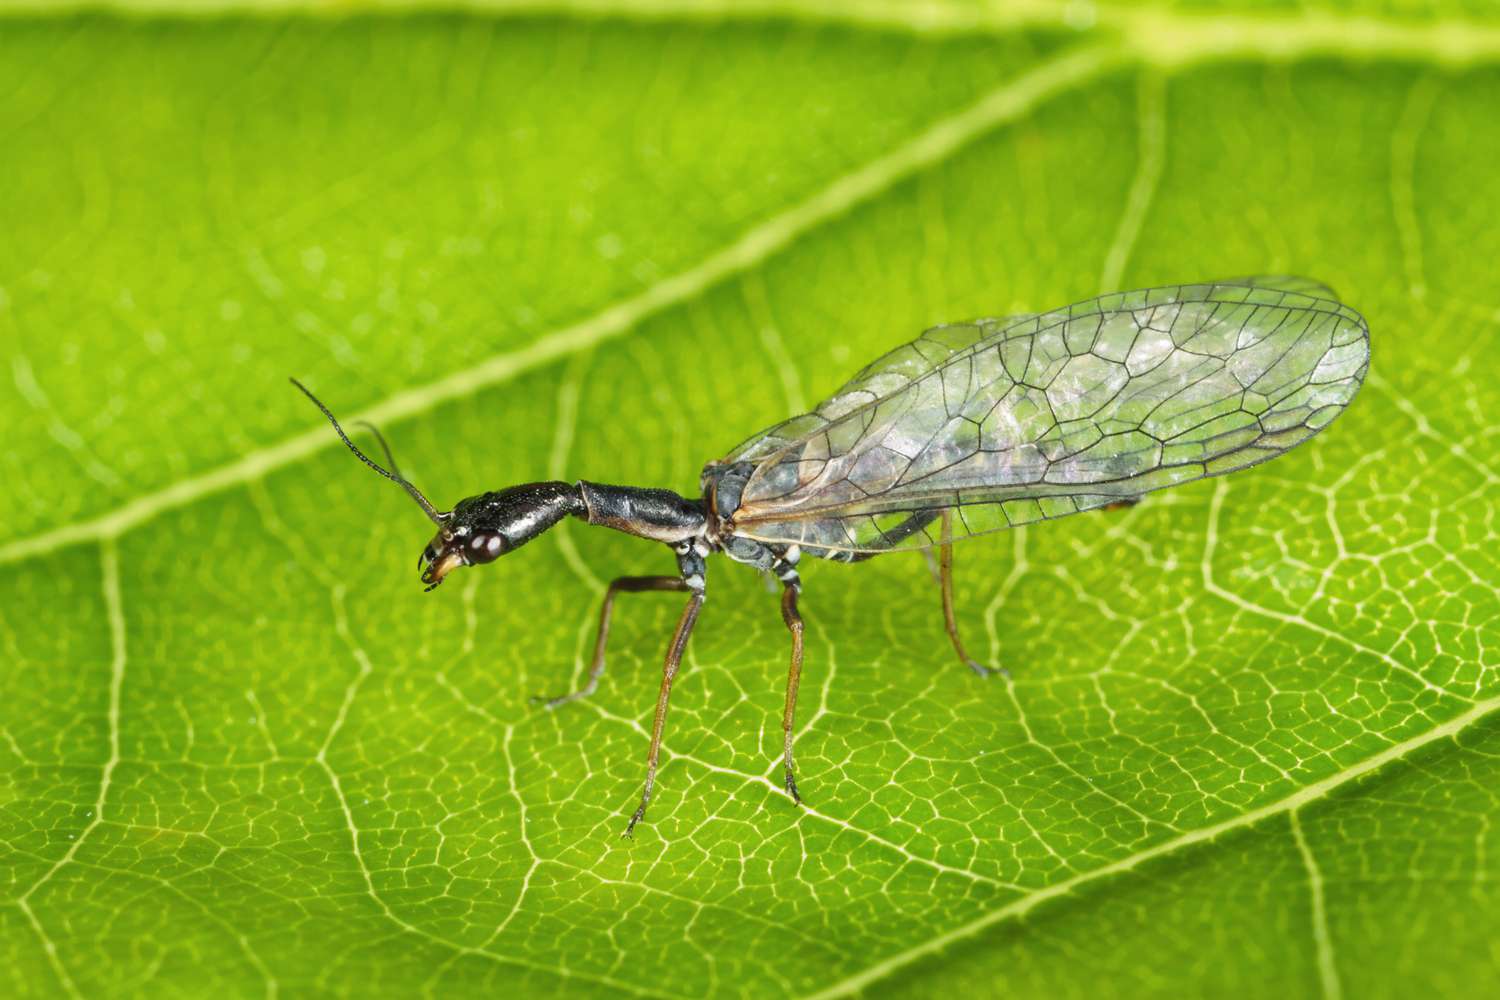
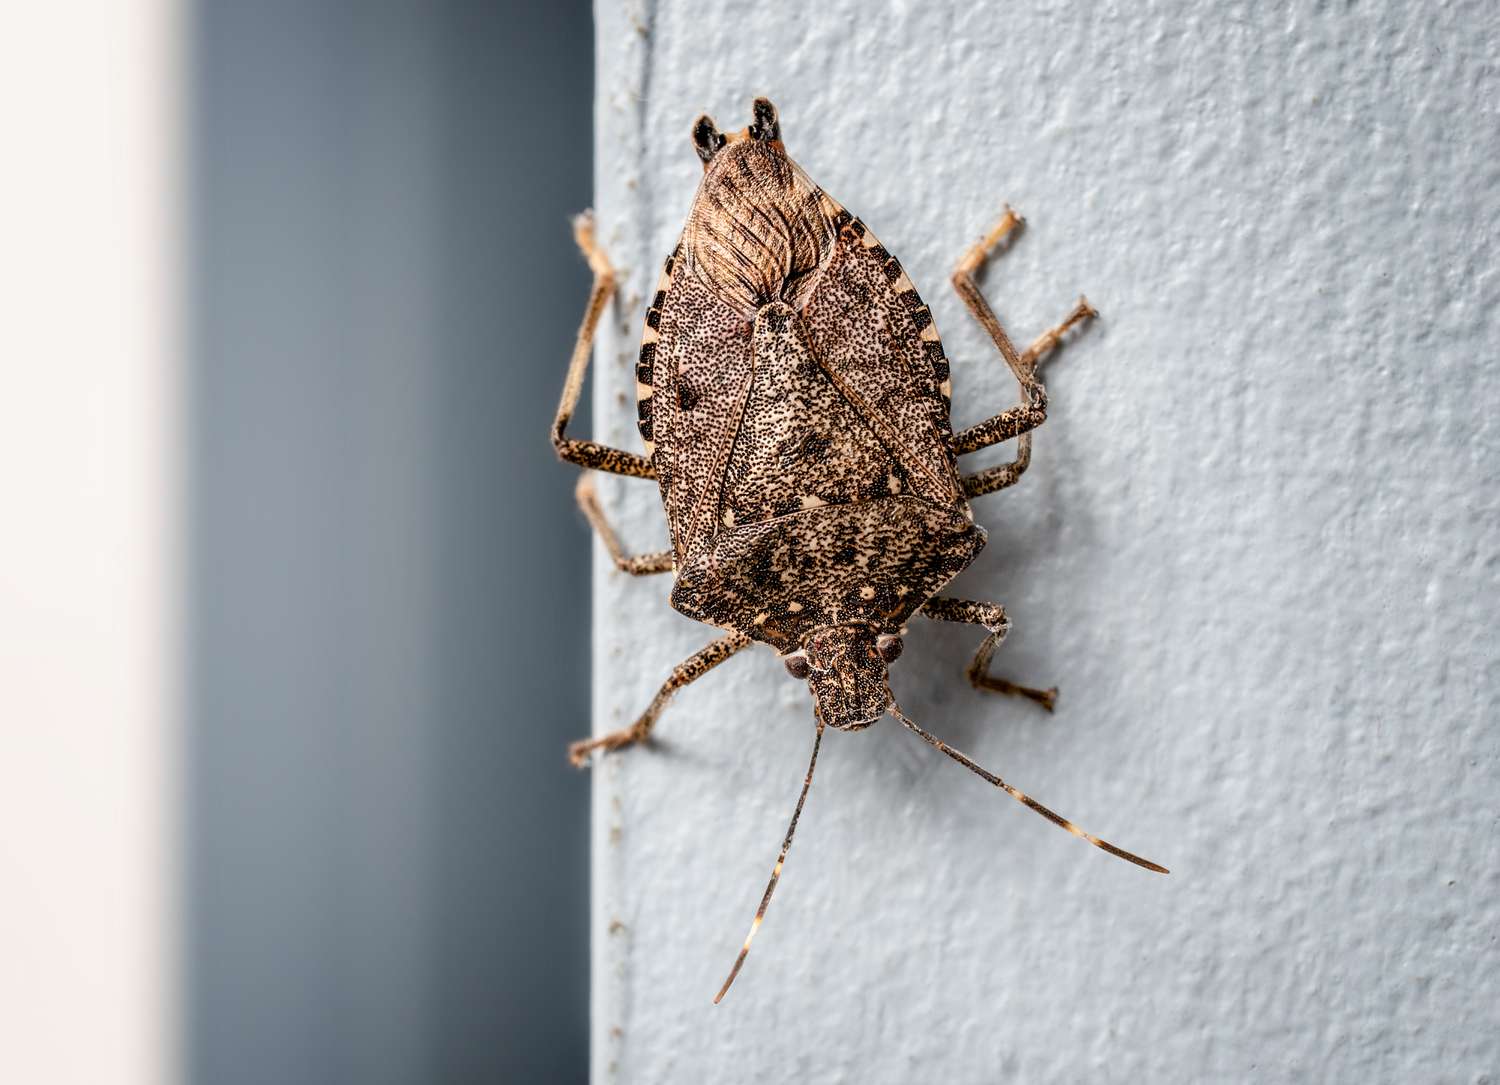
Macro Photography Tips
Macro photography allows you to capture the intricate details of insects, revealing a world that is often unseen by the naked eye. Here are some valuable tips to help you master the art of macro insect photography:
- Focus on the Eyes: In insect photography, the eyes are often the most captivating and expressive feature. Make sure to focus on the eyes to create a connection and draw the viewer’s attention to the subject.
- Use a Shallow Depth of Field: A shallow depth of field can create a pleasing and ethereal effect, isolating the subject from the background. Use a wide aperture (e.g., f/2.8 or lower) to blur the background and emphasize the intricate details of the insect.
- Pay Attention to Composition: Composition is crucial in macro photography. Experiment with different angles, perspectives, and framing techniques to create visually appealing and engaging compositions. Follow the rule of thirds, leading lines, and other composition principles to enhance the impact of your images.
- Create Depth: To add depth to your images, incorporate foreground elements, such as leaves or flowers, to provide a sense of scale and dimension. This can help create a more immersive and dynamic photograph.
- Capture Unique Perspectives: Explore different angles and viewpoints to capture unique and interesting perspectives of insects. Get down to their eye level or experiment with shooting from above to showcase their natural behavior and environment.
- Be Mindful of Wind and Movement: Insects can be incredibly fast and unpredictable. Choose a calm day or shoot early in the morning when there is less wind. Patience is essential, as you may need to wait for a still moment to capture a sharp image.
- Experiment with Different Macro Techniques: Macro photography offers various techniques to explore. Focus stacking, for example, involves combining multiple images with different focus points to achieve a greater depth of field. Experiment with different techniques to achieve the desired results.
- Pay Attention to Detail: Insect photography is all about capturing the small details that make each creature unique. Look for interesting patterns, textures, and colors. Get up close and personal with your subjects to showcase their intricate beauty.
Remember, practice makes perfect when it comes to macro insect photography. Don’t be afraid to experiment, make mistakes, and learn from them. With time and experience, you’ll be able to capture stunning images that showcase the fascinating world of insects.
Background and Composition
Background and composition are essential elements in insect photography, helping to create visually appealing and impactful images. Here are some tips to consider when it comes to the background and composition of your insect photographs:
- Choose a Clean Background: The background of your photo should not distract from the main subject. Look for a simple and uncluttered background that complements the colors and textures of the insect. Keep an eye out for distracting elements such as bright spots, twigs, or other insects.
- Create Contrast: Aim for contrast between the subject and the background to make the insect stand out. For example, if your subject is dark-colored, look for a lighter background, and vice versa. This contrast will help draw attention to the insect.
- Use Depth of Field: Experiment with different depths of field to control how much of the background is in focus. A wider aperture (lower f-stop number) will create a shallow depth of field, blurring the background and focusing attention on the subject. A narrower aperture (higher f-stop number) will create a greater depth of field, bringing more of the background into focus.
- Follow the Rule of Thirds: The rule of thirds is a basic guideline in composition, where the frame is divided into a grid of nine equal parts. Place the insect or its key features along these lines or at the intersections to create a visually pleasing and balanced composition.
- Lead the Viewer’s Eye: Use leading lines or curves within the frame to guide the viewer’s eye towards the subject. This could be the natural lines of a leaf, a branch, or a flower petal. Leading lines can add depth and visual interest to the composition.
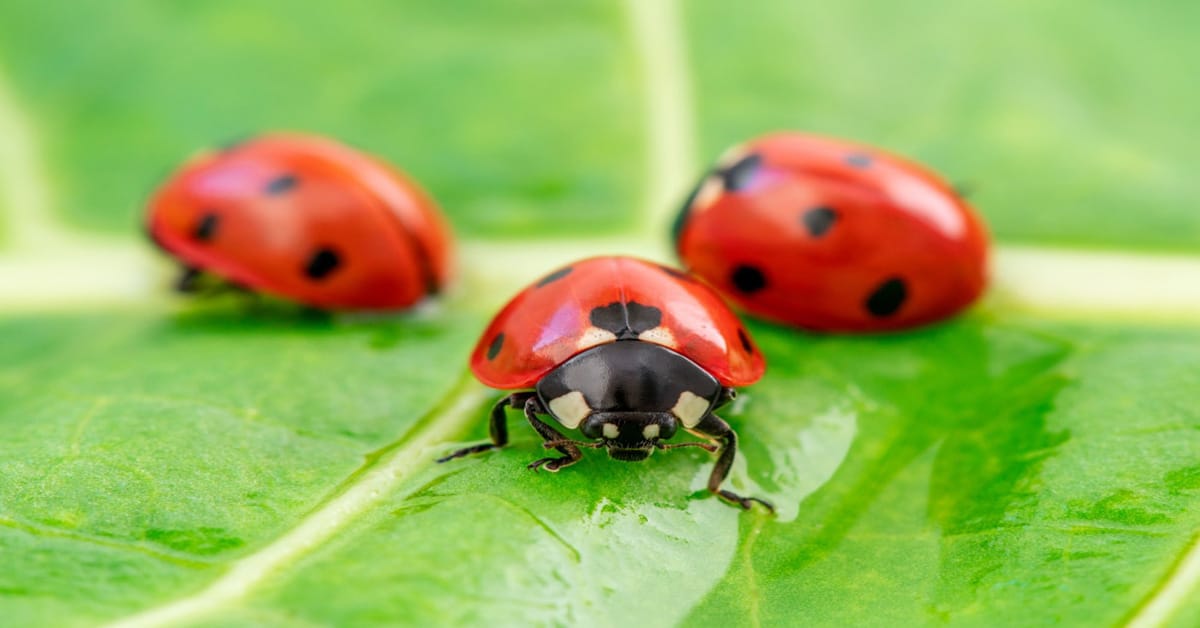
- Include Context: Consider including elements in the frame that provide context or tell a story about the insect’s environment. For instance, photographing a butterfly on a flower or a ladybug on a leaf can give the viewer a better sense of the insect’s world.
- Experiment with Different Angles: Change your shooting angle and perspective to capture unique and captivating compositions. Get down to the insect’s level, shoot from above, or try different side angles. This can add visual interest and present the insect from a fresh perspective.
Remember, the background and composition of your insect photographs can significantly influence the overall impact of your images. Take the time to carefully observe your surroundings and experiment with different techniques to create compelling compositions.
Approaching Insects
Approaching insects can be a delicate and challenging task, as these creatures are often skittish and easily frightened. Here are some tips to help you approach insects without disturbing them:
- Move Slowly and Steadily: Quick and sudden movements can startle insects. Approach them slowly and steadily, minimizing any sudden jerks or motions. Avoid making noise or causing vibrations that could alert the insect to your presence.
- Use Stealth Techniques: If possible, position yourself so that you’re not casting a shadow on the insect. Shadows can startle insects and make them more likely to fly away or hide. Use vegetation or other objects to blend into the environment and reduce your visibility.
- Observe and Learn: Take the time to study the behavior of the insects you want to photograph. Watch their movements, feeding habits, and preferred locations. This knowledge will help you anticipate their behavior and get closer to them without causing alarm.
- Be Patient: Insect photography requires patience. Take your time to carefully approach the insect and wait for the right moment to capture your shot. Rushing the process can result in blurry or missed opportunities.
- Use Natural Attractants: Some insects are attracted to specific scents or food sources. You can use this to your advantage by placing a desired food source nearby or using a scent that attracts the insect you want to photograph. This can increase your chances of getting closer to them.
- Respect Their Space: Remember that insects are living creatures and should be treated with respect. Avoid touching or disturbing them unnecessarily. Be mindful of their well-being and the impact your presence may have on their natural behavior.
- Learn about the Insects: Familiarize yourself with the insects you are photographing. Understanding their life cycles, habits, and preferred habitats can help you anticipate their movements and capture more engaging shots.
- Use a Telephoto Lens: If approaching insects directly is too challenging or not possible, a telephoto lens can be a great alternative. By photographing from a distance, you can still capture detailed and intimate images without disturbing the insects.
Remember, the goal is to observe and photograph insects without causing harm or fear. By respecting their space and employing these techniques, you can increase your chances of getting close and capturing stunning images of these remarkable creatures.
Camera Settings
Setting up your camera correctly is crucial for capturing sharp and well-exposed insect photographs. Here are some recommended camera settings to consider when photographing insects:
- Shutter Speed: Insects can move quickly, so using a fast shutter speed is essential to freeze their motion and capture sharp images. Start with a shutter speed of at least 1/250th of a second and adjust accordingly for faster-moving insects.
- Aperture: A wide aperture (low f-stop number) is often preferred in insect photography to achieve a shallow depth of field and blur the background. This helps isolate the subject and emphasize details. Experiment with different aperture settings to find the desired effect.
- ISO: Set the ISO as low as possible to reduce noise and maintain image quality. In well-lit conditions, stick to a lower ISO like 100 or 200. When shooting in lower light conditions or using faster shutter speeds, gradually increase the ISO to maintain proper exposure.
- Focus Mode: Use autofocus mode to ensure accurate focusing on the insect. If your subject is stationary, switch to single shot autofocus. If the insect is in constant motion, use continuous autofocus mode to track its movements and maintain focus.
- Metering Mode: Select a metering mode that suits the lighting conditions and the scene. Evaluative or matrix metering is a good starting point, as it takes into account the entire frame. However, be prepared to make exposure adjustments as needed based on the highlights and shadows in the scene.
- White Balance: Use the appropriate white balance setting to achieve accurate colors in your insect photographs. If you are shooting in RAW format, you can adjust the white balance during post-processing. Alternatively, use the appropriate preset white balance setting based on the lighting conditions (e.g., daylight, shade, cloudy, etc.).
- Burst Mode: Insects can have unpredictable movements, so using burst mode can increase your chances of capturing that perfect moment. Set your camera to continuous shooting mode and take a series of photos in quick succession to freeze the action.
- Image Stabilization: If your lens or camera has image stabilization, ensure that it is turned on to minimize camera shake and achieve sharper images. This is especially important when shooting handheld in challenging lighting conditions or when using longer focal lengths.
Remember, camera settings may vary depending on the specific conditions and the effects you want to achieve. It’s essential to have a good understanding of your camera’s capabilities and make adjustments accordingly to capture stunning and well-exposed insect photographs.
Using a Tripod or Monopod
Using a tripod or monopod can greatly benefit your insect photography by providing stability and reducing camera shake. Here is why and how to effectively use these support tools:
- Stability: Tripods and monopods help stabilize your camera, especially when working with longer focal lengths or in low-light situations. They minimize camera shake, resulting in sharper images with more detail.
- Long Exposure: When photographing insects in low light or using slow shutter speeds, a tripod is essential to keep the camera steady and prevent blurriness caused by hand movements.
- Macro Photography: In macro photography, even the slightest movement can result in a blurry image. Using a tripod or monopod is crucial in maintaining stability and achieving tack-sharp focus on the intricate details of the insect.
- Composition Flexibility: A tripod allows you to compose your shots more precisely and make subtle adjustments to the framing. It gives you the freedom to experiment with different angles, perspectives, and compositions without the need to hold the camera constantly.
- Time-Lapse and Close-up Work: For time-lapse photography or capturing extremely close-up shots, a tripod is essential. It ensures consistent framing and eliminates camera movement over an extended period, resulting in smooth and seamless sequences.
- Using a Tripod: When choosing a tripod, look for one that is sturdy, lightweight, and easy to set up. Consider factors such as maximum load capacity, height, and stability. Ensure that the tripod is set to an optimal height for comfortable shooting.
- Using a Monopod: A monopod offers more flexibility and portability compared to a tripod. It can be quickly adjusted and provides stability while allowing for greater mobility. It is an excellent option when shooting in environments where setting up a tripod is impractical.
- Ball Head or Gimbal Head: Use a ball head or gimbal head on your tripod or monopod for easy and fluid movement of the camera. These heads allow for smooth adjustments and precise framing without having to reposition the entire support system.
- Remote Shutter Release: When using a tripod or monopod, use a remote shutter release or a cable release to trigger the camera without physically touching it. This further reduces the risk of camera shake and ensures sharp images.
Remember to evaluate the shooting situation and your specific needs to determine whether a tripod or monopod is the best choice for your insect photography. Experiment with different support systems to find the most comfortable and effective setup that allows you to capture stunning images of insects.
Dealing with Shaky Hands
Many photographers struggle with shaky hands, which can result in blurry images, particularly in macro and low-light photography. However, there are techniques and tools available to help minimize the impact of shaky hands and capture sharper insect photographs. Here are some tips to overcome this challenge:
- Breathing Techniques: Take slow, deep breaths and exhale slowly to help relax your body and stabilize your hands. This can reduce the shakes caused by tension or nervousness.
- Proper Hand Positioning: Hold your camera properly, ensuring a sturdy grip and supporting it with both hands. Keep your elbows close to your body and use your body as a brace to minimize hand movement.
- Use Image Stabilization: If your camera or lens has image stabilization (IS) or vibration reduction (VR) technology, make sure it is enabled. These features can compensate for minor hand movements and help produce sharper images.
- Shoot in Burst Mode: Taking multiple shots in quick succession can increase your chances of capturing a sharp image. Use the burst mode on your camera to capture a series of images while minimizing the impact of any slight hand movements.
- Use a Tripod or Monopod: As mentioned earlier, using a tripod or monopod provides stability and significantly reduces the effect of shaky hands. Mounting your camera on a support system eliminates hand movements altogether, resulting in sharper images.
- Remote Shutter Release: Utilize a remote shutter release or cable release to trigger your camera without physically touching it. This helps to eliminate any unintended movement caused by pressing the shutter button.
- Increase Shutter Speed: By using a faster shutter speed, you can freeze motion and reduce the impact of any hand movements. Adjust your camera settings accordingly to achieve a faster shutter speed to offset any shaky hands.
- Optimize Camera Settings: Make sure your camera settings, such as ISO, aperture, and exposure, are properly adjusted to ensure an optimal exposure. An appropriately exposed image can help minimize the need for heavy post-processing, which may enhance the appearance of camera shake.
- Post-Processing Tools: If there are still minor instances of camera shake present in your images, you can utilize post-processing software to apply sharpening or reduce the impact of any slight blurriness.
Remember, practice is key. Constantly train your hands to become more stable by practicing good hand positioning techniques and implementing these strategies. With time and experience, you will be able to minimize the impact of shaky hands and capture sharper, more visually appealing insect photographs.
Post-Processing Tips
Post-processing is an important step in enhancing your insect photographs and bringing out their full potential. Here are some useful tips to help you optimize your images during post-processing:
- Organize and Select the Best Shots: Begin by selecting the best images from your shoot. Remove any duplicates or images that are out of focus or poorly composed, ensuring that you work with the highest quality images.
- Adjust White Balance and Exposure: Fine-tune the white balance and exposure settings to achieve accurate colors and optimal brightness. Use tools such as histograms and adjustment sliders to make precise adjustments to exposure, highlights, shadows, and overall tonality.
- Sharpening and Noise Reduction: Apply selective sharpening techniques to enhance the details of your insect photographs. Be mindful not to over-sharpen, as this can result in unnatural-looking images. Additionally, reduce any noise that may be present in the image using noise reduction tools.
- Crop and Straighten: Use crop and straighten tools to improve the composition and framing of your insect photographs. Remove any distracting elements from the background or adjust the image’s orientation to create a more visually pleasing result.
- Enhance Colors and Contrast: Use saturation and vibrancy adjustments to bring out the natural colors of the insects. Increase contrast to add depth and make your images more visually appealing, but be conscious of not creating unnatural or exaggerated contrasts.
- Selective Editing: Employ selective editing techniques to enhance specific areas of your insect photographs. Use adjustment layers, brushes, or masks to make targeted adjustments to exposure, color, or sharpness. This allows you to have more control over the final look of your images.
- Remove Dust and Imperfections: Inspect your images for any dust spots, scratches, or other imperfections. Utilize spot healing or clone stamp tools to remove these distractions and ensure a clean and polished final image.
- Experiment with Creative Effects: Don’t be afraid to experiment with creative post-processing effects to add a unique touch to your insect photographs. Apply vignettes, blur effects, or even try black and white conversions to create a different mood or emphasize certain aspects of your images.
- Preserve the Natural Look: While post-processing can enhance your images, it’s important to maintain the integrity and natural look of the insects. Avoid excessive editing that may result in unrealistic or unnatural appearances. Let the beauty of the insects shine through while enhancing their inherent qualities.
Remember, post-processing should be used to enhance your insect photographs, not to completely alter them. Find a balance between making adjustments and preserving the authenticity of the subjects. With practice and experimentation, you’ll develop your own style and workflow for post-processing insect images.
Conclusion
Photographing insects is a captivating and rewarding pursuit that allows you to explore the intricate details of the natural world. By implementing the techniques and tips discussed in this article, you can elevate your insect photography to new heights and capture stunning images that showcase the beauty and biodiversity of these small creatures.
Remember to equip yourself with the necessary gear, such as a macro lens, tripod or monopod, and diffusers or reflectors, to enhance the quality and control of your shots. Pay attention to lighting techniques, utilizing natural light and experimenting with different angles and perspectives to bring out the best in your subjects.
Take the time to learn about the behavior and habitats of the insects you wish to photograph, which will help you approach them with respect and capture more engaging images. Experiment with different camera settings, such as shutter speed, aperture, and focus modes, to freeze motion and achieve the desired depth of field.
Once you have your images, the post-processing stage allows you to fine-tune and enhance your photographs. From adjusting exposure and white balance to selectively sharpening and cropping, these editing techniques can bring out the best in your insect images.
Through practice, patience, and a deep appreciation for the natural world, you can develop your own unique style in insect photography. So head out into the field, embrace the wonders of the insect world, and let your creativity soar as you capture stunning images of these tiny yet magnificent creatures.