Home>Types of Gardening>Edible Gardening>How To Dry Pepper Seeds For Planting
Edible Gardening
How To Dry Pepper Seeds For Planting
Modified: January 22, 2024
Learn how to dry pepper seeds for planting in your edible gardening project. Find useful tips and techniques to ensure successful seed preservation.
(Many of the links in this article redirect to a specific reviewed product. Your purchase of these products through affiliate links helps to generate commission for Chicagolandgardening.com, at no extra cost. Learn more)
Table of Contents
Introduction
Welcome to the world of edible gardening! If you have always been fascinated by plants and have a deep love for fresh produce, then growing your own edible garden is an excellent choice. Among the many delectable and versatile plants you can cultivate, peppers are a popular and rewarding option.
Peppers not only add a burst of flavor to a variety of dishes but also come in a range of vibrant colors and heat levels, allowing you to tailor your culinary creations to your taste preferences. While purchasing pepper seeds is certainly an option, there’s something special about growing plants from your own saved seeds.
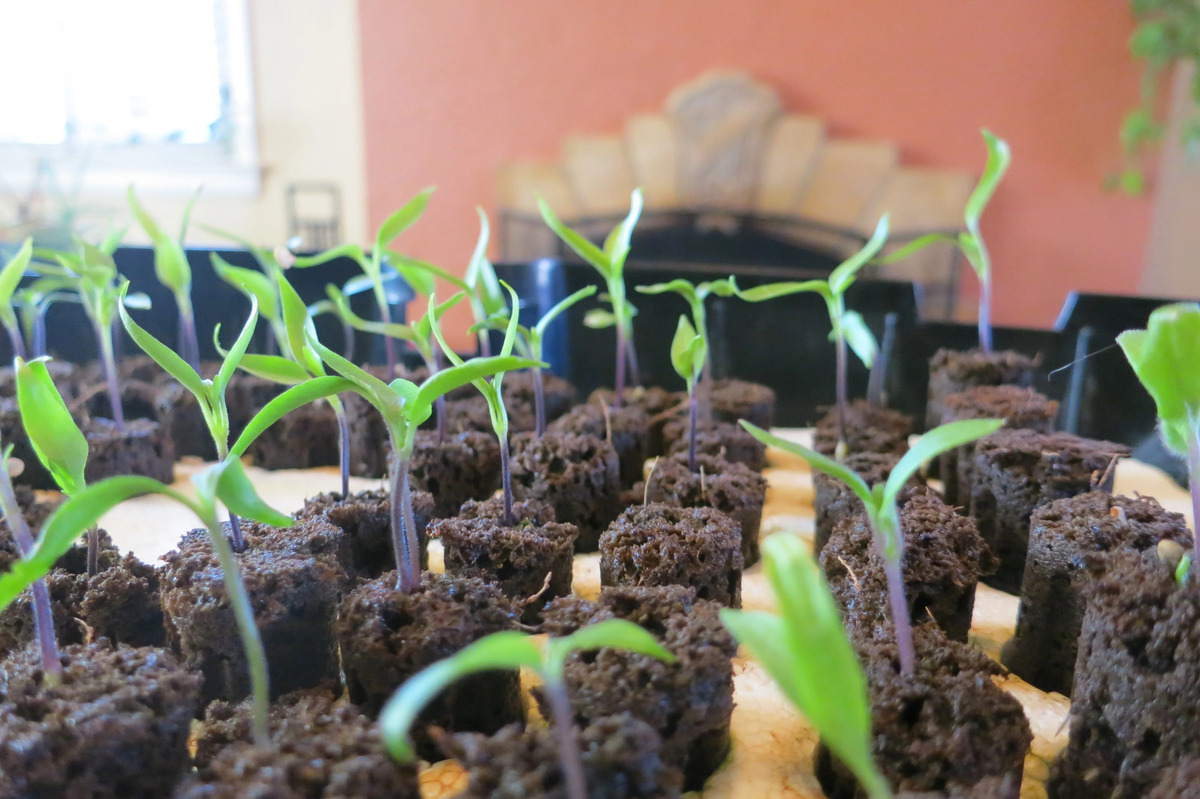
Drying pepper seeds before planting is a crucial step in the seed-saving process. It helps to ensure the viability and longevity of the seeds, increasing the chances of successful germination when it’s time to plant. Additionally, preserving your favorite pepper varieties through seed drying allows you to continue cultivating the flavors and characteristics you love.
In this guide, we will explore the importance of drying pepper seeds, the selection of the right pepper seeds for drying, harvesting the seeds, preparing them for drying, different drying methods, and proper storage techniques. By following these steps, you can enhance your gardening skills, save money on seed purchases, and continue to enjoy the fruits of your labor year after year.
Why Dry Pepper Seeds Before Planting?
Drying pepper seeds before planting is a critical step in the seed-saving process that serves multiple purposes. Let’s explore why it is essential to dry your pepper seeds before sowing them in your garden.
First and foremost, drying pepper seeds helps to increase their viability and improve their chances of successful germination. By removing excess moisture, seeds are less prone to rotting or developing fungal diseases that can hinder their growth. Dry seeds also have a longer shelf life, allowing you to store them for future use.
Another reason to dry pepper seeds is to ensure their genetic stability. Peppers are cross-pollinating plants, meaning their seeds can be influenced by nearby pepper plants of different varieties. By drying the seeds, you separate them from the parent plants and eliminate the risk of cross-pollination, preserving the traits of the specific pepper variety you desire.
Drying also assists in breaking the seed’s dormancy. Pepper seeds naturally have a protective seed coat that can inhibit germination. By drying the seeds, you encourage the seed coat to crack and allow moisture and oxygen to penetrate, stimulating the germination process.
Furthermore, dried seeds are more convenient to handle and store. Whereas fresh seeds are moist and prone to sticking together, dried seeds are easier to separate and sow evenly across your garden. They also take up less space, allowing for efficient storage and organization.
By drying pepper seeds before planting, you not only increase their chances of success but also gain the satisfaction of preserving your favorite pepper varieties. Whether you are saving seeds from a unique heirloom variety or a particularly flavorful hybrid pepper, drying enables you to continue growing the same flavorful peppers in your garden for years to come.
Choosing the Right Pepper Seeds for Drying
When it comes to choosing pepper seeds for drying, it’s essential to consider certain factors to ensure successful seed-saving. Here are some key points to keep in mind when selecting the right pepper seeds for drying.
1. Variety Selection: Start by choosing pepper varieties that you enjoy and want to grow in the future. Look for open-pollinated or heirloom varieties, as these possess more stable and consistent traits. Hybrid peppers can also be dried, but keep in mind that their offspring may not display the same characteristics as the parent plants.
2. Plant Health: It’s important to select pepper plants that are healthy, disease-free, and productive. Healthy plants produce high-quality seeds with a better chance of germination success.
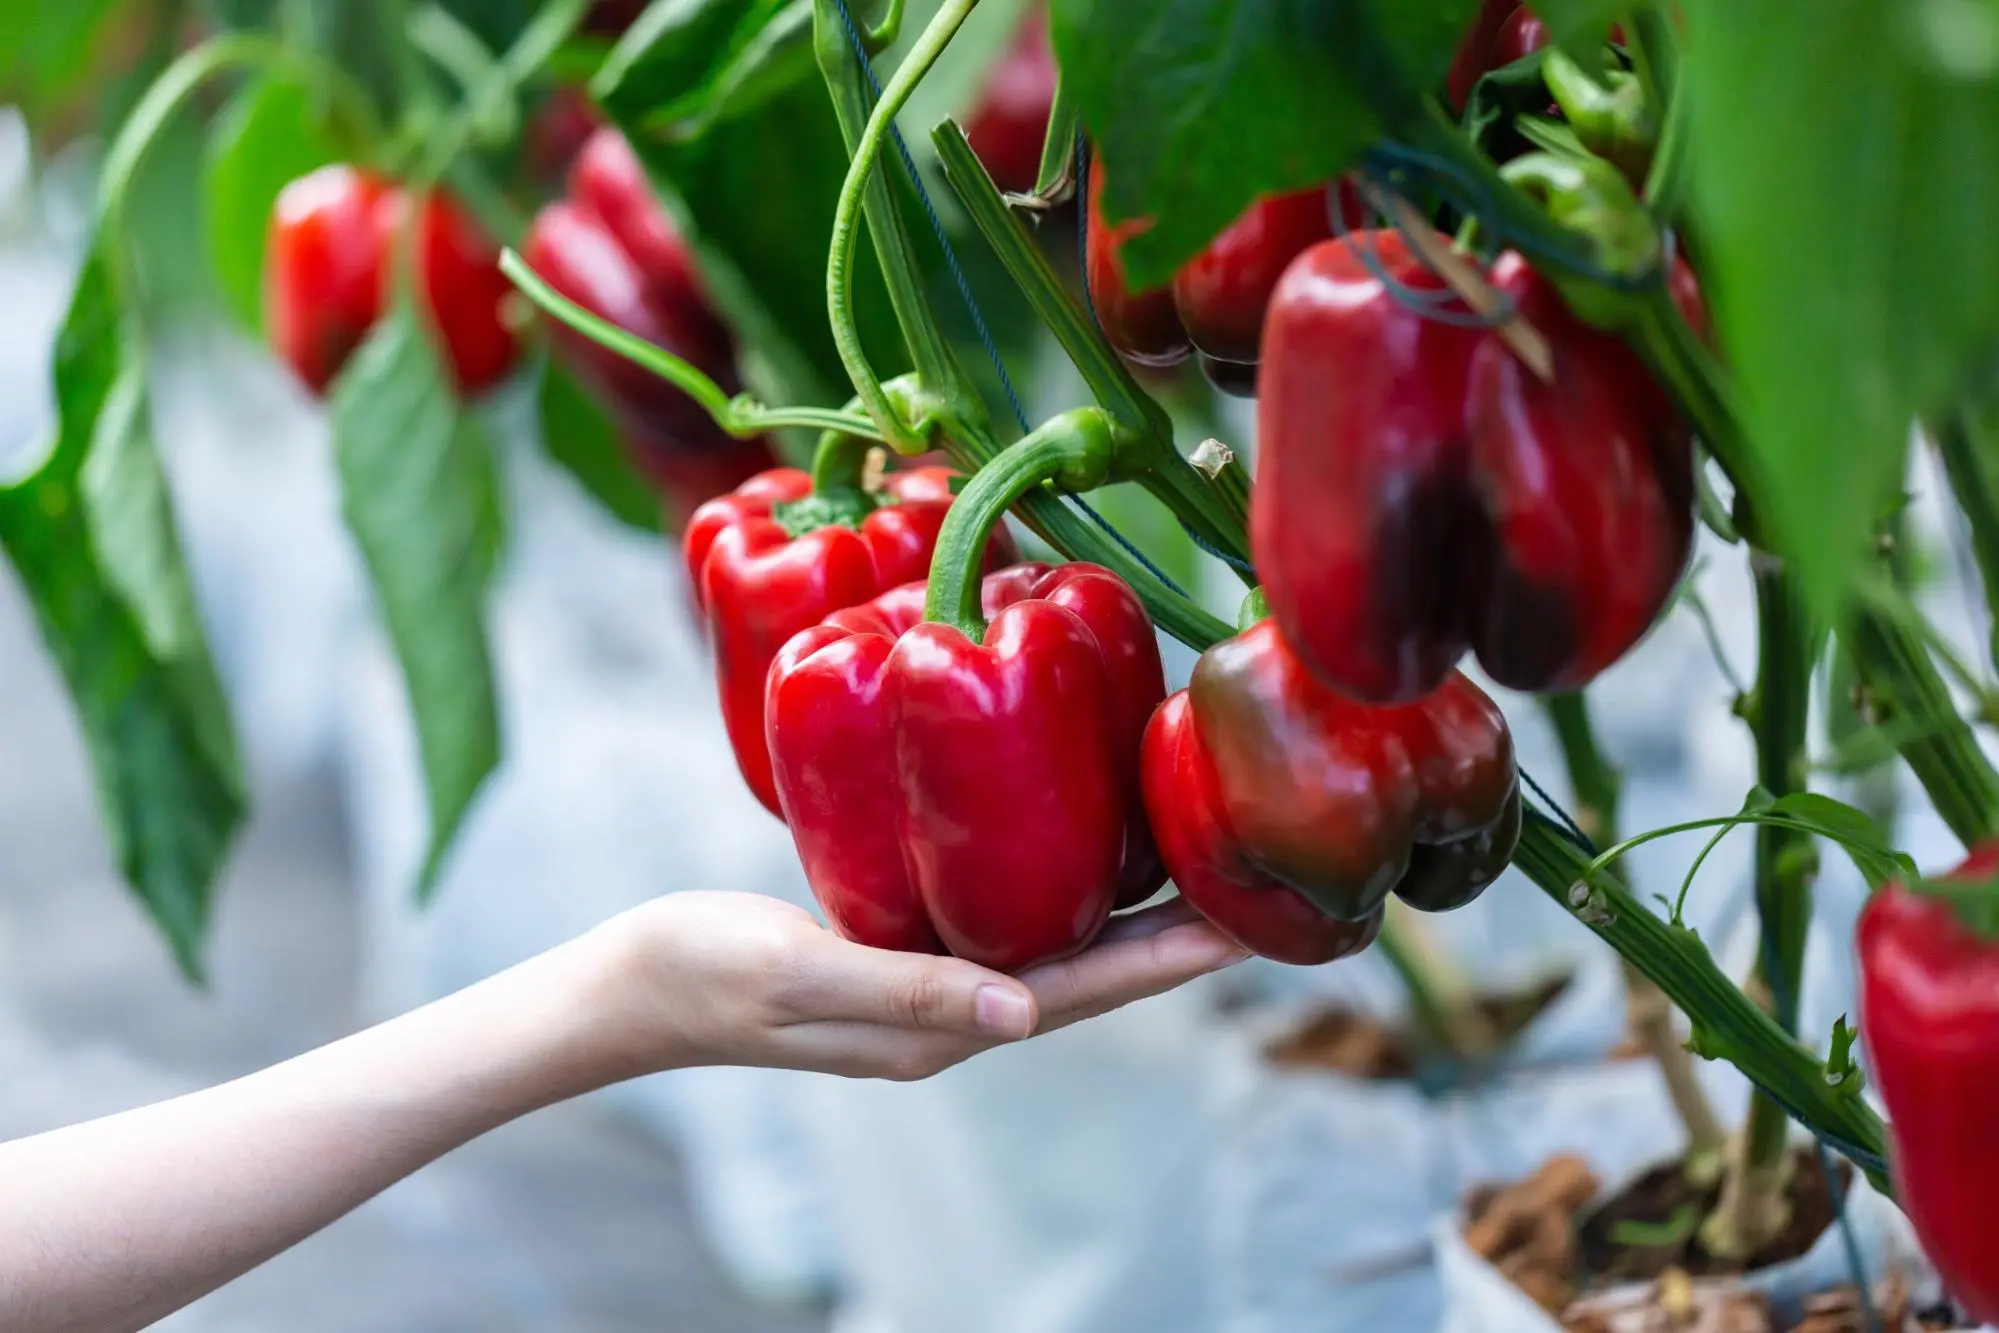
3. Ripeness: Harvest peppers when they are fully ripe for the best seed quality. Mature peppers have developed their full flavor and color and contain seeds that are fully formed and ready for drying.
4. Seed Viability: Consider the viability of the seeds you plan to dry. Avoid saving seeds from store-bought peppers, as they may be hybrid varieties or treated to prevent germination. Instead, focus on gathering seeds from peppers grown from known reliable sources.
5. Pepper Characteristics: Pay attention to the desired characteristics of the peppers you want to grow. If you prefer milder peppers, choose seeds from those plants. Likewise, if you enjoy spicy or hot varieties, select seeds from the most potent peppers.
Remember, not all pepper seeds are suitable for drying. Some pepper varieties are best consumed fresh and may not store well as dried seeds. Research the specific characteristics of the pepper variety you plan to save seeds from to ensure compatibility with the drying process.
By carefully selecting the right pepper seeds for drying, you can preserve the flavors and traits you love, while also ensuring the success of your future pepper crops.
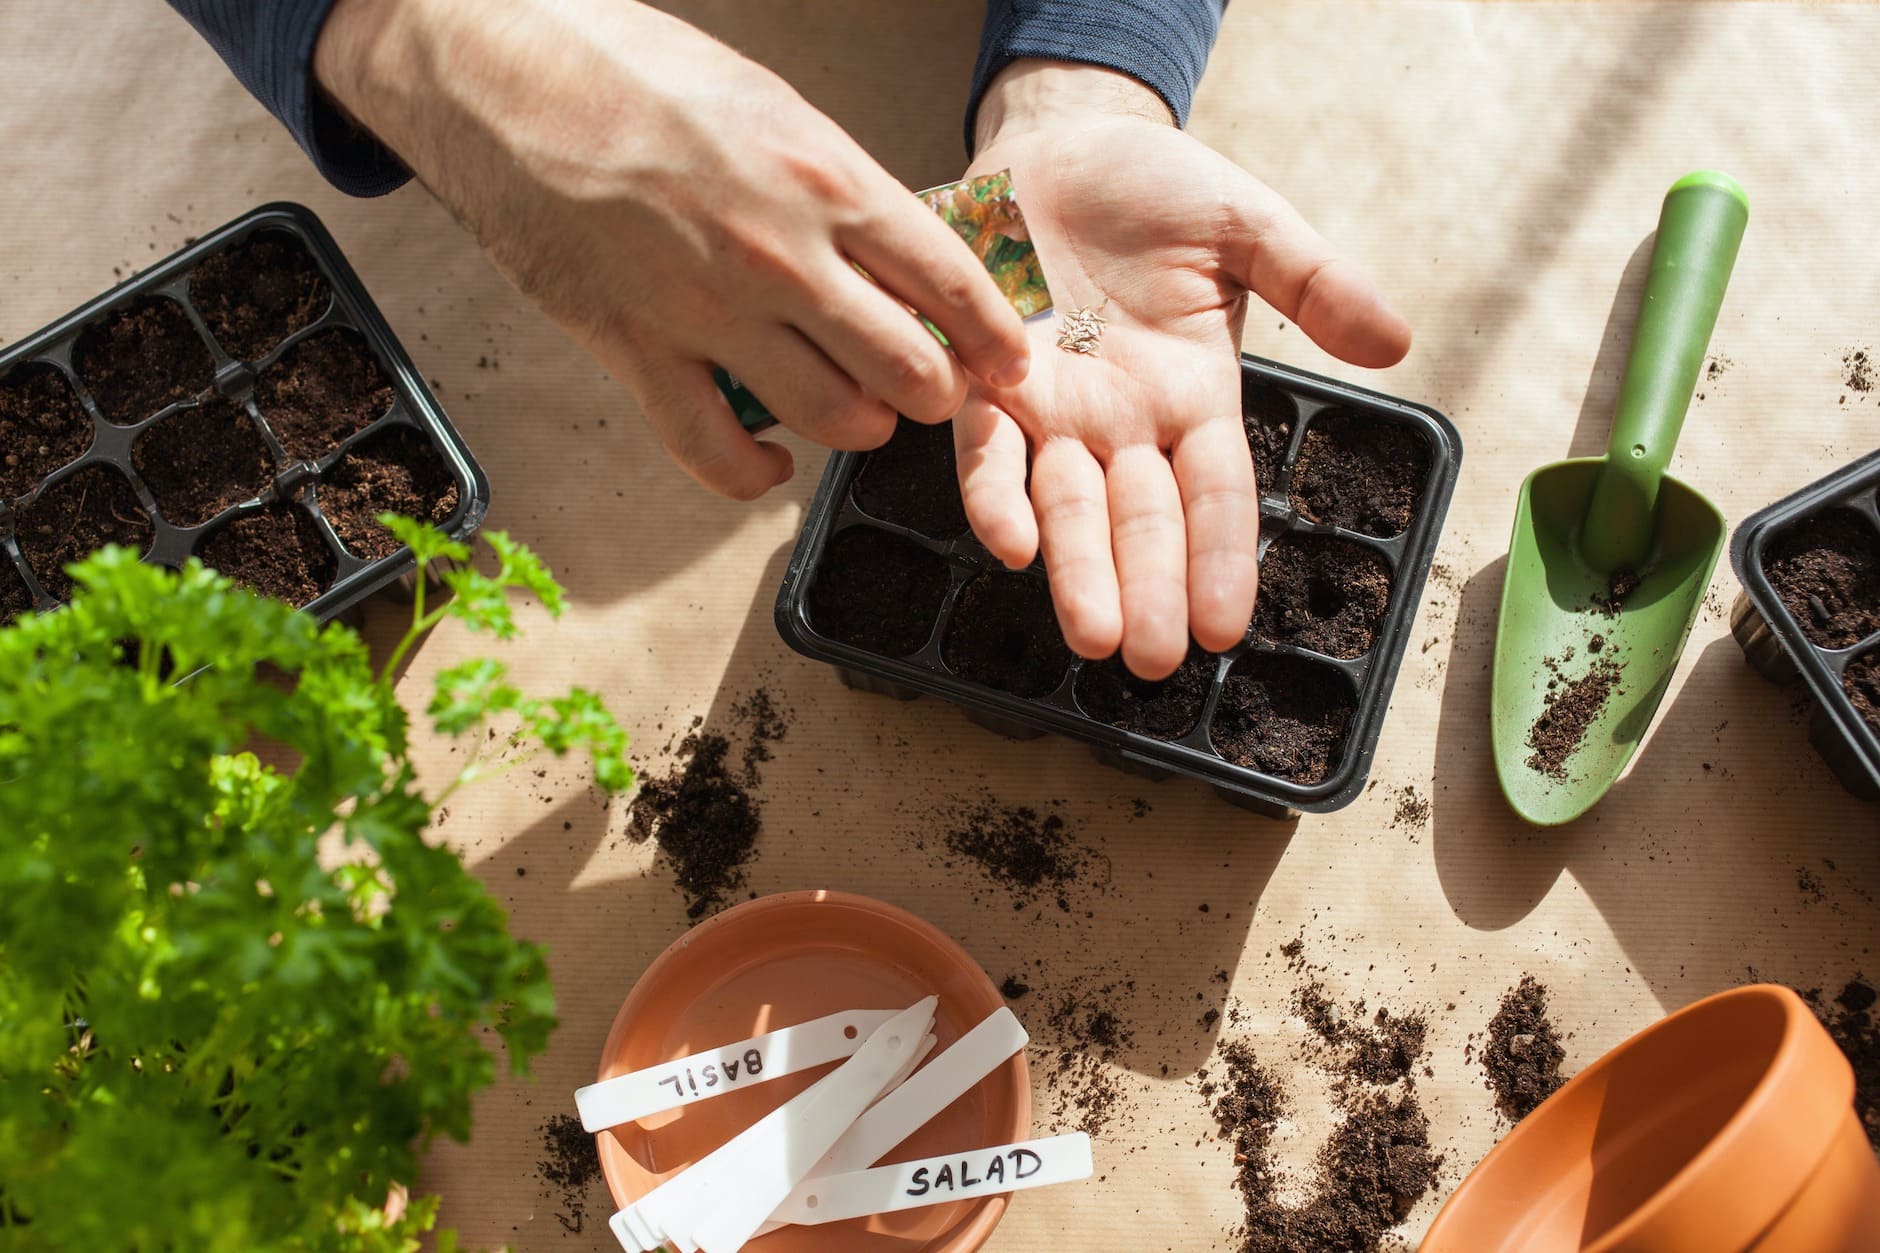
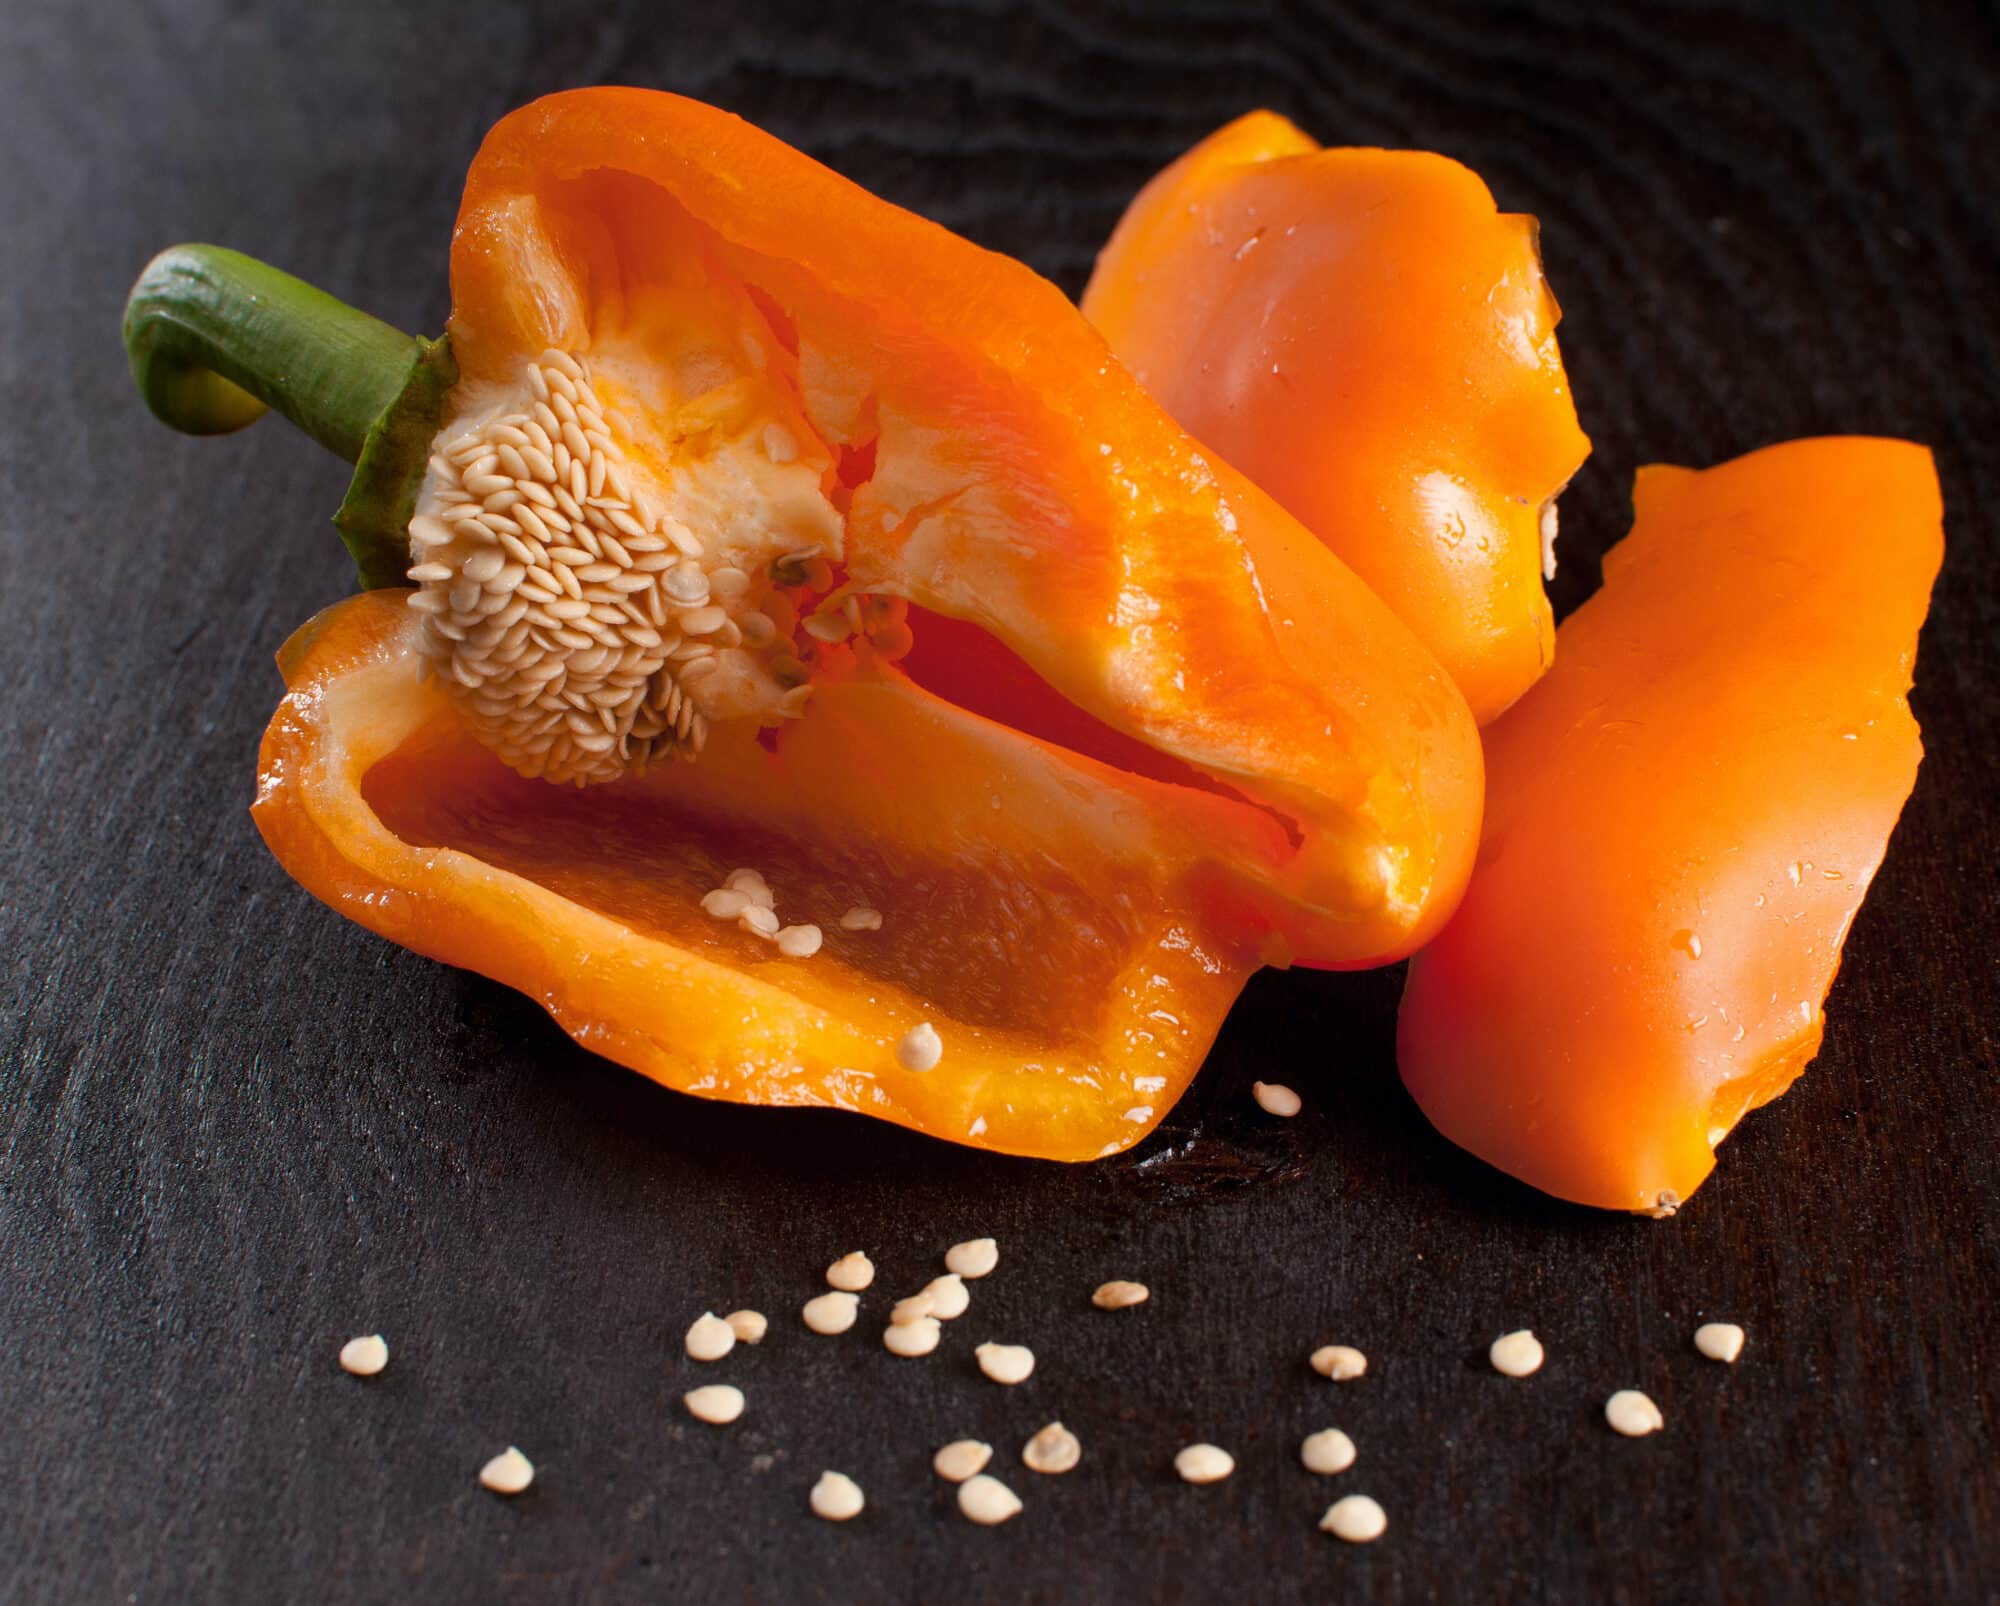
Harvesting Pepper Seeds
Harvesting pepper seeds is an exciting and rewarding aspect of seed-saving. When it comes to collecting seeds from your pepper plants, here are some key steps to follow:
- Timing: Wait until your peppers are fully ripe before harvesting the seeds. A ripe pepper will typically have vibrant colors and a firm texture. Avoid harvesting seeds from underripe or overripe peppers, as they may not be mature enough for successful germination.
- Preparation: Before harvesting the seeds, gather the necessary tools such as gloves, a knife, and a clean surface. It’s important to wear gloves to protect your hands from the spicy oils within the peppers, especially if you are working with hot varieties.
- Seed Extraction: Cut open the pepper using a sharp knife and carefully remove the seeds from the core. Depending on the pepper variety, the seeds may be located near the stem or scattered throughout the interior. Take care not to damage the seeds during this process.
- Cleaning: Once you have extracted the seeds, place them in a clean container. Fill the container with water and gently agitate it to remove any remaining debris or pulp clinging to the seeds. Discard any seeds that appear spoiled or discolored.
- Drying: After cleaning, spread the seeds out on a paper towel or a fine mesh screen to dry. Allow them to air dry in a well-ventilated area for about one to two weeks. Make sure the seeds are completely dry before moving on to the storage step.
It’s worth noting that pepper seeds may retain some of the spicy oils from the pepper’s flesh. If you want to minimize the risk of skin or eye irritation while handling the dried seeds, you can wear gloves or wash your hands thoroughly after touching them.
Remember to label each batch of harvested seeds with the pepper variety name and the date of collection. Proper labeling will help you organize and identify the seeds when it’s time to plant them.
By following these steps, you can harvest your pepper seeds with confidence, knowing that you have preserved the potential for future bountiful and flavorful pepper plants.
Preparing the Seeds for Drying
Once you have harvested the pepper seeds, it’s important to properly prepare them for the drying process. Taking the time to prepare the seeds carefully can greatly increase their chances of successful drying and storage. Here are the steps to follow when preparing your pepper seeds for drying:
- Seed Separation: Begin by separating the seeds from any remaining pulp or flesh. Gently rub the seeds between your fingers or use a small brush to remove any clinging debris. It is crucial to ensure that the seeds are clean and free from any extraneous material.
- Rinsing: After separating the seeds, give them a gentle rinse with water to further remove any remaining pulp or debris. Use a fine-mesh sieve or strainer for this step to prevent the seeds from washing away. Allow the seeds to dry completely after rinsing.
- Seed Treatment (Optional): Some gardeners choose to treat the seeds with a mild disinfectant solution to minimize the risk of disease or pests. This step is optional but can help enhance seed viability. Dilute a small amount of hydrogen peroxide or a mild bleach solution in water and soak the seeds for a few minutes. Rinse the seeds thoroughly afterward and allow them to dry completely before proceeding.
- Seed Drying: Spread the clean and dry seeds in a single layer on a paper towel, a coffee filter, or a fine mesh screen. Ensure that the seeds are not touching each other and have enough space for air circulation. Place them in a cool, dry, and well-ventilated area to dry. Avoid exposing the seeds to direct sunlight or high humidity, as this can hinder the drying process.
Throughout the drying process, regularly check the seeds for any signs of mold or moisture. If you find any seeds that appear damaged or moldy, remove them promptly to prevent the spread of spoilage. Properly dried seeds should feel firm and have a brittle texture.
By following these steps to prepare your pepper seeds for drying, you are setting the foundation for successful seed storage and future germination. Taking the time to ensure that the seeds are clean, dry, and in optimal condition will increase their viability and improve your chances of a successful harvest.
Drying Methods for Pepper Seeds
Properly drying pepper seeds is crucial for preserving their viability and ensuring successful germination when it’s time to plant. There are different methods you can use to dry your pepper seeds, depending on your preference and the available resources. Let’s explore some common drying methods:
- Air Drying: Air drying is the most common and straightforward method for drying pepper seeds. After separating and cleaning the seeds, spread them out on a paper towel or a fine mesh screen in a well-ventilated area. Make sure the seeds are spread out in a single layer and not touching each other. Allow them to air dry naturally for about one to two weeks, or until the seeds are completely dry and brittle. Stir or gently sift the seeds occasionally to ensure even drying.
- Oven Drying: If you prefer a faster drying process, you can use an oven to dry your pepper seeds. Preheat your oven to the lowest temperature possible (usually around 120°F or 50°C) and line a baking sheet with parchment paper. Spread the seeds in a single layer on the sheet and place it in the oven. Keep the oven door slightly ajar to allow moisture to escape. Monitor the seeds closely to prevent overheating or scorching. Drying times can vary but usually take around 2 to 4 hours. Remove the seeds from the oven once they are completely dried and cool them before storing.
- Dehydrator Drying: If you have a food dehydrator, you can also use it to dry your pepper seeds. Follow the manufacturer’s instructions for temperature and time settings. Spread the cleaned seeds on the dehydrator trays in a single layer, ensuring they are not touching. Set the dehydrator to the lowest temperature possible and allow the seeds to dry for several hours. The drying time may vary depending on the dehydrator model, humidity levels, and seed moisture content. Check the seeds regularly and remove them once they are dry and brittle.
It’s important to note that whichever drying method you choose, ensure that the environment is well-ventilated and free from excessive moisture. High humidity can hinder the drying process and increase the risk of mold or seed spoilage.
Remember, patience is key when drying your pepper seeds. Rushing the process may result in inadequate drying, compromising the viability of the seeds. Take the time to properly dry your seeds, and you’ll be rewarded with long-lasting, viable seeds for future planting.
Air Drying Pepper Seeds
Air drying is a tried-and-true method for drying pepper seeds. It is simple, cost-effective, and requires minimal equipment. Here’s how you can air dry your pepper seeds:
- Separate and Clean: Begin by separating the pepper seeds from the pulp or flesh of the peppers. Gently rub the seeds between your fingers or use a small brush to remove any debris. Rinse the seeds in a fine-mesh sieve or strainer to further clean them from any remaining pulp or residue.
- Drying Surface: Prepare a clean and flat drying surface such as a paper towel, a coffee filter, or a fine mesh screen. These materials allow for airflow and prevent the seeds from sticking or clumping together. Make sure the surface is large enough to accommodate the seeds in a single layer without crowding.
- Spread the Seeds: Spread the clean and rinsed seeds evenly on the drying surface. Ensure that the seeds are spread out and not touching each other. This spacing allows air to circulate around each seed, facilitating the drying process.
- Drying Environment: Find a cool, dry, and well-ventilated area to place the drying surface. Ensure that the location is out of direct sunlight and away from any moisture sources, as excessive humidity can hinder the drying process and potentially lead to seed spoilage. A room with good air circulation or a covered outdoor area are ideal options.
- Patience and Regular Checking: Let the seeds air dry naturally for about one to two weeks. During this time, regularly check the seeds for any signs of mold or moisture. If you notice any seeds that appear damaged or moldy, remove them promptly to prevent the spread of spoilage. Gently stir or shift the seeds occasionally to promote even drying.
- Dryness Test: After the recommended drying period, perform a dryness test to ensure the seeds are fully dry. Try bending a seed in half; if it snaps or breaks, it is dry and ready for storage. If it bends without breaking, it may need further drying time. Remember that the seeds should feel firm and have a brittle texture when fully dried.
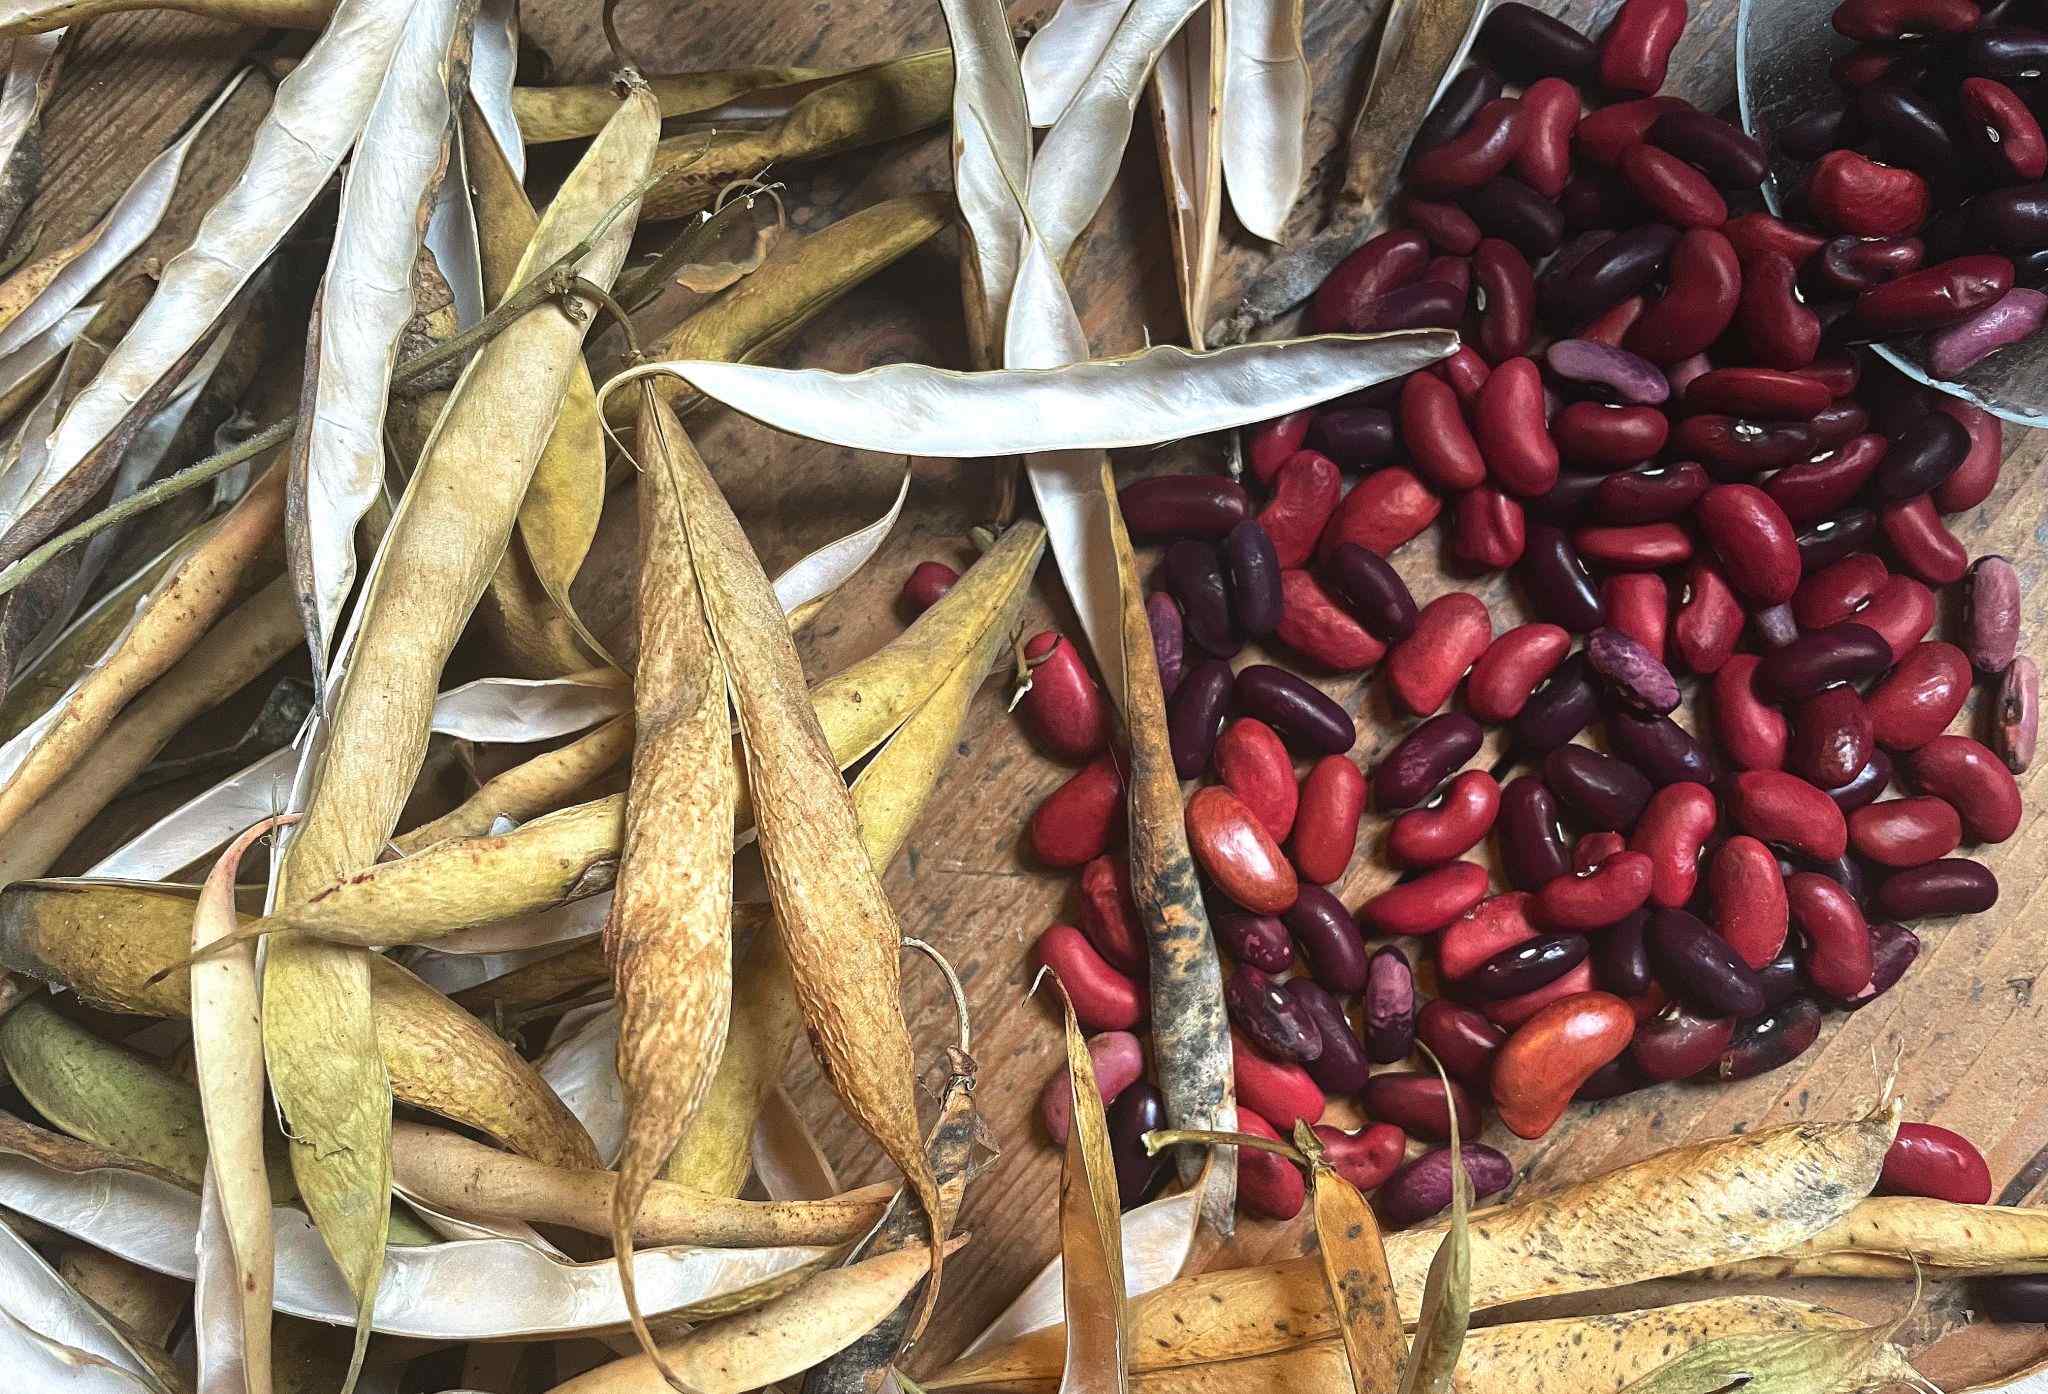
- Storage: Once the pepper seeds are completely dry, store them in airtight containers or envelopes. Label each container with the pepper variety name and the date of collection to keep track of their freshness. Place the containers in a cool, dark, and dry location, such as a pantry or refrigerator, to maximize their shelf life.
Air drying allows the pepper seeds to naturally release their moisture over time, resulting in properly dried seeds that maintain their viability. With patience and careful monitoring, air drying is a reliable method for preserving the seeds for future planting.
Oven Drying Pepper Seeds
If you’re looking for a quicker method to dry pepper seeds, oven drying is a viable option. It provides controlled heat and ventilation, expediting the drying process. Follow these steps to oven dry your pepper seeds:
- Preheat the Oven: Start by preheating your oven to the lowest temperature possible, usually around 120°F (50°C). Ensure the oven is clean and free from any food debris before use.
- Prepare the Seeds: While waiting for the oven to preheat, separate the pepper seeds from the pulp or flesh. Clean the seeds by rinsing them in a fine-mesh sieve or strainer to remove any remaining debris.
- Drying Surface: Line a baking sheet with parchment paper or a silicone baking mat to prevent the seeds from sticking. The lined sheet will provide a suitable surface for the seeds to dry evenly.
- Spread the Seeds: Spread the cleaned and rinsed seeds on the prepared baking sheet in a single layer. Make sure the seeds are evenly spaced, allowing air to circulate around them for efficient drying.
- Oven Drying: Place the baking sheet with the seeds in the preheated oven. It’s recommended to keep the oven door slightly ajar to allow moisture to escape. Use a kitchen towel or a wooden spoon placed between the oven door and the frame to maintain the slight opening.
- Monitor the Drying Process: Regularly monitor the seeds as they dry in the oven. The drying time can vary depending on factors such as seed moisture content, oven temperature accuracy, and seed thickness. On average, oven drying typically takes around 2 to 4 hours.
- Cooling and Storage: Once the seeds are completely dry, remove the baking sheet from the oven and let the seeds cool completely. Avoid touching them immediately after removing them from the oven, as they will be hot. Once cooled, transfer the seeds to airtight containers or envelopes, ensuring they are labeled with the pepper variety name and the date of collection. Store the containers in a cool, dark, and dry location to maintain seed viability.
While oven drying offers a faster drying time, it’s essential to monitor the seeds closely to prevent overheating or scorching. Ensuring a low temperature and proper ventilation is crucial to prevent damage to the seeds.
Oven drying can be a convenient method for those who want to process their pepper seeds quickly and efficiently, providing a viable option for preserving the seeds for future plantings.
Storing Dried Pepper Seeds
Proper storage is crucial for maintaining the viability of dried pepper seeds and ensuring successful germination in the future. Here are some guidelines to follow when storing your dried pepper seeds:
- Airtight Containers: Transfer the completely dried pepper seeds to airtight containers, such as glass jars or resealable plastic bags. Ensure that the containers are clean, dry, and free from any moisture or contaminants.
- Labeling: Label each container with the pepper variety name and the date of collection. This will help you identify the seeds and keep track of their freshness and viability over time.
- Cool and Dark Storage: Store your seed containers in a cool, dark place away from direct sunlight, heat sources, and moisture. Ideal storage locations include a basement, pantry, or a refrigerator. The temperature should remain relatively stable, preferably around 40°F to 50°F (4°C to 10°C).
- Desiccant Packs (Optional): To further protect against moisture, you may consider adding desiccant packs or silica gel packets to the seed containers. These help absorb any residual moisture that might be present and help maintain the seeds’ dryness.
- Seed Saving Envelopes: If you prefer a more traditional approach, you can use seed-saving envelopes made of paper to store your dried pepper seeds. Place the seeds in the envelopes, label them, and store them in a cool, dark, and dry location.
It’s important to note that even with proper storage, the viability of pepper seeds can gradually decline over time. To ensure the best germination rates, it’s advisable to use the stored seeds within two to three years. However, some pepper seeds may remain viable for longer periods under ideal storage conditions.
Regularly check your stored seeds for any signs of mold, moisture, or insect infestation. If you notice any issues, promptly remove and discard affected seeds to prevent the spread of damage.
Remember to save some seeds each year from your best pepper plants to maintain the genetic diversity and adaptability of your seed stock. This practice allows you to continually improve and refine your pepper varieties over time.
By following these storage guidelines, you can preserve the viability of your dried pepper seeds and enjoy successful germination when it’s time to sow them in your garden.
Tips for Successful Pepper Seed Drying
To ensure successful pepper seed drying, follow these helpful tips to maximize the quality and viability of your seeds:
- Select Fully Ripe Peppers: Harvest peppers when they are fully ripe for the best seed quality. Immature or underripe peppers may produce seeds that are not fully developed and may not germinate effectively.
- Avoid Damaged or Disease-Infested Peppers: When selecting peppers for seed drying, choose ones that are free from damage, rot, or disease. Damaged peppers may have compromised seeds that may not dry or store properly.
- Thoroughly Clean and Dry Seeds: Before drying, separate and clean the seeds to remove any pulp or debris. Ensure the seeds are completely dry before storing them to prevent mold or degradation.
- Proper Air Circulation: Whether air drying or using other drying methods, ensure proper air circulation around the seeds. This reduces the risk of moisture buildup and mold growth. Avoid overcrowding the seeds, allowing them to dry evenly and thoroughly.
- Avoid Excessive Heat: When oven drying pepper seeds, use the lowest temperature setting to prevent overheating. High heat can compromise seed viability and result in inferior germination rates.
- Regularly Check for Mold or Moisture: Throughout the drying process, inspect the seeds for any signs of mold or moisture. Promptly remove any affected seeds to prevent the spread of damage to other seeds.
- Dryness Test: Perform a dryness test to ensure the seeds are completely dry before storing them. Dry seeds should be brittle and snap when bent. If they bend without breaking, they need more drying time.
- Label and Date your Seeds: Properly label each batch of dried seeds with the pepper variety name and the date of collection. This helps with organization and ensures you can keep track of the freshness of your seeds.
- Cool, Dark, and Dry Storage: Store your dried pepper seeds in a cool, dark, and dry location to maintain their viability. Avoid exposure to heat, sunlight, and moisture, which could negatively impact seed quality and longevity.
- Use Within Recommended Time: While properly dried and stored pepper seeds can remain viable for several years, it is best to use them within two to three years for optimal germination rates.
By following these tips, you can enhance the success of your pepper seed drying efforts and increase the chances of successful germination and future bountiful harvests.
Conclusion
Congratulations! You have now learned the importance of drying pepper seeds before planting and the steps involved in successfully drying and storing them. By taking the time to dry your pepper seeds, you can ensure their viability, maintain their genetic traits, and save money on purchasing new seeds year after year.
Remember to choose the right pepper seeds for drying, considering factors such as variety, plant health, ripeness, and desired characteristics. Harvest the seeds when the peppers are fully ripe and prepare them by separating, cleaning, and rinsing away any debris or pulp.
There are various drying methods you can use, such as air drying, oven drying, or using a food dehydrator. Each method has its benefits and considerations, so choose the one that suits your preferences and available resources.
Proper storage is essential to maintain the quality and viability of dried pepper seeds. Store them in airtight containers, label them, and keep them in a cool, dark, and dry location. Regularly check for any signs of mold, moisture, or infestation to ensure seed health.
Lastly, remember the importance of genetic diversity by saving seeds from your best pepper plants each year. This practice allows you to continue improving the quality of your pepper varieties over time.
With these knowledge and tips, you are now equipped to embark on your pepper seed drying journey and enjoy the satisfaction of growing your own flavorful peppers from saved seeds. Happy gardening!