Home>Types of Gardening>Edible Gardening>When To Start Planting Green Beans
Edible Gardening
When To Start Planting Green Beans
Modified: February 10, 2024
Learn when is the best time to start planting green beans in your edible gardening journey. Discover expert tips and optimize your harvest.
(Many of the links in this article redirect to a specific reviewed product. Your purchase of these products through affiliate links helps to generate commission for Chicagolandgardening.com, at no extra cost. Learn more)
Table of Contents
Introduction
Welcome to the wonderful world of edible gardening! Growing your own vegetables not only allows you to have a bountiful harvest of fresh produce, but it also provides a rewarding and fulfilling experience. If you’re new to edible gardening or looking to expand your repertoire, green beans are an excellent choice. Not only are they easy to grow, but they also offer a range of health benefits and culinary versatility.
Green beans, also known as snap beans or string beans, are a popular vegetable choice for many gardeners. They are a rich source of vitamins A, C, and K, as well as dietary fiber and antioxidants. These legumes can be enjoyed raw, steamed, sautéed, or added to various dishes like salads, stir-fries, and casseroles.
Before you start planting your green beans, there are a few important factors to consider. Proper soil preparation, selecting the right time for planting, and understanding the best techniques for care and maintenance will ensure a successful and productive harvest.
In this article, we will guide you through the process of planting green beans, from soil preparation to harvesting. By following these guidelines, you’ll be well on your way to enjoying the delicious taste and nutritional benefits of homegrown green beans.
Factors to Consider Before Planting Green Beans
Before you begin planting green beans in your garden, there are several important factors to consider. These factors will contribute to the overall success and productivity of your green bean plants. Let’s explore them below:
1. Location: Green beans thrive in full sun, so choose a location in your garden that receives at least 6-8 hours of direct sunlight per day. Avoid planting them in shaded areas as this can lead to poor growth and yield.
2. Soil Quality: Green beans grow best in well-draining soil with a pH level between 6.0 and 7.5. Test the soil in your garden to determine its pH level and make necessary amendments to ensure optimal conditions for growth. Additionally, enrich the soil with organic matter such as compost or well-rotted manure to improve fertility and water retention.
3. Spacing: Proper spacing is essential for healthy plant growth and good airflow. Leave about 6-8 inches of space between each green bean plant, allowing them enough room to spread out their foliage and develop sturdy stems.
4. Companion Plants: Consider planting green beans alongside companion plants that offer benefits such as pest deterrence or nutrient enhancement. Companion plants like marigolds, nasturtiums, and herbs like dill and basil can help repel common garden pests and attract beneficial insects.
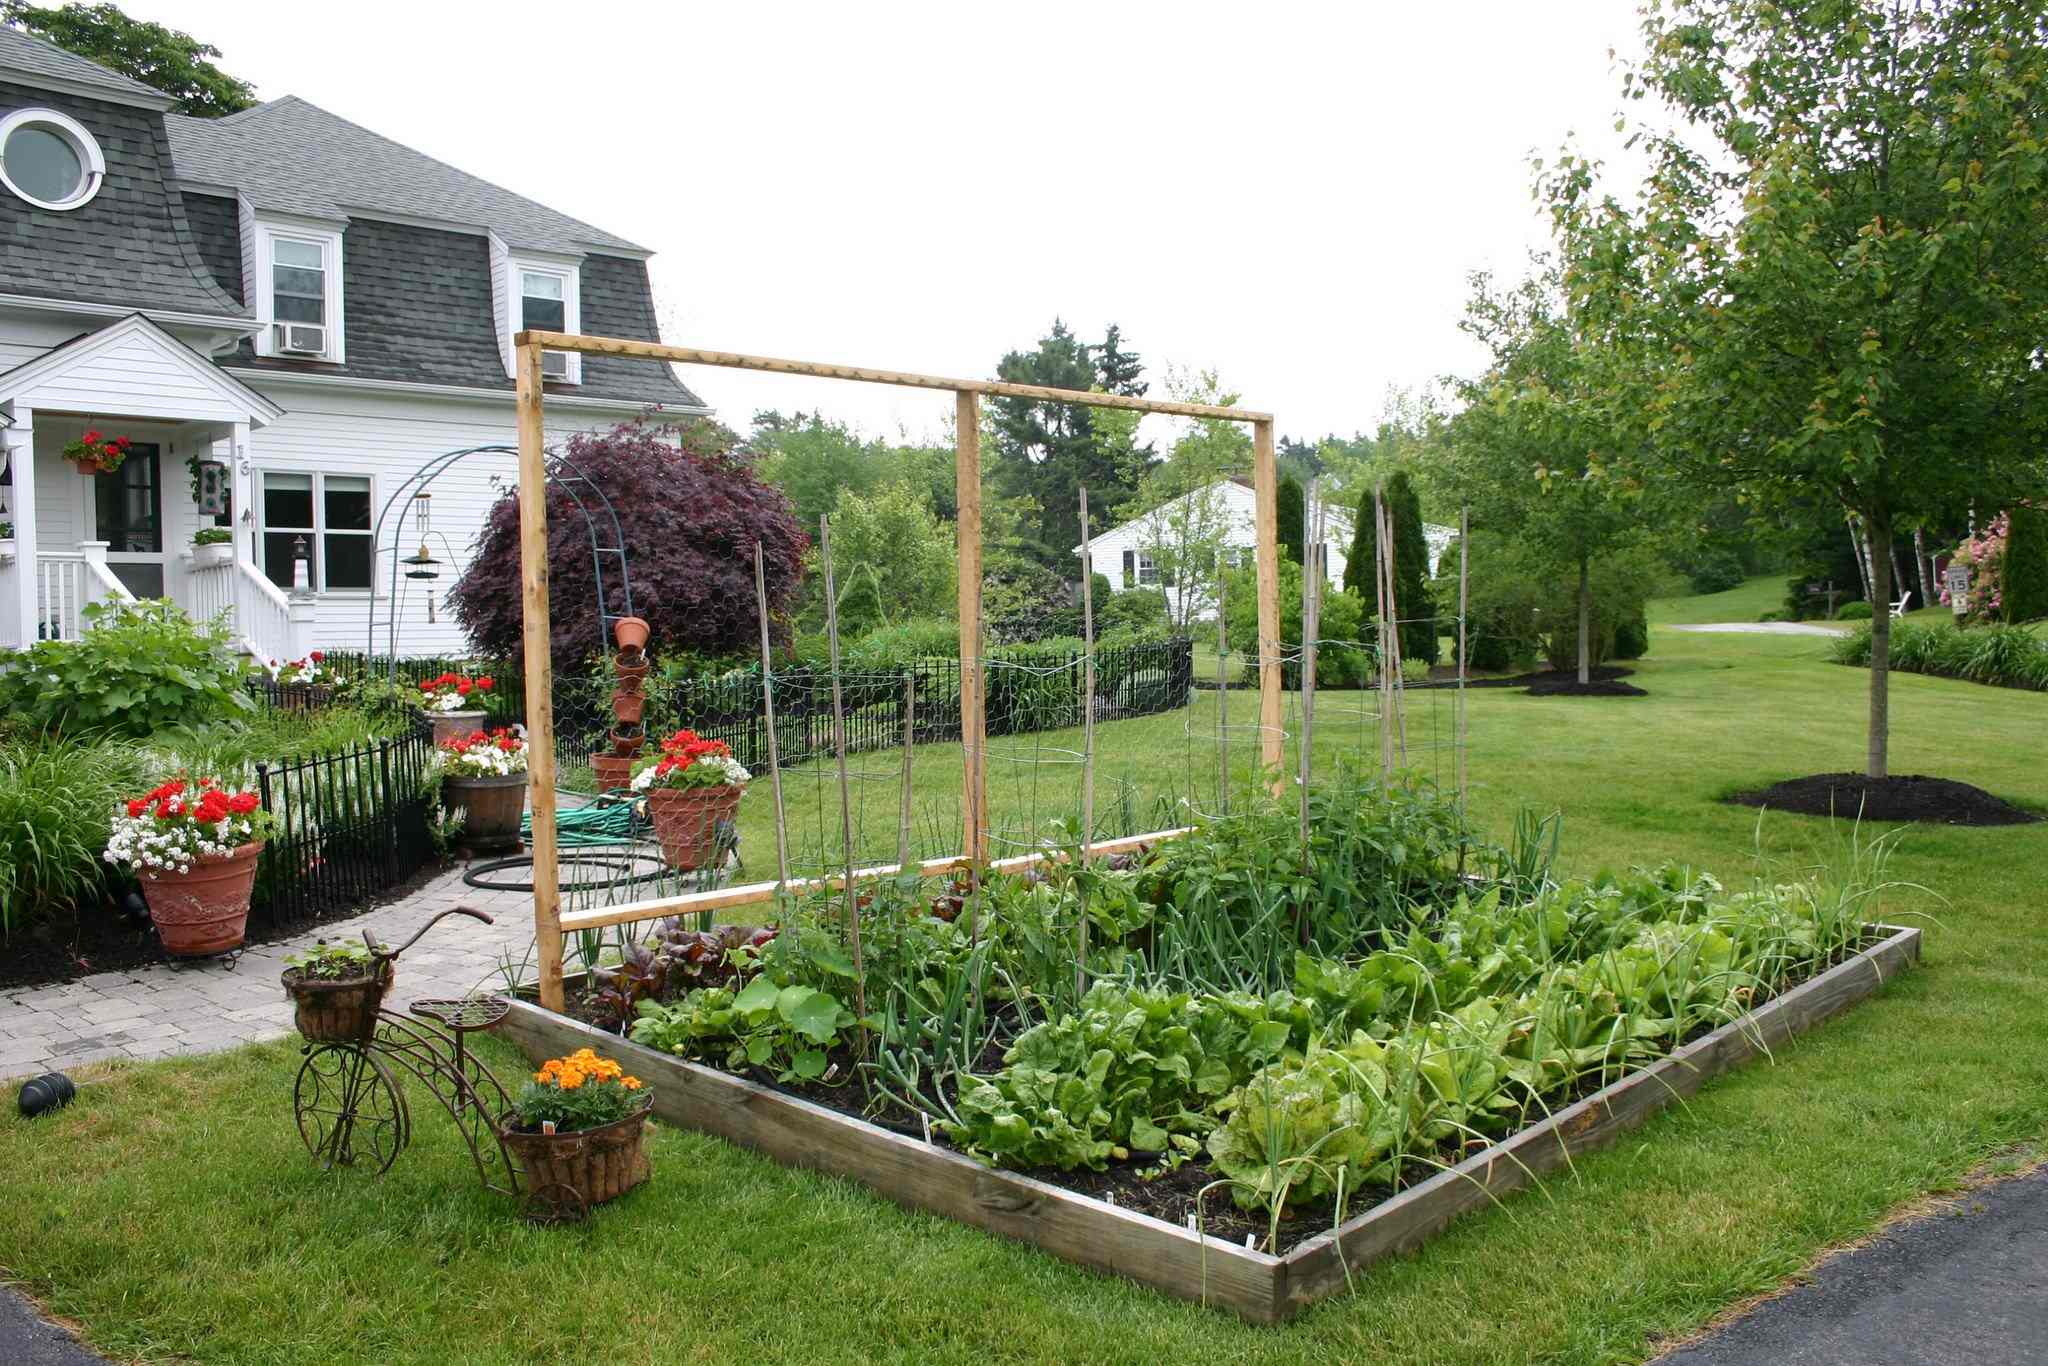
5. Support Structures: Green beans are climbers that require support as they grow. Install trellises, stakes, or a bean teepee structure to provide the necessary support for the vines to climb. This will prevent the plants from sprawling on the ground and keep the beans clean and easy to harvest.
6. Watering: Green bean plants require consistent moisture, but it’s important not to overwater them. Aim for a moderate watering schedule, keeping the soil evenly moist but not waterlogged. Water at the base of the plants to avoid wetting the foliage, which can lead to disease.
7. Frost Protection: Green beans are sensitive to frost, so it’s crucial to consider the frost dates in your region before planting. Wait until the threat of frost has passed and the soil temperature has reached at least 50°F (10°C) before sowing your green bean seeds.
By taking these factors into account before planting green beans, you’ll create the optimal growing conditions for a successful harvest. Each factor contributes to the health and vigor of your plants, ensuring that your green beans thrive and provide a plentiful yield of fresh and flavorful pods. With the right preparations, you’ll be rewarded with a garden full of delicious and nutritious green beans to enjoy throughout the growing season.
Soil Preparation
Preparing the soil properly is a crucial step before planting green beans. By creating a nutrient-rich and well-draining environment, you’ll provide the ideal conditions for your green bean plants to flourish. Here are some essential tips for soil preparation:
1. Clear the Area: Begin by clearing the planting area of any weeds, rocks, or debris. Weeds can compete with green beans for nutrients and may hinder their growth, so it’s important to remove them thoroughly.
2. Loosen the Soil: Use a garden fork or tiller to loosen the soil to a depth of 8-10 inches. This will improve aeration, drainage, and root penetration. Avoid working the soil when it is overly wet, as this can lead to soil compaction.
3. Add Organic Matter: Enrich the soil with organic matter such as compost, well-rotted manure, or leaf mold. Organic matter improves soil fertility, structure, and moisture retention. Spread a layer of compost or organic matter over the planting area and mix it into the soil.
4. Adjust Soil pH: Conduct a soil test to determine the pH level of your soil. Green beans prefer a slightly acidic to neutral pH between 6.0 and 7.5. If your soil pH is too high or too low, you can adjust it by adding lime to raise the pH or elemental sulfur to lower it.
5. Apply Fertilizer: Before planting, apply a balanced fertilizer with equal amounts of nitrogen, phosphorus, and potassium. This will provide essential nutrients for the initial growth of your green bean plants. Follow the manufacturer’s instructions for proper application rates.
6. Level the Soil: Once the amendments are mixed into the soil, level the surface using a rake. This will ensure an even planting bed and facilitate uniform growth and moisture distribution.
7. Irrigation: Before sowing the seeds, ensure that the soil is adequately moist. Irrigate the area if necessary, allowing the water to penetrate deeply into the soil.
By following these soil preparation guidelines, you’ll create a fertile and well-drained environment that promotes healthy root development and optimal nutrient absorption. A well-prepared soil sets the stage for successful green bean growth and a bountiful harvest. Taking the time to prepare your soil properly will pay off in the long run, leading to healthier plants and higher yields of delicious green beans.
Best Time to Plant Green Beans
The timing of planting green beans plays a vital role in their growth and development. Green beans are warm-season crops that thrive in temperatures between 70°F and 85°F (21°C and 29°C). Understanding the best time to plant will help ensure optimal conditions for germination and successful growth. Here are some guidelines to determine the best time to plant green beans:
1. Average Last Frost Date: Green beans are sensitive to frost, so it’s important to consider the average last frost date in your region. Planting too early can result in cold damage to the young seedlings. Wait until the threat of frost has passed before planting your green beans.
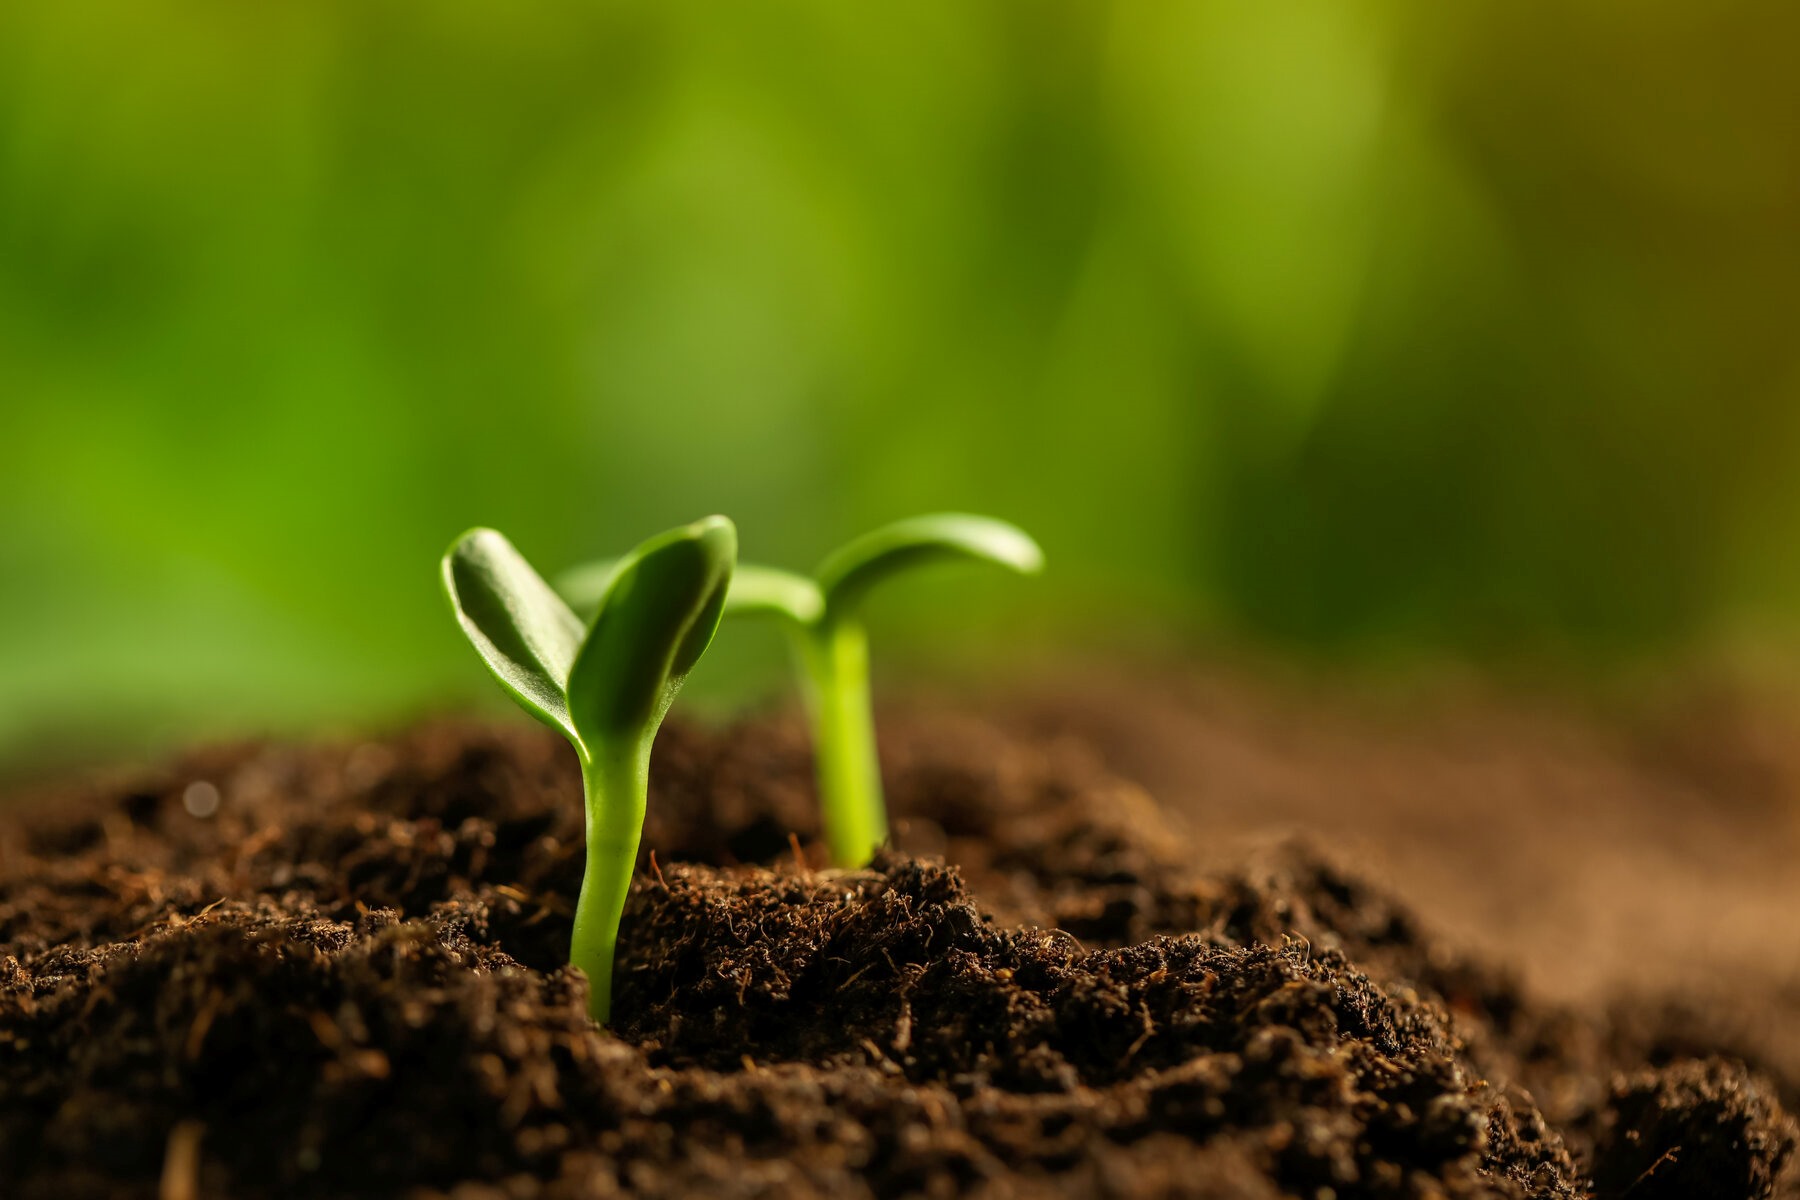
2. Soil Temperature: Green beans prefer a soil temperature of at least 50°F (10°C) for optimal germination and root development. Use a soil thermometer to gauge the temperature and ensure it’s suitable for planting. If the soil temperature is too low, the seeds may rot before they can germinate.
3. Spring Planting: In most regions, spring is the ideal time to plant green beans. Once the soil has warmed up and the risk of frost has passed, typically around late spring, you can sow your green bean seeds directly in the garden.
4. Fall Planting: Some regions with mild winters also allow for a fall planting of green beans. Determine the average first frost date in your area and count backward to determine the latest date for planting fall crops. This allows the green bean plants to mature before the first frost arrives.
5. Succession Planting: To extend your green bean harvest, consider practicing succession planting. Instead of planting all your seeds at once, stagger the planting over several weeks. This ensures a continuous supply of fresh green beans throughout the season.
6. Microclimate Considerations: Keep in mind any microclimates in your garden that may affect planting times. Areas with increased heat or sheltered spots may allow for earlier planting or more extended growing seasons.
By considering these factors, you can determine the best time to plant green beans in your specific region. Planting at the optimal time allows for better growth, development, and ultimately, a more abundant harvest. Whether it’s in the spring or fall, ensure that the soil is warm and frost-free to give your green beans the best chance to thrive.
Planting Techniques for Green Beans
Proper planting techniques are crucial for the successful growth and development of green beans. By following these guidelines, you can ensure that your green bean plants establish well and produce a bountiful harvest.
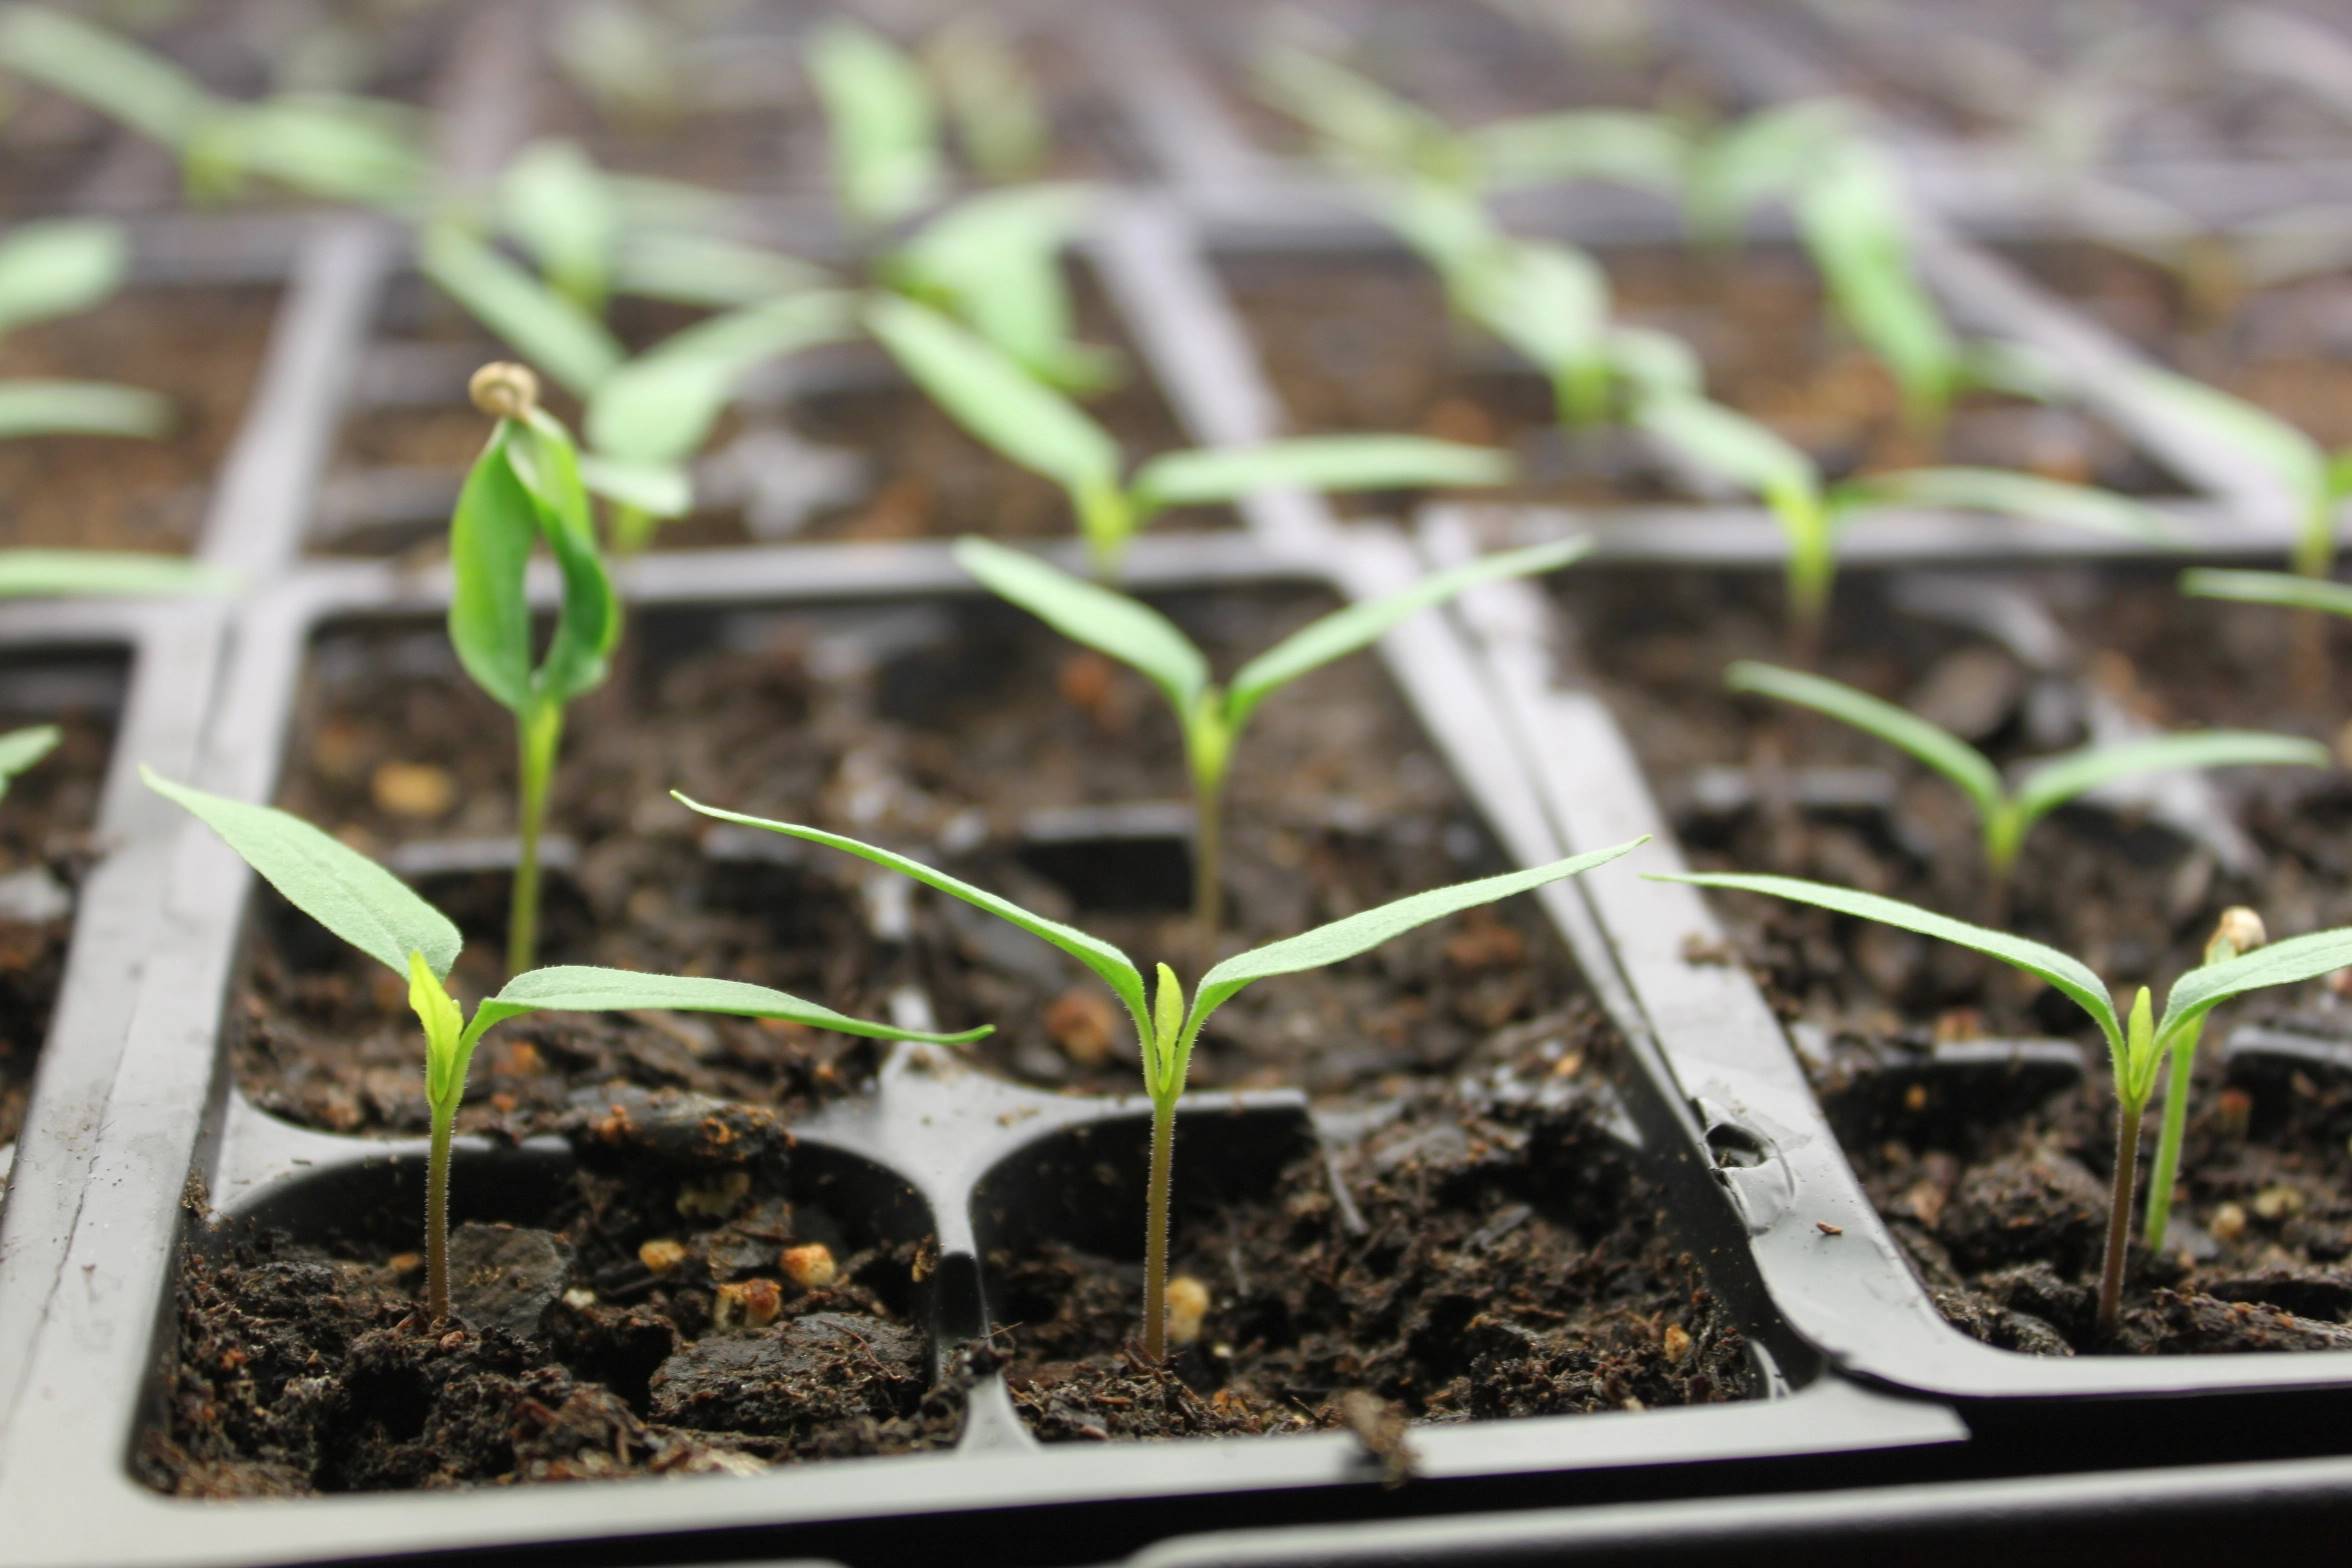
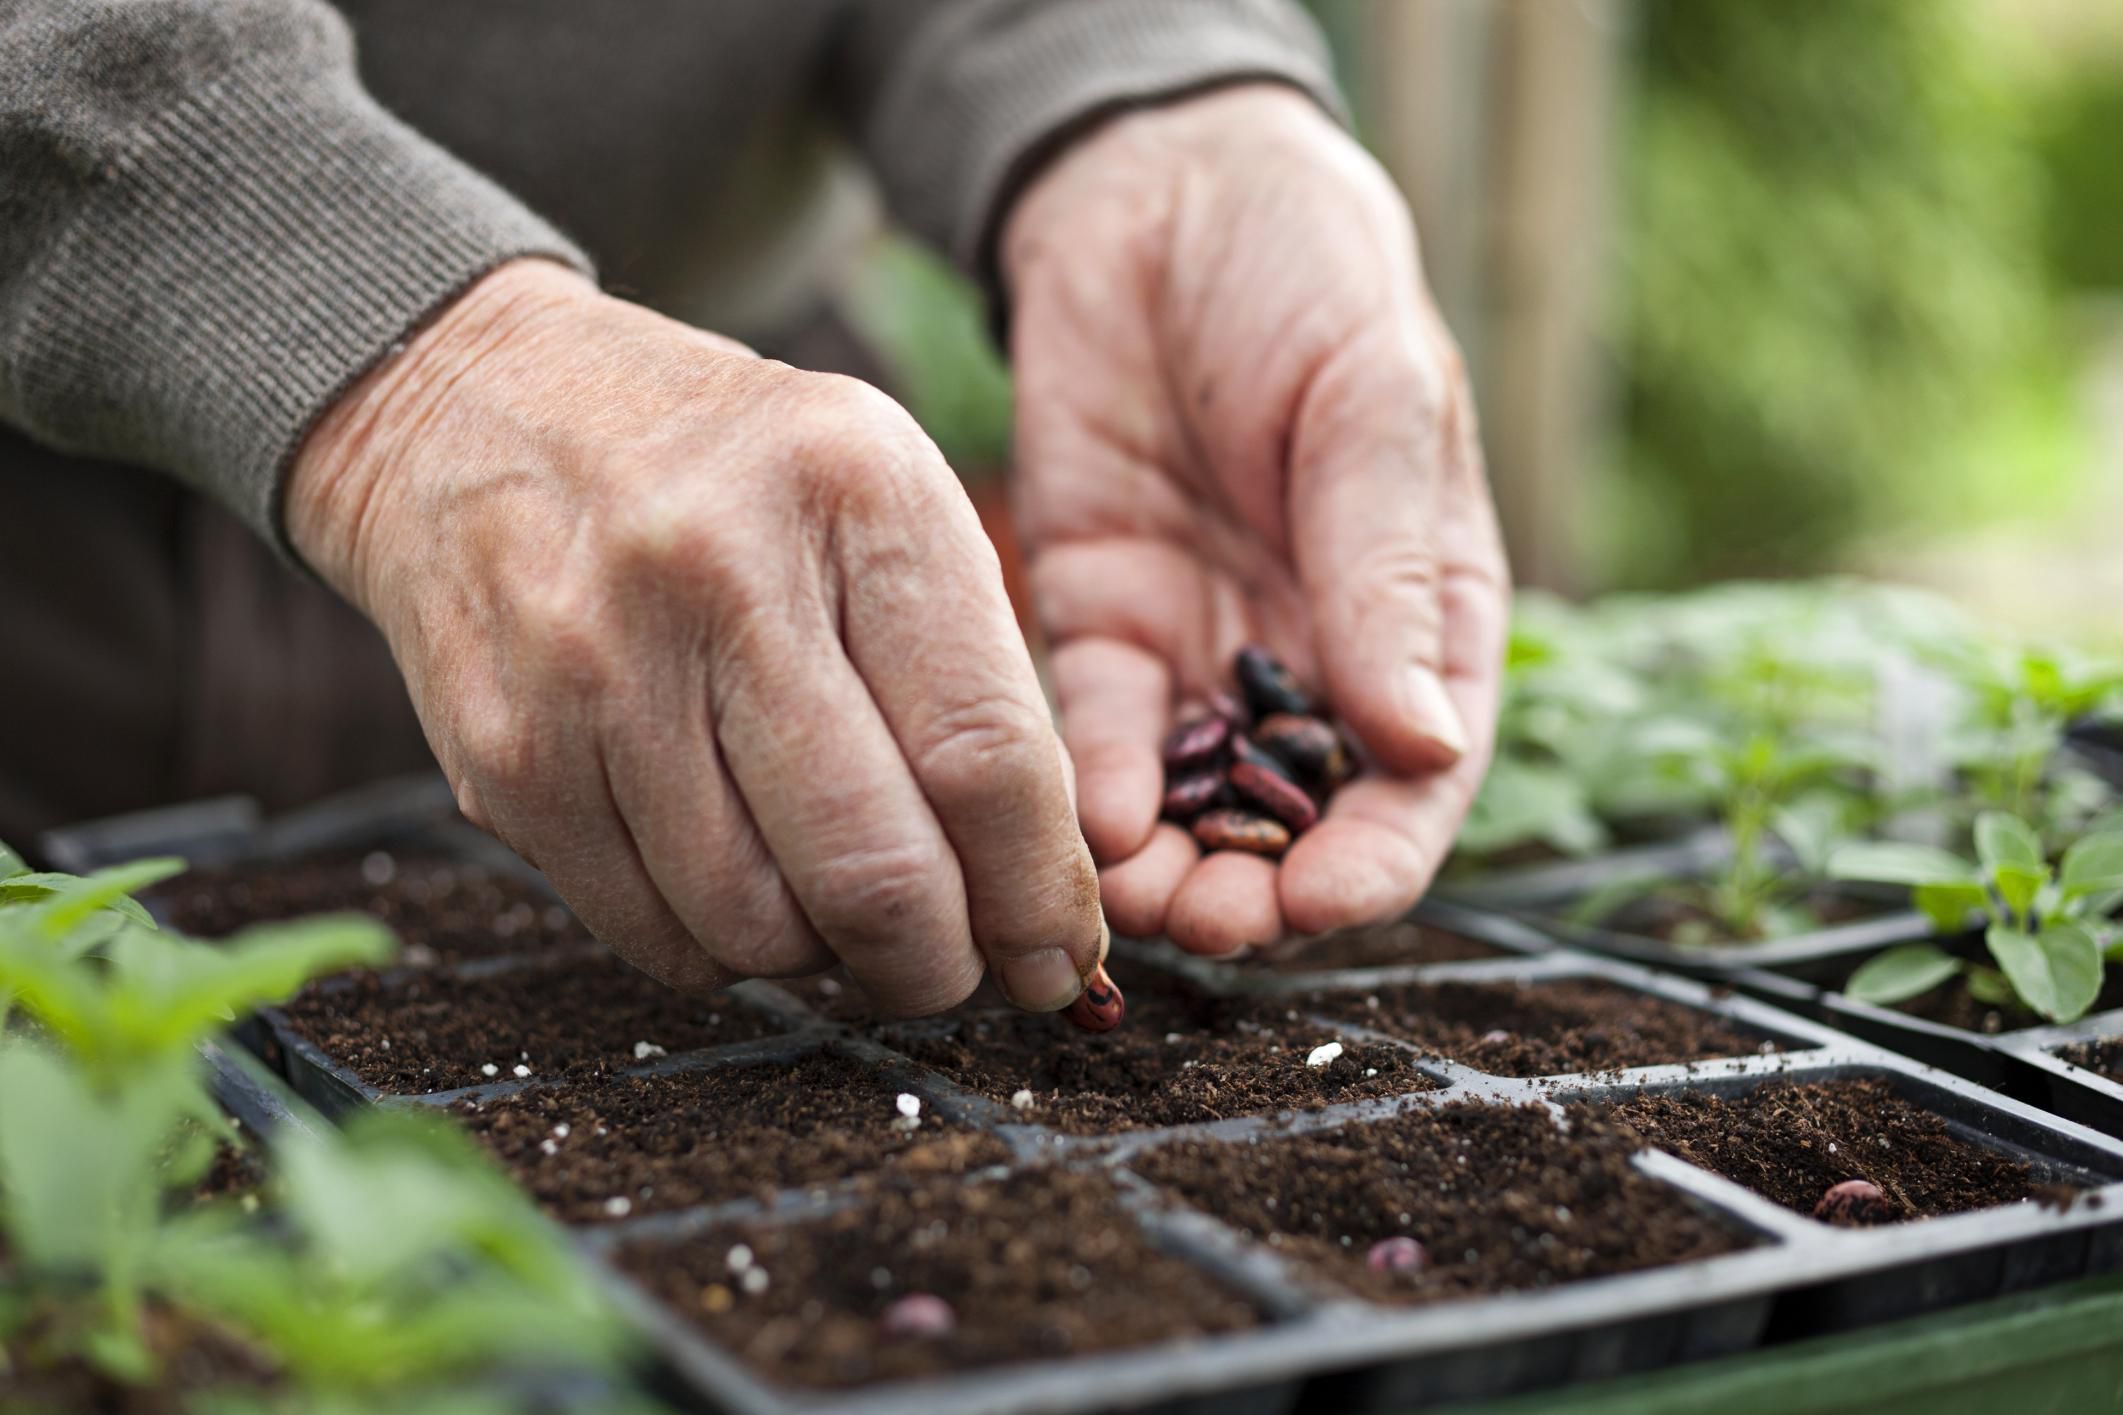
1. Direct Seeding: Green beans are typically direct-seeded in the garden rather than started indoors. Choose a location with well-drained soil and full sun exposure for optimal growth.
2. Spacing: Leave about 2-4 inches of space between each green bean seed. Alternatively, you can plant them in rows, spacing the rows 18-24 inches apart. Adequate spacing allows the plants to receive enough sunlight and airflow, reducing the risk of disease and promoting healthy growth.
3. Planting Depth: Plant green bean seeds about 1-2 inches deep. If the soil is dry, you can moisten it slightly before planting to help with germination. Space the seeds evenly in the rows, ensuring they are covered with soil.
4. Support Structures: Green beans are climbers, and providing support is essential. Install a trellis, stakes, or a bean teepee structure to support the plants as they grow. This helps prevent the vines from spreading on the ground, keeping the beans clean and aiding in easier harvesting.
5. Watering: After planting, water the seeds gently and thoroughly to ensure good soil contact. Keep the soil evenly moist, but be careful not to overwater as it can lead to rotting or fungal diseases. Once the plants are established, water deeply and consistently, especially during dry periods.
6. Succession Planting: To enjoy a continuous harvest of green beans, practice succession planting. Sow seeds every two to three weeks throughout the growing season. This staggered planting ensures a fresh supply of beans as earlier plantings reach maturity.
7. Thinning: Once the seedlings emerge and develop their first set of true leaves, thin them out if they are crowded. This helps provide adequate space for each plant to grow and reduces competition for nutrients and sunlight.
8. Mulching: Apply a layer of organic mulch, such as straw or wood chips, around your green bean plants. Mulching helps retain soil moisture, suppresses weed growth, and maintains more consistent soil temperatures.
9. Companion Planting: Consider planting companion plants that work well with green beans. Plants like corn, cucumbers, and radishes can provide shade, support, or pest deterrents, benefiting the growth of green beans.
By following these planting techniques, you can ensure successful germination, healthy growth, and optimal production of green beans. With proper spacing, support, watering, and care, your green bean plants will thrive and reward you with a delicious harvest of crisp and flavorful beans. Happy planting!
Watering and Care
Proper watering and care are essential for the health and productivity of green bean plants. Consistent moisture and regular maintenance will help ensure that your plants thrive and produce a plentiful harvest. Here are some tips for watering and caring for your green beans:
1. Watering: Green beans require consistent moisture, especially during dry spells. Water deeply, providing enough moisture to reach the root zone. Avoid overhead watering, as wet foliage can promote diseases. Aim to keep the soil evenly moist, but not waterlogged.
2. Mulching: Apply a layer of organic mulch around the base of your green bean plants. This helps conserve soil moisture, suppresses weed growth, and maintains more consistent soil temperatures. Mulching also helps prevent soil splashing onto the foliage, reducing the risk of disease.
3. Weeding: Regularly remove weeds around your green bean plants. Weeds compete for nutrients, water, and sunlight, which can impact the growth and yield of your beans. Be gentle while weeding to avoid disturbing the shallow roots of the green bean plants.
4. Support and Pruning: As green bean plants grow, ensure they are properly supported by trellises, stakes, or bean teepees. Regularly check the plants to guide the vines onto the support structures. Avoid bending or breaking the stems while training them.
5. Fertilizing: Green beans are not heavy feeders, but they benefit from a boost of nutrients during the growing season. Consider applying a balanced organic fertilizer once or twice during the season, following the manufacturer’s instructions for dosage and application.
6. Pest and Disease Management: Stay vigilant for common pests such as aphids, bean beetles, and spider mites. Regularly inspect the plants and take appropriate action if any pests or signs of disease are detected. Consider using organic pest control methods like handpicking, insecticidal soap, or neem oil.
7. Harvesting: Regular harvesting is not only essential for enjoying fresh green beans but also encourages continuous production. Harvest green beans when they are young and tender, before the seeds inside fully develop. Gently hold the stem and snap the bean from the plant, or use a pair of scissors to cut it off.
8. Cleanliness: Cleanliness in the garden is important to prevent the spread of diseases. Remove any fallen or diseased leaves, pods, or debris from the garden area. This helps minimize the risk of insects and diseases affecting your green bean plants.
By following these watering and care guidelines, you’ll provide your green bean plants with the necessary support and maintenance for robust growth and a healthy harvest. Regular monitoring, proper watering, and timely care will help keep your green beans flourishing throughout the growing season. Enjoy the pride and satisfaction of growing your own delicious, homegrown green beans!
Common Pests and Diseases
Like any plants, green beans are susceptible to certain pests and diseases that can hinder their growth and reduce yields. Being aware of these common issues and taking appropriate measures can help you effectively manage and prevent problems in your green bean plants. Here are some of the most common pests and diseases to watch out for:
1. Aphids: Aphids are small, sap-sucking insects that can cluster on the undersides of leaves and stems. They can cause wilting, leaf yellowing, and distortion. Use insecticidal soap or neem oil to control aphids, or introduce beneficial insects like ladybugs that feed on aphids.
2. Bean Beetles: Bean beetles are small, cylindrical insects that feed on the leaves, flowers, and pods of green bean plants. Regularly inspect the plants and remove any beetles by hand. Consider using row covers to protect the plants during beetle infestations.
3. Spider Mites: Spider mites are tiny pests that suck sap from the undersides of leaves, causing yellowing, stippling, and webbing on the foliage. Increase humidity around the plants by misting, and use insecticidal soap or neem oil to control spider mites.
4. Powdery Mildew: Powdery mildew is a fungal disease that appears as a white, powdery coating on the leaves of green bean plants. It can hinder photosynthesis and stunt plant growth. Provide good air circulation, avoid overhead watering, and apply fungicidal sprays if necessary.
5. Root Rot: Root rot is a common problem caused by fungal pathogens in wet or poorly drained soil. To prevent root rot, ensure proper soil drainage and avoid overwatering. Rotate crops and avoid planting in the same spot year after year.
6. Bacterial Blight: Bacterial blight can infect green bean plants, causing water-soaked spots, wilting, and leaf drop. Remove and destroy infected plants to prevent the spread of the disease. Copper-based fungicides may help control bacterial blight.
7. Mosaic Virus: Mosaic virus causes mottled or distorted leaves, stunted growth, and reduced crop yields. Prevent mosaic virus by planting disease-resistant varieties and controlling aphids, which can transmit the virus. Remove and destroy infected plants to prevent the spread.
8. Bean Rust: Bean rust appears as reddish-brown or orange pustules on the leaves, and can lead to defoliation and reduced yields. Plant rust-resistant varieties and ensure proper spacing and ventilation to minimize rust occurrence. Fungicidal sprays can also be used for control.
Regularly inspecting your green bean plants and promptly identifying any pests or diseases will help you take proactive measures to manage and prevent further damage. Implementing cultural practices like crop rotation, proper watering, and maintaining good hygiene in the garden area can also help reduce the risk of pests and diseases. By staying vigilant and taking appropriate steps, you’ll ensure the health and productivity of your green bean plants.
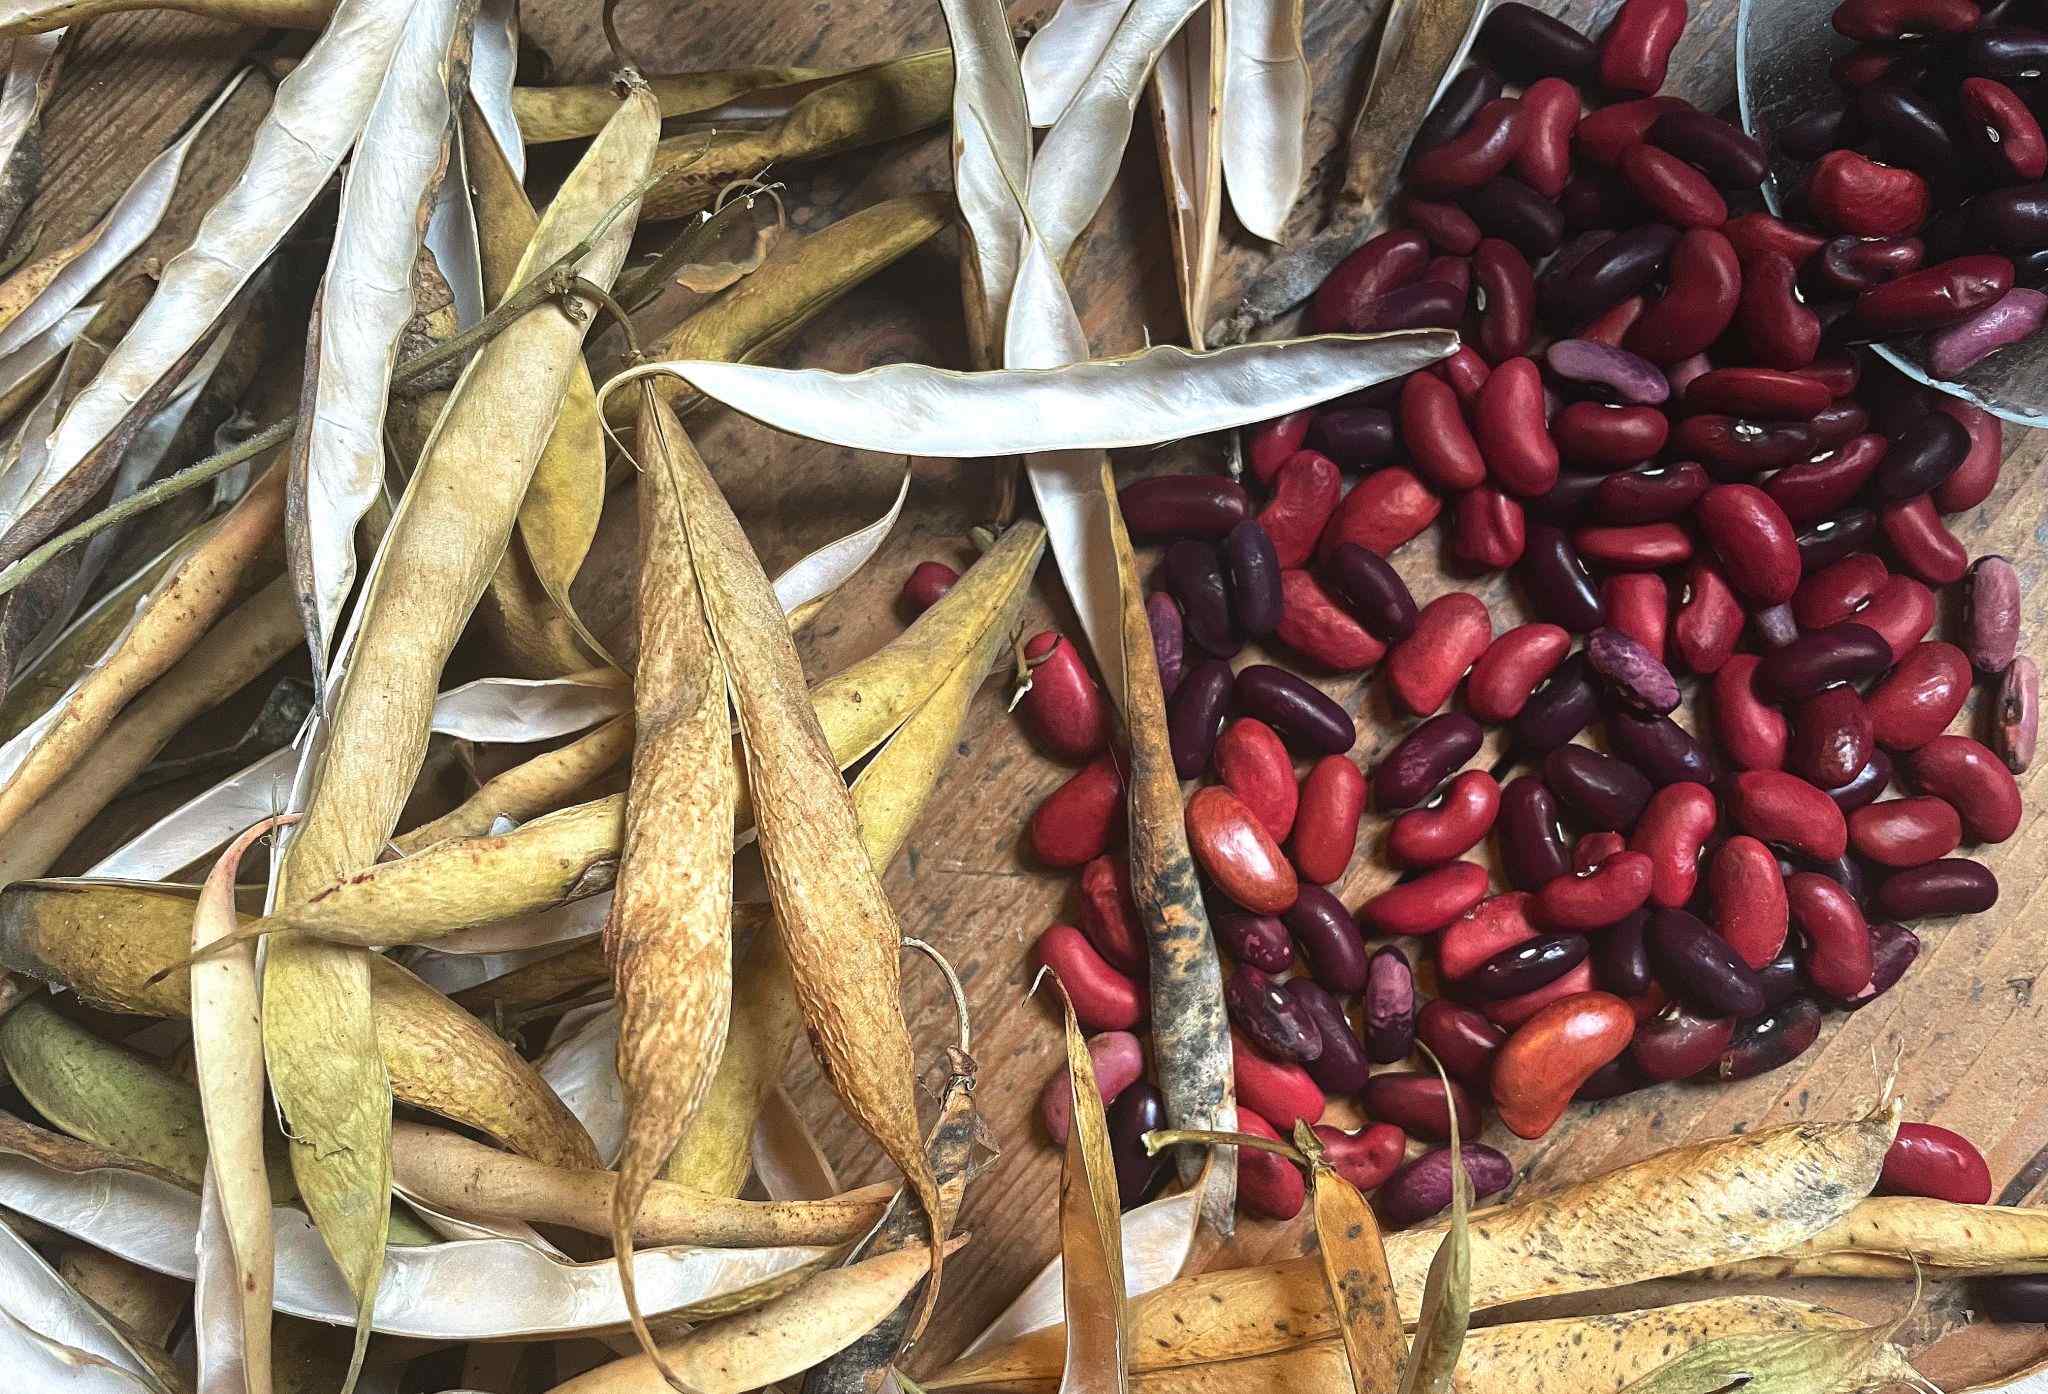
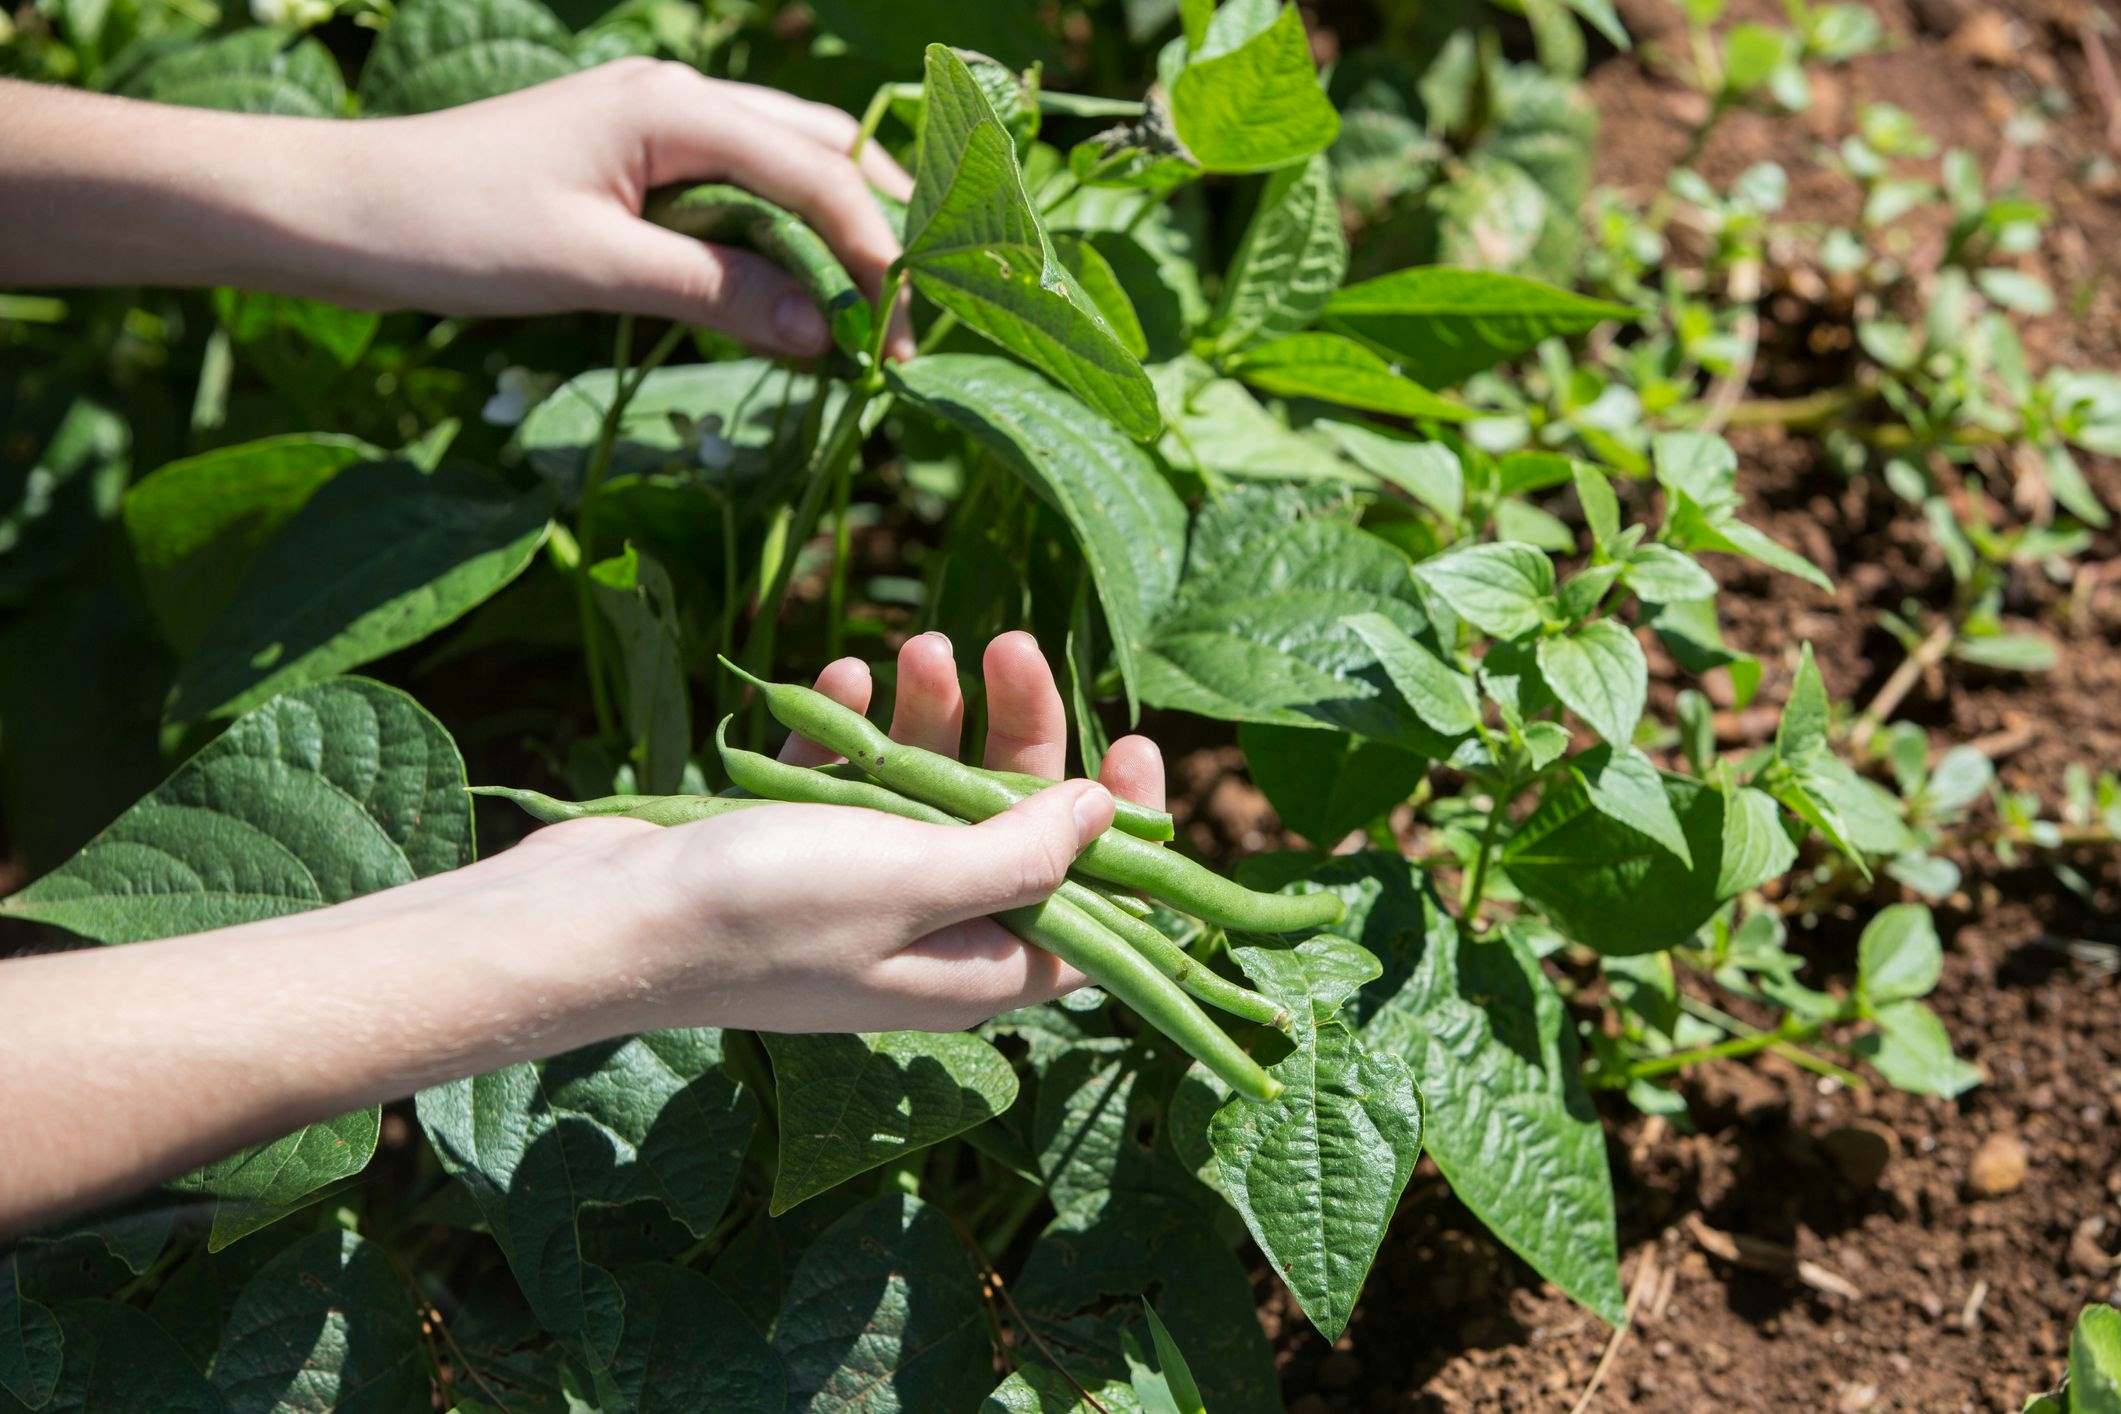
Harvesting Green Beans
Harvesting green beans at the right time is crucial for obtaining the best flavor, texture, and nutritional value. Knowing when and how to harvest ensures that you enjoy tender and delicious beans from your garden. Here are some guidelines for harvesting green beans:
1. Harvesting Time: Green beans can be harvested when they reach a desirable size and before the seeds inside fully mature. Generally, this is when the pods are around 4-6 inches long, depending on the variety. Harvesting at this stage ensures maximum tenderness and flavor.
2. Regular Harvesting: Green beans are best when they are picked regularly, every few days. This encourages the plants to produce more beans and prevents pods from becoming tough and stringy. Regular harvesting also ensures that the plant’s energy is used for continued production.
3. Picking Method: Use both hands to gently hold the stem of the bean and snap it from the plant. Alternatively, you can use a pair of scissors or garden shears to cut the bean from the stem. Be careful not to damage the plant or neighboring beans while harvesting.
4. Check for Ripeness: Check the beans for firmness and vibrant color. They should snap easily when bent and should not be overly soft or limp. Avoid harvesting beans that have become overly mature or have bulging seeds, as they can be tough and less tasty.
5. Harvesting in Dry Weather: If possible, harvest the beans when the weather is dry. Wet or damp conditions can increase the chance of disease and spoilage. If you must harvest after rainfall, wait until the foliage and pods have dried to minimize the risk.
6. Storing Fresh Green Beans: Immediately after harvesting, place the green beans in a cool place or in the refrigerator to maintain their freshness and nutrients. Store them in a breathable container such as a perforated plastic bag or a bowl covered with a damp cloth.
7. Freezing or Canning: If you have a surplus of green beans, consider freezing or canning them for long-term storage. Blanch the beans in boiling water for a few minutes, then cool them in ice water before packing them in freezer-safe bags or canning jars according to the appropriate method.
Remember, the more frequently you harvest your green beans, the more beans your plants will produce. Regular harvesting not only ensures a continuous supply of fresh beans but also encourages the plants to keep producing throughout the growing season. Enjoy the satisfaction of picking your own homegrown green beans and savoring their delicious flavor in your meals!
Conclusion
Growing green beans in your edible garden can be a rewarding and enjoyable experience. With their ease of cultivation, nutritional benefits, and culinary versatility, green beans are a fantastic addition to any vegetable patch.
From understanding the factors to consider before planting, such as location, soil preparation, and spacing, to knowing the best time to plant green beans for optimal growth, every step in the process contributes to a successful harvest. Ensuring proper irrigation, implementing support structures, and caring for your plants through regular maintenance and pest management are essential for healthy and productive green bean plants.
Harvesting green beans at the right time, when they are tender and flavorful, allows you to enjoy the fruits of your labor. Whether you choose to snap them off the plant or use scissors, the process is rewarding and satisfying. Proper handling and storage of freshly harvested green beans ensure that their taste and nutrients are preserved.
Remember, edible gardening is a continuous learning process, and each season presents new opportunities for growth and discovery. Embrace the joy of experimenting with different varieties, companion planting, and succession planting to extend your green bean harvest.
So, roll up your sleeves, prepare your garden, and embark on the journey of growing your own green beans. With proper care and attention, you’ll savor the delicious taste of homegrown green beans, cultivated with your own hands. Enjoy the countless ways to savor these versatile vegetables, from stir-fries to salads, soups to side dishes. Happy gardening and happy harvesting!