Home>Gardening Techniques>Plant Care>How To Sow Seeds Indoors
Plant Care
How To Sow Seeds Indoors
Modified: January 22, 2024
Learn how to sow seeds indoors and ensure successful plant care with our helpful guide. Start your indoor gardening journey today!
(Many of the links in this article redirect to a specific reviewed product. Your purchase of these products through affiliate links helps to generate commission for Chicagolandgardening.com, at no extra cost. Learn more)
Table of Contents
- Introduction
- Benefits of Sowing Seeds Indoors
- Selecting Seeds for Indoor Sowing
- Preparing the Indoor Sowing Area
- Choosing the Right Containers
- Preparing the Seed Starting Mix
- Sowing Seeds Indoors: Step-by-Step Guide
- Providing Optimal Growing Conditions
- Watering and Fertilizing
- Preventing Pests and Diseases
- Transplanting Seedlings Outdoors
- Conclusion
Introduction
When it comes to plant care, sowing seeds indoors is a valuable technique that can give your plants a head start and lead to bountiful harvests. Whether you’re an avid gardener or just starting out, learning how to sow seeds indoors can be a game-changer for your garden’s success.
Sowing seeds indoors involves starting your plants from seeds in a controlled environment, such as your home or a greenhouse, before transferring them outside. This method offers several advantages, including the ability to extend your growing season, provide an optimal environment for seed germination, and give your plants a stronger start.
By sowing seeds indoors, you can get a jumpstart on the gardening season. Instead of waiting for the last frost to pass before planting seeds directly into the ground, you can begin the germination process indoors weeks or even months ahead of time. This enables you to enjoy an earlier harvest and maximize your growing potential.
In addition to extending the growing season, indoor sowing allows you to control the environmental conditions for your seeds. With precise control over factors such as temperature, humidity, and light, you can create the ideal conditions for germination. This is particularly beneficial for plants that require specific conditions to thrive, such as delicate flowers or heat-loving vegetables.
Another advantage of sowing seeds indoors is the ability to give your plants a stronger start. When you start seeds indoors, you can closely monitor their growth and provide them with the necessary care to develop healthy roots and strong stems. This can result in stronger and more resilient plants, better equipped to withstand outdoor conditions and produce abundant crops or beautiful blooms.
Additionally, sowing seeds indoors allows you to be more selective with the varieties of plants you grow. You have the freedom to choose from a wide variety of seeds and experiment with different plant species, colors, and flavors. This can add excitement and diversity to your garden, making it a truly unique and personalized space.
Now that you understand the benefits of sowing seeds indoors, the next step is to select the appropriate seeds for indoor sowing. By choosing the right seeds, you can ensure a successful and rewarding indoor gardening experience. In the following section, we will explore this topic in more detail.
Benefits of Sowing Seeds Indoors
Sowing seeds indoors offers a multitude of benefits that can greatly enhance your gardening experience and increase the chances of success. Let’s explore some of the key advantages of this technique:
- Extended Growing Season: By sowing seeds indoors, you can start your plants earlier than if you were to directly sow them outdoors. This extends your growing season and allows you to enjoy an early harvest of fresh produce or vibrant flowers.
- Optimal Germination Environment: Indoor sowing enables you to create the perfect conditions for seed germination. You have control over factors such as temperature, humidity, and light, ensuring that your seeds have the best chance of sprouting and thriving.
- Stronger and Healthier Plants: Starting seeds indoors allows you to closely monitor their growth and provide them with the care they need to develop strong roots and sturdy stems. This gives your plants a head start and results in healthier, more resilient plants.
- Increased Plant Variety: When sowing seeds indoors, you have access to a wider range of plant varieties. You can choose from an extensive selection of seeds, including rare and heirloom varieties that may not be readily available as seedlings at nurseries.
- Greater Control over Pest and Disease Management: Growing plants from seeds indoors reduces the risk of pests and diseases compared to planting seeds directly outdoors. It allows you to closely monitor your plants and take preventive measures to protect them from common garden pests and diseases.
- Cost Savings: Sowing seeds indoors can be a cost-effective way to start your garden. Seeds are generally less expensive than buying seedlings, and you can save even more by reusing containers and making your own seed starting mix.
By taking advantage of these benefits, you can enhance your gardening success and enjoy a more productive and diverse garden. In the next section, we will discuss how to select the right seeds for indoor sowing.
Selecting Seeds for Indoor Sowing
Choosing the right seeds is crucial for a successful indoor sowing experience. When selecting seeds for indoor sowing, consider the following factors:
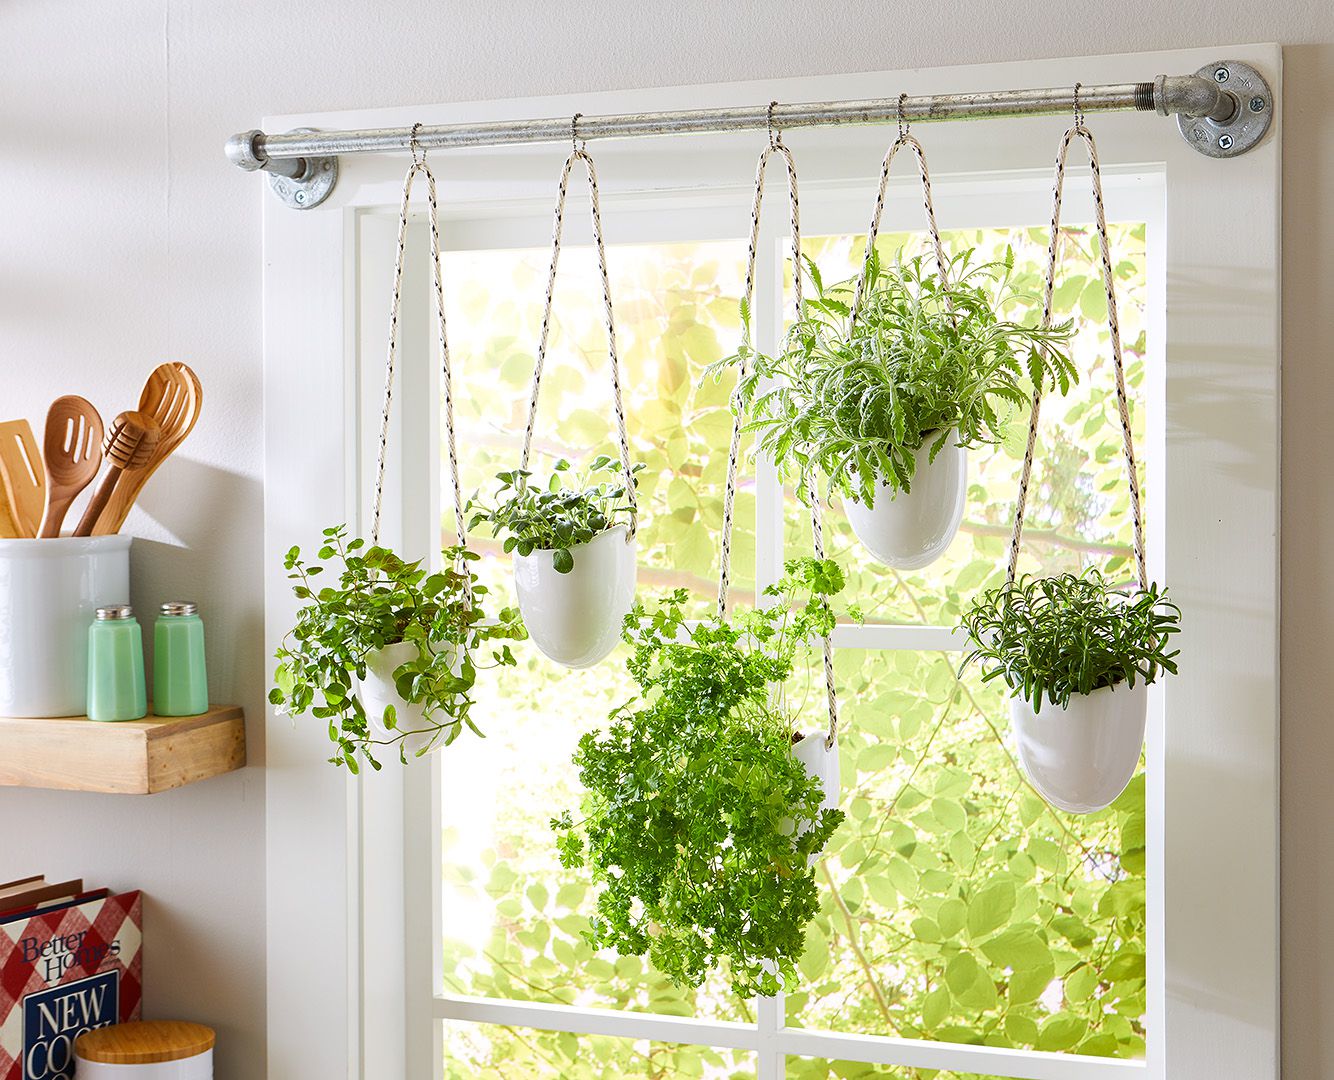
- Growing Season: Determine the length of your growing season and choose seeds that are suitable for your region. Some plants require a longer growing season to reach maturity, so it’s important to select seeds that can be started indoors and transplanted outside at the appropriate time.
- Indoor Space: Assess the available space in your indoor sowing area. Consider the size and growth habits of the plants you want to grow to ensure they will have enough room to thrive. Compact plants, such as herbs or lettuce varieties, are ideal for smaller spaces, while sprawling plants, like tomatoes or cucumbers, may require more space or a trellis system.
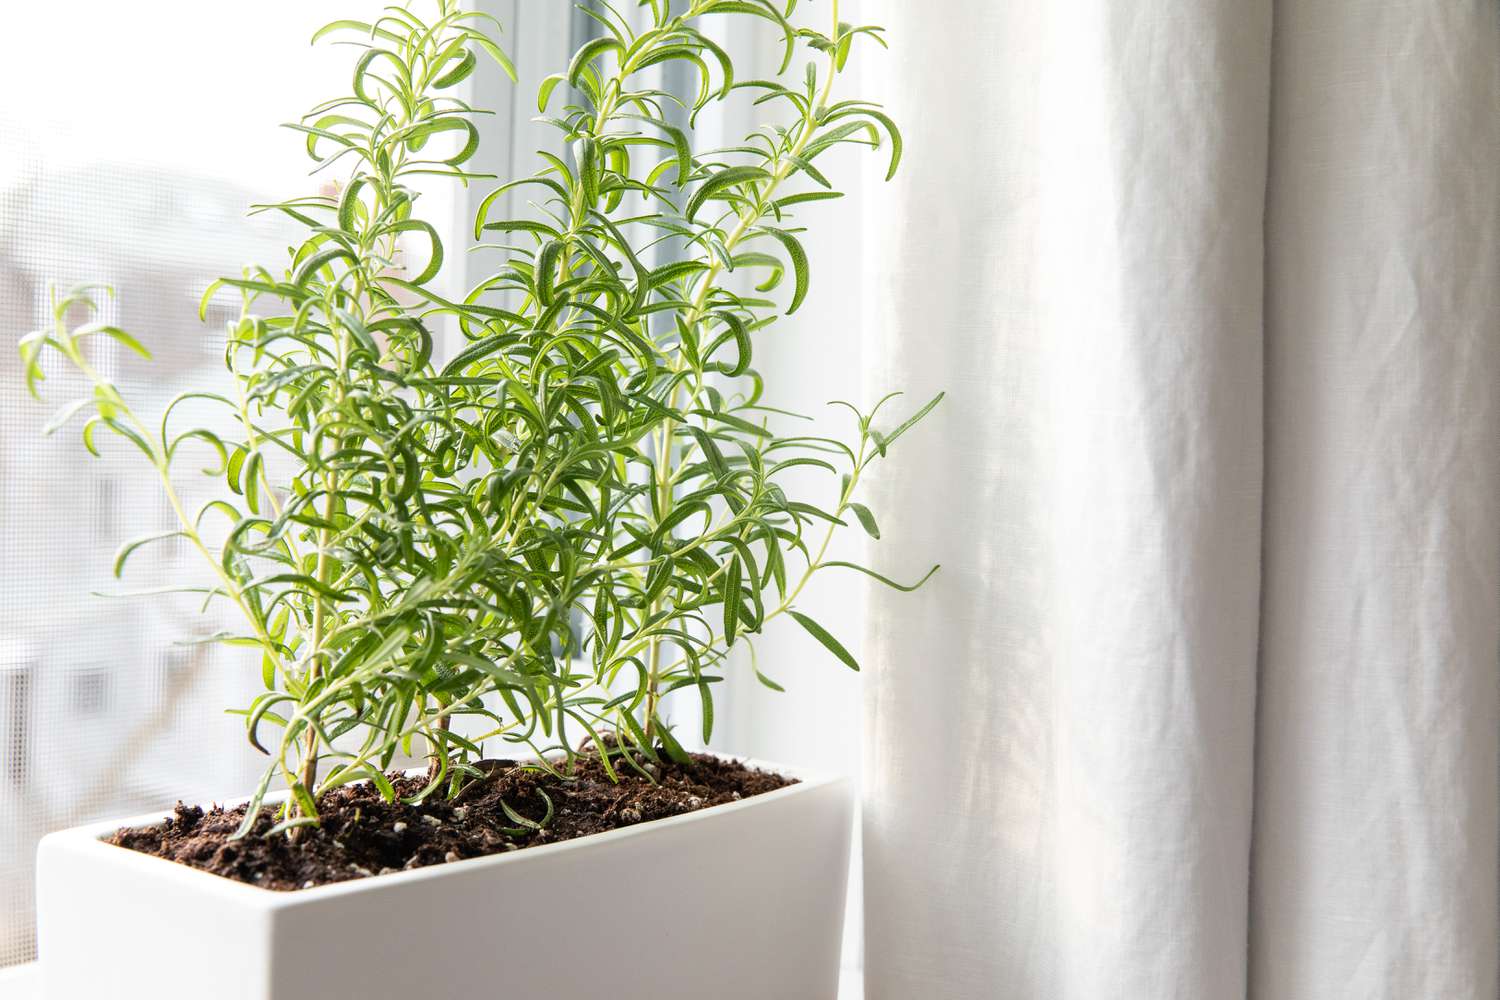
- Light Requirements: Different plants have varying light requirements. Some plants, like tomatoes and peppers, require bright, direct sunlight for optimal growth, while others, such as leafy greens or herbs, can tolerate lower light conditions. Choose seeds that align with the available light source in your indoor space or invest in supplemental grow lights if needed.
- Preference and Purpose: Consider your personal preference and gardening goals when selecting seeds. Do you want to grow vegetables for culinary use, aromatic herbs for cooking, or colorful flowers for ornamental purposes? Choose seeds that align with your interests to make your indoor sowing experience more enjoyable and rewarding.
- Seed Quality: Purchase seeds from reputable sources to ensure their quality and viability. Check the seed packet for the germination rate, which indicates the percentage of seeds likely to sprout. Opt for seeds with a high germination rate to increase your chances of success.
- Seed Starting Difficulty: Consider your experience level as a gardener and choose seeds that align with your skills. Some plants are easier to start from seeds, such as beans or radishes, while others, like delicate flowers or finicky vegetable varieties, may require more expertise and attention.
By carefully considering these factors, you can select the right seeds for indoor sowing and set yourself up for a successful gardening journey. In the next section, we will explore how to prepare the indoor sowing area to create an optimal environment for your seeds.
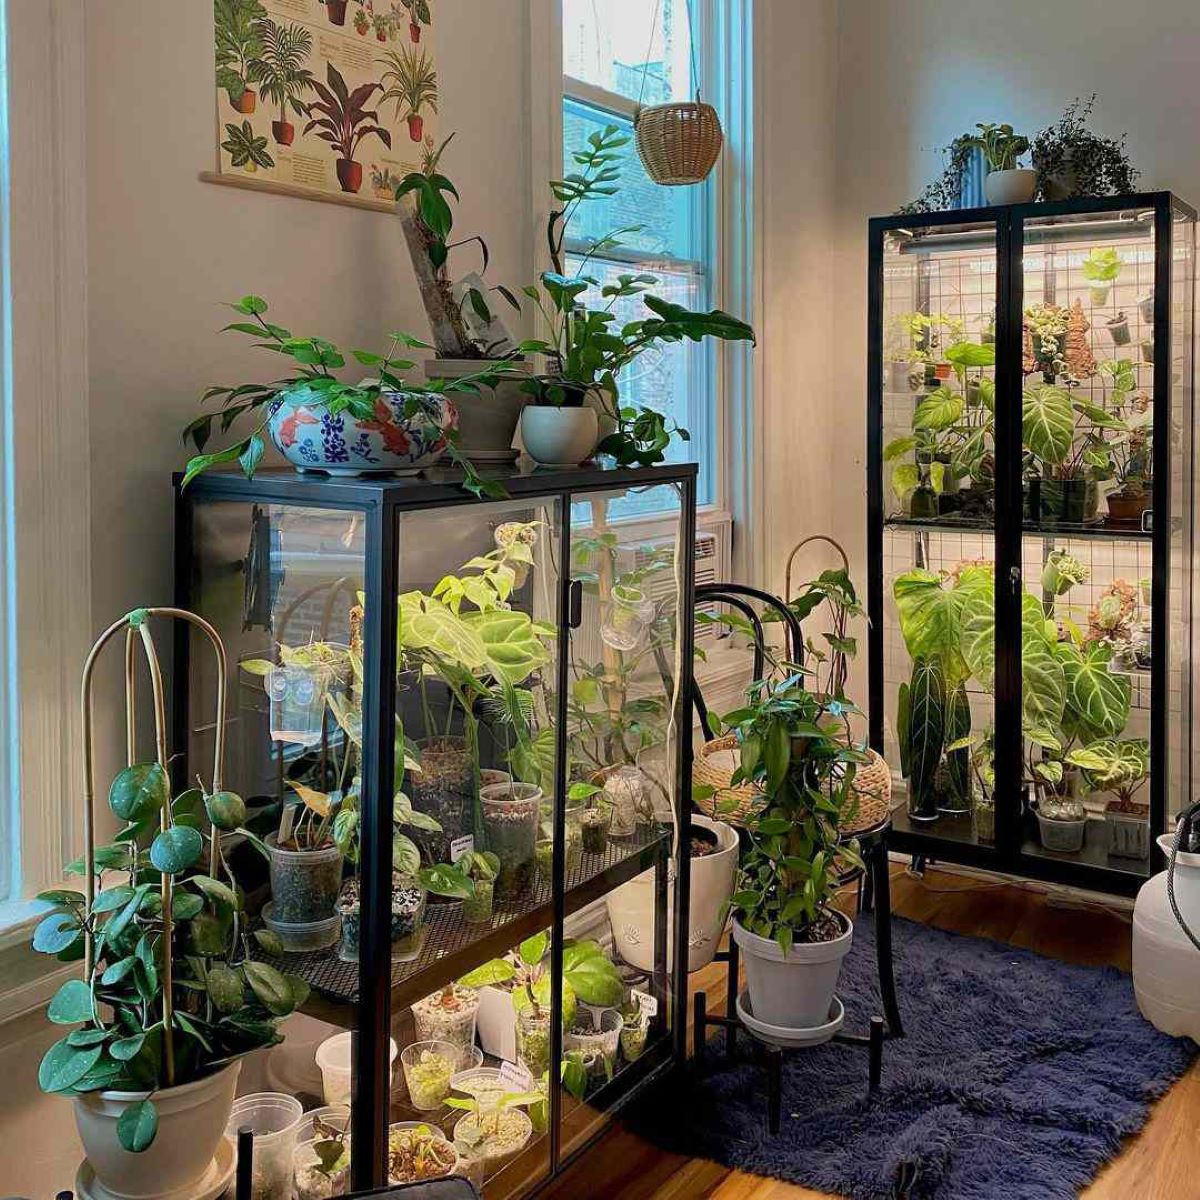
Preparing the Indoor Sowing Area
Before you start sowing seeds indoors, it’s essential to prepare the indoor sowing area to create an environment that fosters optimal seed germination and growth. Follow these steps to set up your indoor sowing area:
- Select a Suitable Location: Choose a location in your home that receives ample natural light or is equipped with supplemental grow lights. The area should be well-ventilated to prevent stagnant air and promote healthy plant growth.
- Clean and Sanitize: Thoroughly clean and sanitize the area to minimize the risk of pests and diseases. Wipe down surfaces, remove any debris or clutter, and sterilize your containers and gardening tools with a solution of diluted bleach or hydrogen peroxide.
- Ensure Proper Temperature: Maintain a consistent temperature in your indoor sowing area. Most seeds germinate best at temperatures between 65-75°F (18-24°C). Avoid placing the seeds near cold drafts or heat sources that can cause extreme temperature fluctuations.
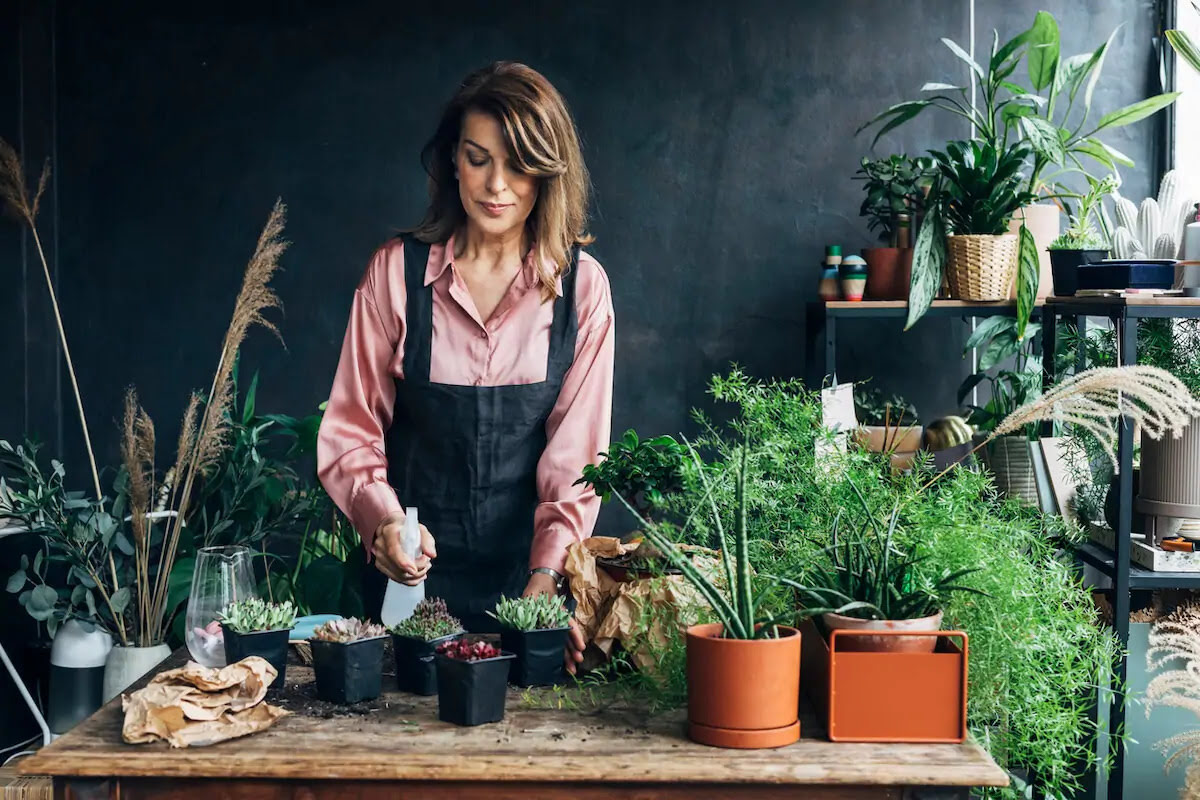
- Provide Adequate Humidity: Seeds require a certain level of moisture for germination. To increase humidity levels, use a spray bottle or a humidifier in the indoor sowing area. You can also cover the containers with plastic wrap or use a seedling tray with a humidity dome.
- Set Up Proper Ventilation: Good air circulation is crucial for preventing mold and fungal issues. Place a fan near the indoor sowing area to promote air movement and prevent stagnant air. Ensure that the fan is set to a gentle breeze, as strong airflow can be detrimental to young plants.
- Organize Your Supplies: Keep your gardening supplies organized and easily accessible. Gather your seeds, containers, potting mix, labeling materials, and gardening tools in one place. This will save time and make the sowing process more efficient.
- Plan for Watering: Set up a watering system or develop a watering routine to ensure consistent moisture for your seeds. Avoid overwatering, as it can lead to damping off or other fungal diseases. Use a well-draining potting mix and water when the top inch of soil feels dry.
By following these steps and preparing your indoor sowing area properly, you create an environment that supports healthy and successful seed germination. In the next section, we will discuss how to choose the right containers for sowing your seeds indoors.
Choosing the Right Containers
When sowing seeds indoors, selecting the right containers is crucial for providing a suitable environment for seed germination and early plant growth. Consider the following factors when choosing the containers for your indoor sowing:
- Adequate Drainage: Ensure that the containers have drainage holes to prevent waterlogged soil, which can lead to root rot. Use trays or saucers underneath the containers to catch any excess water.
- Size and Depth: Choose containers that are appropriate for the size and growth habit of the plant. Shallow containers are suitable for plants with a compact root system, while deeper containers are needed for plants with extensive root systems.
- Material: Containers are available in various materials such as plastic, clay, or biodegradable options. Each material has its advantages and disadvantages. Plastic containers are lightweight, affordable, and retain moisture well. Clay pots are porous and allow for better airflow but require more frequent watering. Biodegradable containers, like peat pots or paper pots, can be planted directly into the soil, which reduces transplant shock.
- Quantity: Consider the number of seeds you want to sow and the available space in your indoor sowing area. Opt for containers that can accommodate the desired quantity of seeds without overcrowding the plants.
- Reuse or Recyclability: If sustainability is a priority, choose containers that can be reused or recycled. Look for containers made from recycled materials or consider repurposing household items such as yogurt cups or egg cartons.
- Labeling: Ensure that the containers allow for easy labeling. It’s important to keep track of the plant variety, sowing date, and any additional notes to monitor the progress of your seeds.
Remember to clean and sterilize the containers before use to eliminate any potential pathogens or pests. Additionally, consider the aesthetics of your indoor sowing area and choose containers that enhance the visual appeal of your space.
By carefully selecting the right containers, you provide an optimal growing environment for your seeds and set the stage for successful indoor sowing. In the next section, we will discuss how to prepare the seed starting mix to ensure proper nutrition for the young seedlings.
Preparing the Seed Starting Mix
The seed starting mix plays a vital role in providing the necessary nutrients, moisture retention, and aeration for healthy seed germination and early plant growth. Follow these steps to prepare an ideal seed starting mix:
- Choose the Right Ingredients: The seed starting mix typically consists of a blend of lightweight and well-draining materials. Common ingredients include peat moss, coconut coir, vermiculite, perlite, and compost. These components provide a balanced combination of water retention and drainage.
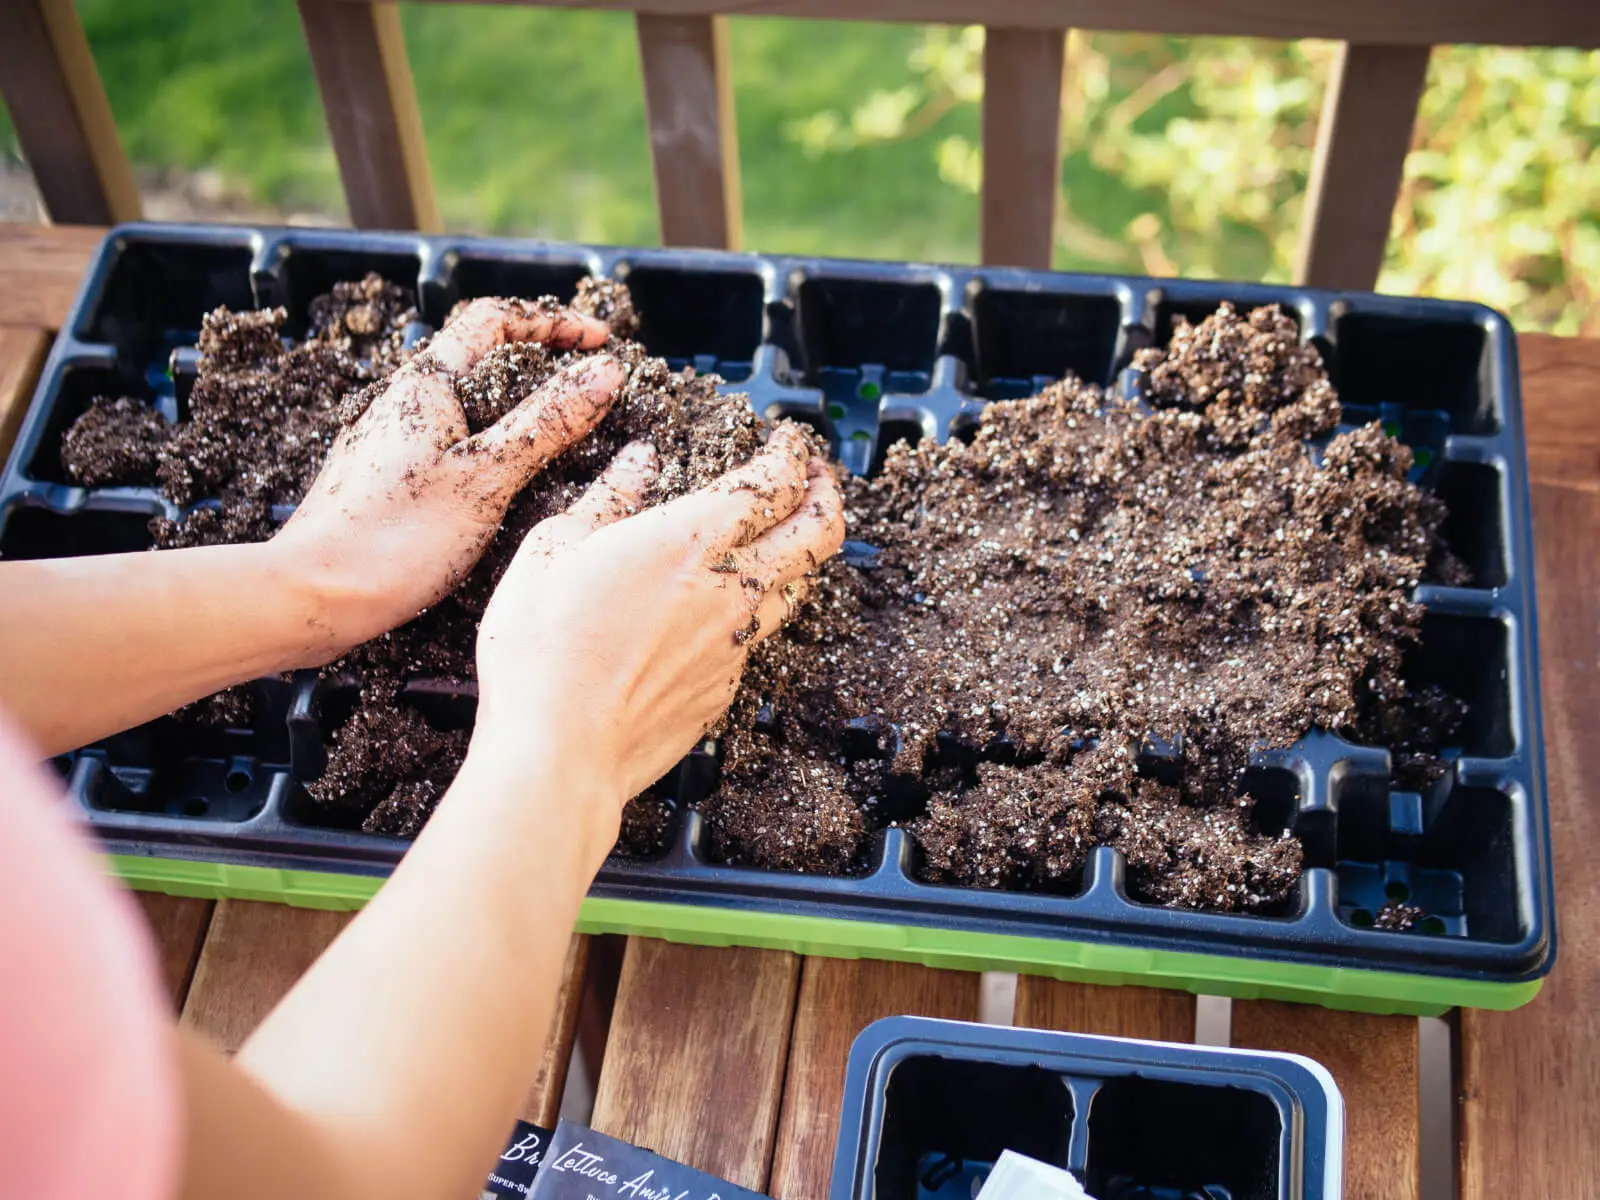
- Mixing the Materials: In a clean container or a wheelbarrow, combine the desired proportions of the chosen ingredients. Aim for a well-mixed blend, ensuring that the ingredients are evenly distributed throughout the mix.
- Moisten the Mix: Gradually add water to the mix while stirring until it reaches a damp, crumbly consistency. Avoid making the mix too wet, as excess moisture can lead to damping off or other fungal issues.
- Sterilize the Mix (Optional): To reduce the risk of pests and diseases, you can sterilize the seed starting mix. This step is particularly beneficial if you are reusing materials from previous growing seasons. Heat the moistened mix in an oven at a temperature of 180-200°F (82-93°C) for about 30 minutes, then let it cool before use.
- Fill the Containers: Fill your chosen containers with the prepared seed starting mix, leaving a small gap at the top to allow for watering. Gently press down the mix to ensure good seed-to-soil contact and eliminate air pockets.
By preparing the seed starting mix, you provide your seeds with the necessary nutrients and optimal growing conditions to sprout and establish healthy seedlings. It’s crucial to always use fresh, high-quality ingredients to avoid potential issues with the germination and growth of your plants.
In the next section, we will dive into a step-by-step guide on sowing seeds indoors, taking you through the process from start to finish.
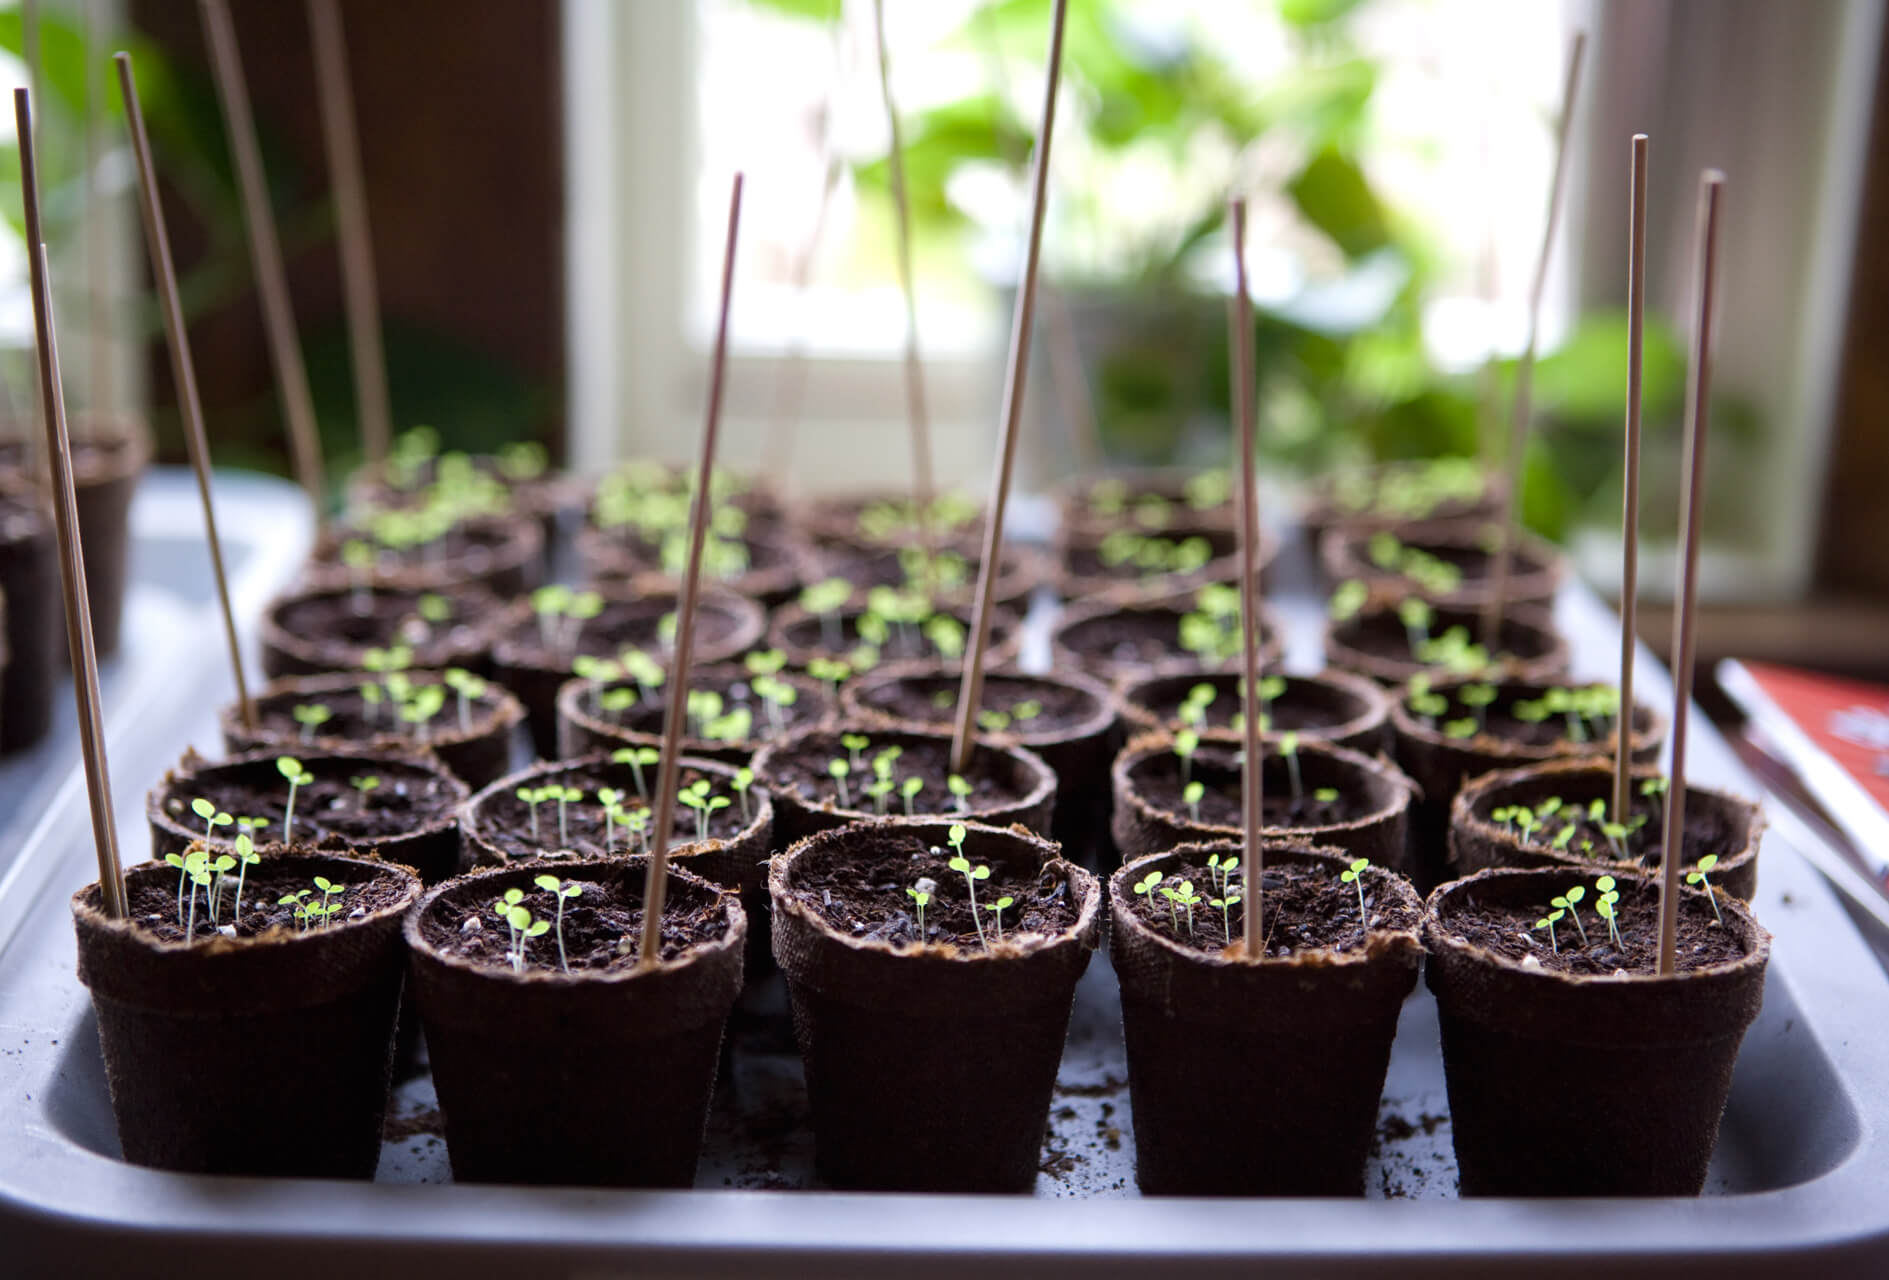
Sowing Seeds Indoors: Step-by-Step Guide
The process of sowing seeds indoors involves several key steps to ensure successful germination and healthy seedling growth. Follow this step-by-step guide to sow your seeds indoors:
- Prepare the Containers: Fill your chosen containers with the prepared seed starting mix, leaving a small gap at the top. Gently press down the mix to eliminate air pockets and create a flat surface for sowing.
- Sow the Seeds: Follow the instructions on the seed packet for the recommended sowing depth and spacing for each plant. Create small depressions or furrows in the seed starting mix using your finger or a small tool. Place the seeds into the depressions, ensuring they are evenly spaced and not overcrowded.
- Cover and Label: Lightly cover the seeds with a thin layer of the seed starting mix or vermiculite, following the recommended depth outlined on the seed packet. Label each container with the plant variety and sowing date. This will help you keep track of the progress of your seeds.
- Provide Moisture: Using a spray bottle or a gentle stream of water, moisten the seed starting mix. Ensure that the mix is evenly moist but not waterlogged. Avoid using a heavy stream of water, as it can dislodge the seeds or bury them too deeply.
- Create a Mini Greenhouse: To provide a warm and humid environment for the seeds, cover the containers with a plastic dome, plastic wrap, or a clear plastic bag. This will help retain moisture and create a mini greenhouse effect that promotes seed germination.
- Place in a Suitable Location: Position the containers in a warm area with consistent temperatures between 65-75°F (18-24°C). Ensure that the seeds receive sufficient light based on their specific requirements. If needed, use supplemental grow lights to provide the necessary light intensity and duration.
- Maintain Moisture Levels: Regularly check the moisture level of the seed starting mix and water as needed. Avoid overwatering, as it can lead to fungal diseases. Water from the bottom by placing the containers in a tray with water and allowing the mix to absorb moisture through the drainage holes.
- Monitor and Adjust: Keep a close eye on the progress of your seeds. Watch for signs of germination, such as emerging sprouts or seedling growth. Adjust the light source, temperature, and watering frequency as necessary to provide optimal conditions for your seedlings.
Following these steps will help you sow your seeds indoors successfully. Remember to be patient, as germination times vary for different plant species. Once the seedlings have grown their first set of true leaves, they are ready to be transplanted outdoors or into larger containers.
In the next section, we will discuss the importance of providing optimal growing conditions for your seedlings to thrive.
Providing Optimal Growing Conditions
Creating and maintaining optimal growing conditions for your indoor-sown seedlings is essential for their overall health and successful development. Here are some key factors to consider:
- Light: Adequate light is crucial for seedling growth. Ensure that your seedlings receive sufficient light based on their specific requirements. Place them near a sunny window or under grow lights for 12-16 hours a day. Adjust the height and intensity of the lights accordingly to provide optimal light levels.
- Temperature: Maintain a consistent temperature for your seedlings. Most seedlings thrive in temperatures between 65-75°F (18-24°C). Avoid exposing them to extreme temperature fluctuations and drafts, as they can stress the young plants.
- Humidity: Seedlings prefer higher humidity levels for optimal growth. To increase humidity, you can use a humidity tray with water placed near the seedlings or mist them with water regularly. Be cautious not to oversaturate the seedlings with moisture, as excessive humidity can lead to fungal diseases.
- Air Circulation: Proper air circulation helps prevent issues like fungal diseases and encourages strong, sturdy stems. Use fans or open windows periodically to promote air movement. However, ensure that the air circulation is gentle and doesn’t cause damage or stress to the seedlings.
- Watering: Seedlings need consistent moisture, but overwatering can harm their delicate root systems. Water the seedlings from the bottom by placing the containers in a tray of water and allowing them to absorb moisture through the drainage holes. Monitor the moisture level of the soil and water when the top inch feels dry.
- Transplanting: As the seedlings grow, they will need more space and nutrients. Transplant them into larger containers or move them to the garden when they have developed a strong root system and multiple sets of true leaves. Be gentle during transplanting to avoid damaging the delicate roots.
- Fertilization: Seedlings require a steady supply of nutrients for healthy growth. Start fertilizing them with a diluted, balanced liquid fertilizer once they have developed their first true leaves. Follow the instructions on the fertilizer packaging for proper dilution and frequency of application.
By providing optimal growing conditions, you create an environment that fosters strong and vibrant seedling growth. Regularly monitor the seedlings for any signs of stress, nutrient deficiencies, or pest issues. Making adjustments and providing proper care based on their specific needs will help ensure their long-term success.
In the next section, we will discuss how to prevent pests and diseases from affecting your indoor-sown seedlings.
Watering and Fertilizing
Proper watering and fertilization are key components of nurturing healthy and thriving indoor-sown seedlings. Understanding the needs of your seedlings and providing them with adequate moisture and nutrients will promote strong growth and development. Here are some guidelines for watering and fertilizing your seedlings:
- Watering: Seedlings require consistent and appropriate moisture levels. It’s important to strike a balance between not overwatering, which can lead to root rot, and not underwatering, which can cause stunted growth or wilting. Water the seedlings when the top inch of the soil feels dry. Use a gentle stream of water and avoid wetting the foliage excessively to minimize the risk of fungal diseases.
- Bottom Watering: One effective method of watering seedlings is bottom watering. Place the containers in a tray or shallow dish filled with water, allowing the mix to absorb moisture through the drainage holes. This helps prevent excess moisture on the foliage and encourages healthy root growth.
- Fertilizing: As seedlings grow, they will require additional nutrients beyond what is provided by the seed starting mix. Begin fertilizing them with a diluted liquid fertilizer to ensure a balanced nutrient supply. Use a fertilizer specifically formulated for seedlings or dilute a general-purpose fertilizer to half the recommended strength. Apply the fertilizer every 1-2 weeks, following the instructions on the packaging.
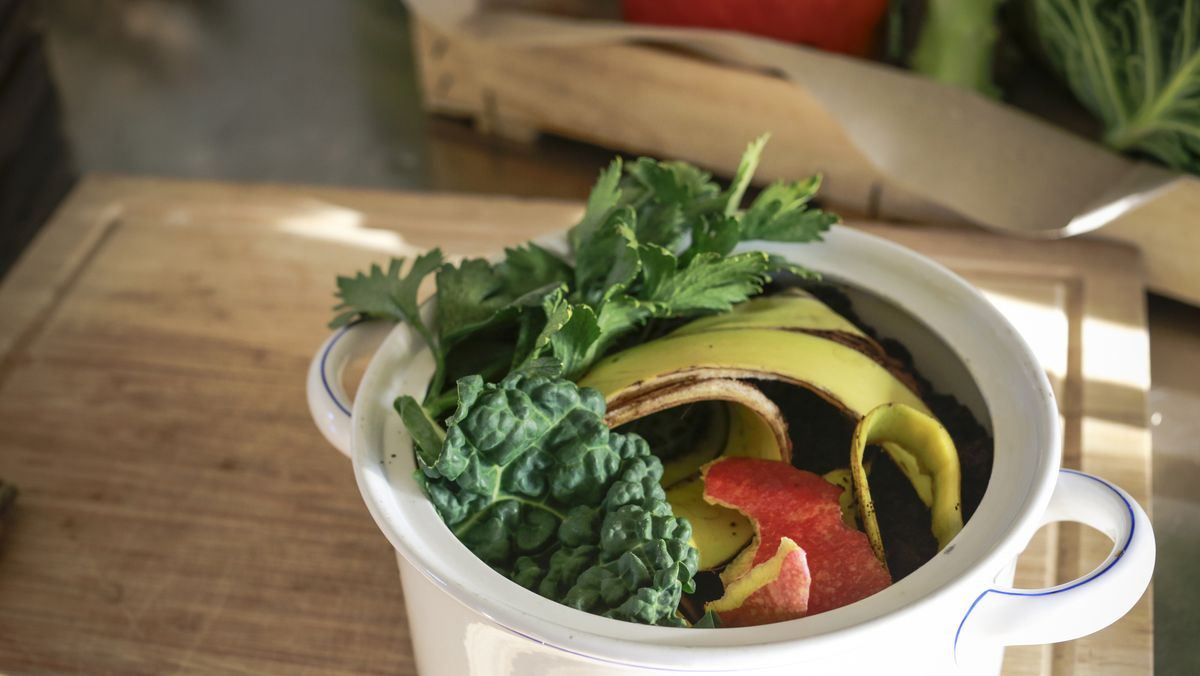
- Organic Options: If you prefer organic gardening practices, you can opt for organic fertilizers such as compost tea or liquid fish emulsion. These natural options provide a gradual release of nutrients and support the overall health of your seedlings.
- Observing Signs of Nutrient Deficiency or Excess: Keep a close eye on your seedlings for any signs of nutrient deficiencies or excesses. Symptoms may include yellowing or browning of leaves, stunted growth, or leaf burn. Adjust your fertilization routine accordingly, taking care not to over- or under-fertilize.
- Follow Seedling-Specific Guidelines: Different plant species have varying nutrient requirements. Consult specific guidelines for the plants you are growing to ensure you are providing the appropriate fertilization routine.
- Consider Slow-Release Fertilizers: If you prefer a hands-off approach to fertilizing, you can choose slow-release fertilizers or add controlled-release fertilizer granules to the seed starting mix. These options provide consistent nutrients over an extended period, reducing the need for frequent fertilization.
Remember that overfertilization can be just as harmful as underfertilization, so it’s important to follow recommended guidelines and monitor the health of your seedlings. Adjust your watering and fertilization practices as needed to maintain vigorous growth and overall plant health.
In the next section, we will discuss preventive measures to protect your indoor-sown seedlings from common pests and diseases.
Preventing Pests and Diseases
Protecting your indoor-sown seedlings from pests and diseases is crucial for their survival and overall health. Preventive measures can help minimize the risk of infestations and infections, ensuring that your seedlings grow strong and vibrant. Here are some strategies to prevent pests and diseases:
- Start with Clean Containers and Soil: Use clean containers and fresh seed starting mix to minimize the chances of introducing pests or diseases. Thoroughly sanitize containers before use, and make sure to use high-quality, sterile soil or a well-prepared soilless mix.
- Practice Good Hygiene: Wash your hands thoroughly before handling your seedlings to prevent the transfer of pests or diseases. Also, clean and disinfect any tools or equipment used, such as trays, pruners, or watering cans, to avoid contamination.
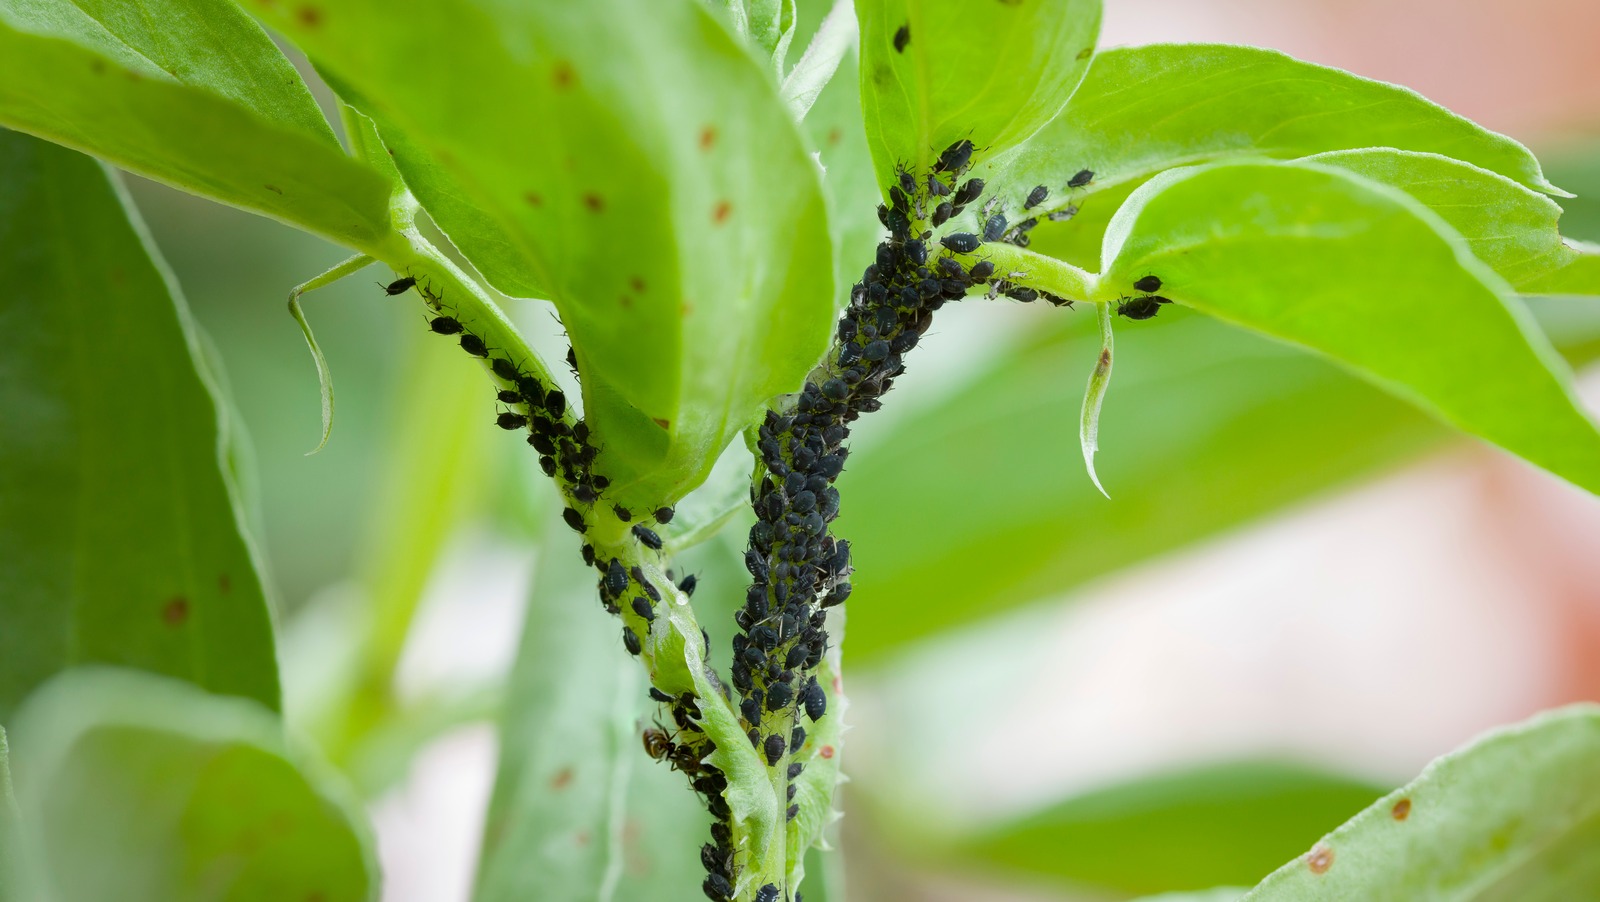
- Monitor Regularly: Regularly inspect your seedlings for any signs of pests or diseases. Look for visible pests, such as aphids, whiteflies, or spider mites, as well as symptoms of diseases, such as wilting, discoloration, or unusual spots. Early detection allows for prompt intervention and control measures.
- Isolate or Quarantine: If you notice any infected or infested seedlings, isolate them immediately to prevent the spread of pests or diseases to healthy plants. Quarantine the affected seedlings in a separate area until the issue is resolved.
- Adequate Air Circulation: Good air circulation helps prevent the development and spread of fungal diseases. Ensure that your indoor sowing area has sufficient ventilation and use fans or open windows to promote airflow. Avoid overcrowding your seedlings, as it can restrict air movement and create a humid environment conducive to disease development.
- Watering Carefully: Overly wet conditions can attract pests and promote the growth of fungal diseases. Water your seedlings carefully, allowing the soil to dry slightly between waterings. Avoid foliar watering, as it can increase humidity levels and create a favorable environment for diseases.
- Natural Pest Control: Consider using natural pest control methods such as introducing beneficial insects like ladybugs or using organic pest control products. Neem oil, insecticidal soaps, and other organic remedies can help control common pests while minimizing harm to your seedlings and the environment.
- Practice Crop Rotation: If you are growing seedlings from the same plant family year after year, practicing crop rotation can help disrupt pest and disease cycles. This involves rotating the location of your seedlings each growing season to prevent the buildup of soil-borne diseases and pests.
By adopting these preventive strategies, you can minimize the risk of pests and diseases affecting your indoor-sown seedlings. However, it’s important to remain vigilant and address any issues promptly to protect your plants and ensure their successful growth.
In the next section, we will explore the process of transplanting your seedlings outdoors once they have grown sufficiently.
Transplanting Seedlings Outdoors
Transplanting your indoor-sown seedlings outdoors is an exciting step in the gardening process and a crucial transition for their continued growth and development. When the seedlings have grown sufficiently and the weather is suitable, follow these steps to transplant them outdoors:
- Choose the Right Timing: Select an appropriate time to transplant your seedlings based on the specific plant’s requirements and the local climate. Wait until the risk of frost has passed and the outdoor temperatures are consistently within the suitable range for the plant.
- Harden Off the Seedlings: Harden off your seedlings by gradually exposing them to outdoor conditions. Start by placing them in a sheltered spot outdoors for a few hours a day, gradually increasing their exposure over the course of a week or two. This helps the seedlings acclimate to the outdoor environment and reduces transplant shock.
- Prepare the Transplanting Site: Choose a location in your garden that matches the specific needs of the plant—consider factors such as sunlight, soil type, and drainage. Preparing the soil by removing weeds, loosening the soil, and incorporating organic matter will create a favorable environment for the seedlings.
- Dig Proper Planting Holes: Dig holes in the prepared soil that are slightly larger than the root ball of each seedling. Space the holes according to the recommended spacing for the plant variety.
- Remove Seedlings from Containers: Gently remove the seedlings from their containers, being careful not to damage the roots. If the seedlings are in biodegradable pots, you can plant them directly into the ground. For plants grown in plastic or clay pots, gently loosen the root ball and separate any tangled or circling roots.
- Plant Seedlings: Place each seedling in its respective planting hole, making sure that the top of the root ball is level with or slightly above the soil surface. Backfill the hole with soil, gently firming it around the seedling. Water thoroughly after planting to settle the soil and provide moisture to the roots.
- Provide Post-Transplant Care: After transplanting, monitor the seedlings closely. Water them regularly to keep the soil evenly moist during the establishment phase. Consider using mulch around the seedlings to conserve moisture, suppress weeds, and regulate soil temperature.
- Protect from Extreme Conditions: Shield the newly transplanted seedlings from extreme heat, cold, or strong winds in the initial days. Use shade cloth, row covers, or other protective measures as needed to create a favorable microclimate for the young plantings.
As the seedlings continue to grow in their new outdoor environment, be diligent in providing them with regular watering, appropriate fertilization, and any necessary support, such as stakes or trellises. Monitor for pests and diseases and take prompt action if any issues arise.
By following these steps and providing proper care, your indoor-sown seedlings can thrive in their new outdoor home, producing a bountiful harvest or adding beauty to your garden space.
In the final section, we will conclude with a summary of the key points discussed in this article.
Conclusion
Sowing seeds indoors is a rewarding and effective method to give your plants a head start and ensure a successful gardening experience. By starting your seeds indoors, you can extend the growing season, have greater control over environmental conditions, and produce stronger and healthier plants.
We explored the benefits of sowing seeds indoors, including the ability to enjoy an early harvest, create optimal germination conditions, and have a wider selection of plant varieties. We discussed the importance of selecting the right seeds, preparing the indoor sowing area, and choosing suitable containers.
We also provided a step-by-step guide on sowing seeds indoors, emphasizing the significance of providing optimal growing conditions, such as proper lighting, temperature, and humidity. We highlighted the importance of watering and fertilizing seedlings appropriately and implementing preventive measures to protect them from pests and diseases.
Once the seedlings have grown sufficiently, we discussed the process of transplanting them outdoors, ensuring a smooth transition and continued growth in the garden. Finally, we emphasized the importance of providing post-transplant care and ongoing maintenance for the seedlings.
By following these guidelines and practicing proper plant care techniques, you can successfully sow seeds indoors, nurture healthy seedlings, and enjoy a thriving garden. Remember to adapt these practices to suit the specific needs of your plants and gardening environment.
So why wait? Start sowing your seeds indoors, and embark on a fulfilling journey of watching your seeds transform into flourishing plants right before your eyes. Happy gardening!