Home>Types of Gardening>Ornamental Gardening>How To Plant Sunflower Seeds Indoors

Ornamental Gardening
How To Plant Sunflower Seeds Indoors
Modified: February 9, 2024
Learn how to plant sunflower seeds indoors for your ornamental gardening needs. Step-by-step instructions and tips for successful indoor sunflower cultivation.
(Many of the links in this article redirect to a specific reviewed product. Your purchase of these products through affiliate links helps to generate commission for Chicagolandgardening.com, at no extra cost. Learn more)
Table of Contents
Introduction
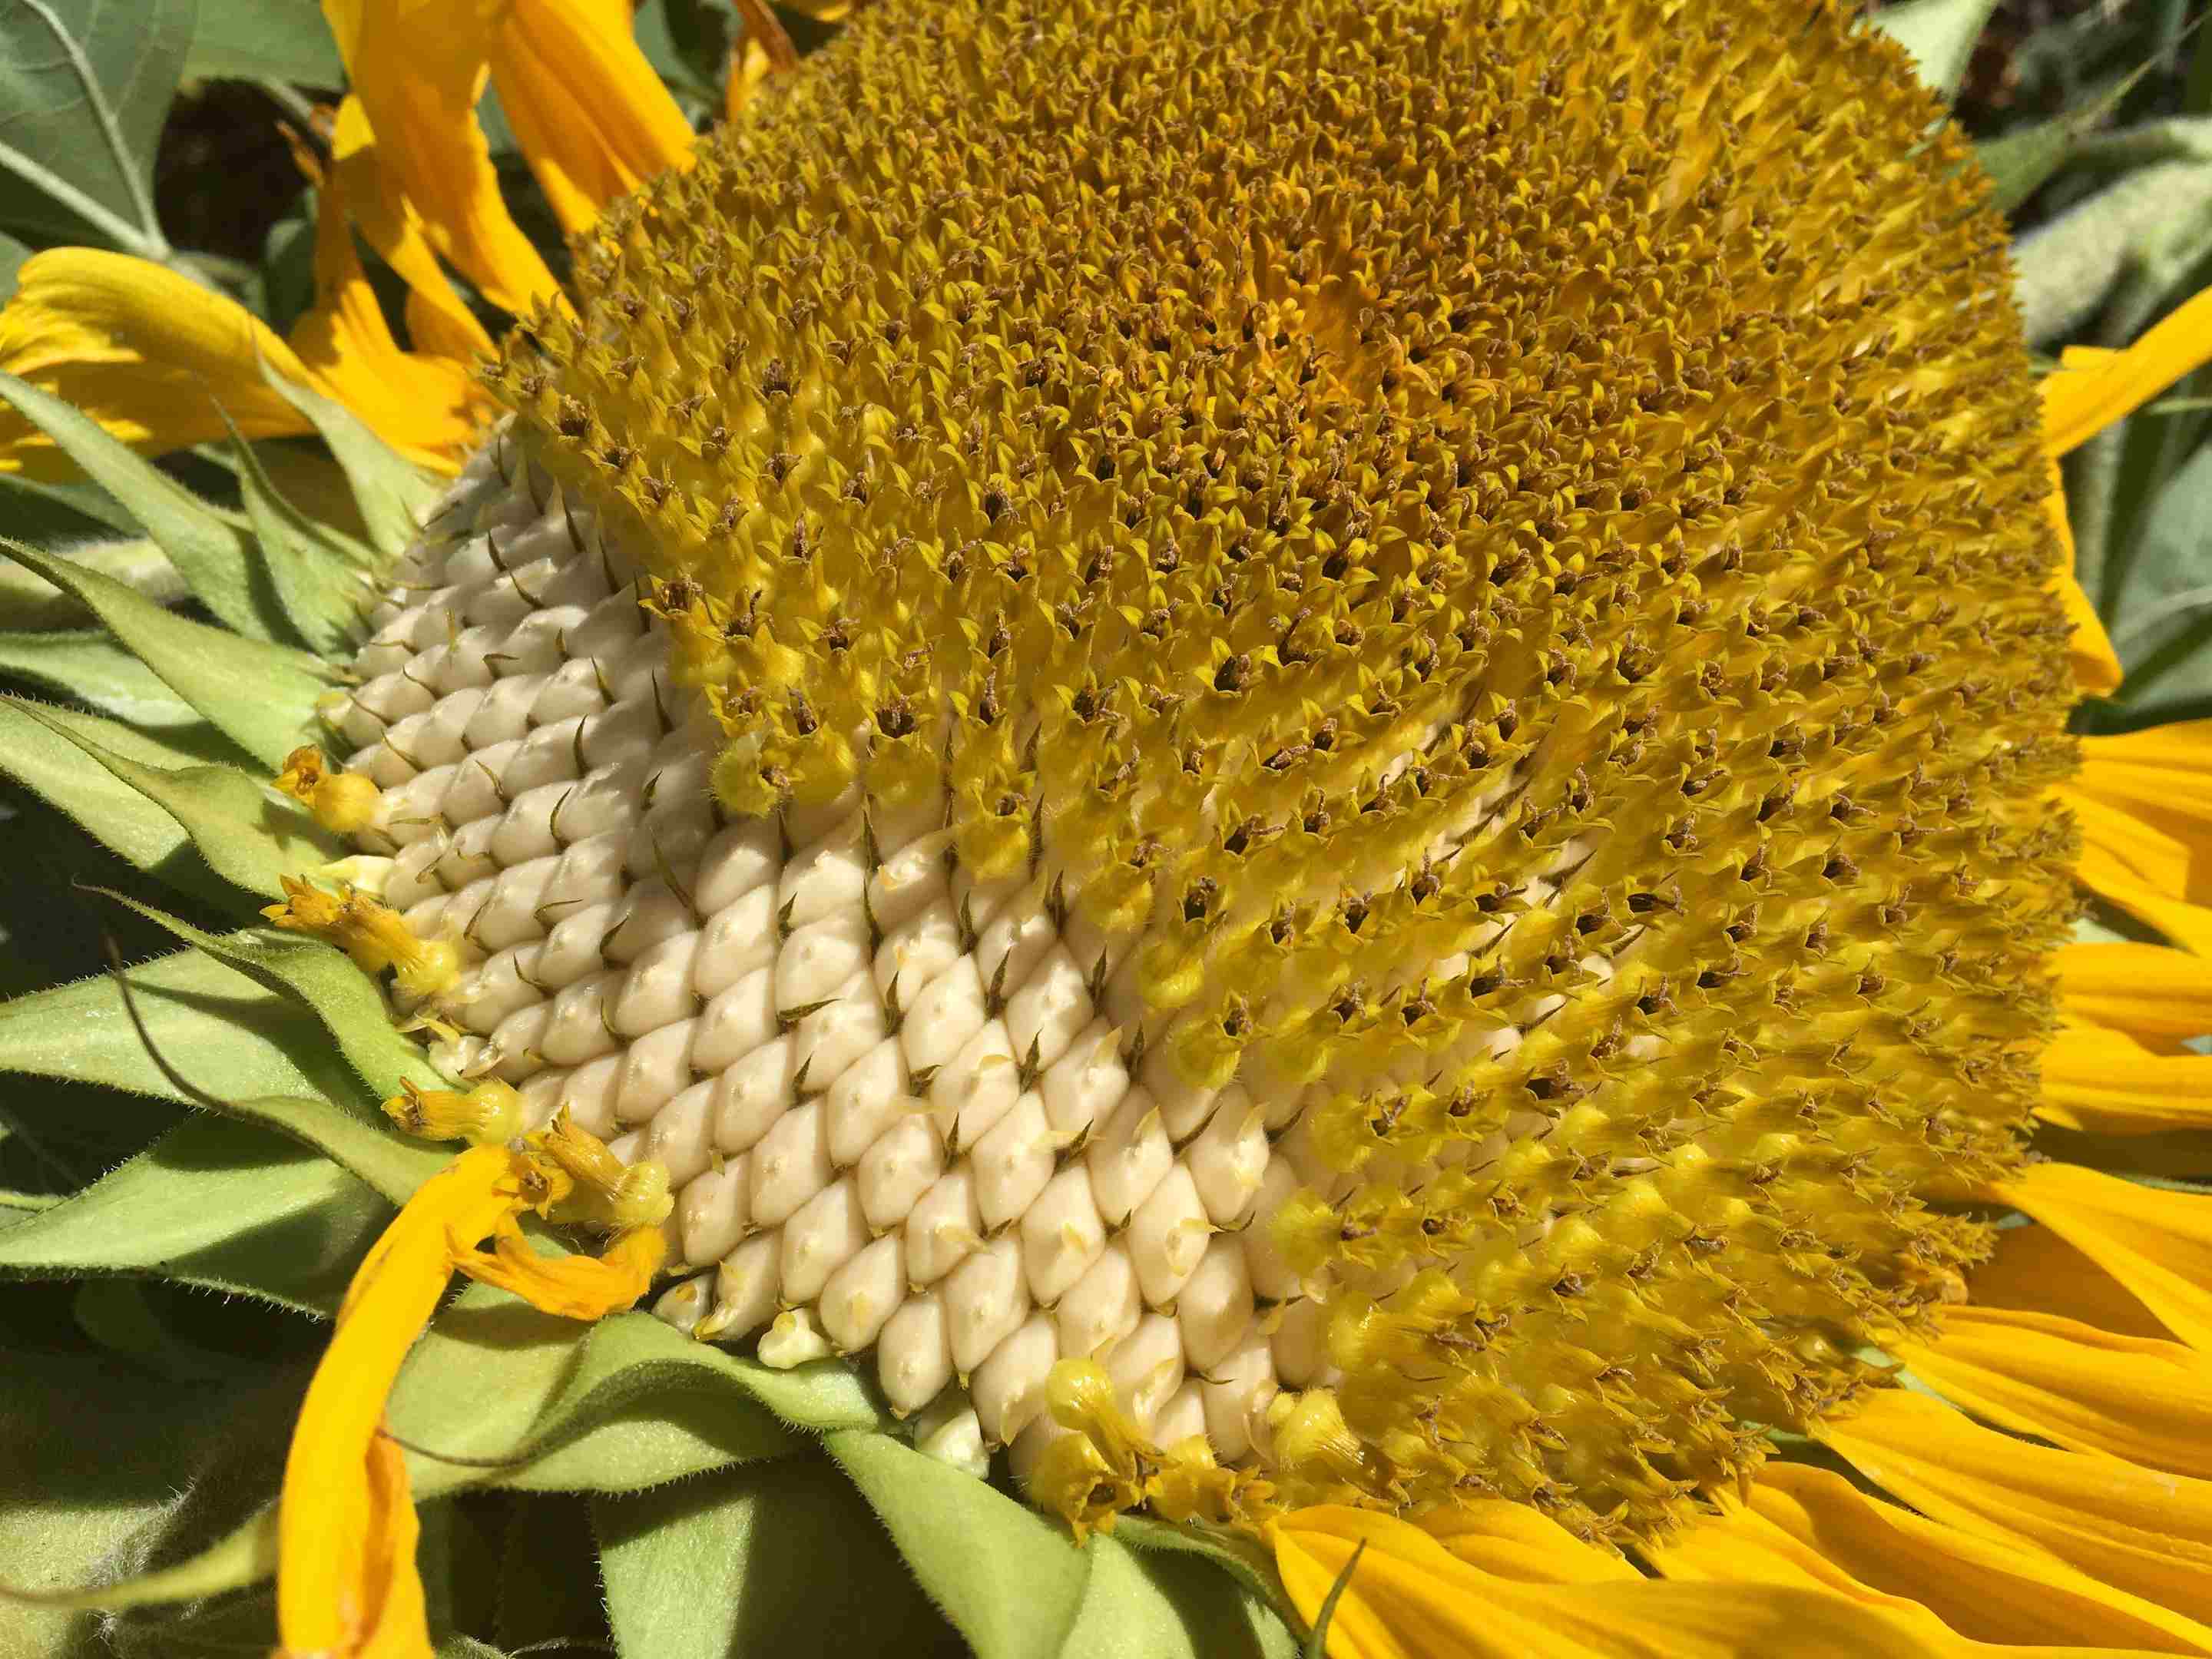
Welcome to the exciting world of indoor gardening! If you’re passionate about ornamental gardening, there’s no better way to get a head start on the season than by planting sunflower seeds indoors. Sunflowers are known for their vibrant colors, beautiful blooms, and cheerful presence, making them a popular choice for gardeners around the world.
Planting sunflower seeds indoors allows you to extend the growing season, especially in areas with shorter summers or cooler climates. It’s a rewarding and fulfilling experience to watch these tiny seeds transform into towering sunflowers, adding a touch of sunshine to your garden.
In this guide, we will walk you through the step-by-step process of planting sunflower seeds indoors. From choosing the right seeds to nurturing them into healthy seedlings, this article will provide you with all the information you need to successfully grow sunflowers indoors. So roll up your sleeves, grab your gardening tools, and let’s get started on this exciting journey!
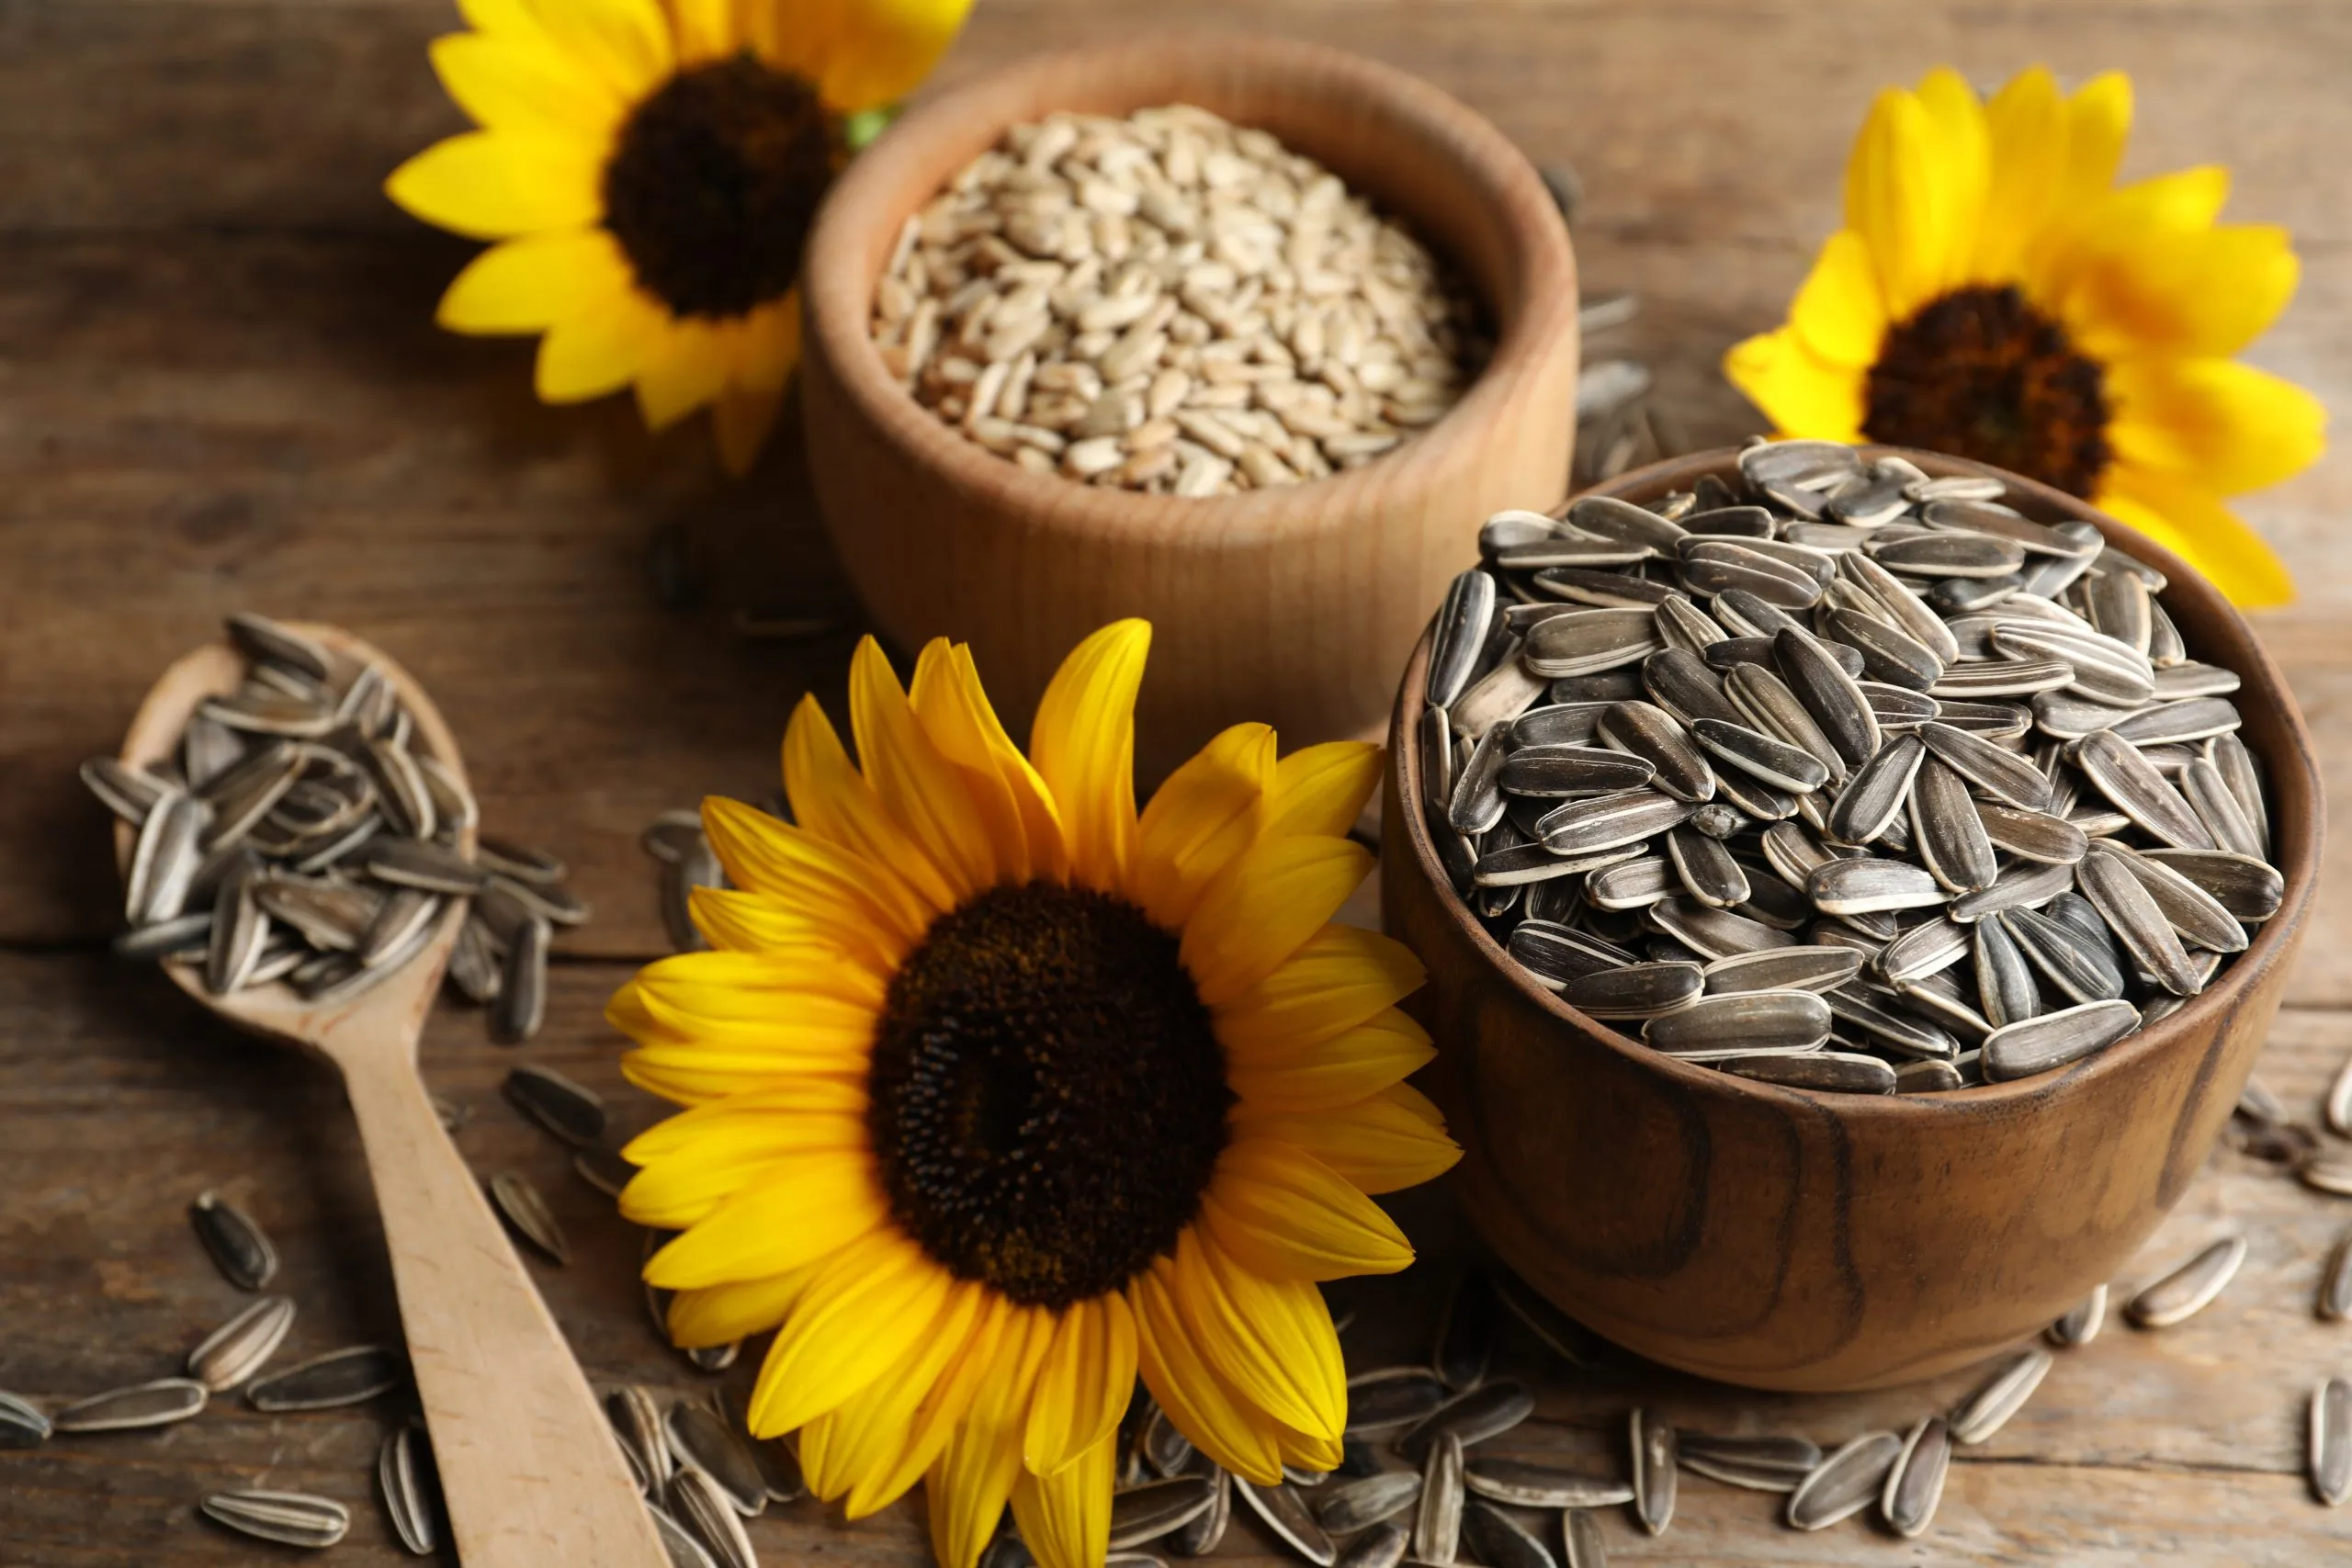
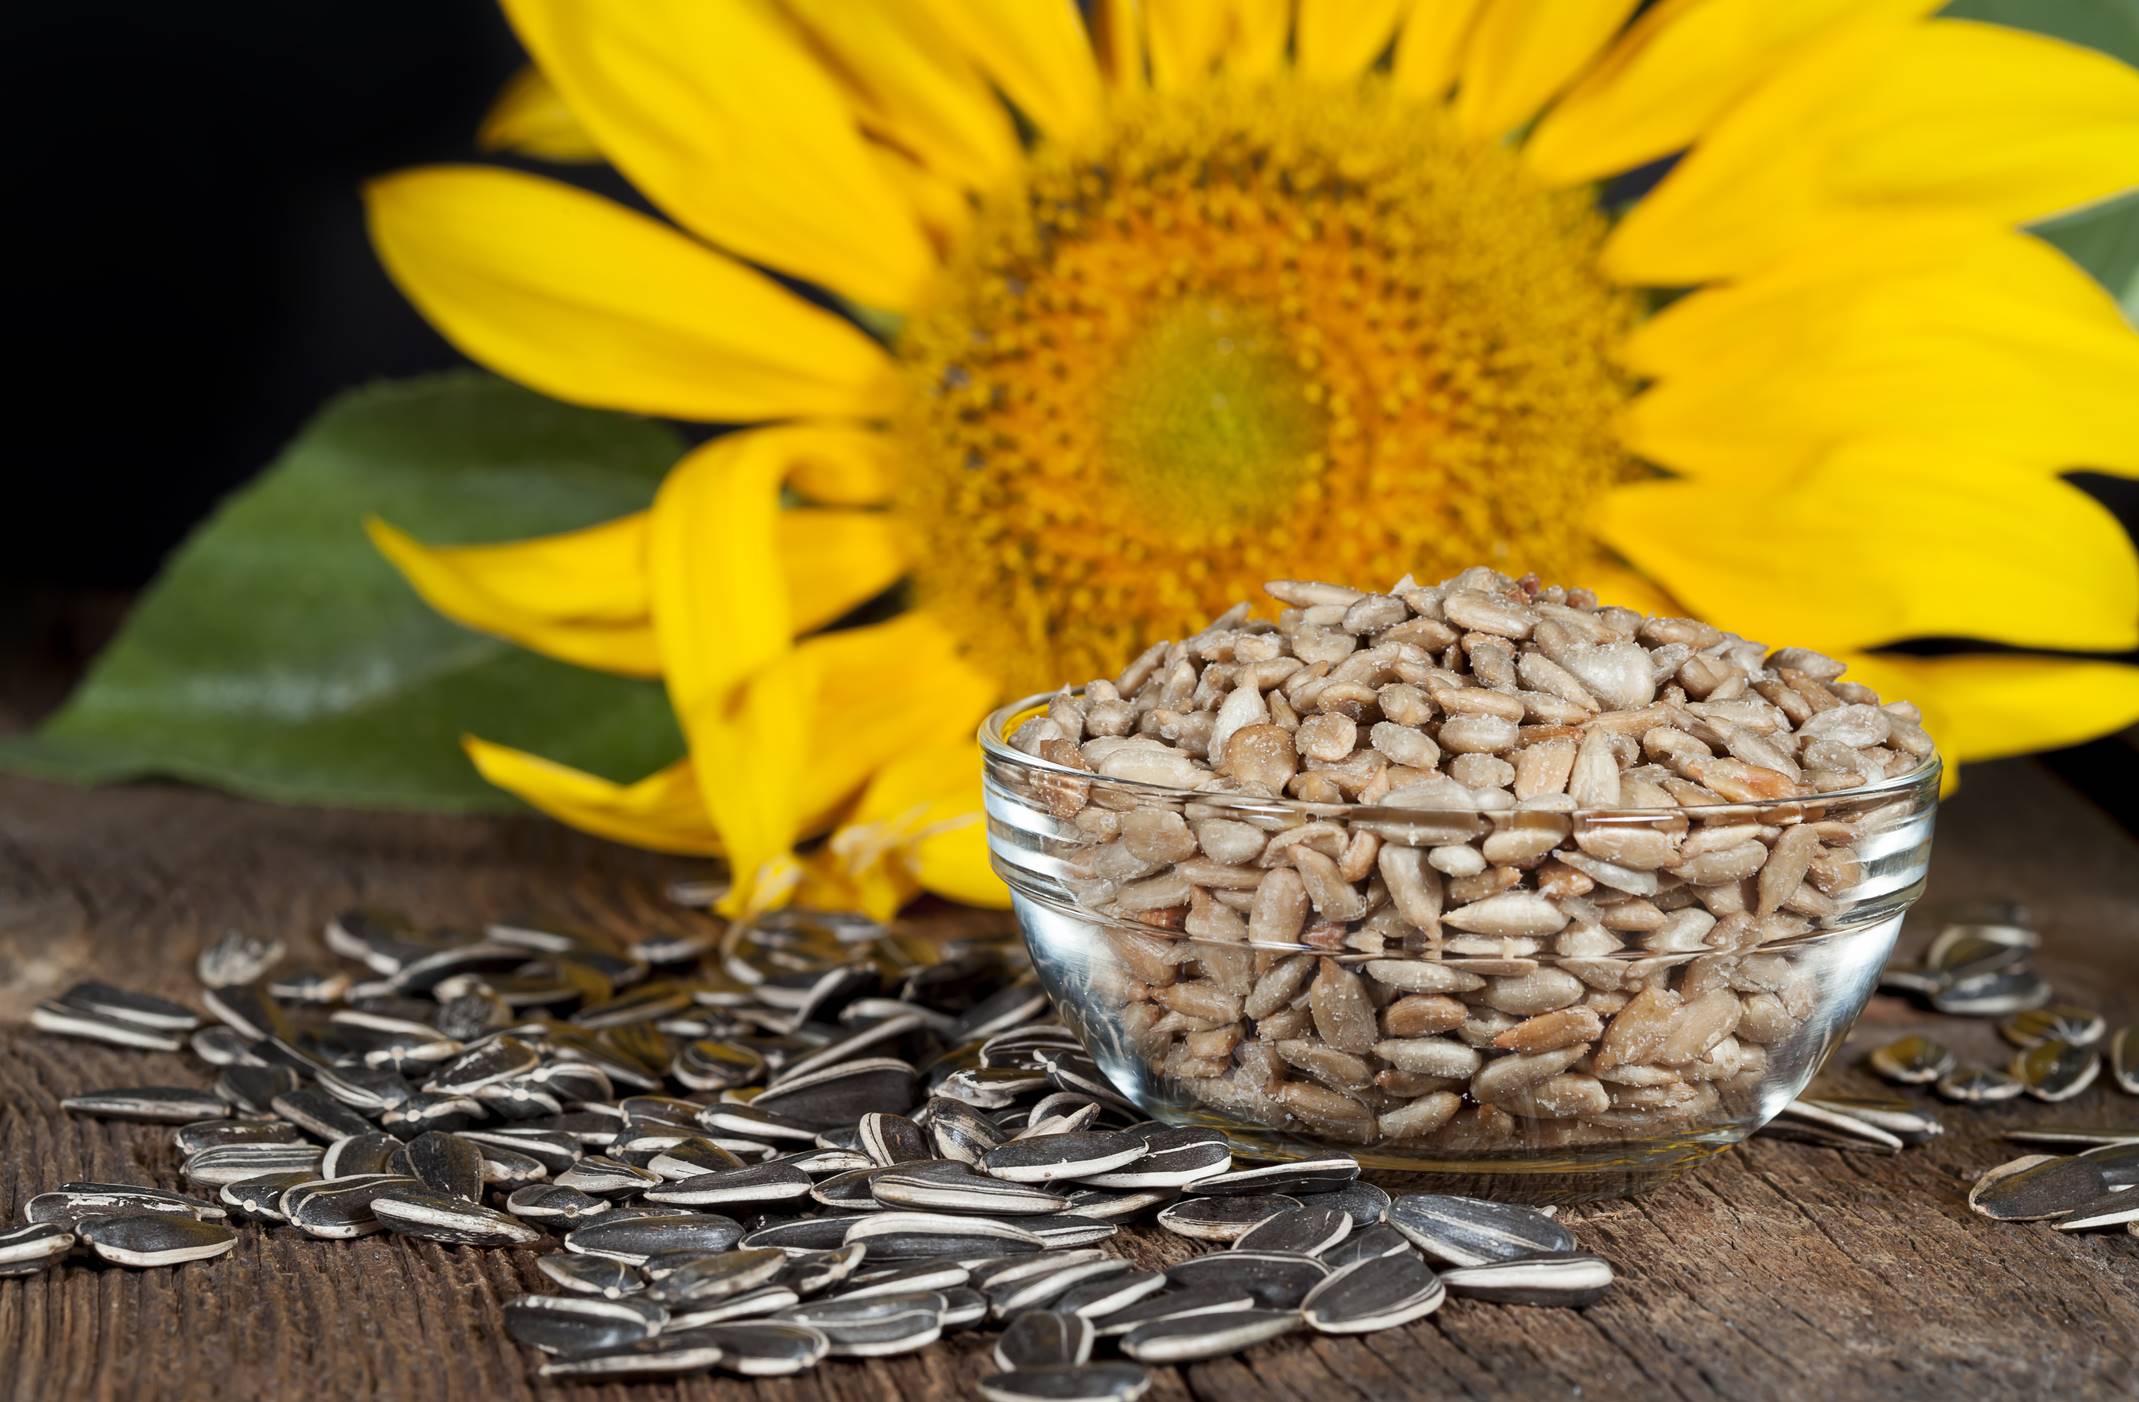
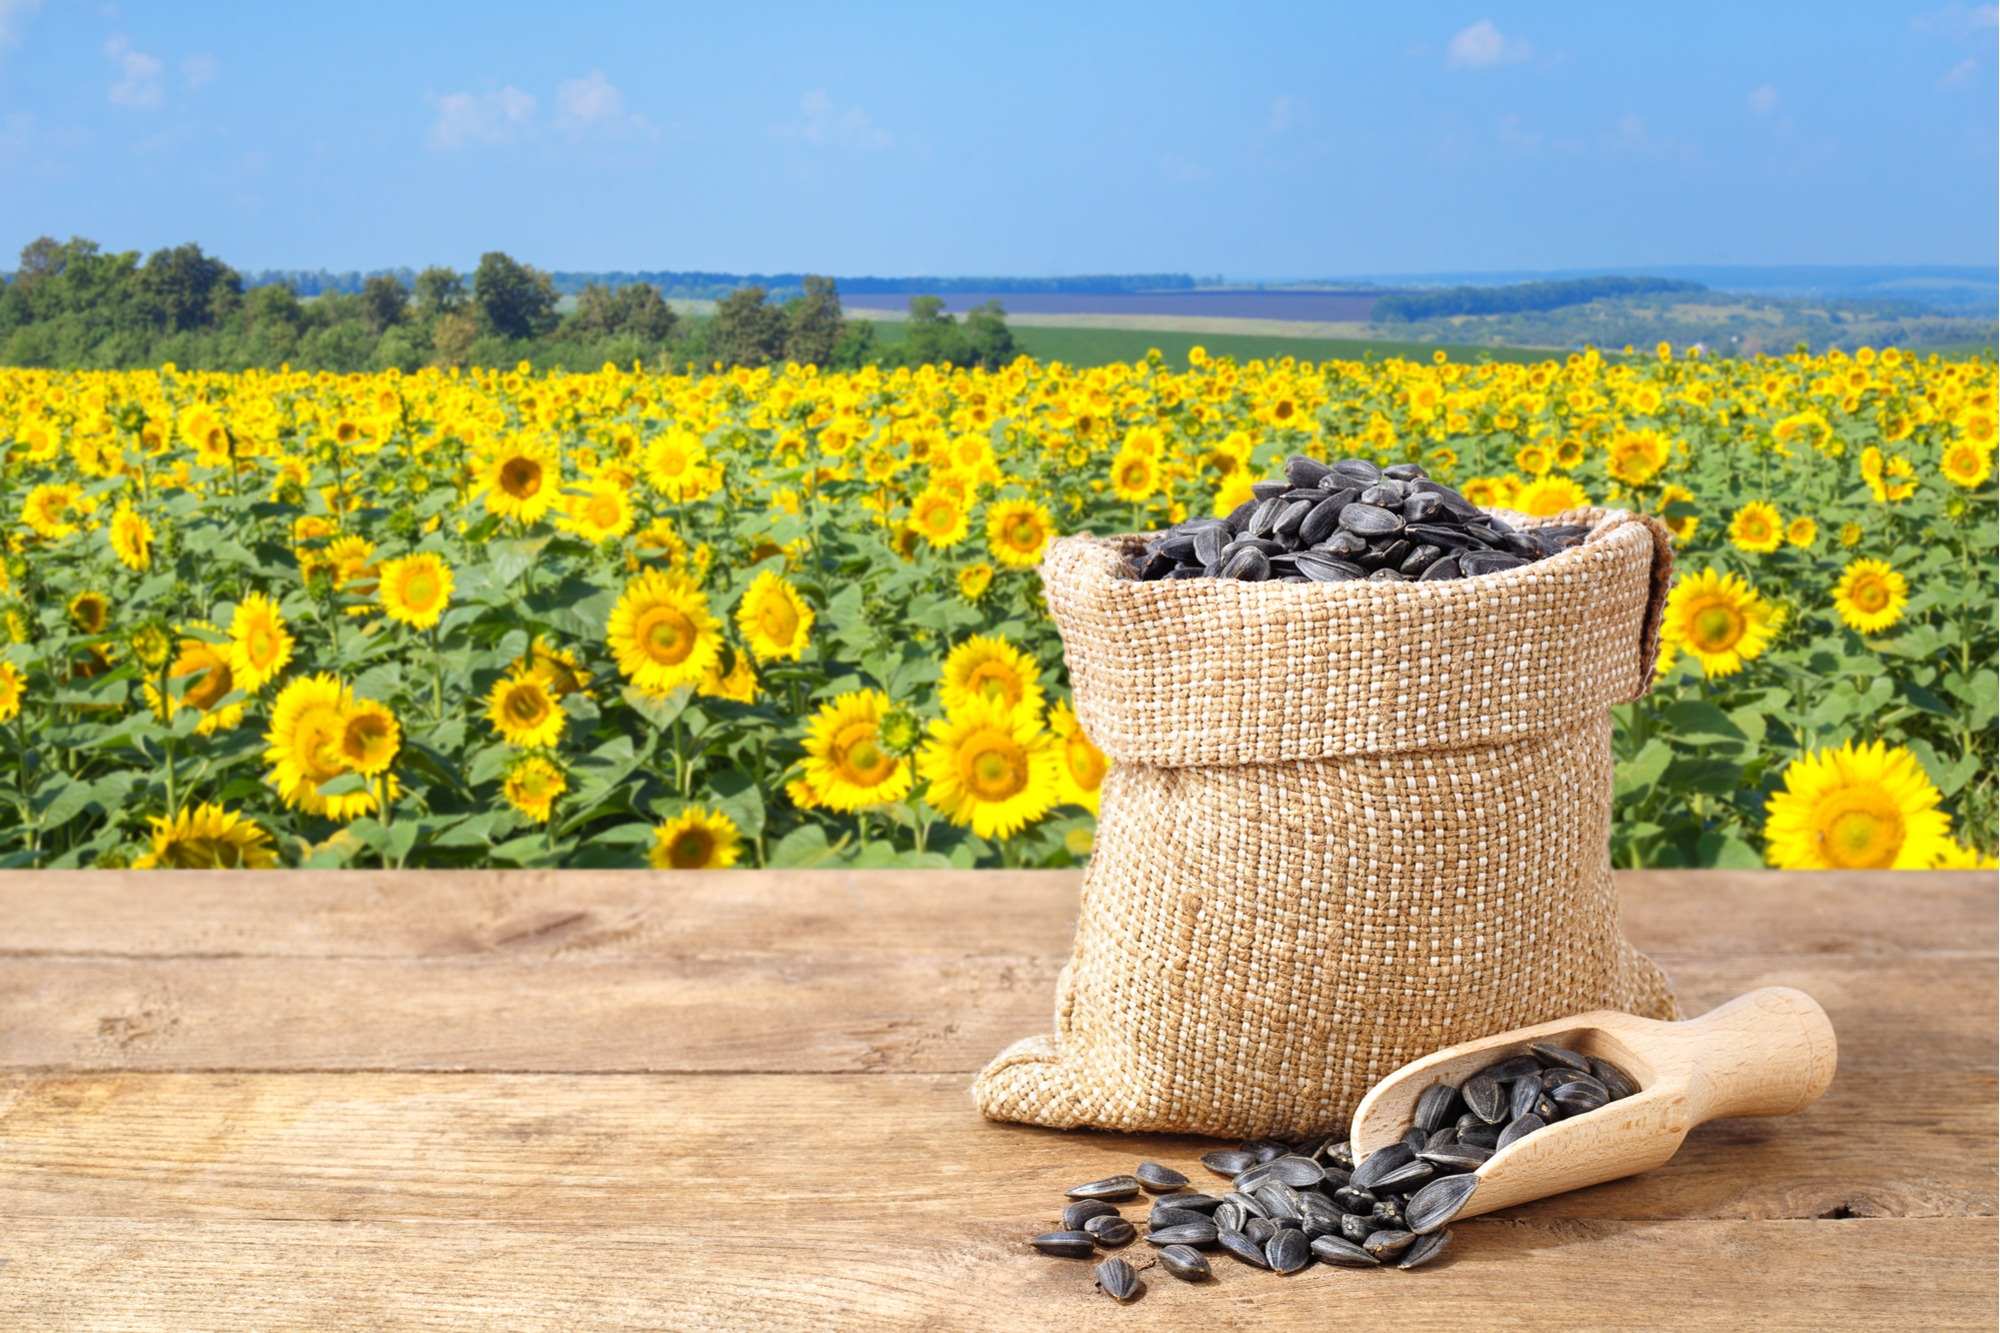
Step 1: Choosing the Right Sunflower Seeds
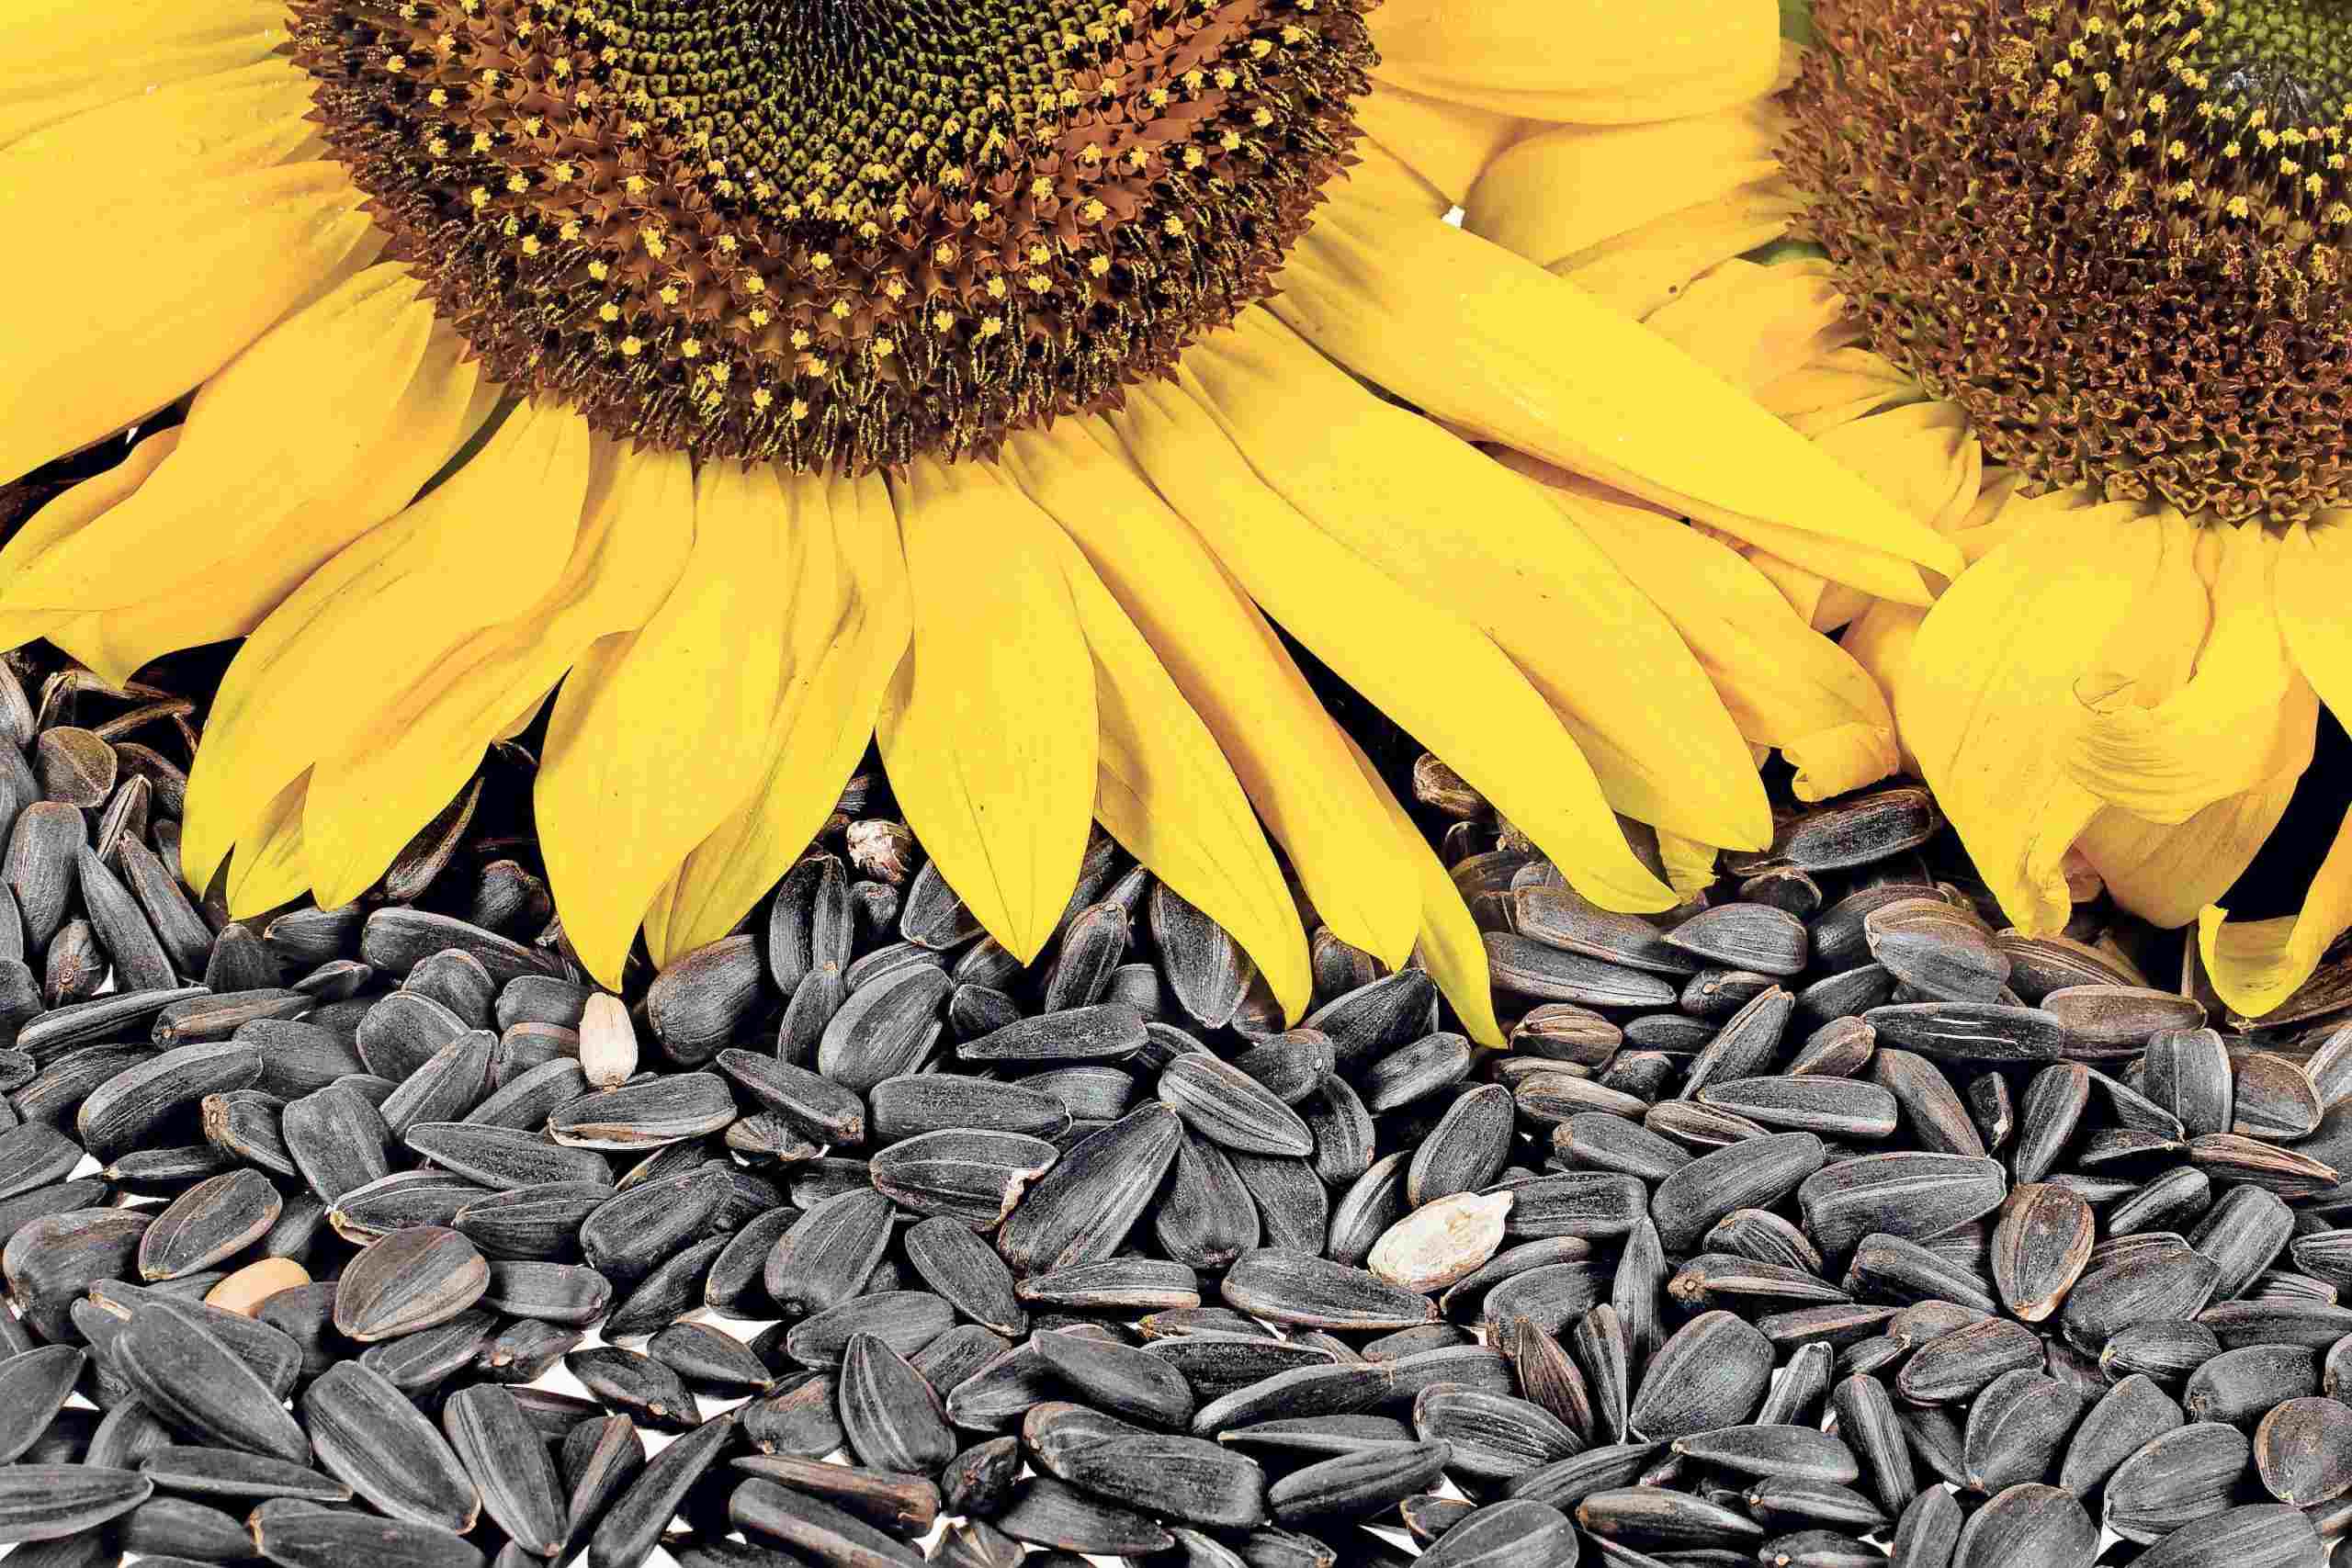
Choosing the right sunflower seeds is essential for a successful indoor gardening experience. With so many varieties available, it’s important to consider factors such as size, color, and growth habit to find the perfect match for your indoor garden. Here are a few tips to help you make the right selection:
- Size: Sunflowers come in various sizes, ranging from dwarf varieties that reach a height of 1-2 feet to giant varieties that can grow up to 15 feet tall. Consider the available space in your indoor garden and choose a size that suits your needs.
- Color: Sunflowers are known for their vibrant yellow and orange blooms, but there are also varieties that have unique colors like red, burgundy, and even bi-colored petals. Think about the color scheme of your indoor space and choose a variety that complements it.
- Growth Habit: Sunflowers can have different growth habits, including branching and non-branching types. Branching varieties produce multiple blooms per stem, while non-branching types have a single large flower. Consider your preference and the space you have available when selecting a growth habit.
- Days to Bloom: Sunflowers have varying days to bloom, ranging from around 50 days to 100 days or more. If you’re looking for quicker results, opt for varieties with a shorter time to bloom.
- Open Pollinated vs. Hybrid: Open-pollinated sunflower seeds produce plants that are true to their parent plant, allowing you to save seeds for future planting. Hybrid seeds, on the other hand, offer specific traits but cannot be replicated from saved seeds. Consider your long-term gardening goals when choosing between open-pollinated and hybrid varieties.
When purchasing sunflower seeds, make sure to buy them from a reputable source to ensure their quality and viability. Look for packaging that provides clear information about the variety, days to bloom, and any specific care requirements.
By taking the time to choose the right sunflower seeds, you’re setting the foundation for a successful indoor gardening experience. The next step is to prepare the planting containers, which we’ll cover in the following section.
Step 2: Preparing the Planting Containers
Now that you’ve selected the perfect sunflower seeds, it’s time to prepare the planting containers. Proper preparation will ensure optimal growing conditions for your sunflower seedlings. Here’s what you need to do:
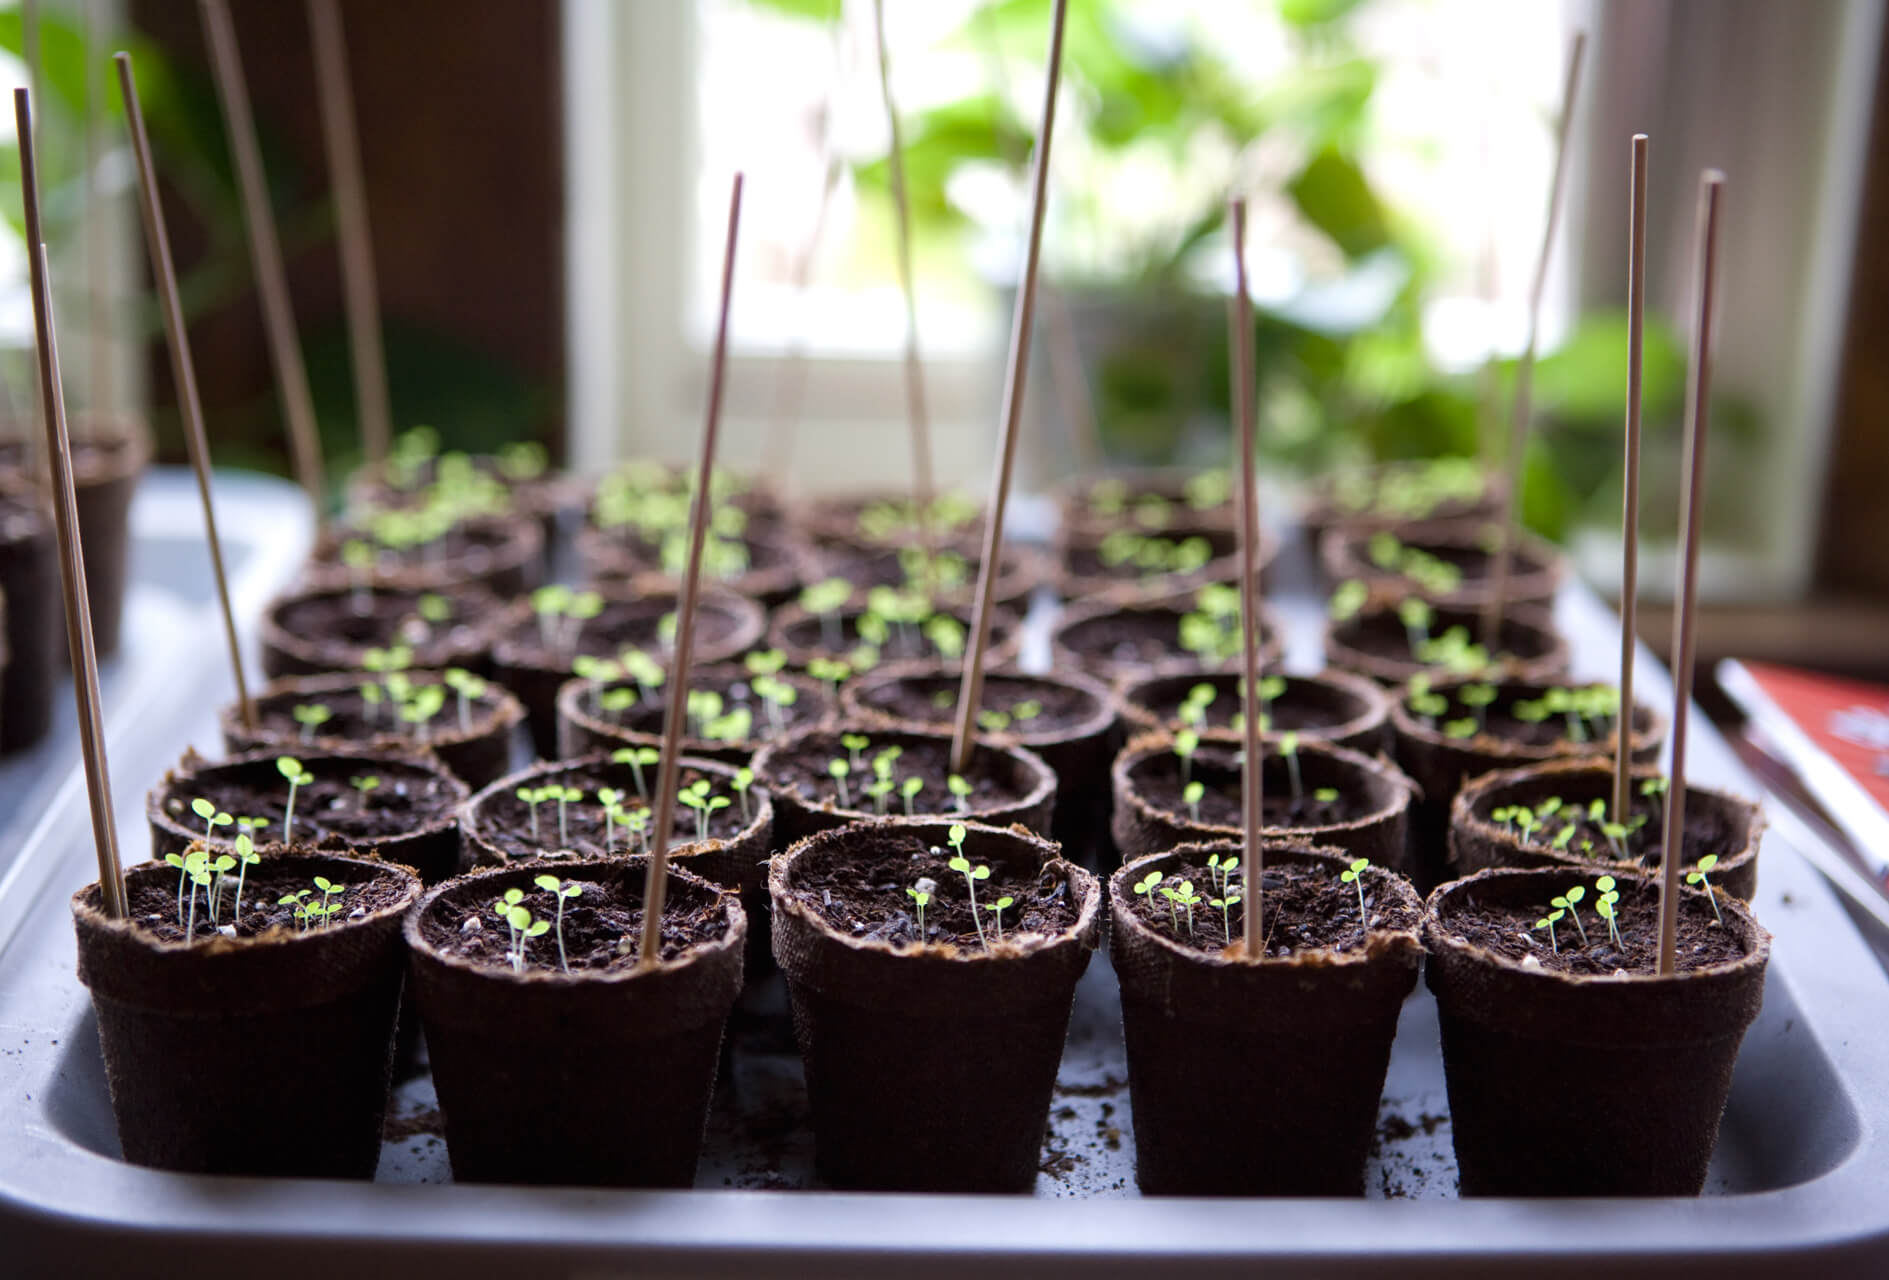
1. Choose the Right Containers: Select containers that are at least 3-4 inches deep and have drainage holes at the bottom to prevent waterlogging. You can use plastic or biodegradable pots, trays, or even recycled containers like yogurt cups or egg cartons. Ensure that the containers are clean and sterilized before use.
2. Fill with Seed Starting Mix: Fill the containers with a quality seed starting mix, which is light, well-draining, and provides a balanced mix of nutrients. Avoid using regular garden soil, as it may be too heavy and can hinder seedling growth. Moisten the seed starting mix before filling the containers.
3. Planting Depth: Sunflower seeds should be planted around 1 inch deep. Create small holes in the seed starting mix with your finger or a dibber, spacing them at least 6 inches apart. Place one seed in each hole and cover it with the mix, gently pressing it down to ensure good seed-to-soil contact.
4. Label the Containers: To keep track of the different sunflower varieties you’re planting, label each container with the variety name and planting date. This will help you monitor their progress and provide specific care as needed.
5. Provide Bottom Heat (Optional): If you want to speed up germination, consider providing bottom heat to the planting containers. You can use a seedling heat mat specifically designed for this purpose. Place the containers on the heat mat, following the manufacturer’s instructions. The gentle warmth will help stimulate faster and more uniform germination.
6. Find the Right Location: Place the containers in a warm and bright location, such as a sunny windowsill or under grow lights. Sunflowers require at least 6-8 hours of direct sunlight each day for healthy growth. Maintain a temperature of around 70°F (21°C) during the day and slightly cooler temperatures at night. Proper lighting and temperature are crucial for the successful development of sunflower seedlings.
After preparing the planting containers, it’s time to plant the sunflower seeds and nurture them into healthy seedlings. We’ll discuss this in the next section.
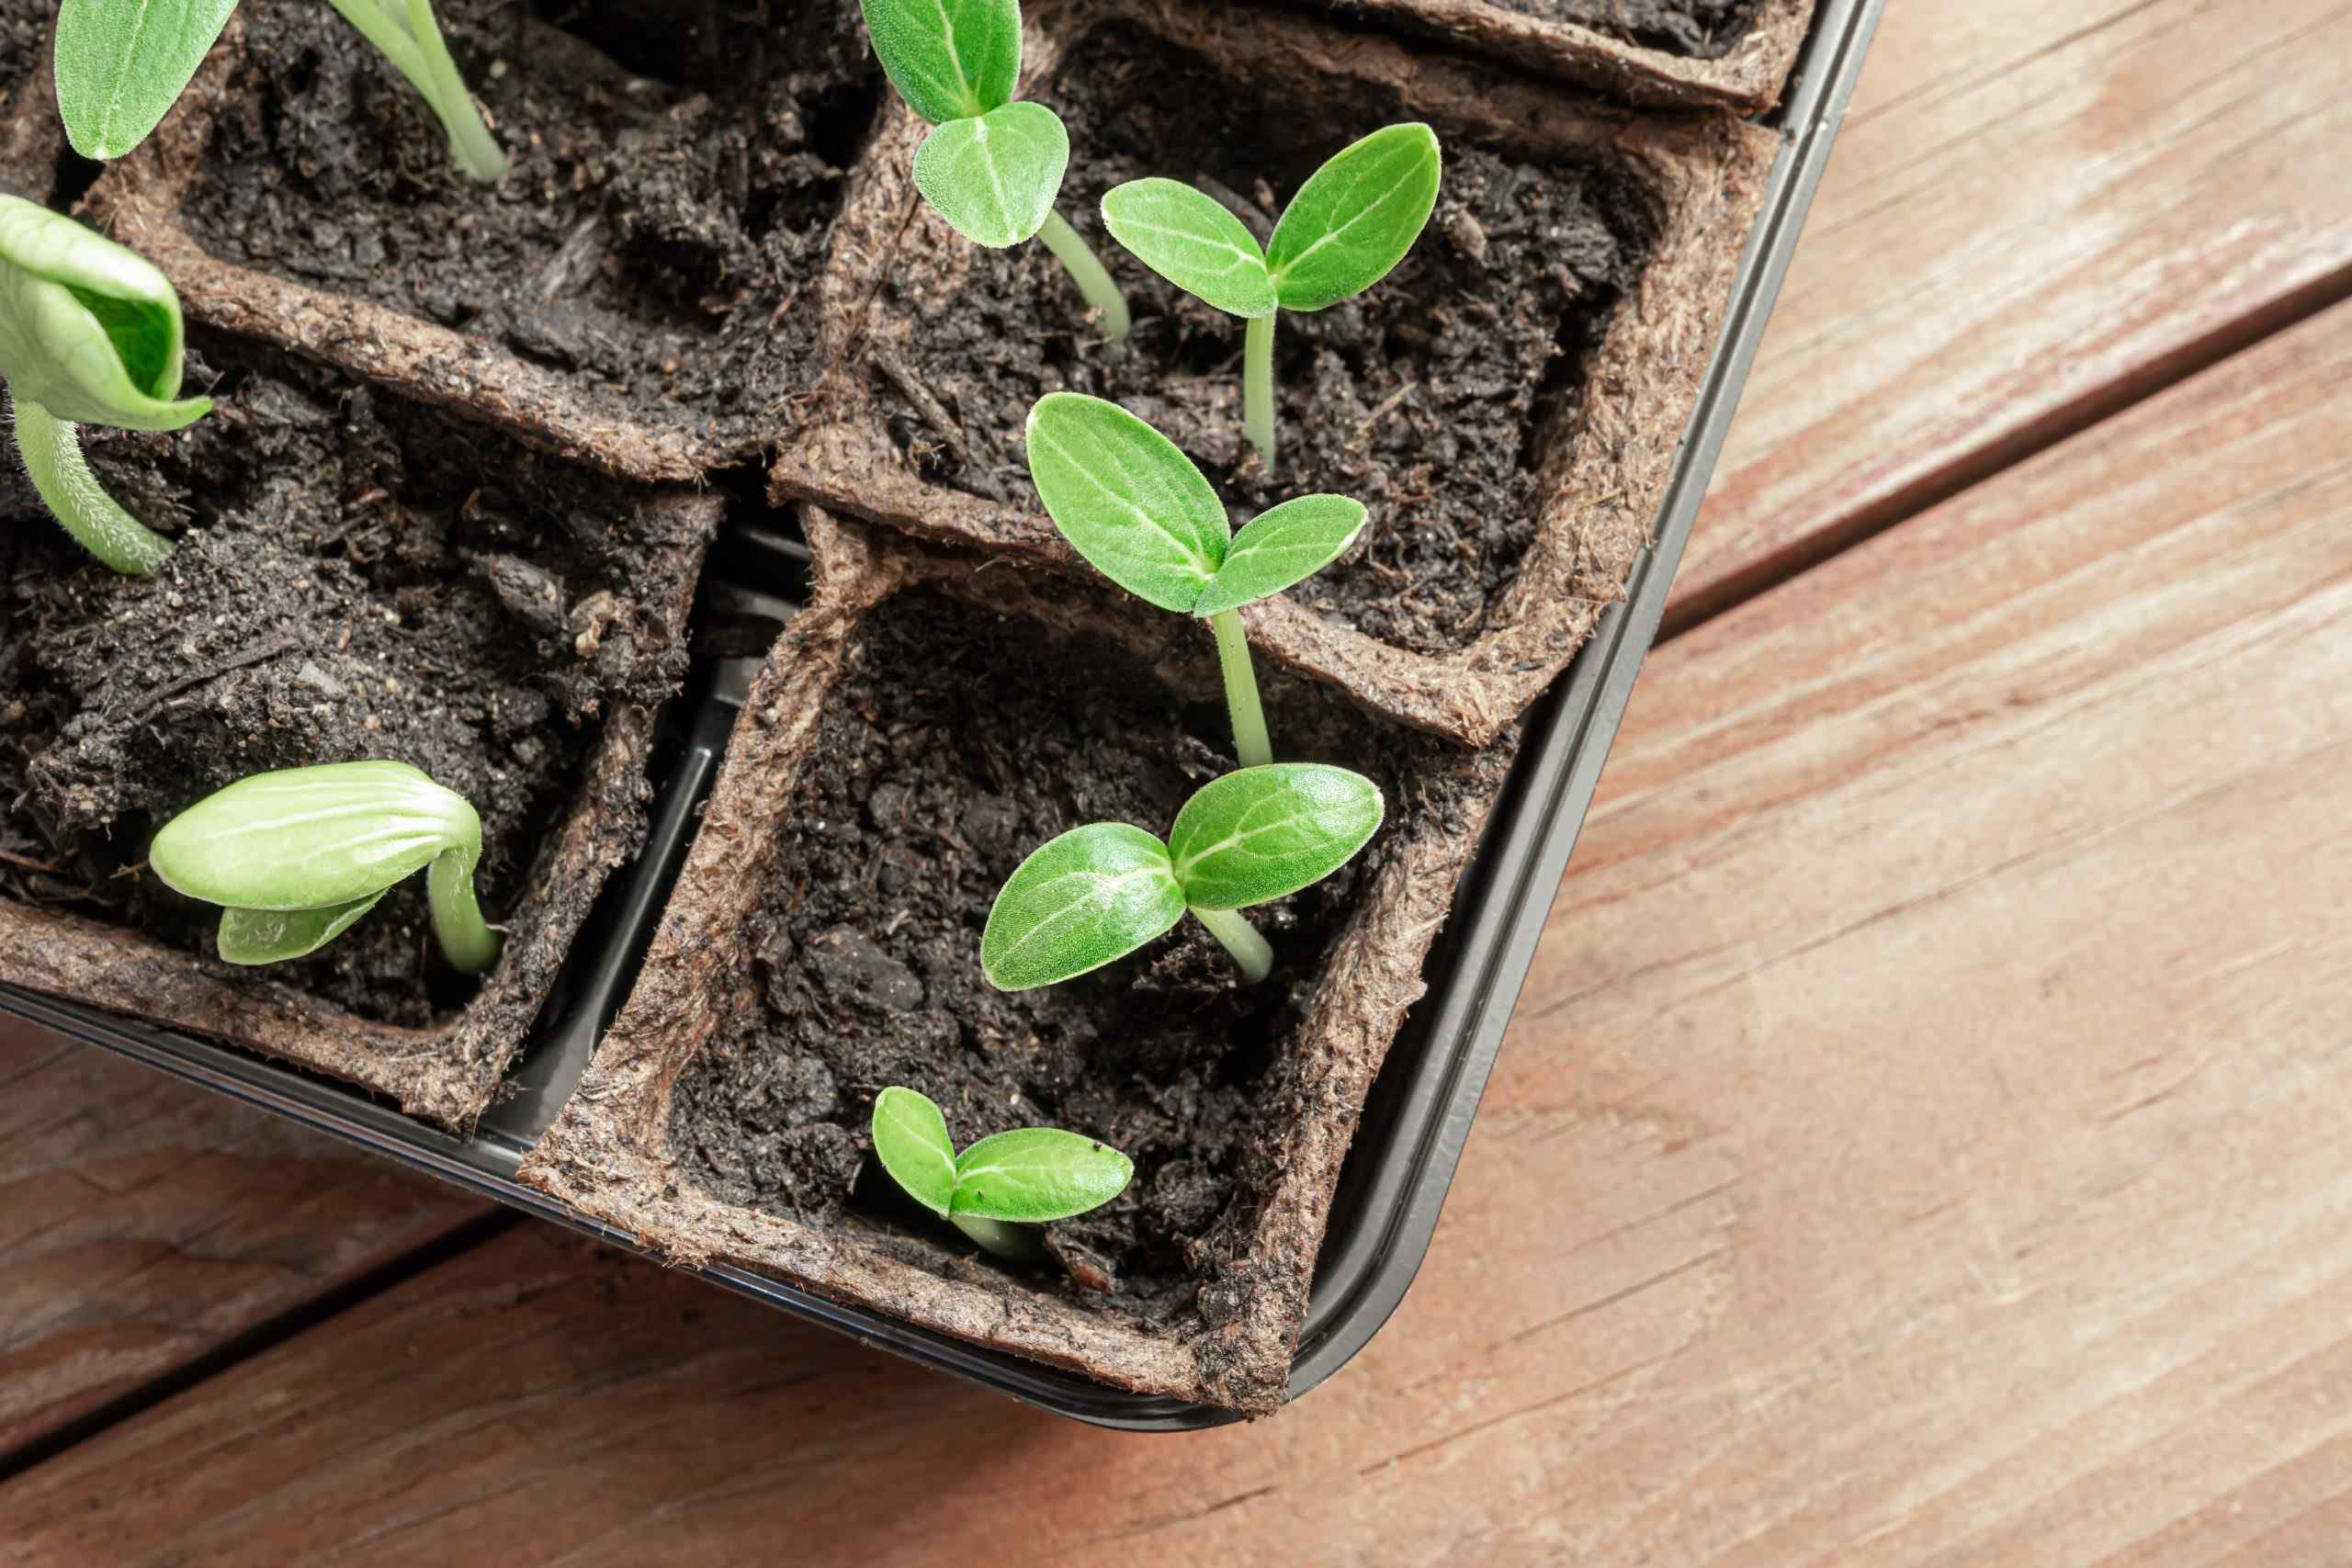
Step 3: Planting the Sunflower Seeds
Now that you have your containers prepared, it’s time to plant the sunflower seeds. Follow these steps to ensure a successful planting:
1. Water the Seed Starting Mix: Before planting the seeds, moisten the seed starting mix in the containers. This will help provide a suitable environment for seed germination.
2. Plant the Seeds: Take each sunflower seed and place it into the pre-made holes in the seed starting mix, ensuring they are spaced at least 6 inches apart. Gently cover the seeds with a thin layer of the mix, pressing it down lightly for good seed-to-soil contact.
3. Mist the Containers: Use a spray bottle to mist the surface of the containers to ensure adequate moisture. Be careful not to overwater, as excessive moisture can lead to fungal diseases or root rot.
4. Cover the Containers (Optional): If desired, you can cover the containers with a plastic dome or a plastic wrap to create a mini greenhouse effect. This will help retain moisture and warmth, promoting quicker and more uniform germination. However, make sure to remove the cover once the seedlings start to emerge to prevent excessive humidity and mold formation.
5. Maintain Moisture: Keep the seed starting mix consistently moist but not soggy. Check the moisture levels regularly and water whenever the top inch of the mix feels dry. Avoid waterlogging, as it can lead to seedling damping-off, a common fungal disease.
6. Provide Proper Lighting: Sunflowers are sun-loving plants, so it’s crucial to provide them with adequate light. Place the containers in a bright location with at least 6-8 hours of direct sunlight each day. If natural light is limited, you can supplement it with fluorescent grow lights positioned a few inches above the seedlings.
7. Monitor Germination: Sunflower seeds typically germinate within 7-10 days. Keep an eye on the containers and monitor the emergence of the seedlings. Once they start to emerge, remove any covers and continue providing the necessary care.
By carefully planting the sunflower seeds and providing the ideal growing conditions, you’ll soon see tiny green sprouts emerge from the seed starting mix. In the next step, we’ll discuss how to provide the necessary light and temperature for the seedlings’ healthy growth.
Step 4: Providing the Necessary Light and Temperature
As your sunflower seedlings continue to grow, it’s crucial to provide them with the right amount of light and maintain the appropriate temperature. Here’s how you can ensure optimal conditions for their healthy growth:
1. Light Requirements: Sunflowers are sun-loving plants and require at least 6-8 hours of direct sunlight each day. Place the containers in a sunny location, such as a south-facing window or under grow lights. If using artificial lights, position them a few inches above the seedlings and keep them on for 12-16 hours each day.
2. Monitor Temperature: Sunflower seedlings thrive in warm temperatures. During the day, maintain a temperature around 70°F (21°C) and slightly cooler temperatures at night. Avoid exposing the seedlings to extreme heat or cold drafts, as it can stress or damage the plants.
3. Rotate the Containers: To ensure even growth and prevent the seedlings from leaning towards the light source, rotate the containers every few days. This will promote straight and sturdy stems.
4. Maintain Adequate Air Circulation: Good air circulation is important to prevent fungal diseases and promote healthy growth. Avoid overcrowding the containers and provide ample space between them. You can also lightly run a fan in the room to enhance air movement.
5. Monitor for Signs of Stress: Keep a close eye on the seedlings for any signs of stress, such as yellowing leaves, stunted growth, or wilting. Adjust the light intensity or temperature accordingly to ensure the optimal conditions for their well-being.
6. Harden Off the Seedlings: Before transplanting the seedlings outdoors, it’s essential to gradually acclimate them to the outdoor conditions. This process, known as hardening off, involves exposing the seedlings to outdoor elements like sunlight, wind, and fluctuating temperatures for a few hours each day. Start with short periods of outdoor exposure and gradually increase the duration over the course of a week.
By providing the necessary light and maintaining the appropriate temperature, you will help your sunflower seedlings grow strong and healthy. In the next step, we’ll discuss the proper watering and fertilizing techniques to ensure their optimal nutrition and hydration.
Step 5: Watering and Fertilizing the Seedlings
Proper watering and fertilizing are essential for the healthy growth of sunflower seedlings. Here’s what you need to know to provide them with the right amount of hydration and nutrition:
1. Watering: Keep the soil evenly moist but not saturated. Check the moisture level regularly by inserting your finger into the soil about an inch deep. If it feels dry, it’s time to water. Use a watering can or spray bottle to gently water the seedlings, avoiding excessive splashing or forceful streams. Water at the base of the plants to prevent wetting the foliage, as it can increase the risk of fungal diseases.
2. Drainage: Ensure that the containers have drainage holes to allow excess water to escape. This will prevent waterlogging, which can lead to root rot. If the containers don’t have drainage holes, you can place a layer of gravel or small rocks at the bottom to improve drainage.
3. Fertilizing: Sunflower seedlings benefit from a balanced fertilizer to support their growth. Once the seedlings have their first set of true leaves (around 2-3 weeks after germination), you can start fertilizing them. Use a slow-release organic fertilizer or a diluted liquid fertilizer, following the package instructions for the appropriate dosage. Apply the fertilizer every 2 to 3 weeks to provide a steady supply of nutrients.
4. Avoid Over-fertilizing: While fertilizing is important, be cautious not to over-fertilize the seedlings. Excessive fertilization can lead to nutrient burn or nutrient imbalances, affecting the health of the plants. Always follow the recommended dosage and avoid applying fertilizer to dry soil.
5. Nutrient Deficiency: Keep an eye out for any signs of nutrient deficiency, such as yellowing leaves or stunted growth. If observed, you can supplement with a liquid fertilizer rich in the specific nutrient lacking, such as nitrogen, phosphorus, or potassium. However, it’s important to diagnose the issue accurately before applying any additional fertilizers.
6. Maintain Consistency: Consistency is key when it comes to watering and fertilizing. Aim for a regular schedule to provide the seedlings with a stable environment. Avoid allowing the soil to dry out completely or letting it become overly wet for prolonged periods.
By following these watering and fertilizing guidelines, you’ll ensure that your sunflower seedlings receive the right amount of moisture and nutrients needed for healthy growth. In the next step, we’ll discuss how to transplant the seedlings outdoors for them to reach their full potential.
Step 6: Transplanting the Seedlings Outdoors
After nurturing your sunflower seedlings indoors, it’s time to transplant them outdoors to their permanent growing location. Follow these steps to ensure a successful transition:
1. Choose the Right Time: Transplant your sunflower seedlings outdoors when all threat of frost has passed and the soil temperature has warmed up. Sunflowers thrive in warm weather, so wait until the temperatures consistently stay above 50°F (10°C) before transplanting.
2. Prepare the Outdoor Location: Select a location that receives full sun for at least 6-8 hours a day. The soil should be well-draining, rich in organic matter, and slightly acidic to neutral pH. Prepare the soil by removing any weeds or debris and loosening it with a garden fork or tiller.
3. Dig the Planting Hole: Dig a hole in the prepared soil that is slightly larger than the root ball of the seedling. The hole should be deep enough to accommodate the entire root system without damaging or bending the roots.
4. Transplanting: Gently remove the seedling from its container, being careful not to disturb the roots. Place the seedling in the planting hole and backfill with soil, ensuring that the crown of the seedling is level with the surrounding soil. Firmly press the soil around the base of the plant to remove any air pockets.
5. Spacing: Space the sunflower seedlings at least 12-18 inches apart to allow adequate airflow and prevent congestion as they grow. This spacing will also ensure that each sunflower has enough room to spread its roots and receive ample sunlight.
6. Watering: After transplanting, give the seedlings a thorough watering to help them settle into their new environment. Water at the base of the plants, avoiding wetting the leaves. Continue to water regularly, ensuring that the soil stays evenly moist but not waterlogged.
7. Mulching: Apply a layer of organic mulch around the base of the sunflower seedlings. Mulching helps conserve soil moisture, suppress weed growth, and maintain a more stable soil temperature. Leave a gap between the mulch and the stems to prevent moisture-related issues.
8. Provide Support (Optional): If you’re growing tall or branching sunflower varieties, consider providing support to prevent them from toppling over during wind or rain. Install stakes or plant support cages near the seedlings and gently attach them with twine or soft ties as they grow taller.
9. Monitor and Maintain: Keep a close eye on the transplanted seedlings and provide regular care. Water as needed, remove any weeds or competing plants, and monitor for pests or diseases. Proper maintenance will ensure the sunflowers thrive and reach their full potential.
Transplanting seedlings outdoors is an exciting step towards enjoying the majestic beauty of sunflowers in your garden. With proper care and attention, your sunflower plants will flourish and reward you with their stunning blooms.+
Conclusion
Congratulations! You have successfully learned how to plant sunflower seeds indoors and nurture them into healthy seedlings ready for transplantation. By following the step-by-step process outlined in this guide, you have set the stage for a vibrant and bountiful sunflower garden. From choosing the right sunflower seeds to providing the necessary light, temperature, water, and nutrients, each step was crucial in ensuring the optimal growth of your sunflower seedlings.
Remember to continue monitoring and maintaining your sunflower plants as they grow and bloom. Regular watering, fertilizing, and proper pest and disease management will help your sunflowers thrive and reach their fullest potential. Be sure to provide any necessary support for tall or branching varieties to ensure their stability in windy conditions.
As your sunflowers continue to grow, you’ll witness the beauty of their vibrant blooms filling your outdoor space with color and joy. Sunflowers attract pollinators like bees and butterflies, adding a lively and dynamic element to your garden. Whether you use them as ornamental features, cut flowers, or food sources for wildlife, sunflowers are a versatile and delightful addition to any garden.
Remember, gardening is a journey that requires patience and care. Embrace the joy of watching your sunflowers grow from tiny seeds to towering beauties that reach for the sun. Take pride in knowing that your indoor gardening efforts have made it possible to enjoy the beauty of sunflowers even in areas with shorter growing seasons or limited outdoor space.
So gather your gardening tools, select your favorite sunflower varieties, and embark on this rewarding journey of growing sunflowers indoors. Get ready to witness the magic of nature unfold as your sunflower seeds transform into majestic blooms, bringing sunshine and happiness to any garden or space they grace.