Home>Types of Gardening>Ornamental Gardening>How To Plant Sunflowers?

Ornamental Gardening
How To Plant Sunflowers?
Modified: January 22, 2024
Learn how to plant sunflowers in your ornamental garden with our step-by-step guide. Discover the secrets to growing vibrant and beautiful sunflowers effortlessly.
(Many of the links in this article redirect to a specific reviewed product. Your purchase of these products through affiliate links helps to generate commission for Chicagolandgardening.com, at no extra cost. Learn more)
Table of Contents
Introduction
Welcome to the wonderful world of ornamental gardening! If you’re looking to add beauty and vibrancy to your outdoor space, planting sunflowers is an excellent choice. Known for their stunning size and vibrant colors, sunflowers are a popular choice among gardeners of all levels of experience.
But how exactly do you plant sunflowers? In this article, we will guide you through the step-by-step process of planting and caring for these magnificent flowers.
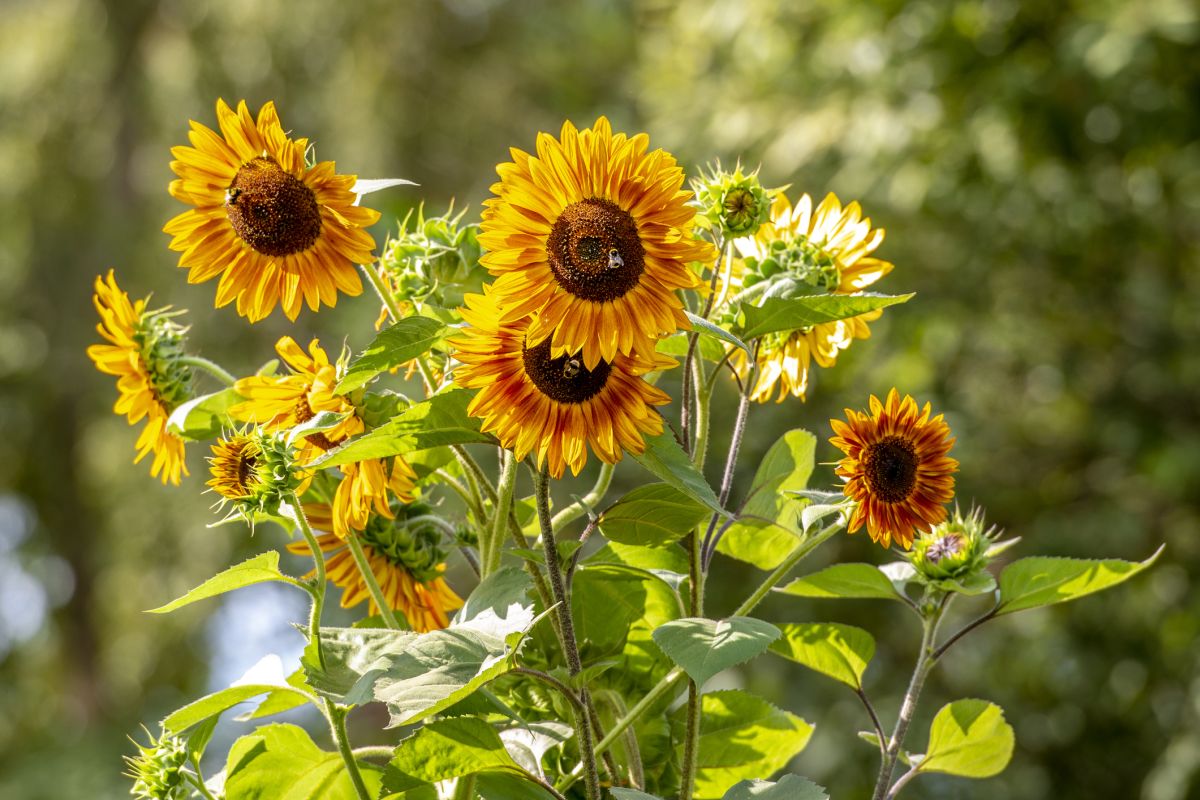
Sunflowers (scientifically known as Helianthus annuus) are native to North America and are beloved for their tall stems, large flower heads, and bright yellow petals. They can reach impressive heights of up to 10 feet or more, making them an eye-catching addition to any garden or landscape.
Not only are sunflowers visually stunning, but they also provide a host of benefits to your garden. Their broad, green leaves create a natural canopy, providing shade and blocking out weeds. Sunflowers are also known to attract beneficial insects, such as bees and butterflies, which aid in pollination. Additionally, sunflower seeds are a source of food for birds, so you may even attract some feathered friends to your garden with these cheerful flowers.
Whether you are a seasoned gardener or a beginner, planting sunflowers is a rewarding and relatively straightforward process. By following a few simple steps, you can enjoy the beauty of these radiant flowers in your own backyard.
In the next sections, we will walk you through the process of selecting the right sunflower seeds, choosing an ideal location, preparing the soil, planting the seeds, and caring for your sunflowers until harvest. So, get ready to roll up your sleeves and embark on an exciting gardening adventure!
Step 1: Selecting Sunflower Seeds
Before you begin planting sunflowers, it’s crucial to choose the right seeds. Here are a few key factors to consider when selecting sunflower seeds:
- Variety: Sunflowers come in a wide range of varieties, each with its own unique characteristics. Some popular varieties include the giant sunflower, dwarf sunflower, and multi-colored sunflower. Determine the type of sunflower you prefer based on its size, color, and growth habit.
- Seed Quality: Look for high-quality seeds from reputable suppliers or nurseries. Ensure that the seeds are fresh and disease-free. It’s a good idea to check the expiration date on the seed packet to ensure optimal germination rates.
- Maturity Time: Consider the maturity time of the sunflower variety you choose. Some sunflowers mature within 70-90 days, while others may take longer. Keep in mind that the maturity time will impact the timing of your planting and harvesting.
- Planting Purpose: Determine your planting purpose. If you want sunflowers solely for their ornamental value, select varieties with vibrant colors and large flower heads. However, if you plan to harvest the seeds for consumption or bird feed, choose varieties with larger seed heads.
Once you have identified the type of sunflower you want to grow and have obtained the seeds, you’re ready to move on to the next step: choosing an ideal location.
Step 2: Choosing an Ideal Location
The success of your sunflower growth largely depends on selecting the right location for planting. Here are some considerations when choosing an ideal location:
- Sunlight: Sunflowers thrive in full sun, so choose a location that receives at least 6-8 hours of direct sunlight each day. This ensures optimal growth and flower production.
- Soil Quality: Sunflowers prefer well-draining soil with a pH level between 6.0 and 7.5. They can tolerate a wide range of soil types, including sandy, loamy, or clay soils. Before planting, test the soil and amend it with organic matter, such as compost, if necessary.
- Wind Protection: Consider the wind patterns in your area. Sunflowers have long stalks and large flower heads, making them susceptible to damage from strong winds. Planting sunflowers near a fence, wall, or other structures can provide some wind protection.
- Space Availability: Take into account the space requirements of the sunflowers you are planting. Most sunflower varieties need adequate space for proper growth and to avoid overcrowding. Plant them at least 1-2 feet apart to allow sufficient air circulation.
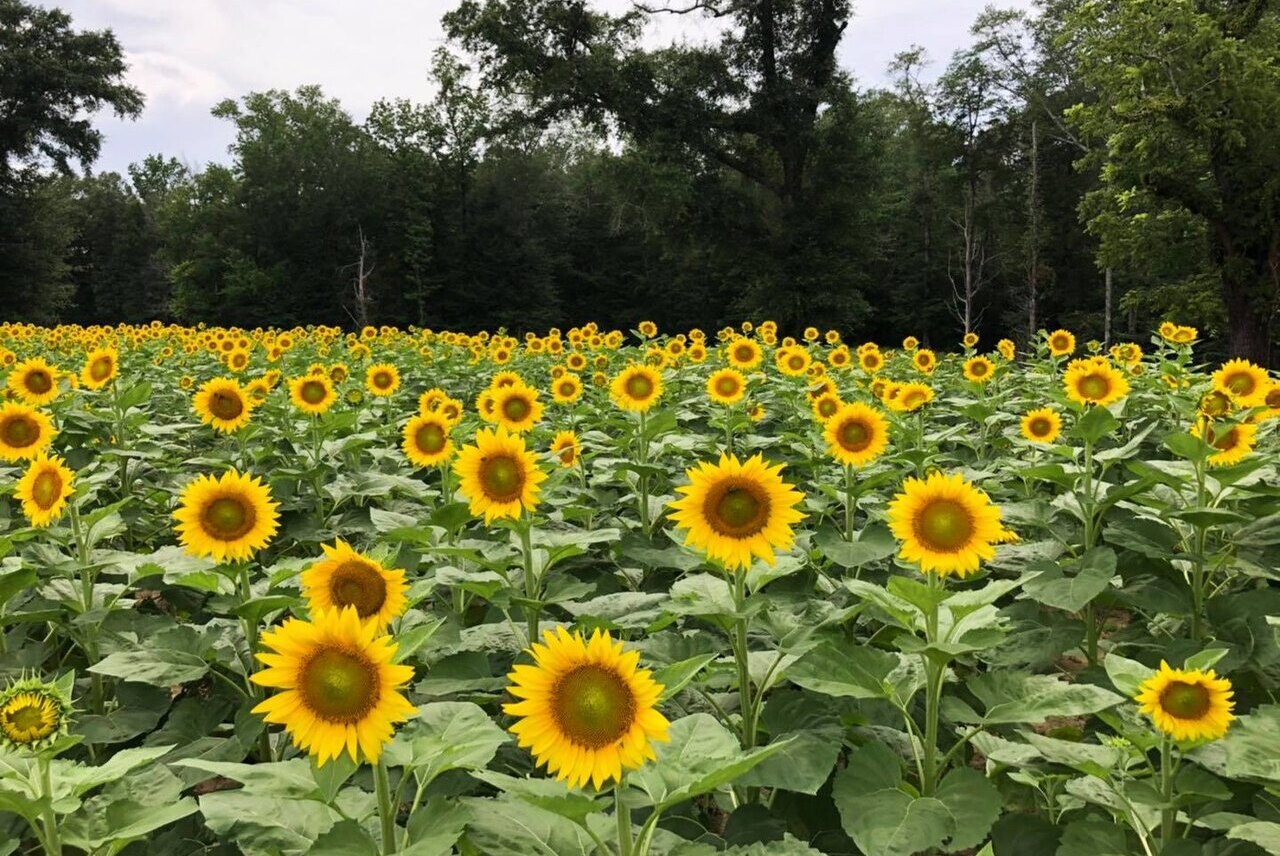
- Views and Aesthetics: Plan your sunflower planting to enhance the visual appeal of your garden. Consider the backdrop and surrounding landscape to complement the sunflowers’ vibrant colors. Sunflowers make excellent backdrops for smaller flowers or can be planted in rows to create a dramatic effect.
Keep in mind that sunflowers have a tendency to face the sun throughout the day. To maximize their exposure to sunlight, plant them in a location where they won’t shade other plants or structures. Proper location selection sets the foundation for healthy growth and abundant blooms.
Once you have found the perfect spot for your sunflowers, it’s time to prepare the soil. Let’s move on to the next step:
Step 3: Preparing the Soil
Preparing the soil is an essential step in ensuring the optimal growth of your sunflowers. Follow these steps to properly prepare the soil for planting:
- Clear the area: Start by removing any weeds, rocks, or debris from the planting area. This allows the sunflower roots to establish and grow without competition.
- Loosen the soil: Use a garden fork or tiller to loosen the soil to a depth of about 12 inches. This improves aeration and drainage, allowing the roots to access water and nutrients more efficiently.
- Add organic matter: Incorporate organic matter, such as compost or well-rotted manure, into the soil. This enriches the soil with nutrients and improves its texture. Aim to add a 2-3 inch layer of organic matter and mix it thoroughly into the topsoil.
- Adjust soil pH: Test the soil pH and adjust it if necessary. Sunflowers prefer slightly acidic to neutral soil (pH 6.0-7.5). If the soil is too acidic, add lime to raise the pH. If it is too alkaline, add elemental sulfur to lower the pH.
- Smooth the surface: Rake the soil surface to create a smooth and level bed for planting. This provides a uniform environment for the sunflower seeds to germinate.
Remember to water the soil lightly after preparing it to provide moisture and settle the soil. This ensures better seed-to-soil contact during planting.
With the soil properly prepared, you are now ready to move on to the exciting part: planting the sunflower seeds. Let’s dive into the next step:
Step 4: Planting Sunflower Seeds
Now that you have chosen the perfect sunflower seeds and prepared the soil, it’s time to sow the seeds. Follow these steps to plant sunflower seeds successfully:
- Seed spacing: Space the sunflower seeds 6-12 inches apart, depending on the variety and its mature size. If you are planting multiple rows, leave about 2-3 feet of space between each row to allow for easy access and airflow.
- Planting depth: Sunflower seeds should be planted at a depth of 1-2 inches. Create small holes or furrows in the soil using your finger or a garden tool, and place the seeds in the holes.
- Seed orientation: Place the sunflower seeds vertically in the planting hole, with the pointed tip facing downwards. This helps them emerge from the soil more easily.
- Cover the seeds: Gently cover the planted seeds with soil, ensuring they are well-covered but not buried too deeply. Pat down the soil lightly to secure the seeds in place.
- Watering: After planting, water the area lightly to provide moisture for germination. Be careful not to overwater, as excessive moisture can cause the seeds to rot. Maintain consistent moisture in the soil throughout the germination and early growth stages.
If you’re planting sunflowers from seedlings or nursery-grown transplants, ensure that you transplant them at the same depth as they were growing in their container to prevent shock and encourage root establishment.
Keep in mind that sunflower seeds typically germinate within 7-10 days, depending on the variety and environmental conditions. Once the seeds have sprouted, it’s time to care for your sunflowers and help them reach their full potential. Let’s move on to the next step:
Step 5: Watering and Caring for Sunflowers
Proper watering and care are essential for the healthy growth and development of your sunflowers. Follow these guidelines to ensure your sunflowers thrive:
- Watering: Sunflowers require regular watering, especially during dry periods. Water deeply, providing enough moisture to penetrate the root zone. Aim to keep the soil evenly moist, but not waterlogged, as excessive moisture can lead to root rot. Monitor the soil moisture and adjust the watering frequency based on the weather conditions and the plant’s needs.
- Mulching: Apply a layer of organic mulch around the base of the sunflowers to help retain soil moisture, prevent weed growth, and regulate soil temperature. Use materials such as straw, shredded bark, or compost, and spread it 2-3 inches thick, leaving a small gap around the stem to prevent rotting.
- Fertilizing: Sunflowers are relatively low-maintenance plants and typically do not require heavy fertilization. However, incorporating a balanced, slow-release fertilizer into the soil during planting can provide a nutrient boost. Avoid excessive nitrogen fertilizers, as they can promote lush foliage growth at the expense of flower formation.
- Supporting tall varieties: If you are growing taller sunflower varieties, consider providing support by staking or using a trellis. Install the support structures early in the growth stages to prevent root damage. Secure the plants to the support gently with garden ties, allowing them to grow upright and withstand strong winds.
- Managing pests and diseases: While sunflowers are generally resistant to pests and diseases, occasional issues may arise. Monitor the plants regularly for signs of pests like aphids or diseases like powdery mildew. Use organic pest control methods or consult a local gardening expert to address any issues promptly.
- Deadheading: To encourage continuous blooming and prevent the development of seeds, consider deadheading the spent flowers. Snip off the faded flower heads just above a leaf node or branch to promote the growth of new blooms.
By following these care practices, you can help your sunflowers stay healthy, vibrant, and full of life. Now, the final step is approaching – the much-awaited time to harvest your sunflowers!
Step 6: Harvesting Sunflowers
Harvesting sunflowers is an exciting and rewarding experience. Here are the steps to follow when it’s time to harvest your sunflowers:
- Observe flower maturity: Watch for signs of maturity in the sunflower heads. The petals will begin to dry out and wilt, and the back of the flower head will turn yellow or brown.
- Check seed readiness: Gently press the back of the sunflower head with your fingertips. If you feel resistance and hear a hollow sound, it indicates that the seeds are ready for harvesting. If the seeds are still soft or squishy, allow the flower to mature further.
- Prepare for harvesting: Put on a pair of gloves to protect your hands from the sunflower’s prickly stem and potentially sharp leaves. Grab a pair of garden shears or a sharp knife for cutting the sunflower heads.
- Harvesting the sunflowers: Cut the sunflower stem below the head, leaving about 6-8 inches of stem attached. This length allows for easier handling and drying. Avoid cutting too close to the head to prevent damaging the seeds.
- Curing and drying: Hang the harvested sunflower heads upside down in a warm, well-ventilated area away from direct sunlight. This allows the seeds to dry naturally. You can also place a paper bag over the flower head to catch any loose seeds that might fall during drying.
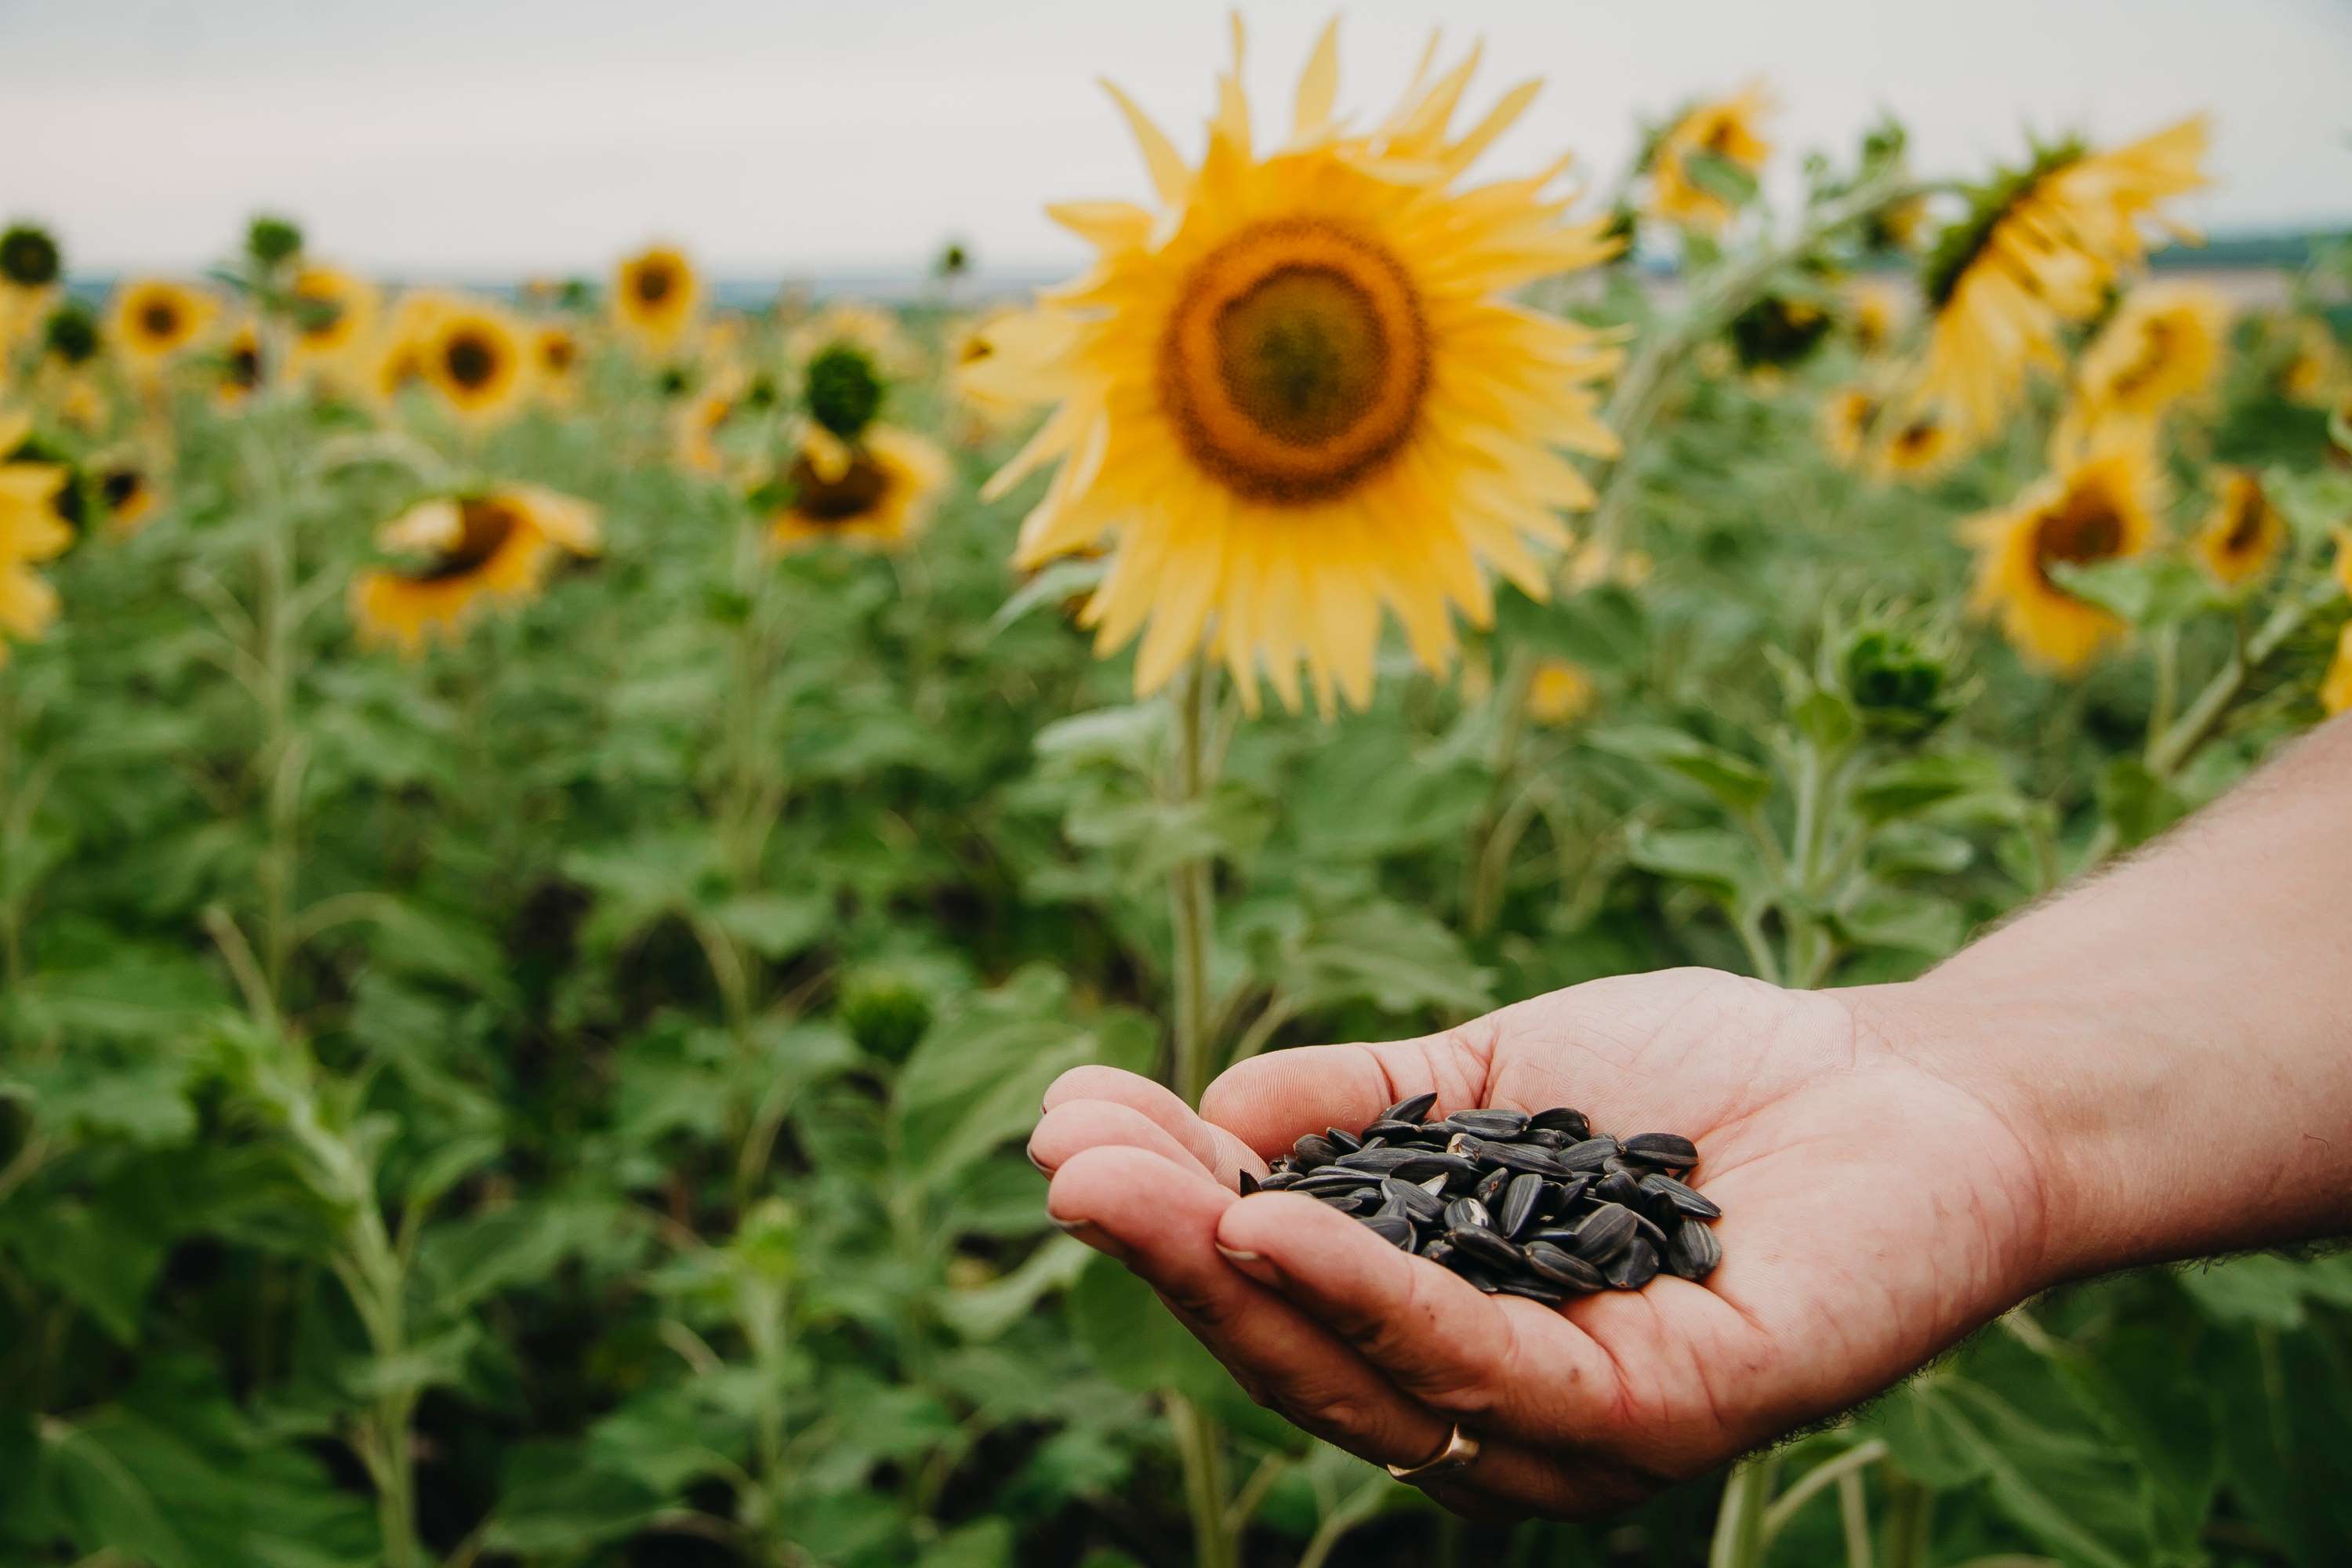
- Seed removal: Once the heads are completely dry, gently rub or shake them to release the seeds. Use your fingers or a small brush to remove any remaining debris from the seeds.
- Storing the seeds: Store the sunflower seeds in a cool, dry place in airtight containers or sealed bags. Label them with the date and variety to keep track of their freshness.
Remember, you can also leave a few sunflower heads in the garden to provide food for birds or to collect seeds for future planting.
Congratulations! You have successfully completed all the steps from planting to harvesting your sunflowers. Now you can enjoy the beauty of your sunflowers and even share their seeds with family and friends.
Conclusion
Congratulations on completing the journey of planting and harvesting your sunflowers! It’s been an exciting process, and by now, you should have beautiful, vibrant sunflowers brightening up your garden. Remember, gardening is a continuous learning experience, and each season presents new opportunities for growth.
Throughout this guide, we’ve covered the essential steps for successfully planting and caring for sunflowers. From selecting the right seeds to preparing the soil, planting, watering, and harvesting, you now have the knowledge and tools to grow these majestic flowers.
As you continue your ornamental gardening adventure, don’t be afraid to experiment with different sunflower varieties, colors, and planting arrangements. Get creative and let your garden reflect your personal style and taste.
Remember, caring for sunflowers goes beyond the process of planting and harvesting. Regular observations, proper watering, and addressing any pest or disease issues will ensure the ongoing health and vitality of your sunflower plants.
Whether you’re growing sunflowers purely for their visual beauty, as a source of food for birds, or to enjoy their nutritious seeds, these stunning flowers will undoubtedly bring joy to your garden and attract the admiration of all who see them.
So go ahead, grab your gardening tools, and let your love for ornamental gardening continue to blossom with the grace and magnificence of sunflowers. Happy gardening!