Home>Gardening Tips and Tricks>How To Fill Holes In Backyard
Gardening Tips and Tricks
How To Fill Holes In Backyard
Published: August 5, 2023
Learn how to solve the problem of holes in your backyard with our expert tips and step-by-step guide. Easily fill and repair holes for a beautiful outdoor space.
(Many of the links in this article redirect to a specific reviewed product. Your purchase of these products through affiliate links helps to generate commission for Chicagolandgardening.com, at no extra cost. Learn more)
Table of Contents
Introduction
Having holes in your backyard can be a nuisance. They can ruin the aesthetic appeal of your outdoor space and pose a potential safety hazard. Whether the holes were left behind by pets, wildlife, or weather conditions, it’s important to address them and restore the integrity of your backyard.
While filling holes in your backyard might seem like a daunting task, it can be straightforward and manageable with the right approach. In this article, we will guide you through the process of assessing the holes, gathering the necessary supplies, and provide you with a step-by-step guide to effectively fill the holes in your backyard.
Before diving into the hole-filling process, it’s crucial to first understand the underlying causes of the holes. By identifying the root cause, you can choose the most appropriate method to address the issue and prevent future holes from forming.
Be sure to assess the size and depth of the holes as well. Smaller holes can often be filled with basic supplies, while larger or deeper holes may require additional materials and efforts to properly fill.
With the right knowledge and tools at your disposal, you can turn those unsightly holes into a smooth and inviting backyard space. So let’s get started on transforming your backyard by filling those holes once and for all!
Assessing the Holes
Before you embark on filling the holes in your backyard, it’s important to properly assess them. Understanding the size, depth, and cause of the holes will help determine the most effective way to fill them.
To begin, carefully examine the holes and take note of their dimensions. Measure the diameter and depth of each hole, as this will guide you in determining the amount of filling material you’ll need.
Next, consider the cause of the holes. Common causes include burrowing animals, such as squirrels or moles, heavy rain or flooding, or the natural settling of soil over time. Identifying the cause will help you prevent future holes from forming.
If you suspect that burrowing animals are responsible for the holes, look for signs such as tunnels or tracks nearby. This will indicate the presence of pests and will require additional steps to address the issue.
Additionally, examine the condition of the soil around the holes. Is it loose or compacted? Is the surrounding area prone to erosion? Understanding the soil conditions will enable you to choose the appropriate filling material and take measures to reinforce the stability of the ground.
By thoroughly assessing the holes in your backyard, you’ll be equipped with the necessary information to tackle the problem effectively. Once you have a clear understanding of the size, depth, and cause of the holes, you can move on to gathering the supplies needed to fill them.
Gathering the Necessary Supplies
Once you have assessed the holes in your backyard, it’s time to gather the necessary supplies to fill them. Having the right materials on hand will ensure a smoother and more efficient hole-filling process.
Here are some essential supplies you’ll need:
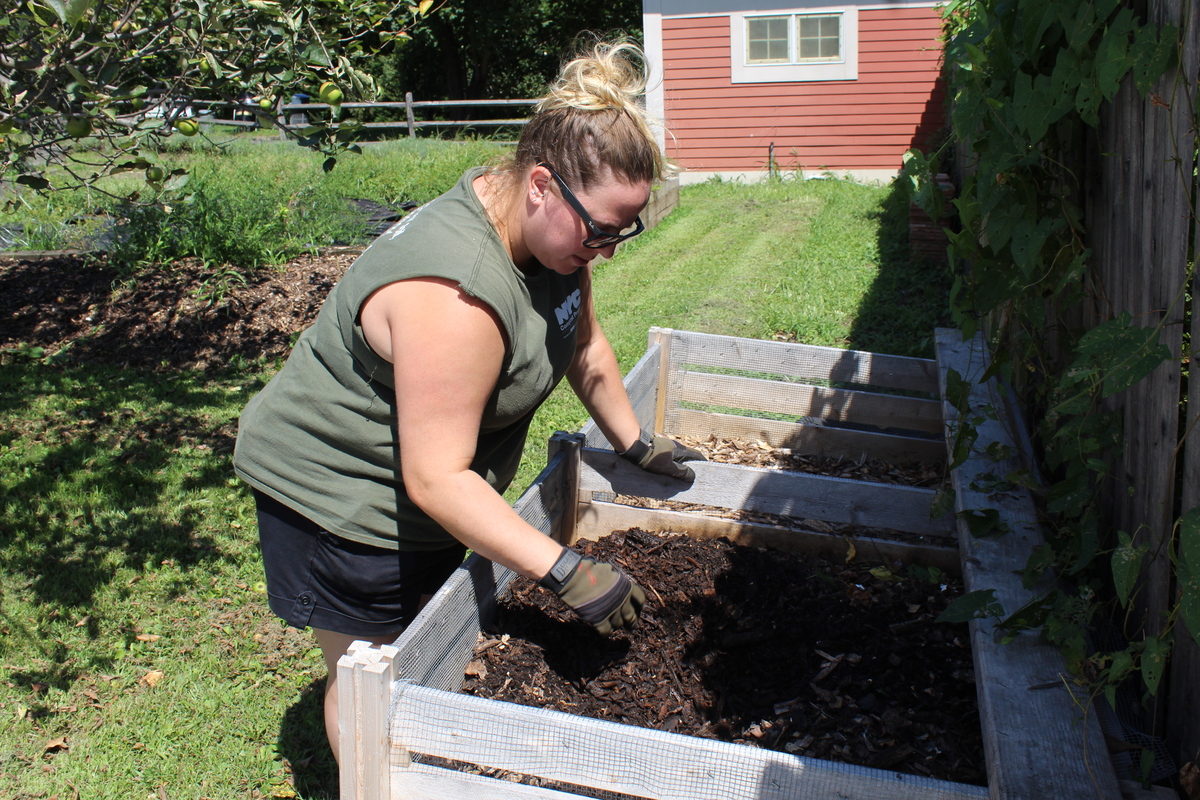
- Filler Material: The type of filler material you choose will depend on the size and depth of the holes. Common options include topsoil, mulch, sand, or a combination of these. Ensure that the filler material is appropriate for the specific purpose, such as promoting plant growth or providing stability.
- Shovel or Garden Trowel: These tools will allow you to dig and move the soil as needed when filling the holes.
- Wheelbarrow or Bucket: Use this to transport the filler material from one area to another, making the process more efficient.
- Garden Rake: Use a rake to level the filled holes and ensure a smooth surface.
- Watering Can or Hose: Watering the filled holes will help settle the soil and promote proper compaction.
- Protective Gear: Depending on the size and depth of the holes, it’s advisable to wear gloves and safety goggles to protect your hands and eyes from any sharp objects or debris.
Make sure you have all the necessary supplies before you begin filling the holes. This will save you time and allow for a more streamlined process.
It’s worth noting that the quantity of filler material required will depend on the size and number of holes you’re dealing with. Estimate the amount needed based on the dimensions of the holes, adding a bit extra to account for compaction and settling.
Now that you have gathered the necessary supplies, you’re ready to move on to the next step: the step-by-step guide to filling the holes in your backyard.
Step-by-Step Guide to Filling Holes
Now that you have assessed the holes and gathered the necessary supplies, it’s time to fill those unsightly gaps in your backyard. Follow this step-by-step guide for effectively filling the holes:
- Prepare the Holes: Begin by removing any loose debris or vegetation from the holes using a shovel or garden trowel. Clearing the area will provide a clean surface for filling.
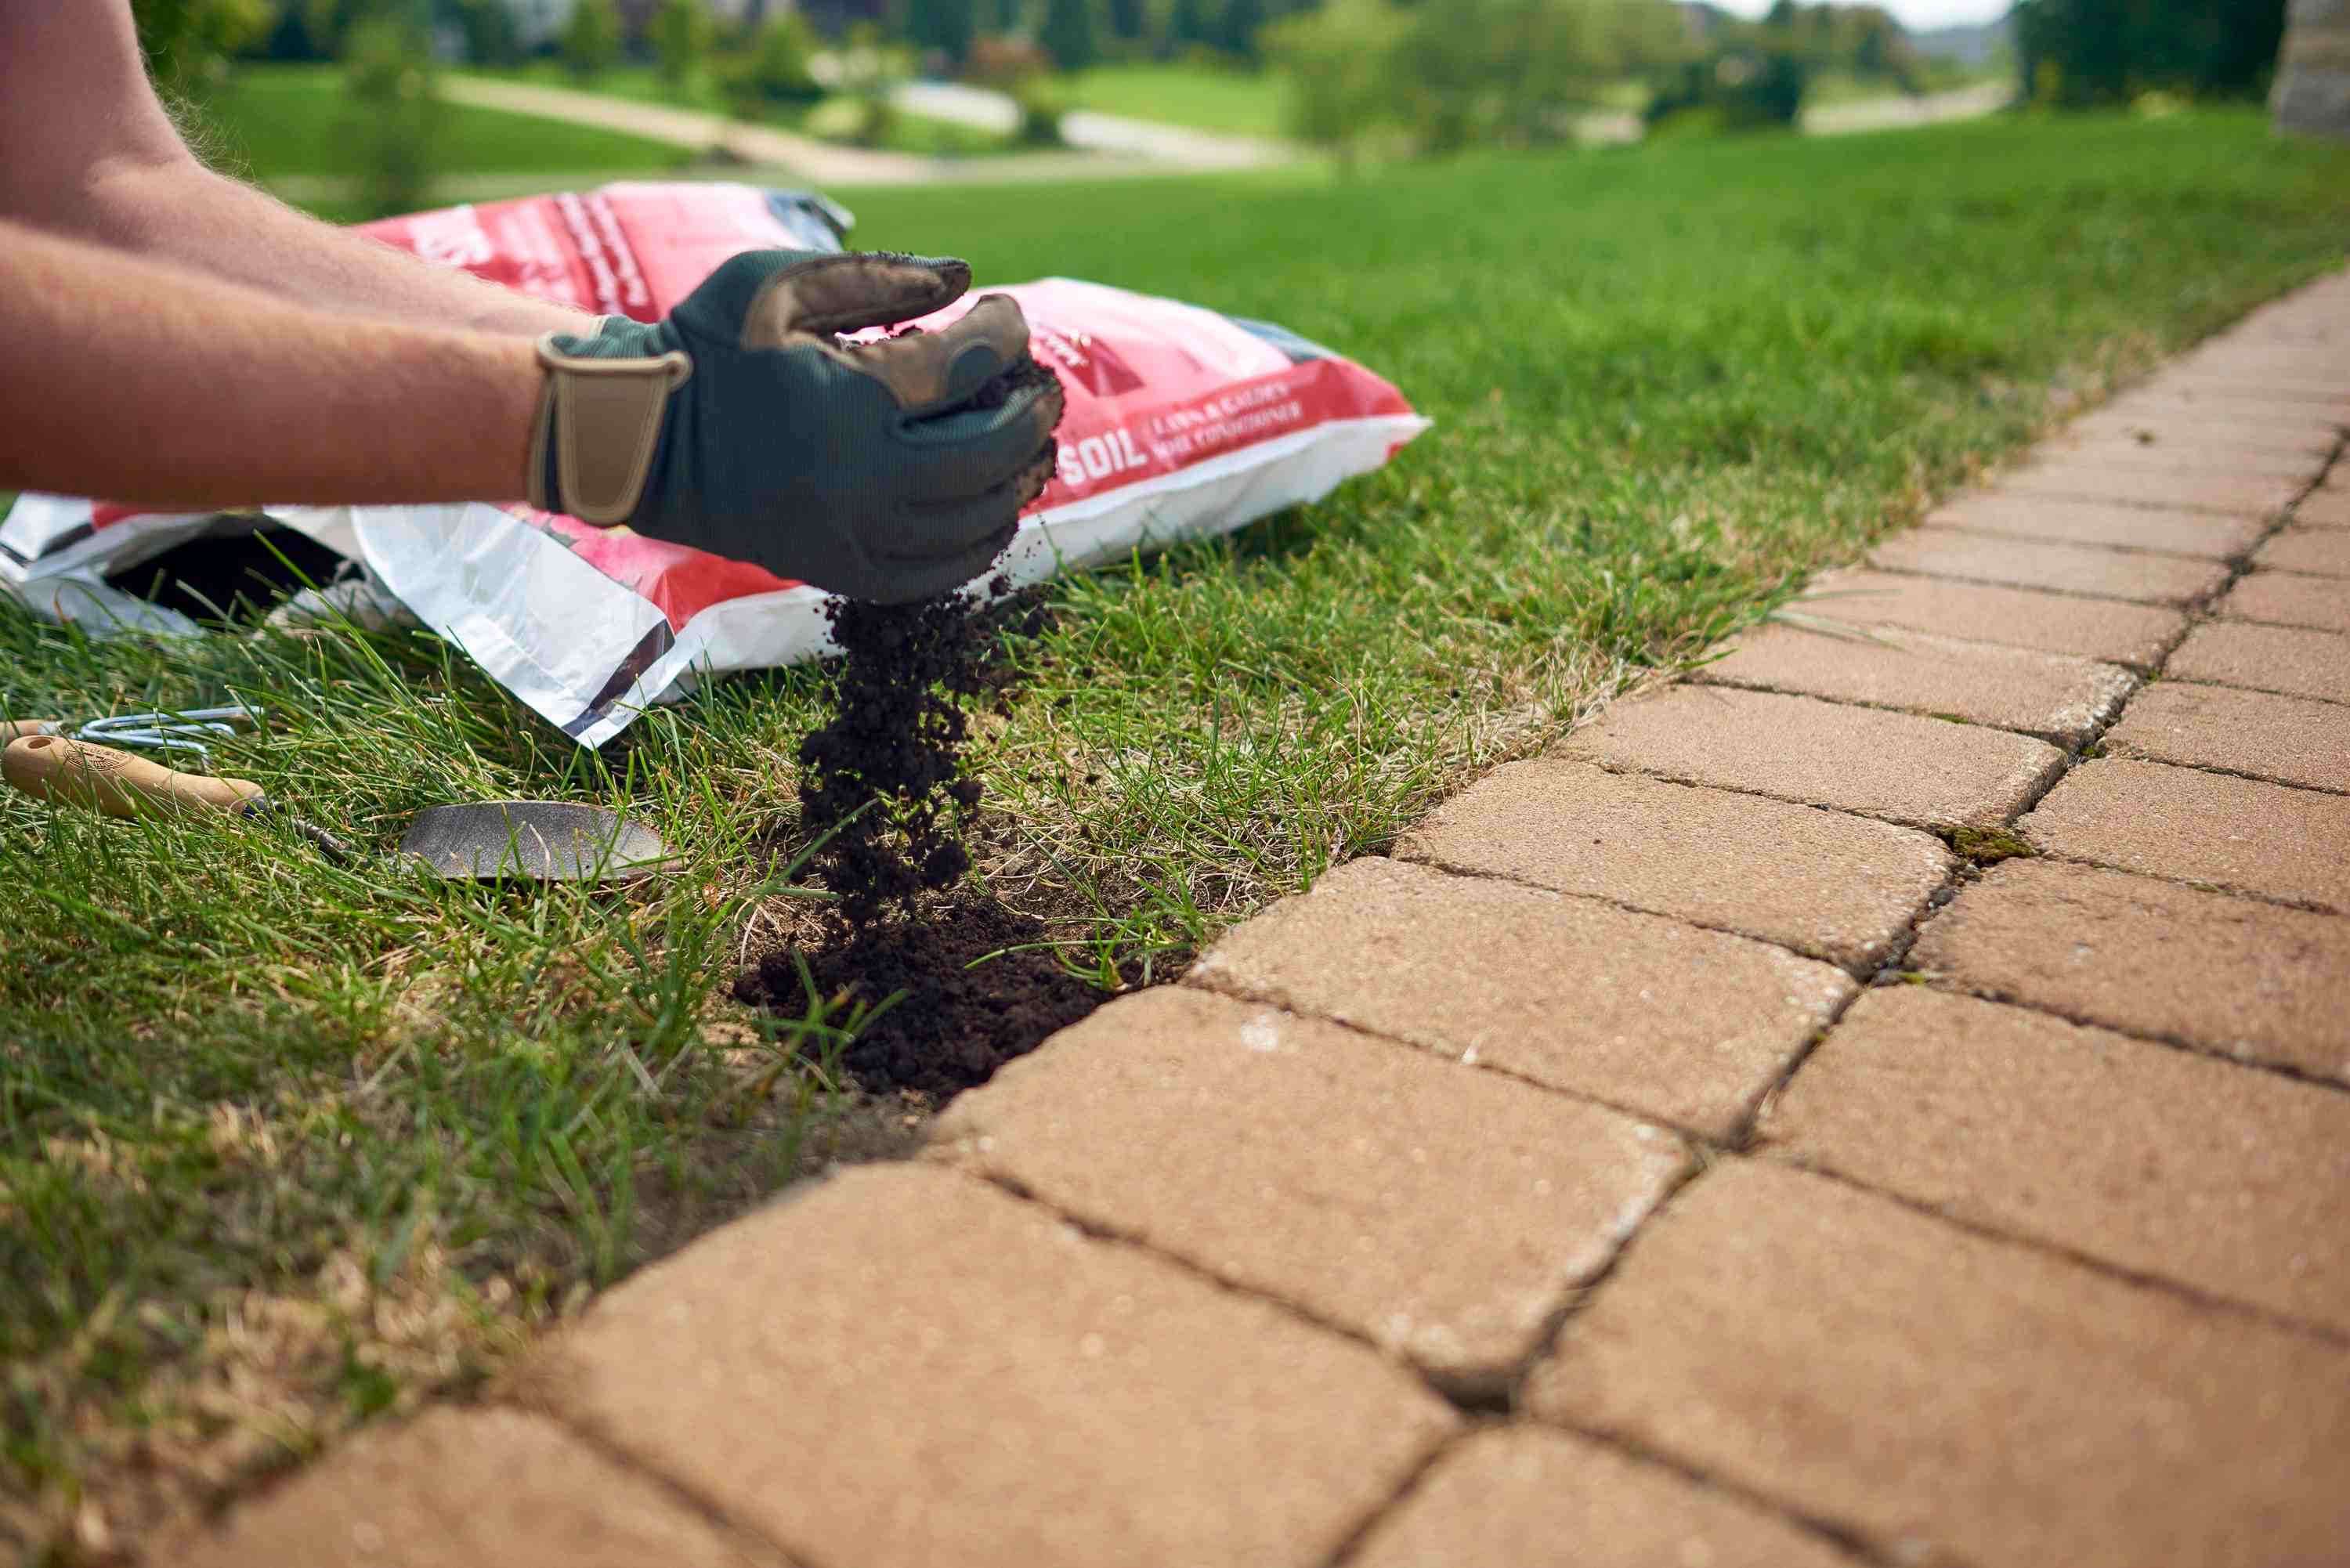
- Add Filler Material: Use a shovel or scoop to fill each hole with the appropriate filler material, such as topsoil or sand. If the holes are deep, it’s advisable to fill them in layers, compacting each layer with a garden trowel or the back of a shovel. Ensure that the filler material is slightly higher than the surrounding ground level to account for settling.
- Level the Surface: Use a garden rake to level the filled holes and create a smooth surface. This will prevent tripping hazards and promote a visually appealing backyard.
- Water the Filled Holes: After filling and leveling the holes, water the area thoroughly using a watering can or hose. This will help settle the soil and promote compaction.
- Check for Settling: Allow some time for the filled holes to settle. If there is noticeable settling, add more filler material as needed and repeat the leveling and watering process. Repeat this step as necessary until the filled holes are stable and level with the surrounding area.
- Replace Vegetation: If the holes were located in a grassy area, you may need to reseed or re-sod the filled holes to restore the appearance of a lush lawn. Follow the appropriate steps for your specific vegetation type to ensure proper growth.
Filling holes in your backyard can be a satisfying and rewarding task. By following this step-by-step guide, you can achieve a smooth and seamless outdoor space that enhances your overall landscape.
Remember to work patiently and take breaks as needed to avoid fatigue. With proper execution, your backyard will regain its charm and become a place of enjoyment once again.
Tips for Successful Hole Filling
As you embark on the task of filling holes in your backyard, consider these tips to ensure a successful and long-lasting result:
- Choose the Right Filler Material: Select a filler material that is appropriate for the specific purpose and conditions of your backyard. Consider factors such as drainage, soil composition, and intended use of the area.
- Properly Prepare the Holes: Clear away any debris or vegetation from the holes before filling them. This will provide a clean and stable foundation for the filler material.
- Compact the Filler Material: As you fill the holes, ensure proper compaction of the filler material. This will help prevent settling and maintain a level surface.
- Water the Filled Holes: After filling the holes, watering the area will aid in the settling process. It also promotes better compaction of the soil.
- Monitor for Settling: Keep an eye on the filled holes for any signs of settling. If necessary, add more filler material and repeat the leveling and watering process until the surface is stable.
- Address Underlying Issues: If the holes are a recurring problem, identify and address the underlying cause. This may involve implementing measures to deter burrowing animals, improving drainage, or reinforcing the soil.
- Maintain Regular Yard Maintenance: To prevent future holes from forming, maintain regular yard maintenance, including mowing, trimming, and removing any potential hazards that could lead to holes.
- Consider Professional Assistance: For larger or more complex holes, or if you’re unsure of how to address the issue, it’s advisable to seek professional assistance. They can offer expert advice and ensure the best outcome for your backyard.
By following these tips, you can successfully fill the holes in your backyard and create a beautiful and safe outdoor space for yourself, your family, and your guests to enjoy.
Conclusion
Filling holes in your backyard is an essential step towards maintaining a visually appealing and safe outdoor space. By assessing the holes, gathering the necessary supplies, and following a step-by-step guide, you can effectively address this common issue.
Remember to assess the size, depth, and cause of the holes before proceeding. This will help you determine the best approach and prevent future holes from forming. Gather the necessary supplies, such as filler material, tools, and protective gear, to ensure a smooth hole-filling process.
Follow the step-by-step guide to fill the holes, leveling the surface and watering the filled areas to aid in compaction. Monitor for settling and make any necessary adjustments until the holes are stable and level with the surrounding area. Consider reseeding or re-sodding if the holes were located in a grassy area.
To ensure successful hole filling, remember to choose the right filler material, properly prepare the holes, and address any underlying issues. Regular yard maintenance and professional assistance, if needed, will contribute to maintaining a hole-free backyard.
With these tips and guidelines, you can transform your backyard from a bumpy and unsightly space to a smooth and inviting oasis. Enjoy the beauty and safety of your revitalized outdoor area and create memorable moments with family and friends.