Home>Gardening News and Trends>How To Grade A Backyard
Gardening News and Trends
How To Grade A Backyard
Published: August 5, 2023
Find out the latest news on how to grade a backyard and transform your outdoor space. Expert tips and step-by-step guides await you.
(Many of the links in this article redirect to a specific reviewed product. Your purchase of these products through affiliate links helps to generate commission for Chicagolandgardening.com, at no extra cost. Learn more)
Table of Contents
- Introduction
- Step 1: Assessing the Backyard
- Step 2: Gathering Tools and Materials
- Step 3: Clearing the Area
- Step 4: Creating a Slope
- Step 5: Leveling the Ground
- Step 6: Preparing for Drainage
- Step 7: Installing Drainage System
- Step 8: Checking the Surface
- Step 9: Seeding or Laying Sod
- Step 10: Maintaining the Graded Backyard
- Conclusion
Introduction
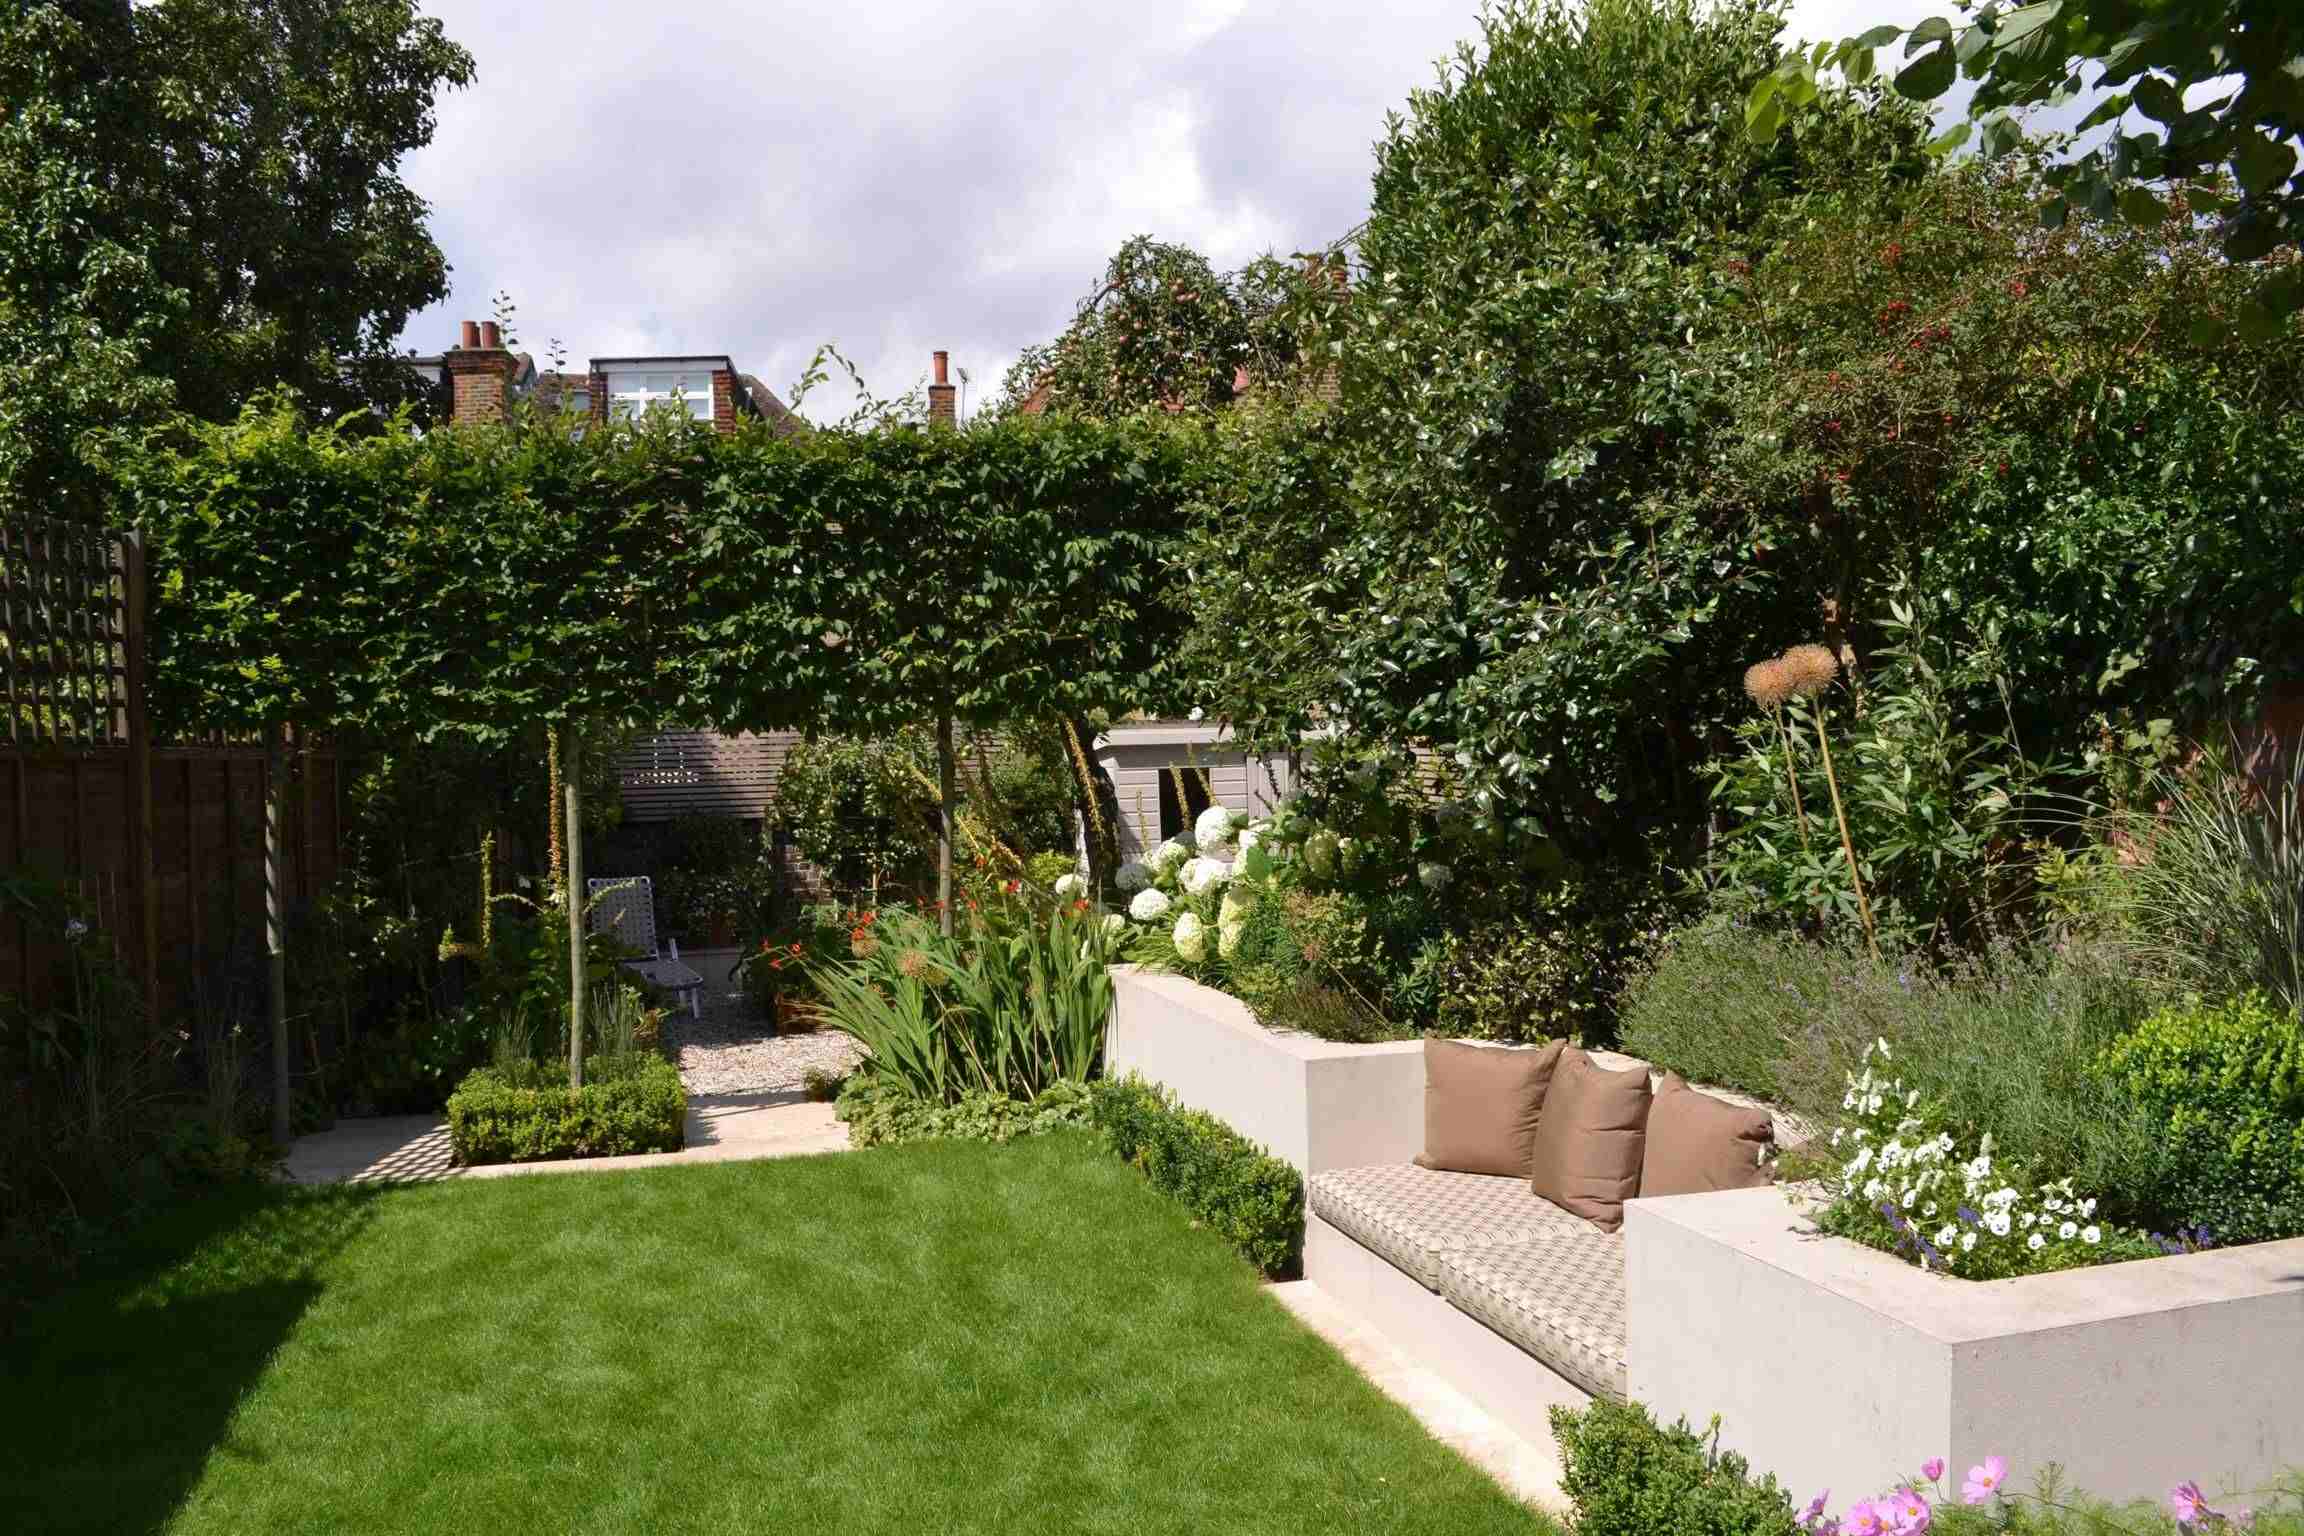
Having a well-graded backyard is essential for both the functionality and aesthetics of your outdoor space. Whether you want to create a smooth play area for your kids, prevent water accumulation, or simply improve the overall appearance of your yard, grading is the key. By properly grading your backyard, you can ensure proper drainage and prevent issues like standing water or soil erosion.
Grading a backyard may seem like a daunting task, but with a systematic approach and the right tools, you can easily transform your uneven or sloping terrain into a level and usable space. This comprehensive guide will walk you through the step-by-step process of grading your backyard, from assessing the area to maintaining the graded surface.
Before you begin the grading process, it’s important to understand the current state of your backyard. Take some time to evaluate the existing slope and drainage patterns. Are there any areas that collect water or become muddy after rain? Are there noticeable dips or unevenness in the ground? Identifying these issues will help you develop a plan to address them during the grading process.
Once you have assessed your backyard, it’s time to gather the necessary tools and materials. Depending on the size of your backyard and the extent of grading required, you may need tools such as shovels, rakes, wheelbarrows, a lawn roller, and a level. Additionally, you may need materials like topsoil, gravel, and drainage pipes, if necessary.
In the following steps, we will guide you through the process of grading your backyard, providing helpful tips and tricks along the way. By following these steps, you can create a level and well-drained surface that will not only enhance the functionality of your outdoor space but also add value to your property.
Step 1: Assessing the Backyard
Before you begin the grading process, it’s crucial to assess your backyard and determine its current state. This initial step will help you identify any issues and develop a plan to address them. Here’s what you need to do:
- Observe the Landscape: Take a walk around your backyard and carefully observe the landscape. Look for areas that are uneven, sloping, or prone to water accumulation. Note any dips, depressions, or humps in the ground that need to be leveled.
- Check for Drainage Issues: Check for areas where water tends to collect or pool after rain. These areas may indicate poor drainage, which can lead to water damage or create a breeding ground for mosquitoes. Make a note of these problem areas as they will require special attention during the grading process.
- Consider Existing Structures: Take into account any existing structures in your backyard, such as decks, patios, or retaining walls. These structures may affect the grading process, as you’ll need to ensure that the grade is consistent around them and that they have proper drainage to prevent water from seeping into their foundations.
- Plan for Water Runoff: Determine the desired direction for water runoff in your backyard. You’ll want to ensure that water flows away from your house and other structures to prevent water damage. Identify the lowest point in your yard where you can direct the runoff, such as a swale or a drain, to create an effective drainage system.
By thoroughly assessing your backyard, you’ll gain a better understanding of its current condition and the necessary steps to achieve the desired grading. This will help you plan your approach and gather the appropriate tools and materials for the task.
Step 2: Gathering Tools and Materials
Now that you have assessed your backyard and have a clear understanding of its current state, it’s time to gather the necessary tools and materials for the grading process. Here are the essential items you’ll need:
- Shovels: Invest in high-quality shovels, including a square-edged shovel for cutting into the soil and a round-point shovel for scooping and moving dirt.
- Rakes: Get a sturdy landscape rake to level the soil and remove debris. A bow rake with rigid tines will also come in handy for heavier leveling tasks.
- Wheelbarrow: A wheelbarrow will make it easier to transport soil, gravel, and other materials around your yard.
- Lawn Roller: A lawn roller can be useful for compacting the soil after grading to create a smooth and even surface.
- Level: A long, sturdy level will help you ensure that the ground is properly sloped and leveled. A laser level is even more precise for larger-scale projects.
- Topsoil: Depending on the existing soil conditions, you may need to bring in additional topsoil to achieve the desired grade. Choose high-quality topsoil that is free from debris and contaminants.
- Gravel: If you need to improve drainage in certain areas, consider getting gravel to create a French drain or fill in low spots.
- Drainage Pipes: If poor drainage is a significant issue in your backyard, you may need drainage pipes to redirect excess water away from your property.
- Safety Gear: Don’t forget to prioritize your safety by wearing work gloves, safety goggles, and sturdy footwear while working in the yard.
Take inventory of the tools and materials you already have and make a list of what you still need to acquire. This will ensure that you’re well-prepared and ready to start the grading process without delays.
Step 3: Clearing the Area
Before you can begin grading your backyard, it’s crucial to clear the area of any obstacles and debris that may interfere with the process. Here’s what you need to do:
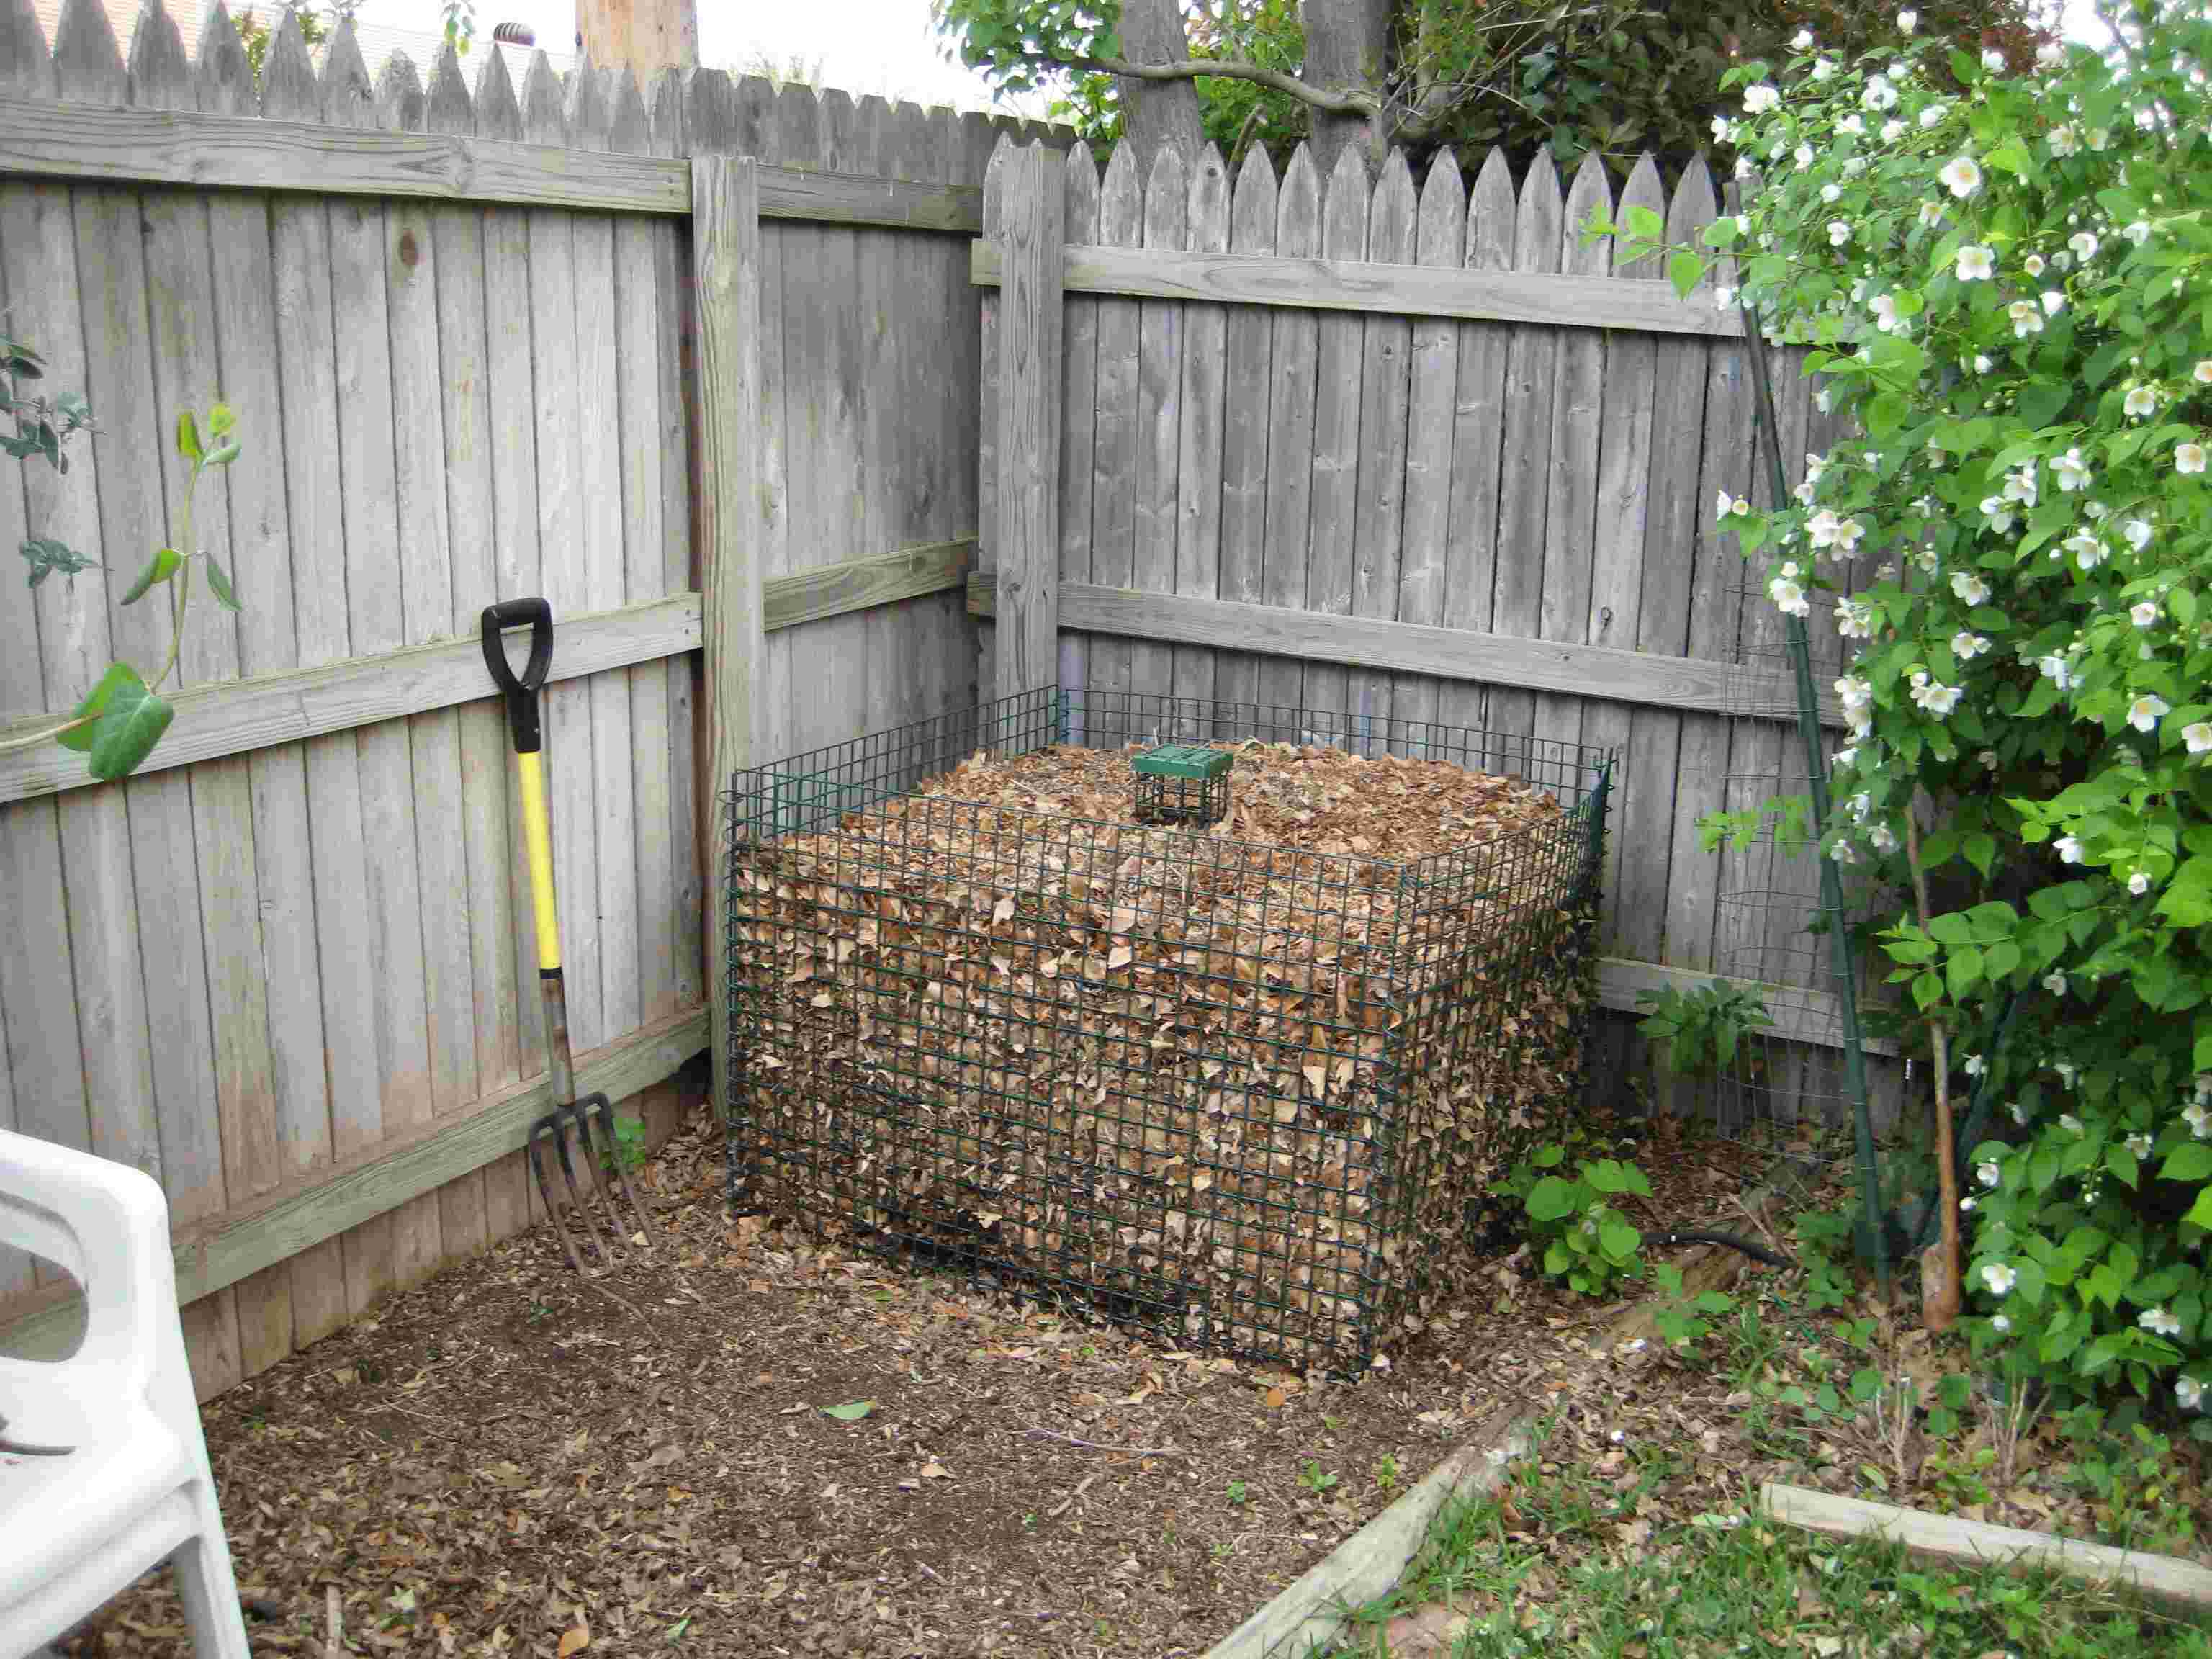
- Remove Organic Matter: Start by removing any grass, weeds, or other organic matter from the area you plan to grade. Use a shovel or a sod cutter to cut through the grass and remove it in sections. Dispose of the organic matter properly or consider composting it for later use.
- Clear Debris: Remove rocks, branches, and any other debris from the area. These objects can interfere with the grading process and create unevenness in the final result.
- Mark Utilities: Locate any underground utilities, such as irrigation lines or buried cables, in your backyard. It’s essential to mark these utilities to avoid damaging them during the grading process. Use utility flags or consult with a professional if you’re unsure about the location of any utilities.
- Consider Tree Roots: If you have trees in the area you’ll be grading, be mindful of their roots. Avoid cutting or damaging the roots, as this can harm the tree’s health and stability. Adjust the grading plan as necessary to work around the tree roots.
- Clear Vegetation Near Drainage Areas: Pay special attention to areas where water is likely to flow, such as the planned drainage path. Clear any vegetation or obstacles near these areas to ensure unobstructed water flow.
Clearing the area properly will provide a clean slate for the grading process, allowing you to accurately level the ground and achieve the desired result. Take your time during this step to ensure that the area is thoroughly cleared before moving on to the next step.
Step 4: Creating a Slope
Creating a proper slope is an essential part of grading your backyard. A well-designed slope ensures effective drainage and prevents water from pooling in certain areas. Here’s how you can create a slope:
- Plan the Grade: Determine the desired slope for your backyard, keeping in mind the direction of water runoff. A general guideline is to have a slope of 1-2% away from your house or any structures. This means that for every 100 feet of horizontal distance, the ground should slope 1-2 feet down.
- Use a Leveling Tool: Begin by placing a long, sturdy level or a laser level on a straight board or string across the area you’re grading. Adjust the board or string until it shows the desired slope. This will serve as your guide as you create the slope.
- Remove Excess Soil: Starting from the highest point of the slope, begin removing excess soil to gradually create a downward slope. Use a shovel, rake, or grading blade attachment on a garden tractor to shape the ground. Continuously check the slope with the leveling tool to ensure accuracy.
- Compact the Soil: After shaping the slope, use a lawn roller or compactor to compact the soil. This will help create a firm and stable base. Roll the lawn roller over the slope in different directions to ensure even compaction.
- Adjust as Needed: Continuously check the slope’s accuracy with the leveling tool. Make any necessary adjustments to achieve the desired slope. It’s important to take your time during this step to ensure that the slope is consistent and meets the intended grade.
Creating a proper slope is crucial for effective drainage and ensuring that water flows away from your house and other structures. Take your time during this step to ensure that the slope is accurate and consistent throughout the graded area. Once you have successfully created the slope, you can move on to the next step and continue the grading process.
Step 5: Leveling the Ground
After creating the necessary slope in your backyard, the next step in the grading process is to level the ground. Leveling ensures a smooth and even surface, which is not only visually appealing but also essential for proper functionality. Here’s how you can level the ground:
- Assess the Surface: Carefully inspect the graded area and identify any high or low spots. High spots may need to be leveled down, while low spots may require additional soil or fill to raise them to the desired level.
- Use a Leveling Tool: A long, sturdy level or a laser level will help you identify uneven areas in the ground. Place the leveling tool on different spots across the graded area and determine the variations in height.
- Fill Low Spots: If you find any low spots, fill them with additional soil or fill material. Use a shovel or rake to distribute the soil evenly and level it with the surrounding ground.
- Level High Spots: To level high spots, carefully remove a layer of soil from these areas. Use a shovel or a rake to scrape away the excess soil and create a more even surface.
- Smooth the Surface: Once the high and low spots have been addressed, use a rake or a leveling tool to smooth the surface. Make gentle, sweeping motions to evenly distribute the soil and create a uniform appearance.
- Compact the Ground: To ensure a stable and durable surface, use a lawn roller or a compactor to compact the ground. This will help prevent future settling and maintain the levelness of the graded area.
Leveling the ground is crucial for creating a visually appealing and functional outdoor space. By taking the time to diligently assess and level the surface, you’ll be able to enjoy a stable and even ground that is ready for the next steps in the grading process.
Step 6: Preparing for Drainage
Preparing for proper drainage is an important step in the grading process to prevent water accumulation and potential damage to your yard. Here’s what you need to do to prepare for drainage:
- Identify Drainage Needs: Determine if there are any specific areas in your backyard where water tends to collect or flow during rain. These areas may require special attention in terms of drainage solutions.
- Plan Drainage Routes: Map out the drainage routes based on the natural flow of water in your yard. Identify the lowest point in your yard where water should be directed.
- Consider Swales: Swales are shallow channels or depressions that help channel water away from important areas in your yard. Plan the placement and design of swales to divert water effectively.
- Create Inlet and Outlet Points: Determine where water will enter and exit the drainage system. This could involve digging trenches or installing inlet structures to capture and direct water to the designated drainage route.
- Calculate Surface Area: Estimate the total surface area of your yard that will contribute to water runoff. This will help you determine the appropriate size and capacity of the drainage system you’ll need.
- Consider Gutters and Downspouts: If you have a house with gutters and downspouts, ensure that they are properly connected to the drainage system or directed away from the graded area. This will prevent excess water from accumulating in the yard.
- Research Drainage Solutions: Depending on the specific needs of your yard, research and select the appropriate drainage solutions. This could include French drains, catch basins, perforated pipes, or other drainage methods.
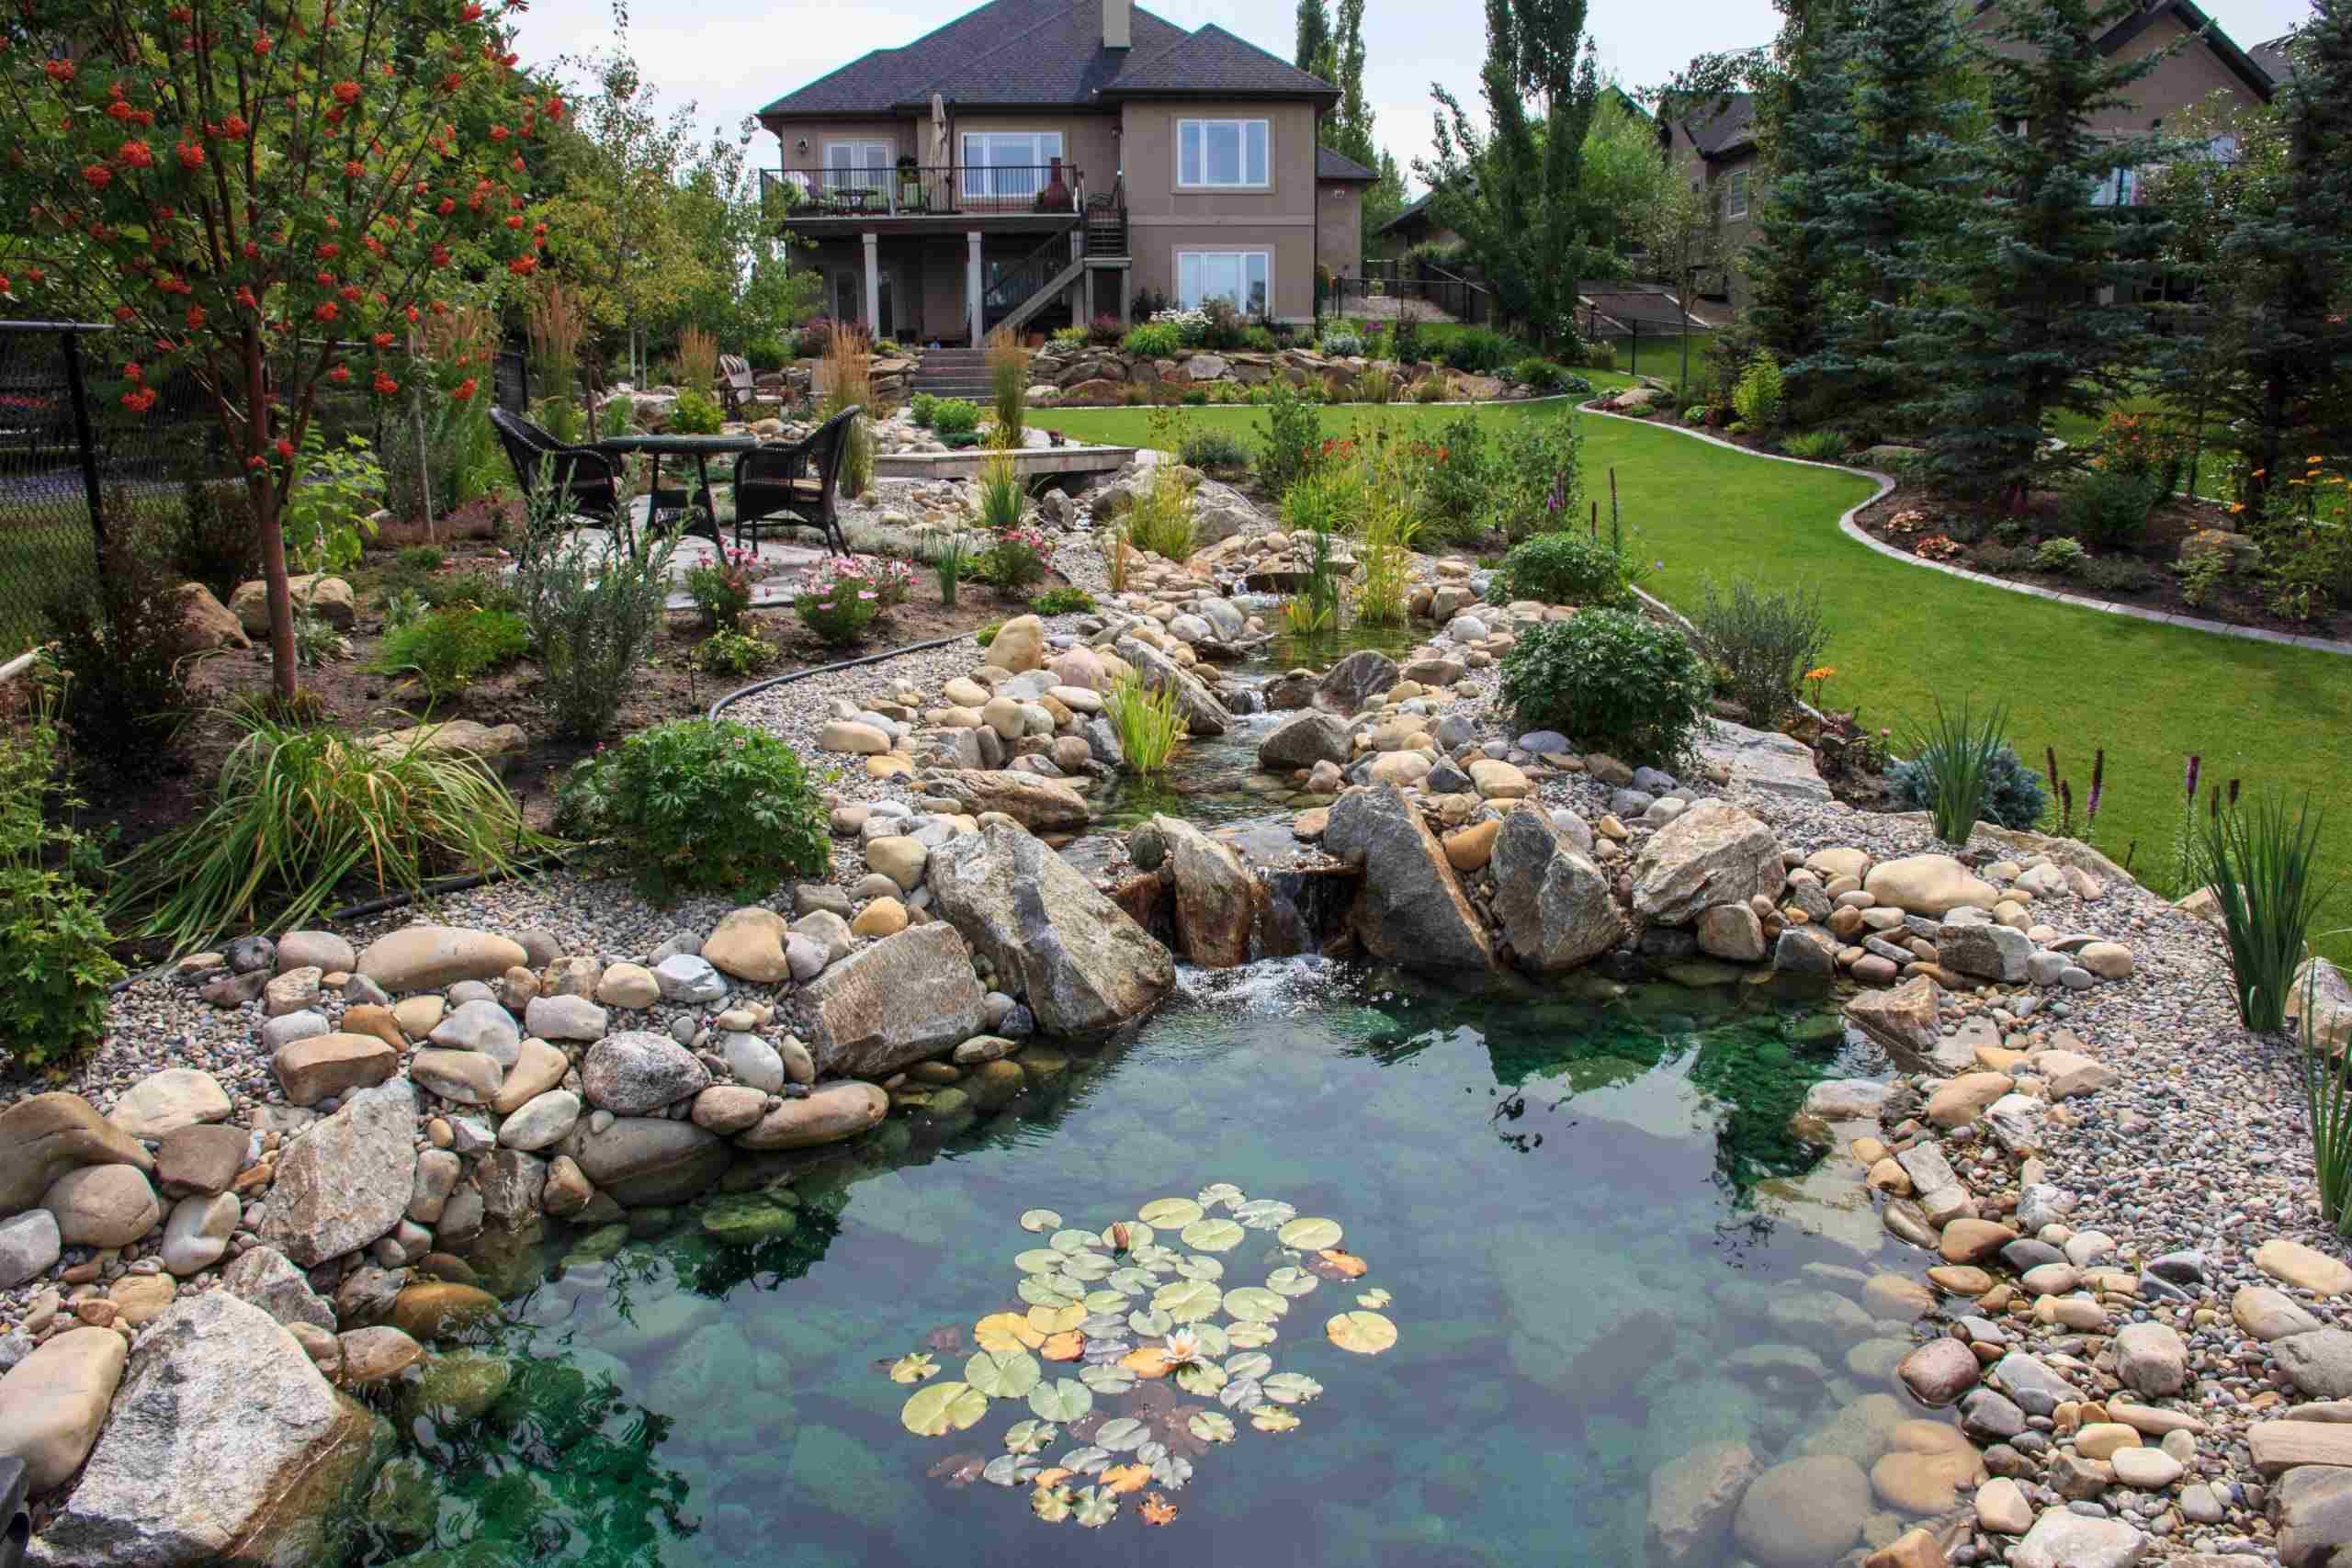
Proper drainage is crucial to prevent water damage and ensure the longevity of your yard. By taking the time to plan and prepare for drainage, you’ll create a well-drained environment that can withstand heavy rain and avoid issues like standing water or soil erosion.
Step 7: Installing Drainage System
Installing a drainage system is the next step in the grading process to effectively manage water runoff and prevent water accumulation in your yard. Here’s how you can install a drainage system:
- Dig Trenches: Begin by digging trenches along the planned drainage routes. The depth and width of the trenches will depend on the size and type of drainage system you’re installing.
- Add Filter Fabric: Line the trenches with filter fabric to prevent soil and debris from clogging the drainage pipes. This will help maintain the efficiency of the drainage system over time.
- Install Perforated Pipes: Place perforated pipes with the holes facing downward in the trenches. Connect the pipes to the inlet and outlet points, ensuring a proper slope for water flow.
- Backfill with Gravel: Fill the trenches around the drainage pipes with gravel. This will provide a stable and permeable medium for water to flow through while filtering out sediment and debris.
- Cover with Filter Fabric: Wrap the filter fabric over the gravel to prevent soil intrusion. This will further protect the drainage pipes from clogs and ensure their long-term functionality.
- Test the System: Before covering the trenches, test the drainage system by pouring water into the inlet point. Observe how water flows through the pipes and exits through the outlet point. Make any necessary adjustments to ensure proper drainage.
- Cover and Restore: Once the drainage system has passed the test, cover the trenches with soil and restore the surface of the yard. Ensure that the graded area is smooth and level, maintaining the slope for effective water flow.
By installing a proper drainage system, you’ll effectively manage water runoff and prevent water damage in your yard. It’s important to plan and install the system correctly to ensure its efficiency and functionality for years to come.
Step 8: Checking the Surface
After completing the grading and drainage installation, it’s essential to thoroughly check the surface of your backyard to ensure that it meets your desired specifications. Here’s how you can check the surface:
- Walk and Observe: Take a walk around your graded area and observe the surface from different angles. Look for any noticeable dips, humps, or unevenness in the ground. Pay attention to areas near structures, such as decks or patios, as they should be level and properly graded.
- Use a Leveling Tool: Utilize a long, sturdy level or a laser level to check the slope and levelness of the surface. Place the leveling tool on different spots across the graded area to measure variations in height and ensure that the slope is consistent.
- Address Unevenness: If you notice any areas that are not properly leveled or have significant variations, address them accordingly. This may involve adding or removing soil to achieve a smooth and even surface.
- Inspect Drainage System: Verify that the drainage system is functioning as intended. Test the flow of water through the system by pouring water into the inlet and observing the water exiting through the outlet. Adjust and make any necessary improvements to ensure proper drainage.
- Consider Safety: Ensure that the graded surface is safe for use. Look for any potential hazards such as exposed pipes, sharp objects, or unstable areas. Address these issues promptly to create a safe environment for yourself and others.
Checking the surface is a critical step to guarantee that your graded backyard meets your expectations and functional requirements. By carefully inspecting the surface and making necessary adjustments, you’ll achieve a level, well-drained, and safe outdoor space that is ready for the final steps in the grading process.
Step 9: Seeding or Laying Sod
Once you have completed the grading and ensured that the surface of your backyard is level and properly drained, it’s time to consider how you want to establish vegetation. Seeding or laying sod are two common methods to achieve a lush and green lawn. Here’s what you need to know:
- Seeding: Seeding your yard involves spreading grass seed across the graded area. Choose a grass seed type that is suitable for your climate and intended use of the yard. Follow the instructions on the seed packaging to determine the proper application rate and technique. After seeding, lightly rake the surface to ensure good seed-to-soil contact and water the area regularly to help the seeds germinate.
- Laying Sod: Sod is pre-grown grass that comes in rolls or squares. It provides instant gratification, as you get an established lawn right away. Prepare the soil by loosening it and removing any debris. Lay the sod pieces tightly together in a staggered pattern, ensuring that there are no gaps. Use a lawn roller to ensure good contact between the sod and the soil. Water the sod immediately after installation and continue watering it regularly to establish healthy roots.
- Considerations: When deciding between seeding and laying sod, consider factors such as your budget, time constraints, and desired timeline for a fully established lawn. Seeding is typically more cost-effective but requires more time and patience for the grass to grow. Sod provides an instant lawn but can be more expensive.
- Follow Proper Maintenance: After seeding or laying sod, it’s important to provide proper maintenance to encourage healthy growth. This includes regular watering, mowing, fertilizing, and addressing any weeds or lawn diseases that may arise. Follow a maintenance schedule and best practices specific to the type of grass you have chosen to achieve a vibrant and attractive lawn.
Whether you choose seeding or laying sod, establishing vegetation is the final touch to complete your graded backyard. It adds beauty, functionality, and enhances the overall appearance of your outdoor space. With proper care and maintenance, your newly seeded or sodded lawn will thrive, transforming your backyard into an inviting and enjoyable area.
Step 10: Maintaining the Graded Backyard
Once you have successfully graded and established vegetation in your backyard, maintaining the area is essential to preserve its functionality and appearance. Regular maintenance will help keep your graded backyard in optimal condition. Here are some important maintenance tasks to consider:
- Watering: Proper watering is crucial, especially during the early stages of plant growth. Ensure that your lawn receives an adequate amount of water, taking into account rainfall and seasonal variations. Water deeply and infrequently to promote deep root growth.
- Mowing: Regular mowing is necessary to keep your lawn looking neat and healthy. Follow the recommended mowing height for the type of grass you have and avoid cutting more than one-third of the leaf height at a time. Keep your mower blades sharp to achieve clean cuts and reduce stress on the grass.
- Fertilizing: Apply fertilizers based on the specific needs of your grass type and soil conditions. Regular fertilization will provide essential nutrients to promote healthy growth and maintain the vibrant color of your lawn.
- Weed Control: Regularly inspect your yard for weeds and address them promptly. Use appropriate weed control methods, such as hand-pulling, herbicides, or implementing cultural practices that promote a healthy lawn and inhibit weed growth.
- Aeration: Consider aerating your lawn periodically to alleviate soil compaction, improve air circulation, and encourage the absorption of water and nutrients. Aeration can be done using manual or mechanized tools that remove small plugs of soil from the ground.
- Pest and Disease Management: Monitor your yard for any signs of pests or diseases. Take preventive measures to minimize potential issues and address problems promptly. Consult with local experts or lawn care professionals to identify and treat any specific pest or disease issues.
- Regular Inspections: Regularly inspect your graded backyard for areas that may require attention. Check for any erosion, unevenness, or drainage issues that may have developed over time. Address these issues promptly to prevent further damage and ensure the longevity of your graded area.
- Seasonal Care: Adjust your maintenance routine based on seasonal changes. Consider tasks such as overseeding, dethatching, or winterizing your lawn to support its health and resilience throughout the year.
Maintaining your graded backyard will ensure its longevity, functionality, and visual appeal. By following a regular maintenance routine and addressing any issues promptly, you can enjoy a beautiful and functional outdoor space for years to come.
Conclusion
Grading your backyard is a rewarding project that can transform your outdoor space into a functional and visually appealing area. By following the step-by-step process outlined in this guide, you can successfully grade your backyard and achieve the desired results. Assessing the area, gathering the necessary tools and materials, clearing the space, creating a slope, and leveling the ground are crucial initial steps. Preparing for drainage, installing a drainage system, checking the surface, and establishing vegetation are subsequent steps that contribute to a well-graded backyard.
Maintaining your graded backyard is just as important as the initial grading process. Regular watering, mowing, fertilizing, and addressing weeds and pests will help keep your yard in optimal condition. Regular inspections and seasonal care will ensure the longevity of your graded area and prevent any issues from escalating.
Remember to approach this project with patience and attention to detail. Each step contributes to the overall success of the grading process. By doing so, you will create a level and well-drained backyard that not only enhances the functionality of your outdoor space but also adds value to your property.
Now that you have a comprehensive understanding of how to grade a backyard, it’s time to apply these steps to your own outdoor space. Get ready to enjoy a leveled and beautiful yard that you can fully utilize and be proud of for years to come.