Home>Gardening Techniques>DIY Projects>How To Pave A Backyard
DIY Projects
How To Pave A Backyard
Published: August 5, 2023
Learn how to pave your backyard with our step-by-step DIY projects. Transform your outdoor space into a functional and stylish area with our easy-to-follow guides.
(Many of the links in this article redirect to a specific reviewed product. Your purchase of these products through affiliate links helps to generate commission for Chicagolandgardening.com, at no extra cost. Learn more)
Table of Contents
- Introduction
- Step 1: Evaluate the backyard area
- Step 2: Clear the area and prepare the ground
- Step 3: Determine the type of paving material
- Step 4: Measure and mark the area to be paved
- Step 5: Prepare the base for the paving
- Step 6: Lay the paving material
- Step 7: Fill the gaps and seams
- Step 8: Compact and level the paved area
- Step 9: Finishing touches and maintenance tips
- Conclusion
Introduction
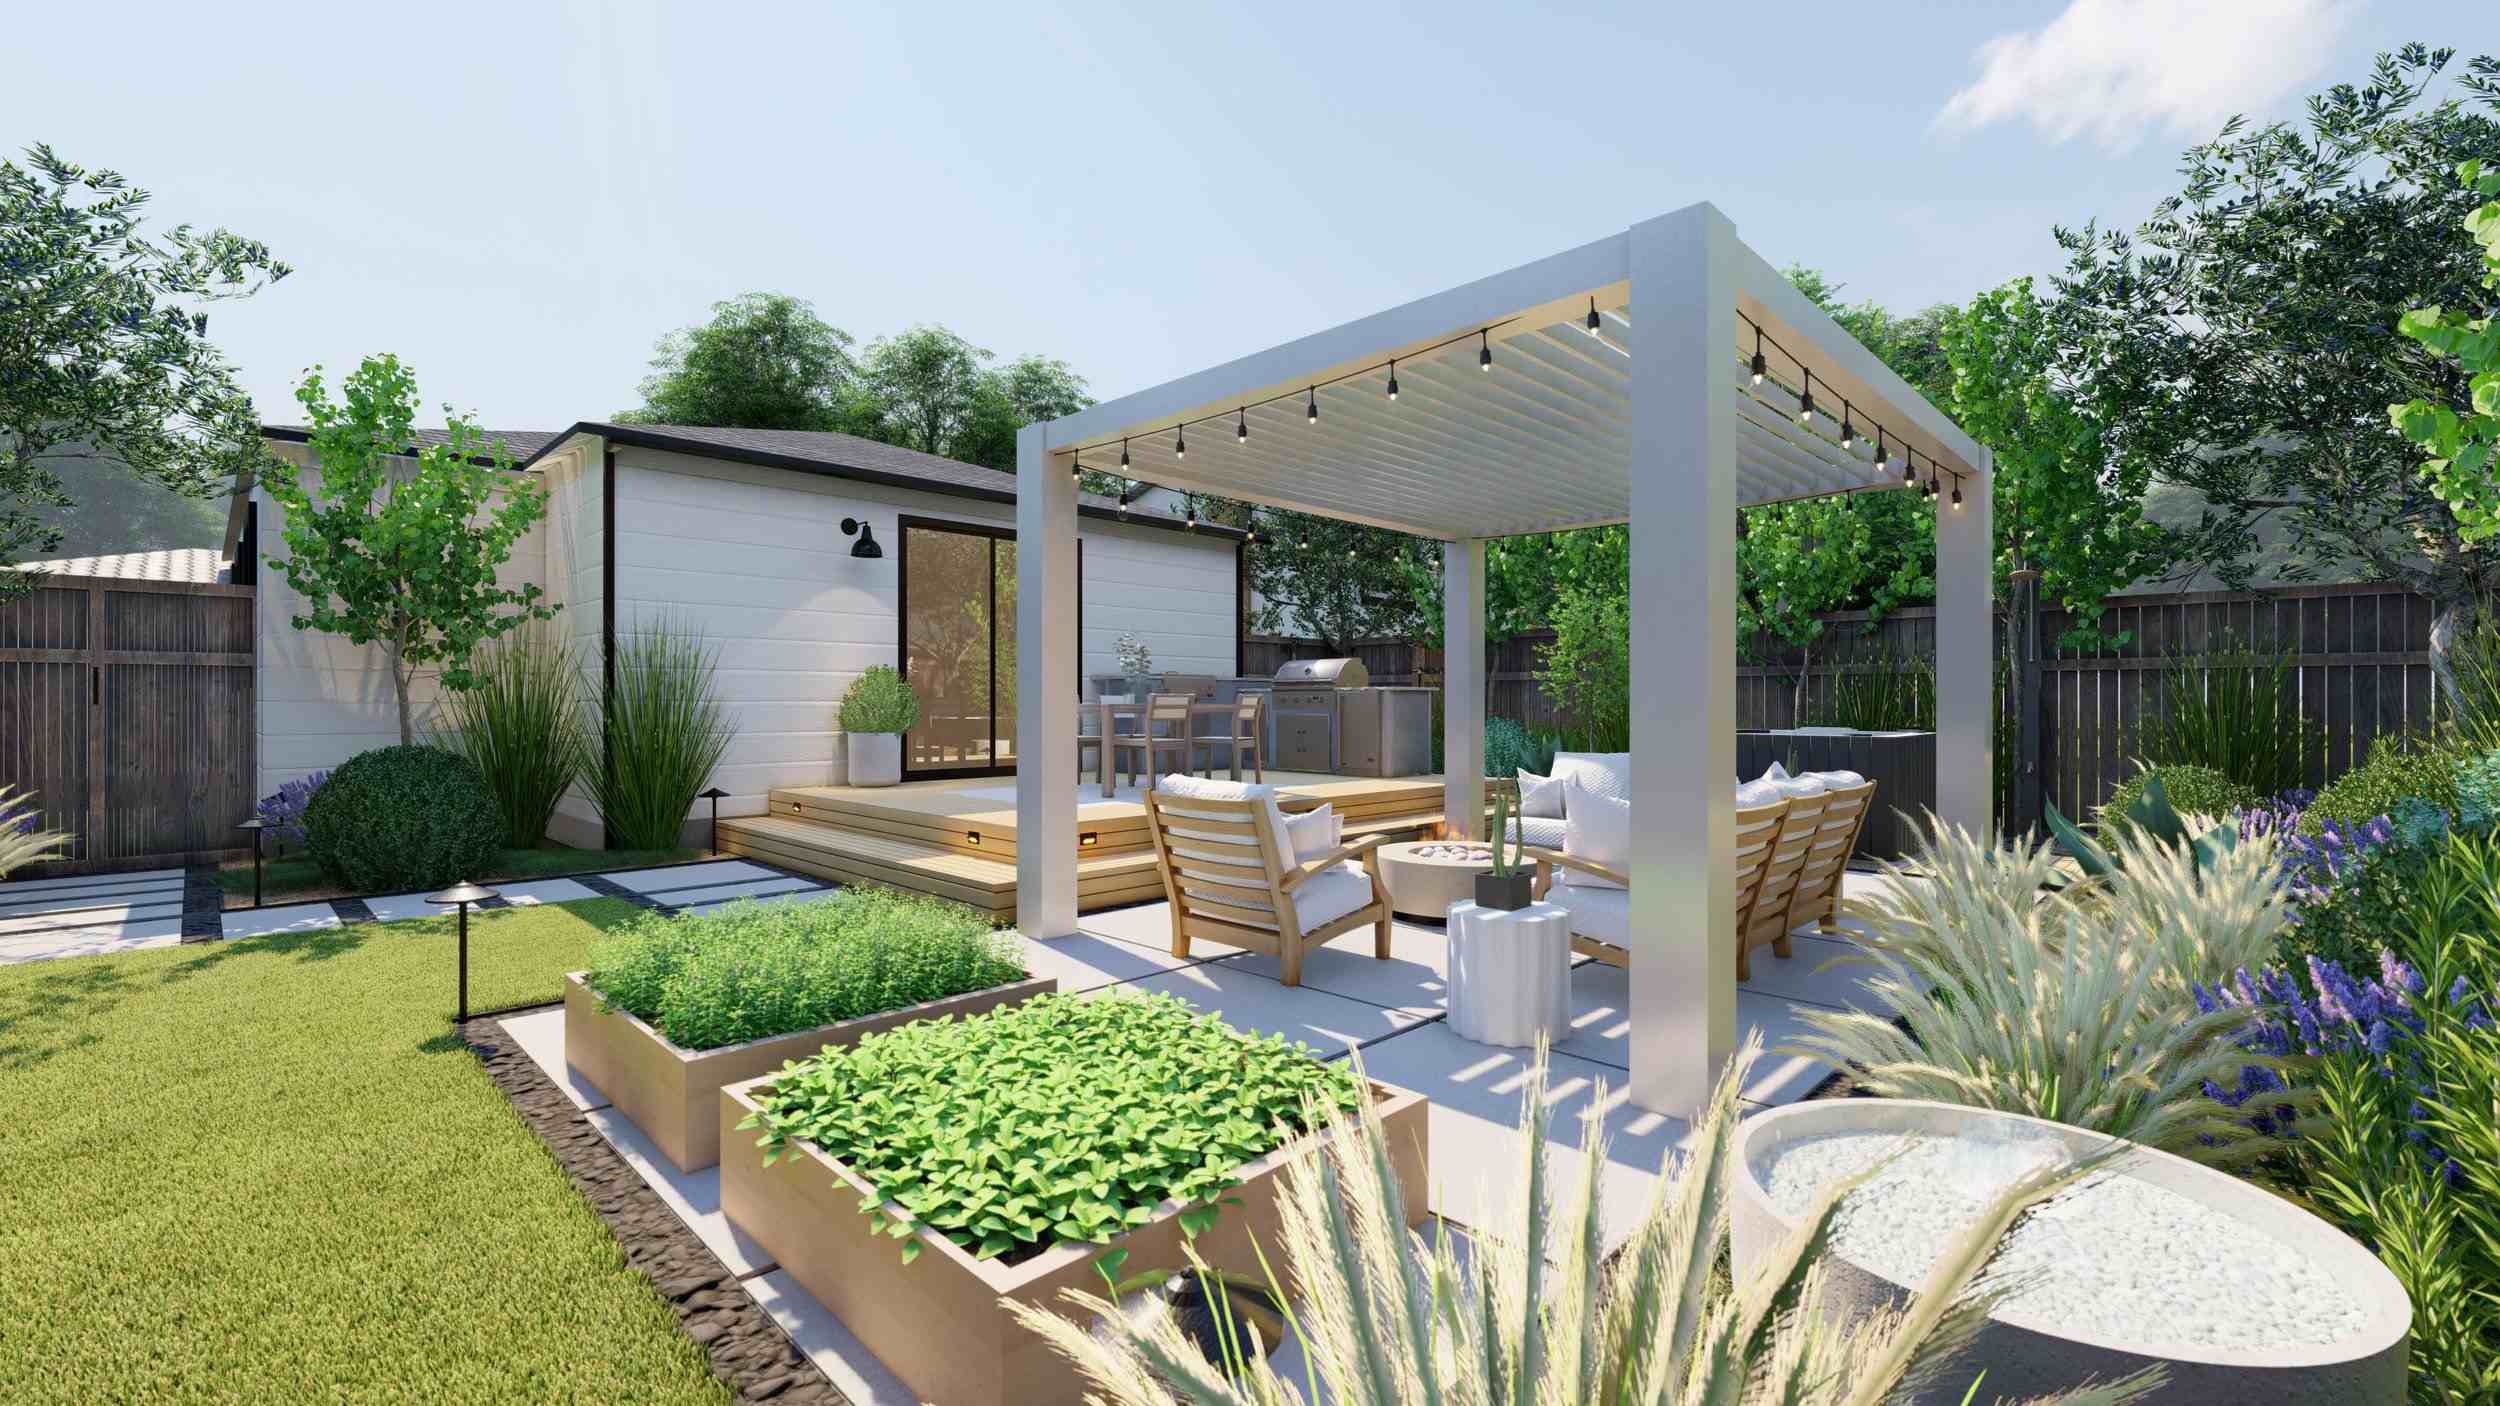
Welcome to the world of DIY backyard projects! If you’re looking to add a touch of charm and functionality to your outdoor space, paving your backyard is an excellent choice. A well-designed and neatly paved backyard can transform it into a modern, inviting, and versatile area for various activities such as entertaining guests, dining al fresco, or simply relaxing in the fresh air.
Paving a backyard may seem like a daunting task at first, but with the right guidance and some elbow grease, it can be a satisfying and rewarding project to tackle on your own. Not only will you save money by doing it yourself, but you’ll also have the freedom to choose the paving material and design that best suits your personal style and needs.
In this comprehensive guide, we’ll walk you through the step-by-step process of paving your backyard. From evaluating the area and preparing the ground to selecting the right paving material and ensuring a sturdy base, we’ve got you covered. We’ll also provide some tips for filling gaps, leveling the paved area, and keeping it well-maintained.
Whether you’re a seasoned DIY enthusiast or a novice looking to try your hand at a home improvement project, this guide will equip you with the knowledge and skills to achieve professional-looking results. So, let’s roll up our sleeves and get ready to transform your backyard into a beautiful, functional space that you’ll be proud to show off!
Step 1: Evaluate the backyard area
Before you start paving your backyard, it’s essential to evaluate the area to understand its current condition and determine the scope of the project. Here are a few key factors to consider:
- Size and shape: Measure the dimensions of your backyard to determine how much paving material you’ll need. Consider the shape of the area and whether any curves or angles need to be accounted for in your design.
- Drainage: Evaluate the existing drainage system in your backyard. Poor drainage can lead to water accumulation, which can damage the paving over time. Identify any areas that require additional drainage solutions, such as installing drains or creating slopes.
- Existing vegetation: Take note of any trees, shrubs, or plants in the area that may need to be temporarily relocated or protected during the paving process. Consider the impact of the paving on existing vegetation and plan accordingly.
- Utilities: Locate any underground utilities such as gas lines, water pipes, or electrical cables. It’s crucial to avoid damaging these utilities when digging or excavating the area for the base preparation.
- Accessibility: Assess the accessibility of the backyard for equipment and materials. Ensure there is enough space for machinery, such as a wheelbarrow or a small excavator, to maneuver during the construction process.
By thoroughly evaluating your backyard area, you’ll have a better understanding of the project requirements and can plan accordingly. Make note of any specific considerations or challenges you may encounter during the paving process. This initial assessment will help you move seamlessly into the next steps of the project and ensure a smoother overall experience.
Step 2: Clear the area and prepare the ground
Now that you’ve evaluated the backyard area, it’s time to prepare the ground for the paving process. Proper ground preparation is crucial to ensure a stable foundation for your paving and prevent any issues such as sinking or cracking. Here’s what you need to do:
- Clear the area: Start by removing any existing objects, such as furniture, plants, rocks, or debris, from the backyard. Clearing the area will give you a clean canvas to work with and make it easier to envision your desired design.
- Excavate the soil: Next, use a shovel or an excavator to dig down and remove the top layer of soil. The depth of excavation will depend on the thickness of the paving material and the required base. Generally, a depth of around 6-8 inches is recommended for most paving projects.
- Level the ground: After excavating, use a rake or a compactor to level the ground and remove any bumps or uneven areas. This step is crucial as it ensures a smooth and even surface for your paving material.
- Add a weed barrier: To prevent weed growth, it’s a good idea to lay down a weed barrier fabric over the cleared and leveled ground. This will help suppress weed growth and maintain the overall aesthetics of your paved backyard.
- Add a layer of base material: Depending on the type of paving material you choose, you may need to add a layer of base material over the weed barrier fabric. This base material, often composed of crushed stone or gravel, helps with drainage and provides additional stability for your paving.
- Compact the base: Use a compactor or a tamper to compact the base material firmly. This step is essential to ensure a solid and stable foundation for your paving and minimize any potential shifting or settling over time.
Clearing the area and properly preparing the ground sets the stage for a successful paving project. Take your time with this step to ensure that the ground is level, stable, and ready for the next phase. By doing so, you’ll be on your way to creating a beautifully paved backyard that will stand the test of time.
Step 3: Determine the type of paving material
Choosing the right type of paving material for your backyard is a crucial decision that will impact the overall look, durability, and maintenance of your paved area. Consider the following factors when determining the type of paving material:
- Aesthetic appeal: Think about the style and aesthetic you want to achieve in your backyard. Do you prefer a modern, sleek look or a more rustic and natural feel? Different paving materials, such as concrete, natural stone, brick, or pavers, offer various textures, colors, and patterns to suit your design preferences.
- Budget: Set a budget for your project and research the cost of different paving materials. Keep in mind that while some materials may have a higher upfront cost, they may require less maintenance and have a longer lifespan, making them a cost-effective choice in the long run.
- Climate and durability: Consider the climate in your area and the durability of different paving materials. Some materials, like concrete or natural stone, are more resistant to harsh weather conditions and wear, making them suitable for areas with extreme temperatures or heavy foot traffic.
- Maintenance requirements: Assess how much time and effort you’re willing to invest in maintaining your paved backyard. Some materials may require regular sealing, cleaning, or repairs, while others may be more low-maintenance.
- Functionality: Think about how you plan to use your backyard. If you frequently entertain guests or have children who love to play, you may prioritize a material that is slip-resistant or suitable for outdoor activities.
Do your research, visit local suppliers, and gather samples of different paving materials to get a better sense of their appearance and texture. Additionally, consult with professionals or seek advice from experienced DIYers to gain insights into the pros and cons of each material. Ultimately, choose a paving material that aligns with your personal preferences, budget, and the specific needs of your backyard.
Step 4: Measure and mark the area to be paved
Accurate measurements and proper marking are essential steps in paving your backyard. They will not only ensure that you purchase the correct amount of paving material but also help you visualize and plan the layout of your paved area. Follow these steps to measure and mark the area:
- Measure the dimensions: Use a measuring tape or a laser distance measurer to measure the length and width of your backyard. Be sure to account for any irregularities or angles in the shape of the area.
- Calculate the square footage: Multiply the length and width measurements to determine the square footage of the area to be paved. This calculation will help you estimate the amount of paving material required.
- Mark the boundaries: Use string, stakes, or spray paint to mark the boundaries of the paved area. This step will provide a visual guide for the installation process and ensure that the paving remains within the designated area.
- Consider additional features: If you plan to incorporate additional features like pathways, seating areas, or planters, mark their locations within the overall layout. This will help you visualize the placement of these elements and ensure they are integrated seamlessly into the design.
- Account for edging: Determine whether you want to include edging along the perimeter of your paved area for a clean and finished look. If so, measure and mark the location of the edging material.
Taking accurate measurements and marking the area will help you during the purchasing process, ensuring that you have the right amount of paving material and any necessary accessories. Additionally, marking the boundaries and other features will guide you during the installation process, resulting in a properly defined and aesthetically pleasing paved backyard.
Step 5: Prepare the base for the paving
Creating a solid and stable base is a crucial step in paving your backyard. The base provides a foundation for the paving material, ensuring long-term durability and preventing shifting or settling. Follow these steps to prepare the base:
- Excavate the base: Use a shovel or an excavator to dig out the soil to the depth recommended for the base material. This depth is typically around 4-6 inches, but it may vary depending on the type of paving material and the local soil conditions.
- Level and compact the base: Use a rake or a compactor to level the excavated area and remove any bumps or uneven spots. Compact the base by repeatedly running a compactor over it, ensuring a firm and uniform surface.
- Add a layer of base material: Spread a layer of crushed stone or gravel evenly over the compacted base. The thickness of this layer will depend on the specific requirements of your paving material and the local climate conditions. Typically, a thickness between 2-4 inches is recommended.
- Compact and level the base material: Use a compactor to firmly compact the base material. Ensure that the surface is level by using a straight board and a level instrument for reference. Adjust the base material as needed to achieve an even and stable surface.
- Consider edge restraints: Depending on the type of paving material and the design of your backyard, you may need to install edge restraints along the perimeter of the base. These restraints, such as plastic or metal edging, will help maintain the integrity of the paved area and prevent any shifting or spreading.
Properly preparing the base is crucial for the stability and longevity of your paving. It ensures that your paving material stays intact and provides a solid foundation for any foot traffic or outdoor furniture. Take your time with this step to ensure a well-built base that will support your paved backyard for years to come.
Step 6: Lay the paving material
Now comes the exciting part of actually laying the paving material in your backyard. This step requires careful attention to detail and precision to ensure a professional-looking and durable result. Follow these steps to lay the paving material:
- Start from a corner: Begin laying the paving material from a corner of the area and work your way out. This will help you maintain a consistent pattern and ensure that the material fits properly within the designated space.
- Follow the design plan: If you have a specific design or pattern in mind, refer to your plan to guide the placement of the paving material. Pay attention to the orientation and alignment of each piece as you lay them, ensuring a visually appealing result.
- Allow for spacing: Depending on the type of paving material, you may need to leave a small gap between each piece for expansion and contraction. Use spacers or your fingers to create consistent spacing as you lay each piece.
- Ensure levelness: Use a level instrument to ensure that the paving material is level as you lay it. This is particularly important for areas where you plan to place furniture or create walking paths, as uneven surfaces can create safety hazards or cause furniture to wobble.
- Trim when necessary: As you reach the edges or encounter obstacles, you may need to trim or cut the paving material to fit the designated area. Use appropriate tools, such as a saw or a chisel, to make clean and precise cuts.
- Check for stability: After laying a section of paving material, lightly tap each piece with a rubber mallet to ensure that they are firmly in place and properly seated on the base. This will help eliminate any potential movement or shifting later on.
Laying the paving material requires patience and careful attention to detail. Take your time to ensure that each piece is properly aligned, level, and securely placed. By following these steps, you’ll create a visually stunning and structurally sound paved backyard that will enhance your outdoor living space.
Step 7: Fill the gaps and seams
Once the paving material is laid, it’s time to fill in the gaps and seams between the pieces. This step not only enhances the aesthetic appeal of your paved backyard but also provides stability and prevents weed growth. Follow these steps to fill the gaps and seams:
- Select the appropriate filler material: Depending on the type of paving material used, you can choose from various options to fill the gaps, such as fine sand, polymeric sand, or mortar. Consider the specific requirements of your paving material and the desired final look when selecting the filler.
- Sweep the filler material: Start by sweeping the chosen filler material into the gaps and seams using a broom or a brush. Ensure that all the gaps are evenly filled and that the material settles securely between the pieces.
- Compact the filler: Use a compactor or a tamper to gently compact the filler material. This step helps to level the filler and creates a solid, stable surface. Ensure that the filler is evenly distributed and adequately compacted across all the gaps.
- Remove excess filler: Once the filler material is compacted, use a broom or a brush to sweep away any excess filler on the surface of the paved area. This will help achieve a clean and finished look.
- Mist with water (if applicable): If you’re using polymeric sand as the filler material, lightly mist the paved area with water. This activates the binding agent in the sand, creating a solid and stable surface. Follow the specific instructions provided by the manufacturer for best results.
- Inspect for gaps: After filling the gaps, inspect the paved area to ensure that all the gaps are properly filled and there are no areas with insufficient filler. Add more filler material as needed to achieve a consistent and visually pleasing result.
Filling the gaps and seams is an important step in the paving process. It not only enhances the overall appearance of your paved backyard but also helps to stabilize the paving material and prevent weed growth. Take your time to ensure that the filler material is evenly distributed and properly compacted for a high-quality finish.
Step 8: Compact and level the paved area
Once the paving material is in place and the gaps are filled, it’s crucial to properly compact and level the paved area. This step ensures the stability, durability, and overall quality of the surface. Follow these steps to compact and level the paved area:
- Use a compactor: Use a plate compactor or a vibrating compactor to firmly compact the entire paved area. The compactor applies pressure evenly across the surface, helping to set the paving material and eliminate any gaps or unevenness.
- Work in small sections: Divide the paved area into manageable sections and compact each section methodically. Start from one end and work your way towards the other, making multiple passes with the compactor to achieve a solid base.
- Check for levelness: Periodically check the levelness of the paved area as you compact it. Use a level instrument to ensure that the surface is even, especially in areas where there are different levels or transitions.
- Fill low spots: If you notice any low spots or depressions in the paved area, add additional filler material or paving material to bring them to the desired level. Compact the added material to ensure it blends seamlessly with the rest of the paved area.
- Adjust any loose pieces: While compacting, keep an eye out for any loose or unevenly laid paving pieces. Gently adjust them by tapping with a rubber mallet or using a pry bar to ensure a snug fit and a level surface.
- Inspect for any gaps or cracks: Once the compaction is complete, inspect the paved area for any remaining gaps or cracks. Fill them with additional filler material or consider replacing any damaged paving pieces.
Compacting and leveling the paved area is a critical step to ensure a solid and uniform surface. Take your time during this step, making sure to apply even pressure and address any inconsistencies. The end result will be a beautifully finished paved area that is stable, level, and ready for years of enjoyment.
Step 9: Finishing touches and maintenance tips
As you near the completion of your backyard paving project, there are a few finishing touches to consider and essential maintenance tips to keep in mind. These final steps will add the perfect finishing touches and help prolong the lifespan of your newly paved area. Follow these guidelines:
- Seal the surface (optional): Depending on the type of paving material used, you may choose to apply a sealant to protect the surface from stains, fading, and moisture damage. Follow the manufacturer’s instructions for the specific sealant and apply it as recommended.
- Add edging: Install the desired edging around the perimeter of your paved area to provide a clean and defined finish. This will also help prevent any shifting or spreading of the paving material over time.
- Regular cleaning: Keep the paved area clean by regularly sweeping away debris and dirt. This will prevent them from settling into the gaps and seams, which can lead to weed growth and potential damage to the paving material.
- Address stains promptly: If you notice any stains or spills on the paving surface, clean them up promptly to prevent them from penetrating and becoming more difficult to remove. Use mild detergents or specialized cleaning solutions as recommended for your specific paving material.
- Inspect and repair: Regularly inspect the paved area for any signs of damage, such as cracks or loose pieces. Address these issues promptly by filling cracks or replacing damaged pieces to prevent further deterioration.
- Protect during winter: If you live in an area with freezing temperatures, take precautions to protect your paved backyard during the winter months. Use snow shovels with rubber or plastic blades to remove snow and avoid using metal tools that could scratch the surface.
- Reapply sealer (if applicable): If you’ve applied a sealant to your paving material, monitor its condition and reapply as necessary according to the recommended timeframe. This will help maintain the protective layer and prolong the lifespan of the paved area.
By paying attention to these finishing touches and practicing proper maintenance, you can ensure that your paved backyard remains in excellent condition for years to come. Regular upkeep and addressing any issues promptly will help preserve the beauty and functionality of your paved area, allowing you to enjoy it for various outdoor activities and gatherings.
Conclusion
Congratulations on completing your backyard paving project! By following the step-by-step guide provided in this article, you have transformed your outdoor space into a functional and visually appealing area. Whether you paved your backyard for entertaining guests, creating a cozy seating area, or simply enhancing the overall aesthetics, you’ve taken a significant step in improving your home.
Remember, proper planning, evaluation of the area, and selection of the right paving material are key to a successful project. Clearing and preparing the ground, measuring and marking the area, and creating a solid base are crucial for a stable and durable paved surface. Laying the paving material, filling gaps and seams, and compacting and leveling ensure a professional finish. The finishing touches and regular maintenance will help maintain the beauty and integrity of your paved backyard over time.
Now that your backyard is paved, it’s time to enjoy the fruits of your labor. Take a moment to appreciate your hard work and creativity. Whether it’s hosting memorable gatherings, relaxing in your outdoor oasis, or engaging in outdoor activities with your family, your paved backyard will provide endless opportunities for enjoyment.
Remember, if you ever decide to change the layout or add new features to your paved area, the knowledge and skills you have gained from this project can be applied to future endeavors. With your newfound DIY expertise, you can confidently tackle new projects and continue to enhance your home and outdoor living spaces.
So, savor the satisfaction of a job well done and embrace the beauty and functionality of your paved backyard. Enjoy creating lasting memories in your new outdoor haven!