Home>Gardening Techniques>DIY Projects>How To Put Pavers In Backyard
DIY Projects
How To Put Pavers In Backyard
Published: August 5, 2023
Learn how to create beautiful DIY projects by putting pavers in your backyard. Enhance your outdoor space with our easy-to-follow guide!
(Many of the links in this article redirect to a specific reviewed product. Your purchase of these products through affiliate links helps to generate commission for Chicagolandgardening.com, at no extra cost. Learn more)
Table of Contents
Introduction
Welcome to the exciting world of DIY backyard projects! If you’re looking to enhance the beauty and functionality of your outdoor space, you’ve come to the right place. In this article, we’ll guide you through the process of putting pavers in your backyard, a versatile and durable option for upgrading your patio or walkway.
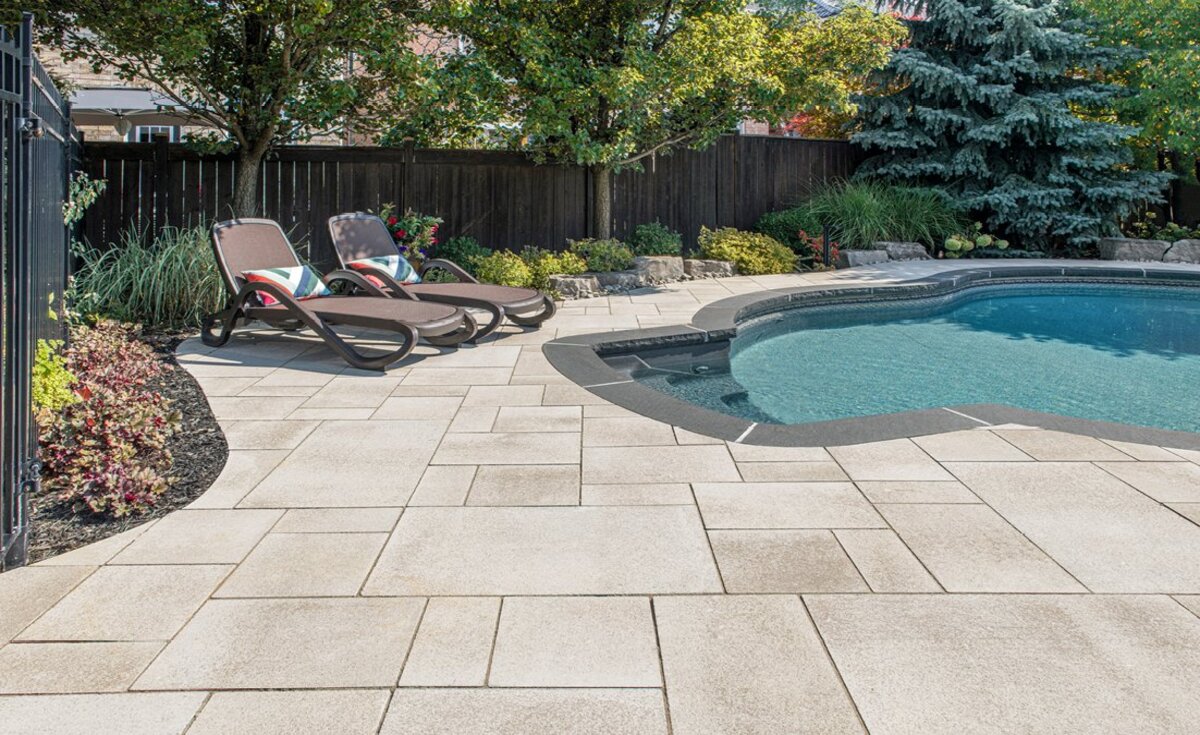
Pavers are interlocking bricks or stones that can be arranged in various patterns to create a visually appealing surface. They not only add aesthetic value to your backyard but also provide a sturdy and safe area for walking, lounging, or hosting outdoor gatherings.
By following our step-by-step guide, you’ll be able to successfully tackle this DIY project and transform your backyard into a stunning oasis. Before we dive in, let’s discuss some of the key benefits of using pavers in your outdoor space.
- Durability: Pavers are known for their strength and longevity, making them a great investment for your backyard.
- Customizability: With a wide range of colors, shapes, and patterns available, pavers allow you to create a unique and personalized outdoor area that matches your style.
- Low Maintenance: Unlike other traditional paving materials, pavers require minimal upkeep. They are resistant to cracking, fading, and staining, making them an ideal choice for busy homeowners.
- Easy Repairs: In case a paver gets damaged, it can be easily replaced without having to redo the entire surface.
- Increased Property Value: Adding pavers to your backyard can significantly enhance the overall value of your property, making it more attractive to potential buyers if you ever decide to sell.
Now that you understand the benefits of using pavers, let’s move on to the first step of the installation process: planning and preparation. Paying attention to these initial stages will set the foundation for a successful project and ensure that you achieve the desired results.
Step 1: Planning and Preparation
Before you start laying pavers in your backyard, it’s crucial to spend some time planning and preparing the area. This initial step will help you determine the layout, gather the necessary materials, and ensure a smooth installation process. Here’s what you need to do:
- Assess the area: Begin by assessing the area where you want to install the pavers. Consider the purpose of the space – whether it’s a patio, walkway, or driveway – and visualize how you want it to look. Take measurements of the area and note any existing obstacles or features that you need to work around.
- Create a design: Next, create a design for your paver installation. You can use graph paper or online design tools to sketch out your plan. Play around with different patterns, colors, and sizes to see what works best for your space. Remember to also consider the slope of the area and plan for proper water drainage.
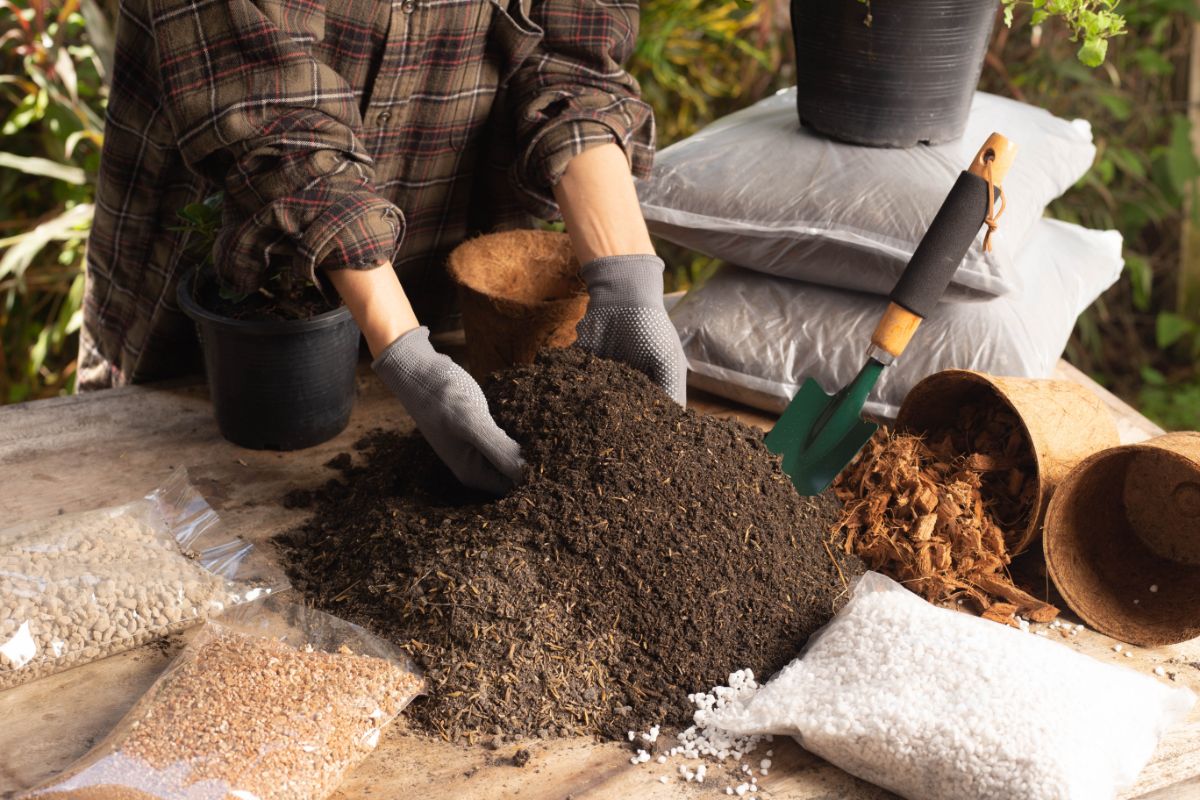
- Gather the materials: Once you have your design in place, make a list of the materials you’ll need. This typically includes pavers, base material (such as crushed gravel or sand), edging, and any additional tools like a shovel, level, and tamper. Consult with a local supplier to ensure you have the correct quantity and type of materials.
- Check for permits: Depending on your location and the scope of your project, you may need to obtain permits before starting the installation. Check with your local municipality or homeowner’s association to ensure you comply with any regulations or restrictions.
- Prepare the site: Before you start digging, it’s crucial to mark the boundaries of your installation area. Use stakes and string to create a clear outline of where the pavers will be laid. This will help you stay on track and ensure straight lines and accurate measurements.
- Clear the area: Remove any vegetation, debris, or obstacles from the site. This may involve trimming grass, pulling weeds, or relocating any objects that may hinder the installation process.
Taking the time to properly plan and prepare your backyard will set the stage for a successful paver installation. It will help you visualize the final result, gather the necessary materials, and avoid any potential roadblocks along the way. Now that you’ve completed the planning and preparation stage, it’s time to move on to the next step: marking the area.
Step 2: Marking the Area
Now that you’ve completed the planning and preparation stage, it’s time to mark the area where you’ll be installing the pavers. This step is essential to ensure accurate placement and alignment of the pavers. Follow these guidelines to mark the area:
- Use stakes and string: Start by placing stakes at each corner of the designated area. Stretch a string tightly between the stakes to create a straight line. This will serve as a guide for the outer edge of the paver installation.
- Measure and adjust: Use a tape measure to ensure that the string is at the correct height and level. Adjust the height of the string by raising or lowering the stakes as needed. It’s important to maintain a consistent level throughout the installation area.
- Mark the string: Once the string is leveled and taut, mark it with spray paint or a chalk line. This will provide a visible reference point for the outer border of the paver installation.
- Identify the slope: If your installation area has a slope, determine the direction and degree of the slope. This information will help you plan the proper drainage and ensure that the pavers are laid at the correct angle.
- Add additional lines: Depending on the design of your paver installation, you may need to add additional lines within the marked area. Use the same process of stretching string lines and marking them with spray paint or chalk. These additional lines will help guide the placement of the pavers and maintain alignment.
Marking the area is a critical step in the paver installation process as it sets the boundaries and ensures a neat and precise installation. Take the time to measure accurately, adjust for any slope, and mark all necessary lines within the installation area. With the area marked, you’re now ready to move on to the next step: excavation.
Step 3: Excavation
With the area marked for your paver installation, it’s time to start the excavation process. Excavation involves the removal of existing soil and vegetation to create a level and stable base for your pavers. Follow these steps for proper excavation:
- Gather the necessary tools: Before you begin digging, gather the tools you’ll need for excavation. This typically includes a shovel, wheelbarrow, and a rake. Having these tools on hand will make the process easier and more efficient.
- Digging: Start digging within the marked area, working from the outer edges towards the center. Remove the top layer of grass, roots, and any underlying vegetation. Dig to a depth of at least 6 inches, or as specified in your design and local guidelines. Ensure the excavation is even and smooth, maintaining the slope if applicable.
- Check the depth: Periodically check the depth of your excavation using a tape measure or a level. This will help you ensure that the depth is consistent and matches the desired level for your paver installation.
- Dispose of excavated materials: As you excavate, place the soil and debris in a wheelbarrow or designated area for disposal. If the soil is in good condition, consider repurposing it in other areas of your garden or landscaping. Otherwise, dispose of it responsibly or consult with local waste management guidelines.
- Compact the soil: Once the excavation is complete, use a hand tamper or plate compactor to compact the soil. This will provide a firm base for the subsequent layers and help prevent future settling or shifting of the pavers.
Remember that proper excavation is crucial for the stability and longevity of your paver installation. Take the time to dig to the correct depth, ensure an even excavation, and compact the soil effectively. With the excavation complete, you’re ready to move on to the next step: base preparation.
Step 4: Base Preparation
Now that you have completed the excavation, it’s time to focus on preparing the base for your pavers. The base serves as a stable foundation that supports the weight of the pavers and provides proper drainage. Follow these steps for effective base preparation:
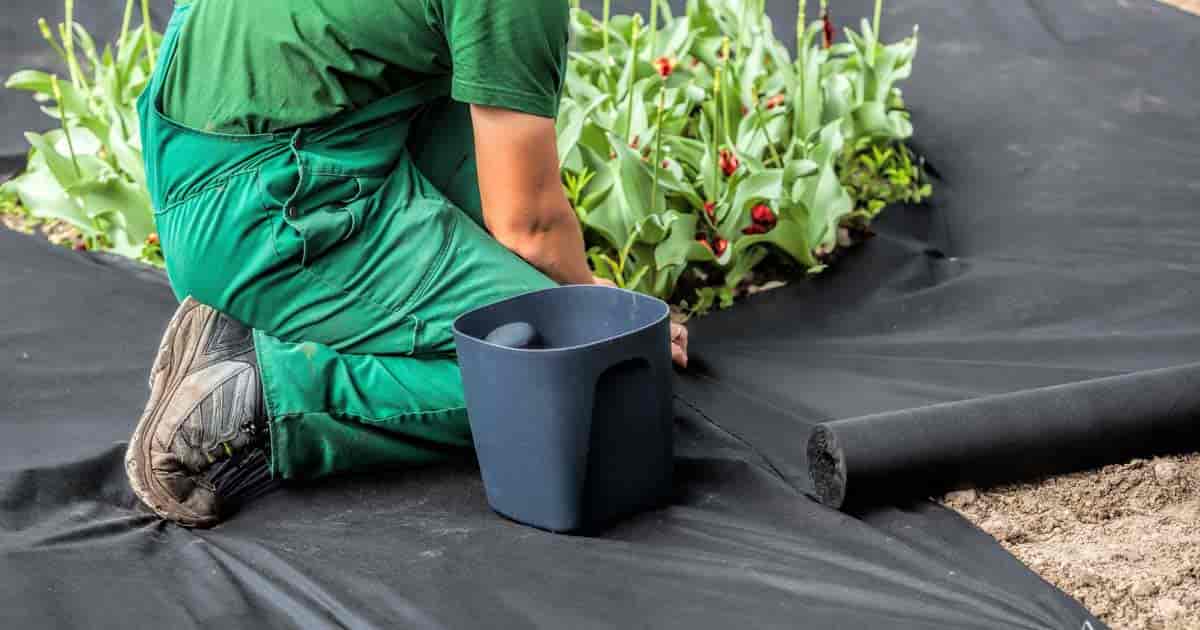
- Add a layer of geotextile fabric: To prevent weed growth and stabilize the soil, lay a layer of geotextile fabric over the excavated area. Trim the fabric to fit within the marked boundary of your paver installation, ensuring complete coverage.
- Add the base material: Pour a layer of crushed gravel or coarse sand over the geotextile fabric. The depth of the base material should typically be around 4 to 6 inches, but this may vary based on your design and local guidelines. Ensure even distribution and use a rake to level the base material.
- Compact the base: Use a plate compactor or hand tamper to compact the base material. This step is vital to create a stable and sturdy foundation for your pavers. Compact the base in multiple passes, applying pressure evenly to eliminate air pockets and achieve proper compaction.
- Check for proper slope: Use a level or straight edge to check the slope of the compacted base. Ideally, the slope should have a slight gradient to ensure proper water drainage. Adjust the base as needed to achieve the desired slope.
- Add additional layers (if required): Depending on your design and local guidelines, you may need to add additional layers to your base. These layers may include a layer of finer sand for levelling or additional base material for greater stability.
By meticulously preparing the base, you are ensuring a solid foundation that will help prevent shifting, settling, and weed growth. Remember to maintain the correct depth, compact the base material thoroughly, and check for proper slope. With the base prepared, you’re ready for the next exciting step: installing the pavers!
Step 5: Installing the Pavers
It’s time to bring your backyard project to life by installing the pavers. This step requires careful placement and alignment to achieve a polished and professional look. Follow these steps for successful paver installation:
- Start from a corner: Begin at one corner of the marked area and work your way outwards. This will ensure a systematic and organized installation process.
- Apply the bedding sand: Spread a layer of bedding sand over the compacted base. The thickness of this layer typically ranges from 1 to 1.5 inches. Use a rake to distribute the sand evenly, ensuring a level surface for the pavers.
- Place the pavers: Carefully place each paver on top of the bedding sand, following the pattern you have chosen. Use a slight twisting motion to set the pavers firmly in place. Leave a small gap of about 1/8 to 1/4 inch between each paver to allow for jointing and proper drainage.
- Check for alignment and levelness: Regularly check the alignment and levelness of the pavers using a level or straight edge. Make any necessary adjustments by tapping the pavers with a rubber mallet or gently lifting and readjusting them.
- Continue laying the pavers: Work your way across the installation area, placing the pavers side by side in the desired pattern. Maintain consistency in the spacing and alignment, periodically double-checking with the level or straight edge.
- Cut the pavers (if necessary): If you encounter areas where full-sized pavers do not fit, you may need to cut them to size using a wet saw or a paver splitter. Follow the manufacturer’s instructions and use safety precautions when cutting the pavers.
Continue installing the pavers, paying attention to the pattern, alignment, and levelness. Take breaks as needed to rest and double-check your progress. Remember to periodically sweep sand between the joints to ensure stability and prevent shifting. With the pavers installed, you’re almost finished. The next step is to add edging for a polished and finished look.
Step 6: Adding Edging
Adding edging to your paver installation serves multiple purposes. It provides a clean and finished look, helps to contain the pavers, and prevents them from shifting or spreading over time. Here’s what you need to do to add edging to your project:
- Select the appropriate edging: Choose the type of edging that best matches your desired aesthetic and functional needs. Common options include plastic, metal, or concrete edging. Consider the overall style of your backyard and select edging that complements the paver design.
- Prepare the installation area: Clear away any debris or excess sand from the edges of your paver installation. Ensure that the area is clean and free of any obstructions.
- Place the edging: Install the edging along the outer boundaries of your paver installation. Position it so that it sits slightly above the paver surface, acting as a barrier to prevent shifting or spreading. Use stakes or other supporting materials as necessary to secure the edging in place.
- Secure the edging: Depending on the type of edging you’re using, secure it in place by driving stakes or screws through the pre-drilled holes or by using connectors provided with the edging. Ensure that the edging is level and properly aligned with the pavers.
- Trim or adjust the edging: If necessary, trim the edging to fit the desired length using a saw or a utility knife. Make sure to follow the manufacturer’s instructions and take necessary safety precautions when cutting or adjusting the edging.
Adding edging to your paver installation not only enhances the overall appearance but also increases the stability and longevity of your project. It provides a defined border, prevents spreading, and helps to maintain the integrity of the pavers. Once the edging is in place, you’re ready for the final step: adding the finishing touches.
Step 7: Finishing Touches
Congratulations! You’re in the final stage of your paver installation project. Adding the finishing touches will help enhance the overall look and functionality of your backyard space. Here are some important steps to consider:
- Sweeping and cleaning: Take a broom and sweep off any excess sand or debris from the surface of the pavers. This will create a clean and polished appearance.
- Compact the pavers: Use a plate compactor to gently compact the pavers into the bedding sand. This will help settle them into place and create a more stable surface.
- Fill the joints: Fill the gaps between the pavers with polymeric sand or fine sand. Use a broom to sweep the sand across the entire surface, ensuring that it fills the joints completely. Follow the manufacturer’s instructions for the specific type of sand you are using.
- Compact the sand: Gently use a plate compactor or a hand tamper to compact the sand-filled joints. This will help lock the pavers in place and prevent weed growth.
- Seal the pavers (optional): Applying a sealer to the pavers is an optional step that can enhance their color, protect against stains, and extend their lifespan. Follow the manufacturer’s instructions for the appropriate type of sealer and apply it according to the recommended frequency.
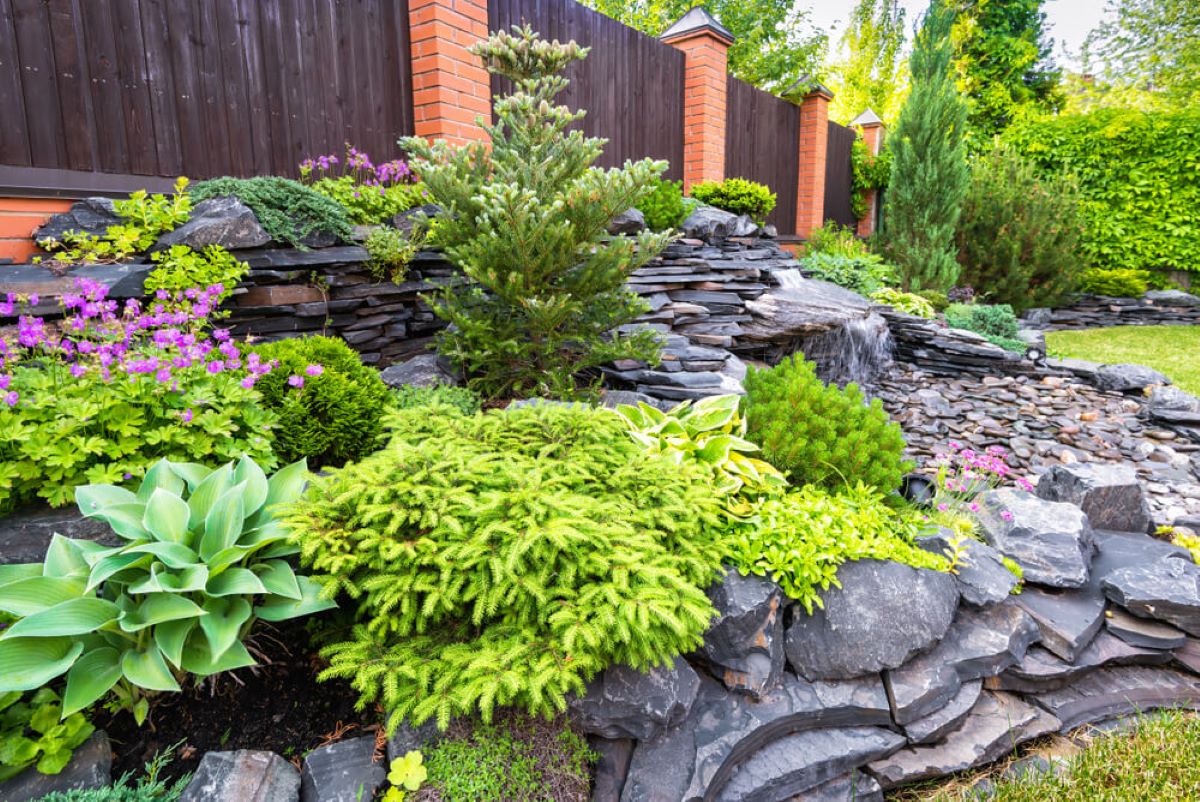
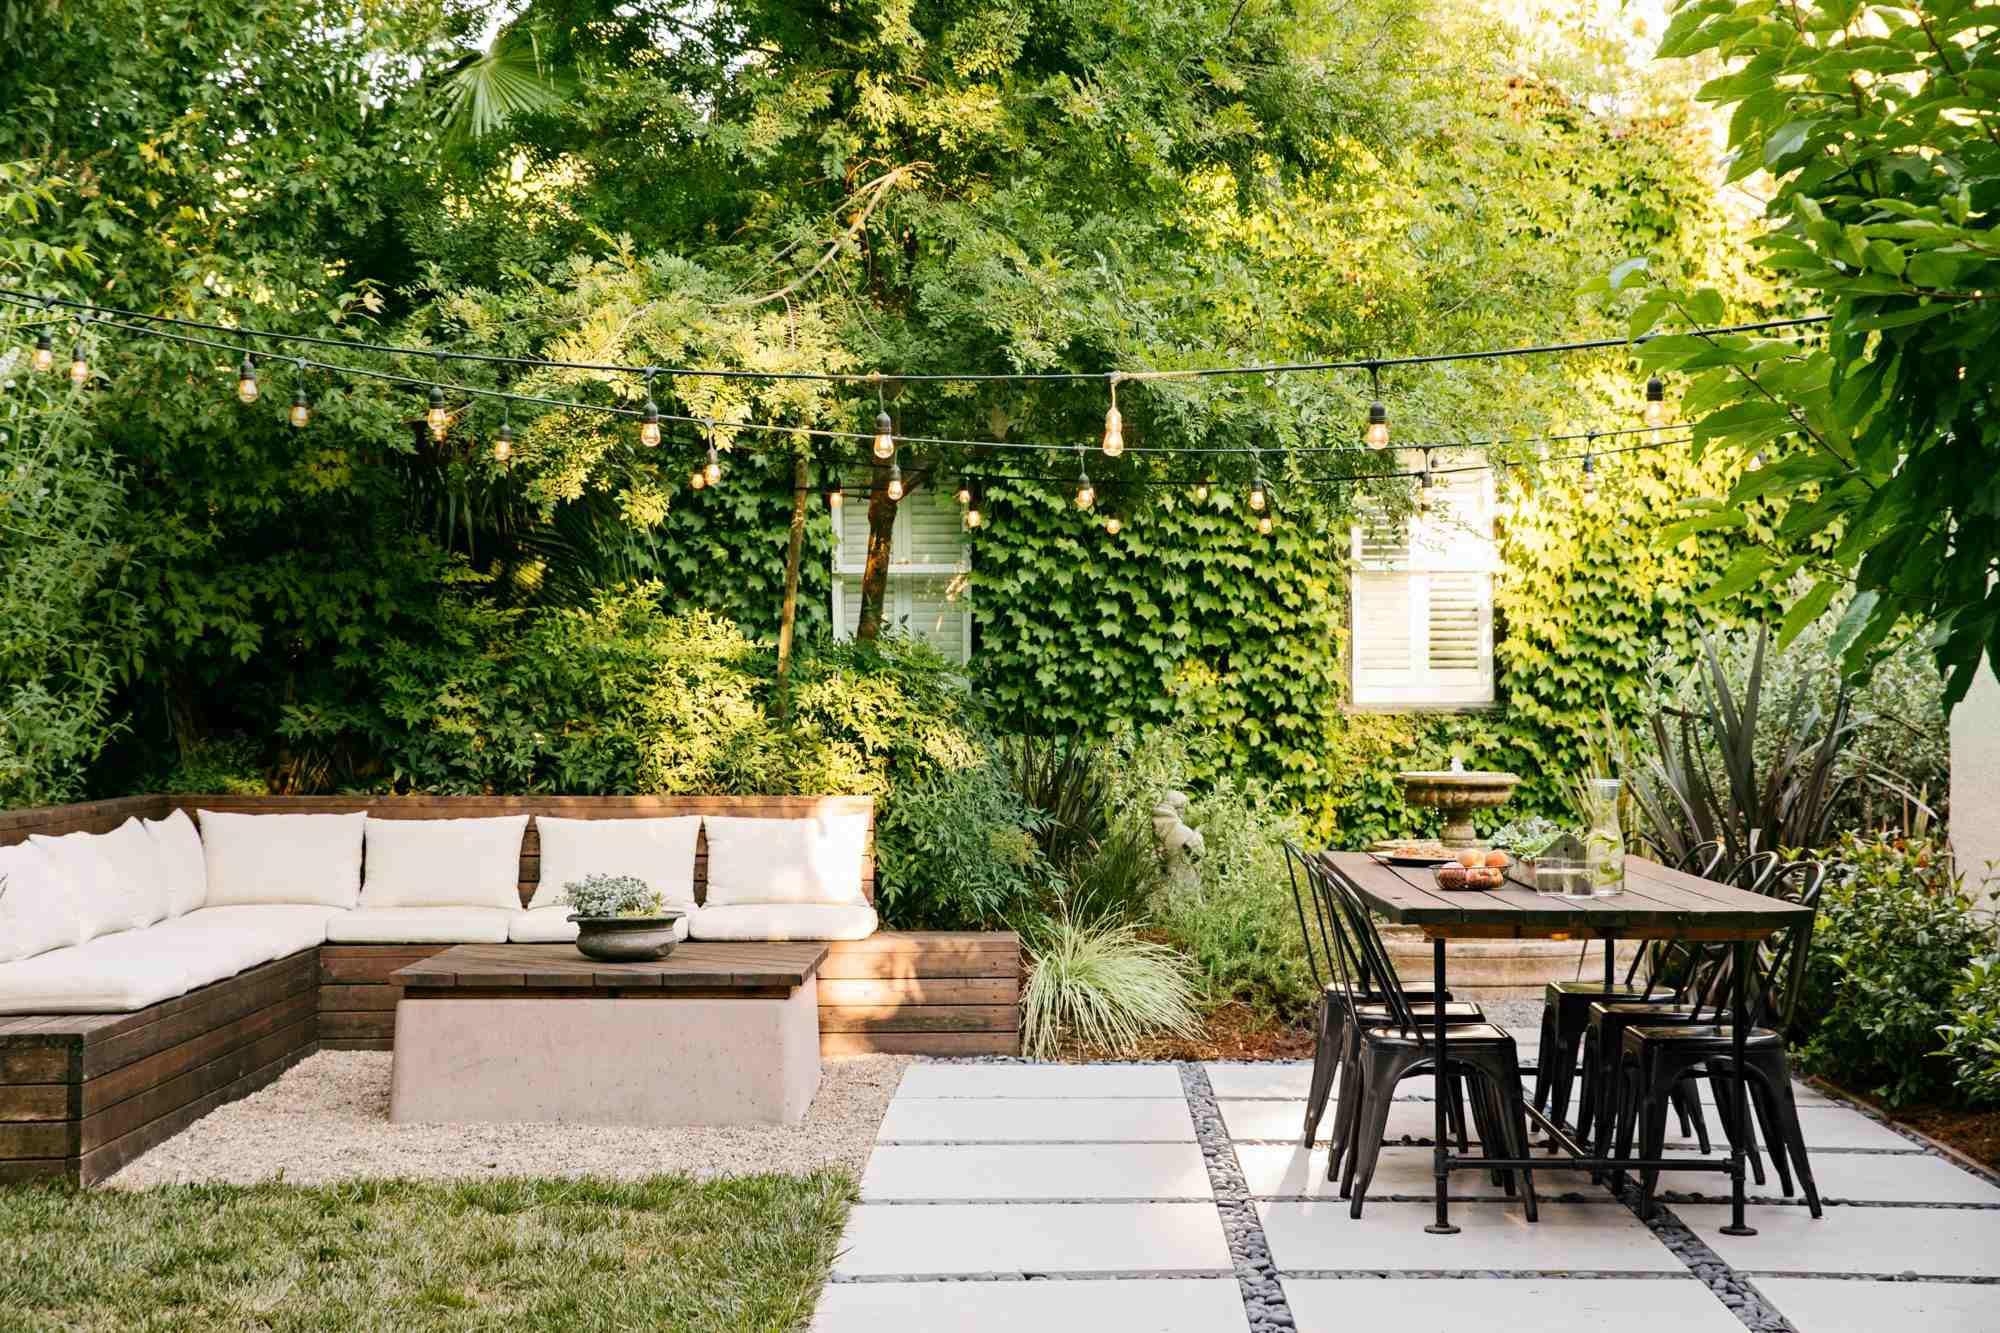
- Add landscaping elements: To further enhance your backyard space, consider adding landscaping elements such as plants, garden beds, or outdoor furniture. These elements will help create a cohesive and inviting environment.
By paying attention to these finishing touches, you can ensure that your paver installation looks clean, professional, and well-maintained. Take the time to sweep, compact, fill the joints, and consider sealing the pavers if desired. Adding complementary landscaping elements will tie everything together and create a welcoming outdoor space.
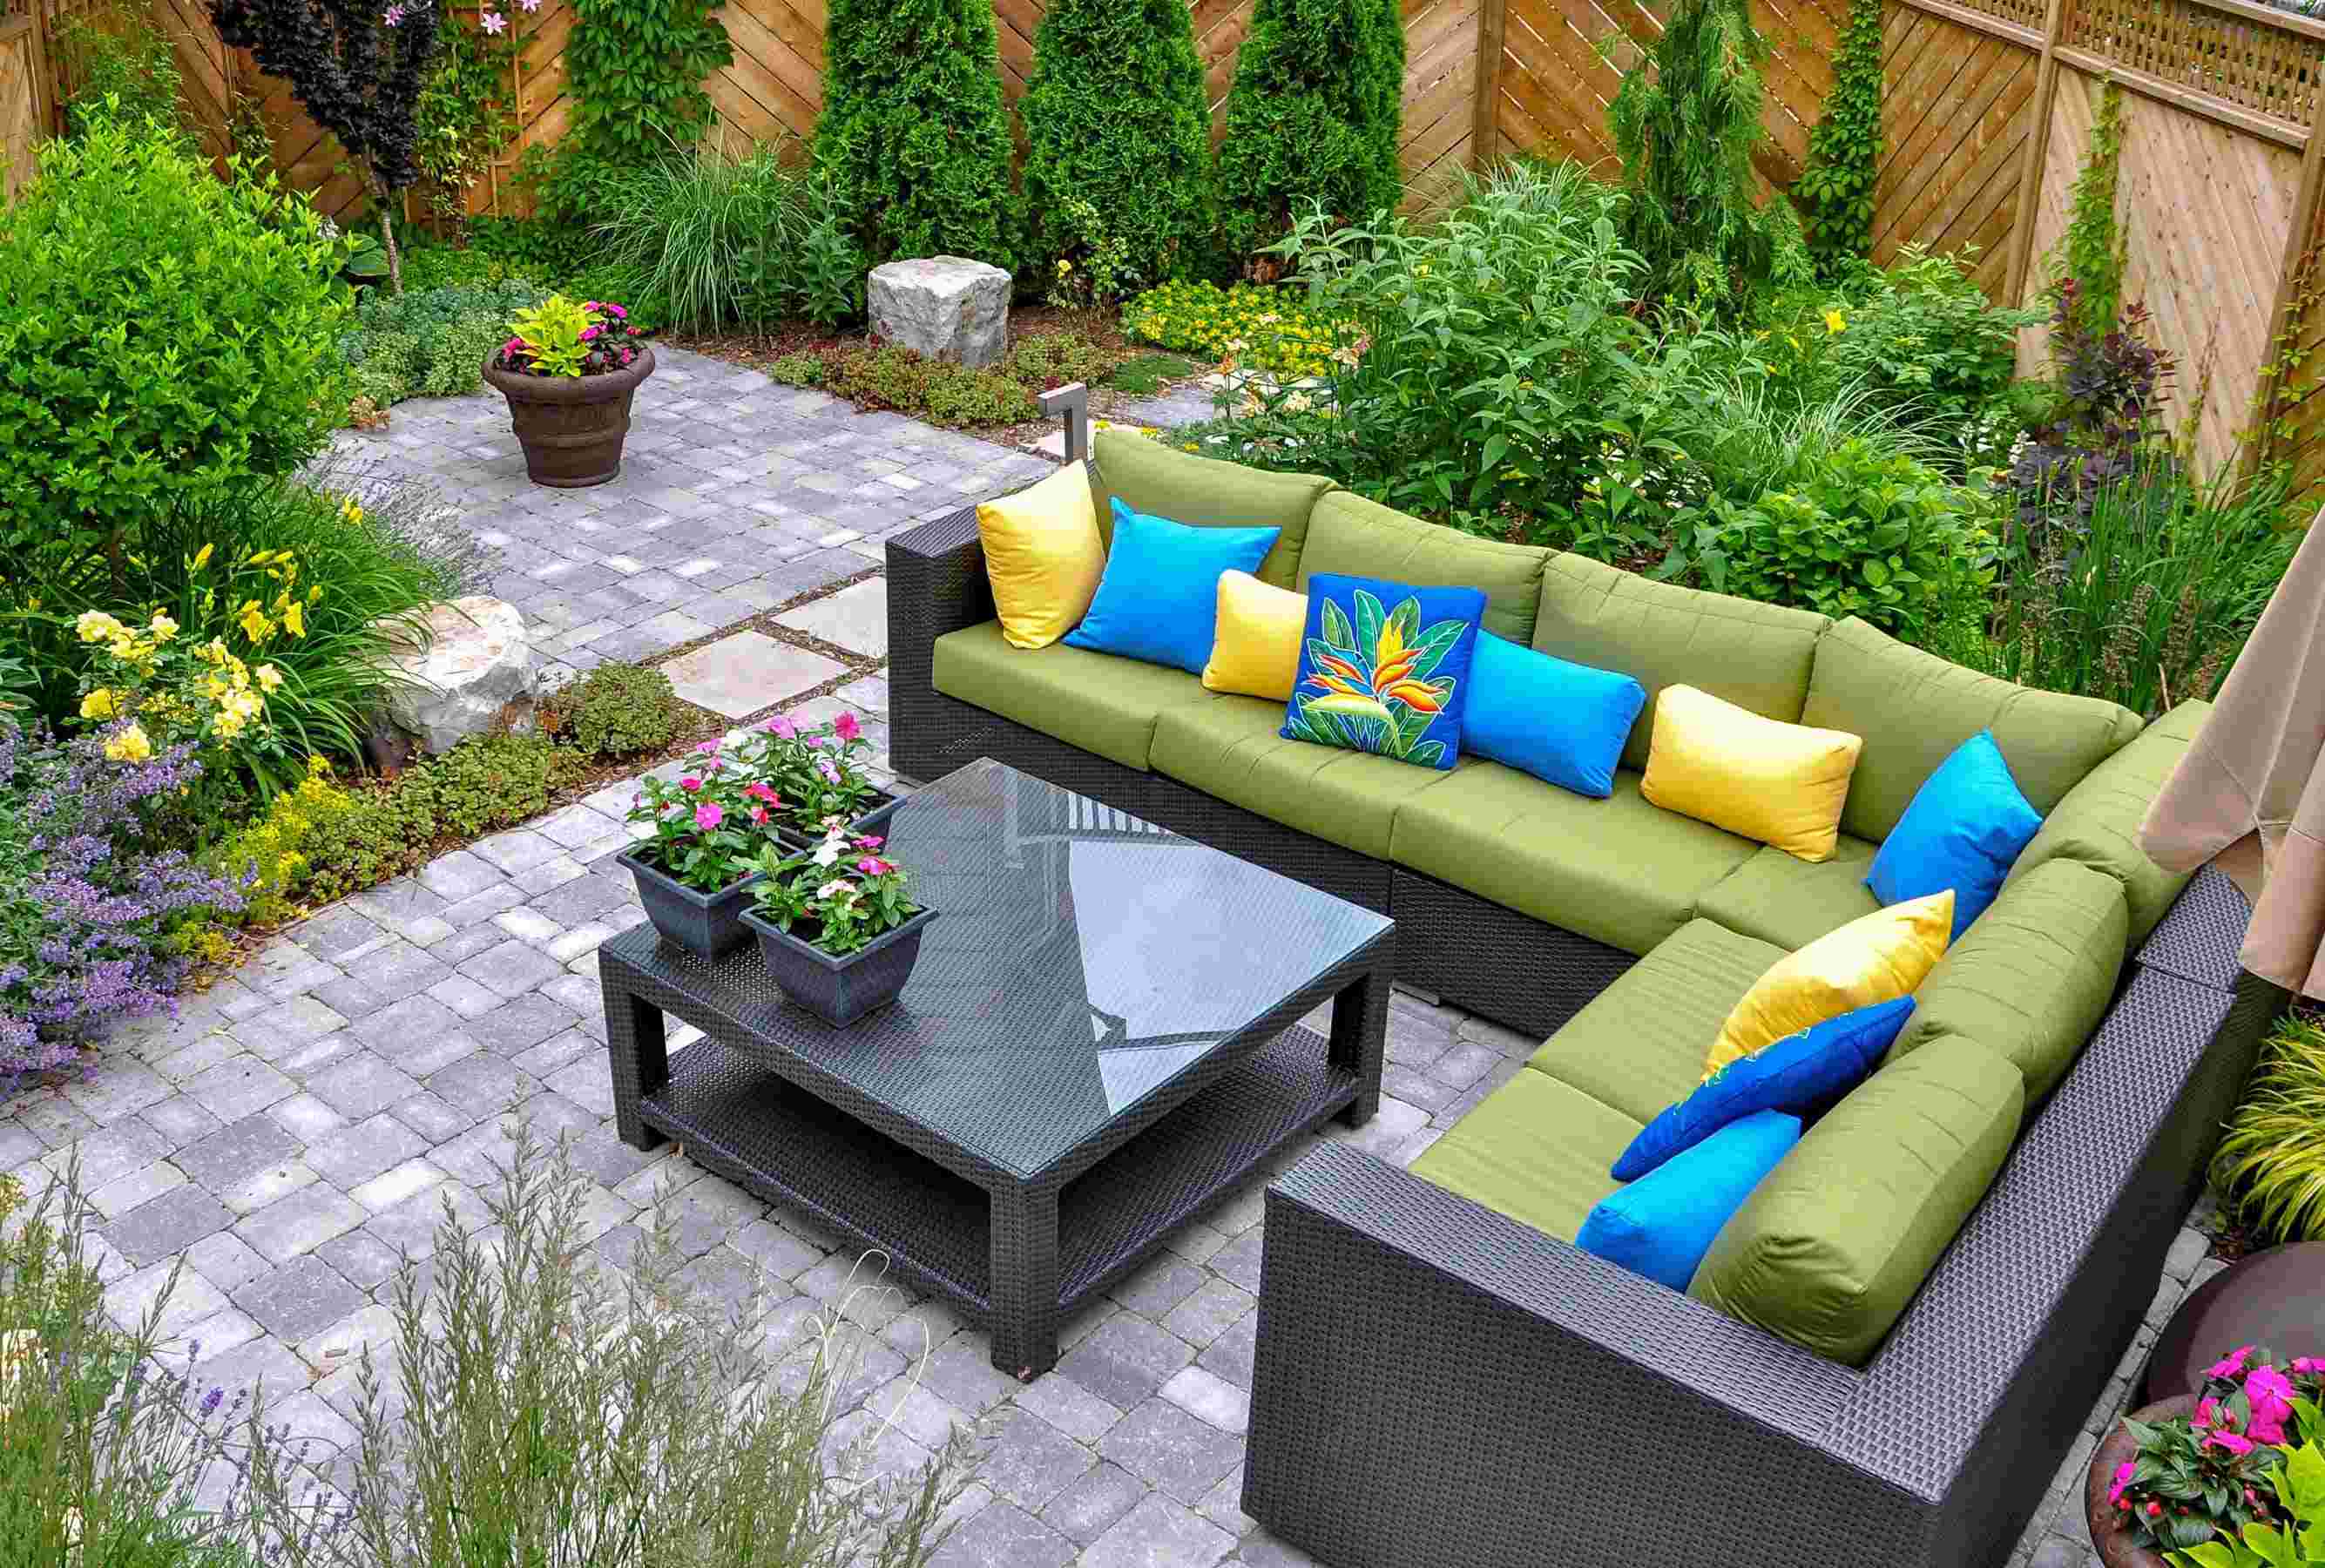
With the completion of these final steps, your paver installation project is now finished! Step back and admire your hard work and the transformation of your backyard. Enjoy the beauty and functionality of your new paver patio, walkway, or driveway for years to come.
Conclusion
Congratulations on successfully completing your DIY paver installation project! By following the step-by-step guide outlined in this article, you’ve transformed your backyard into a stunning and functional space. Let’s recap the important steps we covered:
- Planning and Preparation: Taking the time to plan, gather materials, and prepare the installation area sets the foundation for a successful project.
- Marking the Area: Accurately marking the boundaries and any additional lines within the installation area ensures precise paver placement.
- Excavation: Properly excavating the area, removing existing soil and debris, creates a level and stable base.
- Base Preparation: Creating a solid base using geotextile fabric, base material, and proper compaction is essential for a durable paver surface.
- Installing the Pavers: Carefully placing and aligning the pavers, following your chosen pattern, brings your project to life.
- Adding Edging: Adding edging provides a clean, finished look and helps secure the pavers in place.
- Finishing Touches: Sweeping, compacting, filling joints, and optionally sealing the pavers add the final touches to your installation.
By successfully completing each step with attention to detail, you’ve created a beautiful and functional outdoor space that you can enjoy for years to come. Whether it’s a patio, walkway, or driveway, your new paver installation will add value to your home and provide a space for relaxation, entertainment, and enjoyment.
Remember, while this guide has provided comprehensive instructions, always refer to specific product instructions and local guidelines for your particular project. Safety precautions should be followed during the entire installation process. If you’re ever unsure or uncomfortable with any aspect of the project, consult with a professional or seek expert advice.
Now, go ahead and invite friends and family over to showcase your stunning paver installation. Sit back, relax, and take pride in the beautiful outdoor space you’ve created!