Home>Gardening Tips and Tricks>Eco-Friendly Gardening>How To Put Down Landscaping Fabric
Eco-Friendly Gardening
How To Put Down Landscaping Fabric
Modified: January 22, 2024
Discover eco-friendly gardening with our guide on how to put down landscaping fabric. Save time and energy while reducing environmental impact!
(Many of the links in this article redirect to a specific reviewed product. Your purchase of these products through affiliate links helps to generate commission for Chicagolandgardening.com, at no extra cost. Learn more)
Table of Contents
- Introduction
- Benefits of Using Landscaping Fabric
- Tools and Materials Needed
- Step 1: Clearing the Area
- Step 2: Preparing the Soil
- Step 3: Measuring and Cutting the Fabric
- Step 4: Placing the Fabric
- Step 5: Securing the Fabric
- Step 6: Cutting Holes for Plants
- Step 7: Adding Mulch or Gravel
- Step 8: Maintenance Tips
- Conclusion
Introduction
Welcome to the world of eco-friendly gardening! If you are looking for a sustainable and environmentally conscious way to enhance the beauty of your garden, then using landscaping fabric is an excellent choice. This versatile material offers numerous benefits and can transform your outdoor space into a thriving and low-maintenance oasis.
Landscaping fabric, also known as weed fabric or weed barrier, is a durable and permeable material designed to suppress the growth of unwanted weeds while allowing water and nutrients to reach the plants. By preventing weed growth, landscaping fabric not only saves you countless hours of backbreaking weeding but also promotes healthier plant growth by reducing competition for essential resources.
In addition to weed control, landscaping fabric also helps to conserve water and improve overall soil health. By creating a barrier between the soil and the external environment, it minimizes water evaporation, ensuring that your plants receive adequate hydration. The fabric also acts as a protective layer, preventing soil erosion and nutrient depletion.
Whether you are a novice gardener or a seasoned pro, using landscaping fabric is a straightforward and effective technique. In this article, we will guide you through the step-by-step process of putting down landscaping fabric. From preparing the soil to adding the finishing touches, we will cover all the essential tips and tricks to ensure a successful installation.
So, if you are ready to take your gardening game to the next level and create a beautiful, eco-friendly outdoor space, let’s dive in and learn how to properly put down landscaping fabric!
Benefits of Using Landscaping Fabric
Using landscaping fabric offers a multitude of benefits that make it a popular choice among gardeners. Let’s explore some of the key advantages:
- Weed Control: One of the primary benefits of using landscaping fabric is its ability to suppress weed growth. By creating a physical barrier, it prevents weeds from sprouting and invading your garden beds. This saves you valuable time and effort that would otherwise be spent on constant weeding.
- Water Conservation: Landscaping fabric helps to conserve water by reducing evaporation. By keeping the soil covered and preventing direct exposure to the sun, it slows down moisture loss and ensures that water is efficiently utilized by your plants.
- Improved Soil Health: The fabric acts as a protective layer, preventing soil erosion and nutrient leaching. It helps to maintain the integrity of the soil structure and retains essential nutrients, promoting healthier plant growth.
- Reduced Maintenance: With landscaping fabric, you can significantly reduce the amount of time and effort spent on maintaining your garden. By suppressing weed growth, you eliminate the need for frequent weeding, allowing you to focus on more enjoyable gardening tasks.
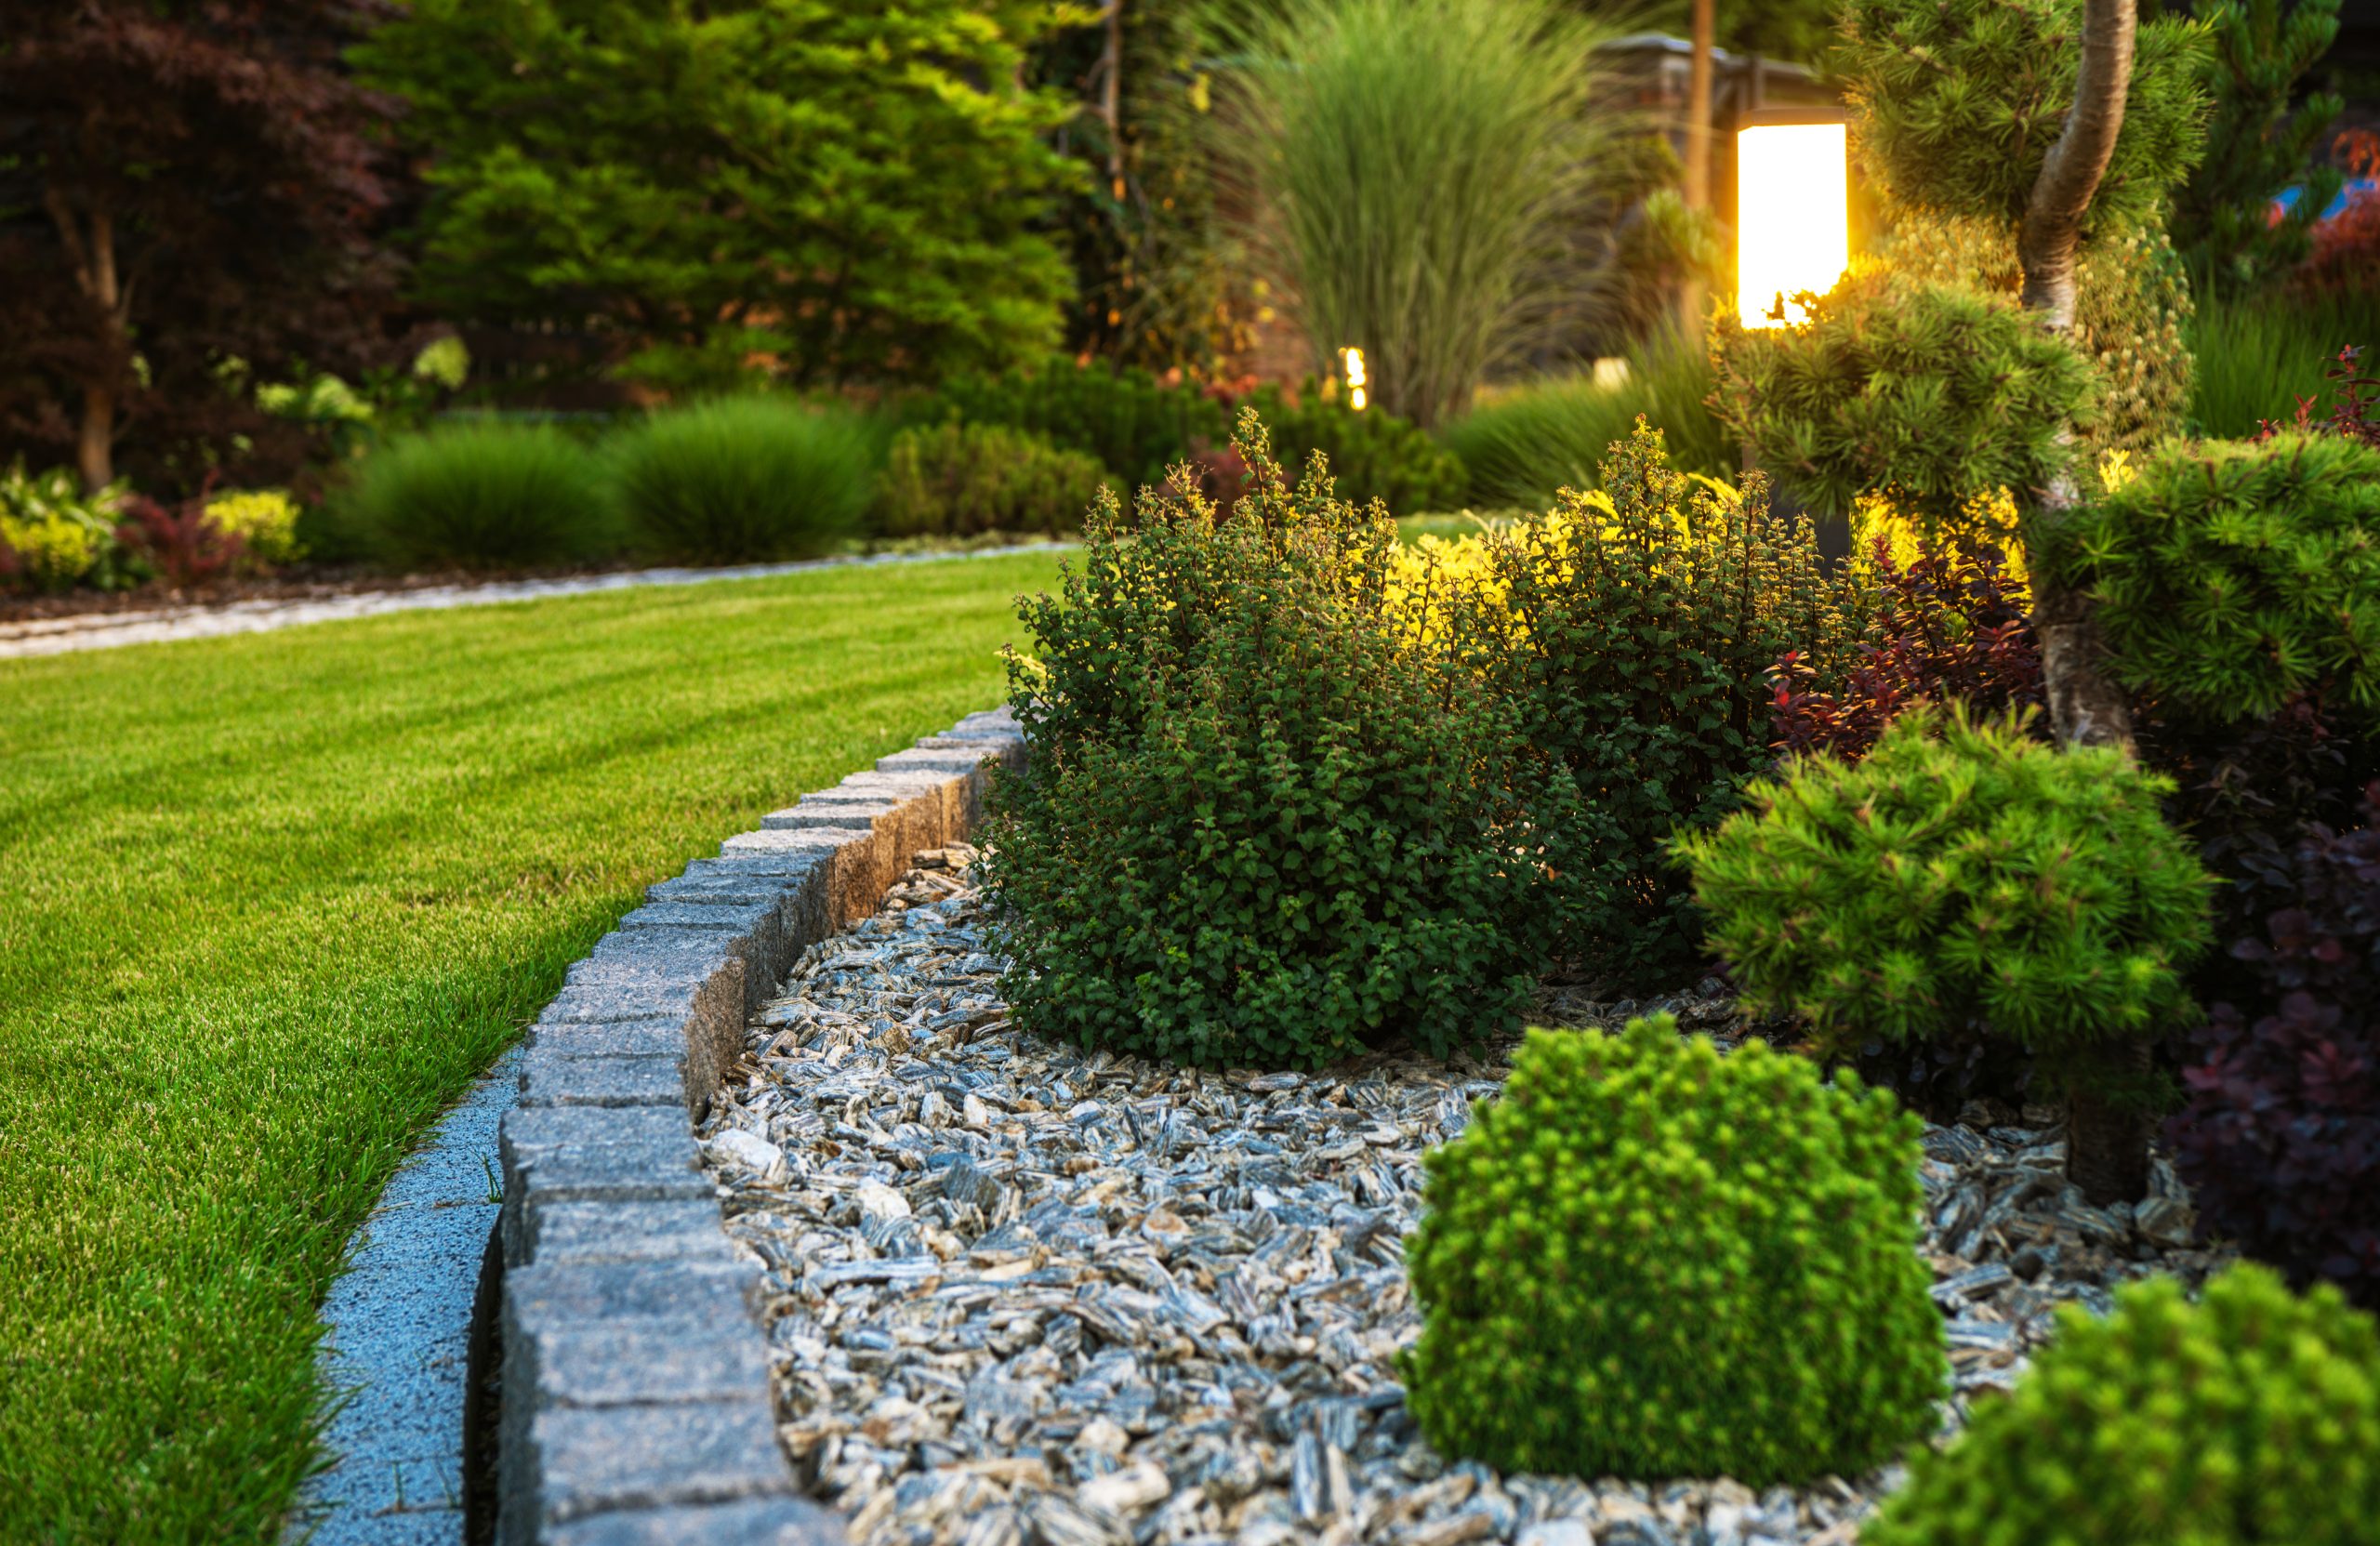
- Enhanced Aesthetic Appeal: Landscaping fabric provides a neat and tidy appearance to your garden beds. It helps to define the boundaries of your plants and creates a clean and professional-looking landscape.
- Increased Plant Health: By keeping weeds at bay, landscaping fabric reduces competition for resources such as water, nutrients, and sunlight. This allows your plants to thrive and reach their full potential.
- Longevity: High-quality landscaping fabric is durable and long-lasting, providing years of weed control and soil protection. It is designed to withstand various weather conditions, making it an investment that pays off over time.
- Environmentally Friendly: Using landscaping fabric aligns with eco-friendly gardening practices. By reducing the need for chemical weed killers and conserving water, it contributes to a healthier and more sustainable garden ecosystem.
With these benefits in mind, it’s clear why using landscaping fabric is a wise choice for both the health of your garden and the environment. Now, let’s move on to the necessary tools and materials you’ll need for the installation process.
Tools and Materials Needed
Before you begin installing landscaping fabric, make sure you have the following tools and materials ready:
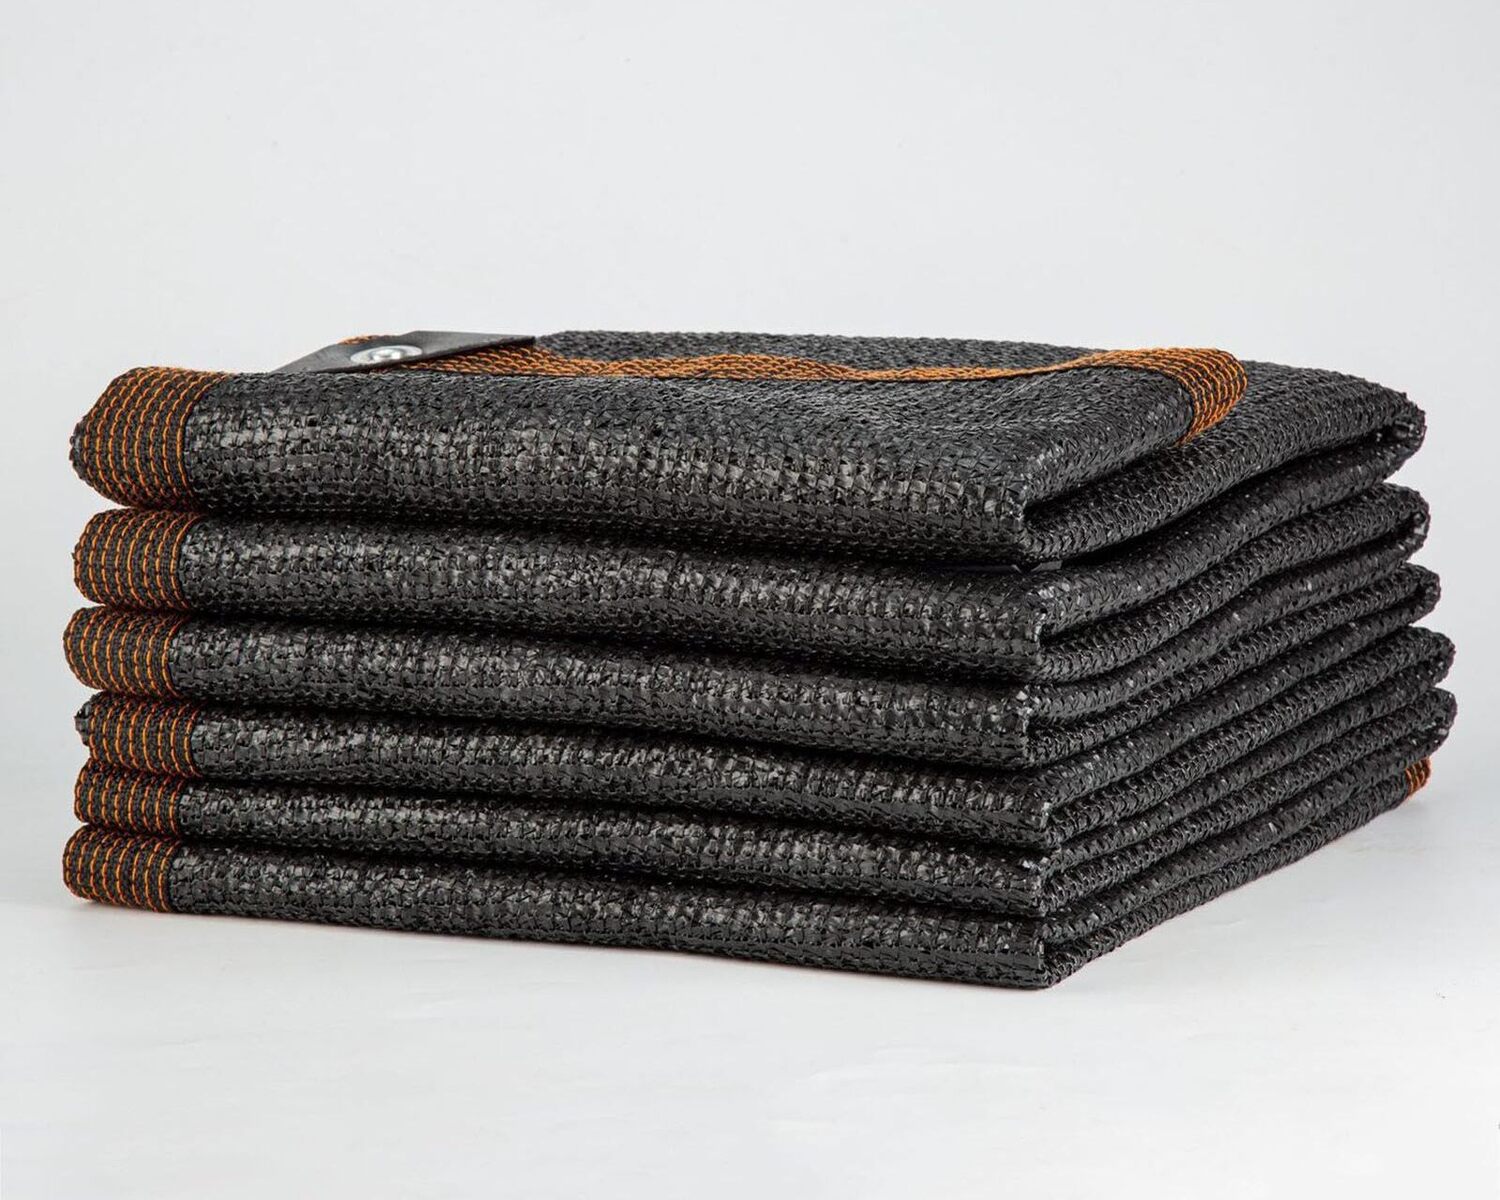
- Landscaping fabric: Choose a high-quality, UV-resistant landscaping fabric that is specifically designed for weed control.
- Garden gloves: Protect your hands from dirt and potential hazards while working in the garden.
- Garden rake: Use a rake to clear the area of any debris, rocks, or existing weeds.
- Scissors or utility knife: You’ll need these to cut the landscaping fabric to the desired size and shape.
- Pegs or staples: These are used to secure the fabric to the ground and prevent it from shifting.
- Measuring tape: Ensure accurate measurements when cutting and placing the landscaping fabric.
- Sand or soil: Use sand or fine soil to anchor the fabric around the edges and corners.
- Mulch or gravel: Choose a suitable material to cover the landscaping fabric and enhance its appearance.
- Watering can or hose: Have a water source nearby for watering the plants after installing the fabric.
These tools and materials are essential for a successful installation. Having them prepared in advance will make the process smoother and more efficient. With everything ready, it’s time to move on to the step-by-step process of installing landscaping fabric. Let’s get started!
Step 1: Clearing the Area
Before you begin installing landscaping fabric, it’s important to clear the area of any existing vegetation, debris, and rocks. This ensures a clean and smooth surface for the fabric to be placed on. Follow these steps to clear the area:
- Remove existing plants: If there are any plants in the area where you’ll be installing the fabric, carefully uproot them and transplant them to a different location in your garden.
- Rake the area: Use a garden rake to remove any leaves, branches, or other debris from the ground. Clearing the area of debris will help prevent any unevenness or lumps under the fabric.
- Eliminate weeds: Take the time to pull out any existing weeds by hand or use a garden hoe to remove them. Ensure that all visible weeds and their roots are completely removed to prevent regrowth.
- Address rocks and large objects: Remove any large rocks, stones, or objects that may hinder the placement of the landscaping fabric. These obstructions can create irregularities and potentially damage the fabric if left unattended.
By thoroughly clearing the area, you provide a clean canvas for the landscaping fabric installation. The absence of vegetation and debris allows the fabric to lay flat on the ground, maximizing its effectiveness in weed control and water conservation.
Once the area is clear, you’re ready to move on to the next step: preparing the soil. This step is crucial for ensuring optimal growing conditions for your plants and the longevity of the landscaping fabric.
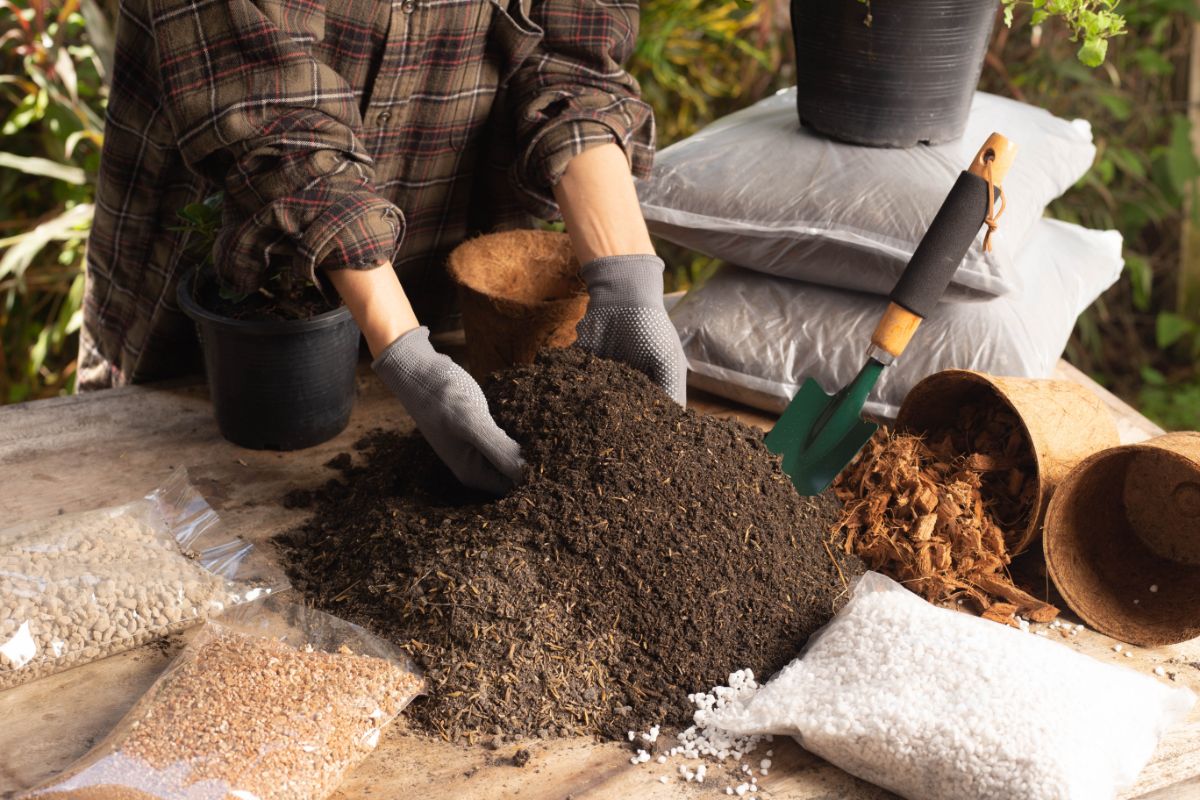
Step 2: Preparing the Soil
Proper soil preparation is essential for the success of your landscaping fabric installation. This step helps create optimal growing conditions for your plants and ensures that the fabric functions effectively. Follow these guidelines to prepare the soil:
- Loosen the soil: Use a garden fork or tiller to loosen the soil in the area where you’ll be installing the fabric. Loosening the soil allows for improved drainage and root penetration.
- Remove any remaining weeds: Take a careful look at the soil and eliminate any remaining weeds that may have sprouted since clearing the area. Removing these weeds helps prevent them from growing through the fabric.
- Amend the soil (optional): Depending on the condition of your soil, you may need to amend it with organic matter or compost. This step enriches the soil, providing essential nutrients for healthy plant growth. Spread a layer of compost evenly over the area and use a garden rake to incorporate it into the soil.
- Level the soil: Use a rake or gardening tool to level the soil surface. Smooth out any bumps or unevenness to provide a stable foundation for the landscaping fabric.
By properly preparing the soil, you create a favorable growing environment for your plants. The loosened and amended soil improves drainage and nourishment, promoting healthy root development. This step also helps prevent weed growth from below, ensuring the effectiveness of the landscaping fabric in suppressing unwanted vegetation.
Now that the soil is well-prepared, it’s time to move on to the next step: measuring and cutting the landscaping fabric. This crucial step ensures that the fabric fits perfectly in your garden bed, maximizing its coverage and functionality.
Step 3: Measuring and Cutting the Fabric
Accurate measurement and precise cutting of the landscaping fabric are essential for a seamless and effective installation. Follow these steps to measure and cut the fabric:
- Measure the area: Use a measuring tape to determine the length and width of the area where you’ll be installing the fabric. Add a few extra inches to each side to allow for overlap and secure placement.
- Unroll the fabric: Roll out the landscaping fabric on a flat surface, such as your driveway or garden path. Ensure it is free from any wrinkles or folds.
- Mark the measurements: Use a marker or chalk to mark the measurements on the fabric according to the dimensions of your garden bed. Make sure the lines are clearly visible and even.
- Cut the fabric: Use sharp scissors or a utility knife to carefully cut along the marked lines. Take your time to ensure clean and precise cuts.
When cutting the fabric, it is important to follow the measurements accurately. Cutting the fabric too short may leave gaps that allow weeds to grow, while cutting it too large may result in excess fabric that can become a tripping hazard or introduce additional maintenance challenges.
If you have multiple garden beds or irregularly shaped areas, repeat the measuring and cutting process for each section. Remember to label the fabric pieces to keep track of their corresponding locations in your garden.
With the fabric accurately measured and cut, you’re now ready to move on to the next step: placing the fabric in your garden bed.
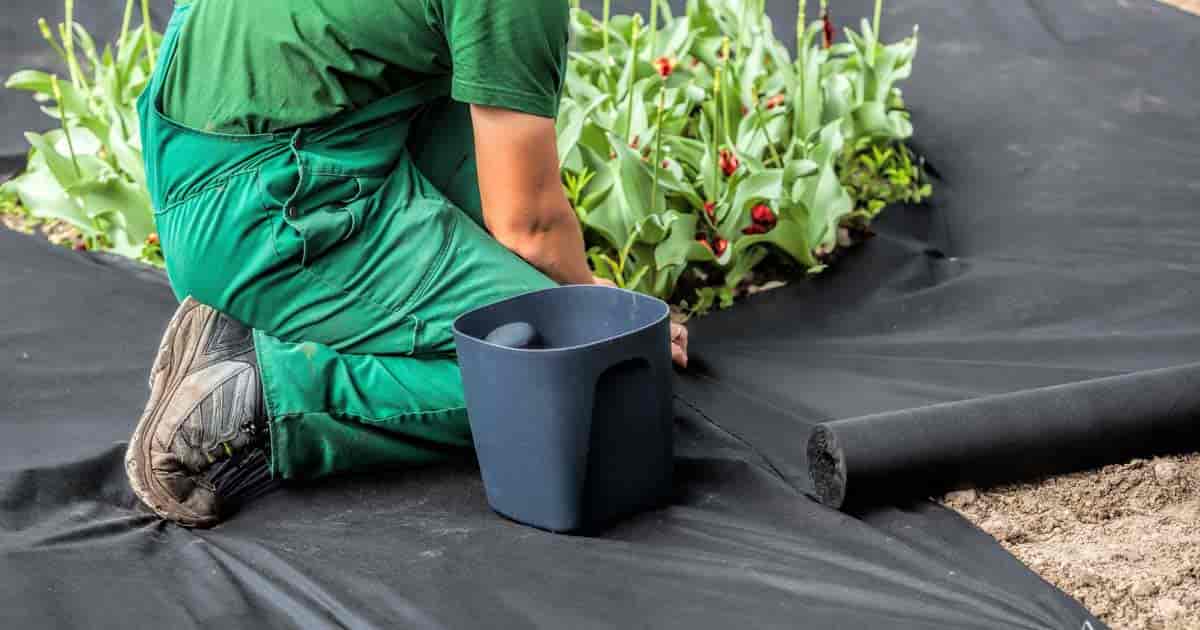
Step 4: Placing the Fabric
With your accurately sized and cut landscaping fabric in hand, it’s time to start placing it in your garden bed. Properly positioning the fabric ensures optimal coverage and effectiveness. Follow these steps to place the fabric:
- Start at one end: Begin by placing one edge of the fabric at a corner or one end of your garden bed. Make sure the fabric extends slightly beyond the edge to allow for proper coverage.
- Unroll the fabric: Carefully unroll the fabric along the length of your garden bed. Smooth it out as you go, making sure it lies flat and covers the entire area. If you have multiple fabric pieces, overlap them slightly to ensure complete coverage.
- Make adjustments: Adjust the fabric as needed to ensure it fits snugly around any existing plants or obstacles. Smooth out any wrinkles or folds to maximize contact between the fabric and the soil.
- Trim excess fabric: If necessary, trim any excess fabric that extends beyond the edges of your garden bed. This helps create a neater and more streamlined appearance.
As you place the fabric, be careful not to stretch or pull it too tight. The fabric should remain taut but not overly strained, as excessive tension may affect its performance and durability over time.
It’s worth noting that if you have plants that require natural soil contact and spacing, leave appropriate gaps in the fabric to accommodate them. This will allow the plants to grow freely while still limiting weed growth in the surrounding areas.
Once the fabric is properly placed, you can proceed to secure it in place. In the next step, we will cover the methods for securing the landscaping fabric to ensure it stays in position and maintains its effectiveness.
Step 5: Securing the Fabric
Securing the landscaping fabric is essential to prevent shifting or movement, ensuring its long-term effectiveness. Follow these steps to secure the fabric in place:
- Use pegs or staples: Insert garden pegs or staples into the fabric along the edges and corners of your garden bed. This helps anchor the fabric to the ground, preventing it from being disturbed by wind or foot traffic.
- Space out the pegs: Place the pegs or staples approximately every 6-8 inches along the edges and corners of the fabric. For larger areas, you may need to insert additional pegs to provide adequate support.
- Press down firmly: After inserting the pegs or staples, press them firmly into the soil to ensure they are secure. This will help prevent them from loosening or popping out over time.
- Avoid damaging the fabric: Be careful not to drive the pegs or staples too forcefully, as this may damage the fabric. Insert them just deep enough to hold the fabric securely without piercing through it completely.
- Check for stability: Walk around the garden bed to ensure that the fabric is securely held in place. If you notice any loose or unstable areas, add additional pegs or adjust the existing ones to provide better support.
Securing the fabric is an important step that helps maintain its integrity and effectiveness in suppressing weed growth. Properly anchored fabric also ensures that the soil and plants remain undisturbed, promoting healthy growth.
Once you have secured the fabric, it’s time to move on to the next step: cutting holes for your plants. This crucial step enables your plants to thrive while still benefiting from the weed-controlling properties of the landscaping fabric.
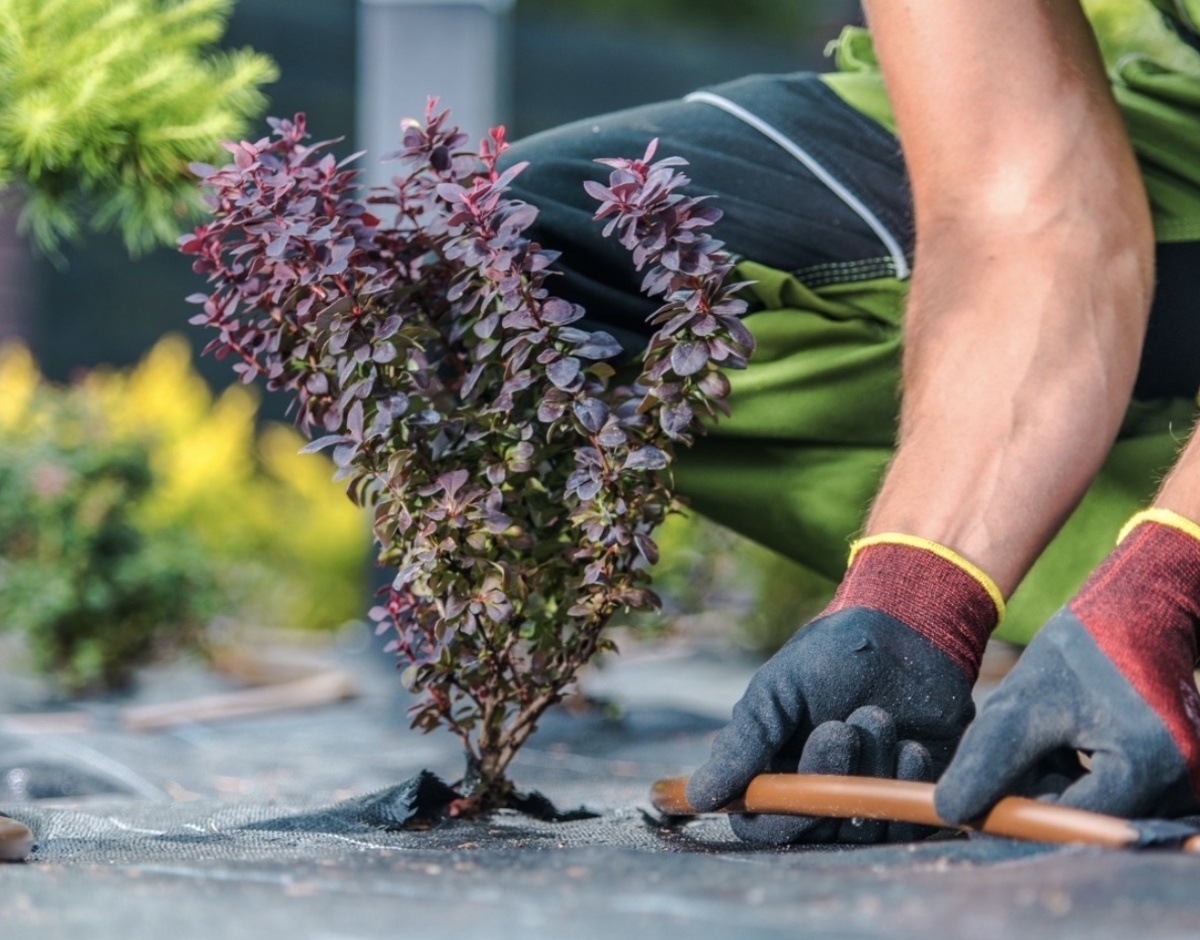
Step 6: Cutting Holes for Plants
Allowing your plants to grow and flourish while still benefiting from the weed-control properties of the landscaping fabric requires cutting holes in the fabric for each plant. Follow these steps to cut holes for your plants:
- Determine plant spacing: Decide on the spacing requirements for your plants, taking into consideration their mature size and growth habits. This will help determine the appropriate distance between each plant hole.
- Mark the hole locations: Use a marker or chalk to mark the center of each plant’s desired location on the fabric. Alternatively, you can use small rocks or pegs to mark the spots where the holes will be cut.
- Cut the holes: Use sharp scissors or a utility knife to carefully cut the marked holes in the fabric. Start with a small incision and gradually increase the size to accommodate the root ball or plant size. Take your time to ensure clean and precise cuts.
- Remove excess fabric: After cutting the holes, fold back any excess fabric around each hole. This allows for easy access to the soil while minimizing the potential for weed growth.
When cutting the holes, it’s important to ensure they are just slightly larger than the root ball or plant size to allow for growth. Avoid cutting holes that are too large, as this can lead to weed encroachment or less effective weed control.
As you cut the holes, be mindful of the spacing between plants. Proper spacing promotes optimal air circulation, reduces competition for resources, and allows each plant to receive adequate sunlight and nutrients.
With the holes cut, your landscaping fabric is now ready to accommodate your plants. In the next step, we will discuss the importance of adding mulch or gravel to further enhance the functionality and aesthetic appeal of your garden bed.
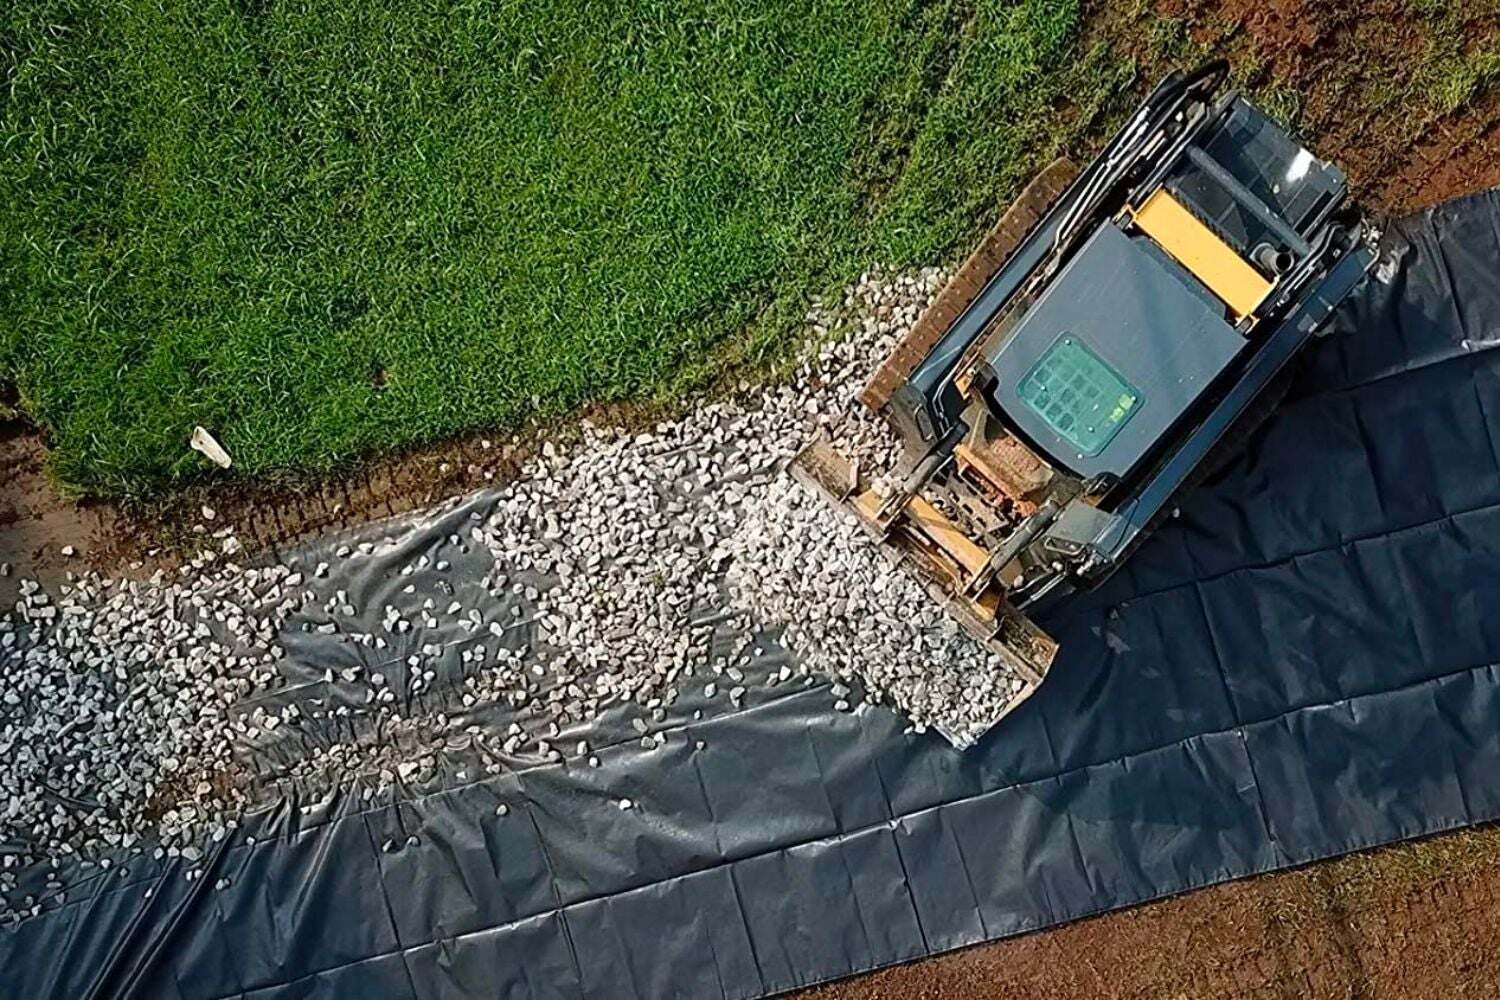
Step 7: Adding Mulch or Gravel
Adding a layer of mulch or gravel on top of the landscaping fabric offers several benefits, including improved aesthetics, moisture retention, and further weed suppression. Follow these steps to add mulch or gravel to your garden bed:
- Select your mulch or gravel: Choose a type of mulch or gravel that suits your garden’s aesthetic and the needs of your plants. Options include organic mulch like wood chips or bark, or inorganic materials like crushed stone or pea gravel.
- Spread a layer of mulch or gravel: Evenly spread a layer of mulch or gravel over the entire surface of the garden bed, ensuring complete coverage. Aim for a thickness of 2 to 3 inches, which provides effective weed suppression and moisture retention.
- Avoid direct contact with plant stems: Be careful not to pile mulch or gravel against the stems or trunks of your plants. Leave a small gap around each plant to prevent excessive moisture buildup and potential rot.
- Smooth and level the surface: Use a rake or gardening fork to smooth and level the mulch or gravel layer. This enhances the visual appeal of your garden bed and helps prevent water pooling or uneven distribution.
Adding mulch or gravel not only improves the overall appearance of your garden bed but also provides additional benefits. Mulch helps regulate soil temperature, retain moisture, and suppress weed growth, while gravel offers excellent drainage and a visually appealing alternative.
Remember to periodically replenish the mulch or gravel layer as needed to maintain its thickness and effectiveness. Over time, organic mulches may break down and require freshening up, while gravel may shift or thin out in certain areas.
With mulch or gravel added, your garden bed will not only be weed-free but also visually appealing and well-maintained. In the following step, we’ll cover some maintenance tips to ensure the long-term success of your landscaping fabric installation.
Step 8: Maintenance Tips
Maintaining your landscaping fabric is crucial for its long-term effectiveness and the health of your plants. Follow these maintenance tips to ensure the continued success of your installation:
- Regularly inspect for weeds: Take the time to occasionally inspect your garden beds for any signs of weed growth. If you spot any weeds or grasses trying to penetrate the fabric, remove them immediately to prevent them from establishing and spreading.
- Monitor for fabric damage: Keep an eye out for any tears, rips, or fraying in the landscaping fabric. Repair or replace damaged sections promptly to maintain the integrity of the barrier and prevent weed breakthrough.
- Stay vigilant with mulch or gravel: Periodically check mulch or gravel layers for thinning or shifting. Add more mulch or gravel as needed to maintain the desired thickness and coverage, ensuring optimal weed suppression and moisture retention.
- Water plants as needed: While landscaping fabric helps conserve water, it’s important to provide adequate hydration to your plants. Regularly monitor soil moisture levels and water accordingly, taking into account the specific needs of each plant.
- Occasionally aerate the soil: To ensure proper nutrient absorption and root health, aerate the soil underneath the landscaping fabric. This can be done by using a garden fork or aerating tool to create small holes that allow air, water, and nutrients to reach the roots.
- Trim excess plant growth: Prune or trim any excessive plant growth that may cover or encroach upon the fabric. Keeping plants in check prevents them from smothering the fabric and reduces the risk of weed penetration.
By following these maintenance tips, you can ensure that your landscaping fabric continues to perform effectively, keeping weeds at bay and promoting the health and beauty of your garden.
Now that you have learned the eight key steps to putting down landscaping fabric, you are well-equipped to create an eco-friendly and low-maintenance garden space. By investing the time and effort into proper installation and maintenance, you will reap the rewards of a beautiful and weed-free outdoor oasis for years to come.
Conclusion
Congratulations! You have successfully learned the step-by-step process of putting down landscaping fabric and the numerous benefits it offers. By incorporating this eco-friendly technique into your gardening practices, you can enjoy a weed-free and low-maintenance garden space while promoting soil health and water conservation.
From clearing the area and preparing the soil to measuring, cutting, and placing the fabric, each step plays a vital role in ensuring a seamless installation. By securing the fabric and cutting holes for plant growth, you strike a perfect balance between weed control and plant development.
Adding mulch or gravel not only enhances the aesthetic appeal of your garden but also provides additional benefits such as moisture retention and further weed suppression. By following the maintenance tips, you can prolong the life and effectiveness of the landscaping fabric, ensuring that your garden remains healthy and beautiful.
Remember, eco-friendly gardening is not only about creating a thriving outdoor space but also about treading lightly on the environment. By choosing to use landscaping fabric, you’re taking a sustainable approach by reducing the need for chemical weed killers and conserving water.
So, whether you’re a beginner or an experienced gardener, incorporating landscaping fabric into your gardening routine is a smart and environmentally conscious choice. With the knowledge and tools gained from this guide, you’re all set to transform your garden into a beautiful and eco-friendly haven.
So, roll up your sleeves, gather your materials, and embark on this exciting journey of eco-friendly gardening with confidence. Your efforts will be rewarded with a lush, weed-free garden that brings joy and tranquility for years to come!