Home>Garden Design>Landscape Design>How To Prepare For Landscaping
Landscape Design
How To Prepare For Landscaping
Modified: January 22, 2024
Learn how to prepare for landscaping with our comprehensive guide. Discover the best tips and techniques for landscape design to create your dream outdoor space.
(Many of the links in this article redirect to a specific reviewed product. Your purchase of these products through affiliate links helps to generate commission for Chicagolandgardening.com, at no extra cost. Learn more)
Table of Contents
- Introduction
- Assessing Your Landscaping Needs
- Planning Your Landscape Design
- Creating a Budget
- Gathering Necessary Tools and Materials
- Clearing the Area
- Preparing the Soil
- Choosing and Planting the Right Plants
- Installing Hardscaping Elements
- Installing Irrigation Systems
- Mulching and Fertilizing
- Caring for Your Landscaping
- Conclusion
Introduction
Welcome to the world of landscape design, where nature and creativity come together to create stunning outdoor spaces. Whether you have a small backyard or sprawling grounds, a well-designed landscape can transform your outdoor area into a sanctuary of beauty, relaxation, and functionality.
But before you dive into the world of landscaping, it’s important to understand the process and be prepared for the journey ahead. This article will guide you through the essential steps to prepare for your landscaping project, ensuring that you have a solid foundation to create the landscape of your dreams.
Landscaping is much more than just planting flowers and trees. It involves careful planning, considering various elements such as space, functionality, aesthetics, and maintenance. By taking the time to assess your landscaping needs and create a comprehensive plan, you can ensure that your project will be a success.
Whether you’re starting from scratch or considering a revamp of your existing landscape, preparation is key. This includes assessing your needs, creating a budget, gathering necessary tools and materials, and understanding the importance of proper soil preparation.
Additionally, you’ll need to select and plant the right plants for your climate and desired aesthetic, and consider the addition of hardscaping elements such as walkways, patio areas, or water features. Installing irrigation systems for efficient watering, mulching to conserve moisture and suppress weeds, and fertilizing to nourish your plants are also essential steps in maintaining a healthy and vibrant landscape.
Throughout this article, we’ll explore each of these steps in detail, providing you with the knowledge and guidance to prepare for your landscaping venture. So let’s get started and embark on this exciting journey of creating your outdoor oasis!
Assessing Your Landscaping Needs
Before you begin your landscaping project, it’s important to take the time to assess your needs and goals. By understanding what you want to achieve with your landscape, you can better plan for the design, layout, and elements that will fulfill those needs.
Start by envisioning how you want to use your outdoor space. Do you want a tranquil garden retreat for relaxation? A space for entertaining family and friends? A playground for your children? Identifying the functions and activities you want your landscape to accommodate will guide your design decisions.
Consider the size and shape of your yard, as well as any existing structures or features that you want to work around or incorporate into your design. Take note of the sun and shade patterns throughout the day to determine where certain plants or seating areas should be placed.
Next, think about the style or theme you want to achieve in your landscape. Do you prefer a formal, structured garden, or a more natural, organic layout? Research different landscaping styles to find inspiration and decide what resonates with you.
Take into account the local climate and weather conditions. Choose plants that are well-suited to your region and consider factors such as frost, heat, and rainfall. This will help ensure the long-term success of your landscape and minimize the need for excessive maintenance or replacements.
Consider your desired level of maintenance. Some plants and design elements require more upkeep than others. If you have limited time for gardening, opt for low-maintenance plants and features that can still provide the desired aesthetic without constant attention.
Finally, consider your budget for the project. Landscaping can range from simple and affordable to elaborate and costly. Set a realistic budget and prioritize your needs and wants accordingly. Keep in mind that landscaping is an investment that can increase the value of your property, so consider the long-term benefits when budgeting.
By assessing your landscaping needs, you’ll have a clear vision of what you want to achieve with your outdoor space. This will guide your decisions throughout the design and implementation process, ensuring that your landscape not only looks beautiful but also meets your functional and practical requirements.
Planning Your Landscape Design
Once you’ve assessed your landscaping needs, it’s time to dive into the exciting phase of planning your landscape design. This step is crucial for creating a visually appealing and functional outdoor space that reflects your personal style and meets your specific goals.
Start by sketching out a rough layout of your yard, noting any existing features such as trees, structures, or utility lines. Consider the different areas within your landscape, such as the front yard, backyard, and side yards, and how you want to utilize each space.
When designing your landscape, think about the flow of movement throughout the area. Create paths, walkways, or stepping stones that connect various zones and provide easy access. Consider the placement of seating areas, focal points, or functional elements such as a barbecue grill or fire pit.
Take into account the principles of design, such as balance, proportion, contrast, and unity. Balance the visual weight of plants, hardscape elements, and structures throughout your landscape. Ensure that proportions are appropriate and that there is a harmony between different colors, textures, and shapes.
Consider the use of vertical elements to add depth and interest to your landscape. Install trellises, arbors, or wall-mounted planters to create height and vertical visual appeal. Incorporate containers or hanging baskets for added versatility and mobility.
Think about the seasonal aspects of your landscape design. Incorporate a variety of plants that provide color and interest throughout the year. Choose trees, shrubs, and flowers that bloom at different times to ensure there is always something beautiful to enjoy.
Remember the importance of sustainability in your design. Consider using native plants that are adapted to the local climate and require less water and maintenance. Incorporate rainwater harvesting systems or choose permeable materials for walkways and driveways to minimize water runoff.
Additionally, consider the long-term growth and maintenance needs of the plants and elements in your landscape. Give enough space for plants to grow and spread, and consider their mature size when placing them in your design. Plan for regular maintenance tasks such as pruning, watering, and fertilizing.
As you plan your landscape design, don’t be afraid to get creative and experiment with different ideas. Research landscaping magazines, books, or online resources for inspiration. Consider seeking professional advice from a landscape designer or architect for more complex projects.
By carefully planning your landscape design, you’ll create a visually stunning and functional outdoor space that meets your needs and reflects your personal style. This will serve as a roadmap for the implementation phase and ensure the successful realization of your landscaping vision.
Creating a Budget
When it comes to landscaping, creating a budget is essential to ensure that your project stays on track financially. By setting a realistic budget, you can prioritize your landscaping needs, allocate funds accordingly, and avoid overspending.
Start by determining how much you are willing to invest in your landscaping project. Consider factors such as the size of your yard, the complexity of the design, and the materials and features you wish to incorporate. Research the average costs of landscaping services, materials, and plants in your area to get a general idea of what to expect.
As you create your budget, consider both the short-term and long-term costs associated with your landscape. Short-term costs may include hiring professionals for design, installation, or maintenance, as well as purchasing materials and plants. Long-term costs may include ongoing maintenance, such as watering, fertilizing, and pruning.
Break down your budget into different categories, such as plants, hardscape elements, irrigation systems, and professional services. Allocate funds accordingly, giving priority to the items that are key to achieving your landscaping goals. Keep in mind that flexibility is important, as unexpected expenses or design changes may arise.
Consider adopting a phased approach to your landscaping project if your budget allows. This means dividing your project into smaller stages that can be completed over time. This approach not only helps distribute the financial burden but also allows you to make adjustments or additions based on the outcome of each phase.
Don’t forget to consider the return on investment (ROI) of your landscaping project. Well-designed and well-maintained landscapes can increase the value of your property when it comes time to sell. So view landscaping as an investment and weigh the potential long-term benefits when determining your budget.
Lastly, be realistic about what you can afford and be prepared to make trade-offs if necessary. It’s better to have a well-executed, smaller-scale project that fits within your budget than to stretch your finances to the point of stress or regret.
Regularly review and track your budget throughout the course of your landscaping project. Keep records of all expenses, receipts, and invoices to ensure that you stay within your allocations and have a clear understanding of where your money is being spent.
By creating a budget for your landscaping project, you’ll have a clear financial roadmap to guide your decisions. This will help you make informed choices, prioritize your needs, and ensure that your project stays on track and aligns with your financial goals.
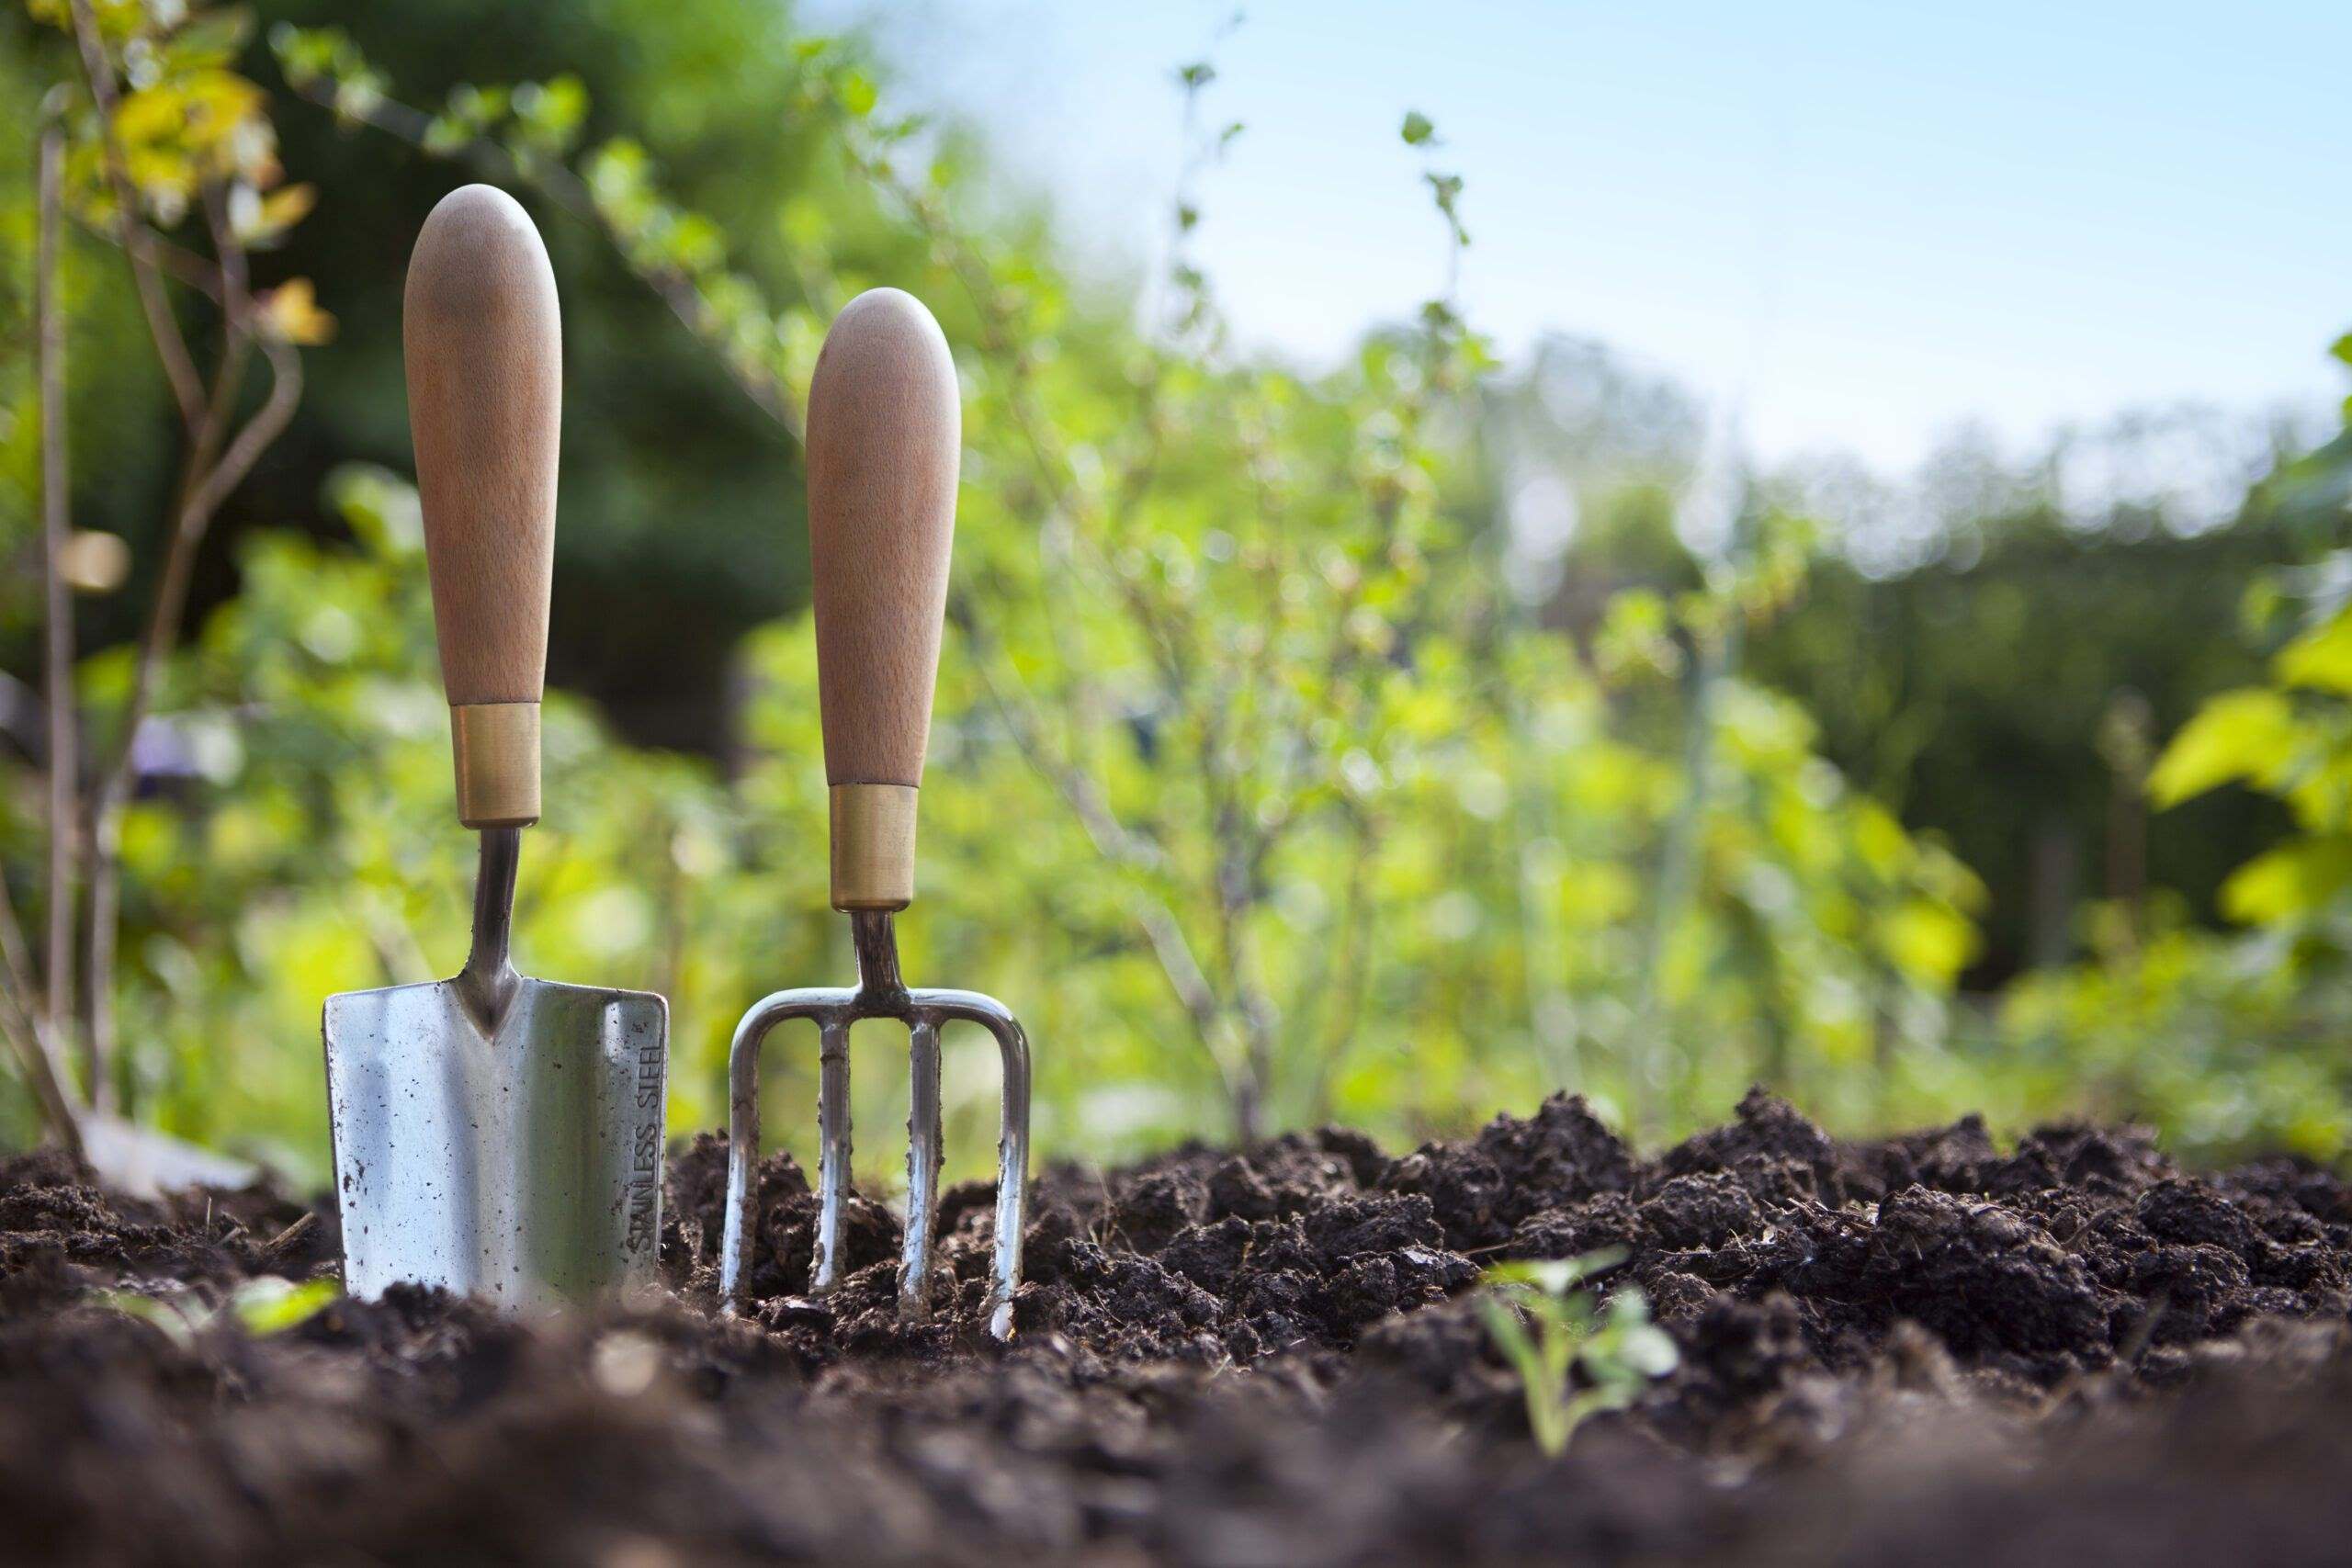
Gathering Necessary Tools and Materials
Before you embark on your landscaping project, it’s important to ensure that you have all the necessary tools and materials to get the job done efficiently and effectively. By gathering the right tools, you’ll be equipped to tackle various tasks and save time and effort along the way.
Start by assessing your specific project requirements. Consider the scope of your landscaping project and the tasks you’ll need to perform. This may include digging, planting, pruning, leveling, and more. Make a list of the tools you’ll need based on these tasks.
Some essential tools for landscaping include a shovel, rake, garden fork, spade, wheelbarrow, pruners, and gloves. These tools will help you with digging, moving soil, removing weeds, and maintaining plants. Invest in high-quality tools that are durable and ergonomic to ensure comfortable and efficient use.
In addition to basic hand tools, consider if there are any specialized tools you may need based on the specific elements of your design. For example, if you plan to install a hardscape element such as a patio, you may need a concrete mixer, a level, and a trowel.
When it comes to materials, consider what you’ll need for various aspects of your landscaping project. This may include topsoil or compost for preparing the soil, mulch for weed suppression and moisture retention, rocks or pavers for pathways, or gravel for drainage. Research the appropriate materials for your specific needs and consult with professionals if necessary.
In addition to tools and materials, consider safety equipment. Depending on the nature of your project, you may require items such as safety glasses, gloves, a sun hat, sunscreen, and sturdy shoes. Protecting yourself from potential hazards and UV rays is important for a safe and comfortable working environment.
Once you have identified the tools and materials you’ll need, make a checklist and gather everything before you start your project. This will save you time and prevent unnecessary interruptions or delays. Consider borrowing or renting tools if you don’t plan to use them frequently to save on expenses.
Also, do a thorough inspection of your tools to ensure they are in good working condition. Replace any damaged or worn-out tools to prevent accidents and achieve optimal results in your landscaping endeavors.
Remember to store your tools properly after each use. Clean them, remove any debris or plant material, and store them in a dry and organized space. This will help extend their lifespan and ensure that they are readily available for future landscaping projects.
By gathering the necessary tools and materials, you’ll be well-prepared to tackle your landscaping project with confidence. Having the right equipment will make your tasks easier and more efficient, enabling you to bring your landscape design to life successfully.
Clearing the Area
Before you start implementing your landscaping design, it’s essential to clear the area of any existing vegetation, debris, and obstacles. Clearing the area provides a clean slate for your project and allows you to work efficiently and effectively. Here are the steps to effectively clear your landscaping area.
1. Remove vegetation: Begin by clearing any existing plants, weeds, shrubs, or trees in the designated area. Use the appropriate tools, such as a shovel or pruning shears, to cut down larger plants and remove them from the ground. Make sure to dispose of the vegetation properly, either by composting or through waste management services.
2. Clear debris: Remove any debris, such as rocks, branches, or fallen leaves, from the area. Use a rake or leaf blower to gather the debris and dispose of it appropriately. Clearing debris not only makes the area more aesthetically pleasing but also prevents potential hazards and obstacles during the implementation phase.
3. Address any structural concerns: Inspect the area for any structural issues that may interfere with your landscaping project. Check for any damage or instability in existing structures, such as fences, retaining walls, or pathways. Repair or reinforce these structures as necessary before proceeding with your landscaping plans.
4. Consider grading and leveling: Evaluate the existing ground level to ensure it is even and suitable for your landscaping design. In some cases, you may need to perform grading or leveling to create a more balanced foundation. Use a shovel, rake, or a contractor’s level to achieve the desired grade and ensure proper water drainage.
5. Clear underground utilities: Before digging, it’s crucial to identify and mark any underground utilities, such as gas lines, electrical cables, or water pipes. Contact the local utility companies to request a utility locate service. This will help prevent accidental damage and potential risks during the excavation process.
6. Consider removing invasive species: If you have invasive species, such as noxious weeds or aggressive plants, in the area, consider removing them before proceeding. These plants can quickly spread and interfere with the growth of desired plants in your landscape. Take measures to eradicate them thoroughly and prevent their regrowth.
7. Protect nearby plants and features: If there are existing plants, trees, or structures near the area you’re clearing, take precautions to protect them. Use tarps or plastic sheets to shield them from falling debris or accidental damage during the clearing process. Consider temporary fencing to prevent damage to nearby plants and structures during construction.
Remember to check with local regulations and obtain any necessary permits before clearing or modifying the landscaping area. Compliance with local laws ensures a smooth and legal progression of your project.
By effectively clearing the area, you lay the foundation for your landscaping project. Clearing away existing vegetation, debris, and obstacles allows you to implement your design with ease, create a visually appealing landscape, and build a solid platform for future landscaping endeavors.
Preparing the Soil
Soil preparation is a crucial step in creating a healthy and thriving landscape. Preparing the soil ensures that your plants receive the necessary nutrients, drainage, and moisture retention for optimal growth. Here are the steps to effectively prepare your soil for your landscaping project.
1. Remove debris: Clear the area of any rocks, roots, or other debris that can hinder plant growth or interfere with proper soil preparation. Use a rake or shovel to remove larger debris and create a clean surface.
2. Test the soil: It’s essential to understand the composition of your soil before starting any planting. Perform a soil test to assess the pH level and nutrient content. This will guide you in determining the amendments needed to create the ideal growing environment for your plants. Soil test kits are available at garden centers or through local agricultural extension offices.
3. Amend the soil: Based on the soil test results, add necessary amendments to improve the soil’s fertility and structure. This may include organic matter such as compost, aged manure, peat moss, or vermicompost. Incorporate the amendments into the existing soil using a garden fork or tiller to ensure even distribution.
4. Enhance drainage: If the soil has poor drainage, take steps to improve it. Incorporate organic matter and coarse sand or perlite into the soil to increase its ability to drain excess water. This is especially important in areas prone to heavy rainfall or in clay soils that tend to retain water.
5. Address soil compaction: Soil compaction can limit root growth and water infiltration. If the soil is compacted, use a garden fork or aerator to loosen it. This will allow for better root penetration and airflow, promoting healthy plant growth.
6. Add fertilizers: Based on the soil test results and the specific nutrient requirements of your plants, add organic or slow-release fertilizers to provide the necessary nutrients for healthy growth. Follow the product instructions for proper application rates and timing.
7. Mulch the soil: After preparing the soil, apply a layer of organic mulch to help retain moisture, suppress weeds, and insulate the soil. Choose natural mulch materials such as wood chips, straw, or shredded leaves. Apply a layer of mulch 2-3 inches thick, ensuring that it does not come into direct contact with plant stems or trunks.
8. Water thoroughly: Before planting, thoroughly water the soil to ensure that it is evenly moistened. This will help settle the soil and provide a favorable environment for root growth.
Remember to regularly monitor and maintain your soil health throughout the life of your landscape. Regularly test the soil, adjust nutrient levels as needed, and replenish mulch as it breaks down. This will help maintain a healthy and nutrient-rich soil ecosystem.
By properly preparing the soil, you provide a solid foundation for your landscaping project. Nutrient-rich and well-draining soil sets the stage for healthy plant growth, lush foliage, and vibrant blooms, ultimately creating a thriving and beautiful landscape.
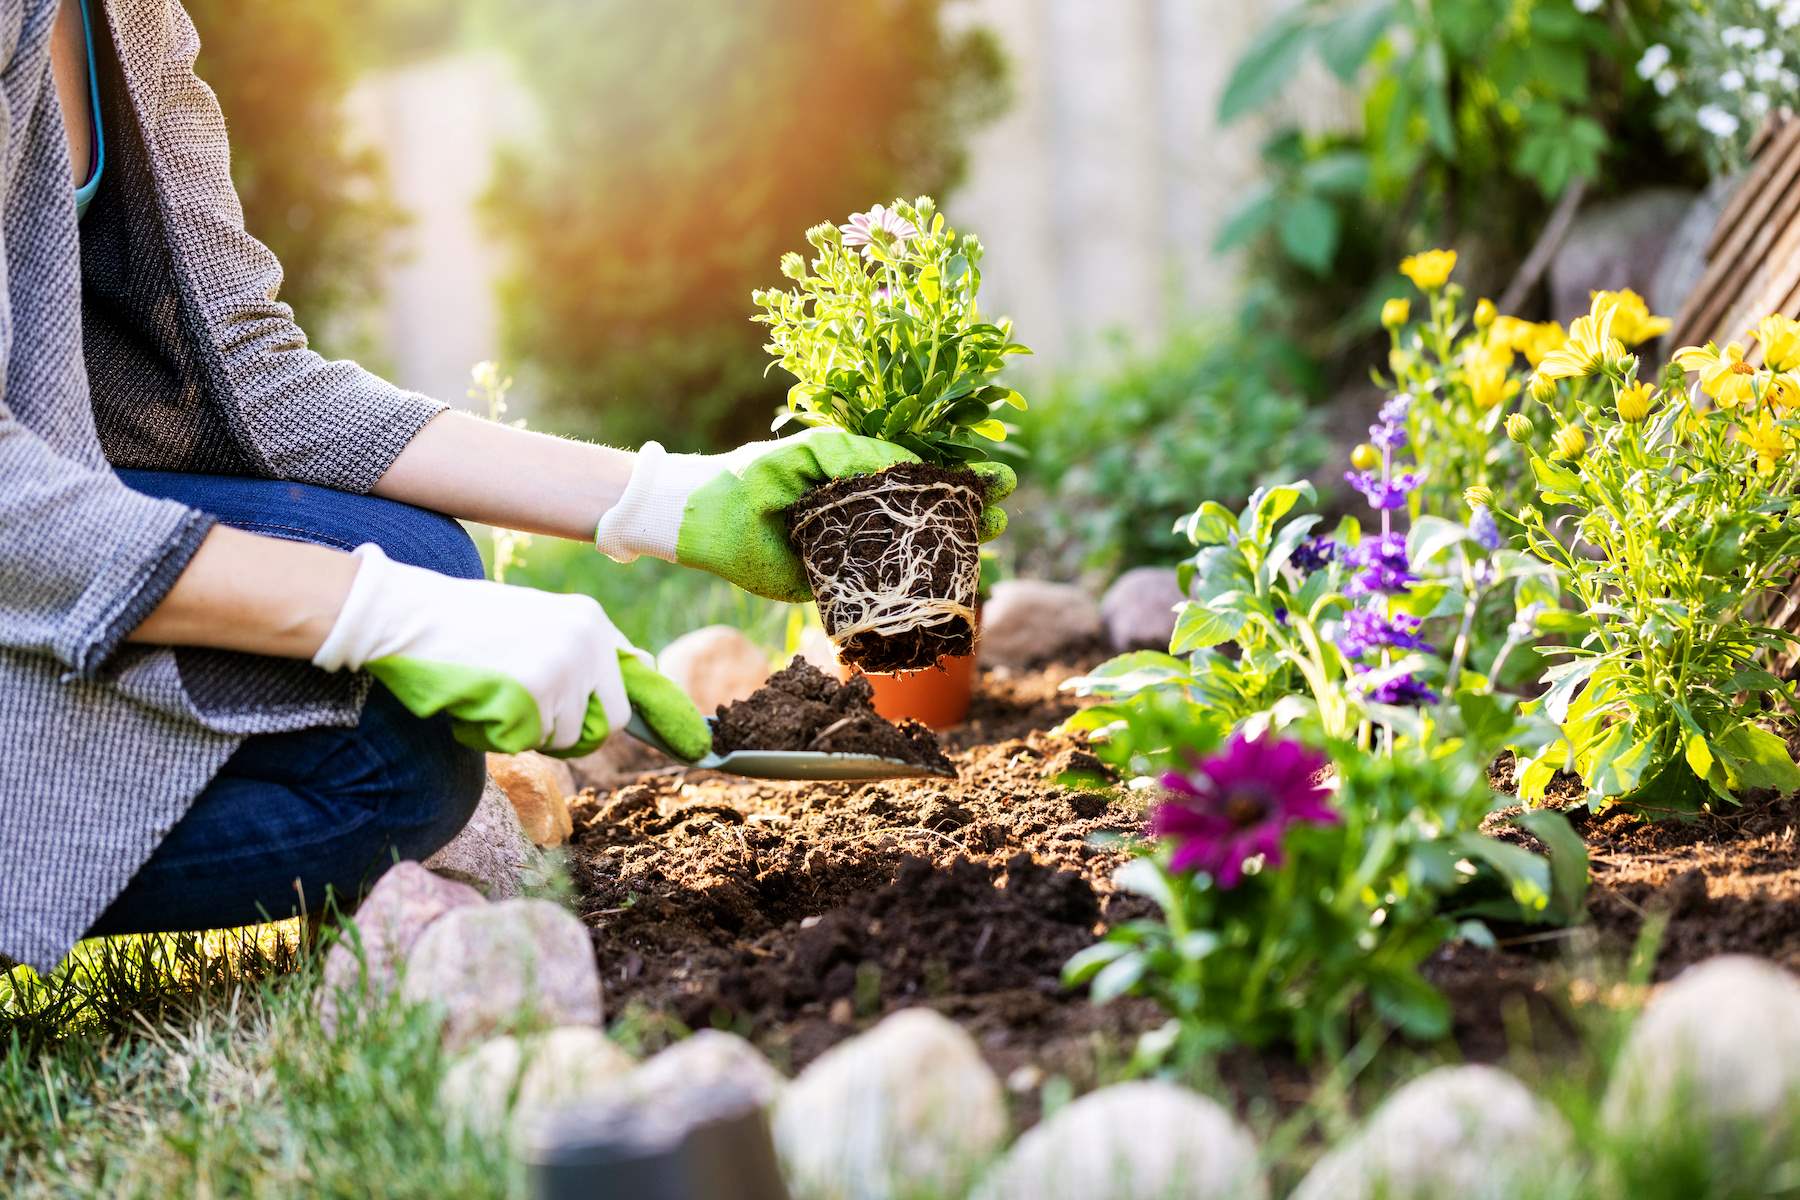
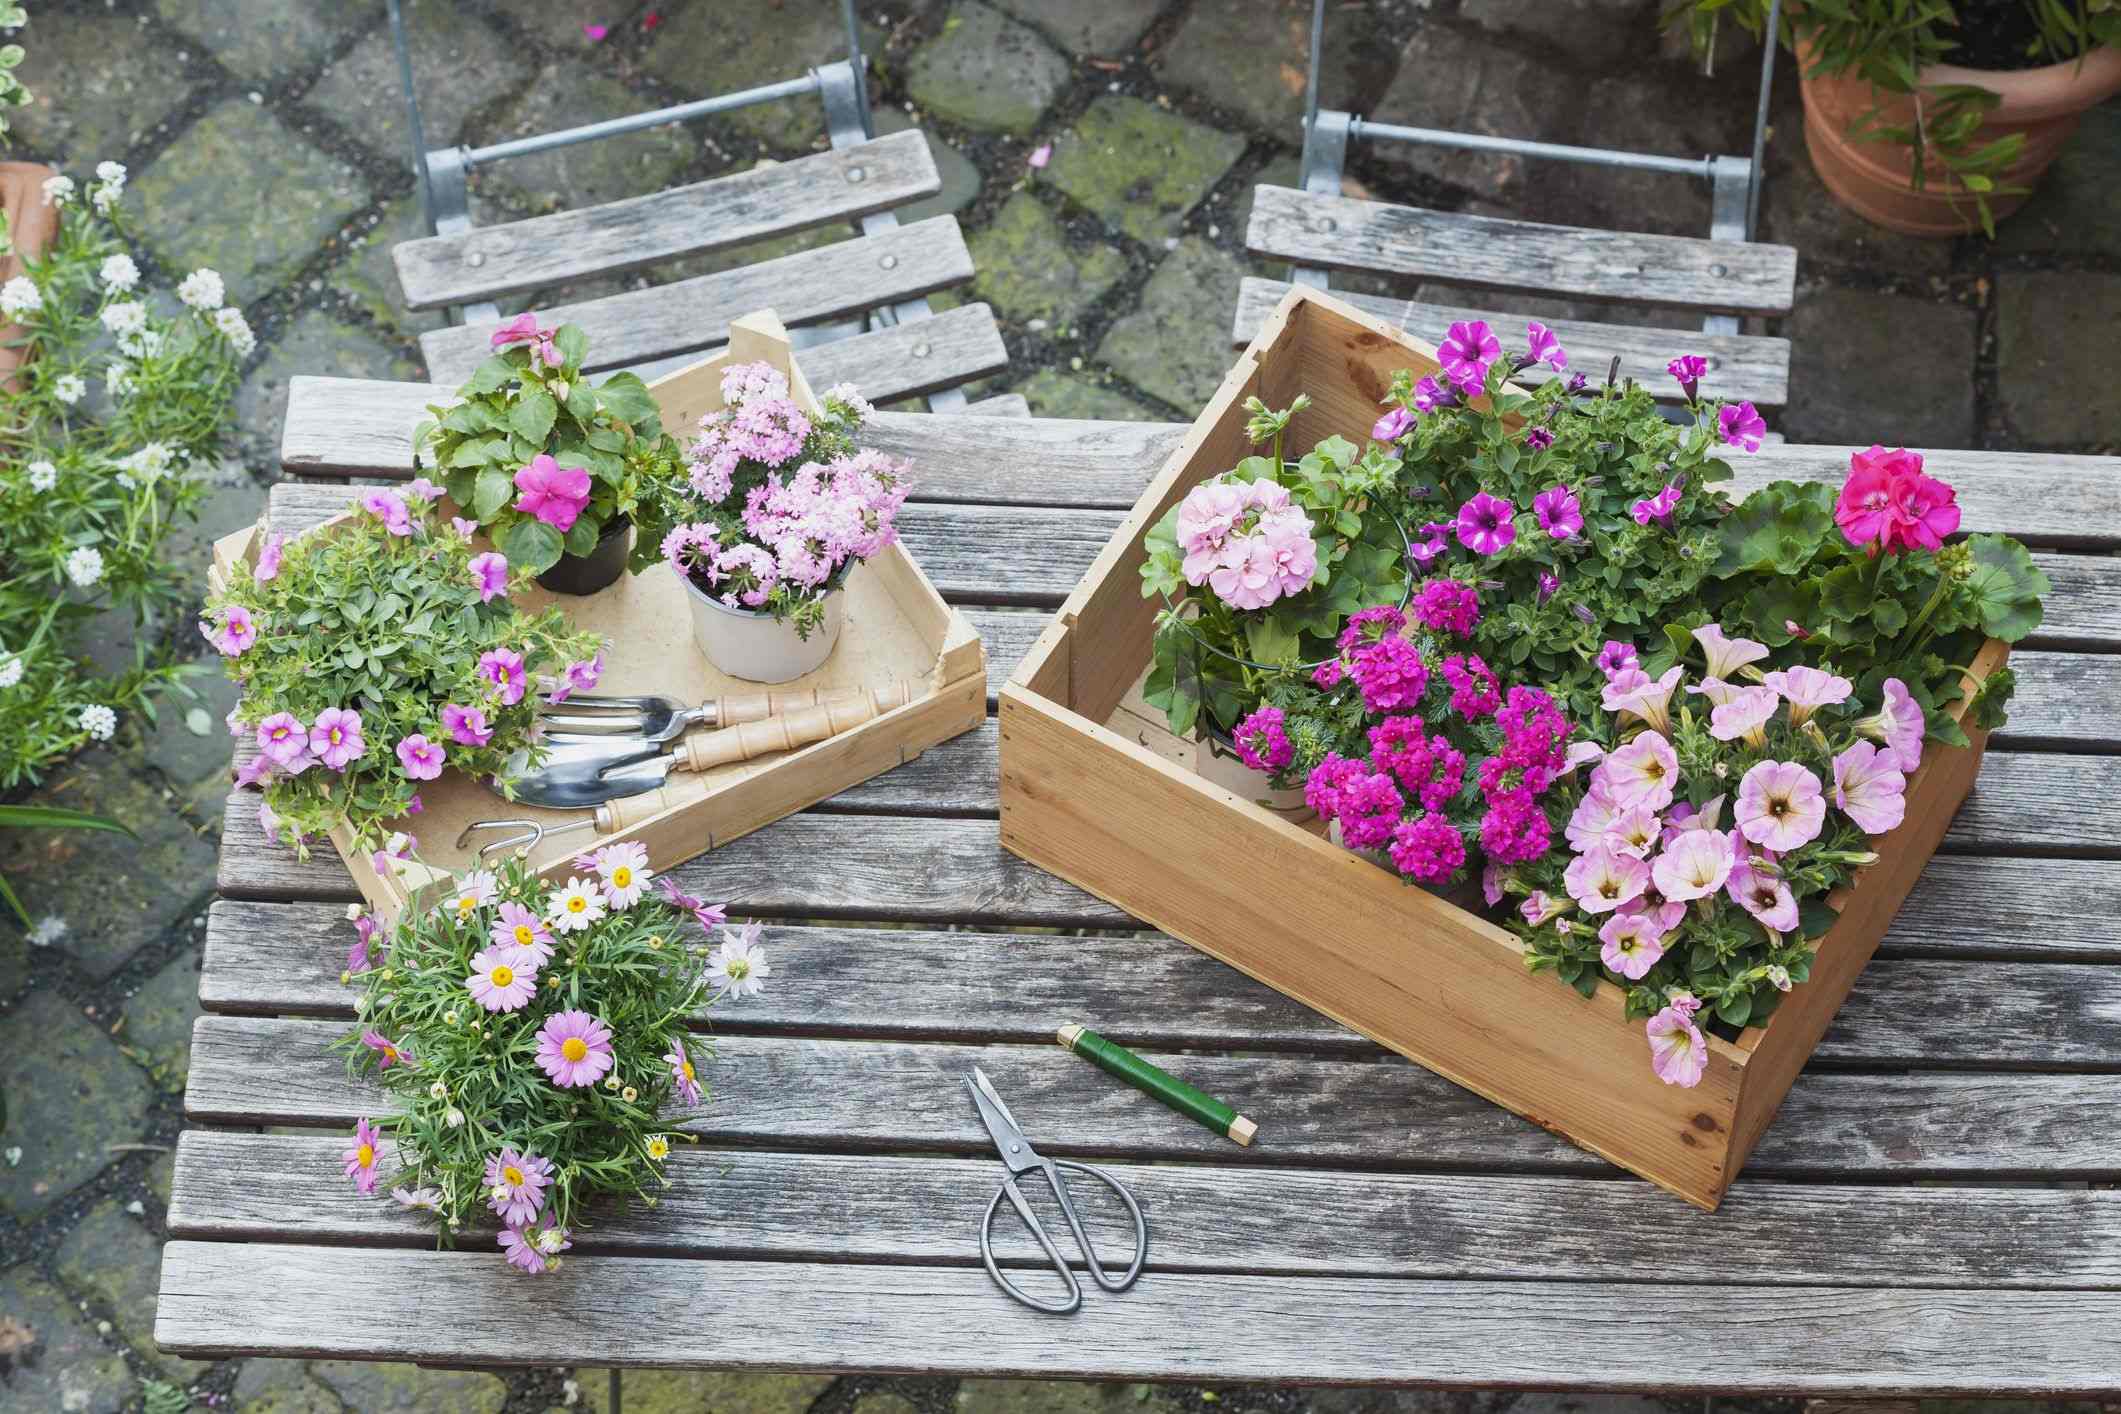
Choosing and Planting the Right Plants
Choosing and planting the right plants is a critical step in creating a beautiful and thriving landscape. The selection of plants should consider factors such as climate, soil conditions, maintenance requirements, and desired aesthetic. Here are the steps to effectively choose and plant the right plants for your landscaping project.
1. Research plant suitability: Consider the climate and growing conditions in your region. Research and choose plants that are well-adapted to your specific climate, soil type, and light availability. This will help ensure the long-term success of your plants and reduce the need for excessive maintenance or replacements.
2. Determine your plant needs: Assess your landscaping goals and determine the specific needs you want your plants to fulfill. Do you desire year-round blooms, foliage colors, or fragrance? Do you need plants that attract pollinators or create privacy? Consider these factors when selecting the types and varieties of plants to incorporate into your design.
3. Consider the growth characteristics: Take into account the size, shape, and growth rate of plants when selecting them for your landscape. Consider the mature height and spread of plants, ensuring they have enough space to grow without overcrowding or overshadowing other elements. This will help maintain a balanced and visually pleasing landscape.
4. Create diversity: Aim for a diverse mix of plants to create visual interest and promote a healthy ecosystem. Incorporate a combination of trees, shrubs, perennials, and annuals that bloom at different times, have varying heights and textures, and provide different colors and forms. This will create a dynamic and visually appealing landscape throughout the year.
5. Pay attention to maintenance requirements: Consider the level of maintenance you are willing and able to commit to. Some plants require more care and attention, such as regular pruning or specialized soil conditions. Select plants that align with your available time and resources for maintenance to ensure a low-stress gardening experience.
6. Plan the layout: Before planting, plan the layout of your plants based on their growth characteristics and aesthetic goals. Consider factors such as color combinations, contrasting textures, and focal points. Arrange plants in groups or clusters to create visual impact and provide a more naturalistic appearance.
7. Prepare the planting holes: Dig planting holes that are as deep as the root balls or containers and twice as wide. Loosen the soil in the planting holes to encourage root growth and ensure good soil-to-root contact. Add organic matter or compost to enrich the soil, if necessary.
8. Place and plant the plants: Carefully remove plant containers or loosen the roots of bare-root plants before placing them in the prepared holes. Backfill the holes with soil, gently firming it around the roots to eliminate air pockets. Water thoroughly after planting to settle the soil and provide hydration to the newly planted plants.
9. Provide proper care and maintenance: Follow the specific care instructions for each plant regarding watering, fertilizing, and pruning. Regularly monitor your plants for signs of pests, diseases, or nutrient deficiencies. Provide appropriate mulching to help conserve moisture and suppress weeds.
By choosing and planting the right plants, you’ll create a gorgeous and harmonious landscape that thrives in its environment. Thoughtful plant selection, combined with proper planting techniques and ongoing maintenance, will ensure a flourishing and visually stunning outdoor space for years to come.
Installing Hardscaping Elements
Hardscaping elements are the non-living features that add structure, functionality, and visual appeal to your landscape. From pathways and patios to retaining walls and water features, installing hardscaping elements can significantly enhance the overall design and functionality of your outdoor space. Here are the steps to effectively install hardscaping elements in your landscape.
1. Plan the layout: Before starting any installation, carefully plan the layout of your hardscaping elements. Consider factors such as the size and shape of the area, the desired functionality, and the overall aesthetic you want to achieve. Create a scaled drawing or use marking tools to outline the areas where you intend to install specific hardscape features.
2. Gather the necessary materials and tools: Determine the materials and tools needed for the installation based on your design plans. This may include items such as pavers, bricks, stones, concrete, retaining wall blocks, excavation tools, levels, and adhesives. Acquire all the necessary materials and have the tools readily available before starting the installation process.
3. Prepare the area: Clear the area of any vegetation, debris, or obstacles that may interfere with the installation process. Ensure the ground is level and properly graded, especially for features such as patios and walkways. If necessary, perform any required excavation or soil preparation before proceeding with the installation.
4. Install the base: For many hardscaping elements, a solid and stable base is crucial. This may involve preparing a compacted gravel or sand base, or pouring a concrete foundation. Follow specific instructions for each element to ensure proper installation and stability.
5. Lay the hardscaping materials: Place the hardscaping materials according to your design plan. Whether you are installing pavers, bricks, stones, or tiles, follow the recommended installation patterns and use appropriate adhesives or joint fillers, if necessary. Use a level to ensure even and consistent placement of each element.
6. Secure the elements: Depending on the hardscaping feature, securing the elements may be necessary. This could involve interlocking pavers, securing stones or bricks with adhesive, or building retaining walls with proper reinforcements. Follow manufacturer or professional installation guidelines to ensure stability and longevity.
7. Finishing touches: Once the hardscaping elements are installed, add any finishing touches to enhance the overall look and functionality. This may include applying joint sand or sealant to paver or brick joints, adding decorative borders, or integrating lighting for nighttime ambiance and safety.
8. Proper maintenance: To ensure the longevity and beauty of your hardscaping elements, practice regular maintenance. This may include cleaning, sealing, and repairing as needed. Consider seasonal tasks such as clearing leaves and debris from stone or brick surfaces to prevent staining or damage.
Remember to check local regulations and obtain any necessary permits before installing hardscaping elements, especially for more complex features. Compliance with local laws ensures a smooth and legal progression of your project.
By effectively installing hardscaping elements, you can transform your landscape into a visually appealing and functional outdoor oasis. Thoughtful planning, proper installation techniques, and consistent maintenance will ensure that your hardscaping features stand the test of time and provide enjoyment for years to come.
Installing Irrigation Systems
An efficient and well-designed irrigation system is crucial for maintaining a healthy and thriving landscape. Proper watering is essential for the growth and vitality of plants, and installing an irrigation system can help ensure that your plants receive the right amount of water at the right time. Here are the steps to effectively install an irrigation system in your landscape.
1. Evaluate your watering needs: Assess the specific watering requirements of your plants, taking into consideration factors such as the type of plants, the local climate, and soil conditions. Determine whether your landscape requires a sprinkler system, drip irrigation, or a combination of both.
2. Plan the layout: Create a layout plan for your irrigation system based on the specific needs of your landscape. Identify the areas that need irrigation and consider the water pressure, slope, and water source. Determine the number and placement of sprinkler heads or emitters to ensure even coverage and efficient water distribution.
3. Gather the necessary materials: Procure all the necessary materials for your irrigation system, including pipes, valves, sprinkler heads, emitters, connectors, timers, and backflow prevention devices. Choose high-quality materials that are suitable for your specific irrigation needs and ensure they are compatible with one another.
4. Install the water source and mainline: Connect the irrigation system to your water source, usually the main water supply line of your home or a separate water supply. Install a backflow prevention device to avoid contamination of the water supply. Lay the mainline along the planned route, using appropriate connectors and fittings to secure the pipes.
5. Connect the lateral lines and sprinkler heads/emitters: Install lateral lines, branching off from the mainline to the specific areas in need of irrigation. Connect sprinkler heads for spray irrigation or emitters for drip irrigation to the lateral lines. Be mindful of the spacing and coverage requirements of the chosen sprinkler heads or emitters.
6. Install control valves and timers: Install control valves at strategic points to regulate the flow of water to different zones of your landscape. Connect the control valves to the mainline and use appropriate fittings and couplings. Install a timer or controller to automate the watering schedule, ensuring efficient use of water and convenience.
7. Test and adjust the system: Once the irrigation system is installed, it’s essential to test each zone and make necessary adjustments. Turn on the system and check for any leaks, proper functioning of sprinkler heads or emitters, and even distribution of water. Make any necessary corrections or fine-tuning to ensure optimal coverage and watering efficiency.
8. Regular maintenance: Regularly inspect and maintain your irrigation system to ensure its proper functioning. Clean or replace clogged sprinkler heads or emitters, adjust sprinkler patterns, and monitor the system for any leaks or malfunctions. Adjust the watering schedule according to seasonal and landscape changes.
It’s worth noting that for complex or large-scale irrigation systems, it may be beneficial to consult a professional irrigation installer to ensure the system is properly designed and installed.
By effectively installing an irrigation system, you’ll provide your landscape with consistent and appropriate water supply, promoting healthy plant growth and minimizing water waste. An efficiently designed and maintained irrigation system will contribute to a beautiful and sustainable landscape for years to come.
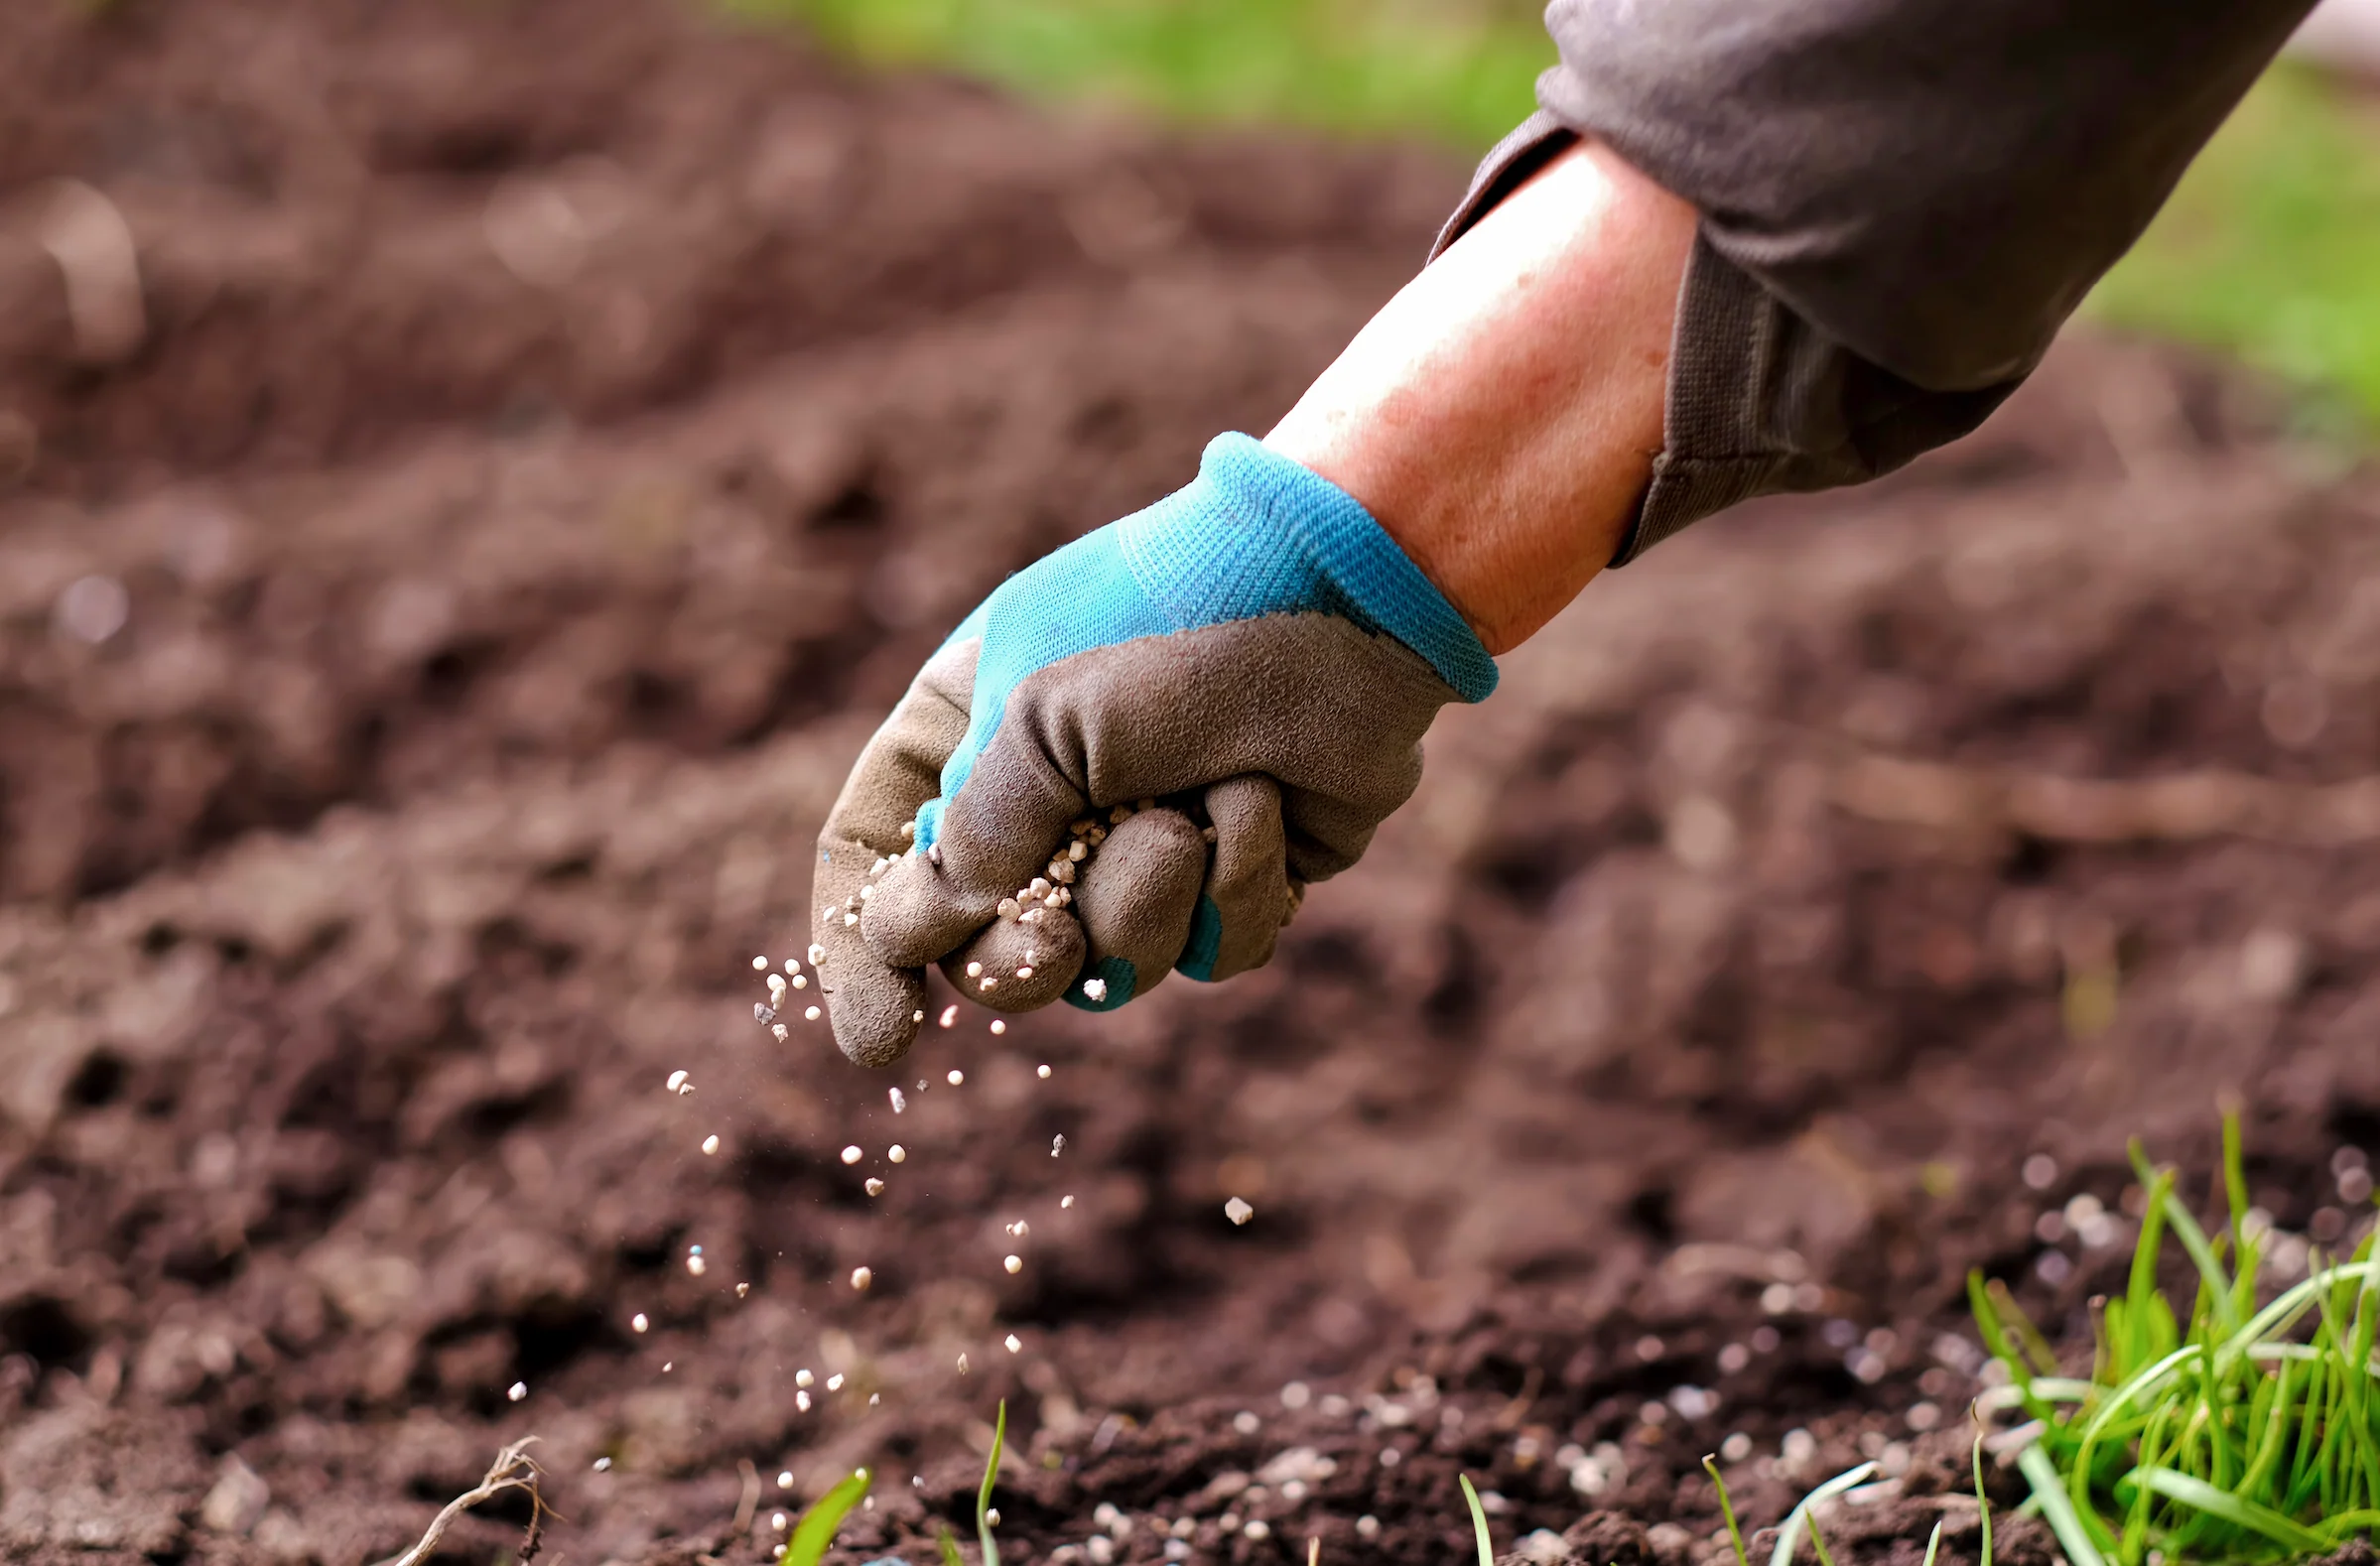
Mulching and Fertilizing
Mulching and fertilizing are essential practices in maintaining a healthy and vibrant landscape. These activities provide numerous benefits, including weed suppression, moisture retention, nutrient enrichment, and overall enhanced plant health. Here are the steps to effectively mulch and fertilize your landscape.
1. Prepare the area: Before mulching or fertilizing, remove any weeds, debris, or excessive plant material from the area. Rake the soil lightly and ensure it is evenly distributed and level. This will provide a clean and suitable surface for mulch and fertilizers.
2. Choose the right mulch: Select an appropriate mulching material for your landscape, such as organic mulch (e.g., wood chips, straw, or shredded leaves) or inorganic mulch (e.g., gravel or rocks). Consider factors such as the desired aesthetic, water retention abilities, and local availability. Aim for a mulch layer that is 2-3 inches thick.
3. Apply mulch correctly: Spread the mulch evenly around your plants, leaving a small gap around the base of the plant to prevent moisture buildup and potential rot. Avoid placing mulch directly against the stems or trunks of plants, as this can lead to disease or insect problems. Extend the mulch layer to cover the root zone of plants.
4. Replenish mulch regularly: Over time, organic mulch decomposes and breaks down. Replenish the mulch layer every year or as needed to maintain the desired thickness. Additionally, periodically fluff the mulch with a rake to prevent compaction or matting, ensuring proper water and air circulation.
5. Assess fertilization needs: Evaluate the nutrient requirements of your plants based on their specific needs and growth stages. Consider using organic fertilizers, which are slow-release and provide long-term benefits to the soil and plants. Select a balanced fertilizer or choose formulations specific to the needs of different plant types.
6. Apply fertilizers correctly: Follow the instructions on the fertilizer package for proper application rates and methods. Avoid over-fertilizing, as this can lead to nutrient imbalances and potential harm to plants. Apply fertilizers evenly and avoid direct contact with plant foliage, as this can cause burns or damage.
7. Water after fertilization: After applying fertilizers, water the area thoroughly to help dissolve and distribute the nutrients into the soil. This will also prevent potential burning of plant roots and ensure proper absorption.
8. Regular maintenance and monitoring: Monitor your mulch and fertilized areas regularly. Check for signs of weeds, disease, or nutrient deficiencies in your plants. Remove any weeds as soon as they appear to prevent competition for nutrients and water. Adjust your fertilization schedule and amounts as needed based on plant response and growth.
Remember that different plants may have specific mulching and fertilizing requirements, so it is important to research and understand the needs of each plant species in your landscape.
By effectively mulching and fertilizing, you create an optimal environment for plant growth, health, and productivity. Mulching preserves soil moisture, reduces weed growth, and improves soil structure, while fertilizers replenish essential nutrients, promoting lush foliage, vibrant blooms, and overall plant vigor. These practices contribute to the long-term success and beauty of your landscape.
Caring for Your Landscaping
Caring for your landscaping is an ongoing process that involves regular maintenance and attention to ensure the health, beauty, and longevity of your outdoor space. Proper care and maintenance practices will help preserve the integrity of your landscape design and enhance its overall appeal. Here are the steps to effectively care for your landscaping.
1. Watering: Proper watering is crucial for maintaining healthy plants. Water your landscape deeply and infrequently, allowing the soil to dry out slightly between waterings. Adjust the watering schedule based on seasonal weather conditions and the specific needs of your plants. Use techniques such as drip irrigation or soaker hoses to ensure efficient water delivery directly to the roots.
2. Weed control: Regularly inspect your landscape for weeds and remove them promptly. Hand-pull weeds or use appropriate organic or chemical weed control methods. Apply mulch to suppress weed growth and employ proper cultivation techniques to prevent weed establishment.
3. Pruning and trimming: Regular pruning and trimming help promote healthy plant growth and maintain the desired shape and size. Remove dead or damaged branches, shape shrubs and trees, and thin out overcrowded areas to allow for better air circulation and sunlight penetration. Prune plants during their appropriate dormant or flowering periods.
4. Pest and disease management: Monitor your plants for signs of pests or diseases and take appropriate action if necessary. Preventive measures such as proper plant selection, regular inspection, and promoting healthy plant growth through proper watering and fertilization can help deter pests and minimize the chances of disease outbreaks. Use environmentally friendly pest control methods whenever possible.
5. Fertilizing: Provide regular and balanced fertilization to your plants to ensure they receive the necessary nutrients for optimal growth. Use organic or slow-release fertilizers based on soil test results and the specific needs of your plants. Follow the recommended application rates and timing to prevent over-fertilization and the risk of nutrient imbalances.
6. Regular inspection and maintenance: Regularly walk through your landscape and inspect plants for any signs of stress, nutrient deficiencies, or other issues. Look for any damaged or malfunctioning irrigation components and address them promptly. Keep pathways, hardscaping elements, and structures clean and well-maintained. Address any maintenance tasks as soon as they arise to prevent further damage or deterioration.
7. Seasonal care: Adjust your care routine based on the seasons and specific requirements of your plants. Prune and shape plants during the appropriate times of the year, clean up fallen leaves and debris, and protect sensitive plants during extreme weather conditions. Implement proper winterizing practices to safeguard your landscape during colder months.
8. Pest control and management: Monitor for pests and take necessary action to protect your landscape. This may involve the use of organic pest control methods, companion planting, introducing beneficial insects, or implementing physical barriers.
By regularly caring for your landscaping, you will maintain a healthy, vibrant, and visually appealing outdoor space. Consistent maintenance practices, proper watering, weed control, pruning, and pest management will help protect your investment and ensure that your landscape thrives and brings beauty and enjoyment for years to come.
Conclusion
Creating a stunning and functional landscape requires careful planning, proper execution, and ongoing care. By following the steps outlined in this article, you can effectively prepare for your landscaping project and achieve the landscape of your dreams.
Assessing your landscaping needs, planning your landscape design, and creating a budget provide a solid foundation for a successful project. Gathering the necessary tools and materials, clearing the area, and preparing the soil ensure that your landscape is ready for planting and growth. Selecting and planting the right plants, installing hardscaping elements, and implementing irrigation systems enhance the visual appeal, functionality, and sustainability of your outdoor space. Mulching, fertilizing, and providing regular care and maintenance contribute to the long-term health and beauty of your landscape.
Remember that each landscape is unique, and your specific needs and preferences will guide your decisions throughout the process. Incorporate your personal style and creativity into the design, and consider consulting with professionals when necessary to ensure the best results.
Landscaping is an ongoing journey that requires your time, attention, and dedication. Regularly monitor your landscape, make adjustments as needed, and stay proactive in caring for your plants and features. Your efforts will be rewarded with a beautiful and thriving landscape that brings joy and enhances your outdoor living experience.
So, roll up your sleeves, get your hands dirty, and embark on the adventure of creating a truly remarkable landscape that reflects your vision and enhances the beauty of your home.