Home>Gardening Tips and Tricks>Problem Solving>How Do You Turn On Irrigation System
Problem Solving
How Do You Turn On Irrigation System
Modified: January 22, 2024
Solve your irrigation system problems with our step-by-step guide on how to turn it on. Get your garden flourishing in no time with our expert tips and tricks.
(Many of the links in this article redirect to a specific reviewed product. Your purchase of these products through affiliate links helps to generate commission for Chicagolandgardening.com, at no extra cost. Learn more)
Table of Contents
Introduction
Are you ready to bring your garden or lawn back to life? A properly functioning irrigation system is the key to ensuring your plants receive the right amount of water in a convenient and efficient manner. Whether you’re new to irrigation systems or just need a refresher, this article will guide you through the process of turning on your irrigation system step by step.
Maintaining a healthy and lush garden or lawn requires regular watering. While manual watering may be sufficient for small areas, it can be time-consuming and ineffective for larger spaces. That’s where an irrigation system comes in handy. An irrigation system is a network of valves, pipes, and sprinklers that work together to distribute water evenly to your plants, keeping them healthy and vibrant.
Before we dive into the process of turning on your irrigation system, it’s essential to understand the basics of how it works. Most irrigation systems operate on a set schedule, controlled by an automated control panel. This control panel allows you to program the system to water specific zones at specific times, taking into account factors such as the type of plant, sun exposure, and soil type.
However, there may be times when you need to manually activate your irrigation system outside of the programmed schedule. This could be due to unexpected dry weather, newly planted areas, or any other reason that requires additional watering. Knowing how to turn on your irrigation system manually will give you the flexibility and control you need to ensure your plants receive the appropriate amount of water.
In the following sections, we will walk you through the steps to locate and control your irrigation system, including troubleshooting common issues that may arise during the process. So let’s get started and learn how to turn on your irrigation system like a pro!
Understanding the Basics of an Irrigation System
Before you can effectively turn on your irrigation system, it’s important to have a good understanding of its key components and how they work together. An irrigation system typically consists of the following elements:
- Water Source: This is the starting point of your irrigation system. It can be a municipal water supply, well, or other water source.
- Main Water Line: This is the pipe that connects the water source to your property. It delivers water to the irrigation system.
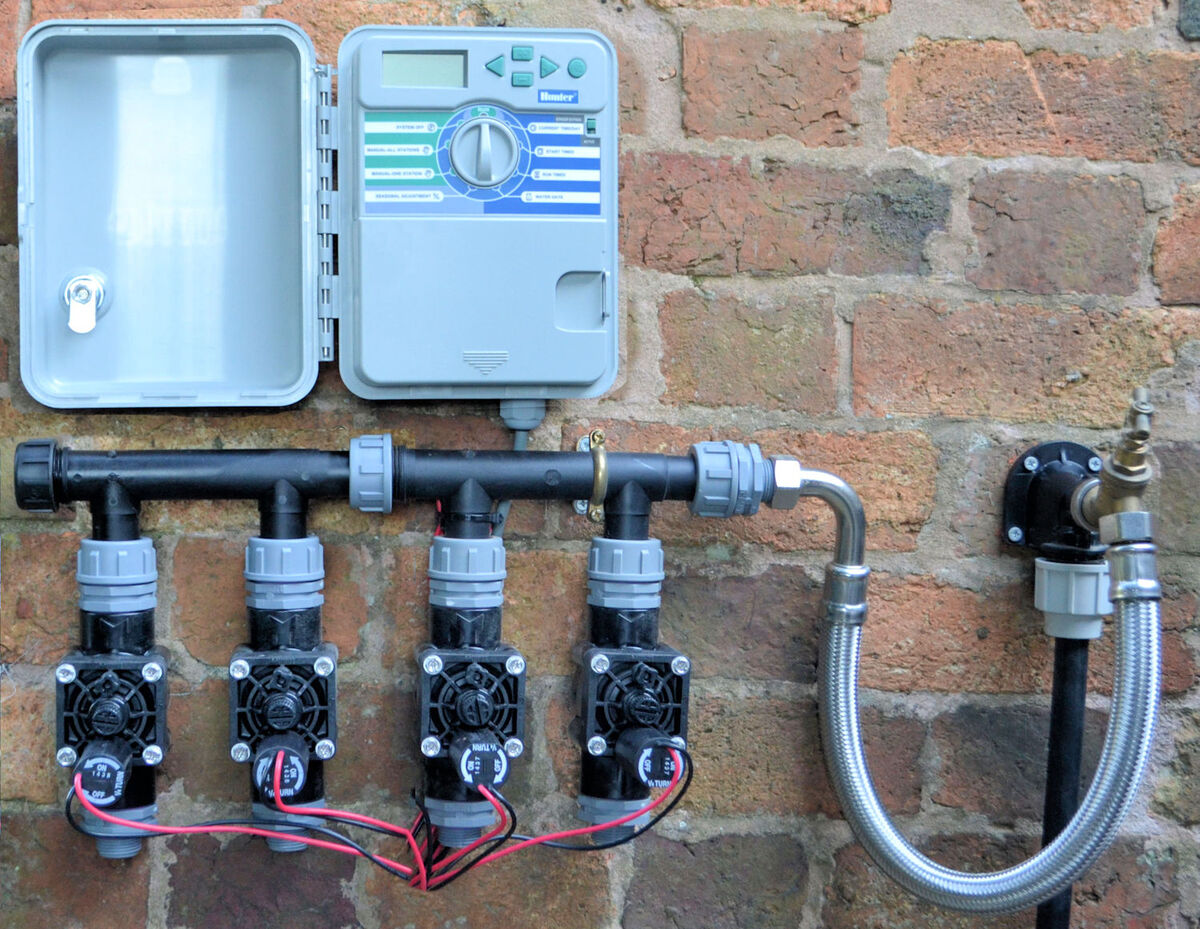
- Control Panel: The control panel is the brain of your irrigation system. It allows you to program and schedule watering times, adjust settings, and monitor the system’s performance.
- Valves: Valves control the flow of water to specific zones in your garden or lawn. They are electronically controlled and open and close based on the programmed schedule.
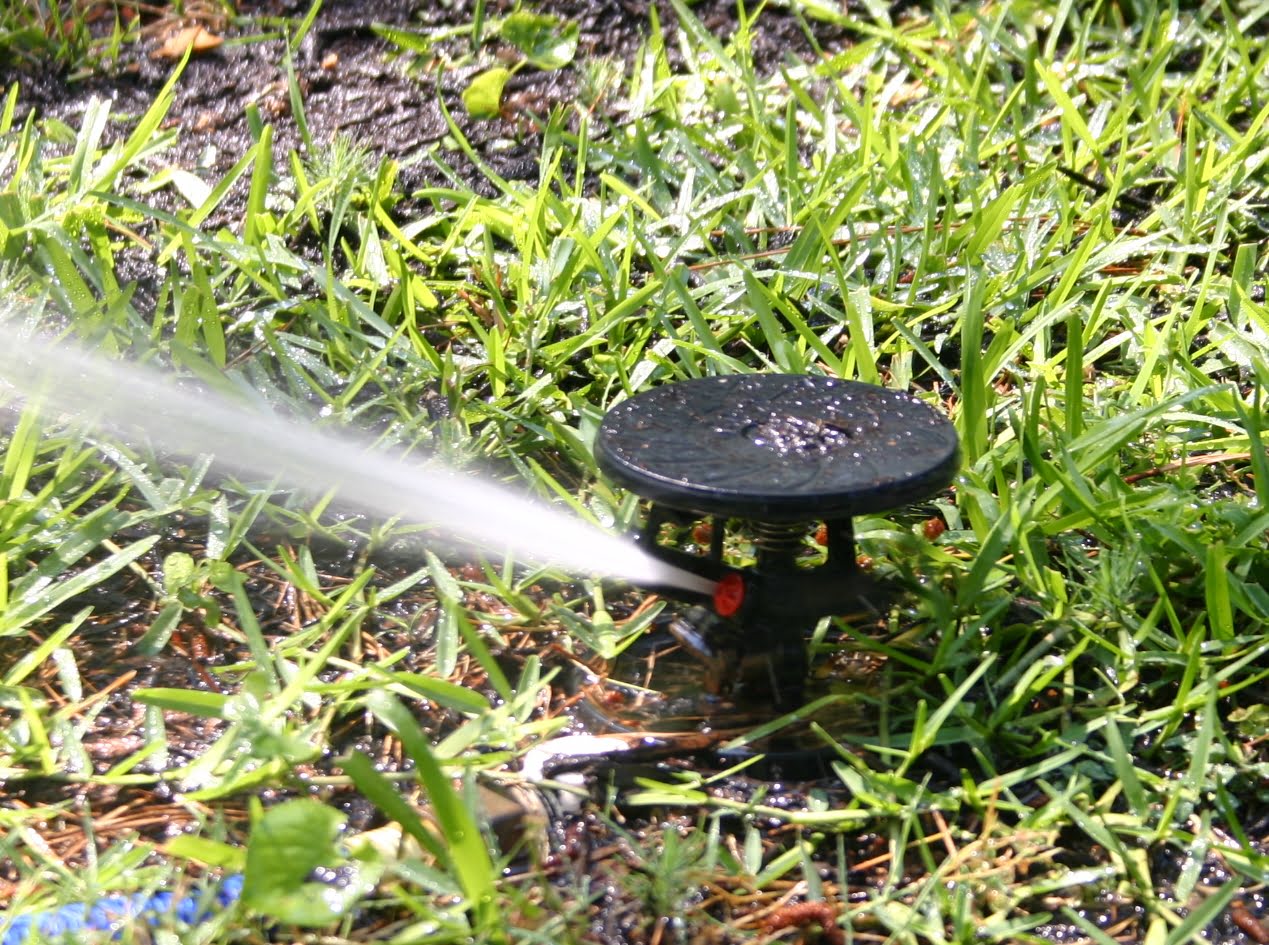
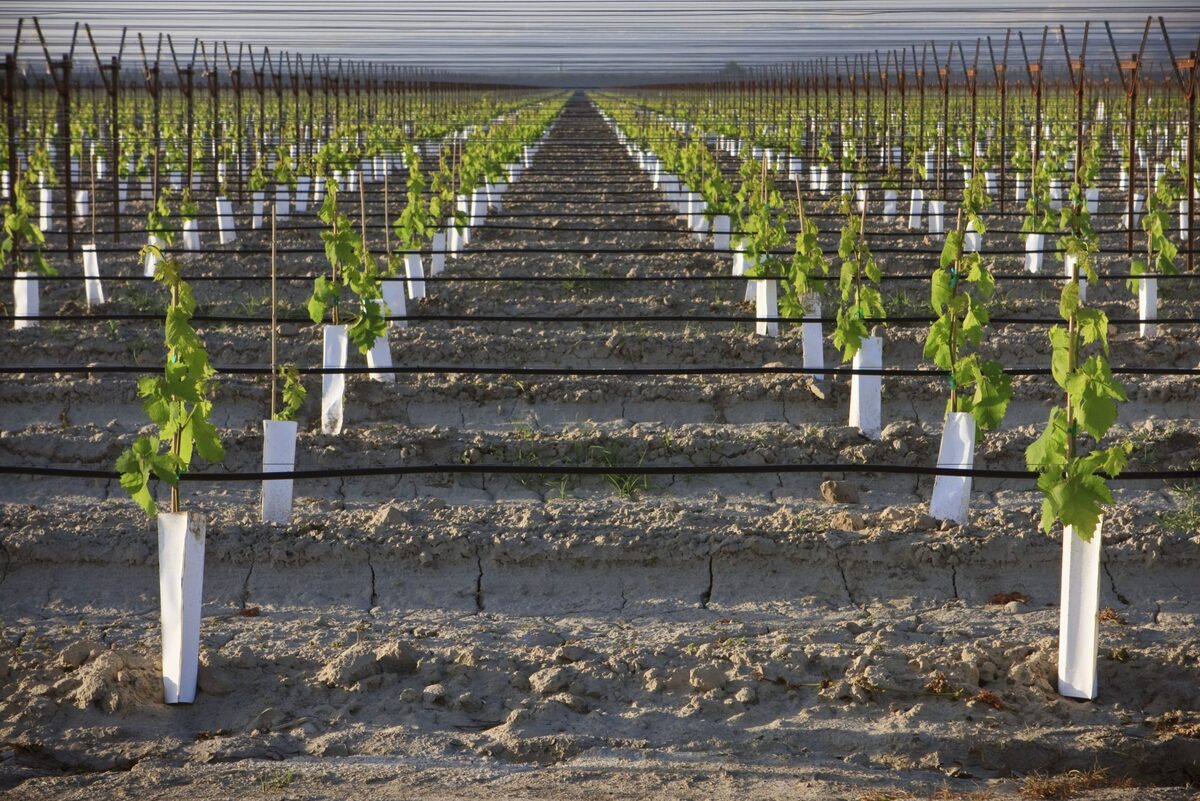
- Sprinklers and Drip Emitters: Sprinklers are used for larger areas, while drip emitters are ideal for individual plants. They distribute water evenly and efficiently to your plants.
- Sensors: Optional sensors, such as rain sensors or soil moisture sensors, can be integrated into your irrigation system. They help conserve water by adjusting watering schedules based on weather conditions or soil moisture levels.
Understanding the key components of your irrigation system will help you navigate the process of turning it on and troubleshooting any issues that may arise. Additionally, it’s important to familiarize yourself with any specific instructions or manuals provided by the manufacturer of your irrigation system for optimal performance.
Now that you have a basic understanding of how an irrigation system works, let’s move on to the next section to learn how to check and ensure the main water supply to your system is functioning properly.
Checking the Main Water Supply
Before turning on your irrigation system, it’s crucial to ensure that the main water supply is flowing correctly. By checking the main water supply, you can avoid potential issues and ensure that the irrigation system has the necessary water pressure to operate effectively. Here’s how you can check the main water supply:
- Locate the main water shut-off valve: The main water shut-off valve is usually located near the water meter or where the water supply enters your property. It is often a round wheel or lever that can be turned. Turn it counterclockwise to open the valve fully.
- Inspect for leaks: Once you’ve opened the main water shut-off valve, visually inspect the area for any signs of leaks or dripping. This includes checking the water meter, pipes, and faucets. If you notice any leaks, it’s essential to address them before proceeding.
- Check water pressure: To check the water pressure, attach a pressure gauge to an outdoor faucet and turn it on. The recommended water pressure for most irrigation systems is between 40-60 psi (pound-force per square inch). If the water pressure is too high or too low, it can affect the performance of your irrigation system. Consult a professional plumber if you need to adjust the pressure.
- Ensure proper water flow: Turn on an outdoor faucet and observe the water flow. If the water flow is weak or there are any obstructions, it may indicate a problem with the main water supply. Address any issues before proceeding to avoid further complications.
By checking the main water supply and addressing any potential issues, you will ensure a smooth and hassle-free operation of your irrigation system. Once you have confirmed that the main water supply is functioning properly, you can move on to the next step – locating the irrigation control panel.
Locating the Irrigation Control Panel
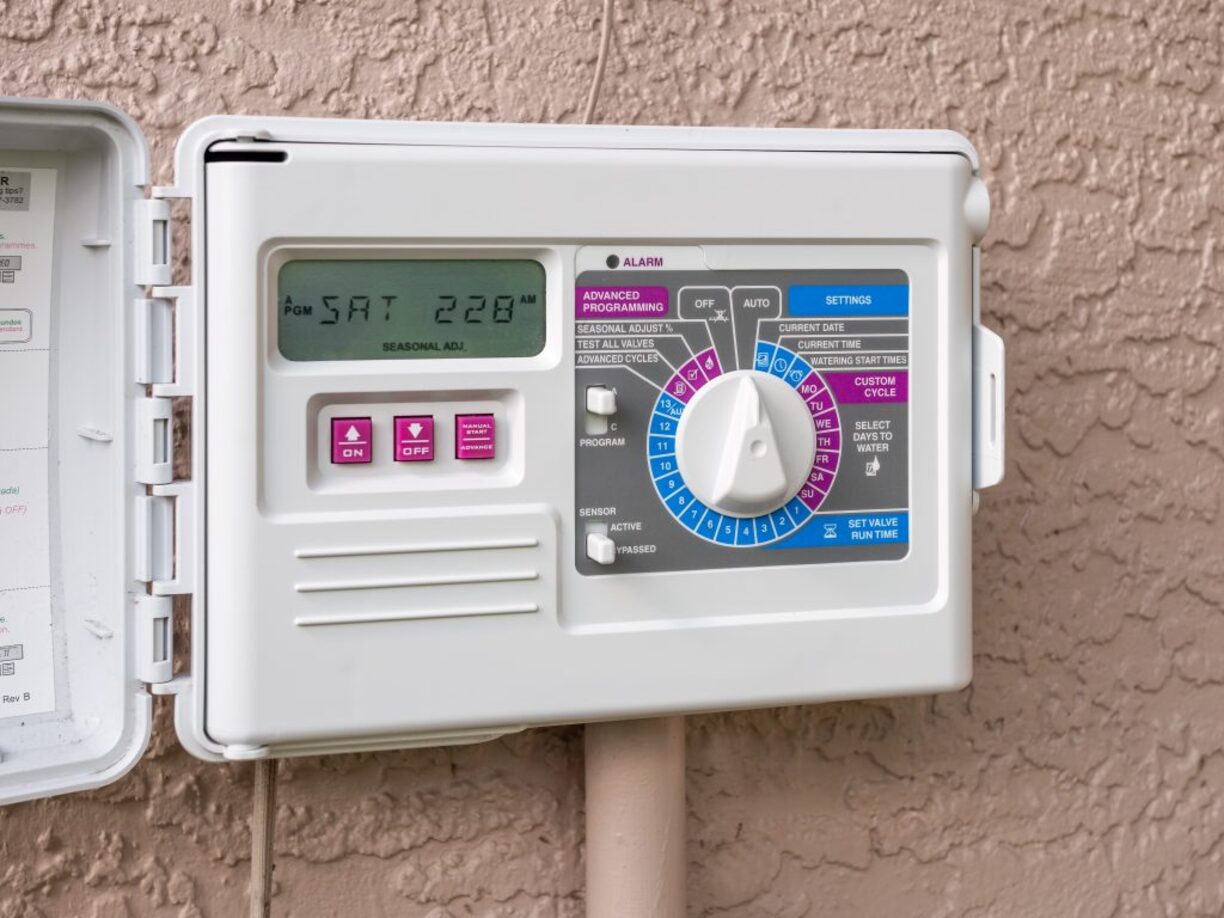
The irrigation control panel is where you can program, adjust, and monitor your irrigation system. It acts as the command center for your system, allowing you to control the watering schedule, set zones, and customize settings. Here are the steps to locate your irrigation control panel:
- Check the garage or utility area: In many homes, the irrigation control panel is installed in the garage or utility area. Look for a mounted box or panel on the wall. It may be labeled as “Irrigation Control Panel” or “Sprinkler Control Box.”
- Search near the water source: If you can’t find the control panel in the garage or utility area, check near the main water supply. It may be located on an exterior wall or near the water meter. Look for a weatherproof box with a hinged cover.
- Inspect the front yard or garden: In some cases, the control panel may be installed in a weatherproof cabinet or box mounted on an exterior wall in the front yard or garden. Look for a box that is easily accessible but not obstructed by plants or objects.
- Consult the property plans: If you’re unable to locate the control panel using the above methods, consult the property plans or contact the previous homeowner or a professional irrigation technician. They may have information regarding the placement of the control panel.
Once you’ve located the irrigation control panel, open the cover to access the panel’s controls and display. Familiarize yourself with the buttons, knobs, and settings. Refer to the manufacturer’s manual or documentation for specific instructions on how to navigate and operate the control panel of your particular irrigation system.
Now that you have found the irrigation control panel, you are ready to move on to the next step – turning on the irrigation system manually.
Turning on the Irrigation System Manually
Manually turning on your irrigation system is necessary when you want to override the programmed schedule or if you need to test the system’s functionality. Here’s how you can manually turn on your irrigation system:
- Locate the manual control settings: On the irrigation control panel, look for the manual control settings. This is usually labeled as “Manual,” “Run,” or “Start.”
- Select the desired zone: Each zone in your irrigation system represents a specific area in your garden or lawn. Determine the zone you want to activate and select it on the control panel. This may involve pressing a corresponding number or using arrows to navigate through the zones.
- Enter the run time: Once you have selected the desired zone, enter the run time or duration for that zone. This can usually be done by pressing the “+” or “-” buttons on the control panel or using a numerical keypad.
- Start the irrigation: With the zone and run time set, initiate the irrigation process by pressing the “Start” or “Run” button on the control panel. The control panel will send a signal to the valves, and the selected zone will begin watering for the specified duration.
During manual operation, you can observe and monitor the irrigation process to ensure that the water is being distributed evenly and that there are no issues with the sprinklers or drip emitters. If you notice any irregularities, such as low pressure, misaligned sprinklers, or leaks, you may need to address them before continuing regular operation.
It’s important to note that manually turning on your irrigation system should only be done when necessary. For regular watering, it’s best to rely on the programmed schedule set on the control panel.
Now that you know how to turn on your irrigation system manually, let’s move on to the next section to troubleshoot common issues that may arise during the process.
Troubleshooting Common Issues
While turning on your irrigation system manually is a straightforward process, there are a few common issues that you may encounter. Understanding these issues and how to troubleshoot them will help ensure the proper functioning of your irrigation system. Here are some common problems and solutions to consider:
- No water flow: If there is no water flow when you turn on the irrigation system, start by checking the main water supply. Ensure that the main water shut-off valve is fully open and that there are no leaks or obstructions in the pipes. If the issue persists, you may need to inspect the valves and filters in the irrigation system for blockages or debris.
- Low water pressure: Low water pressure can impact the efficiency of your irrigation system. Check the pressure gauge on an outdoor faucet to ensure that the water pressure is within the recommended range of 40-60 psi. If the pressure is too low, you may need to address water supply issues or consult a professional plumber to adjust the pressure.
- Uneven water distribution: If you notice areas of your garden or lawn receiving too much or too little water, it may indicate an issue with the sprinklers or drip emitters. Check for clogged nozzles or emitters and clean or replace them as needed. Additionally, make sure that the sprinklers or emitters are properly aligned and not obstructed by plants or objects.
- Leaks or broken components: Inspect your irrigation system for any leaks, broken pipes, or damaged sprinkler heads. Leaks can result in wasted water and reduced system efficiency. Replace any faulty components and repair leaks promptly to maintain optimal performance.
- Electrical issues: If your irrigation system is not responding or the control panel is not functioning correctly, check for any electrical issues. Ensure that the power supply is connected and functioning properly. If the control panel is unresponsive, it may require troubleshooting or professional assistance.
If you encounter any other issues or difficulties in troubleshooting your irrigation system, don’t hesitate to seek help from a professional irrigation technician or consult the manufacturer’s documentation for specific guidance.
By addressing common issues promptly, you can ensure that your irrigation system operates efficiently, delivering the right amount of water to your plants and preserving water resources in the process.
Now that we’ve covered troubleshooting common issues, let’s summarize the key points and conclude our guide to turning on your irrigation system.
Conclusion
Congratulations! You’ve learned how to turn on your irrigation system like a pro. By understanding the basics of an irrigation system, checking the main water supply, locating the control panel, and manually activating the system, you have gained the knowledge to keep your plants hydrated and healthy.
Remember, regular maintenance and troubleshooting are essential for the proper functioning of your irrigation system. By being proactive in addressing common issues such as low water pressure, uneven water distribution, leaks, and electrical problems, you can ensure that your system operates efficiently and effectively.
Don’t forget to consult the manufacturer’s documentation for specific instructions and guidance tailored to your irrigation system. It’s also a good idea to schedule routine inspections and maintenance for your system to catch any potential issues early on.
Having a reliable irrigation system not only saves you time and effort but also helps conserve water by delivering it precisely where it’s needed. So, go ahead and enjoy the benefits of a vibrant and flourishing garden or lawn with your properly functioning irrigation system.
Thank you for reading this guide, and we hope it has been insightful and helpful in your journey to maintain a beautiful outdoor space. Happy watering!