Home>Gardening Techniques>DIY Projects>How To Shut Off Irrigation System
DIY Projects
How To Shut Off Irrigation System
Modified: January 22, 2024
Learn how to shut off your irrigation system with this DIY project guide. Save water and money by controlling the flow to your garden.
(Many of the links in this article redirect to a specific reviewed product. Your purchase of these products through affiliate links helps to generate commission for Chicagolandgardening.com, at no extra cost. Learn more)
Table of Contents
Introduction
Welcome to our comprehensive guide on how to shut off an irrigation system. Whether you’re preparing for the winter season or need to temporarily disable your system for maintenance, knowing the proper steps to shut off your irrigation system is crucial. By following these steps, you can ensure that water flow is stopped, preventing potential leaks or damage.
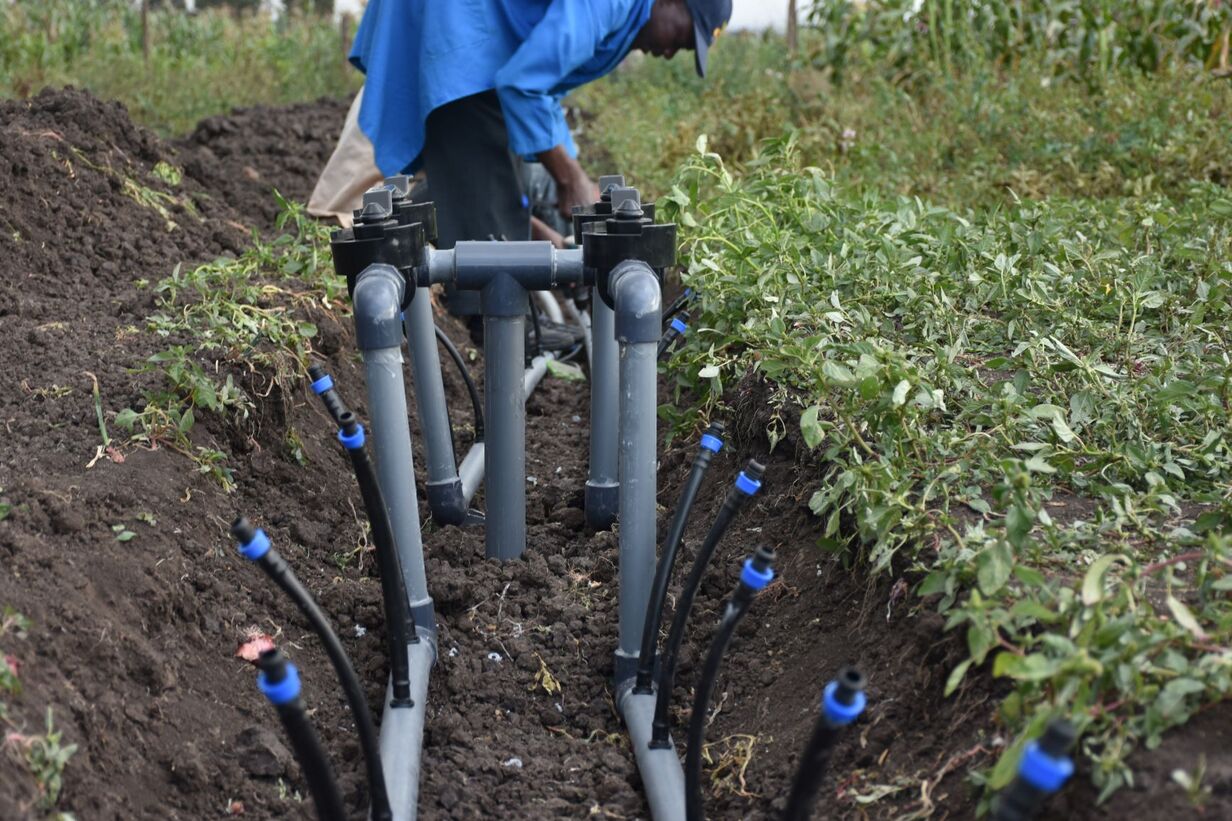
An irrigation system is a complex network of pipes, valves, and controllers designed to distribute water to your lawn, garden, or other landscaping areas. It helps to maintain the health of your plants by supplying the right amount of water at the right time. However, there are times when you need to manually shut off the system and prevent water from flowing through it.
In this guide, we will walk you through each step of shutting off your irrigation system. Whether you are a DIY enthusiast or a beginner looking for guidance, this article will provide you with detailed instructions to ensure a successful shutdown.
Before we dive into the steps, it’s important to note that shutting off an irrigation system may vary depending on the specific setup and components you have. Therefore, it is always advisable to consult the manufacturer’s instructions or seek professional assistance if you are unsure about any step.
Now, let’s get started on shutting off your irrigation system and safeguarding it against potential issues that could arise during periods of inactivity or maintenance.
Step 1: Locate the Main Water Shutoff Valve
The first step in shutting off your irrigation system is to locate the main water shutoff valve. This valve is typically located near your water meter and is responsible for controlling the water flow to your entire property.
Start by identifying the location of your water meter. It is usually found in a utility box in your yard or basement. Once you’ve located the water meter, look for a valve nearby, which may be either a gate valve or a ball valve. Gate valves have a round wheel handle, while ball valves have a lever handle.
If you are unable to find the main water shutoff valve near the water meter, you may need to consult your property’s water management system plans or seek assistance from a professional plumber.
Once you’ve located the main water shutoff valve, make sure it is fully open. You can do this by turning the valve handle clockwise until it stops. This ensures that the water supply to your entire property is shut off.
It’s important to note that in some cases, the main water shutoff valve for your irrigation system may be separate from the main water supply valve for your property. If you have a dedicated shutoff valve for your irrigation system, it is usually located near the backflow prevention device or the point where the irrigation system connects to the main water supply.
Remember that shutting off the main water supply valve will not completely drain the irrigation system, as there may still be water trapped in the pipes and valves. In the next step, we will address how to drain any remaining water in the system to prevent potential damage during freezing temperatures or maintenance.
Step 2: Turn Off the Main Water Supply to the Irrigation System
Now that you have located and shut off the main water shutoff valve for your entire property, it’s time to turn off the main water supply specifically for your irrigation system. This step will prevent any further water from entering the system.
To accomplish this, you will need to find the isolation valve for your irrigation system. This valve is usually located near the backflow prevention device or where the irrigation system ties into the main water supply. It may have a lever handle or a wheel handle, depending on the type of valve installed.
Once you’ve located the isolation valve, turn it clockwise until it is fully closed. This ensures that no water will flow into your irrigation system and eliminates the risk of any unwanted leaks or damage.
Please note that some irrigation systems may have multiple isolation valves if they are divided into zones. Each zone may have its own shutoff valve, allowing you to isolate specific areas of your landscape if needed.
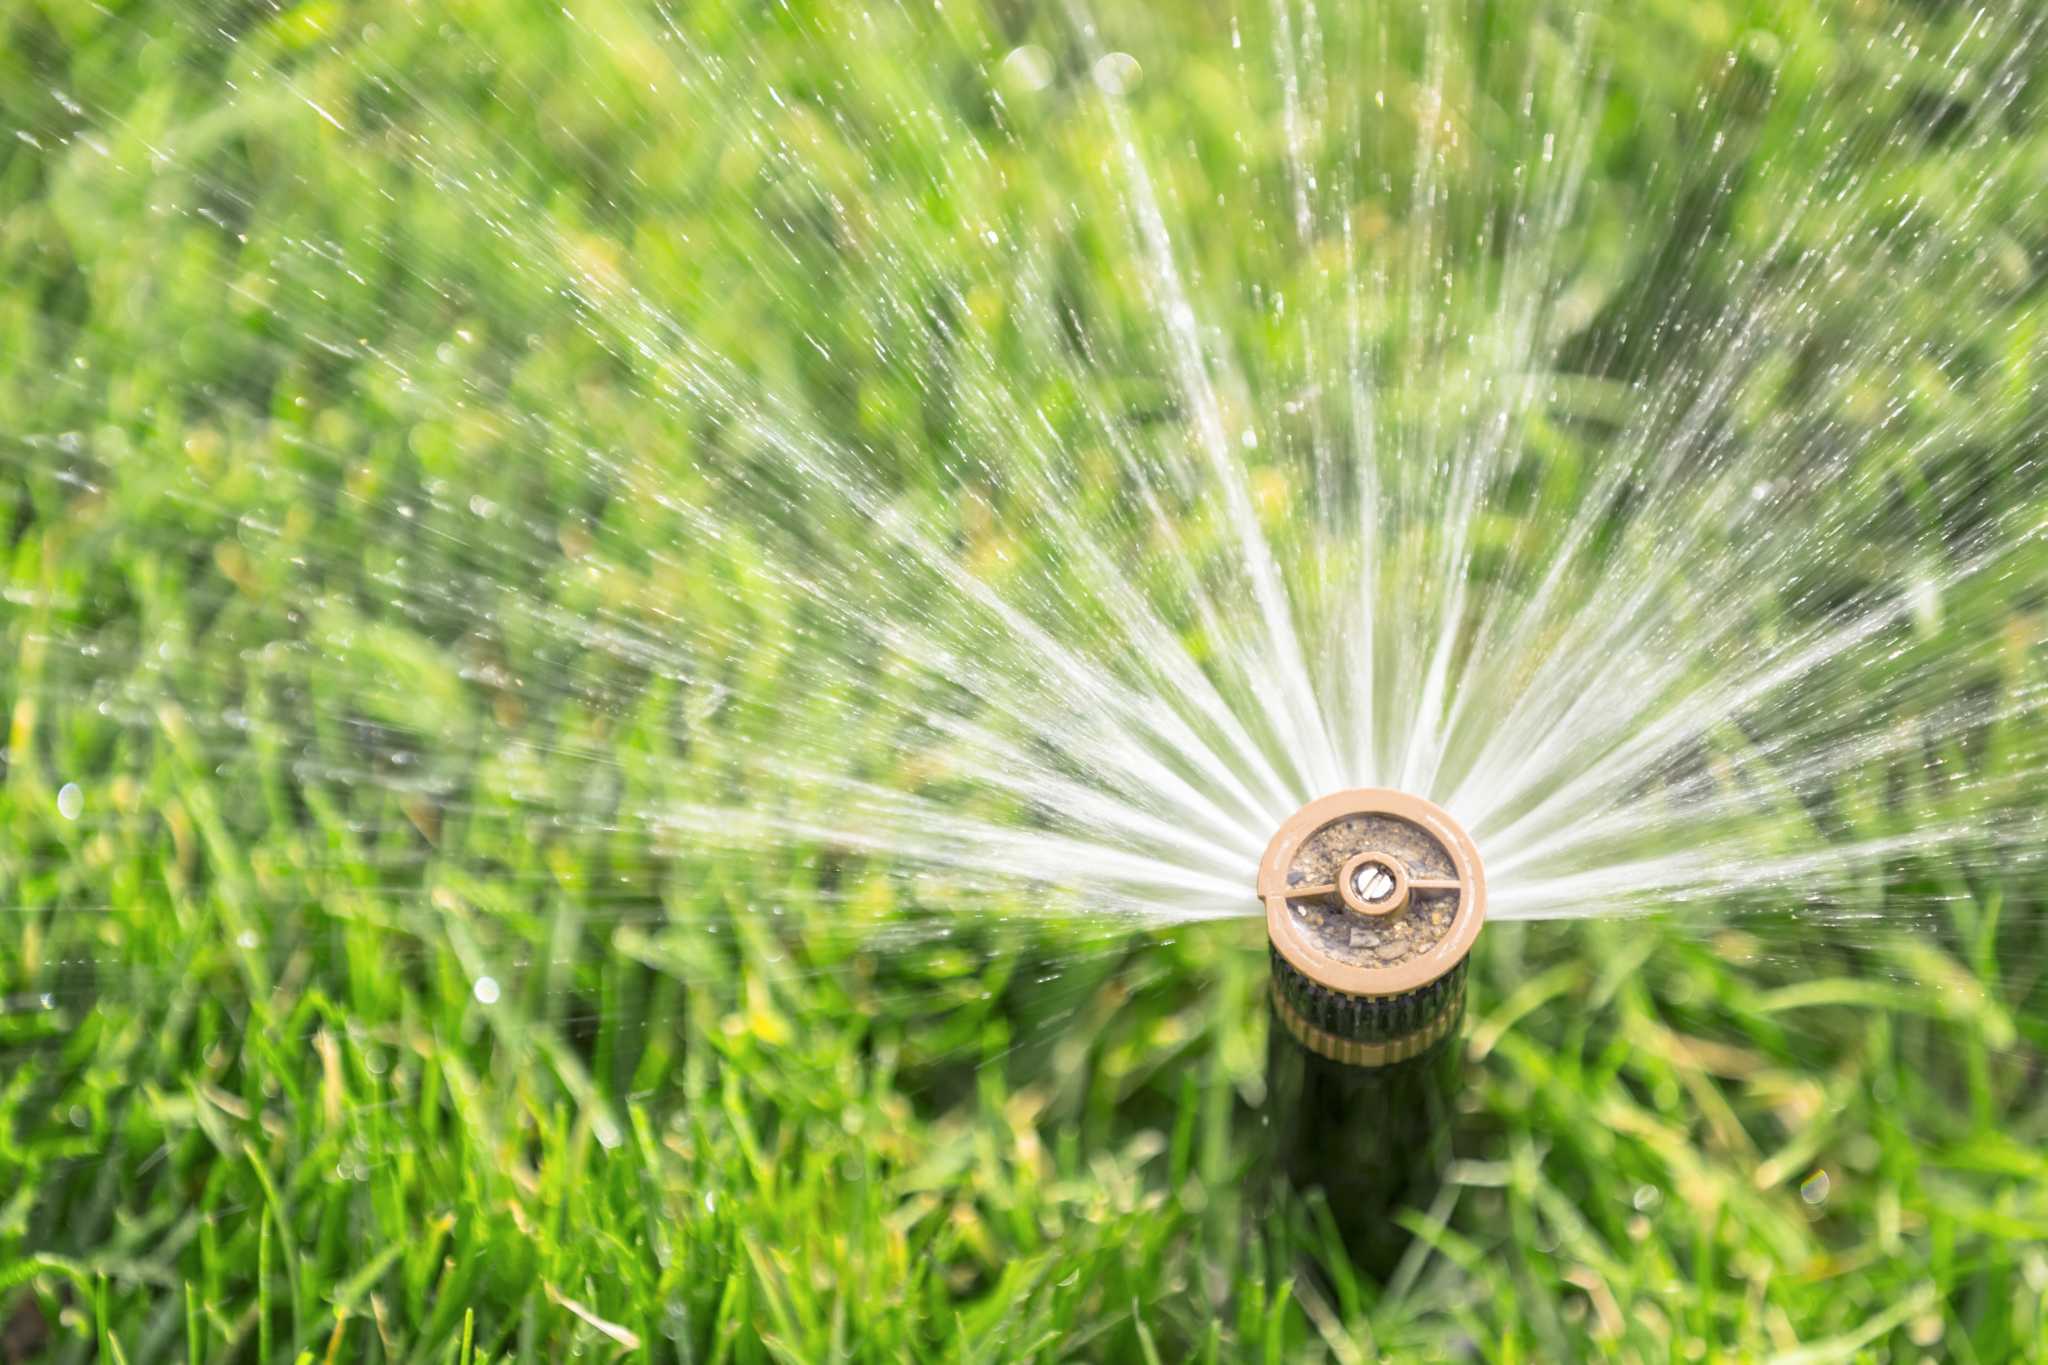
After closing the isolation valve, it’s a good idea to check for any signs of water flow or leakage in the irrigation system. Walk around your yard and inspect the sprinkler heads, pipes, and valves, ensuring that there are no visible leaks or water seeping from the system.
If you notice any leaks or abnormalities, it is recommended to repair or replace the affected components before proceeding. This will help prevent any further issues and ensure that your irrigation system is properly shut off.
With the main water supply to your irrigation system turned off, you have taken an important step in safeguarding your system. However, there may still be water trapped in the pipes, valves, and sprinkler heads. In the next step, we will address how to drain any remaining water in the system.
Step 3: Drain Any Remaining Water in the System
Even after shutting off the main water supply to your irrigation system, there may still be residual water trapped in the pipes, valves, and sprinkler heads. It is important to drain this water to prevent freeze damage during the winter months or potential water accumulation during maintenance.
To drain the remaining water from your irrigation system, follow these steps:
- Locate the drain valves: Look for drain valves located at the lowest points of your irrigation system. These valves are designed to allow water to flow out of the system by gravity. They are usually small plastic valves with a threaded cap or a lever.
- Open the drain valves: Using a pair of pliers or your hands, turn the threaded cap counterclockwise to open the drain valve. If the drain valve has a lever, simply switch it to the “open” position.
- Allow the water to drain: Once the drain valves are open, water will begin to flow out of the irrigation system. Make sure to direct the water away from any structures or landscapes that could be damaged by excessive water flow.
- Monitor the draining process: While the water is draining, keep an eye on the system and ensure that it is effectively emptying. Depending on the size of your system, it may take several minutes for all the water to drain out.
- Close the drain valves: Once you are confident that the majority of the water has drained out, close the drain valves by either turning the threaded cap clockwise or switching the lever to the “closed” position. This will prevent any water from flowing back into the system.
Remember to exercise caution when opening the drain valves, as the water may be under pressure. It’s always a good idea to wear gloves and protective eyewear when working with your irrigation system.
By properly draining the remaining water from your irrigation system, you reduce the risk of freezing and potential damage to the system’s components. In the next step, we will address how to shut off power to the irrigation system’s controller.
Step 4: Shut Off Power to the Controller
Now that you have shut off the water supply and drained any remaining water from your irrigation system, it’s time to shut off the power to the controller. The controller is the brain of your system, responsible for scheduling and regulating the watering cycles.
To shut off the power to the controller, follow these steps:
- Locate the controller: The irrigation controller is typically mounted on a wall in a garage, basement, or utility room. It is connected to the electrical supply and communicates with the different valves in your irrigation system.
- Turn off the power supply: Depending on the specific setup, you may need to locate either a circuit breaker or a switch dedicated to the irrigation system. Flip the switch to the “off” position or trip the circuit breaker to cut off power to the controller.
- Check for power indicator lights: Some controllers have indicator lights that show whether or not they are receiving power. Ensure that all lights are turned off, indicating that the controller is no longer powered.
By shutting off the power to the controller, you prevent any further programming or watering cycles from occurring. This step is particularly important if you are shutting off the irrigation system for an extended period or during the winter season.
It’s worth noting that some advanced irrigation systems may have backup batteries to maintain the controller’s programming during power outages. In such cases, you may need to remove the batteries or follow the manufacturer’s instructions to completely disable the controller.
With the power to the controller disconnected, your irrigation system is now fully shut off. However, there is still one more step to take to ensure the system is completely closed. In the next step, we will address how to close the irrigation system’s valves.
Step 5: Close the Irrigation System’s Valves
After shutting off the main water supply, draining the remaining water, and cutting off power to the controller, the next step is to close the valves within your irrigation system. Closing these valves ensures that no water can flow through the system and helps prevent any potential leaks or damage.
To close the valves in your irrigation system, follow these steps:
- Locate the zone valves: Zone valves are typically located in underground valve boxes spread throughout your property. These valve boxes can usually be found near the different zones of your irrigation system.
- Remove the valve box covers: Using a suitable tool or your hands, carefully lift the covers off the valve boxes to expose the valves within.
- Close the zone valves: Each zone valve will have a lever or a twist valve. Turn the lever to the “off” position or twist the valve clockwise until it is fully closed.
- Inspect the valves for leaks: While closing the valves, take a moment to inspect them for any signs of leaks or improper sealing. If any valves appear to be damaged or leaking, consider replacing them before reactivating your irrigation system.
- Secure the valve box covers: Once you have closed all the zone valves, securely replace the valve box covers to protect the valves from debris and dirt.
By closing the valves in your irrigation system, you ensure that no water can flow through the individual zones, providing an additional level of protection against potential leaks or water waste.
It’s important to note that the process of closing the zone valves may vary depending on the specific design of your irrigation system. Some systems may have multiple valves within a single valve box, while others may have separate valve boxes for each zone. It’s essential to familiarize yourself with your specific system’s setup and follow the manufacturer’s instructions if available.
With the valves securely closed, your irrigation system is now fully shut off and protected. In the next step, we will discuss the option to winterize the system for added protection during the cold winter months (optional).
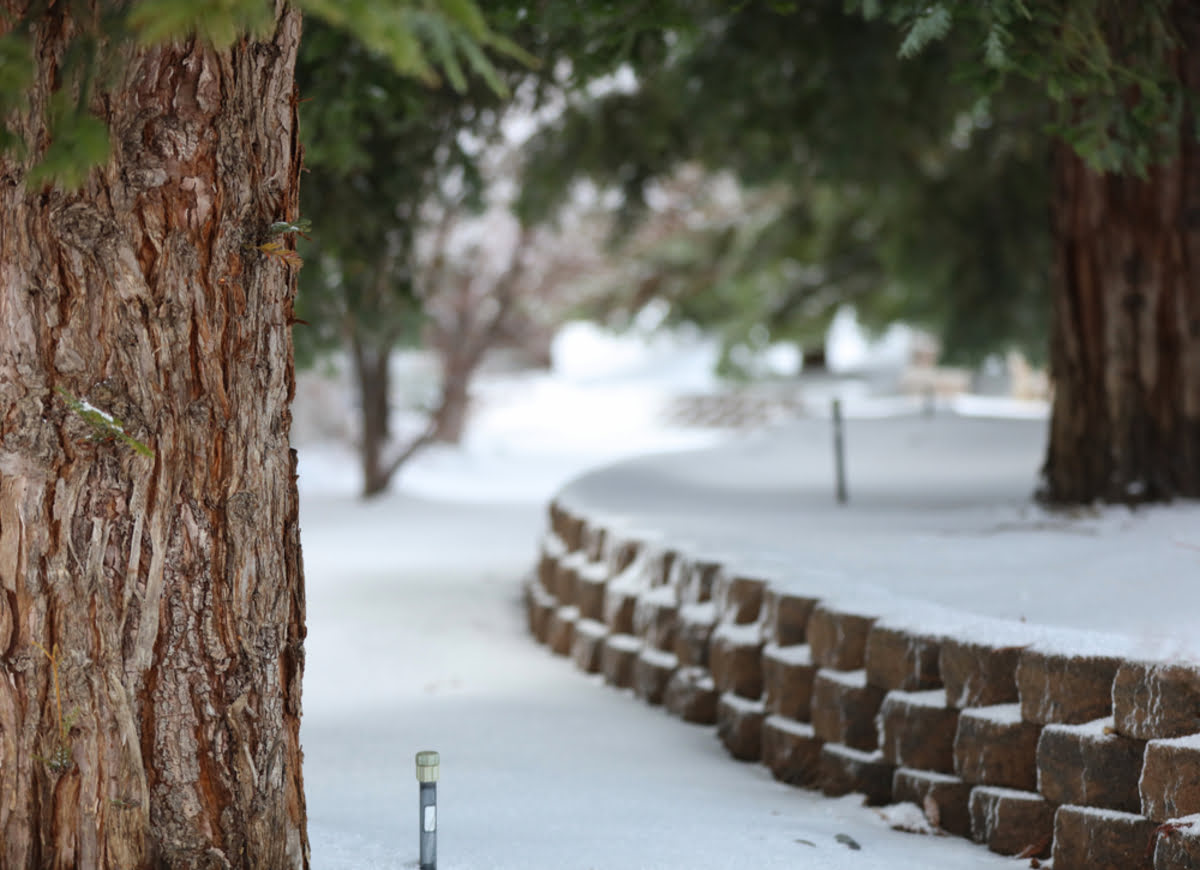
Step 6: Winterize the System (optional)
Winterizing your irrigation system is an optional step that can provide extra protection during the cold winter months. Winterization involves removing any remaining water from the pipes, valves, and sprinkler heads to prevent freezing and potential damage.
If you live in an area where temperatures regularly drop below freezing, it is highly recommended to winterize your irrigation system. Here’s how to do it:
- Use an air compressor: Attach an air compressor to the system’s mainline or the location where you previously drained the water. Set the compressor to a low pressure (around 40-60 psi) to avoid damaging the components.
- Open the drain valves: Make sure all drain valves are open to allow the compressed air to blow out any remaining water in the system.
- Blow out each zone: Start with the zone furthest from the mainline, then work your way back. Slowly activate each zone’s valve using the controller or manually. Allow the compressed air to blow out the water until only air is coming out of the sprinkler heads.
- Repeat the process: Once all the zones have been blown out, repeat the process by going through each zone a second time to ensure all water is removed.
- Inspect for leaks: While winterizing, take the opportunity to inspect the entire system for any signs of leaks or damaged components. Replace any faulty parts before reactivating the system in the spring.
It’s worth noting that if you are not comfortable or familiar with using an air compressor, it’s best to hire a professional irrigation service to winterize your system. They have the necessary equipment and expertise to ensure proper winterization without causing any damage.
By winterizing your irrigation system, you minimize the risk of frozen pipes and potential damage during the winter months. This step can save you from costly repairs and ensure that your system is in optimal condition when you are ready to start watering again in the spring.
With the optional step of winterization complete, your irrigation system is now fully shut off and prepared for the dormant winter period. Whether you choose to winterize or not, following the previous steps ensures that your system is protected and ready to perform effectively when needed.
Conclusion
Shutting off your irrigation system is an important task that helps protect your system from potential leaks, damage, and water waste. By following the step-by-step guide outlined in this article, you can confidently shut off your system and ensure its proper functioning when it’s time to reactivate it.
Remember, the key steps to shutting off your irrigation system include locating the main water shutoff valve, turning off the main water supply to the system, draining any remaining water, shutting off power to the controller, closing the system’s valves, and optionally winterizing the system for added protection.
When shutting off your irrigation system, it’s important to familiarize yourself with the specific setup of your system and follow any manufacturer’s instructions. If you are unsure about any step or encounter any difficulties, it’s best to consult a professional for assistance.
By properly shutting off your irrigation system, you can prevent water waste, protect against freezing temperatures, and maintain the longevity of the system’s components. Regular maintenance and care ensure that your irrigation system continues to provide efficient and effective watering for your lawn and landscaping needs.
Remember, before reactivating your irrigation system, it’s essential to reverse these steps and follow the manufacturer’s instructions for proper startup. Regularly inspect and maintain your system to detect and address any issues early on.
Now that you have the knowledge and understanding of how to shut off your irrigation system, you can confidently navigate through the process and keep your system well-maintained throughout the year, ensuring a healthy and vibrant landscape.