Home>Gardening Tips and Tricks>Problem Solving>How To Patch Drip Irrigation Line
Problem Solving
How To Patch Drip Irrigation Line
Modified: January 22, 2024
Learn how to solve the problem of patching a drip irrigation line with our step-by-step guide.
(Many of the links in this article redirect to a specific reviewed product. Your purchase of these products through affiliate links helps to generate commission for Chicagolandgardening.com, at no extra cost. Learn more)
Table of Contents
- Introduction
- Understanding Drip Irrigation
- Identifying a Drip Irrigation Line Patching Needs
- Preparing the Necessary Materials
- Step 1: Cleaning the Damaged Area
- Step 2: Detaching the Damaged Section of the Drip Line
- Step 3: Cutting a Replacement Piece
- Step 4: Installing the Replacement Piece
- Step 5: Securing the Connection
- Step 6: Testing the Patched Drip Line
- Conclusion
Introduction
Welcome to our comprehensive guide on how to patch a drip irrigation line. Drip irrigation systems are an efficient and economical way to water plants, providing targeted irrigation directly to the roots. However, like any system, drip lines can occasionally develop leaks or become damaged. When this happens, it’s important to act quickly and repair the line to prevent water waste and ensure that your plants continue to receive the proper amount of water.
Repairing a drip irrigation line may seem like a daunting task, especially if you’re unfamiliar with the inner workings of the system. But fear not! In this article, we’ll walk you through each step of the process, providing you with the knowledge and confidence you need to successfully patch your drip line.
Before we dive into the details, it’s important to note that identifying and addressing the source of a leak in your drip irrigation system is crucial. Leaks can lead to water loss, decreased system efficiency, and potential damage to your plants. By promptly repairing any leaks, you’ll not only save water but also protect your investment in plants and the overall health of your garden.
We’ll cover everything you need to know, from understanding drip irrigation systems to preparing the necessary materials for the repair. We’ll guide you through each step of the process, including cleaning the damaged area, detaching the damaged section of the drip line, cutting a replacement piece, installing the replacement, and securing the connection. By following our instructions, you’ll be able to effectively patch your drip line and ensure your plants receive the water they need.
So, if you’re ready to become a drip irrigation line repair expert, let’s get started!
Understanding Drip Irrigation
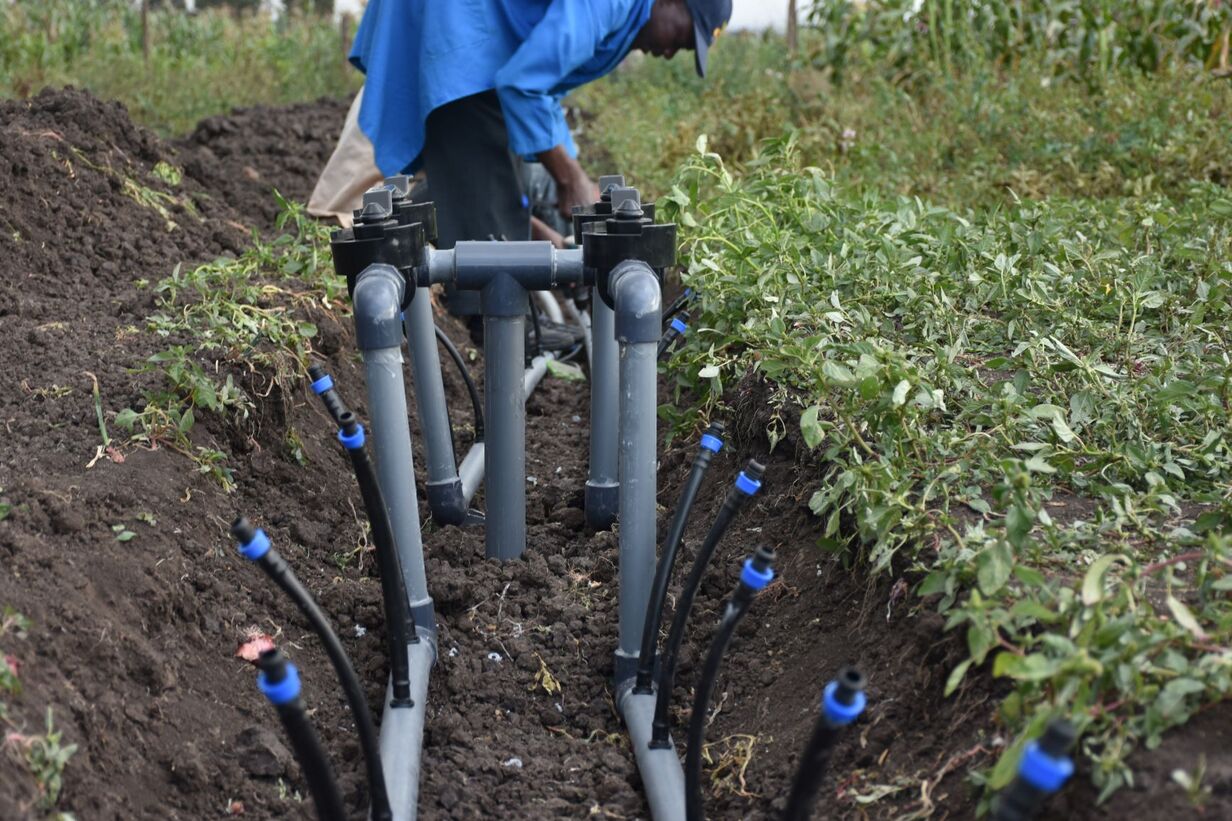
Before we delve into the process of patching a drip irrigation line, it’s important to have a clear understanding of how drip irrigation systems work. Drip irrigation is a precise and efficient method of delivering water directly to the roots of plants, minimizing water waste and providing plants with the necessary moisture for optimal growth.
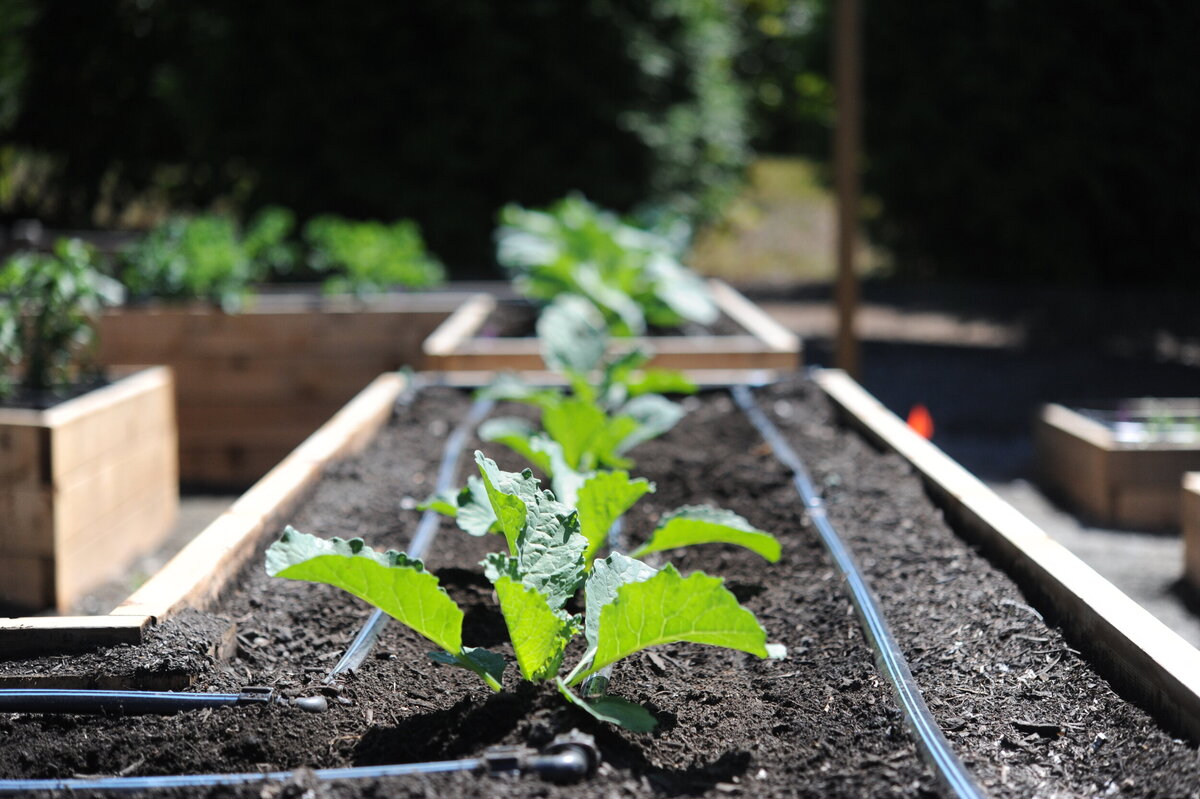
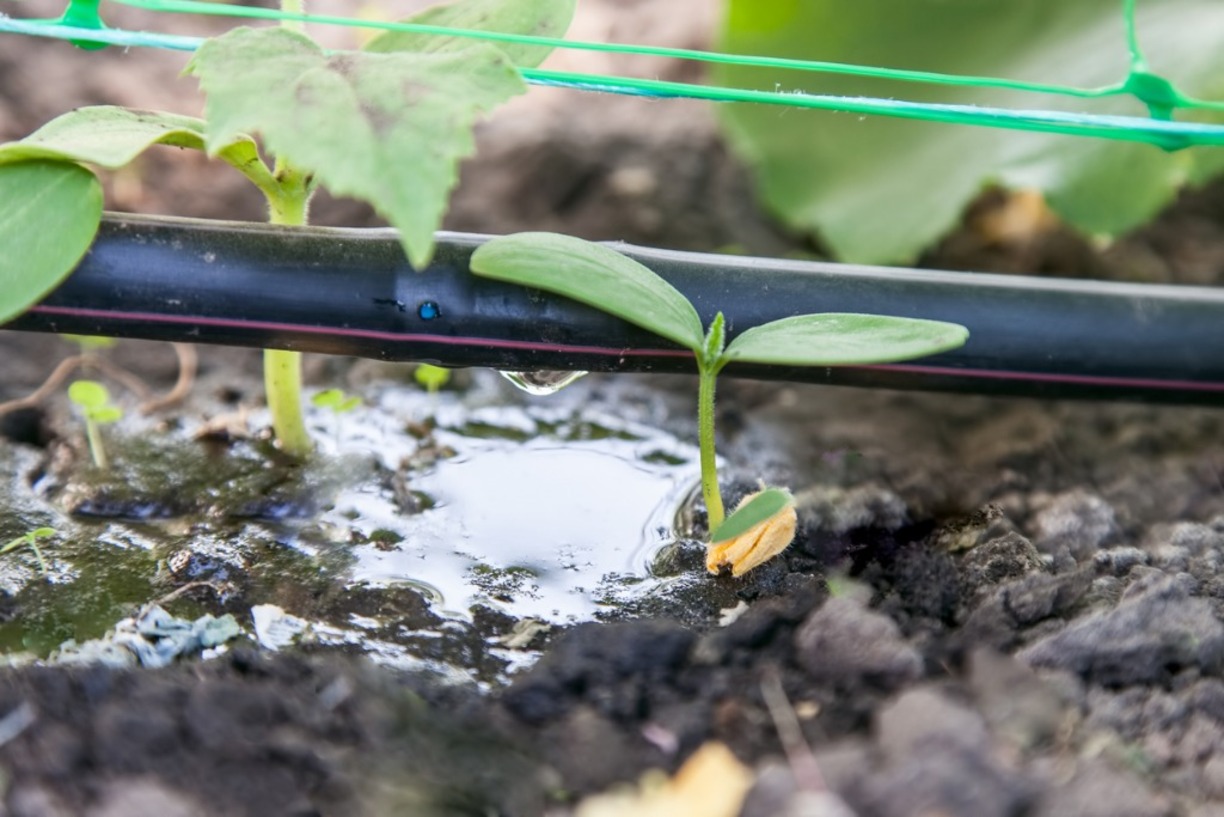
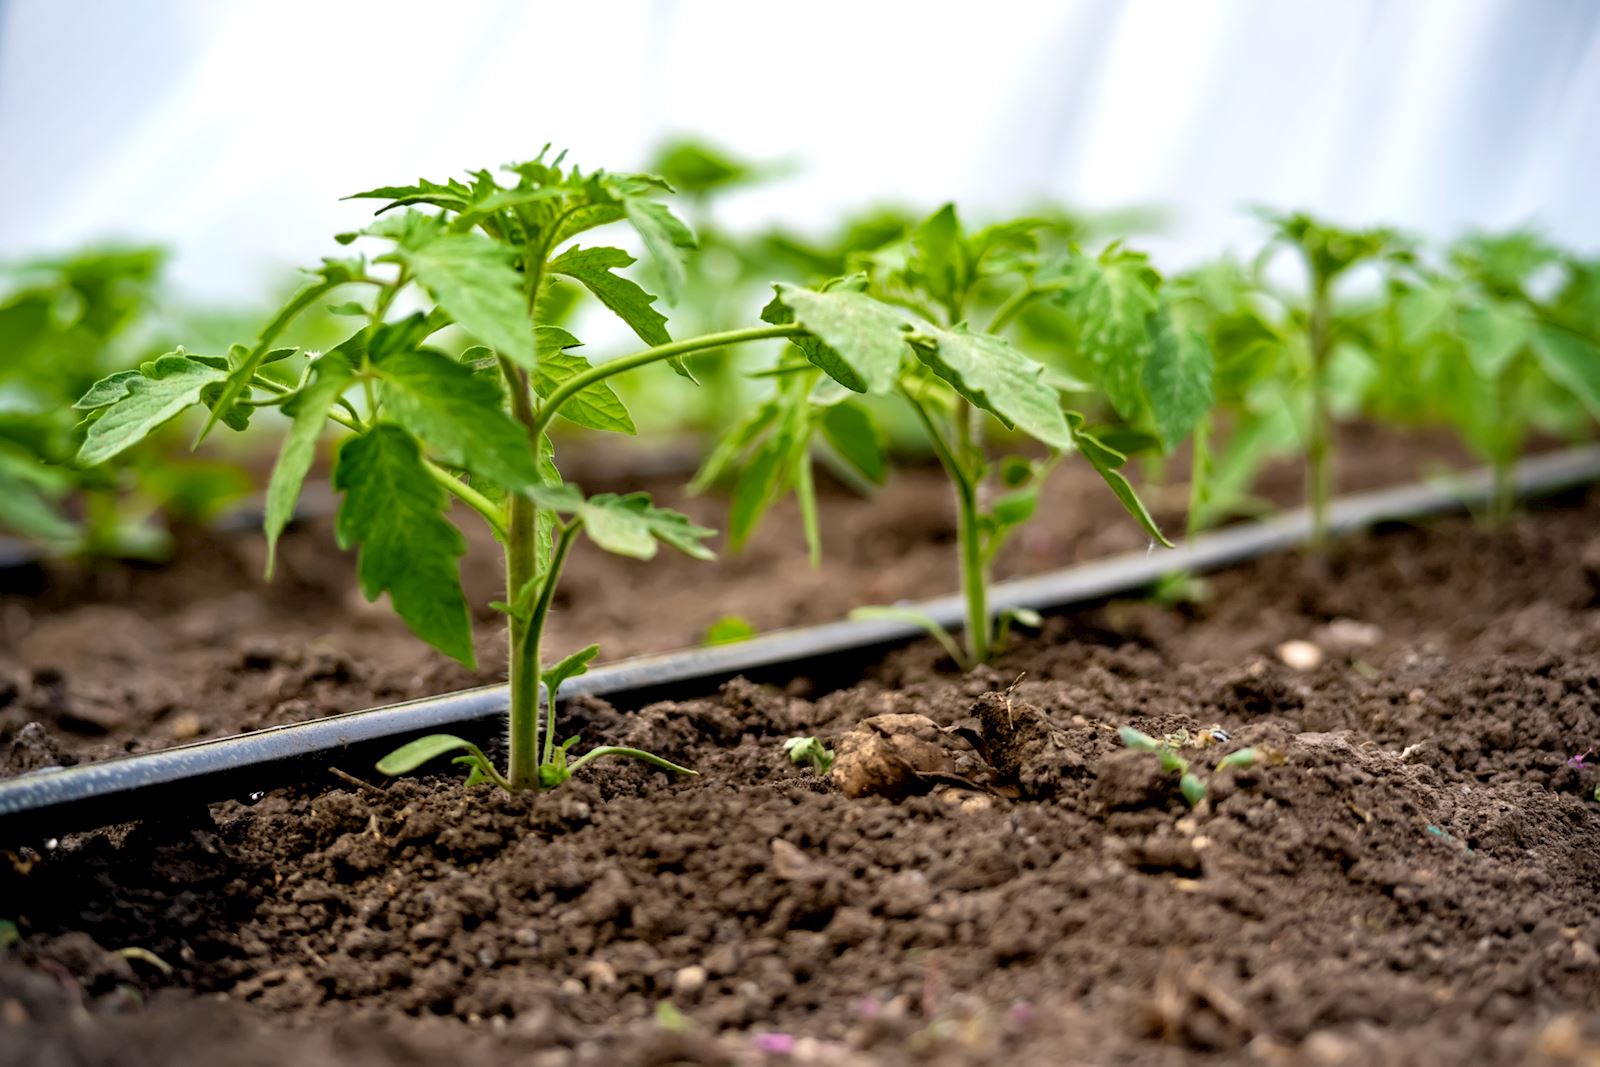
Unlike traditional sprinkler systems that emit water in a wide spray, drip irrigation works by delivering water slowly and directly to the root zone of each plant through a network of tubes or hoses. This targeted approach ensures that water is delivered exactly where it is needed, reducing evaporation and runoff.
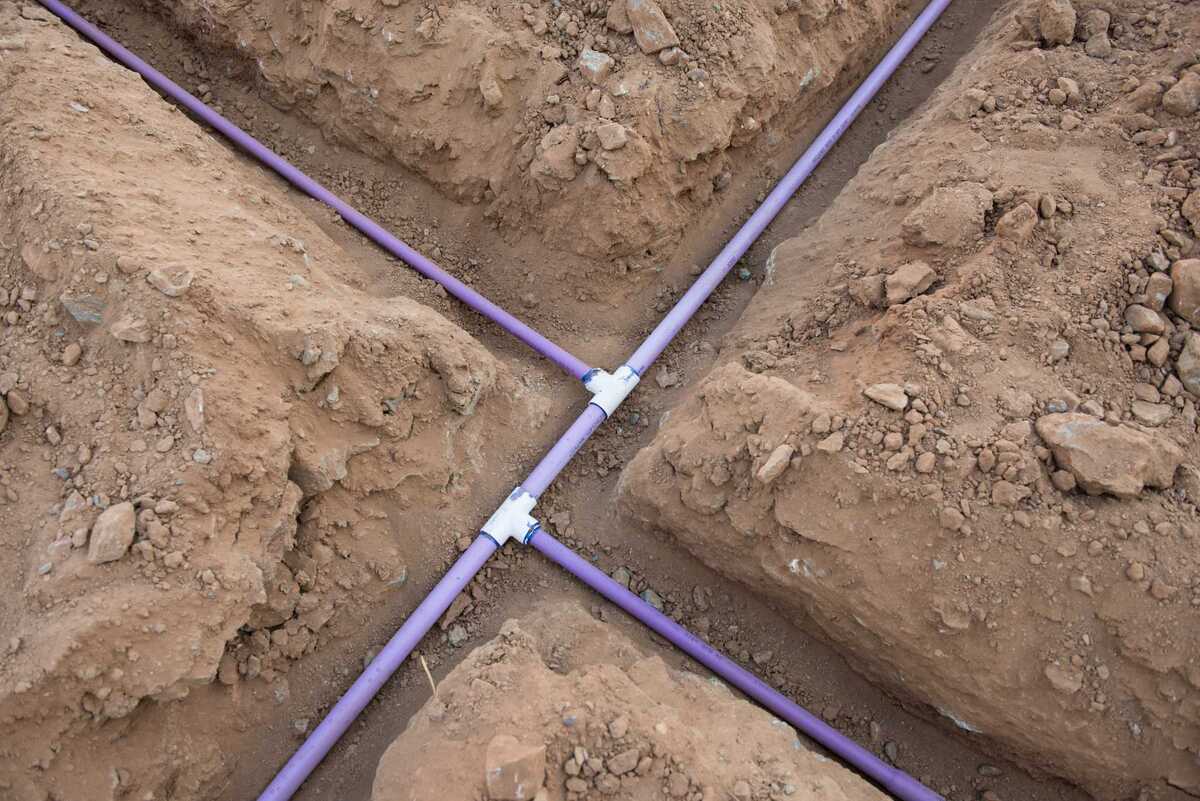
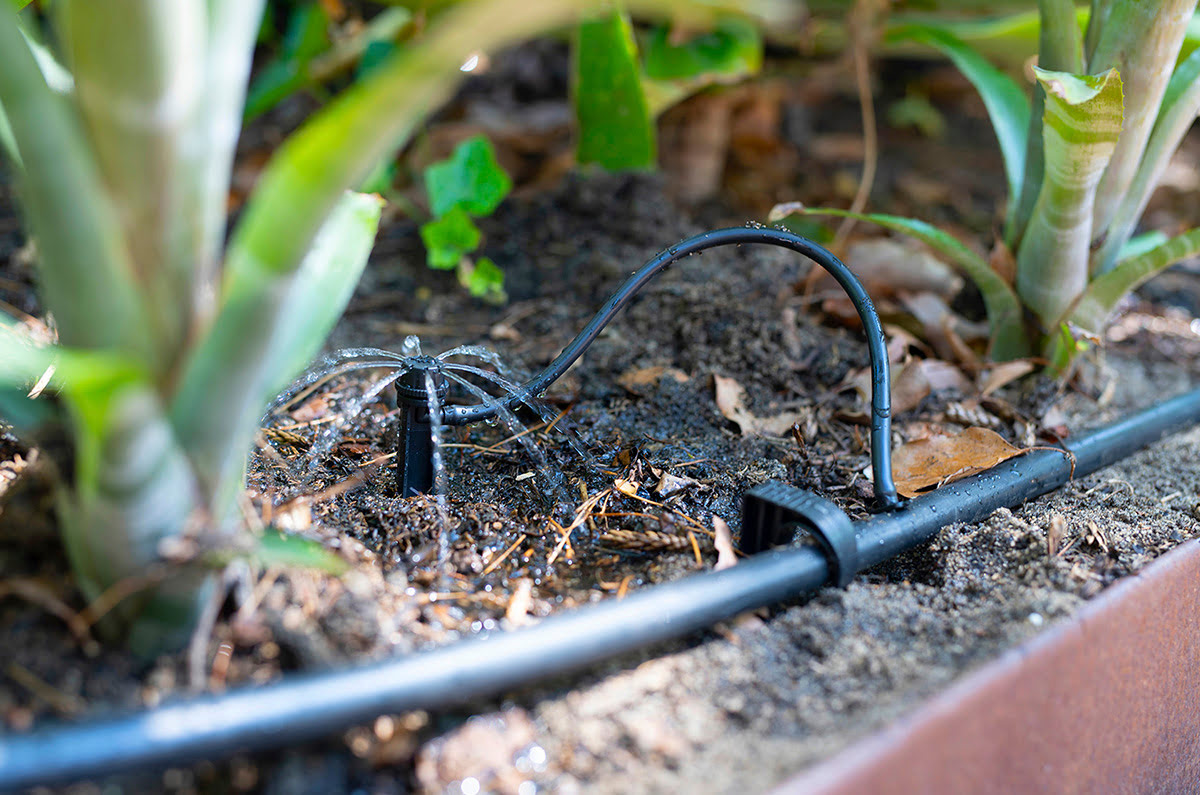
Drip irrigation systems consist of several key components. The main component is the drip line, a tube or hose that carries water from the source to the individual plants. Along the length of the drip line, there are emitters or drippers that control the rate at which water is dispensed. These emitters can be installed at specific intervals, allowing for customization based on the water requirements of different plants.
One of the advantages of drip irrigation is its versatility. It can be used in a variety of settings, including gardens, landscaped areas, and even agricultural fields. Additionally, drip irrigation systems can be automated with timers and sensors to ensure efficient and consistent watering, even when you’re not home.
By using drip irrigation, you can achieve several benefits. Firstly, it promotes water conservation by delivering water directly to the plant roots, minimizing water loss due to evaporation or wind drift. This is particularly important in areas with limited water resources or during periods of drought.
Secondly, drip irrigation systems help to prevent weed growth. Since water is only applied directly to the plants, the surrounding soil surface remains relatively dry, discouraging weed growth. This reduces the need for manual weeding and helps to conserve water by reducing competition between weeds and desired plants.
Lastly, drip irrigation can improve the overall health and productivity of your plants. By providing a consistent and controlled water supply directly to the roots, plants are less likely to experience stress caused by over or under watering. This leads to healthier plants, better yields, and more vibrant blooms.
Now that you have a basic understanding of how drip irrigation works and its numerous benefits, let’s move on to identifying when a drip irrigation line needs patching and how to go about repairing it.
Identifying a Drip Irrigation Line Patching Needs
Knowing when a drip irrigation line needs patching is essential to maintaining the efficiency and effectiveness of the system. Here are some signs to look out for to determine if your drip line requires repair:
- Visible leaks: The most obvious sign that a drip irrigation line needs patching is the presence of water leaks. These leaks can occur at the connections or along the length of the drip line. Keep an eye out for any wet spots, puddles, or damp areas around the system.
- Uneven water flow: If you notice that certain plants are receiving excessive water while others are not receiving enough, there may be a problem with the drip line. Uneven water flow can indicate a clog or a damaged section of the line that needs to be repaired.
- Decreased system performance: If you notice a decrease in the overall performance of your drip irrigation system, it may be a sign of a problem. This could include reduced water pressure, reduced water flow, or plants showing signs of stress despite regular watering.
- Dry spots or overwatering: Areas of your garden that are consistently dry or overwatered despite having a properly functioning system could indicate a leak or damage in the drip line. Inspect the affected area to identify any potential issues.
- Damaged drip line: Sometimes, a visual inspection of the drip line may reveal obvious damage, such as cracks, kinks, or holes. These visible damages should be addressed promptly to ensure proper functioning of the system.
By regularly observing and inspecting your drip irrigation system, you can catch any issues early on and prevent further damage or water wastage. It’s important to note that even small leaks or damage can lead to significant water loss over time, so it’s best to address the problem as soon as it’s identified.
Now that you know how to identify a drip irrigation line in need of repair, it’s time to gather the necessary materials and prepare for the patching process.
Preparing the Necessary Materials
Before you can start patching your drip irrigation line, it’s important to gather all the necessary materials. Having everything prepared in advance will make the repair process smoother and more efficient. Here are the materials you will need:
- Drip line repair kit: Purchase a drip line repair kit from your local garden or hardware store. These kits typically include everything you need to patch a drip line, including connectors, fittings, and a cutting tool.
- Replacement drip line: If the damaged section of your drip line is beyond repair, you will need a replacement drip line. Measure the length of the damaged section to ensure you purchase the right length of replacement drip line.
- Cutting tool: A sharp utility knife or scissors will be needed to cut the drip line. Ensure that your cutting tool is sharp and in good condition.
- Clean cloth or paper towel: Having a clean cloth or paper towel on hand will be useful for wiping down the drip line and ensuring a clean surface for the repair.
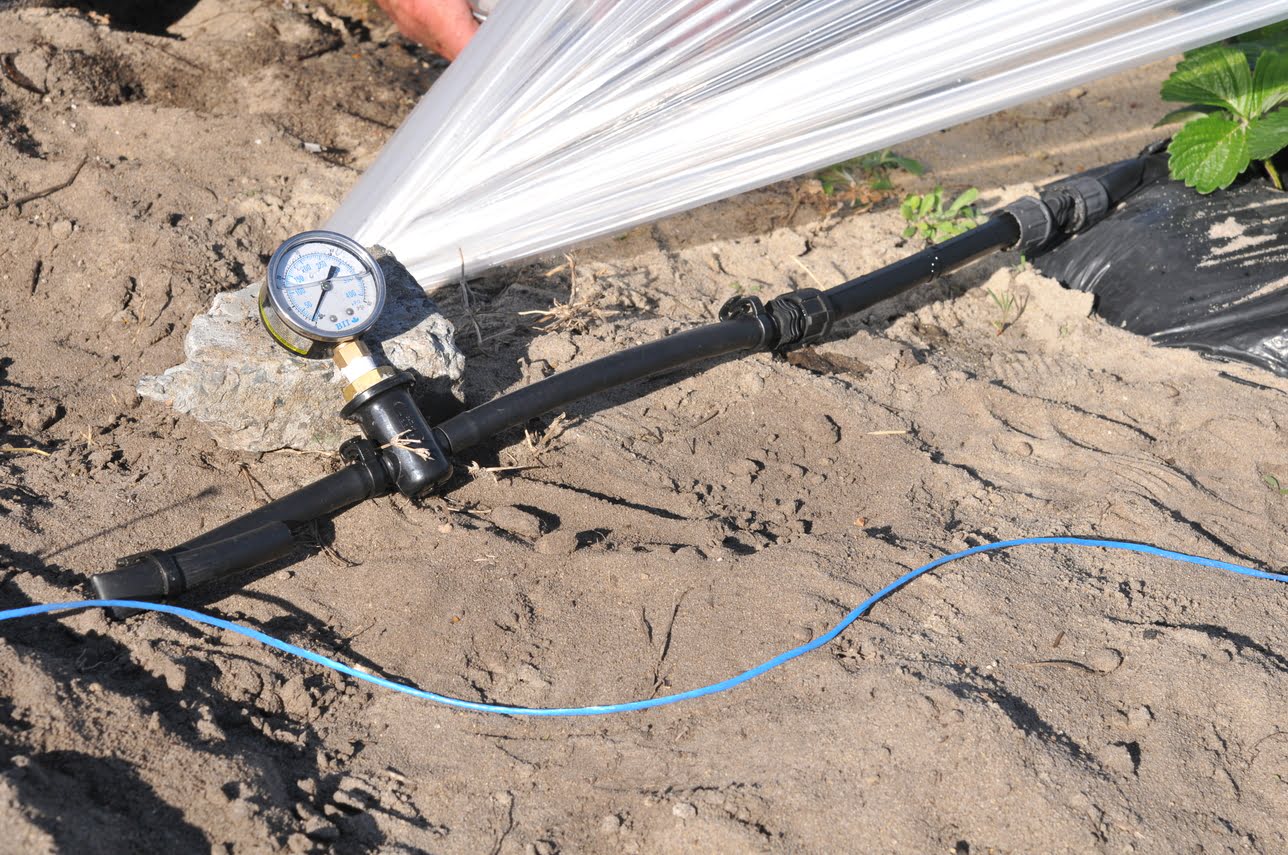
- Teflon tape: Teflon tape, also known as plumber’s tape, is a thin white tape that is used to create a watertight seal on threaded connections. It is typically used on the threaded ends of connectors and fittings to prevent leaks.
- Rubbing alcohol or mild detergent: If the damaged area of your drip line is dirty or has debris, you may need to clean it before applying the patch. Rubbing alcohol or a mild detergent mixed with water can be used to clean the surface. Ensure that the drip line is thoroughly dry before proceeding with the repair.
- Gloves: Wearing gloves will protect your hands during the repair process, especially if you need to handle sharp tools or come into contact with chemicals.
Before starting the repair, double-check that you have all the required materials and that they are in good condition. Having everything organized and readily available will save you time and frustration during the patching process.
Now that you have all the necessary materials, it’s time to move on to the step-by-step process of patching your drip irrigation line.
Step 1: Cleaning the Damaged Area
Before you can begin patching your drip irrigation line, it’s important to clean the damaged area thoroughly. This will ensure proper adhesion of the patch and prevent any dirt or debris from interfering with the repair. Here’s how to clean the damaged area:
- Turn off the water: Before starting any repair work on your drip irrigation system, ensure that the water supply is completely turned off. This will prevent water from spraying or leaking out during the repair process.
- Locate the damaged section: Identify the specific section of the drip line that needs repair. Look for any visible cracks, holes, or damage in the tubing. It’s important to focus on the immediate area surrounding the damage.
- Wipe down the area: Use a clean cloth or paper towel to wipe down the damaged area of the drip line. This will remove any dirt, moisture, or debris that may hinder the patching process. Make sure the area is completely dry before proceeding.
- Clean with rubbing alcohol or mild detergent (if necessary): If the damaged area is particularly dirty or has stubborn debris, you can use rubbing alcohol or a mild detergent mixed with water to clean it. Apply a small amount of rubbing alcohol or the mild detergent solution to a clean cloth and gently scrub the area. Rinse with clean water and ensure the area is completely dry.
Cleaning the damaged area is a critical step in the patching process as it ensures a clean surface for the patch to adhere to. It removes any contaminants that may compromise the integrity of the repair and ensures a proper seal.
Once the damaged area is thoroughly cleaned, you are ready to move on to the next step: detaching the damaged section of the drip line.
Step 2: Detaching the Damaged Section of the Drip Line
Now that you have cleaned the damaged area of your drip irrigation line, it’s time to detach the section that needs to be repaired. By removing the damaged portion, you can easily replace it with a new section or apply a patch to fix the problem. Here’s how to detach the damaged section:
- Locate the connectors: Examine the drip line near the damaged area and locate the connectors that are attaching the line to other components, such as emitters or fittings.
- Loosen the connectors: Carefully loosen the connectors by rotating them counterclockwise. This will detach the damaged section of the drip line from the rest of the system. Use a pair of pliers if necessary, but be gentle to avoid damaging the connectors.
- Inspect the detached section: Once the damaged section is detached, inspect it closely for any additional damage or signs of wear. This will give you a better idea of whether a patch can be applied or if a replacement section is needed.
- Set aside the detached section: Keep the detached section of the drip line in a safe place for later inspection or potential repair. If a replacement section is required, you can discard the damaged portion later.
Detaching the damaged section of the drip line is crucial to creating a seamless repair. It allows you to work on the specific area that needs attention without affecting the rest of the system. By carefully removing the connectors and setting aside the damaged section, you are ready to move on to the next step: cutting a replacement piece or preparing the patch material, depending on the extent of the damage.
Continue to the next step with caution and precision to ensure a successful repair.
Step 3: Cutting a Replacement Piece
After detaching the damaged section of your drip irrigation line, it’s time to cut a replacement piece. This step is necessary when the damaged section is beyond repair or if you have determined that a replacement is the best course of action. Here’s how to cut a replacement piece:
- Measure the length: Start by measuring the length of the detached section or the area that needs to be replaced. Use a tape measure or ruler to ensure accuracy.
- Mark the measurement: Once you have determined the length of the replacement piece, mark it with a pen or marker on the new drip line. This will serve as a guide for cutting.
- Use a cutting tool: Take a sharp utility knife or scissors and carefully cut the new drip line along the marked measurement. Make a clean and straight cut to ensure a proper fit.
- Double-check the length: After cutting the replacement piece, double-check its length to ensure it matches the measurements you initially marked. Adjust if necessary to achieve the desired length.
It’s important to note that when cutting a replacement piece, it’s better to err on the side of caution and cut a slightly longer piece. This will allow for any adjustments or fine-tuning during the installation process.
If the damaged section of the drip line is small, a patch may be sufficient to repair the damage. In this case, you can skip cutting a replacement piece and proceed to prepare the patch material for the next step.
With the replacement piece cut and ready, or the patch material prepared, you are now ready to move on to the next step: installing the replacement piece or applying the patch to the damaged section of the drip line.
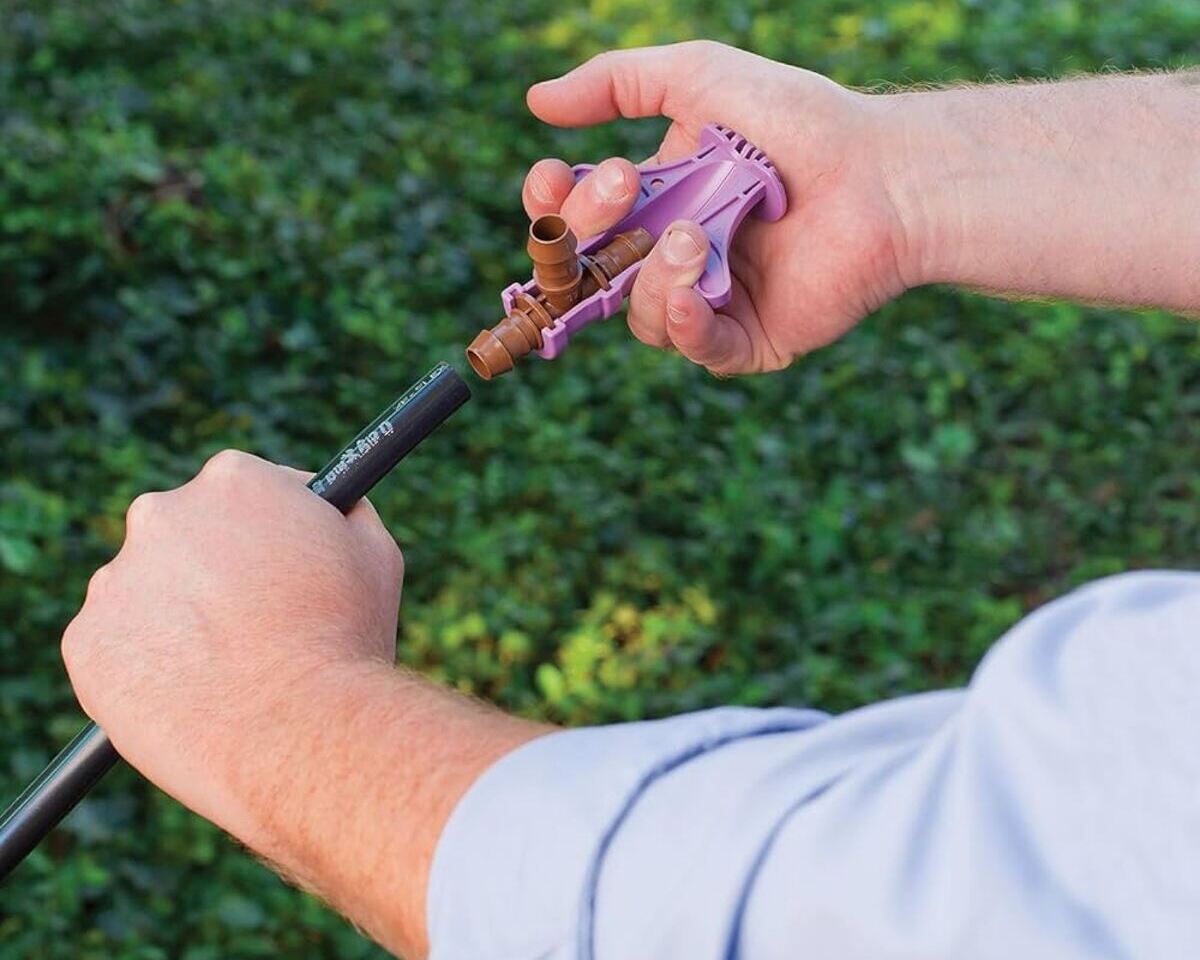
Step 4: Installing the Replacement Piece
With the replacement piece of drip line cut and prepared, it’s time to install it in place of the damaged section. This step is crucial in restoring the functionality of your drip irrigation system. Here’s how to install the replacement piece:
- Examine the connectors: Take a close look at the connectors on the undamaged portion of the drip line. Ensure they are clean, free from debris, and in good condition. If needed, wipe them with a clean cloth or paper towel.
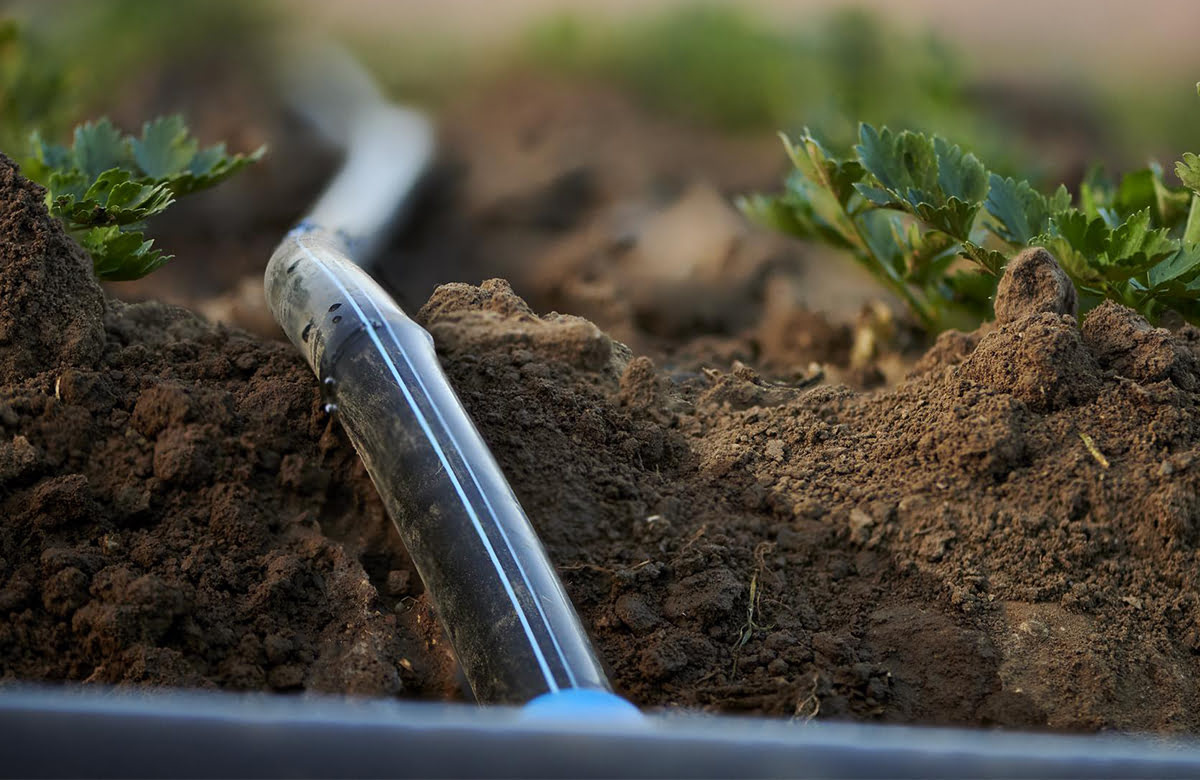
- Attach one end of the replacement piece: Take one end of the replacement piece you cut and firmly insert it into the connector on the undamaged portion of the drip line. Push it in until it is securely seated. If necessary, twist it slightly to ensure a tight fit.
- Attach the other end of the replacement piece: Align the other end of the replacement piece with the connector on the other side of the damaged section. Push it in and secure it in place.
- Check for a snug fit: Ensure that the replacement piece is securely attached and there are no leaks or gaps between the connectors and the drip line. A snug fit is essential to prevent water leaks and maintain the efficiency of the system.
- Inspect the overall connection: Step back and inspect the overall connection between the replacement piece and the undamaged portion of the drip line. Look for any signs of misalignment or loose connections. Make any necessary adjustments to ensure a proper and secure fit.
Proper installation of the replacement piece is crucial in restoring the functionality of your drip irrigation system. It ensures a seamless flow of water and minimizes any potential water leaks or disruptions to the system. Take your time during this step to ensure a secure and reliable connection.
Once the replacement piece is installed, you are ready to move on to the next and final step: securing the connection to prevent any future leaks or damage.
Step 5: Securing the Connection
After installing the replacement piece of drip line, it’s important to secure the connection to prevent any future leaks or damage. This step ensures the long-term stability and effectiveness of your drip irrigation system. Here’s how to secure the connection:
- Apply Teflon tape: Take a small piece of Teflon tape and wrap it around the threaded end of each connector. This tape serves as a sealant and helps to create a watertight connection. Wrap the tape in a clockwise direction multiple times for a secure fit.
- Tighten the connectors: With the Teflon tape in place, carefully tighten the connectors by rotating them clockwise. Use a pair of pliers if necessary, but be cautious not to overtighten and risk damaging the connectors or the drip line.
- Check for leaks: Once the connectors are tightened, turn on the water supply to check for any leaks. Pay close attention to the area around the newly installed replacement piece. If you notice any leaks, carefully tighten the connectors further or make adjustments as needed.
- Inspect the connection: Step back and inspect the connection to ensure it is secure and leak-free. Look for any signs of water seepage or misalignment. If everything looks good, you can proceed to the final step: testing the patched drip line.
Securing the connection is crucial in maintaining the effectiveness and longevity of your drip irrigation system. The Teflon tape provides an extra layer of protection against leaks, ensuring that the water flows efficiently through the system without any wastage or damage.
Take your time during this step to make sure the connection is secure and properly sealed. A thorough inspection and testing will give you confidence in the repair and peace of mind knowing that your drip irrigation system is working optimally.
Now that the connection is secured, you can move on to the final step: testing the patched drip line to ensure it is functioning correctly.
Step 6: Testing the Patched Drip Line
After completing the repair process and securing the connection, it’s important to test the patched drip line to ensure it is functioning properly. Testing allows you to confirm that the repair was successful and that the water is flowing correctly through the system. Here’s how to test the patched drip line:
- Turn on the water supply: Begin by turning on the water supply to your drip irrigation system. Ensure that the water is flowing properly through the main line.
- Observe the repaired section: Pay close attention to the area where the repair was made. Look for any signs of leaks or water spray. Check that water is evenly and consistently flowing through the patched drip line.
- Inspect the surrounding plants: Observe the plants that are connected to the patched drip line. Look for signs of adequate water distribution, such as soil moisture or healthy plant growth.
- Make adjustments if necessary: If you notice any issues during the testing process, such as uneven water flow or leaks, try adjusting the connectors or tightening them further. You may also need to reposition the patched section to ensure optimal water distribution.
- Monitor the system over time: After the initial testing, continue to monitor the patched drip line over time. Regularly check for leaks, uneven water distribution, or any other issues that may need to be addressed. Promptly make any necessary adjustments or repairs to maintain the efficiency of your drip irrigation system.
Testing the patched drip line is necessary to ensure that the repair was successful and that the water is flowing as intended. It provides an opportunity for you to make any final adjustments before fully relying on the repaired section to water your plants.
By carefully observing the system during the testing process and monitoring it over time, you can be confident that your patched drip line is effectively delivering water to your plants and supporting their growth.
With the testing complete, you have successfully repaired your drip irrigation line and can now enjoy the efficient and reliable watering of your garden or landscape.
Conclusion
Congratulations! You have successfully learned how to patch a drip irrigation line. By following the step-by-step process outlined in this guide, you are now equipped with the knowledge and skills to repair any damage that may occur in your drip irrigation system.
Drip irrigation systems are an efficient and cost-effective way to water plants, providing targeted irrigation directly to the roots. However, over time, the drip lines may develop leaks or become damaged, leading to inefficient water distribution and potential harm to your plants.
Understanding the inner workings of drip irrigation systems and recognizing the signs of damaged lines is crucial in maintaining the system’s optimal performance. By promptly identifying and addressing any leaks or damage, you can conserve water, prevent plant stress, and ensure the longevity of your drip irrigation system.
The repair process involves several important steps, including cleaning the damaged area, detaching the damaged section, cutting a replacement piece (if necessary), installing the replacement or applying a patch, securing the connection, and testing the patched drip line. Each step plays a vital role in restoring the functionality and efficiency of your drip irrigation system.
Remember, regular maintenance and inspecting your drip irrigation system can help catch potential issues early on, reducing the risk of major damage or water loss. By taking proactive measures and addressing repairs promptly, you can ensure that your plants receive the optimal amount of water they need for healthy growth.
Now that you have the knowledge and skills to patch a drip irrigation line, you can confidently maintain and repair your system as needed. Enjoy the benefits of efficient, targeted watering for your plants and the satisfaction of a well-maintained drip irrigation system in your garden or landscape.