Home>Gardening Techniques>DIY Projects>How To Install Irrigation Valve
DIY Projects
How To Install Irrigation Valve
Modified: January 22, 2024
Looking to tackle DIY projects? Learn how to install an irrigation valve with our step-by-step guide, perfect for garden enthusiasts!
(Many of the links in this article redirect to a specific reviewed product. Your purchase of these products through affiliate links helps to generate commission for Chicagolandgardening.com, at no extra cost. Learn more)
Table of Contents
- Introduction
- Step 1: Gather the necessary materials
- Step 2: Locate the valve location
- Step 3: Prepare the area for installation
- Step 4: Install the sprinkler valve manifold
- Step 5: Connect the valves to the main water supply
- Step 6: Connect the sprinkler system to the valves
- Step 7: Test the irrigation system
- Step 8: Adjust and fine-tune the irrigation valves
- Conclusion
Introduction
Welcome to the world of DIY projects! Are you ready to dive into the exciting realm of installing an irrigation valve? Whether you’re a seasoned DIY enthusiast or a beginner looking to take on a new challenge, installing an irrigation valve is a great project that can improve the efficiency and effectiveness of your garden or lawn irrigation system.
An irrigation valve is an essential component of any irrigation system. It regulates the flow of water to different zones or sections of your garden, allowing you to control when and where water is distributed. By installing an irrigation valve, you can ensure that your plants receive the right amount of water at the right time, maximizing growth and minimizing water waste.
In this comprehensive guide, we will take you through the step-by-step process of installing an irrigation valve. We will cover everything from gathering the necessary materials to testing and fine-tuning your system. By the end of this article, you’ll have the knowledge and confidence to tackle this project on your own.
Before we jump into the nitty-gritty details, it’s important to note that installing an irrigation valve may require some basic knowledge of plumbing and electrical connections. If you are not comfortable with these tasks or if they exceed your skill level, it’s always a good idea to consult with a professional or experienced individual to ensure a successful installation.
Now, let’s gather our tools and materials and get started on this exciting DIY journey to install an irrigation valve!
Step 1: Gather the necessary materials
Before you begin installing an irrigation valve, it’s important to gather all the necessary materials. Having everything on hand will not only make the installation process smoother, but it will also help prevent any delays or interruptions. Here’s a list of items you will need:
-
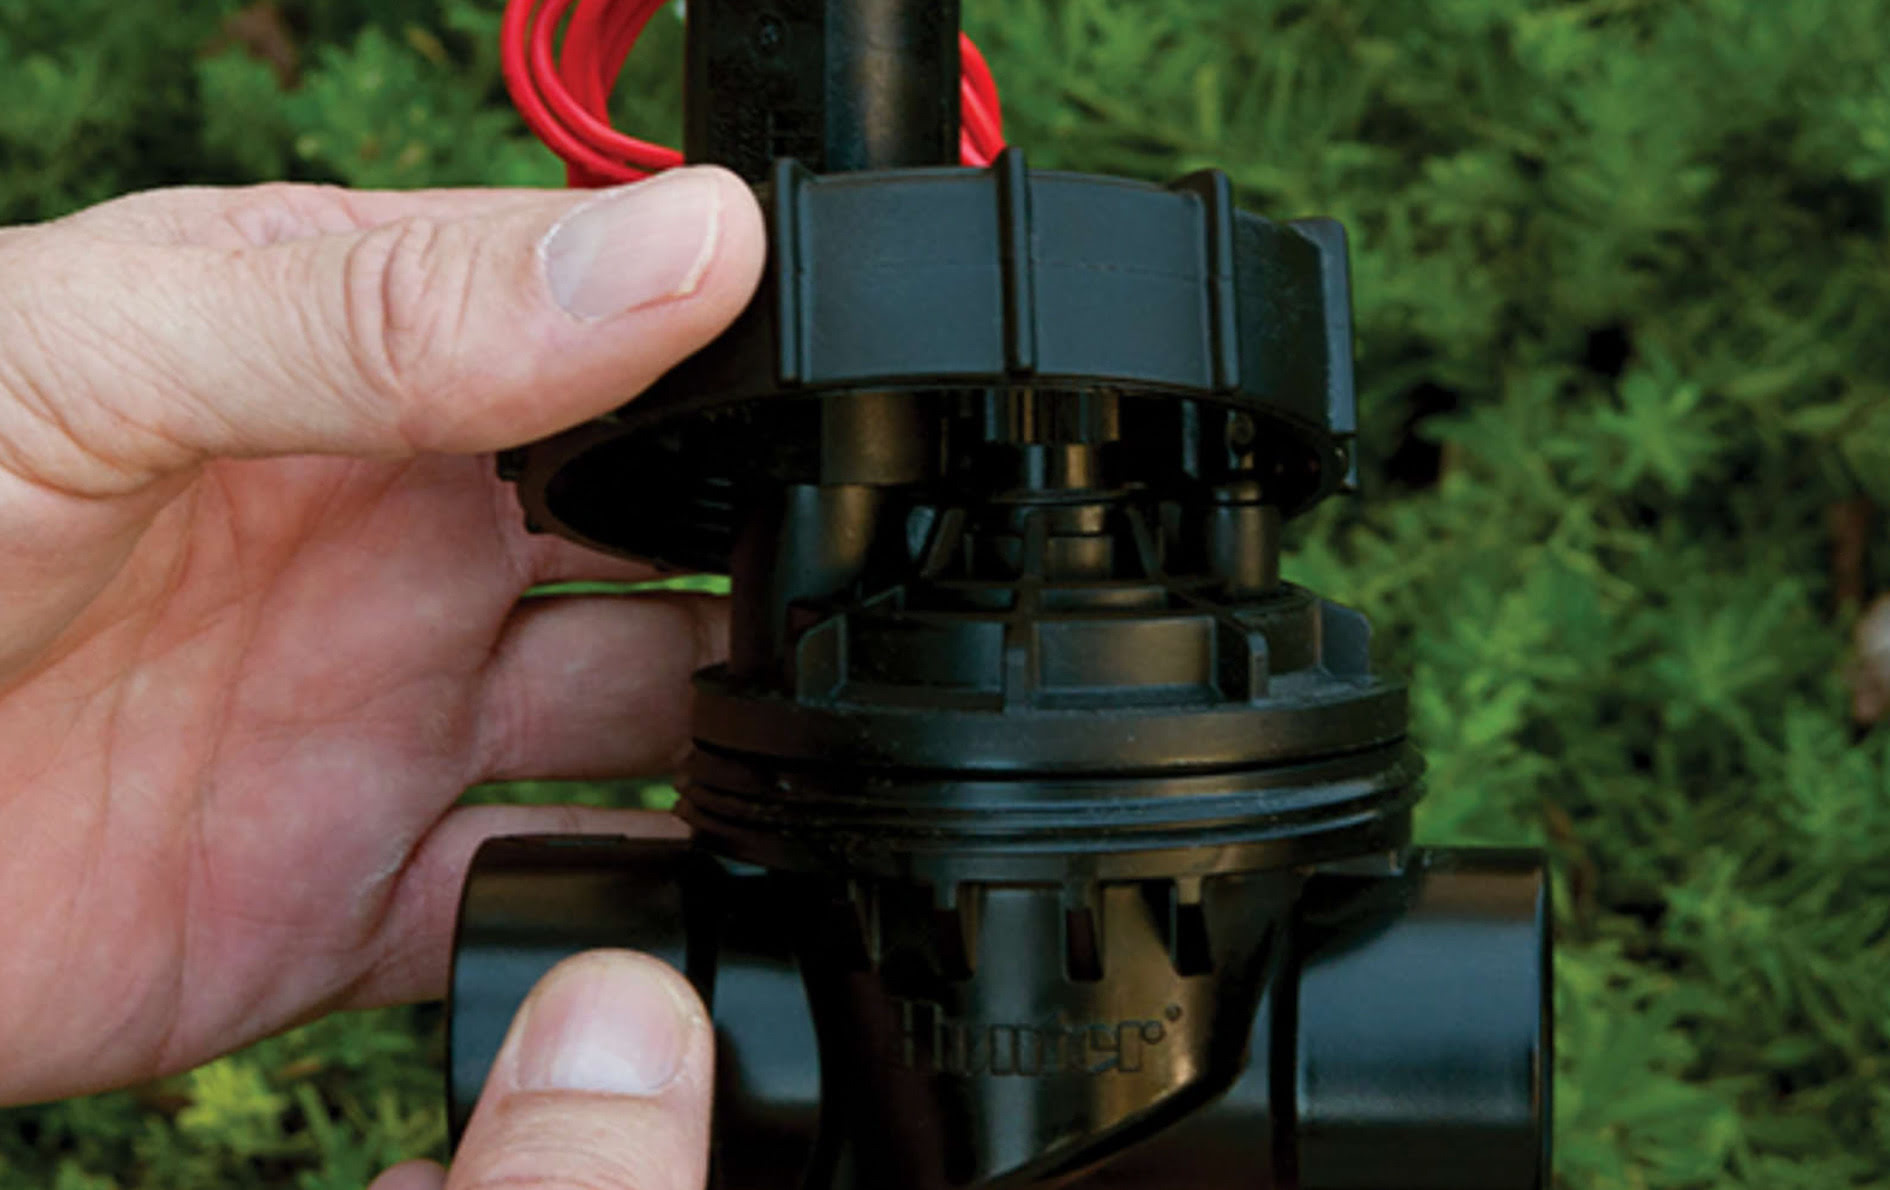
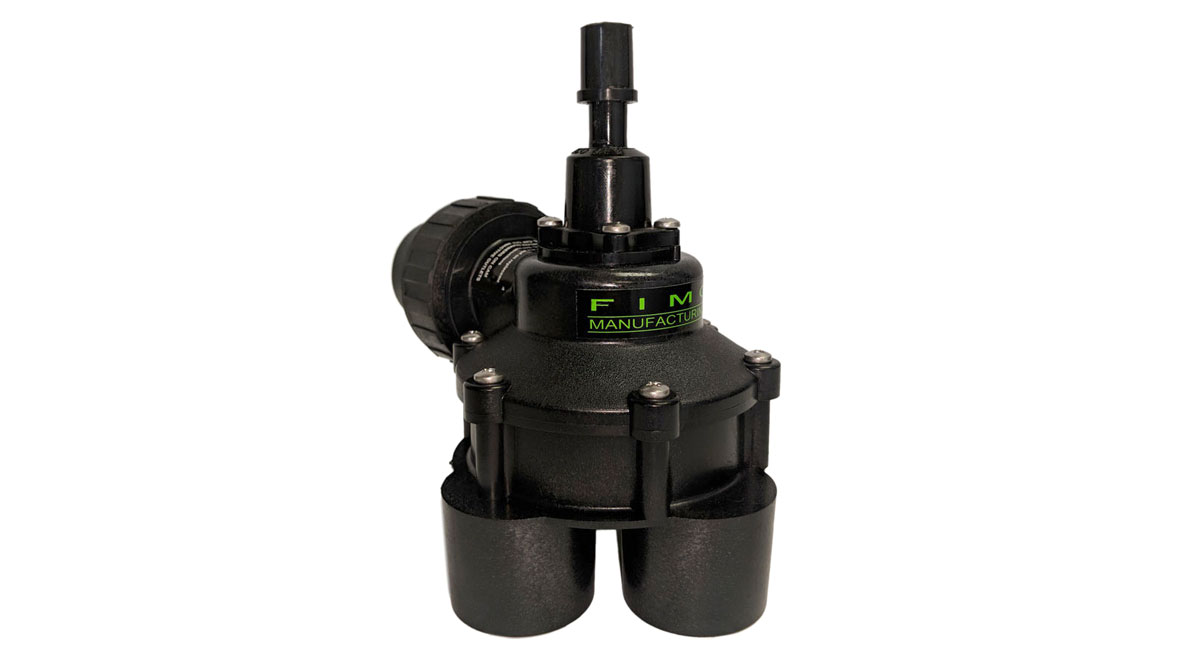
Valve and manifold kit: This includes the valve, manifold, fittings, and any necessary adapters. It’s crucial to choose a kit that matches the size and type of your existing irrigation system.
-
PVC pipe and fittings: You’ll need PVC pipes of the appropriate diameter and length to connect the valves and manifold. Additionally, gather PVC fittings such as elbows, tees, and couplings to create the desired layout.
-
Teflon tape: This will be used to create a watertight seal between the threaded connections.
-
Solvent cement: You’ll need PVC solvent cement to securely bond the PVC pipes and fittings together.
-
Pipe cutter or saw: A pipe cutter or saw will be required to cut the PVC pipes to the desired length.
-
Drill and bits: You’ll need a drill and appropriate drill bits to create holes for installing the valves and manifold.
-
Wire strippers and connectors: If your irrigation system requires electrical connections, gather wire strippers and connectors suitable for outdoor use.
-
Shovel or trencher: Depending on the depth and layout of your irrigation system, you may need a shovel or trencher to dig trenches for the pipes.
-
Safety equipment: Don’t forget to prioritize safety! Gather safety glasses, gloves, and any other protective gear you may need during the installation.
It’s always a good idea to double-check the instructions provided with the valve and manifold kit to ensure you have all the necessary materials specific to your system. Once you have everything on hand, you’re ready to move on to the next step of installing the irrigation valve.
Step 2: Locate the valve location
Locating the valve for your irrigation system is a crucial step in the installation process. The valve location should be strategically chosen to ensure easy access, protection from the elements, and efficient water distribution. Here’s how you can determine the ideal location for your valve:
-
Survey your yard: Take a walk around your yard and assess the layout of your irrigation system. Consider factors such as the proximity to the main water supply, the distribution of zones, and the position of existing sprinkler heads.
-
Choose a central location: Ideally, the valve should be located in a central position that allows for easy access to all sections of your garden or lawn. This will make it convenient to connect and control the flow of water to different zones.
-
Consider protection: The valve and manifold should be protected from extreme weather conditions, direct sunlight, and accidental damage. Look for a spot that offers some degree of shelter, such as along a wall or near a shed.
-
Access to water supply: The valve should be located close to the main water supply line to minimize the length of pipe required for connection. This will help maintain optimal water pressure and flow throughout the system.
-
Check local regulations: Before finalizing the valve location, ensure compliance with any local regulations or codes specific to the placement of irrigation systems. Your local municipality or water authority can provide guidance on any restrictions or guidelines.
-
Mark the location: Once you have determined the ideal valve location, mark it with a stake or flag for reference. This will help you during the installation process and ensure accurate placement.
Remember, the valve location will have a significant impact on the efficiency and effectiveness of your irrigation system. Take the time to carefully evaluate and choose the best spot before moving on to the next steps of installation.
Step 3: Prepare the area for installation
Preparing the area for the installation of your irrigation valve is an important step to ensure a smooth and successful installation process. Proper preparation will help create a solid foundation for your irrigation system and prevent any future complications. Here’s how you can prepare the area:
-
Clear the area: Remove any obstacles or debris from the location where the valve will be installed. Clear away rocks, roots, and vegetation to create a clean and level surface.
-
Dig trenches: Use a shovel or trencher to dig trenches for the PVC pipes that will connect the valve and manifold to the main water supply and the sprinkler system. The trenches should be deep enough to accommodate the pipes and allow for proper placement.
-
Measure and cut PVC pipes: Measure the required length of PVC pipes based on the distance between the valve location, manifold, and main water supply. Use a pipe cutter or saw to cut the pipes to the appropriate length.
-
Clean and prime PVC fittings: Before connecting the PVC pipes and fittings, make sure to clean them thoroughly with a damp cloth. Apply primer to the outside of the pipes and fittings to ensure proper adhesion when you use the solvent cement.
-
Arrange the pipes and fittings: Lay out the PVC pipes and fittings in the trenches, following the planned configuration. This will give you a visual understanding of how the system will be connected and allow for any adjustments before final installation.
-
Create a stable base: If necessary, add a layer of sand or gravel to the bottom of the trenches to create a stable base for the PVC pipes. This will help prevent shifting and ensure proper alignment during the installation process.
-
Secure the pipes and fittings: Once you are satisfied with the layout and alignment of the pipes and fittings, use PVC glue or solvent cement to securely bond them together. Apply the cement to both the outside of the pipe and the inside of the fittings, and then join them together firmly.
Properly preparing the area for installation will help ensure the stability and longevity of your irrigation system. Take the time to execute these steps with care and attention to detail before proceeding to the next stage of installation.
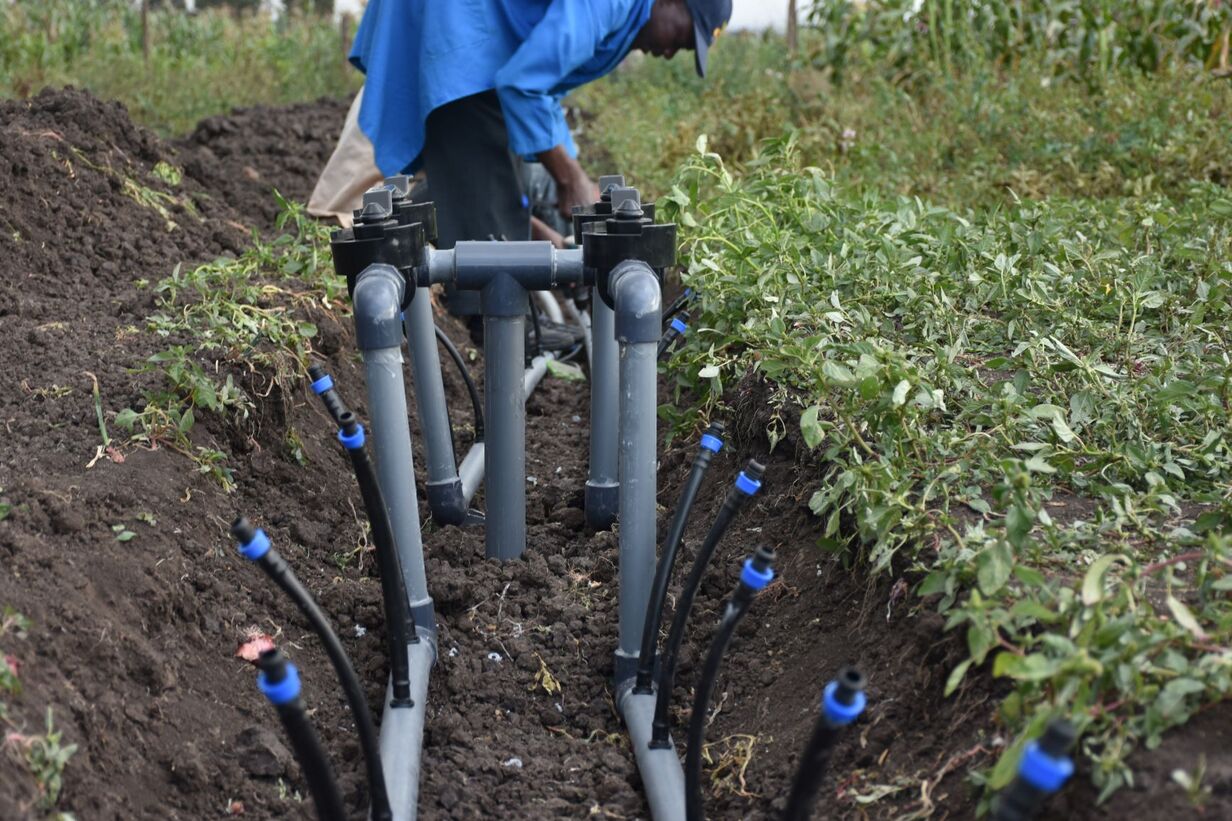
Step 4: Install the sprinkler valve manifold
Now that you have prepared the area and laid out the PVC pipes and fittings, it’s time to install the sprinkler valve manifold. This manifold will serve as the central hub for the valves, allowing you to control the flow of water to different zones of your irrigation system. Follow these steps to install the sprinkler valve manifold:
-
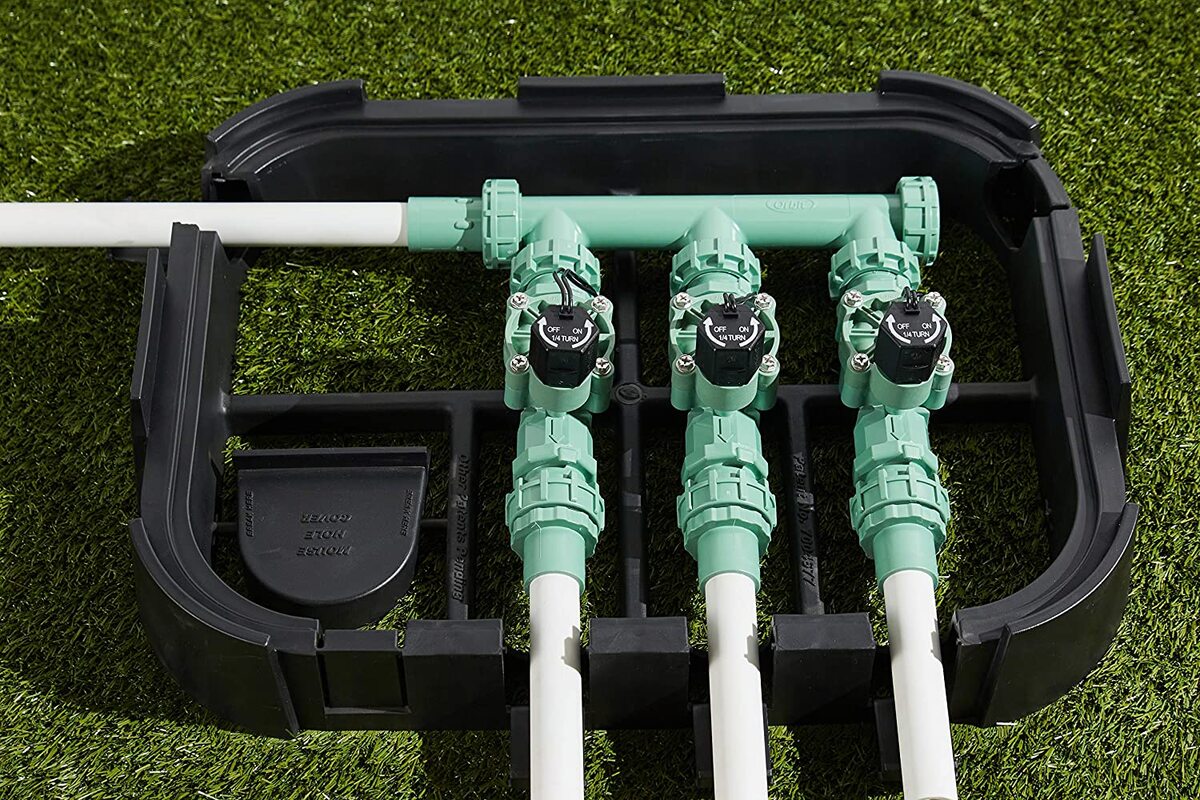
Position the manifold: Place the sprinkler valve manifold in the desired location, ensuring it is level and aligned with the trenches and PVC pipes. The manifold should be positioned to allow easy access to the valves and provide adequate space for maintenance.
-
Secure the manifold: Use screws or brackets to secure the manifold to a stable surface, such as a wall or post. This will help ensure stability and prevent any movement or shifting once the system is in operation.
-
Connect the PVC pipes: Take the PVC pipes that you previously cut to length and connect them to the manifold. Use the appropriate fittings, such as elbows and tees, to create the desired configuration. Ensure a secure connection by applying PVC glue or solvent cement to both the pipe and fitting before joining them together.
-
Check for leaks: Once the PVC pipes are connected to the manifold, turn on the main water supply and check for any leaks. Inspect all connections and joints closely, and make any necessary adjustments or repairs to achieve a watertight seal.
-
Label the valves: To easily identify and control the flow of water to different zones, label each valve on the manifold with the corresponding zone it supplies. This will help you operate and maintain your system effectively.
By properly installing the sprinkler valve manifold, you are one step closer to having a fully functional and efficient irrigation system. Take the time to ensure correct placement, secure connections, and leak-free operation before moving on to the next step of connecting the valves to the main water supply.
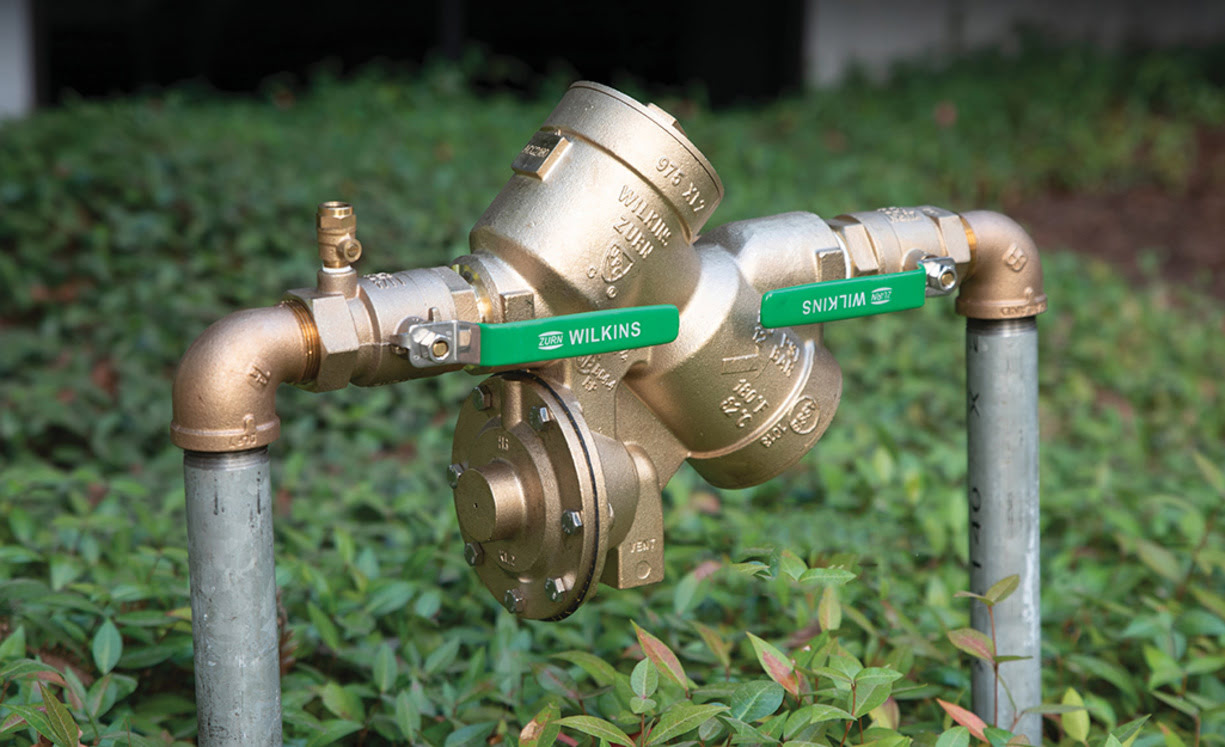
Step 5: Connect the valves to the main water supply
With the sprinkler valve manifold in place, it’s time to connect the valves to the main water supply. This step will ensure that water can flow through the valves and be distributed to the different zones of your irrigation system. Follow these instructions to connect the valves:
-
Locate the main water supply: Identify the main water supply line in your yard or garden. This is typically a pipe that brings water from your water source, such as a well or municipal water line.
-
Turn off the water supply: Before making any connections, ensure that the main water supply is turned off. This will prevent water from flowing while you work and avoid any potential accidents or damage.
-
Measure and cut a section of the main water supply line: Determine the appropriate location to tap into the main water supply line. Measure and cut a section of the pipe using a pipe cutter or saw. The cut section should be large enough to accommodate the valve and allow for proper installation.
-
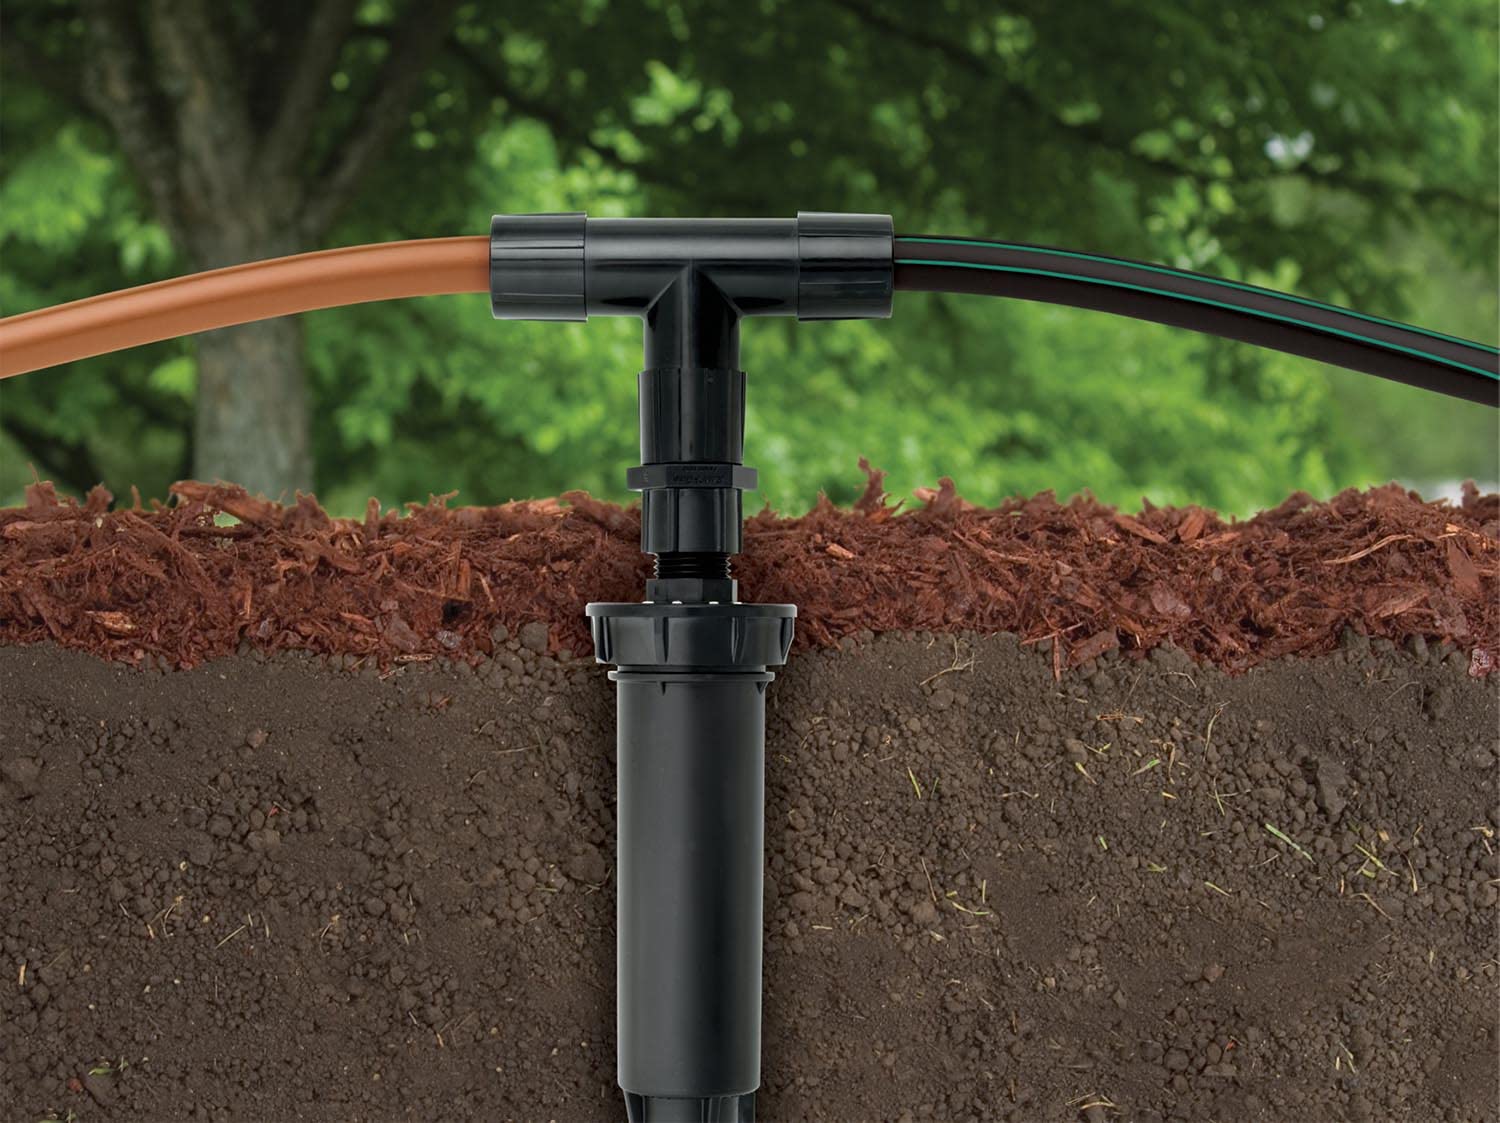
Install a tee or manifold fitting: Connect a tee or manifold fitting to the cut section of the main water supply line. This fitting will serve as the connection point for the valves.
-
Connect the valves: Attach the valves to the tee or manifold fitting using the appropriate adapters or couplings. Ensure a tight and secure connection by using Teflon tape on the threaded ends.
-
Turn on the water supply: After all the valves are properly connected, turn on the main water supply and check for any leaks or drips. Inspect the connections and make any necessary adjustments to achieve a watertight seal.
Connecting the valves to the main water supply is a crucial step in the installation process. Ensure that all connections are secure and leak-free before proceeding to the next step of connecting the sprinkler system to the valves.
Step 6: Connect the sprinkler system to the valves
Now that the valves are properly connected to the main water supply, it’s time to connect the sprinkler system to the valves. This step will allow water to be distributed through the sprinkler heads, effectively irrigating your garden or lawn. Follow these steps to connect the sprinkler system to the valves:
-
Lay out the sprinkler system: Determine the layout and positioning of the sprinkler heads in each zone of your irrigation system. Take into account factors such as plant types, sun exposure, and water coverage requirements.
-
Connect the sprinkler heads: Attach the sprinkler heads to the PVC pipes using the appropriate fittings and adapters. Ensure a tight and secure connection to prevent any water leaks or pressure loss.
-
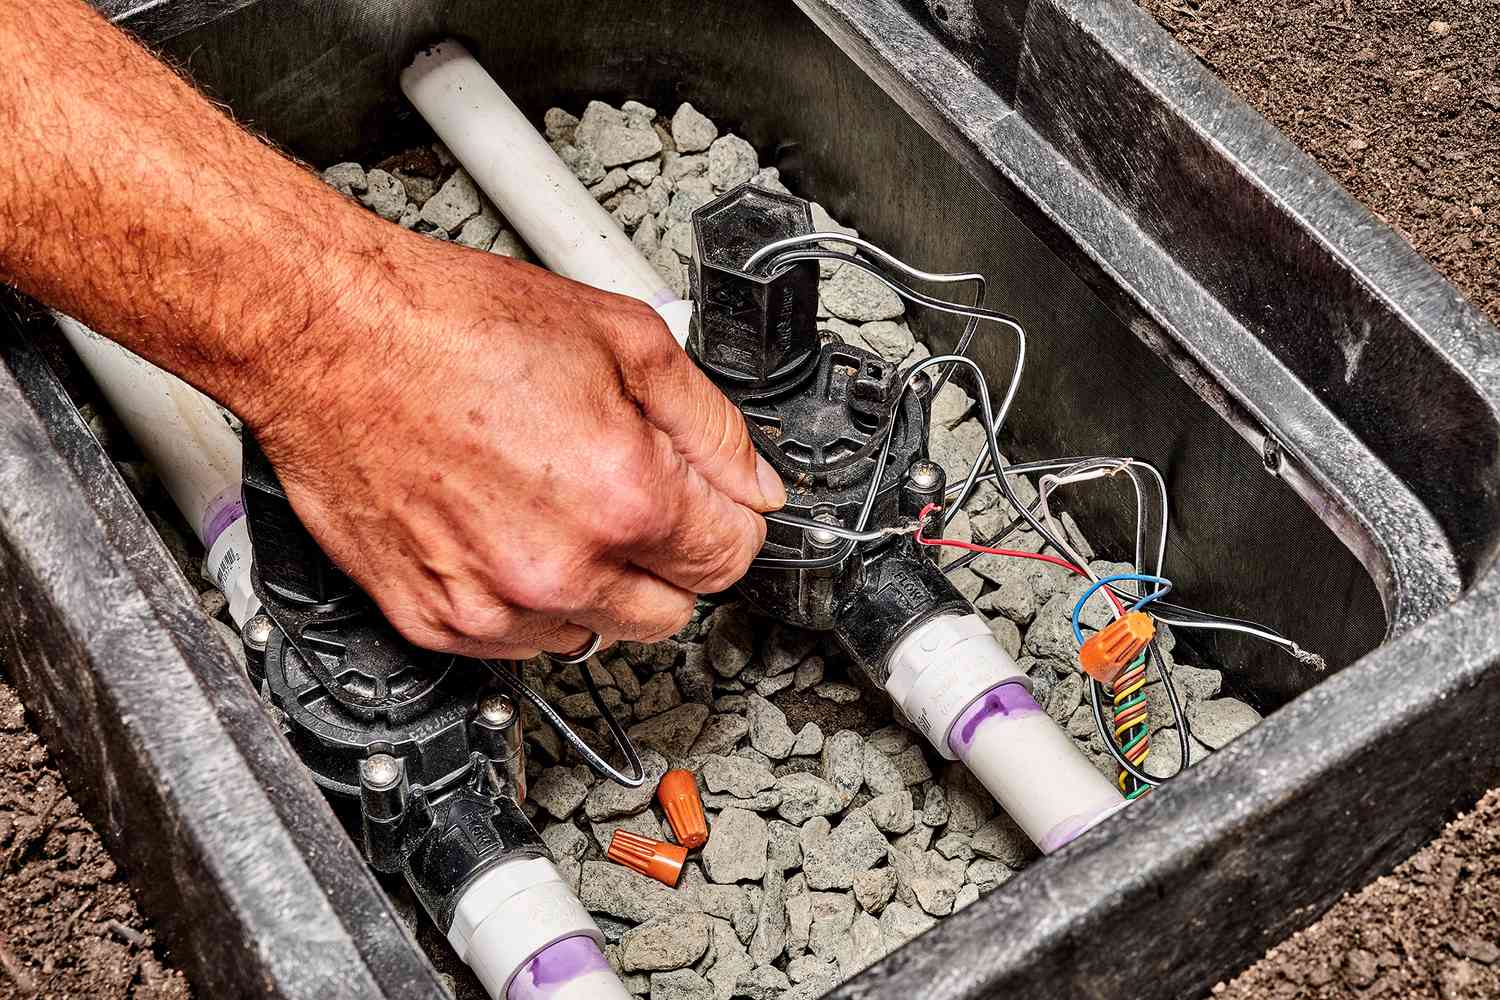
Install control wires (if necessary): If your irrigation system requires electrical connections, run control wires from the sprinkler heads to the valves. Use wire strippers to remove insulation from the wire ends, and connect them to the respective terminal on the valve solenoid using suitable connectors.
-
Bury the pipes: Once all the sprinkler heads and control wires are connected, bury the PVC pipes in the trenches you previously dug. Use a shovel or your hands to carefully backfill the soil, ensuring that the pipes are properly embedded and supported.
-
Test the system: Turn on the water supply and activate each zone of your irrigation system to test the functioning of the sprinkler heads. Check for proper water distribution, coverage, and alignment. Make any necessary adjustments to the sprinkler heads to achieve optimal performance.
Connecting the sprinkler system to the valves is an exciting moment as you see your vision of a well-functioning irrigation system come to life. Take the time to carefully connect the sprinkler heads, bury the pipes, and ensure proper functionality before proceeding to the next step of testing the irrigation system.
Step 7: Test the irrigation system
Now that you have successfully connected the sprinkler system to the valves, it’s time to test the irrigation system to ensure everything is working as intended. Testing will help identify any issues or areas that require adjustments before your system is fully operational. Follow these steps to test your irrigation system:
-
Activate each zone: Turn on each valve or zone of your irrigation system one at a time. This will allow you to test the water flow and coverage of each zone separately.
-
Check for leaks: As each zone is activated, carefully inspect all connections, pipes, and sprinkler heads for any leaks or drips. Address any leaks immediately by tightening connections or replacing faulty components.
-
Observe water distribution: Watch the sprinkler heads in each zone to ensure they are distributing water evenly and covering the intended area. Adjust the spray pattern, rotation, or angle of the sprinkler heads as needed to achieve optimal water distribution.
-
Test the timing and duration: Observe how long it takes for each zone to properly irrigate and adjust the timing and duration of watering accordingly. Note any areas that receive too much or too little water, and make adjustments to achieve balanced irrigation.
-
Inspect the overall functionality: Evaluate the overall performance of your irrigation system. Check for any issues such as low water pressure, clogged sprinkler heads, or inadequate coverage. Make necessary adjustments and repairs to ensure optimal functionality.
Testing your irrigation system is a crucial step in the installation process. It allows you to fine-tune the system, identify any problems, and ensure proper water distribution to your garden or lawn. Take the time to thoroughly test the system, making any necessary adjustments or repairs, before moving on to the final step of adjusting and fine-tuning the irrigation valves.
Step 8: Adjust and fine-tune the irrigation valves
After testing and ensuring the functionality of your irrigation system, it’s time to fine-tune and adjust the irrigation valves. This step will allow you to optimize water distribution, adjust watering schedules, and achieve efficient use of water resources. Follow these steps to fine-tune the irrigation valves:
-
Inspect valve operation: Check the performance of each irrigation valve by monitoring the water flow and pressure. Ensure that the valves open and close properly, and there are no blockages or restrictions in the valve or in the associated pipes.
-
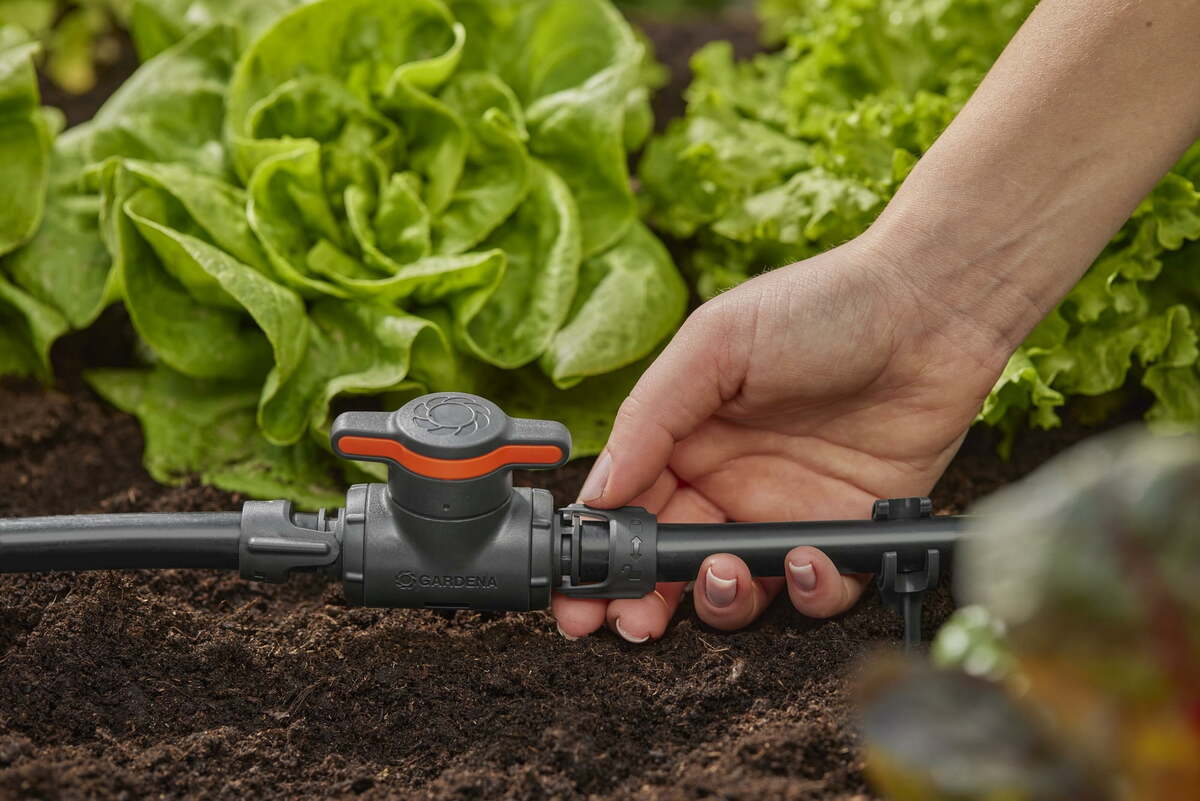
Adjust water flow: Use the flow control feature on each valve to adjust the water flow to the respective zones. This will allow you to fine-tune the water volume and ensure that each zone receives the appropriate amount of water without wastage.
-
Set watering schedules: Adjust the programming settings on your controller or timer to set specific watering schedules for each valve or zone. Consider factors such as plant type, sun exposure, and local water regulations when setting the watering duration and frequency.
-
Monitor water usage: Keep track of your water usage by monitoring the water meter or using smart irrigation technology. Analyze the water consumption to identify any areas of inefficiency or excessive usage, and make necessary adjustments to optimize water conservation.
-
Make seasonal adjustments: As the seasons change, review and adjust the watering schedules accordingly. Plants have different water requirements during different times of the year, so ensure that your irrigation system adapts to these changing needs.
-
Regular maintenance: Regularly inspect and maintain your irrigation system to ensure its optimal performance. Clean and unclog sprinkler heads, check for leaks, and replace any damaged components. This will help prevent issues and ensure the longevity of your system.
The adjustment and fine-tuning of irrigation valves is an ongoing process. Regularly monitor and assess the performance of your system, making necessary adjustments to optimize water distribution and efficiency. By fine-tuning your irrigation valves, you can achieve a healthy and thriving garden while conserving water and promoting sustainability.
Conclusion
Congratulations! You have successfully completed the installation of an irrigation valve and created a functional and efficient irrigation system for your garden or lawn. By following the step-by-step process outlined in this guide, you have taken control of watering your plants, optimizing water usage, and promoting healthy growth.
Installing an irrigation valve may seem like a daunting task at first, but with the right tools, materials, and guidance, it can be an achievable DIY project. Remember to gather all necessary materials, locate the valve in an ideal position, prepare the area for installation, install the sprinkler valve manifold, connect the valves to the main water supply, connect the sprinkler system, test the irrigation system, and adjust the valves for optimal performance.
Regular maintenance and periodic adjustments are key to ensuring the longevity and efficiency of your irrigation system. By monitoring water usage, making seasonal adjustments, and conducting routine inspections, you can prevent issues and maintain the optimal functioning of your system.
Now that you have a fully functional irrigation system, sit back and enjoy the benefits of a well-maintained garden or lawn. Your plants will thrive with the proper amount of water, and you can take pride in your eco-friendly efforts to conserve water resources.
Remember, if you ever feel overwhelmed or unsure about any aspect of the installation, consult with a professional or experienced individual for guidance and assistance. Happy irrigating!