Home>Gardening Tips and Tricks>Problem Solving>How To Install Irrigation Master Valve
Problem Solving
How To Install Irrigation Master Valve
Modified: January 22, 2024
Learn how to install an irrigation master valve and solve all your irrigation problems with our step-by-step guide.
(Many of the links in this article redirect to a specific reviewed product. Your purchase of these products through affiliate links helps to generate commission for Chicagolandgardening.com, at no extra cost. Learn more)
Table of Contents
Introduction
Welcome to the comprehensive guide on how to install an irrigation master valve. If you’re looking to improve the efficiency of your irrigation system and protect it from potential damage, installing a master valve is a crucial step. The master valve acts as a control mechanism, allowing water to flow only when needed and shutting it off during non-irrigation periods. This not only conserves water but also prevents leaks and ensures optimal irrigation performance.
Installing a master valve may seem like a daunting task, but with the right tools and a step-by-step approach, it can be easily accomplished. In this guide, we will walk you through the entire installation process, from gathering the necessary tools and materials to testing and troubleshooting the system.
Before we dive into the installation steps, it’s important to emphasize the benefits of having a master valve. By incorporating this component into your irrigation system, you’ll experience improved water efficiency, reduced water waste, and the peace of mind that comes with knowing your system is adequately protected.
With these advantages in mind, let’s get started on the installation journey. So grab your tools and let’s venture into the world of irrigation systems and master valve installation!
Step 1: Gather the Required Tools and Materials
Before you begin the installation process, it’s important to gather all the necessary tools and materials. Having everything on hand will streamline the process and prevent delays. Here’s a list of what you’ll need:
- PVC pipe fittings
- PVC primer and cement
- PVC pipe cutters or hacksaw
- Measuring tape
- Digging tools (shovel, hand trowel)
- Electrical wire
- Wire connectors
- Electrical tape
- Screwdriver
- Teflon tape
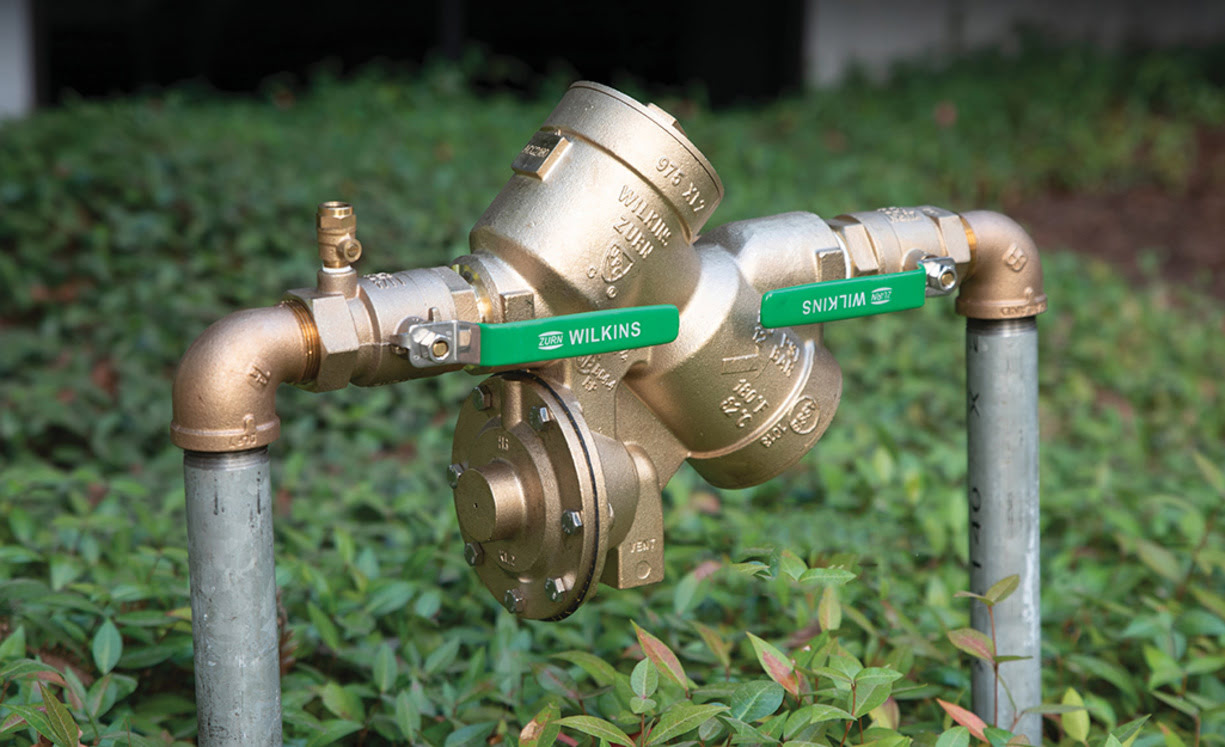
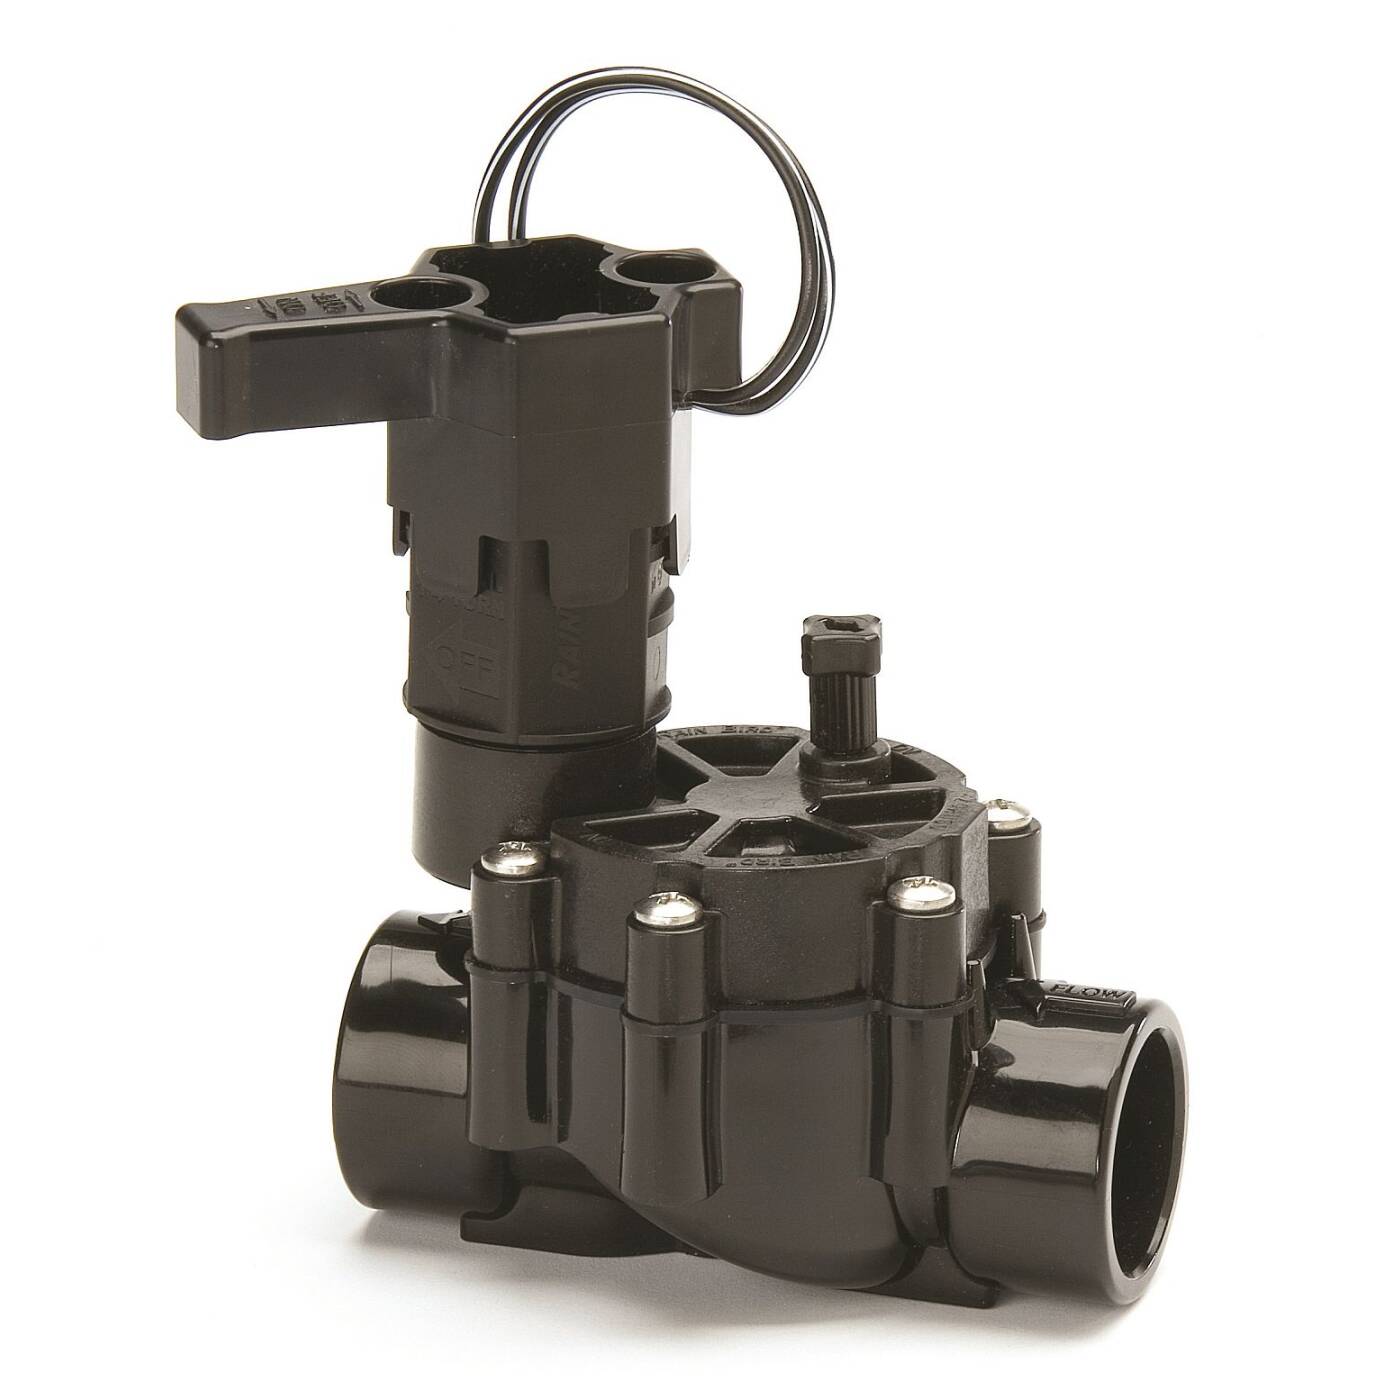
- Master valve
- Tubing cutter or utility knife
- Valve box
Ensure that you have all the necessary tools and materials before you start. This will save you time and frustration later on. If you don’t have any of the items listed above, it’s essential to obtain them from your local hardware store. Having them readily available will allow for a smooth installation process.
Once you have gathered all the tools and materials, it’s a good idea to review the installation instructions provided by the manufacturer of the master valve. This will give you a better understanding of the specific requirements and steps involved in the installation process.
Now that you have everything ready, it’s time to move on to the next step: locating the ideal position for the master valve installation.
Step 2: Locate the Ideal Position for the Master Valve
The next step in installing an irrigation master valve is finding the perfect location to place it. The ideal position will ensure easy access, proper drainage, and protection from potential damage. Here’s what you need to consider when selecting the placement:
1. Accessibility: Choose a location that allows for easy access to the valve and other components of the irrigation system. This will make future maintenance and repairs more convenient.
2. Protection from Damage: Avoid areas prone to flooding or water accumulation. Look for a spot that is away from foot traffic or other activities that could potentially damage the valve. Opt for a higher ground if possible.
3. Proper Drainage: Ensure that the chosen location provides adequate drainage. This is crucial to prevent water build-up around the valve, which could lead to malfunction or damage.
4. Irrigation System Layout: Consider the layout of your irrigation system and the proximity to the main water supply. Aim for a location that allows for a logical and efficient connection to the mainline and other irrigation components.
Once you have identified the ideal spot, mark it clearly with a stake or flag so that you can easily find it during the installation process.
It’s important to note that different irrigation systems may have specific requirements for master valve placement. Consult the installation manual or seek professional advice if you are unsure about the most suitable location for your specific system.
Now that you have determined the optimum position for the master valve, it’s time to prepare the irrigation system for installation.
Step 3: Prepare the Irrigation System
Preparing the irrigation system is a crucial step before you can install the master valve. Proper preparation ensures a smooth installation process and helps prevent any issues down the line. Follow these steps to prepare your irrigation system:
- Shut off the Water: Before making any modifications to your irrigation system, it’s essential to turn off the water supply. Locate the main water shut-off valve and close it to stop the flow of water.
- Drain the System: Once the water is shut off, open the drain valves or manual bleed screws of your irrigation system to drain any remaining water. This step is crucial to prevent any flooding or damage during the installation process.
- Remove Obstacles: Clear the area around the installation site of any obstacles such as rocks, plants, or debris that may hinder the installation process or interfere with the functioning of the master valve in the future.
- Inspect Existing Components: Take some time to inspect the existing components of your irrigation system. Check for any leaks, damaged pipes, or worn-out fittings. Replace or repair any faulty parts to ensure the overall integrity of the system.
- Measure and Cut: Measure the necessary length of PVC pipes and tubing needed to connect the master valve to the mainline and other components of the irrigation system. Use PVC pipe cutters or a hacksaw to cut the pipes and tubing to the appropriate lengths.
- Prepare the Pipe Ends: Smooth the cut ends of the PVC pipes with sandpaper to remove any rough edges or burrs. This will ensure a proper and secure fit when connecting the pipes with fittings.
By following these preparation steps, you’ll be well on your way to a successful installation of the master valve.
Now that you’ve prepared the irrigation system, it’s time to move on to the next step: installing the master valve.
Step 4: Install the Master Valve
Now that you have prepared the irrigation system, it’s time to install the master valve. Follow these steps to ensure a smooth and successful installation:
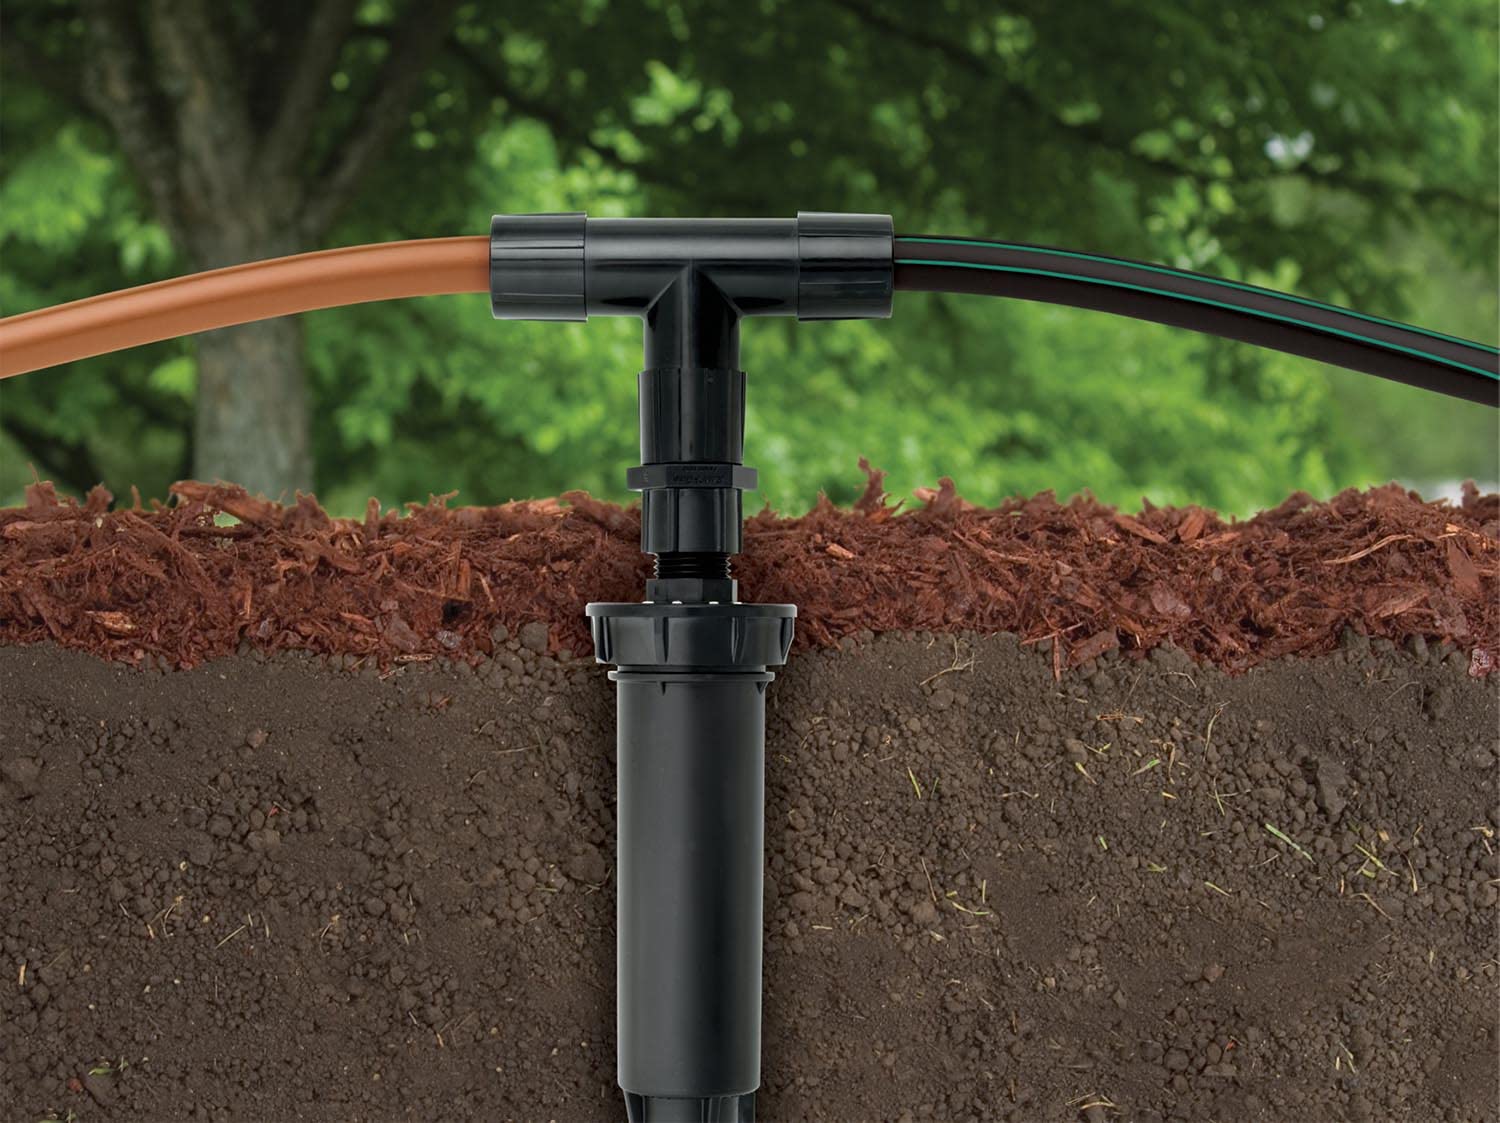
- Dig a Hole: Begin by digging a hole that is deep and wide enough to accommodate the master valve and allow for proper backfilling. The hole should be slightly larger than the valve box.
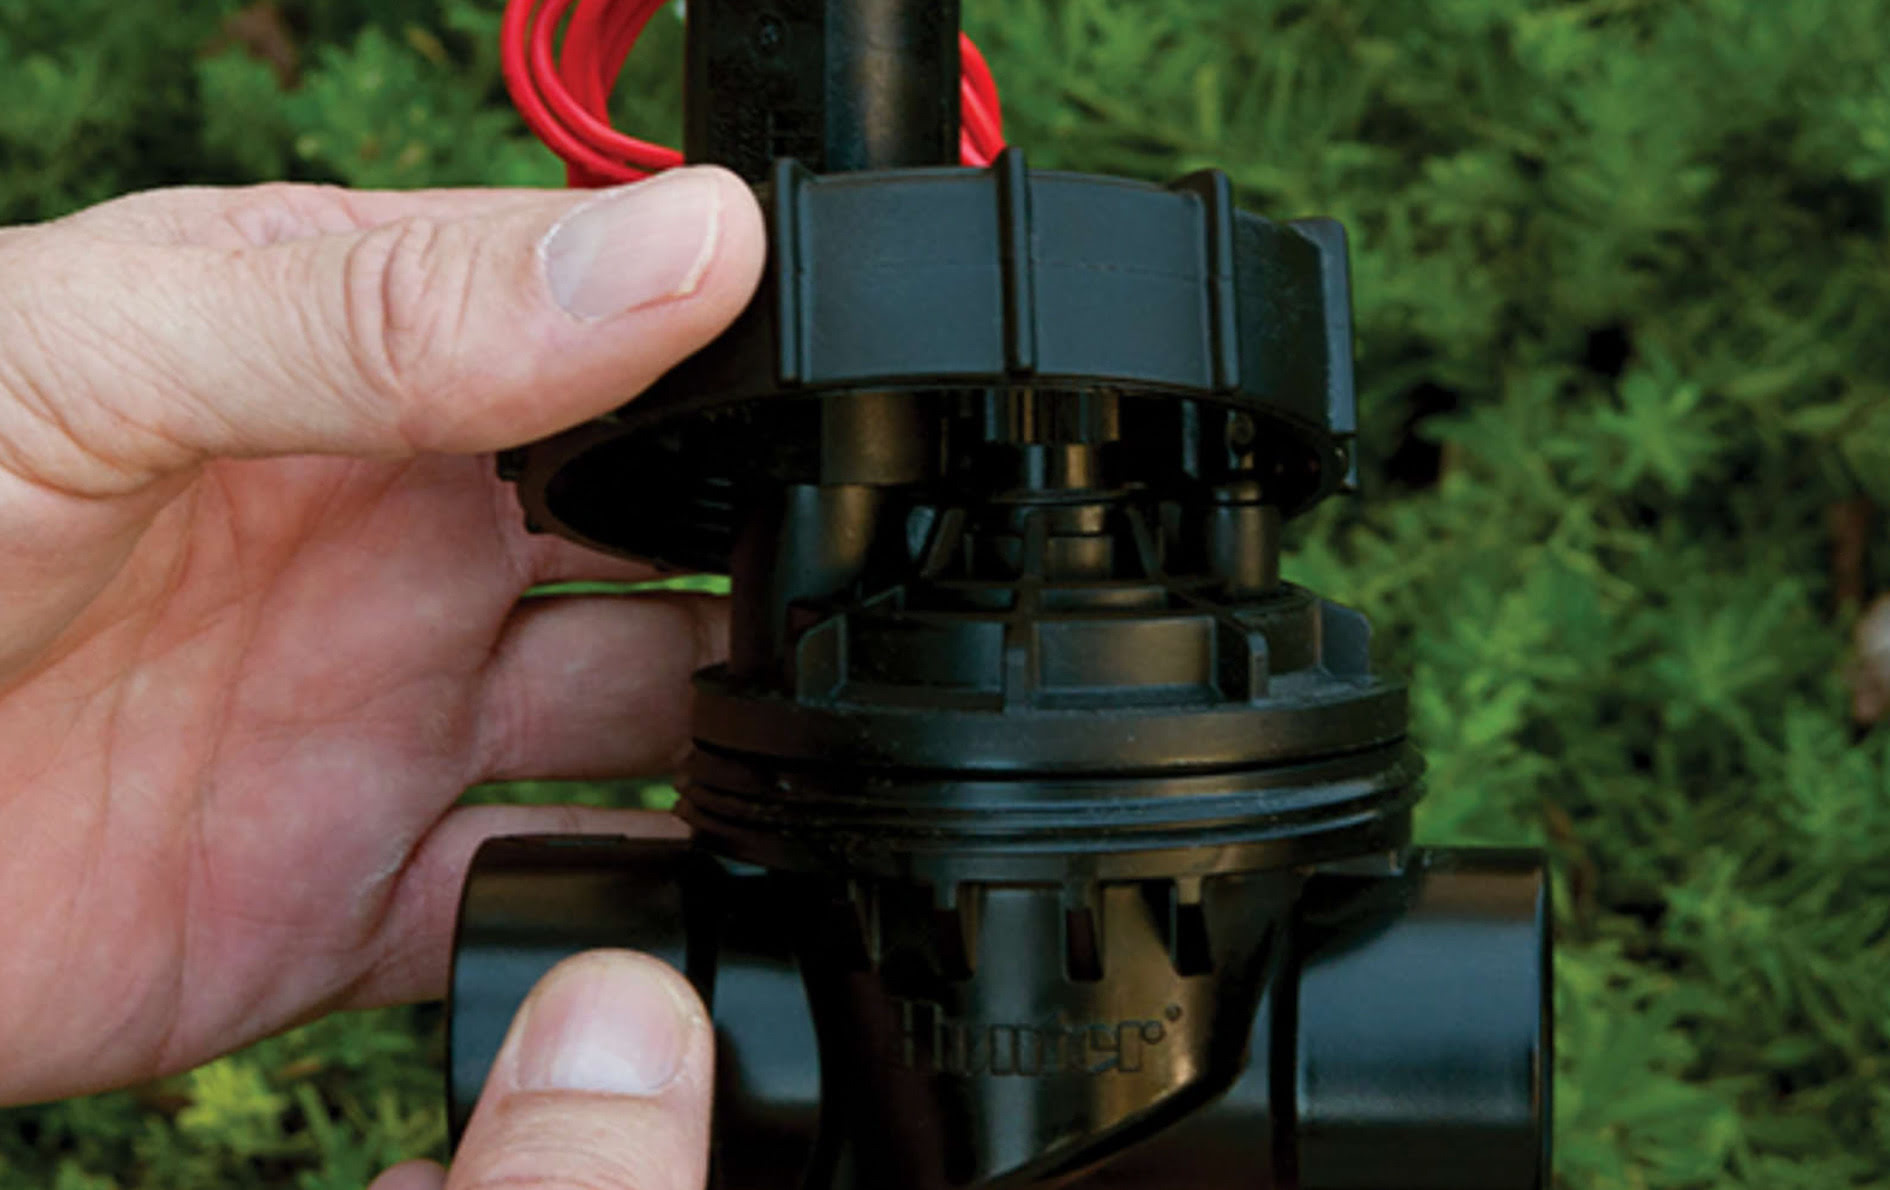
- Assemble the Valve: Start by assembling the master valve according to the manufacturer’s instructions. This includes attaching the appropriate PVC fittings, valves, and adapters. Use PVC primer and cement to secure the connections.
- Place the Valve in the Hole: Carefully place the assembled master valve into the hole, ensuring it is level and properly aligned with the irrigation system. Make sure the valve box is positioned at ground level or slightly above for easy access.
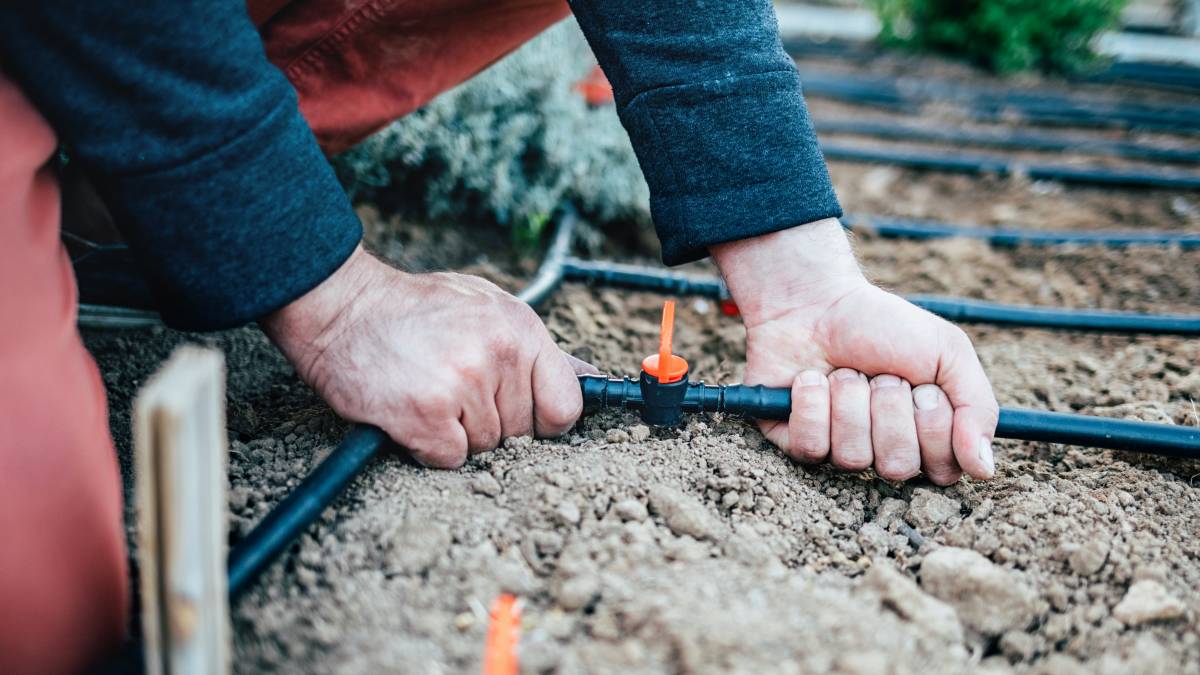
- Connect the Pipes: Connect the PVC pipes from the main water supply line to the inlet side of the master valve using the appropriate PVC fittings. Ensure the connections are tight and secure to prevent any leaks.
- Attach the Outlet Pipe: Connect the outlet pipe of the master valve to the rest of the irrigation system using PVC fittings. This will allow water to flow from the valve to the sprinklers or drip lines as needed.
- Backfill the Hole: Carefully backfill the hole around the master valve, ensuring that it is firmly packed to provide stability. Take care not to damage any of the connections or the valve itself while backfilling.
- Secure the Valve Box: Finally, place the valve box over the master valve and secure it in place. This will protect the valve from external elements and provide easy access for future maintenance or repairs.
By following these steps, you can install the master valve correctly and ensure its proper functioning within your irrigation system.
With the master valve installed, it’s time to proceed to the next step: connecting the wiring.
Step 5: Connect the Wiring
Connecting the wiring of the master valve is a crucial part of the installation process. Properly wiring the valve ensures that it operates seamlessly with your irrigation system. Follow the steps below to connect the wiring:
- Turn Off Power: Before working with electrical components, turn off the power to your irrigation system at the main circuit breaker or switch. Safety should always be a top priority.
- Identify the Wiring: Identify the wiring connections on the master valve. There should be terminals labeled for the common wire (C), the main power or hot wire (H), and the solenoid wire (S). Refer to the manufacturer’s instructions for specific labeling and wiring details.
- Strip the Wires: Strip the ends of the wires that will be connected to the master valve. Use wire strippers to remove the insulation, exposing about half an inch of bare wire at the ends.
- Connect the Common Wire: Connect the common wire (C) to the corresponding terminal on the master valve. This wire usually connects to the common terminal of the irrigation controller, ensuring a consistent electrical reference throughout the system.
- Connect the Main Power Wire: Connect the main power or hot wire (H) to the designated terminal on the master valve. This wire supplies power to the valve, allowing it to open and close as required.
- Connect the Solenoid Wire: Connect the solenoid wire (S) to the appropriate terminal on the master valve. The solenoid wire sends signals from the irrigation controller to the valve, initiating the opening and closing of the valve.
- Secure the Connections: After making the necessary connections, use wire connectors or electrical tape to securely fasten the wires to the terminals on the master valve. This helps prevent any loose connections or exposed wires.
- Turn On Power: Once the wiring is properly connected and secured, turn on the power to your irrigation system. Take caution and ensure that all wiring is safely tucked away and protected from potential damage.
By following these steps, you can safely and effectively connect the wiring of the master valve to your irrigation system.
Now that the wiring is connected, it’s time to move on to the next step: testing and troubleshooting.
Step 6: Test and Troubleshoot
Once you have completed the installation and wiring of the master valve, it’s crucial to thoroughly test it to ensure proper functionality. Follow these steps to test and troubleshoot the system:
- Turn on the Water: Turn on the main water supply to your irrigation system. This will allow water to flow through the system and reach the master valve.
- Activate the Irrigation Controller: Activate your irrigation controller and schedule a time for the irrigation system to run. Confirm that the master valve is programmed to operate along with the other zones.
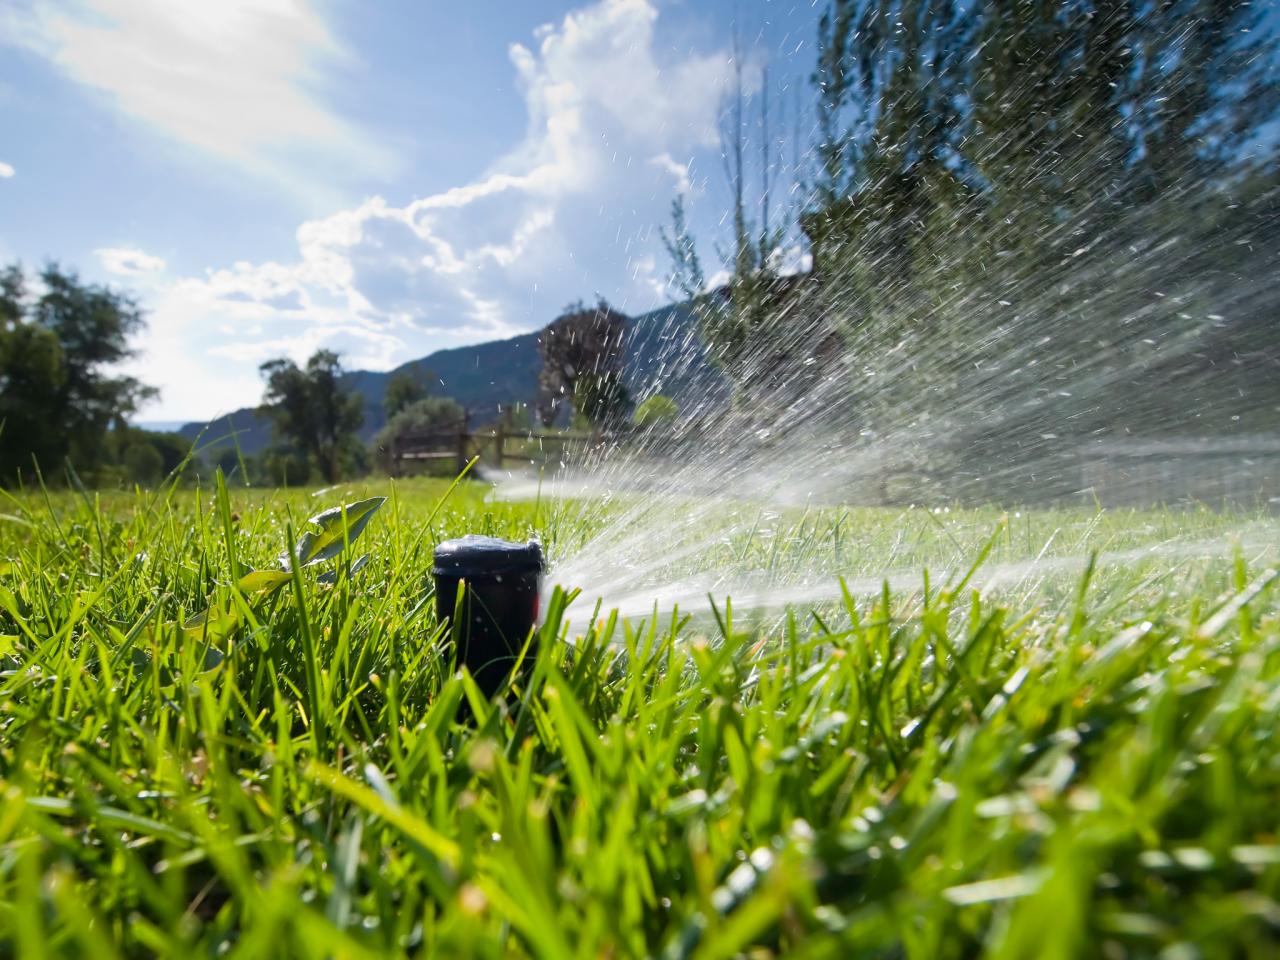
- Observe the Valve Operation: Watch the master valve closely during its scheduled operation time. Ensure that the valve opens and closes as expected, allowing water to flow into the irrigation system when it should and shutting it off when it needs to.
- Check for Leaks: Inspect the areas around the master valve and the connections for any signs of leaks. Look for dripping water or wet spots that indicate an improperly sealed connection or a faulty valve.
- Inspect the System Performance: Monitor the performance of your irrigation system while the master valve is in operation. Ensure that the other zones receive adequate water flow, and there are no issues with pressure or water distribution.
- Troubleshoot Any Problems: If you notice any issues during the testing process, such as leaks or improper valve operation, troubleshoot the problem. Check the connections, tighten any loose fittings, and ensure the wiring is securely connected.
- Consult a Professional if Needed: If you encounter persistent issues or are unsure how to troubleshoot the problem, it’s recommended to seek assistance from a professional irrigation technician. They have the expertise and knowledge to diagnose and resolve more complex issues.
By carefully testing and troubleshooting the system, you can address any potential problems and ensure that your irrigation system, including the newly installed master valve, is functioning optimally.
With the system tested and any issues resolved, it’s time to move on to the final step: finalizing the installation.
Step 7: Finalize the Installation
The final step in installing an irrigation master valve is to complete the necessary tasks to finalize the installation. These steps will ensure that the system is secure, well-maintained, and ready for long-term operation. Follow the guidelines below to complete the installation:
- Secure the Valve Box: Double-check that the valve box covering the master valve is securely in place. This will protect the valve from the elements and provide easy access for future maintenance or repairs.
- Inspect for Leaks: Once the installation is complete, thoroughly inspect the entire system, including the master valve and all connections, for any signs of leaks. Address any leaks immediately to prevent water waste and system damage.
- Replace the Soil: After ensuring there are no leaks, carefully replace the soil around the master valve, ensuring it is packed firmly to provide stability and protection.
- Restore Power: Restore the power to your irrigation system by turning on the main circuit breaker or switch. This will activate the controller and allow for proper functioning of the master valve.
- Program the Controller: Program your irrigation controller according to your desired watering schedule, making sure to include the master valve in the program. This will ensure that the system operates efficiently and according to your specific needs.
- Regular Maintenance: As with any irrigation system component, regular maintenance is essential for optimal performance. Periodically inspect the master valve, clean any debris or dirt that may accumulate, and check the wiring connections for any signs of corrosion or wear.
- Monitor System Performance: After finalizing the installation, monitor the performance of your irrigation system over time. Keep an eye out for any irregularities or issues with the master valve or the overall system, and address them as soon as possible to maintain the system’s efficiency.
By following these final steps, you will complete the installation of the irrigation master valve and ensure that your system is ready for regular use and long-term operation.
Congratulations! You have successfully installed a master valve in your irrigation system, improving its efficiency and protecting it from potential damage. With the master valve installed and the system properly functioning, you can enjoy a well-maintained and water-efficient irrigation system.