Home>Gardening Techniques>DIY Projects>How To Make Drip Water Irrigation With Plastic Bottle
DIY Projects
How To Make Drip Water Irrigation With Plastic Bottle
Modified: January 22, 2024
Learn how to create a DIY drip water irrigation system using a plastic bottle. Perfect for your DIY projects.
(Many of the links in this article redirect to a specific reviewed product. Your purchase of these products through affiliate links helps to generate commission for Chicagolandgardening.com, at no extra cost. Learn more)
Table of Contents
Introduction
Welcome to the world of DIY projects! If you’re a gardening enthusiast looking for an easy and cost-effective way to water your plants, then making a drip water irrigation system with a plastic bottle might be just the solution for you. This simple, yet effective DIY project allows you to efficiently water your plants, ensuring they receive the right amount of water without wasting any.
Traditional watering methods like sprinklers or watering cans often result in water being wasted due to evaporation or run-off. Drip irrigation, on the other hand, delivers water directly to the roots of the plants, reducing water loss and promoting healthy growth.
The beauty of this DIY project lies in its simplicity and accessibility. All you need are a few basic materials and a little bit of time and effort. Even if you’re not an expert in DIY projects, this guide will walk you through the process step by step, making it easy for beginners to follow along.
Not only will this DIY drip water irrigation system help your plants thrive, but it will also save you time and money in the long run. By allowing water to slowly seep into the soil, you’ll eliminate the need for frequent manual watering and reduce your water consumption. It’s a win-win situation for both your plants and the environment!
In this article, we’ll cover everything you need to know to create your own drip water irrigation system using a plastic bottle. From gathering the necessary supplies to setting up and adjusting the system, you’ll be equipped with the knowledge and skills to take on this DIY project with confidence.
So, let’s get started on transforming a simple plastic bottle into an efficient and eco-friendly watering system for your beloved plants!
Materials Needed
Before you dive into creating your own DIY drip water irrigation system, it’s important to gather all the necessary materials. Luckily, you won’t need anything too fancy or hard to find. Here’s a list of the materials you’ll need:
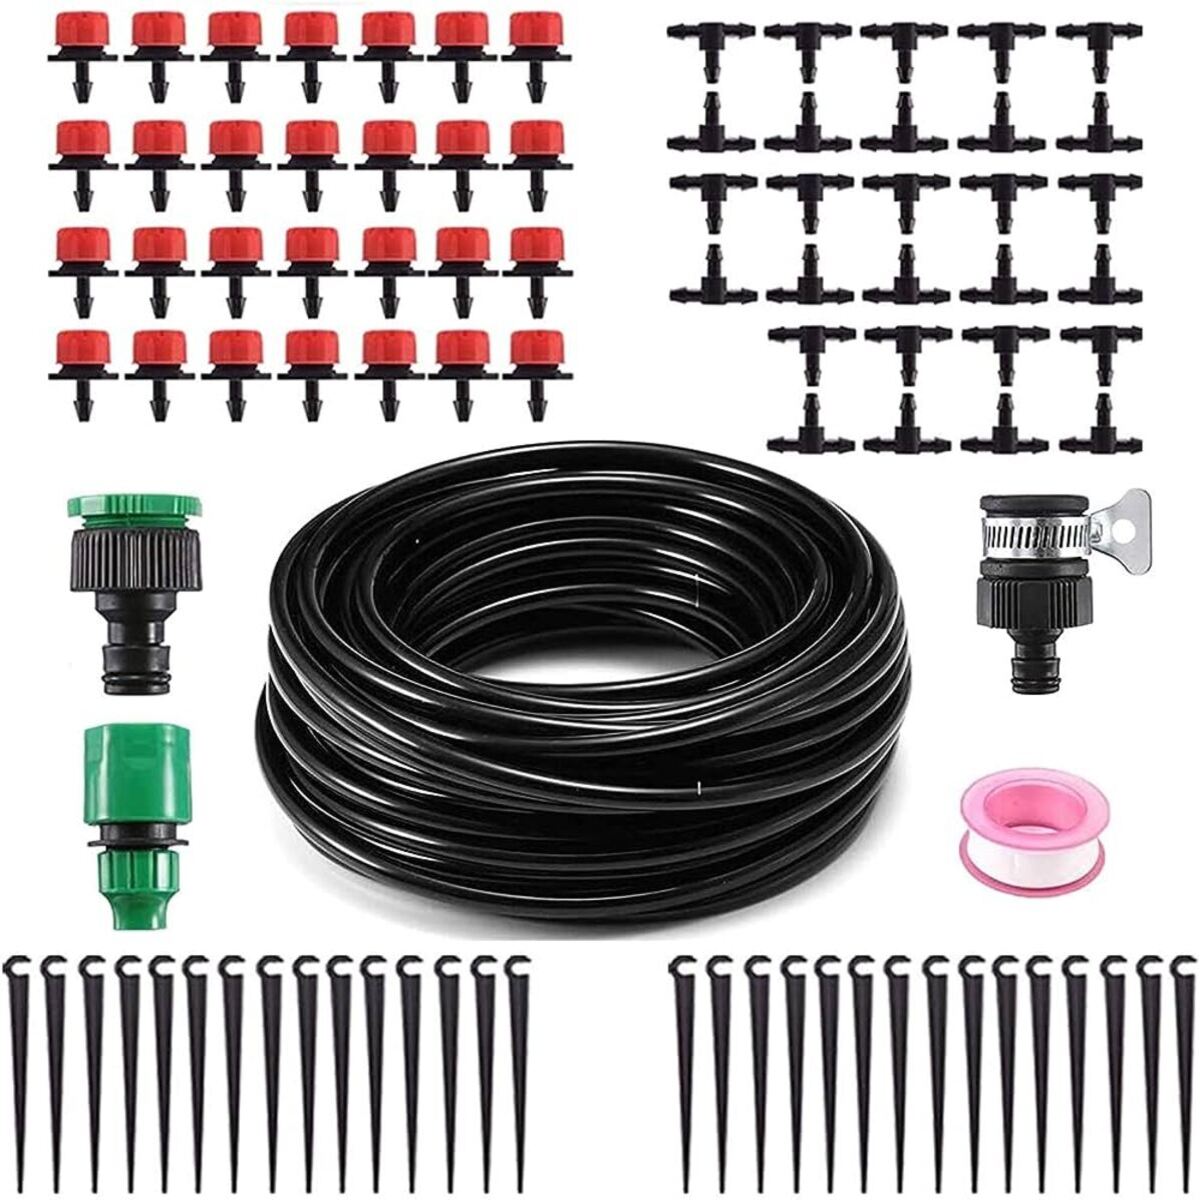
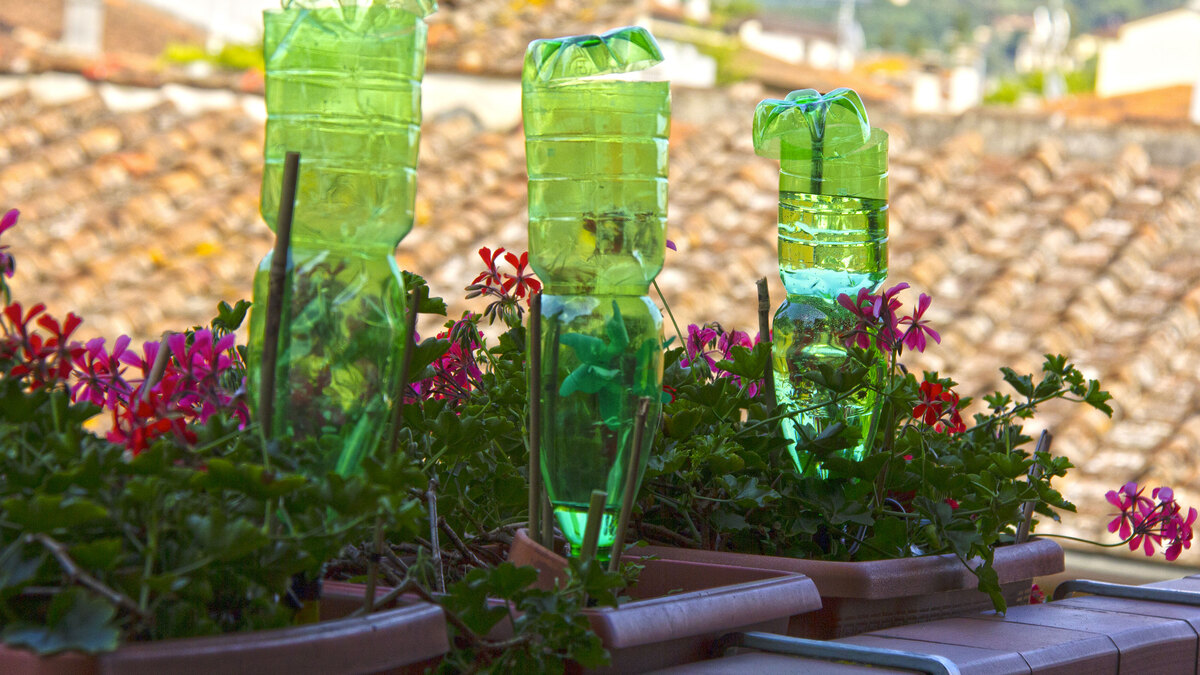
- A plastic bottle: Look for a sturdy plastic bottle with a screw-on cap. A 1-liter or 2-liter bottle should work well.
- A small plastic hose: You can find this at a local hardware store or repurpose an old tube or straw.
- A pushpin or small nail: This will be used to create holes in the bottle.
- A pair of scissors: You’ll need these to cut the plastic bottle and the hose to the desired lengths.
- Tape or zip ties: These will be used to secure the hose to the bottle.
- A drill (optional): If you prefer using a drill instead of a pushpin or nail, you’ll need one with a small drill bit.
- Waterproof sealant (optional): If you want to ensure a watertight connection, this can come in handy.
Remember, these are the basic materials needed to create a simple drip water irrigation system. Depending on your specific requirements and the size of your garden, you may need to adjust the quantities or consider additional materials such as connectors or valves.
Now that you have gathered all the materials, it’s time to move on to the next step: preparing the plastic bottle for the drip irrigation system.
Step 1: Gathering Supplies
Before you begin creating your drip water irrigation system, it’s important to gather all the necessary supplies. This will ensure that you have everything on hand and ready to use, making the process smoother and more efficient.
Here are the supplies you will need:
- A plastic bottle: Look for a sturdy plastic bottle with a screw-on cap. A 1-liter or 2-liter bottle should work well. It’s important to choose a bottle with a cap that can be tightly sealed to prevent any leaks.
- A small plastic hose: You can find this at a local hardware store or repurpose an old tube or straw. Make sure the hose is flexible and long enough to reach from the bottle to your plants.
- A pushpin or small nail: This will be used to create holes in the plastic bottle. If you prefer, you can also use a small drill with a fine drill bit.
- A pair of scissors: You’ll need these to cut the plastic bottle and the hose to the desired lengths. Make sure the scissors are sharp and capable of cutting through the plastic.
- Tape or zip ties: These will be used to secure the hose to the bottle. Choose a type of tape or zip ties that are waterproof and can withstand outdoor conditions.
- Waterproof sealant (optional): If you want to ensure a watertight connection, you can use a waterproof sealant. This can come in handy if you anticipate any leaks or want to create a more secure connection.
By gathering all of these supplies before you start the project, you’ll be able to work smoothly and efficiently. Take the time to ensure you have everything you need, and if necessary, make a trip to the hardware store to pick up any missing items.
Once you have all the supplies ready, you can move on to the next step: preparing the plastic bottle for the drip water irrigation system.
Step 2: Preparing the Bottle
Now that you have gathered all the necessary supplies, it’s time to prepare the plastic bottle for your drip water irrigation system. This step involves cleaning and making necessary modifications to the bottle.
Follow these steps to prepare the bottle:
- Start by cleaning the plastic bottle thoroughly. Rinse it with water to remove any residue or labels. Make sure it’s completely dry before proceeding to the next step.
- If the plastic bottle has a label or any writing on it, you can remove it using a mild detergent and a scrub brush. Gently scrub the surface until all remnants of the label or writing are gone.
- Using a pair of scissors, carefully remove the bottom of the plastic bottle. This will create an opening through which the water will flow. Make sure to cut it as evenly as possible for better stability.
- Now, remove the cap from the plastic bottle. This is where the small plastic hose will be inserted to create the drip system. Keep the cap aside as you’ll need it later.
At this point, you should have a plastic bottle with the bottom removed and the cap detached. The bottle is now ready to be modified further in the next steps.
Remember, when handling sharp objects such as scissors, exercise caution to avoid any injuries. If you’re unsure about using scissors, consider using a utility knife or any cutting tool that you feel comfortable with.
With the plastic bottle prepared, we can now move on to the next step: drilling holes in the bottle to create the drip system.
Step 3: Drilling Holes
Now that you have prepared the plastic bottle, it’s time to create the necessary holes for the drip water irrigation system. These holes will allow water to flow out of the bottle and into your plants, providing them with the necessary hydration.
Follow these steps to drill holes in the bottle:
- Decide on the number of holes you want to create in the plastic bottle. The number of holes will depend on the size of your plants and the amount of water you want to deliver.
- Using a pushpin or small nail, start making small holes in the upper half of the plastic bottle. These holes should be evenly spaced and placed around the circumference of the bottle. Alternatively, if you prefer, you can use a small drill with a fine drill bit to create the holes.
- Make sure the holes are not too large, as you want a slow and controlled flow of water. Small holes will result in a gentle drip, providing your plants with a steady supply of water.
- Continue making holes until you have reached your desired number. Remember that you can always make additional holes later if needed.
- After drilling the holes, check for any rough edges or plastic debris that may still be attached. Smooth out any rough edges using sandpaper or a file.
Once you have completed drilling the holes and smoothed out any rough edges, the plastic bottle is now transformed into a drip water irrigation system. The holes will allow water to seep out gradually, ensuring that your plants receive a slow and constant water supply.
Next, we will move on to the next step: inserting the small plastic hose into the bottle to create the drip system.
Step 4: Inserting the Hose
With the holes drilled in the plastic bottle, it’s time to insert the small plastic hose to create the drip system. This hose will be responsible for transferring the water from the bottle to your plants.
Follow these steps to insert the hose:
- Take the small plastic hose and measure its length. It should be long enough to reach from the bottom of the plastic bottle to the base of your plants.
- Cut the hose to the desired length using a pair of scissors. Make sure to cut it at a diagonal angle to facilitate easier insertion.
- Insert one end of the hose into the hole you made in the cap of the plastic bottle. Secure it tightly to ensure a snug fit.
- Push the other end of the hose through the opening at the bottom of the plastic bottle. Make sure to push it up far enough so that the entire length of the hose is inside the bottle.
By inserting the hose into the plastic bottle, you have created a pathway for the water to flow from the bottle to your plants. The hose will act as the conduit, delivering a slow and steady drip of water directly to the roots.
Take a moment to ensure that the hose is securely attached to both the cap and the bottom of the bottle. This will prevent any leaks or disconnections as the water flows through the system.
With the hose inserted, we can now move on to the next step: securing the hose to the bottle to ensure stability and prevent it from moving or falling out.
Step 5: Securing the Hose
After inserting the hose into the plastic bottle, it’s important to secure it properly to ensure stability and prevent it from moving or falling out. This step will help maintain a consistent flow of water to your plants throughout the drip irrigation system.
Follow these steps to secure the hose:
- Start by wrapping a small piece of tape around the end of the hose where it enters the bottle. This will help create a seal and prevent any water from leaking out through the connection.
- Next, use tape or zip ties to secure the hose to the bottle at regular intervals. Start from the top end near the cap and work your way down towards the bottom. This will ensure that the hose stays in place and does not move or detach as the water flows.
- Make sure to pull the tape or zip ties tight to ensure a secure grip. If using tape, you may need to overlap several layers to provide enough strength and stability.
- If you prefer a more permanent solution, you can also use a waterproof sealant to secure the hose to the bottle. Apply a small amount of sealant around the connection points, both at the cap and the bottom opening.
By properly securing the hose, you are ensuring that the water flows smoothly through the system and reaches your plants without any interruptions. This step is crucial in maintaining a consistent and efficient drip water irrigation system.
Take a moment to double-check the connections and make any adjustments if necessary. Ensuring a tight and secure fit will reduce the chances of leaks and improve the overall effectiveness of your drip irrigation system.
Now that the hose is securely fastened to the plastic bottle, we can move on to the next step: setting up the drip system in your garden or plant containers.
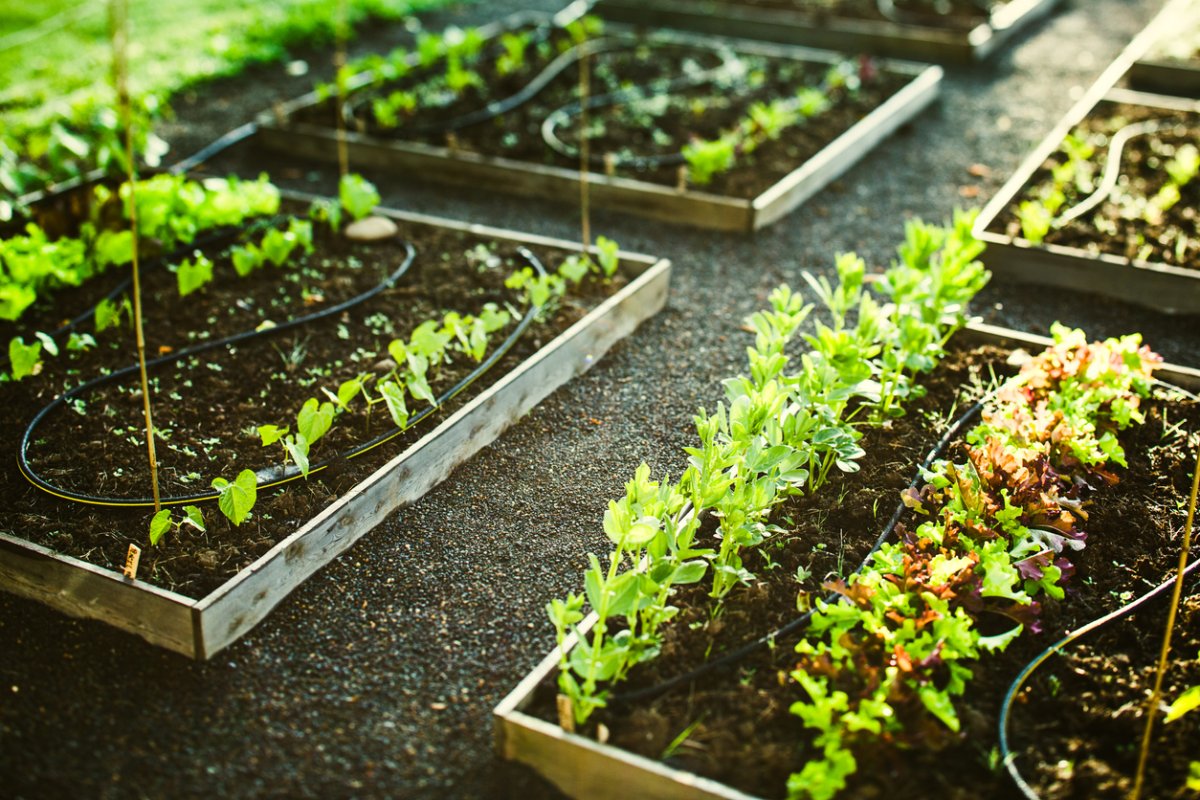
Step 6: Setting up the Drip System
With the hose securely attached to the plastic bottle, it’s time to set up the drip system in your garden or plant containers. This step involves placing the bottle in the desired location and configuring the system to deliver water to your plants effectively.
Follow these steps to set up the drip system:
- Choose a suitable location for the drip water irrigation system. This can be directly in the soil near your plants or inside a plant container or pot.
- If you’re using the system in the soil, dig a small hole and place the plastic bottle securely inside, ensuring that it stands upright. Gently press the surrounding soil to stabilize the bottle, preventing it from tipping over.
- If you’re using the system in a plant container or pot, place the plastic bottle in the center or near the edge, depending on the size and number of plants in the container. Again, make sure the bottle is stable and won’t topple over.
- Adjust the angle of the bottle, if necessary, to ensure that the water flows directly towards the roots of your plants. This will ensure optimal water distribution and prevent water from being wasted.
- For larger areas, you may need multiple drip water irrigation systems. Repeat the steps above to set up additional bottles, spacing them evenly to cover the desired area.
It’s important to monitor the placement of the drip water irrigation system and make adjustments as needed. Observe how the water is flowing and ensure that it reaches the roots of your plants. You can also move the bottle closer or farther away from the plants as necessary to achieve the desired water flow.
By setting up the drip system properly, you are now ready to provide your plants with a consistent supply of water without wasting any. The drip irrigation system will deliver water directly to the roots, promoting healthy plant growth and minimizing water loss.
Now that the drip system is set up, we can move on to the next step: testing the system to ensure it’s functioning correctly.
Step 7: Testing the System
After setting up the drip water irrigation system, it’s important to test it to ensure that it’s functioning correctly. This step will help you identify any issues or adjustments that need to be made before relying on the system for regular watering.
Follow these steps to test the system:
- Fill the plastic bottle with water. Ensure that the cap is securely fastened to prevent any leaks.
- Observe the flow of water from the holes in the bottle. It should be a slow and steady drip, allowing the water to be absorbed by the soil without forming pools or creating excessive runoff.
- Check the moisture level of the soil around the plants. Feel the soil with your finger or use a moisture meter to assess if the water is reaching the roots properly. Adjust the position of the bottle or the number of holes if necessary.
- Observe the duration of the drip. Depending on the size of your plants and the weather conditions, you may need to adjust the frequency or duration of the watering to meet their specific needs.
- Monitor the water flow for any leaks or blockages. Ensure that the hose is securely attached to both the cap and the bottom opening of the bottle. Any leaks or blockages should be addressed promptly to prevent water wastage or damage to the system.
By testing the system, you are ensuring that your plants receive the appropriate amount of water and that the drip water irrigation system is functioning efficiently. It allows you to make any necessary adjustments or improvements before relying on the system for regular irrigation.
Continue to monitor the system periodically, especially during the initial days of use, to ensure that your plants are receiving the optimal amount of water. Adjustments may need to be made as your plants grow or as weather conditions change.
Now that the system has been tested and is working correctly, we can move on to the next step: adjusting the water flow to meet the specific needs of your plants.
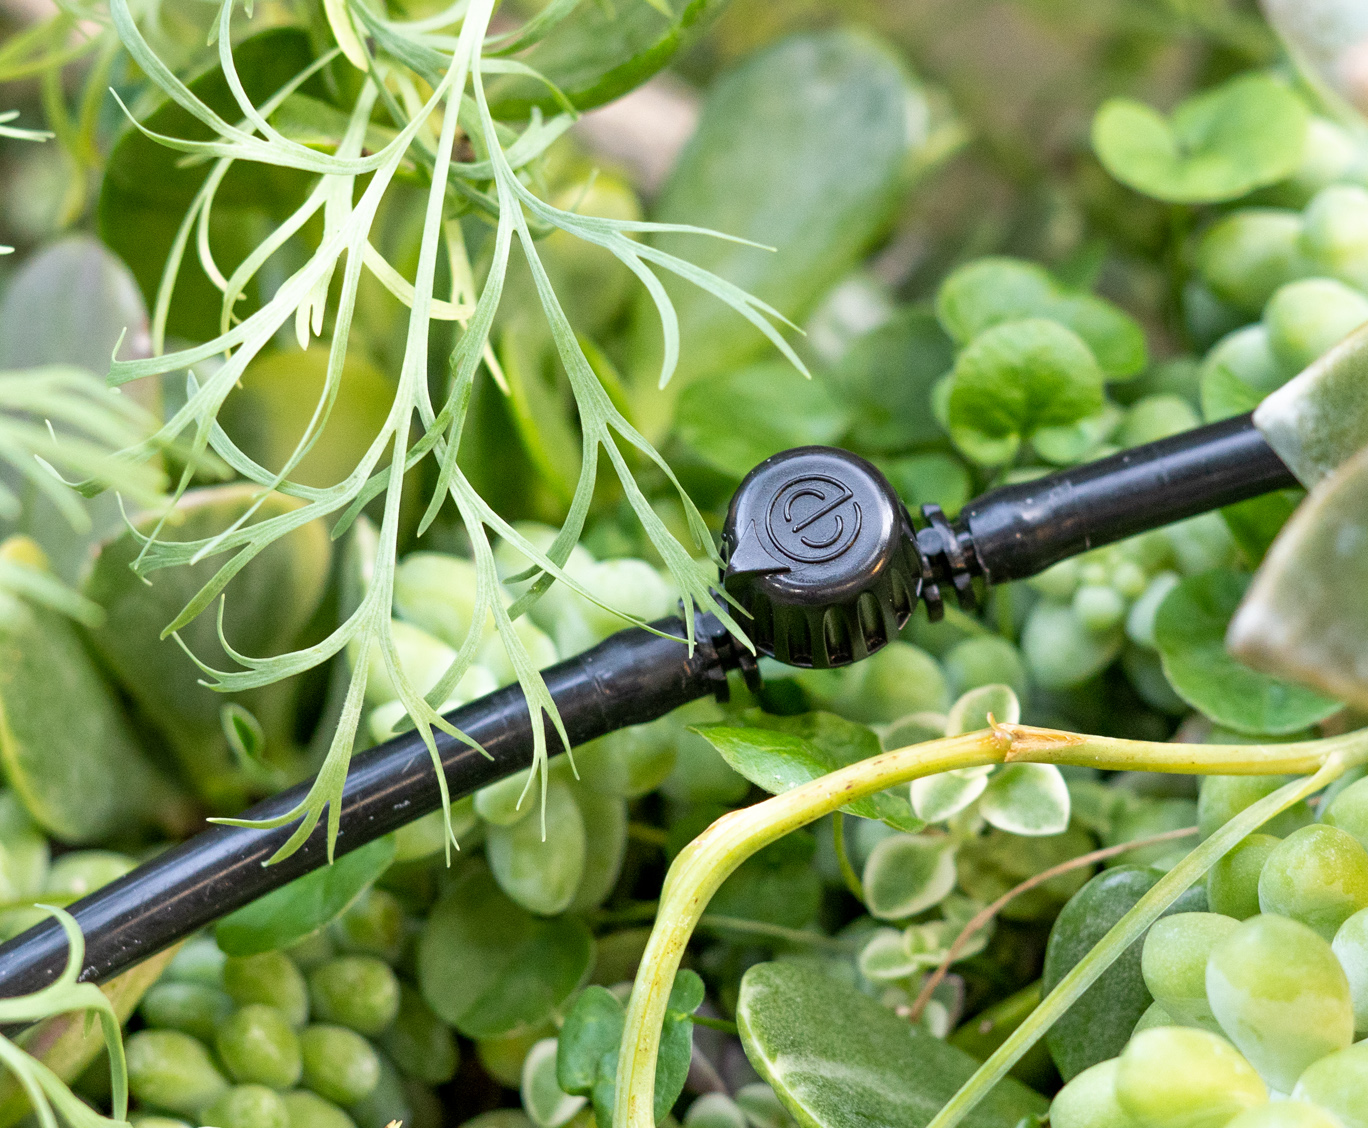
Step 8: Adjusting the Water Flow
Once you have tested the drip water irrigation system and ensured that it’s functioning properly, you may need to adjust the water flow to meet the specific needs of your plants. This step allows you to fine-tune the system and ensure that your plants are receiving the right amount of water.
Follow these steps to adjust the water flow:
- Observe your plants’ response to the current water flow. Look for signs of over-watering or under-watering, such as wilting, yellowing leaves, or excessive moisture around the base of the plants.
- If you notice any signs of over-watering, reduce the water flow by either decreasing the number of holes in the bottle or by partially covering some of the holes with tape. This will slow down the water flow and prevent excessive saturation of the soil.
- On the other hand, if you notice signs of under-watering, increase the water flow by either adding more holes or enlarging the existing ones. This will allow more water to pass through, ensuring that your plants receive enough hydration.
- Monitor your plants closely after making adjustments to the water flow. Observe their response and make further adjustments if necessary until you find the optimal watering level for your specific plants.
- Keep in mind that environmental factors such as weather conditions, soil type, and plant species may also affect the water requirements. Adjustments may need to be made accordingly to accommodate these variables.
Remember, it’s important to find the right balance to avoid over or under-watering your plants. Pay attention to their individual needs and adjust the water flow as necessary, keeping in mind that it may need to be tweaked periodically due to changing conditions.
By adjusting the water flow to match the specific needs of your plants, you are ensuring their health and promoting optimal growth. The drip water irrigation system allows you to provide a controlled and efficient watering method that can be easily adapted to suit the requirements of your garden.
Congratulations! You have successfully completed all the steps to create and optimize your DIY drip water irrigation system. Your plants will now benefit from a consistent and efficient water supply, ensuring their health and vitality.
Conclusion
Congratulations on successfully creating your own DIY drip water irrigation system using a plastic bottle! By following the steps outlined in this guide, you have taken a step towards efficient and sustainable plant watering.
With this simple and cost-effective system, you can ensure your plants receive the right amount of water directly at their roots, promoting healthy growth and minimizing water waste. The gradual and controlled water release provided by the drip system helps prevent overwatering and reduces the chances of runoff, ensuring that every drop counts.
Remember to regularly monitor and adjust the water flow based on the specific needs of your plants, taking into account factors such as weather conditions and plant species. This will help maintain an optimal watering routine and ensure the health and vitality of your garden.
Not only does this DIY project benefit your plants, but it also saves you time and money. The drip water irrigation system eliminates the need for constant manual watering, giving you more time to enjoy your garden and reducing water consumption and utility bills.
Feel free to get creative and experiment with different bottle sizes, hose lengths, and hole configurations to best suit your garden’s unique requirements. You can even expand the system by adding more bottles and hoses to cover larger areas or multiple plant containers.
By taking the time to create and customize your own drip water irrigation system, you have shown a commitment to sustainability and resource conservation. Whether you’re an experienced gardener or just starting out, this DIY project offers a practical and accessible solution for providing your plants with the water they need.
So, grab some plastic bottles, gather your materials, and start building your very own drip water irrigation system today. Your plants will thank you for it, and you’ll enjoy the benefits of a thriving and beautiful garden!