Home>Gardening Techniques>DIY Projects>How To Test A Irrigation Solenoid
DIY Projects
How To Test A Irrigation Solenoid
Modified: January 22, 2024
Learn how to test an irrigation solenoid with this step-by-step guide. Perfect for DIY projects.
(Many of the links in this article redirect to a specific reviewed product. Your purchase of these products through affiliate links helps to generate commission for Chicagolandgardening.com, at no extra cost. Learn more)
Table of Contents
- Introduction
- Step 1: Gathering the necessary tools and equipment
- Step 2: Shutting off the water supply
- Step 3: Locating the solenoid valve
- Step 4: Checking the wiring connections
- Step 5: Testing the solenoid with a multimeter
- Step 6: Replacing a faulty solenoid
- Step 7: Turning the water supply back on
- Conclusion
Introduction
Welcome to our comprehensive guide on how to test an irrigation solenoid. If you’re experiencing issues with your irrigation system, such as no water flow or inconsistent water distribution, it’s crucial to determine whether the solenoid valve is the culprit. The solenoid valve is an essential component that controls the water flow in your irrigation system, so if it’s malfunctioning, it can severely impact the effectiveness of your system.
Testing a solenoid is a relatively simple process that can help you identify any faults and determine whether a replacement is necessary. In this guide, we’ll take you through the step-by-step process of testing an irrigation solenoid to save you time and money on unnecessary repairs or replacements.
Before we dive into the testing process, it’s important to note that working with an irrigation system involves some manual labor and understanding of basic wiring. If you’re uncomfortable with these tasks or unsure of your abilities, it’s always a good idea to consult a professional.
This guide is designed for those who are familiar with DIY projects and have a basic understanding of irrigation systems. Let’s get started with the necessary tools and equipment you’ll need for the testing process.
Step 1: Gathering the necessary tools and equipment
Before you begin testing the irrigation solenoid, it’s essential to gather the following tools and equipment:
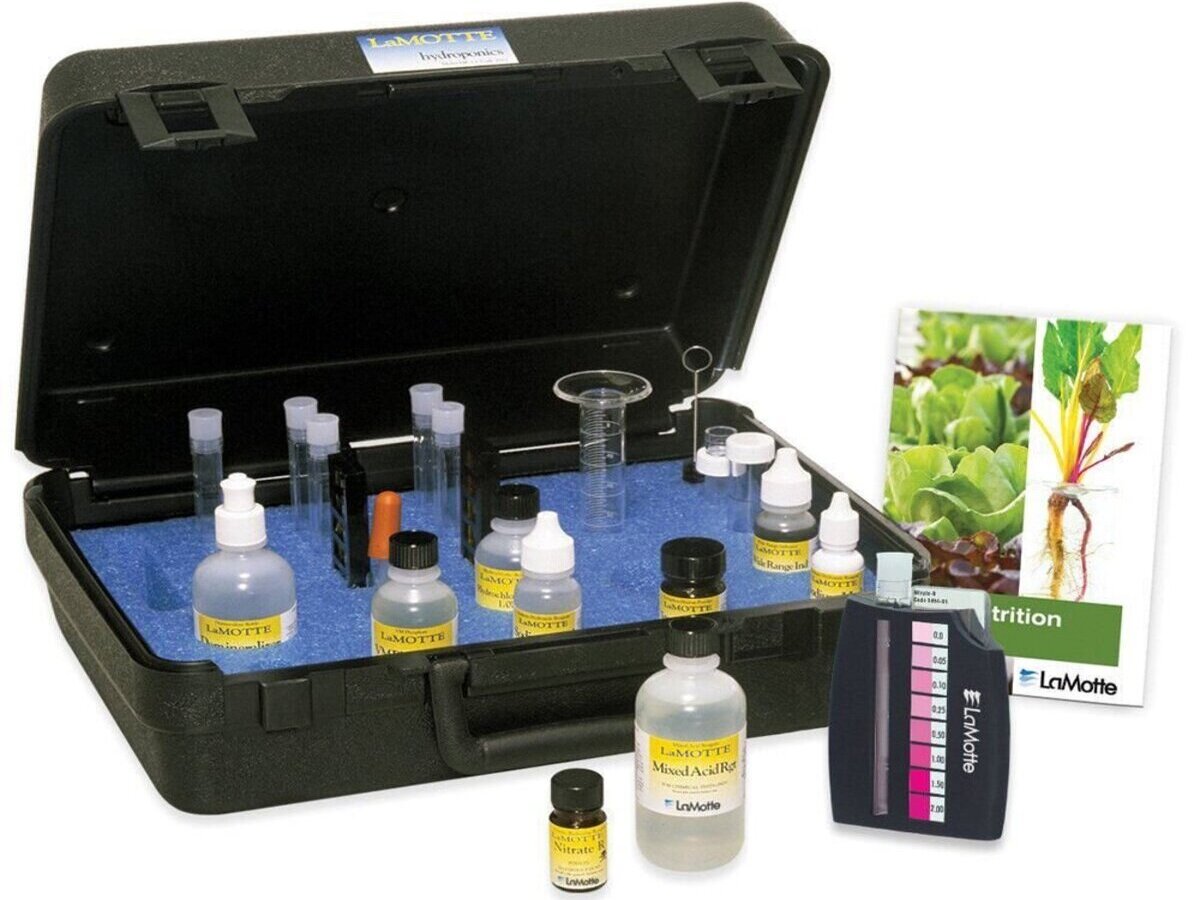
- Multimeter: This device is used to measure electrical current, resistance, and voltage. It’s crucial for diagnosing any issues with the solenoid.
- Wire strippers: These tools are necessary for removing the insulation from the wires to check for proper connections.
- Screwdriver: A screwdriver will be needed to access the wiring connections and remove the solenoid, if necessary.
- Tape: Electrical tape can be used to secure and insulate any loose wires.
- Replacement solenoid (optional): If you determine that the solenoid is faulty, having a replacement on hand will save you time and ensure a smooth repair process.
Ensure that you have these tools readily available before proceeding with the testing process. It’s crucial to have the correct tools to ensure accurate measurements and safe working conditions. Once you have gathered all the necessary tools, you are ready to move on to the next step: shutting off the water supply.
Step 2: Shutting off the water supply
Before working on any part of your irrigation system, it’s important to shut off the water supply to prevent any accidents or water damage. Follow these steps to properly shut off the water supply:
- Locate the main water valve: The main water valve is usually located near your water meter or where the water supply enters your property. It is typically a wheel-shaped or lever-type valve.
- Turn off the main water valve: Use a wrench or your hand to turn the valve clockwise until it is fully closed. This will stop the flow of water to your irrigation system.
- Confirm the water supply is shut off: To ensure that the water supply is fully shut off, turn on a faucet or sprinkler in your system to check for any water flow. If no water comes out, you have successfully shut off the water supply.
It’s important to note that shutting off the water supply will ensure your safety and prevent any accidental water damage while working on the solenoid. With the water supply turned off, you can now proceed to the next step of locating the solenoid valve.
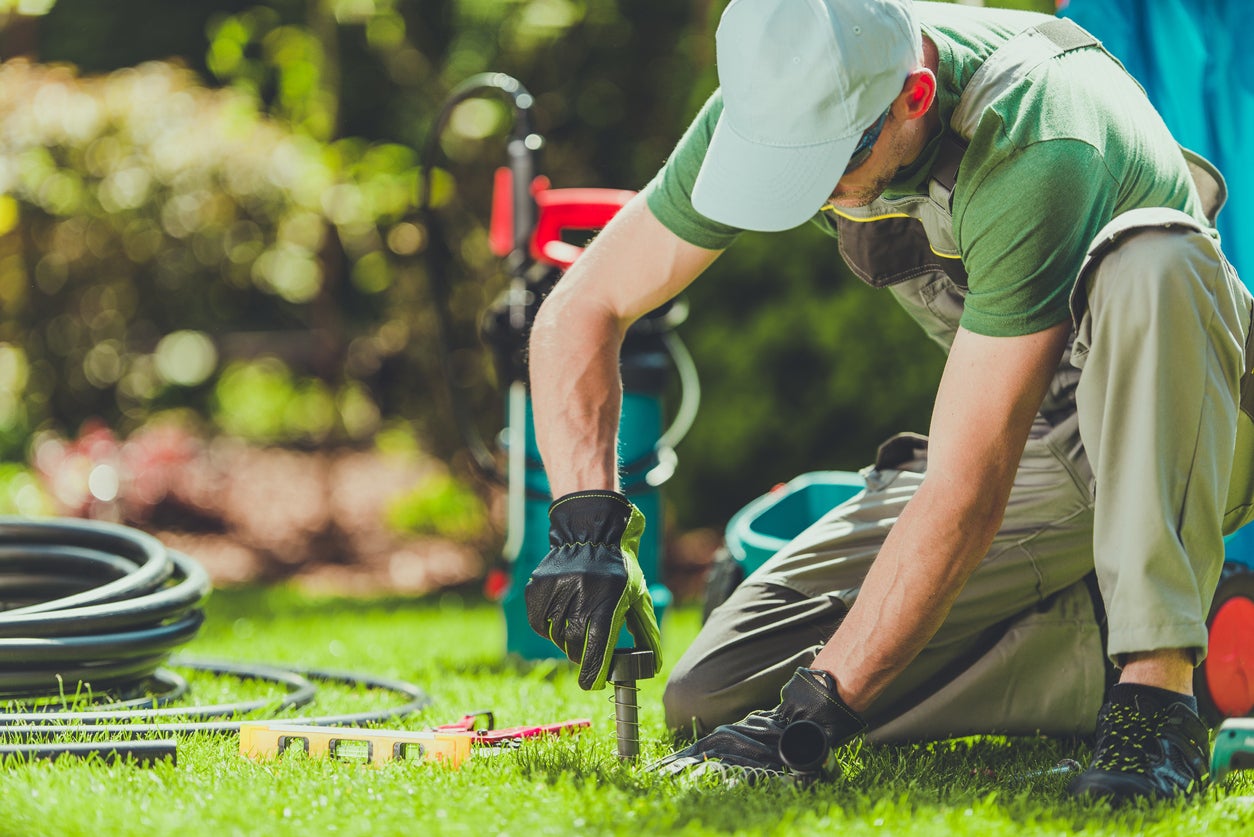
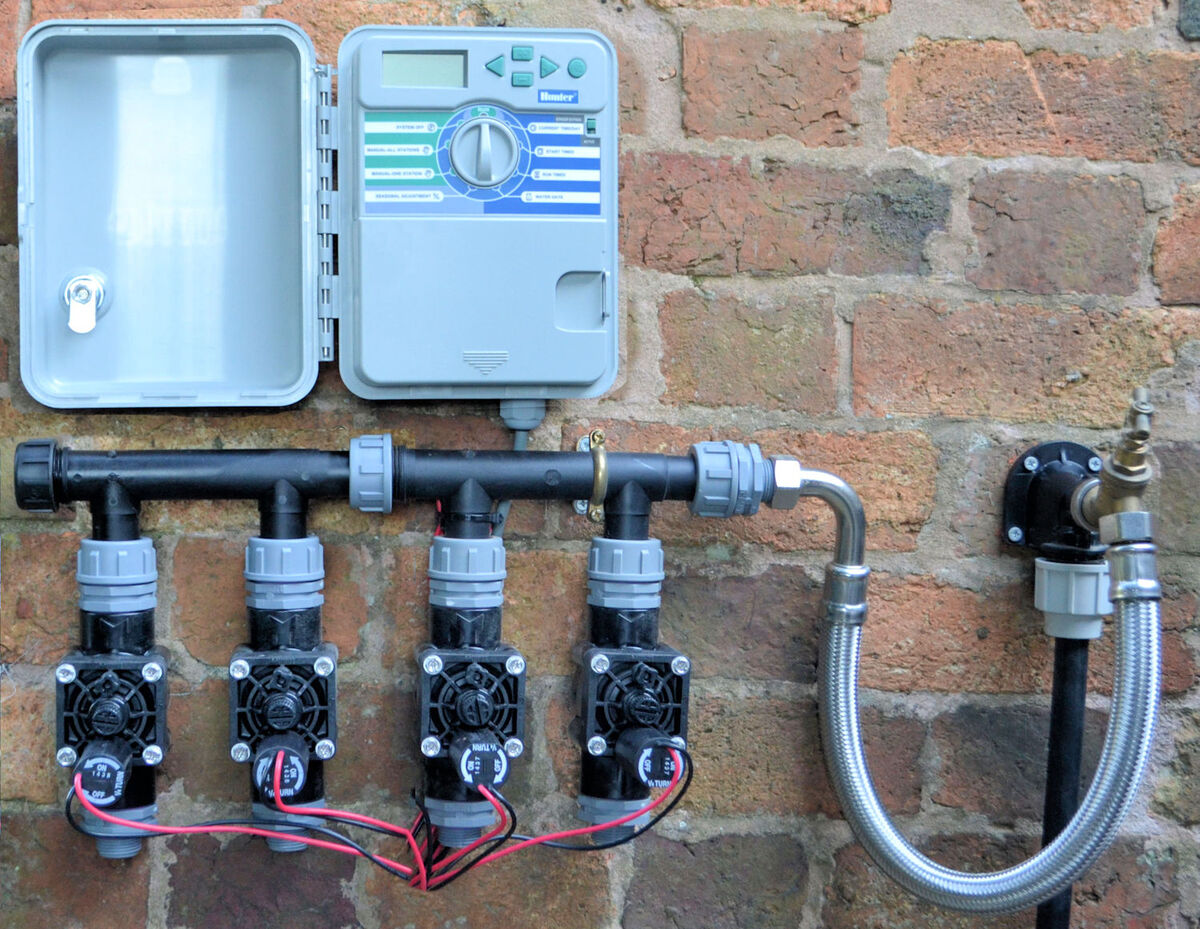
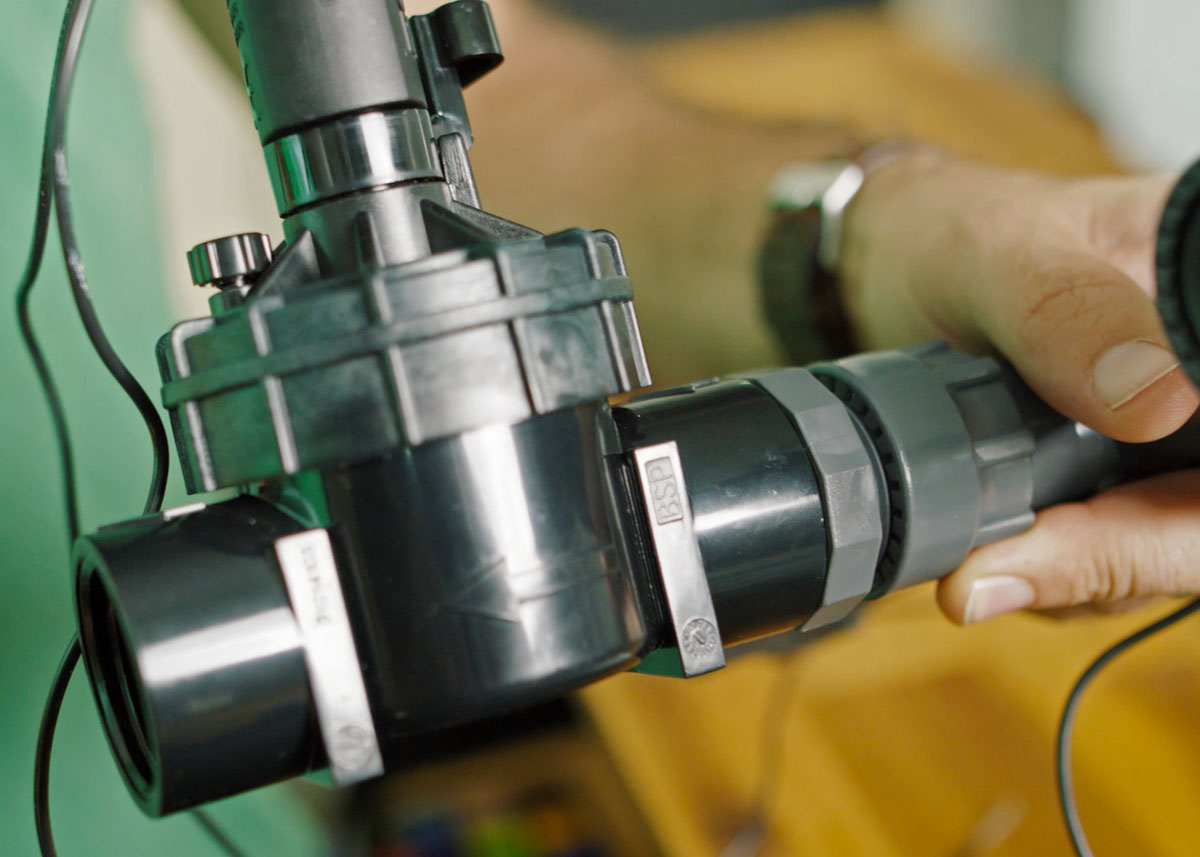
Step 3: Locating the solenoid valve
Once you have shut off the water supply, the next step is to locate the solenoid valve in your irrigation system. The solenoid valve is typically a cylindrical component with wires attached to it. Here’s how you can find the solenoid valve:
- Refer to your irrigation system’s manual or diagram: If you have the manual or diagram for your irrigation system, it will provide you with the location of the solenoid valve. It may be near the control valve box or buried underground.
- Inspect the control valve box: In many cases, the solenoid valve is located inside the control valve box. This box is usually found at the lowest point of your sprinkler system.
- Look for wiring connections: The solenoid valve will have electrical wiring connections attached to it. Follow the wires to locate the solenoid valve.
- Check for valve boxes: In larger irrigation systems, there may be multiple valve boxes. Inspect each valve box to find the solenoid valve.
Once you have located the solenoid valve, you are ready to move on to the next step: checking the wiring connections.
Step 4: Checking the wiring connections
Now that you have located the solenoid valve, it’s time to inspect and check the wiring connections. Faulty or loose connections can contribute to the malfunctioning of the solenoid. Follow these steps to check the wiring connections:
- Visually inspect the wiring: Take a close look at the wiring connections attached to the solenoid valve. Look for any signs of damage, loose or disconnected wires, and corrosion.
- Tighten any loose connections: If you notice any loose connections, use a screwdriver or your hands to securely tighten them. Ensure that the wires are properly seated in their respective terminals.
- Repair or replace damaged wires: If you find any damaged or corroded wires, you will need to repair or replace them. Strip the wire insulation and use wire connectors or electrical tape to secure and insulate the connections.
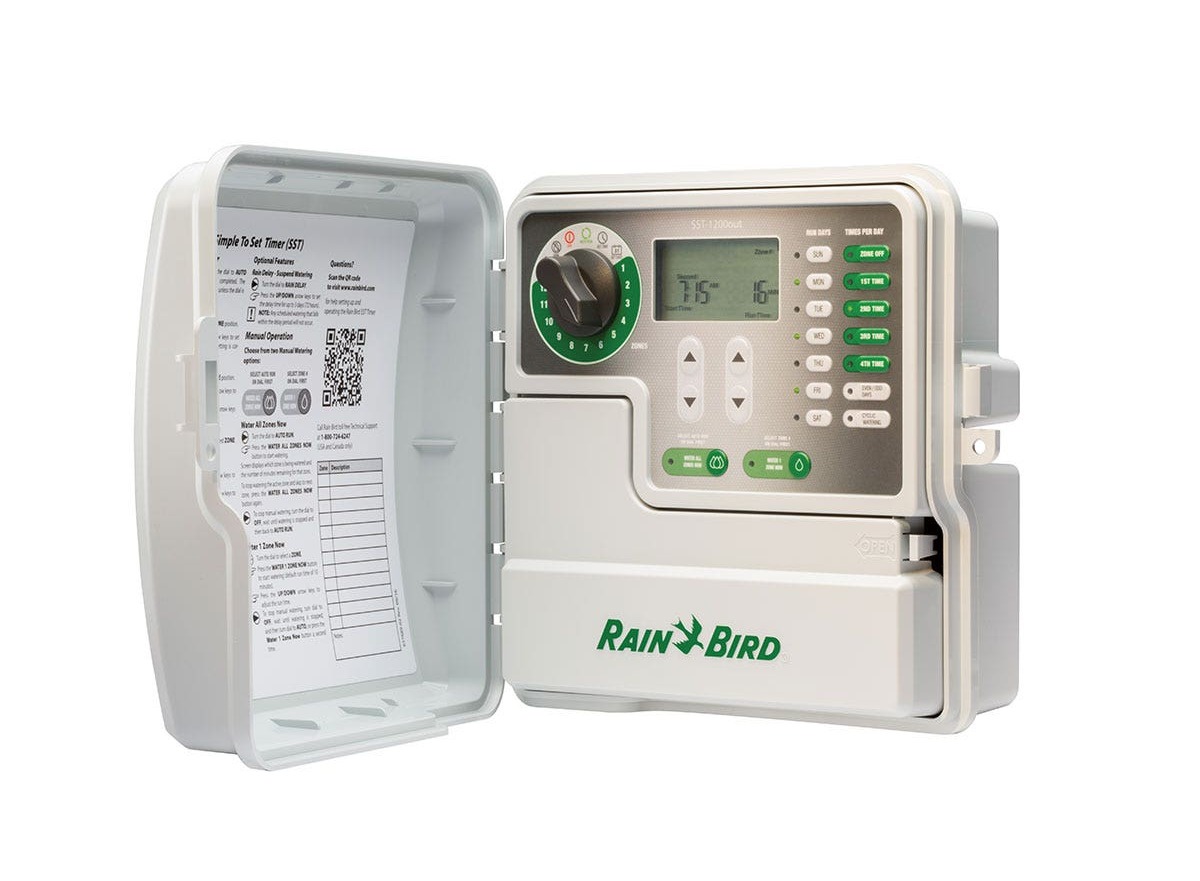
- Check for proper voltage: Use a multimeter to measure the voltage at the wiring connections. The voltage should match the specifications provided in the irrigation system’s manual or diagram. If the voltage is significantly lower or higher than recommended, there may be an issue with the wiring or the power supply.
Ensure that all the wiring connections are secure and in good condition before proceeding to the next step. Properly functioning wiring is crucial for the solenoid to operate efficiently. If the wiring connections are intact and the voltage is correct, but the solenoid still does not function properly, it may indicate a faulty solenoid itself. In the next step, we’ll discuss how to test the solenoid using a multimeter.
Step 5: Testing the solenoid with a multimeter
In this step, we will use a multimeter to test the solenoid and determine if it is functioning correctly. A multimeter is a versatile tool that measures electrical current, resistance, and voltage. Follow these steps to test the solenoid:
- Set the multimeter to the resistance mode: Turn on the multimeter and set it to the resistance or ohms mode. Make sure that the multimeter leads are properly connected for the resistance measurement.
- Disconnect the solenoid wires: Carefully disconnect the wires from the solenoid valve. Take note of which wire is connected to which terminal for reconnection later.
- Measure the resistance: Touch the multimeter leads to the terminals of the solenoid valve. The multimeter should provide a resistance reading. Compare this reading to the specifications provided in the irrigation system’s manual or diagram. If the resistance measurement is significantly higher or lower than recommended, it indicates a faulty solenoid.
- Test the solenoid activation: Reconnect the wires to the solenoid valve and set the multimeter to the voltage mode. Activate the irrigation system or control unit to send a signal to the solenoid. Touch the multimeter leads to the solenoid wires to measure the voltage. If the voltage reading is within the specified range, it indicates that the solenoid is receiving the signal properly.
If the resistance measurement indicates a faulty solenoid or if the solenoid does not receive the proper voltage signal, it is likely that the solenoid needs to be replaced. We’ll discuss the steps for replacing a faulty solenoid in the next section.
Step 6: Replacing a faulty solenoid
If the testing process reveals that the solenoid is faulty and needs to be replaced, follow these steps to successfully replace it:
- Turn off the water supply: Before replacing the solenoid, ensure that the water supply to your irrigation system is turned off. Follow the same steps mentioned earlier to shut off the water supply.
- Remove the old solenoid: Use a screwdriver to remove the screws or clips holding the old solenoid in place. Gently disconnect the wiring connections from the solenoid.
- Prepare the new solenoid: Take the replacement solenoid and ensure that it is compatible with your irrigation system. Check the manual or consult a professional if you are unsure about the compatibility. Prepare the new solenoid by removing any packaging or protective covers.
- Install the new solenoid: Attach the wiring connections to the appropriate terminals on the new solenoid. Use a screwdriver to secure the new solenoid in place by tightening the screws or clips.
- Test the replacement solenoid: After installing the new solenoid, go through the testing process outlined in the earlier steps to ensure that it is functioning correctly. Check the resistance and voltage readings to ensure that they fall within the specified range.
Once you have successfully replaced the faulty solenoid, you can proceed to the final step: turning the water supply back on.
Step 7: Turning the water supply back on
Now that you have completed the necessary repairs or replacement of the solenoid, it’s time to turn the water supply back on to restore the functionality of your irrigation system. Follow these steps to safely turn the water supply back on:
- Recheck all connections: Before turning on the water supply, double-check that all the wiring connections are secure and properly insulated. Ensure that there are no loose ends or exposed wires that may pose a safety hazard.
- Ensure all valves are closed: Confirm that all other valves, such as drain valves or shut-off valves, are closed to prevent any water leakage or wastage.
- Turn the main water valve counterclockwise: Using a wrench or your hand, slowly turn the main water valve counterclockwise to gradually restore the water supply. Take care not to force the valve to avoid any damage.
- Check for leaks: Once the water supply is turned on, inspect the solenoid valve and the surrounding area for any leaks. If you notice any leaks, tighten the fittings or connections as needed.
- Activate the irrigation system: With the water supply restored, activate the irrigation system or control unit to test if the solenoid is functioning properly. Ensure that water is flowing as expected, and all zones or sprinkler heads are operating as intended.
By following these steps and ensuring that everything is in proper working order, you can safely and effectively turn on the water supply and resume using your irrigation system. Your newly tested or replaced solenoid should now contribute to the improved functionality and efficiency of your system.
Conclusion
Testing an irrigation solenoid is an essential task for maintaining the functionality and efficiency of your irrigation system. By following the step-by-step process outlined in this guide, you can diagnose any issues with the solenoid and determine whether a repair or replacement is necessary.
We started by gathering the necessary tools and equipment, including a multimeter, wire strippers, screwdriver, tape, and a replacement solenoid. We then proceeded to shut off the water supply to ensure a safe working environment.
Next, we located the solenoid valve within the irrigation system and inspected the wiring connections. Checking for loose or damaged wires and ensuring proper voltage is crucial for the solenoid’s optimal performance.
Using a multimeter, we tested the solenoid’s resistance and its response to activation signals. This allowed us to determine if the solenoid is functioning correctly or if it needs replacement.
If a faulty solenoid was identified, we provided instructions for safely replacing it. By turning off the water supply, removing the old solenoid, installing the new one, and testing it again, you can restore the proper functionality of your irrigation system.
Finally, we reminded you to turn the water supply back on carefully, checking for leaks and evaluating the overall performance of the system.
Remember, if you have any doubts or concerns during the testing or replacement process, it is advised to consult a professional to avoid any potential damage to your irrigation system.
Regularly testing and maintaining your irrigation solenoids can prevent issues such as water leaks, uneven water distribution, and system malfunctions. By following the steps outlined in this guide, you can ensure that your irrigation system operates effectively, giving your plants and lawn the water they need for healthy growth.