Home>Gardening Tips and Tricks>Problem Solving>How To Adjust Irrigation Heads
Problem Solving
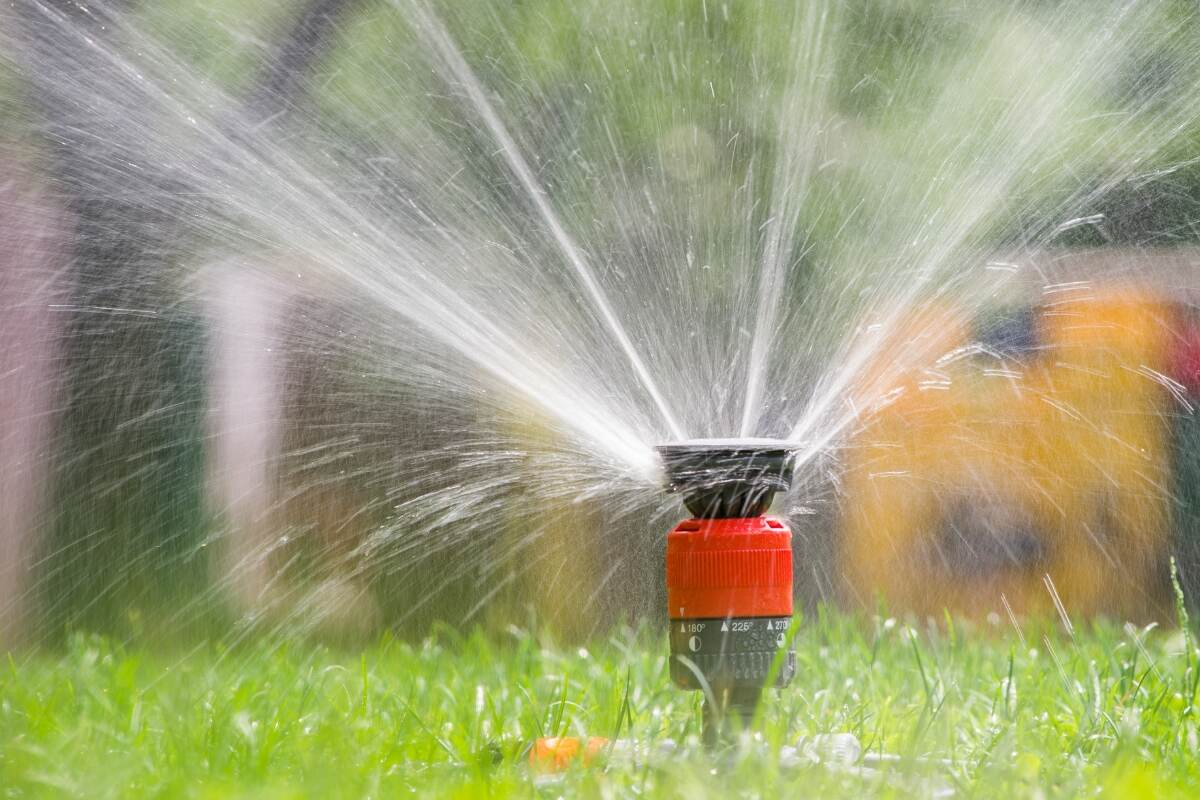
How To Adjust Irrigation Heads
Modified: January 22, 2024
Learn how to solve common problems with your irrigation heads in this step-by-step guide. Adjust them like a pro and keep your lawn looking its best.
(Many of the links in this article redirect to a specific reviewed product. Your purchase of these products through affiliate links helps to generate commission for Chicagolandgardening.com, at no extra cost. Learn more)
Table of Contents
- Introduction
- Understanding Irrigation Heads
- Assessing Irrigation Needs
- Tools and Materials
- Step 1: Turning Off the Water Supply
- Step 2: Locating the Adjustment Screw
- Step 3: Adjusting the Spray Pattern
- Step 4: Adjusting the Arc
- Step 5: Testing the Adjusted Head
- Step 6: Reassembling and Turning On the Water Supply
- Conclusion
Introduction
Welcome to this comprehensive guide on how to adjust irrigation heads! Whether you are a homeowner looking to maintain your lawn or a professional landscaper seeking to optimize irrigation efficiency, this article is designed to provide you with step-by-step instructions and valuable insights. Properly adjusted irrigation heads ensure an even distribution of water, preventing over- or under-watering and promoting healthy plant growth. By making the necessary adjustments, you can save water, reduce water runoff, and achieve a greener and lusher landscape.
Having a well-functioning irrigation system is crucial for maintaining the health and beauty of your lawn and garden. However, sometimes the default settings of irrigation heads may not be suitable for your specific landscape’s needs. Factors such as uneven terrain, wind patterns, and plant types all play a role in determining the appropriate spray pattern and arc of the irrigation head.
In this guide, we will walk you through the process of adjusting irrigation heads, from understanding the different types of irrigation heads to assessing your landscape’s specific watering requirements. We will also highlight the tools and materials you will need for the job. By following these steps, you will be able to customize the spray pattern and arc of your irrigation heads, ensuring efficient water distribution across your landscape.
Remember, maintaining proper irrigation is not only beneficial for your plants but also for water conservation efforts. By adjusting your irrigation heads, you can prevent wastage and minimize environmental impact. So, let’s get started and learn how to optimize your irrigation system for a healthier, more vibrant landscape!
Understanding Irrigation Heads
Before diving into the process of adjusting irrigation heads, it’s essential to have a clear understanding of their different types and functionalities. There are various types of irrigation heads available, each designed to meet specific watering needs. Let’s explore the most common types:
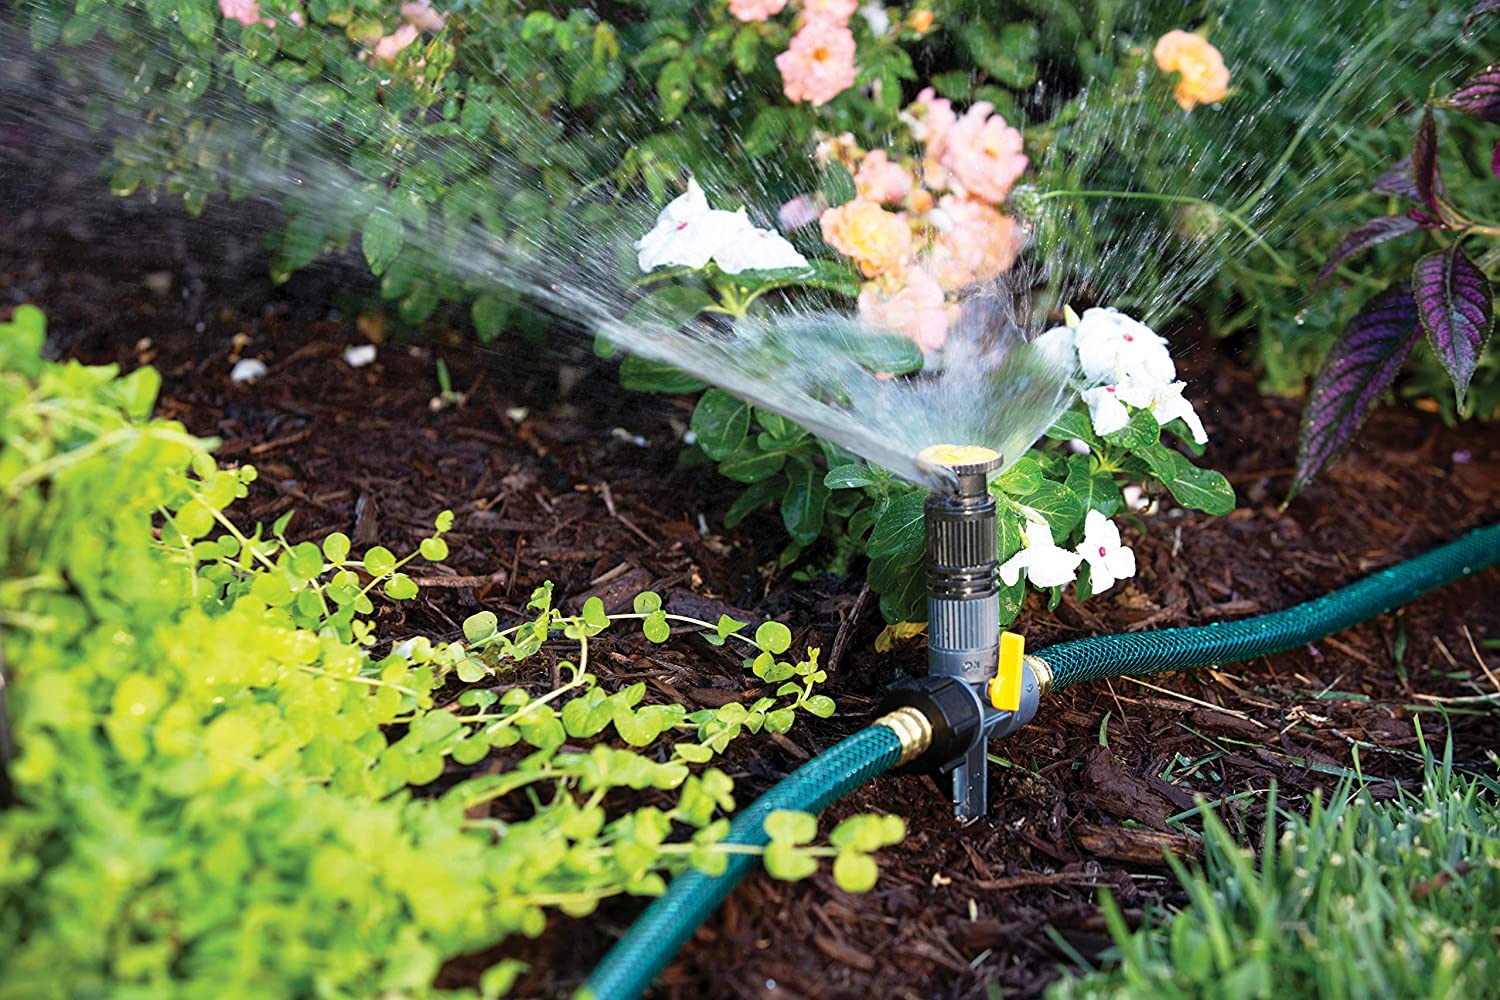
- Spray heads: Spray heads, also known as fixed or stationary heads, are the most common type of irrigation heads. They release water in a fixed pattern, spraying a consistent amount of water over a specific area. Spray heads are ideal for small to medium-sized areas.
- Rotary heads: Rotary heads, also called rotor heads or gear-driven heads, operate by rotating streams of water in a circular pattern. These heads are suitable for covering larger areas with a longer throw distance. They are often used in larger lawns, sports fields, and commercial spaces.
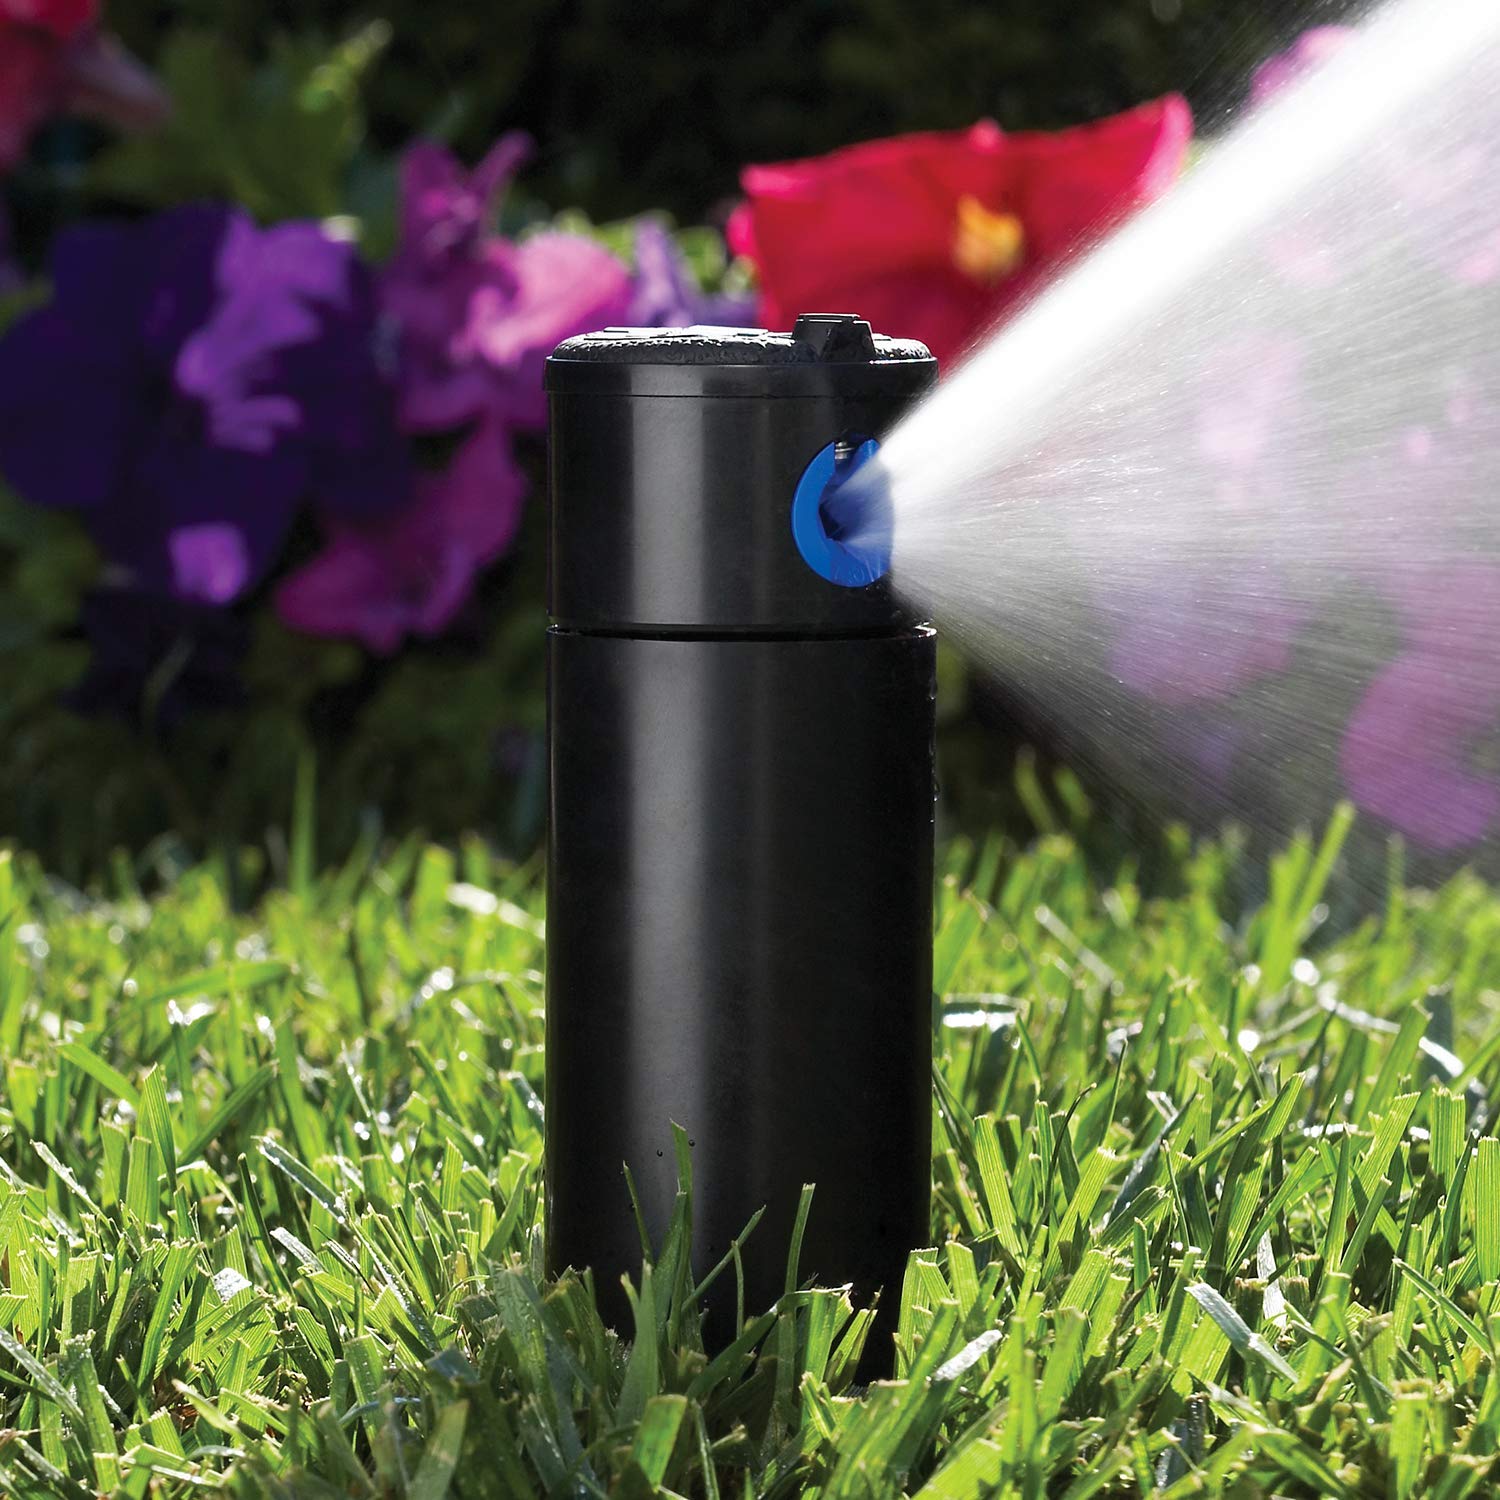
- Pop-up heads: Pop-up heads are designed to retract into the ground when not in use. They are commonly used in residential landscapes where aesthetics are important. Pop-up heads can be either spray heads or rotor heads.
- Drip emitters: Unlike spray heads and rotor heads, drip emitters provide slow and steady water flow directly to the root zone of plants. Drip irrigation is popular for its water efficiency and is commonly used in gardens, flower beds, and potted plants.
Now that you have a basic understanding of irrigation head types, let’s explore how they function. Regardless of the type, irrigation heads typically have adjustment screws that allow you to modify the spray pattern and arc. Understanding these adjustments is essential for optimizing water distribution.
The spray pattern refers to the shape and size of the water spray emitted by the head. By adjusting the spray pattern, you can ensure that the water is distributed evenly across the desired area. The arc adjustment, on the other hand, determines the range the head can cover in degrees. It allows you to customize the irrigation range based on the specific needs of your landscape.
Now that we’ve covered the basics of irrigation heads, let’s move on to the next section, where we will discuss how to assess the specific irrigation needs of your landscape. This step is crucial for ensuring that you make the correct adjustments to your irrigation heads.
Assessing Irrigation Needs
Before adjusting your irrigation heads, it’s important to assess the specific watering requirements of your landscape. Understanding the factors that influence irrigation needs will help you make informed decisions when adjusting the spray pattern and arc of your irrigation heads.
Here are some key considerations to keep in mind when assessing your irrigation needs:
- Soil type: The type of soil in your landscape plays a significant role in determining its water-holding capacity. Sandy soils tend to drain water quickly, requiring more frequent irrigation, while clayey soils retain moisture for longer periods, necessitating less frequent watering.
- Plant types: Different plants have varying water requirements. Some plants, such as succulents, are drought-tolerant and don’t need excessive watering, while others, like flowering annuals, may require more frequent irrigation. Take note of the water needs of the plants in your landscape to ensure appropriate watering.
- Weather conditions: Environmental factors like temperature, humidity, and wind speed can affect how quickly water evaporates. During hot and dry periods, you may need to increase the frequency or duration of irrigation to compensate for increased evaporation.
- Slope and elevation: If your landscape has slopes or elevation changes, water may flow differently and could potentially cause uneven watering. Adjusting the spray pattern and arc of your irrigation heads can help compensate for these variations and ensure adequate coverage.
- Local water restrictions: It’s important to consider any local water restrictions or guidelines that may be in place. These regulations may impact the amount and timing of water you can use for irrigation. Be mindful of these restrictions when adjusting your irrigation heads.
By carefully assessing these factors, you can gauge the watering needs of your landscape more accurately. This information will serve as a valuable guide when making adjustments to your irrigation heads for optimal water distribution.
Now that you have a good understanding of your irrigation needs, let’s move on to the next section, where we will discuss the tools and materials you will need to adjust your irrigation heads effectively.
Tools and Materials
Before you begin adjusting your irrigation heads, gather the necessary tools and materials to ensure a smooth and efficient process. Here are the items you will need:
- Screwdriver: A flathead or Phillips screwdriver will be used to adjust the screws on the irrigation heads.
- Pliers: Pliers can be handy for gripping and turning the adjustment screws, especially if they are tight or difficult to reach.
- Tape measure: A tape measure allows you to accurately measure the spray distance and arc of the irrigation heads.
- Marker or spray paint: Use a marker or spray paint to mark the positions of the irrigation heads before making adjustments. This will help you maintain consistency and reference points during the process.
- Optional: Irrigation adjustment key: Some irrigation head manufacturers provide specialized adjustment keys that make the process easier. Check if your specific heads require this tool.
- Optional: Replacement nozzles or parts: If you notice any damaged or worn-out nozzles or other parts during the adjustment process, having replacement pieces on hand will allow you to replace them promptly.
Ensure that you have these tools and materials readily available before starting the adjustment process. Having everything in order will save you time and make the task more efficient.
Now that you’re equipped with the necessary tools, let’s move on to the next steps, where we will guide you through the process of adjusting your irrigation heads.
Step 1: Turning Off the Water Supply
Before you begin adjusting your irrigation heads, it’s crucial to turn off the water supply to the system. This will prevent any accidents or water wastage during the adjustment process.
Follow these steps to turn off the water supply:
- Locate the main shut-off valve for your irrigation system. It is typically located near the water meter or in a valve box in your yard.
- Turn the valve to the “Off” position. You may need to use pliers or a wrench, depending on the type of valve. Make sure the valve is fully closed to stop the flow of water.
- Once the valve is closed, check the sprinklers or irrigation heads to ensure that water is no longer flowing out. This step is crucial to verify that the water supply has been successfully turned off.
Once you have turned off the water supply, you can proceed with adjusting your irrigation heads safely and without any water interference.
It’s important to note that before turning off the water supply, you should ensure that it does not impact any other areas or systems that may share the same water source. For example, if your irrigation system is connected to the main water supply of your house, make sure that turning off the irrigation water supply will not disrupt the water flow to your indoor plumbing.
Now that you have successfully turned off the water supply, you are ready to move on to the next step- locating the adjustment screws on your irrigation heads.
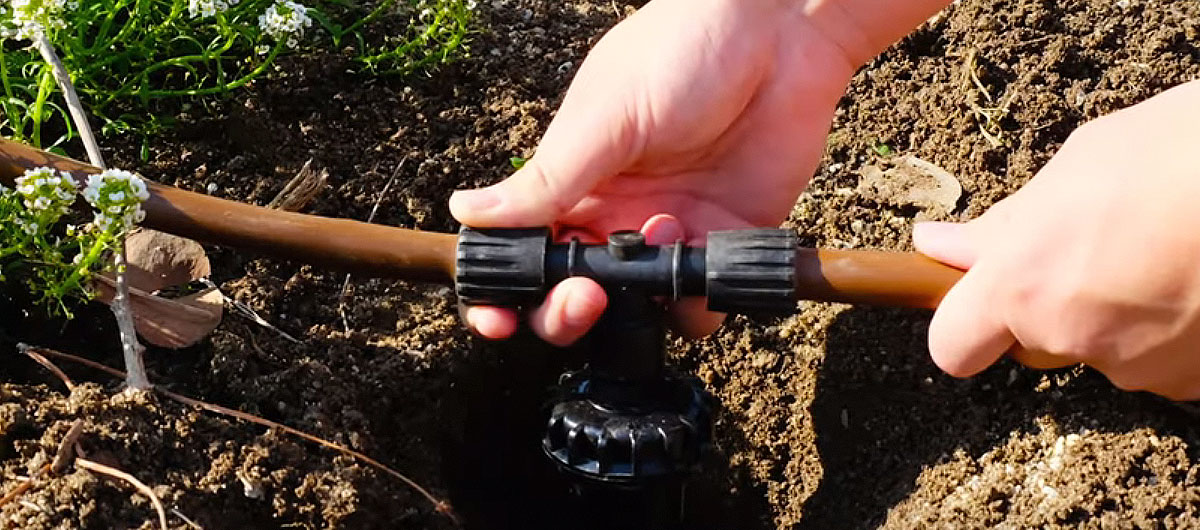
Step 2: Locating the Adjustment Screw
Once you have turned off the water supply, the next step in adjusting your irrigation heads is to locate the adjustment screw. The adjustment screw is responsible for controlling the spray pattern and arc of the head.
Follow these steps to locate the adjustment screw:
- Start by identifying the irrigation head that you want to adjust. Most heads have a cylindrical or pop-up design and are located in your lawn or garden.
- Clear any debris or grass around the head to ensure clear visibility of the adjustment screw.
- Look for a small screw located on top or on the side of the head. This screw is typically made of metal or plastic.
- If you are unable to locate the adjustment screw visually, refer to the manufacturer’s manual or consult with a professional for assistance. Different brands and models may vary in their design and location of the adjustment screw.
It’s important to mention that some irrigation heads may have multiple adjustment screws, each responsible for a different aspect of the head’s functionality, such as the spray distance, pattern, or arc. Refer to the manufacturer’s manual to determine which screw controls the specific adjustment you want to make.
Once you have located the adjustment screw, you are ready to proceed with adjusting the spray pattern or arc according to your landscape’s needs. We will explore the adjustment process in the next steps.
Now that you know how to locate the adjustment screw, let’s move on to the next step- adjusting the spray pattern of your irrigation head.
Step 3: Adjusting the Spray Pattern
Adjusting the spray pattern of your irrigation head ensures that water is distributed evenly across your landscape. By modifying the spray pattern, you can tailor the water coverage to match the shape and size of your lawn or garden.
Follow these steps to adjust the spray pattern of your irrigation head:
- Using a screwdriver or the specified adjustment tool, rotate the adjustment screw in the desired direction. Some irrigation heads have a (+) and (-) symbol indicating the direction of adjustment.
- Turning the screw clockwise will decrease the spray pattern, making it narrower, while turning it counterclockwise will increase the spray pattern, making it wider.
- Make small adjustments and test the spray pattern after each modification. This allows you to gradually fine-tune the coverage and avoid over- or under-watering specific areas.
- Observe the spray pattern as water is released from the head. Ensure that the spray reaches the desired areas without excessive overspray onto hardscapes, such as walkways or driveways.
- Continue adjusting the spray pattern until you achieve the desired coverage and uniformity across your landscape.
It’s worth noting that some irrigation heads have interchangeable nozzles that can further modify the spray pattern. If your irrigation heads have this feature, you can experiment with different nozzle types to achieve the desired spray pattern. Refer to the manufacturer’s instructions for guidance on replacing nozzles.
Adjusting the spray pattern of your irrigation heads is an iterative process. Be patient and take the time to observe and fine-tune the adjustments until you achieve optimal water distribution.
Now that you have successfully adjusted the spray pattern, let’s move on to the next step – adjusting the arc of your irrigation head.
Step 4: Adjusting the Arc
The arc adjustment of your irrigation head determines the range or angle over which the water is distributed. By adjusting the arc, you can ensure that water is reaching the specific areas of your landscape that require irrigation.
Follow these steps to adjust the arc of your irrigation head:
- Locate the arc adjustment screw on the side or top of the irrigation head. This screw controls the angle or range of rotation of the head.
- Using a screwdriver or the specified adjustment tool, rotate the adjustment screw in the desired direction. Some heads have indicators showing the degrees of adjustment.
- Turn the screw clockwise to decrease the arc and counterclockwise to increase the arc. Most arc adjustments range from 40 to 360 degrees.
- Make small adjustments and observe the coverage as the head rotates. Ensure that the water reaches the desired areas without spraying onto hardscapes or getting blocked by obstacles.
- Continue adjusting the arc until you achieve the desired coverage and ensure that water is distributed uniformly across your landscape.
It’s important to note that not all irrigation heads have arc adjustments. Some heads, such as spray heads, have a fixed or predetermined arc and cannot be adjusted. In such cases, you may need to replace the head or adjust your irrigation system layout to achieve the desired coverage.
Remember, it is crucial to make small adjustments and test the arc after each modification. This will help you fine-tune the distribution and avoid over- or under-watering specific areas.
Now that you have successfully adjusted the arc of your irrigation head, let’s move on to the next step – testing the adjusted head to ensure proper functionality.
Step 5: Testing the Adjusted Head
After adjusting the spray pattern and arc of your irrigation head, it’s important to test the head to ensure that it is functioning optimally and distributing water accurately. Testing the adjusted head allows you to make any necessary fine-tuning adjustments before proceeding.
Follow these steps to test the adjusted head:
- Turn on the water supply to the irrigation system. Make sure you have reassembled any disconnected parts or replaced any removed components.
- Observe the spray pattern and arc of the adjusted head as water is released. Ensure that the water is reaching the desired areas without overspray or any unintended gaps in coverage.
- Check for any signs of leaks, blockages, or irregular water flow. If you notice any issues, double-check the adjustment screws and connections to ensure they are secure and functioning correctly.
- Walk around your landscape and inspect the coverage and uniformity of water distribution. Take note of any areas that are over- or under-watered.
- Make any necessary small adjustments to the spray pattern or arc if you identify areas that require further fine-tuning. Remember to test the adjustments after each modification.
- Monitor the performance of the adjusted head over a few irrigation cycles to ensure consistent and satisfactory water distribution across your landscape.
Testing the adjusted head is crucial for achieving the desired watering outcome. It allows you to evaluate the effectiveness of your adjustments and make any necessary refinements.
If you encounter persistent issues or are unsure about the functionality of your irrigation system, it may be helpful to consult a professional for further guidance and assistance.
Now that you have successfully tested the adjusted head, let’s move on to the final step – reassembling the irrigation system and turning on the water supply.
Step 6: Reassembling and Turning On the Water Supply
After adjusting and testing the irrigation head, the final step is to reassemble the irrigation system and turn on the water supply to resume normal operation. Before doing so, ensure that all adjustments are made correctly and that the head is functioning smoothly.
Follow these steps to reassemble and turn on the water supply:
- If you had disconnected any parts or removed components during the adjustment process, reattach them securely. Check the connection points for any signs of leaks or loose fittings.
- If you had replaced any nozzles or parts, ensure that they are properly installed according to the manufacturer’s instructions.
- Double-check that the adjustment screws are tightened and secure. This will minimize the risk of any unintentional movement or changes to the spray pattern or arc.
- Once you have reassembled the irrigation head and ensured that everything is in place, proceed to turn on the water supply.
- Locate the main shut-off valve for your irrigation system and turn it to the “On” position. If necessary, use pliers or a wrench to ensure it is fully open.
- Monitor the irrigation system as the water flow resumes. Check for any signs of leaks, irregular spray patterns, or other issues.
- Walk around your landscape and observe the performance of all the adjusted heads. Ensure that water is distributed evenly and reaches all the desired areas.
- If any further adjustments or fine-tuning are necessary, follow the previous steps to make the required modifications.
Once you have reassembled the irrigation system and confirmed that everything is functioning properly, you can feel confident in resuming the regular watering schedule for your landscape.
It’s important to periodically monitor and maintain your irrigation system to ensure its continued effectiveness and efficient water usage. Regularly check for any signs of wear, leaks, or blockages, and make adjustments as needed.
Congratulations! You have successfully adjusted and reassembled your irrigation system. Your landscape will now receive optimal water distribution, promoting healthy plant growth and water conservation.
Conclusion
Adjusting irrigation heads is a crucial step in maintaining a healthy and efficient irrigation system for your lawn or garden. By customizing the spray pattern and arc, you can ensure that water is distributed evenly and effectively, promoting vibrant plant growth while conserving water resources.
In this comprehensive guide, we have covered the essential steps involved in adjusting your irrigation heads. From understanding the different types of irrigation heads to assessing your specific irrigation needs and using the right tools, we provided you with a detailed roadmap for achieving optimal water distribution.
By following the step-by-step instructions outlined in this guide, you can take control of your irrigation system and tailor it to the unique requirements of your landscape. Adjusting the spray pattern and arc allows you to prevent overwatering or underwatering, reducing water waste and promoting water conservation. Moreover, it helps to mitigate issues such as uneven coverage and overspray onto hardscapes.
Remember to regularly monitor and maintain your irrigation system to ensure its continued efficiency. Periodically check for any leaks, blockages, or signs of wear and make the necessary adjustments or replacements.
With the knowledge and skills gained from this guide, you are now equipped to confidently adjust your irrigation heads and optimize the water distribution in your landscape. By doing so, you can create a lush, healthy, and sustainable outdoor environment.
So, go ahead and put this guide into action. Enjoy the satisfaction of a well-adjusted irrigation system that keeps your lawn and garden flourishing while minimizing water usage.