Home>Gardening Tips and Tricks>Eco-Friendly Gardening>How To Clean Landscaping Rock
Eco-Friendly Gardening
How To Clean Landscaping Rock
Modified: January 22, 2024
Learn the eco-friendly way to clean landscaping rocks with our step-by-step guide. Create a beautiful garden without harming the environment.
(Many of the links in this article redirect to a specific reviewed product. Your purchase of these products through affiliate links helps to generate commission for Chicagolandgardening.com, at no extra cost. Learn more)
Table of Contents
Introduction
Welcome to the world of eco-friendly gardening! If you are passionate about nurturing your plants and creating a beautiful outdoor space while minimizing your impact on the environment, then you have come to the right place. In this article, we will delve into the concept of eco-friendly gardening, specifically focusing on how to clean landscaping rocks.
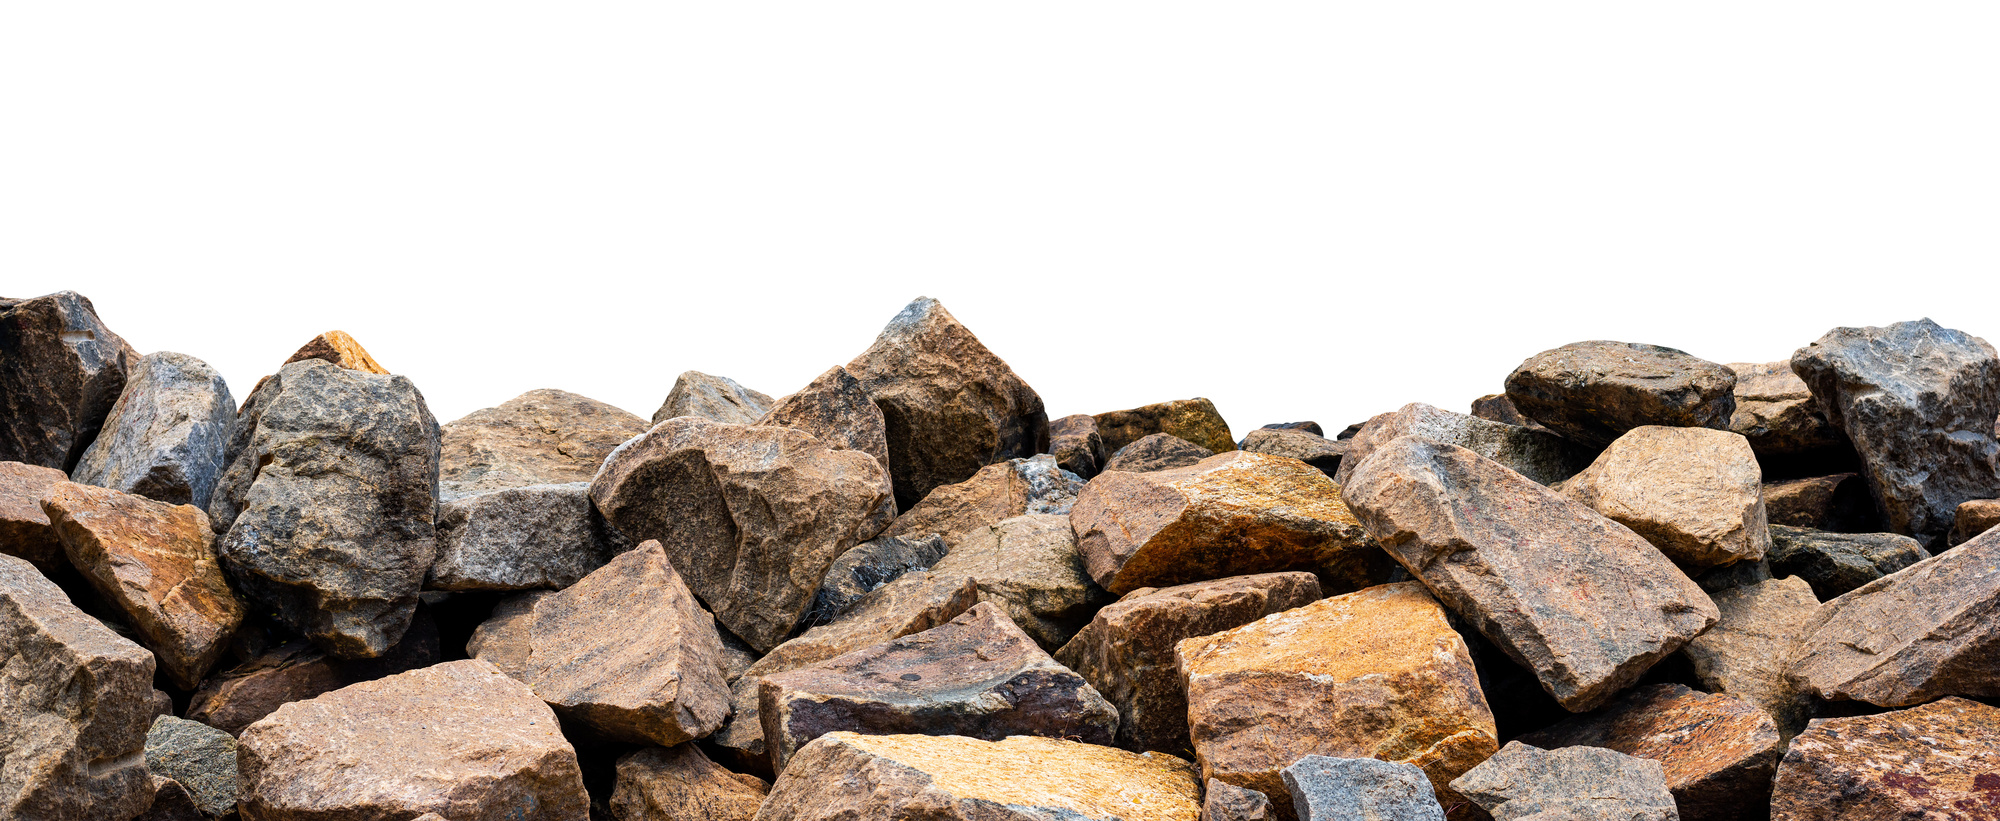
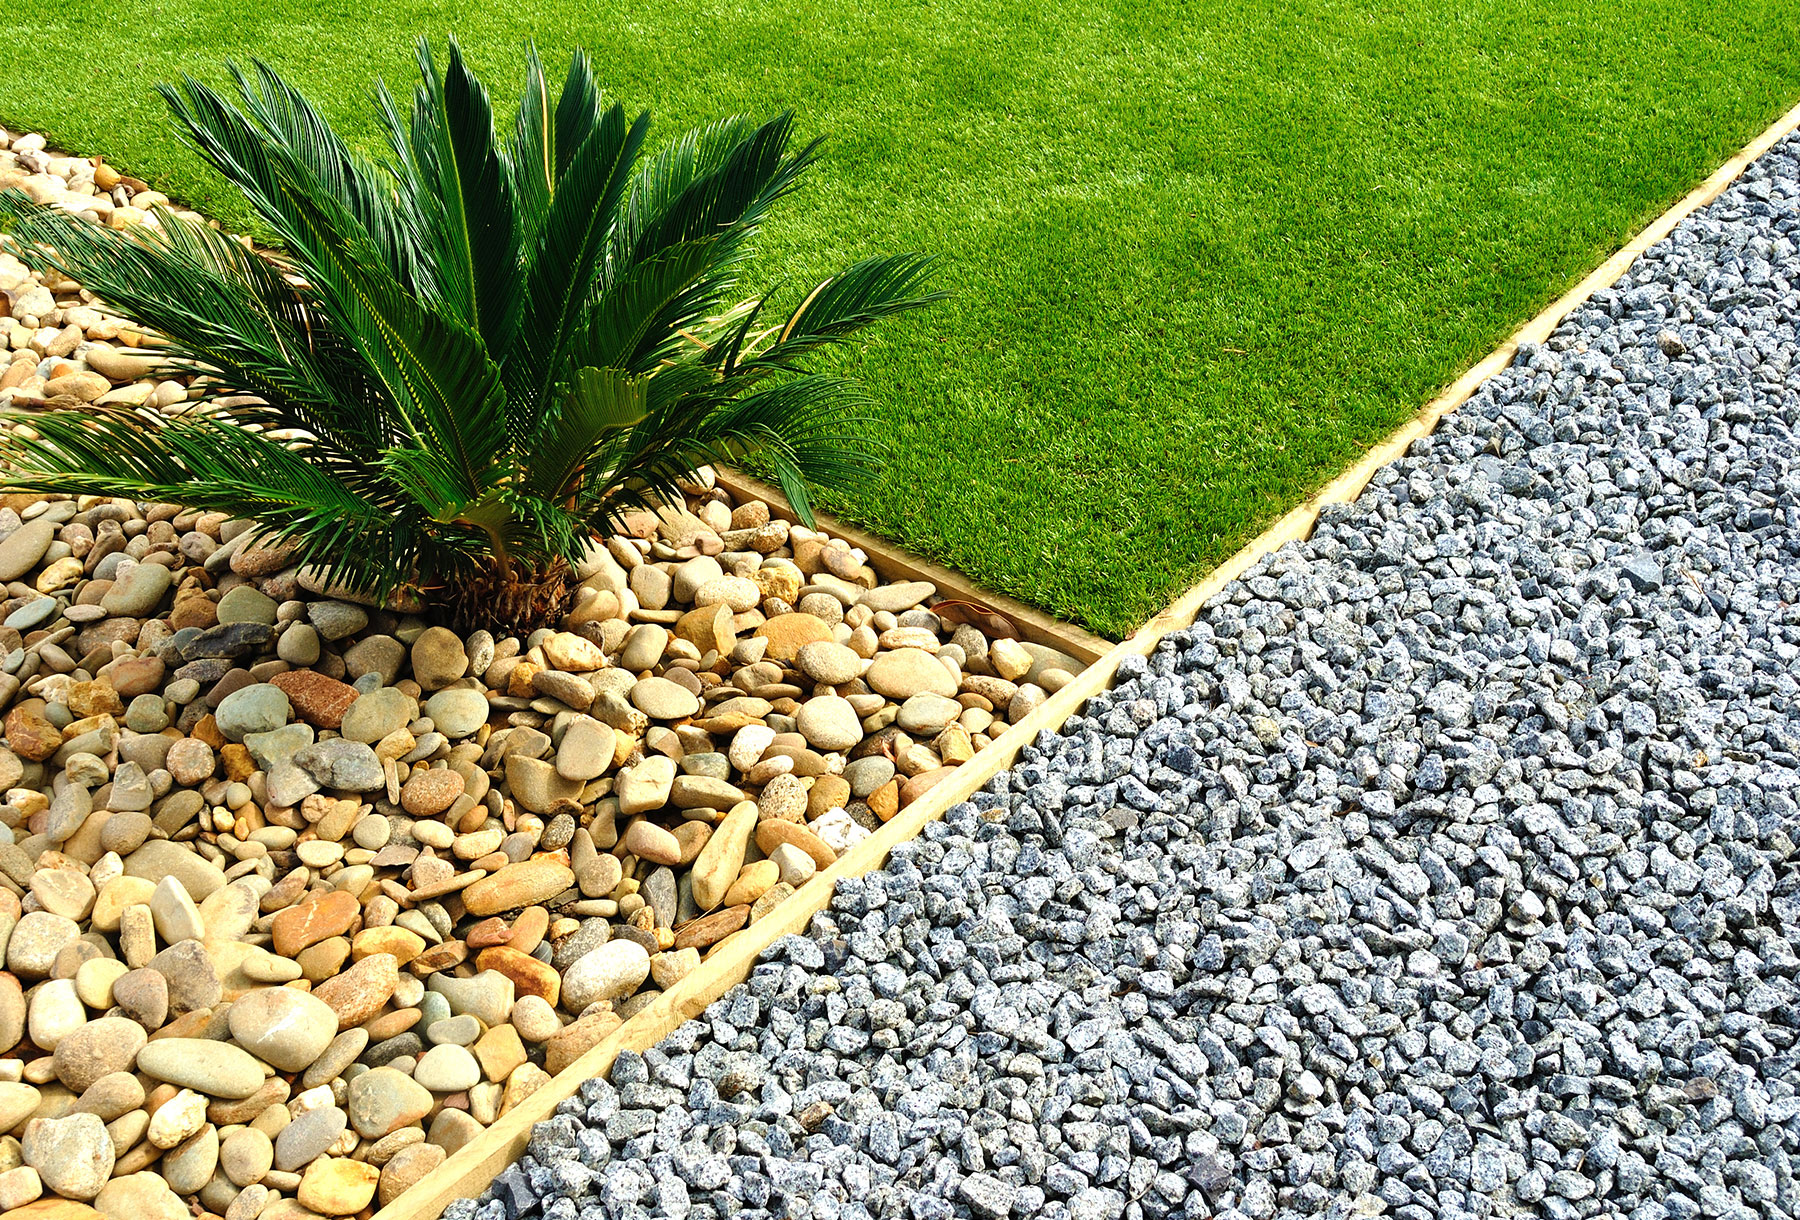
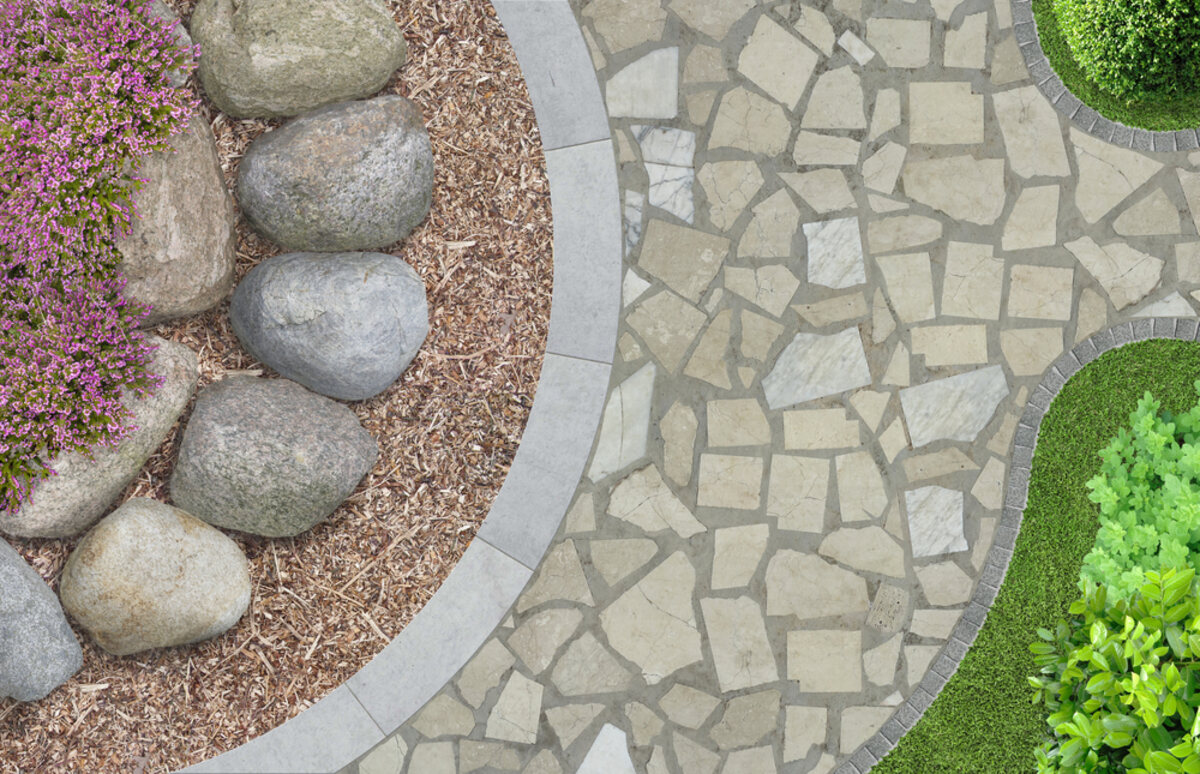
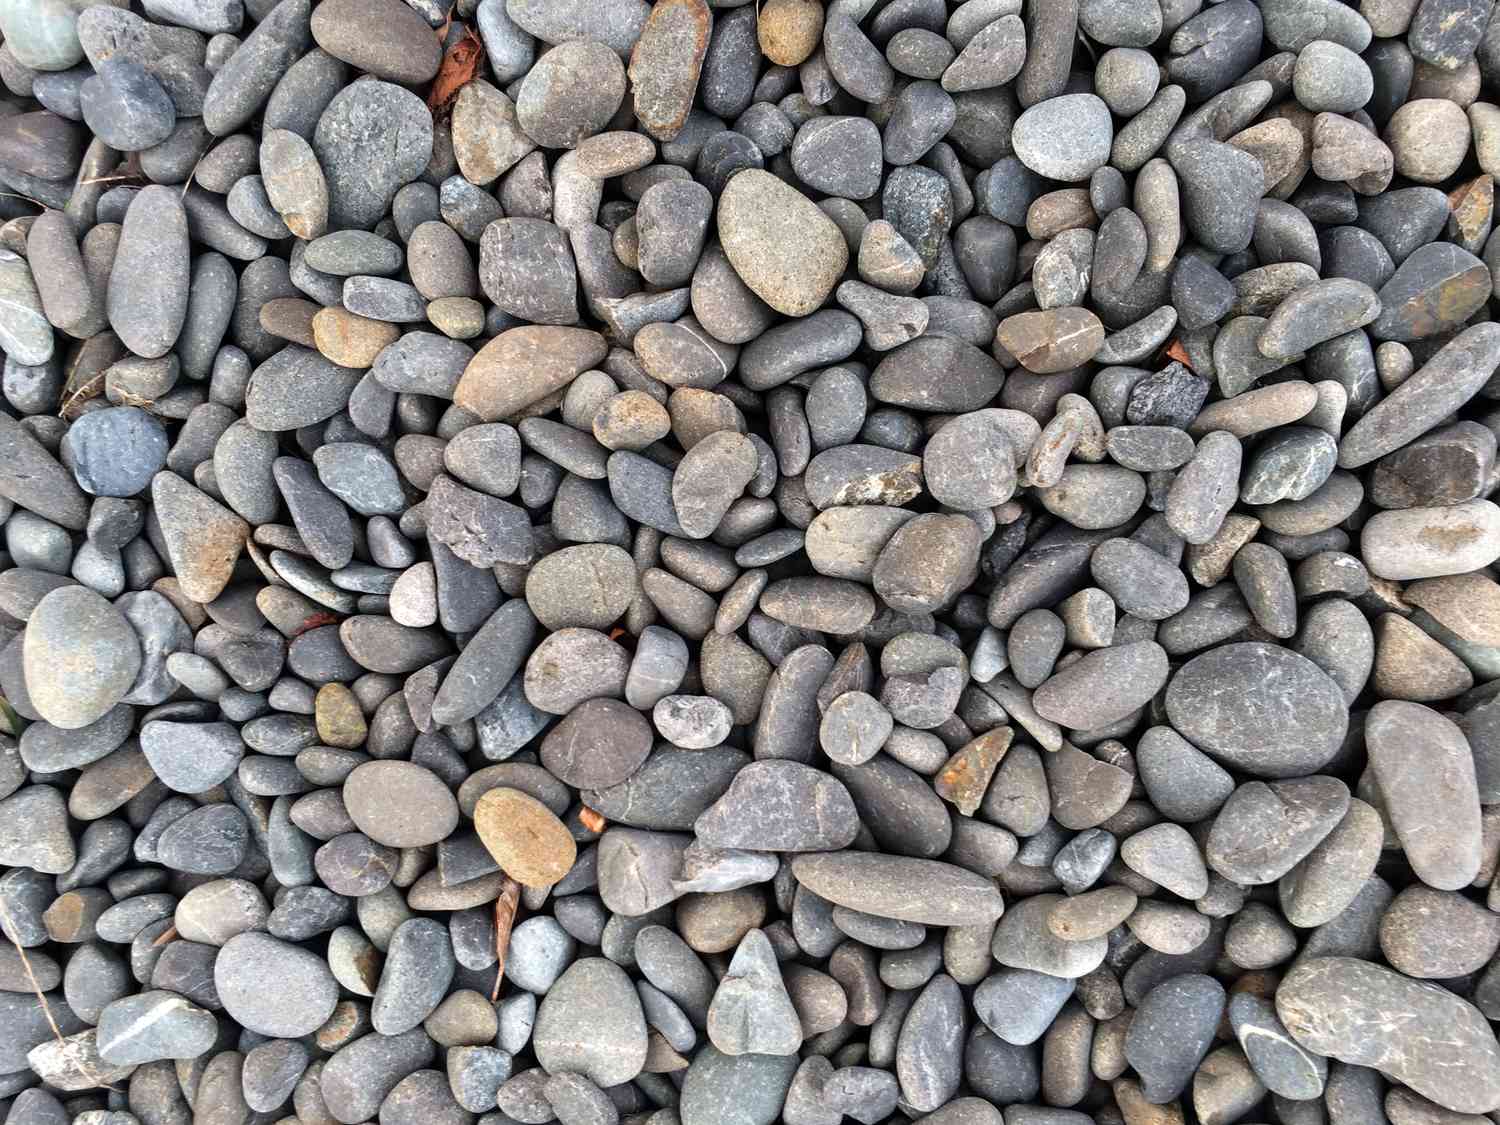
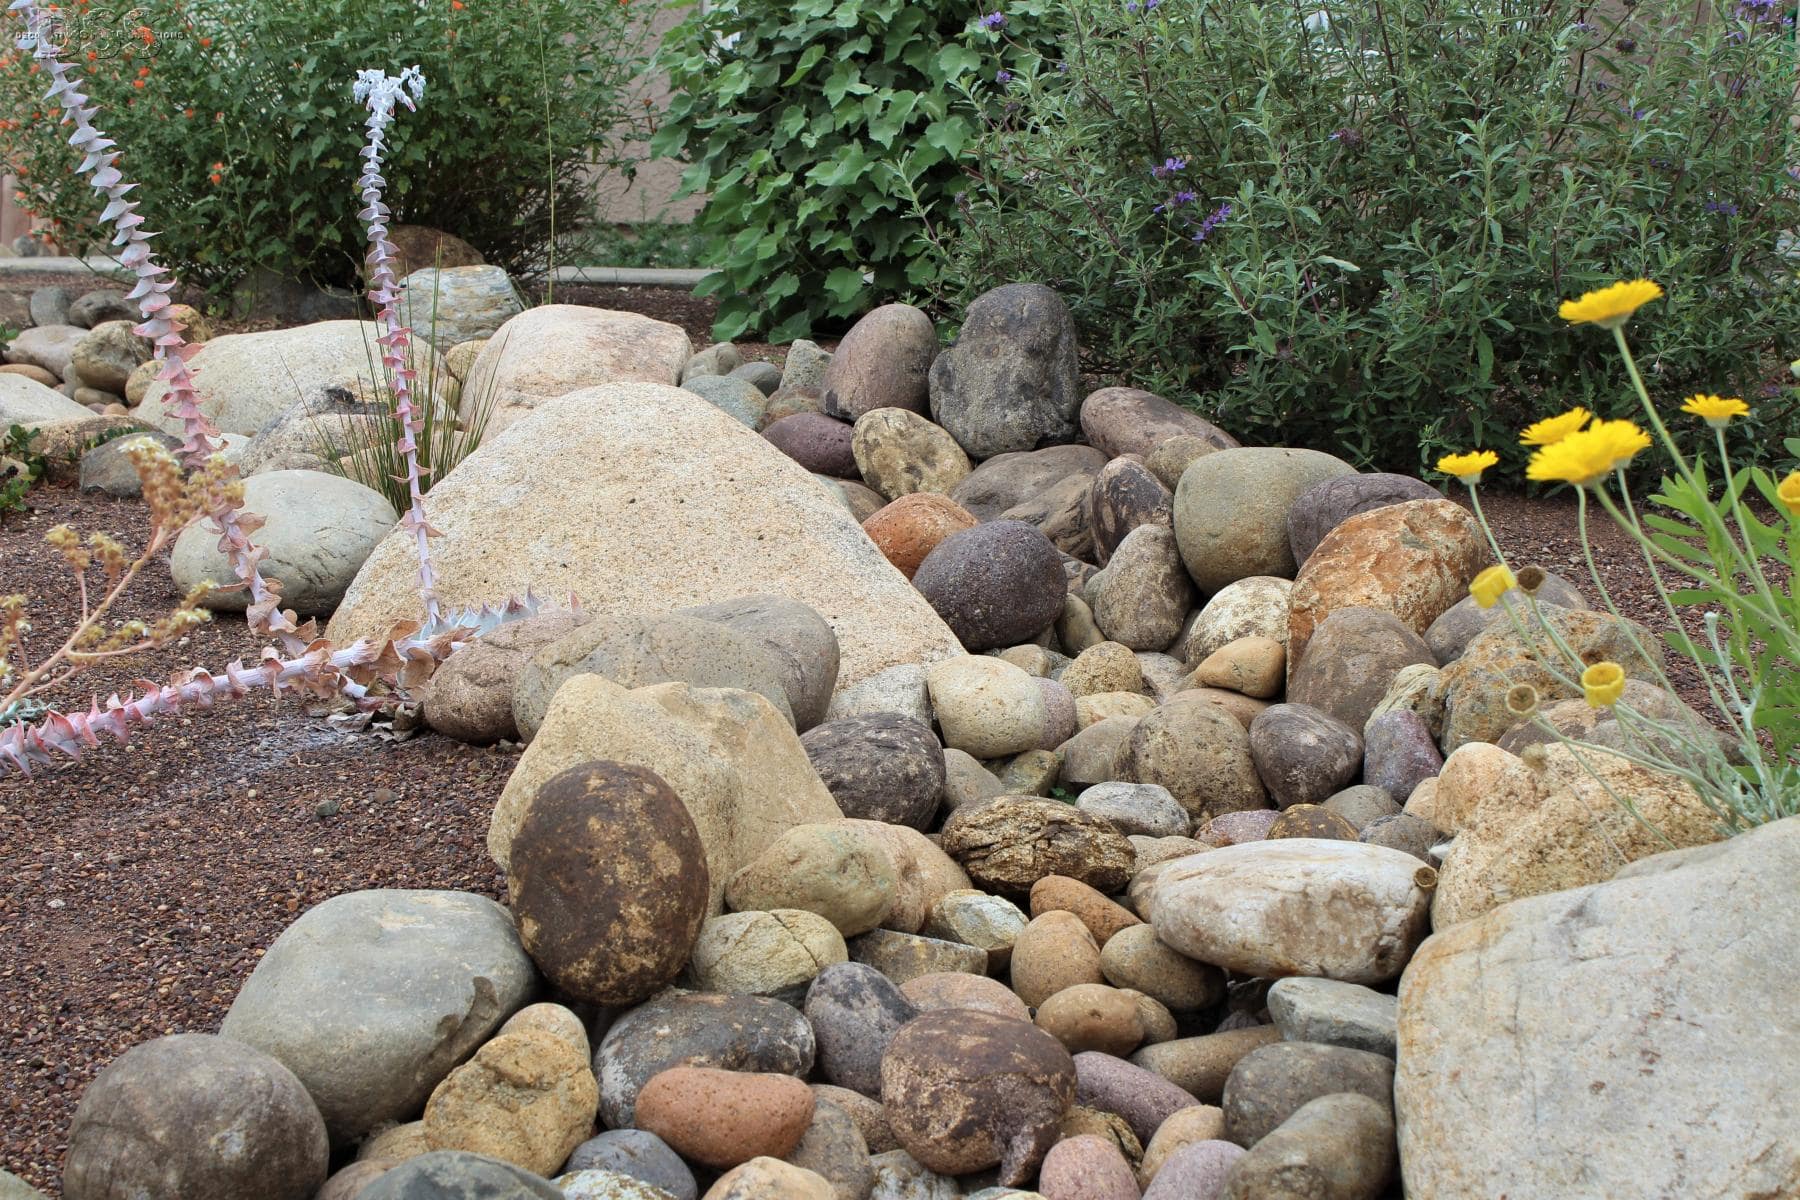
Landscaping rocks are a popular choice for many gardeners as they add texture, color, and character to any outdoor area. They also serve as a natural deterrent for weeds, helping to reduce the need for chemical weed killers. However, over time, these rocks can accumulate dirt, debris, and even stains, detracting from their aesthetic appeal.
Cleaning landscaping rocks is an essential task to keep your outdoor space looking its best. Not only will a clean rock bed enhance the overall appearance of your garden, but it also provides a healthier environment for your plants to thrive. By following a few simple steps and using eco-friendly techniques, you can achieve a sparkling clean landscape without harming the environment.
In this article, we will guide you through the process of cleaning your landscaping rocks step by step. We will cover the materials needed, the preparation required, and the methods to effectively remove dirt, debris, stains, and mildew. Additionally, we will provide tips on how to maintain the cleanliness of your rock bed to ensure long-lasting results.
Whether you are a seasoned gardener or a beginner looking to adopt more eco-friendly practices, this article will equip you with the knowledge and techniques to clean your landscaping rocks in an environmentally conscious way. So let’s get started on the path to a cleaner, greener, and more sustainable garden!
Materials Needed
Before you begin the process of cleaning your landscaping rocks, it’s essential to gather all the necessary materials. Having these items on hand will ensure a smooth and efficient cleaning process. Here are the materials you will need:
- A broom or brush with stiff bristles
- A garden hose with a spray attachment
- A bucket
- A mild detergent or a specialized rock cleaner
- A scrub brush
- A plastic tarp or drop cloth
- Rubber gloves
- Protective eyewear
The broom or brush with stiff bristles will be used to remove loose debris and dirt from the surface of the rocks. Opt for a brush with synthetic bristles, as natural bristles may break or wear down quickly.
A garden hose with a spray attachment is essential for rinsing the rocks after cleaning. Make sure the spray attachment has adjustable settings to control the water pressure. This will help you rinse out all the detergent or cleaning solution effectively.
You will also need a bucket to mix the cleaning solution or detergent. It’s best to use a bucket with a handle for convenience.
To clean the rocks, you can use either a mild detergent or a specialized rock cleaner. Dilute the detergent in water according to the manufacturer’s instructions. If you prefer a more natural approach, there are eco-friendly rock cleaners available that are safe for both your rocks and the environment.
A scrub brush with stiff bristles will be used to scrub away dirt and stains from the surface of the rocks. Look for a brush specifically designed for outdoor cleaning tasks, as it will be more durable and effective.
It’s important to protect your surrounding plants and grass during the cleaning process. Use a plastic tarp or drop cloth to cover nearby vegetation and prevent any cleaning solutions from seeping into the soil.
Lastly, remember to wear rubber gloves to protect your hands from chemicals or cleaning agents, and wear protective eyewear to shield your eyes from any splashes or debris.
With these materials on hand, you are now ready to embark on the journey of cleaning your landscaping rocks and rejuvenating your outdoor space.
Preparing the Area
Before you begin the process of cleaning your landscaping rocks, it’s important to properly prepare the area. Taking the time to prepare will ensure that the cleaning process goes smoothly and that you protect your surrounding plants and grass. Here are the steps to follow when preparing the area:
- Clear the area: Start by removing any plants, garden decorations, or other objects from the rock bed. This will give you easy access to the rocks and minimize the risk of accidentally damaging any items during the cleaning process.
- Sweep away loose debris: Use a broom or brush with stiff bristles to sweep away any loose debris, such as leaves, twigs, and dirt. Pay attention to the corners and crevices of the rock bed, as these areas tend to collect the most debris.
- Protect nearby plants and grass: Place a plastic tarp or drop cloth over any nearby plants or grass to protect them from the cleaning solution or detergent. This will prevent any potential harm to your vegetation.
- Secure the plastic tarp: If you’re using a plastic tarp, secure it with rocks or other heavy objects at the edges to prevent it from shifting or flying away with the wind. This will ensure that your plants remain covered throughout the entire cleaning process.
- Set up a work area: Choose a designated area where you can mix your cleaning solution, lay out your tools, and have easy access to water. This will keep everything organized and within reach as you clean the rocks.
By properly preparing the area before you begin cleaning, you will streamline the process and protect your plants and grass. This step is essential to ensure a successful and hassle-free cleaning experience.
Removing Debris
One of the first steps in cleaning your landscaping rocks is to remove any debris that may have accumulated on the surface. This includes leaves, twigs, dirt, and other organic matter. By removing debris, you can create a clean and fresh foundation for the next steps of the cleaning process. Here’s how to effectively remove debris from your landscaping rocks:
- Use a broom or brush: Start by using a broom or brush with stiff bristles to sweep away the loose debris. Work in a systematic manner, starting from one end of the rock bed and gradually moving towards the other end. Brush in a sweeping motion, making sure to cover the entire surface area of the rocks.
- Pay attention to corners and crevices: Take extra care when cleaning the corners and crevices of the rock bed, as these areas tend to collect more debris. Use the bristles of the broom or brush to dislodge any stubborn debris and ensure a thorough cleaning.
- Collect the debris: As you sweep, collect the debris in a pile or use a dustpan to gather and dispose of it properly. You can compost organic debris or dispose of it in a designated garbage bag.
- Inspect for hidden debris: After clearing the surface debris, take a closer look at the rocks to identify any hidden debris or debris that may be trapped between the rocks. Use your hands or a small brush to remove these smaller particles from the crevices.
Removing debris from your landscaping rocks is a critical step in the cleaning process as it prepares the rocks for further cleaning and ensures that no dirt or organic matter interferes with the cleaning agents. By investing time and effort in this step, you will achieve a cleaner and more aesthetically pleasing rock bed.
Scrubbing the Rocks
Once you have removed debris from your landscaping rocks, the next step is to scrub them to remove any stubborn dirt, stains, or mildew. Scrubbing will help restore the natural beauty of the rocks and rejuvenate your outdoor space. Here’s how to effectively scrub your landscaping rocks:
- Prepare the cleaning solution: Depending on whether you are using a mild detergent or a specialized rock cleaner, follow the manufacturer’s instructions to dilute the solution in a bucket of water. This will ensure that you achieve the right balance of cleaning power without damaging the rocks.
- Dip the scrub brush: Submerge the scrub brush into the cleaning solution, allowing the bristles to become saturated with the solution. This will ensure that the solution is evenly distributed on the rocks as you scrub.
- Scrub the rocks: Working in small sections, start scrubbing the rocks using the wet brush. Apply moderate pressure and use circular motions to effectively remove dirt, stains, and mildew. Pay attention to areas that are more heavily soiled and spend extra time on those spots.
- Rinse the brush regularly: As you scrub, rinse the brush regularly to remove any buildup of dirt or debris. This will prevent the transfer of dirt from one section of the rocks to another.
- Continue scrubbing: Repeat the scrubbing process until you have covered the entire rock bed. Take breaks if needed, especially if you have a large area to clean.
It is important to note that different types of rocks may require different levels of scrubbing. Some rocks may be more delicate and require a gentler touch, while others can withstand more vigorous scrubbing. Always test a small, inconspicuous area before proceeding with the entire rock bed.
By thoroughly scrubbing your landscaping rocks, you will eliminate dirt, stains, and mildew, restoring their natural beauty and enhancing the overall appearance of your garden. Take your time with this step to ensure optimal results.
Rinsing the Rocks
After scrubbing your landscaping rocks to remove dirt, stains, and mildew, it’s essential to thoroughly rinse them to remove any remaining cleaning solution and debris. Rinsing will leave your rocks clean and refreshed, ready to shine in your outdoor space. Here’s how to effectively rinse your landscaping rocks:
- Attach a spray attachment to your garden hose: To ensure an even and controlled flow of water, attach a spray attachment to your garden hose. This will help you properly rinse the rocks without creating a messy splash.
- Pre-soak the rocks: Before rinsing, it can be helpful to pre-soak the rocks with plain water. This will loosen any residues and make the rinsing process more effective. Use the spray attachment to wet the rocks thoroughly.
- Start rinsing: Begin rinsing the rocks from one end of the rock bed, moving steadily towards the other end. Use the spray attachment to apply a steady stream of water to the rocks, aiming to cover the entire surface area.
- Pay attention to crevices: Make sure to direct the water flow towards the crevices and gaps between the rocks to dislodge any remaining dirt or debris. Adjust the water pressure as needed to ensure effective cleaning without damaging the rocks.
- Rinse until the water runs clear: Continue rinsing until the water runs clear, indicating that all the cleaning solution and debris has been removed. Take your time during this step to ensure a thorough rinse.
- Inspect for residue: After rinsing, inspect the rocks to make sure there are no visible residues or cleaning solution remnants. If you notice any, repeat the rinsing process in those specific areas until they are fully clean.
Proper rinsing is crucial to remove any trace of cleaning solution and debris from your landscaping rocks. It ensures that your rocks are left clean and free from any potential residue that may deteriorate their appearance over time.
Remember to follow any specific instructions provided by the manufacturer of the cleaning solution or rock cleaner you are using. This will help you achieve the best results and maintain the integrity of your rocks.
Treating Stains or Mildew
In some cases, landscaping rocks may have stubborn stains or mildew that require extra attention to remove. These blemishes can detract from the overall appearance of your rock bed. However, with the right techniques and treatments, you can effectively treat stains and mildew. Here’s how to tackle these issues:
- Identify the type of stain: Before applying any treatment, it’s important to identify the type of stain. Common stains on landscaping rocks include oil, rust, and organic stains like moss or algae. Different types of stains may require different treatment methods.
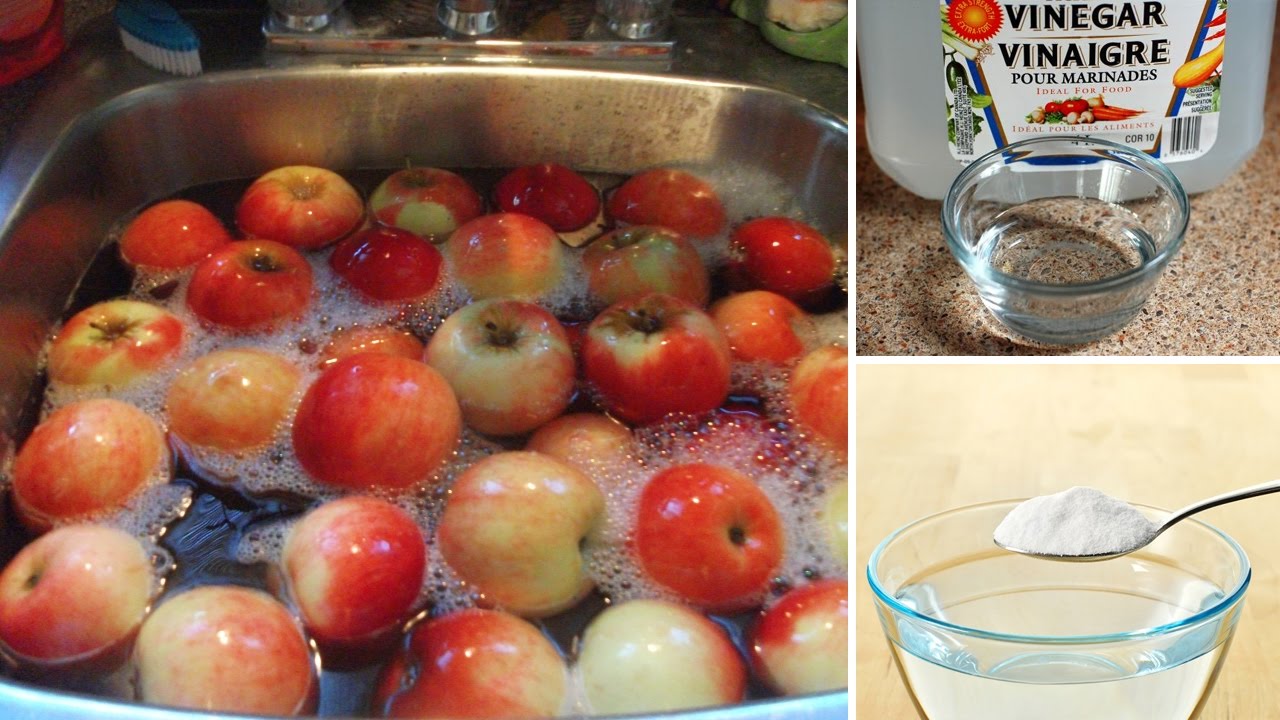
- Prepare the appropriate cleaning solution: Depending on the type of stain, prepare a suitable cleaning solution. For oil stains, you might use a commercial degreaser or a mixture of dish soap and water. Rust stains can be treated with lemon juice and baking soda paste. Organic stains may require a mixture of vinegar and water.
- Apply the cleaning solution: Using a scrub brush or sponge, apply the cleaning solution directly to the stained area. Gently scrub in a circular motion, focusing on the stained spots. Allow the solution to sit on the stain for a few minutes to penetrate the surface.
- Scrub and rinse: After allowing the cleaning solution to work, use the scrub brush to agitate the stain further. Scrub in both circular and back-and-forth motions to dislodge the stain or mildew. Then, rinse the area thoroughly with water to remove the cleaning solution.
- Repeat if necessary: Depending on the severity of the stain, you may need to repeat the treatment process. Stubborn stains may require multiple applications or a different cleaning solution. Be patient and persistent, and continue the treatment until the stain is no longer visible.
When dealing with mildew, it’s important to address the underlying cause to prevent recurrence. Ensure proper drainage and circulation in the area, as excessive moisture can contribute to the growth of mildew. Regular cleaning and maintenance will help prevent mildew from taking hold on your landscaping rocks.
Remember to always test any cleaning solution on a small, inconspicuous area before applying it to the entire stain. This will help you avoid potential damage or discoloration to your rocks.
By treating stains and mildew promptly and with the appropriate methods, you can restore the beauty of your landscaping rocks and maintain a clean and vibrant outdoor space.
Maintaining Landscaping Rock
Maintaining your landscaping rock is crucial to ensure its long-lasting beauty and functionality in your outdoor space. Regular maintenance will keep your rock bed looking its best and make future cleaning tasks easier. Here are some tips to help you maintain your landscaping rock:
- Regularly remove debris: Make it a habit to regularly remove debris, such as leaves, twigs, and dirt, from your rock bed. This will prevent debris from accumulating and potentially causing damage or staining the rocks.
- Address spills or stains promptly: If any spills occur on your landscaping rocks, such as oil or food stains, clean them up promptly. Use a blotting motion with a clean cloth or paper towel to absorb the spill, and then follow the appropriate cleaning methods outlined in previous sections to remove the stain completely.
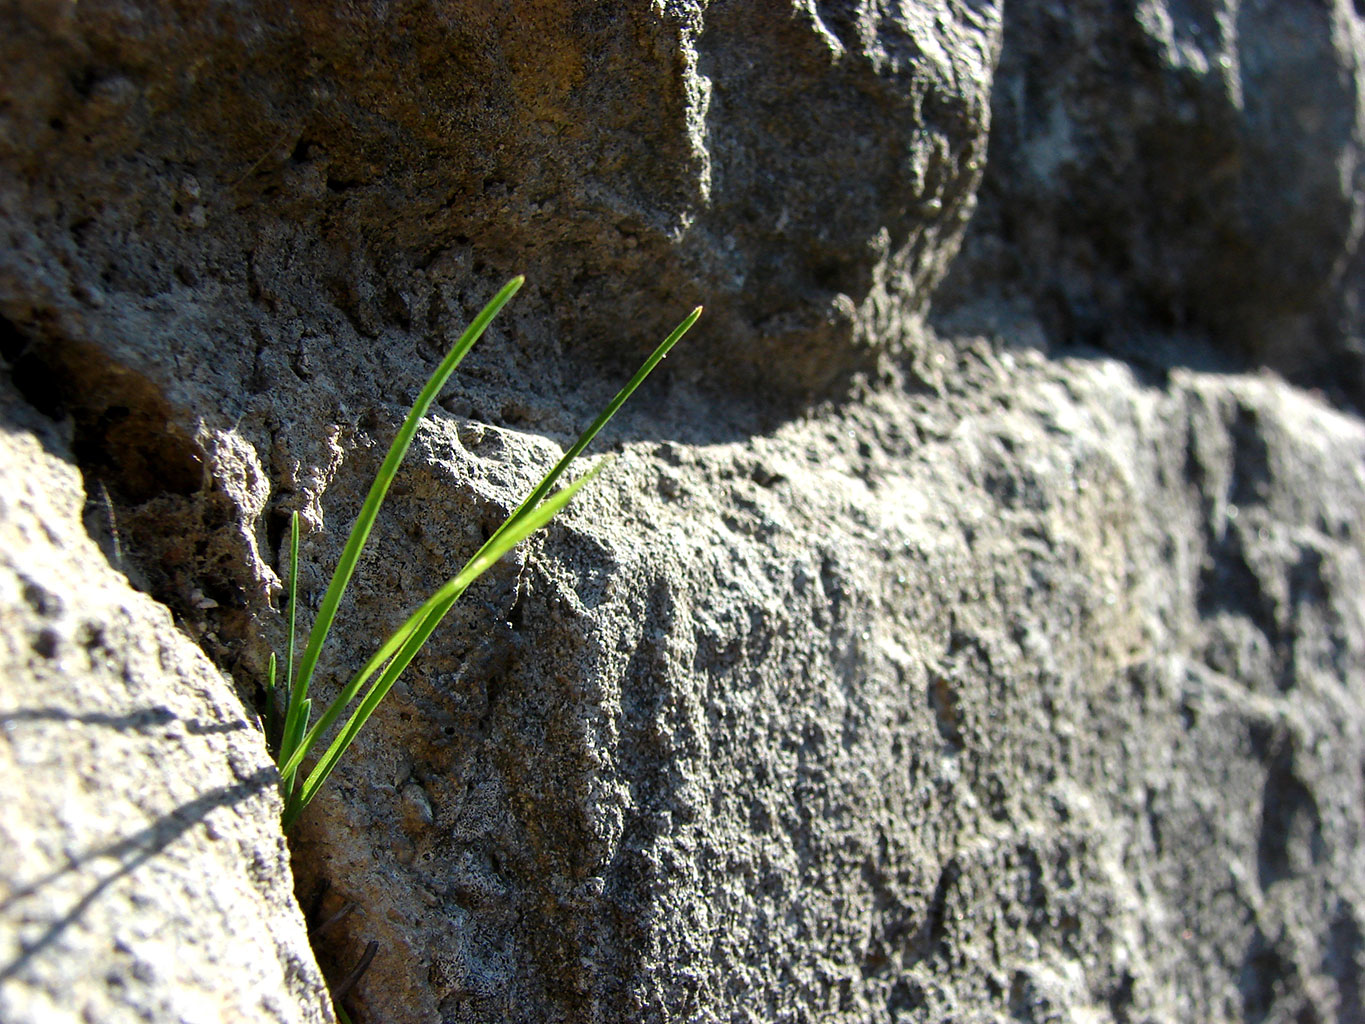
- Monitor for weed growth: Keep an eye out for any signs of weed growth in your rock bed. Weeds can quickly overtake the space and compete with your plants for nutrients. Regularly pull out any weeds as soon as you notice them to prevent them from taking hold.
- Inspect for damage: Periodically inspect your landscaping rocks for any signs of damage, such as cracks or chips. Address any damage promptly, as it can lead to further deterioration of the rocks over time. Consider contacting a professional if you notice significant damage that requires repair or replacement.
- Maintain proper drainage: Ensure that your rock bed has proper drainage to prevent water from pooling around the rocks. Excessive moisture can lead to the growth of mold, mildew, or moss, which can detract from the beauty of your landscaping rocks. If necessary, adjust the slope or add drainage solutions to improve water flow.
- Be mindful of heavy objects: Avoid placing heavy objects directly on the landscaping rocks, as this can cause them to crack or break. Use caution when moving or placing furniture or decorative items on or around the rock bed.
- Regularly inspect and clean nearby gutters: Keep an eye on nearby gutters to ensure they are free of debris. Clogged gutters can overflow, leading to water pouring onto the rock bed and potentially causing damage or staining.
By implementing these maintenance practices, you can preserve the beauty and functionality of your landscaping rocks for years to come. Regular upkeep will help you enjoy a clean, well-maintained outdoor space that enhances the overall appeal of your garden.
Conclusion
Cleaning and maintaining your landscaping rocks is an essential part of creating and sustaining a beautiful outdoor space. By following the steps outlined in this article, you can effectively clean your rocks and restore their natural beauty, all while minimizing your impact on the environment.
Whether you’re dealing with debris, stains, or mildew, the key is to approach the cleaning process with the right materials and techniques. By using eco-friendly methods and products, you can achieve a sparkling clean rock bed without compromising the health of your plants or the environment.
Remember to prepare the area, remove debris, scrub the rocks, rinse thoroughly, and treat any stains or mildew promptly. Regular maintenance is also crucial for keeping your landscaping rocks in top condition. By regularly removing debris, addressing spills, monitoring for weed growth, inspecting for damage, and maintaining proper drainage, you’ll ensure the longevity and attractiveness of your rock bed.
So, embrace eco-friendly gardening practices and take pride in your beautifully cleaned and well-maintained landscaping rocks. With a little effort and the right approach, you can enjoy a vibrant and sustainable outdoor space that showcases the natural beauty of your plants and rocks.