Home>Garden Design>Landscape Design>How To Place Large Rocks In Landscaping
Landscape Design
How To Place Large Rocks In Landscaping
Modified: February 8, 2024
Learn how to incorporate large rocks into your landscape design for a stunning and unique outdoor space. Enhance your landscaping with expert tips and techniques.
(Many of the links in this article redirect to a specific reviewed product. Your purchase of these products through affiliate links helps to generate commission for Chicagolandgardening.com, at no extra cost. Learn more)
Table of Contents
Introduction
Welcome to the world of landscape design, where creativity meets nature to create stunning outdoor spaces. One of the key elements that can instantly transform your landscape is the strategic placement of large rocks. These magnificent boulders not only add visual interest but also provide structure and texture to your garden.
Placing large rocks in landscaping may seem like an overwhelming task, but with the right approach and guidance, it can be a rewarding and enjoyable project. Whether you want to create a focal point, define boundaries, or build a natural-looking rock garden, understanding the steps involved will help you achieve your desired result.
In this article, we will guide you through the process of placing large rocks in landscaping. From choosing the perfect location to securing the rocks in place, we will provide you with expert tips and practical advice to ensure a successful outcome. So, let’s dive in and discover how you can elevate your outdoor space with the beauty of large rocks.
Step 1: Choosing the Right Location
The first step in placing large rocks in landscaping is to carefully select the right location. Consider the purpose and function of the rocks, as well as the overall design of your outdoor space. Here are some factors to keep in mind when choosing the location:
- Visual Impact: Large rocks have the power to catch the eye and become a focal point in your landscape. Look for areas where the rocks will be visible from different angles and enhance the overall aesthetic appeal of your garden.
- Functionality: Determine how you want to use the rocks in your landscape. Are you looking to create a natural-looking rock garden? Or do you want to use the rocks as boundary markers or to add height and dimension to specific areas? Consider how the rocks will fit into the overall layout and purpose of your outdoor space.
- Safety: Ensure that the chosen location for the large rocks is safe and stable. Avoid placing them near structures, utility lines, or areas prone to erosion. Also, take into account any potential hazards for people walking or playing in the area.
- Accessibility: Consider how easy it will be to access and transport the rocks to the chosen location. If the rocks are too large or the terrain is challenging, it may be difficult to position them properly.
By carefully considering these factors, you can choose the perfect location for your large rocks that complements your overall landscape design and achieves your desired aesthetic and functional goals. Once you have identified the ideal location, it’s time to move on to the next step: measuring and marking the area.
Step 2: Measuring and Marking the Area
Before you start placing the large rocks, it’s crucial to measure and mark the area where they will be positioned. This step ensures accuracy and helps you visualize the placement before you begin any physical work. Here’s how to measure and mark the area:
- Measurements: Use a tape measure to determine the dimensions of the area where the rocks will be placed. Measure the length, width, and height requirements, taking into account any specific design or functional considerations.
- Stake the Corners: Once you have measured the area, use wooden stakes or marker flags to mark the corners. Drive the stakes into the ground at each corner of the designated space, ensuring they are securely planted and protruding above the surface.
- Connect the Stakes: Connect the stakes or marker flags using a string or a marking spray. This will create a clear visual guide for the area where the rocks will be positioned.
- Adjust the Placement: Step back and assess the marked area. Make any necessary adjustments to the position of the stakes or markers to ensure the space is symmetrical and aligns with your desired design. Take into account any existing features or elements in your landscape that you want to incorporate or work around.
Measuring and marking the area provides you with a blueprint for placing the large rocks. It helps you visualize the final outcome and allows for adjustments or modifications before any physical work begins. With the area marked, you’re now ready to move on to the next step: preparing the ground.
Step 3: Preparing the Ground
Proper preparation of the ground is crucial to ensure that the large rocks are stable and securely placed. Here’s how you can effectively prepare the ground for the placement of the rocks:
- Clean the Area: Remove any debris, plants, or weeds from the marked area. Clearing the space provides a clean canvas for the rocks and prevents interference with their stability.
- Level the Ground: Use a shovel or a rake to level the ground within the marked area. Ridges or uneven surfaces can cause the rocks to wobble or tilt, so it’s important to create a smooth and level base.
- Remove Excess Soil: If needed, excavation may be required to create a stable foundation. Remove any excess soil from the area to achieve the desired depth for the large rocks. This will prevent any shifting or sinking of the rocks over time.
- Add a Bedding Layer: For added stability, consider adding a bedding layer of crushed stone or gravel. This will help improve drainage and provide a solid base for the rocks to sit on.
- Tamp the Surface: Use a hand or mechanical tamper to compact the soil or bedding layer. This will ensure a firm and stable surface for the rocks to rest on and reduce the risk of shifting or settling.
By adequately preparing the ground, you are laying the groundwork for a successful placement of the large rocks. The stability and longevity of your rock placement will be greatly enhanced by this crucial step. With the ground prepared, you’re ready to move on to the next step: selecting and transporting the large rocks.
Step 4: Selecting and Transporting the Large Rocks
Choosing the right rocks and safely transporting them are essential steps in the process of placing large rocks in landscaping. Here’s how you can select and transport the rocks effectively:
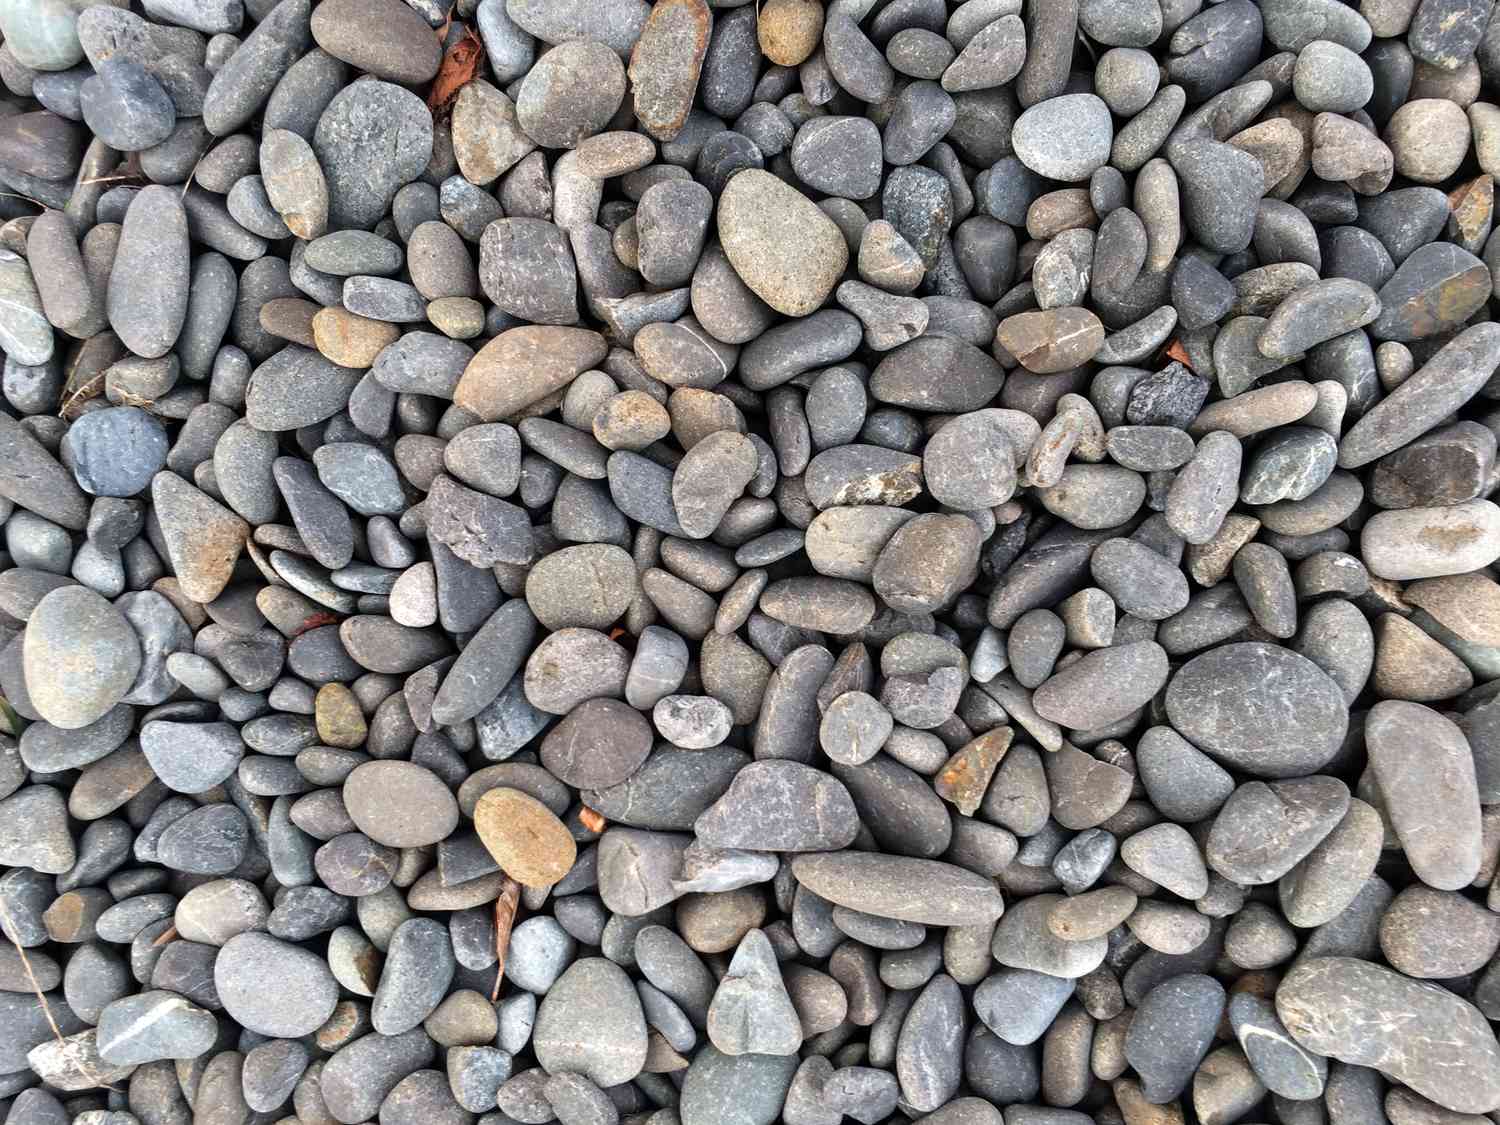
- Consider the Aesthetic: Select rocks that fit your desired aesthetic and complement the overall landscape design. Look for rocks that have interesting shapes, textures, and colors that will add visual interest to your outdoor space.
- Avoid Overwhelming Sizes: While larger rocks can make a significant impact, it’s essential to choose rocks that are manageable in size and weight. Avoid selecting rocks that are too heavy or require heavy machinery to transport, as this can pose a safety risk and make the placement process more challenging.
- Safety Precautions: When transporting the rocks, ensure you have the necessary equipment to do so safely. Use lifting straps, dollies, or other specialized tools to move the rocks without straining your body or causing damage to the rocks.
- Enlist Help: Large rocks can be heavy and difficult to handle on your own. It’s always recommended to enlist the help of friends, family, or professionals to assist you with the transportation. Working together will make the process smoother and safer.
- Secure the Rocks: Once the rocks are on-site, make sure to secure them in a stable position before proceeding with the placement. Use shims, wedges, or other methods to prevent the rocks from shifting or moving during the process.
Proper selection and safe transportation of the large rocks are crucial to ensure a successful placement. Choose rocks that match your vision and can be transported safely. By following these guidelines, you’ll be ready to move on to the next step: placing the large rocks.
Step 5: Placing the Large Rocks
Now that you have chosen and transported the large rocks, it’s time to place them in their designated locations. Follow these steps to ensure a successful placement:
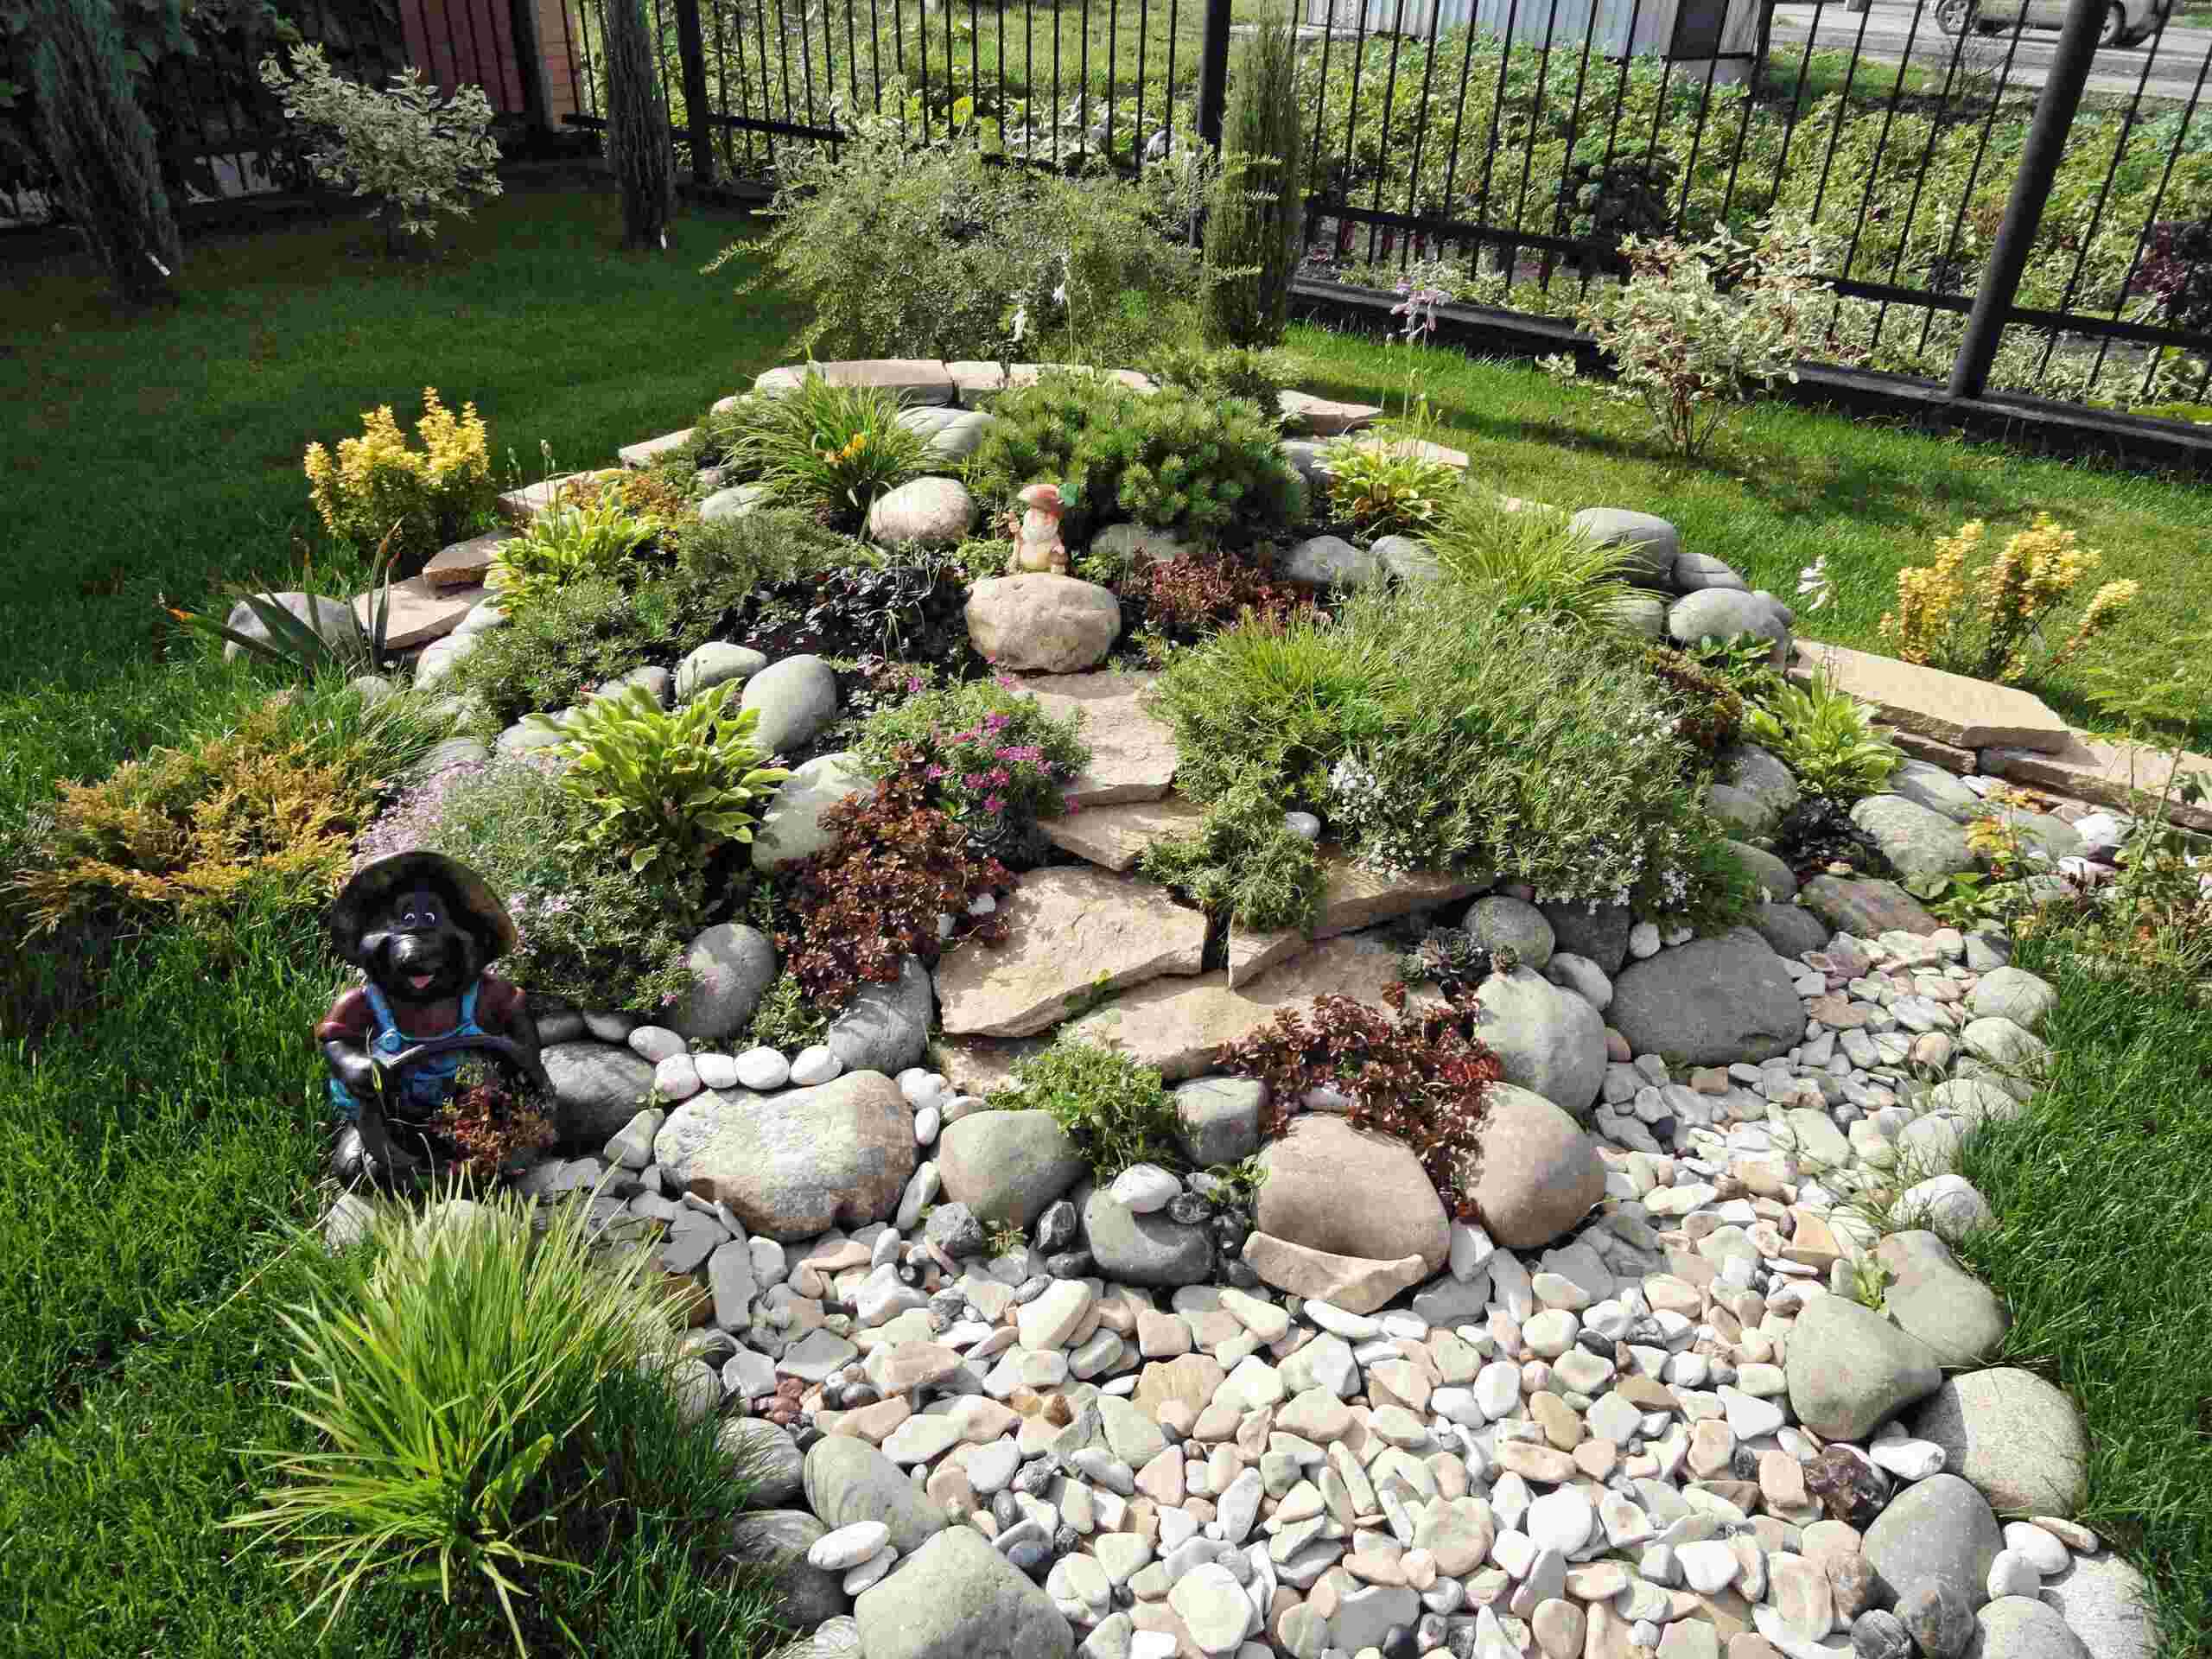
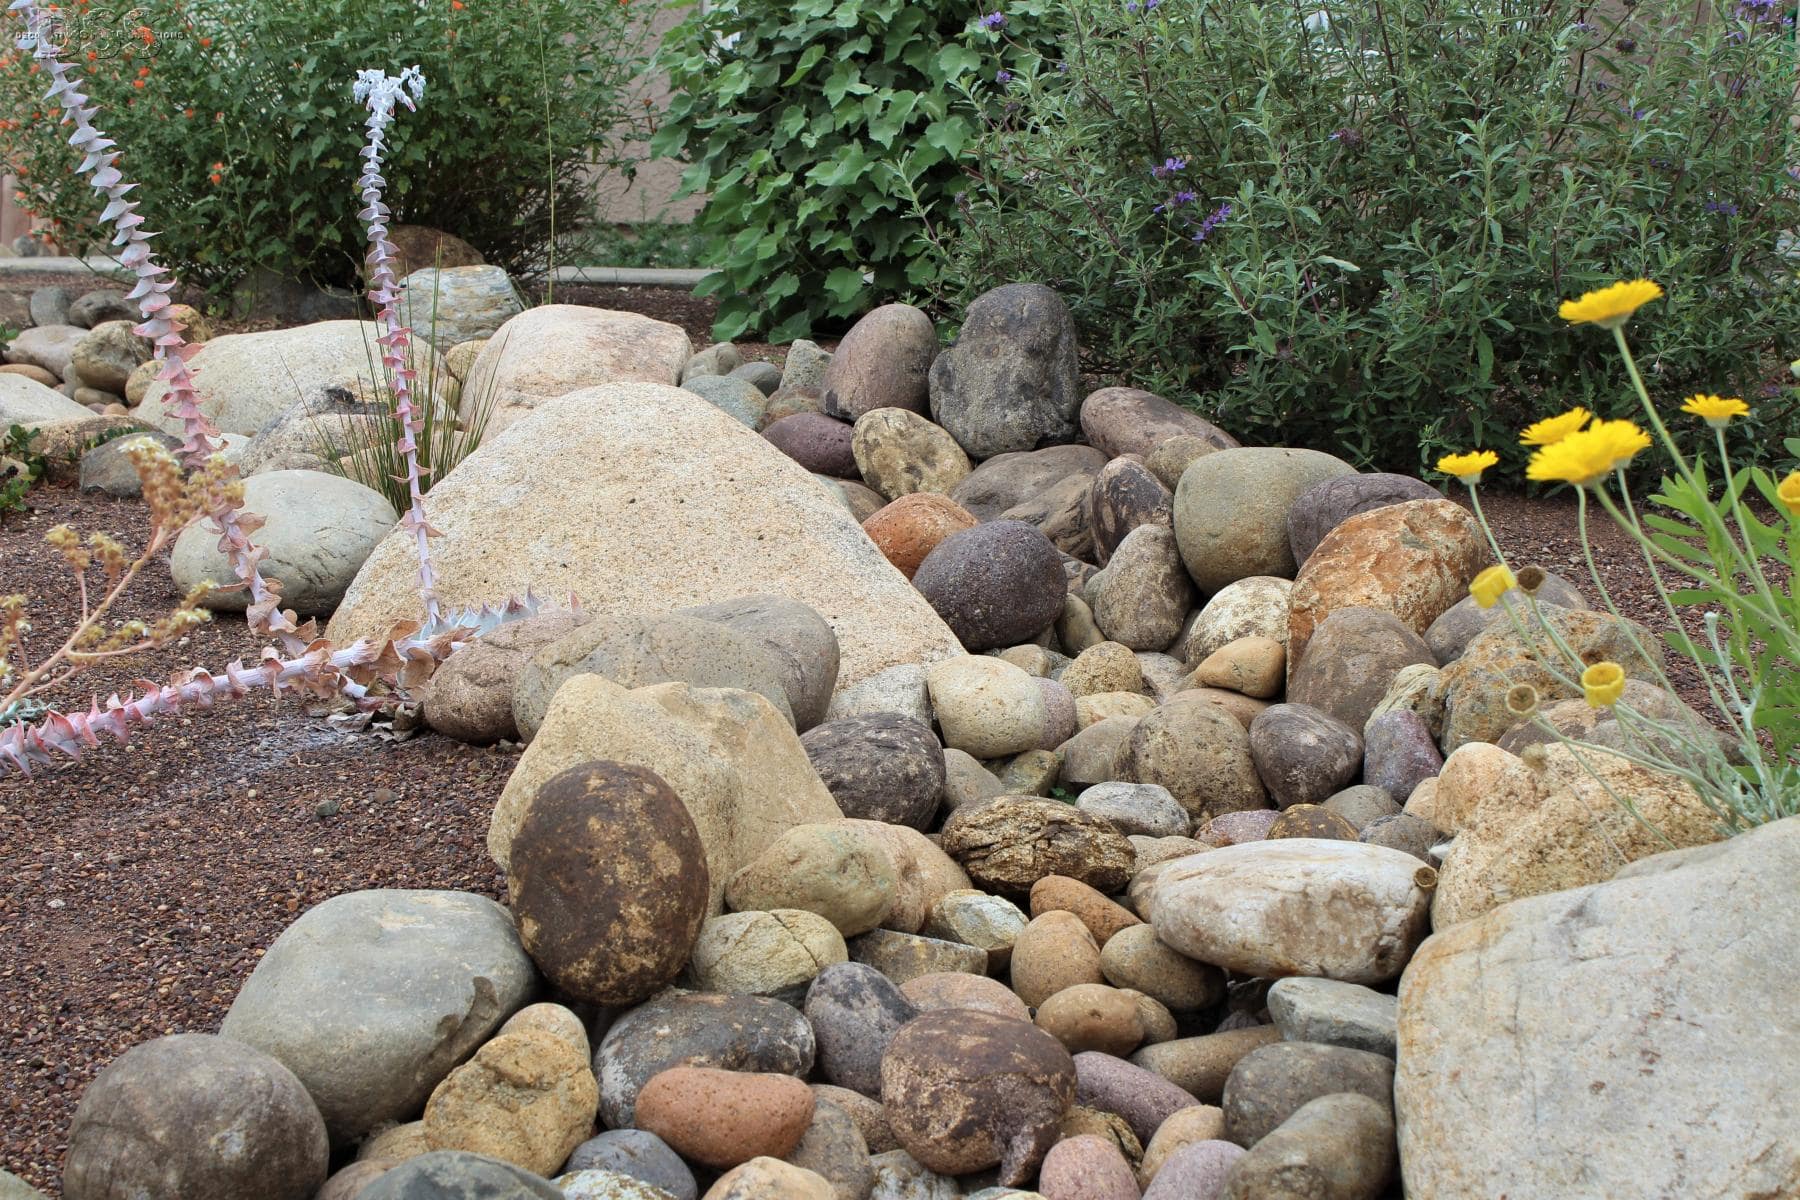
- Start with the Largest Rocks: Begin by placing the largest rocks first. These rocks will form the foundation of your design and act as anchor points for the rest of the rocks.
- Strategic Placement: Position the rocks in a way that creates visual interest and complements the surrounding landscape. Consider the shape, size, and color of each rock when placing them. Experiment with different orientations and angles to find the most appealing arrangement.
- Create Balance and Harmony: Aim for a balanced and harmonious composition by distributing the rocks evenly throughout the area. Avoid clustering them too closely together or leaving large gaps between them.
- Vary the Heights: To create depth and dimension, place some rocks higher than others. This variation in height will add visual appeal and mimic the natural formations found in nature.
- Step Back and Assess: Throughout the placement process, step back periodically to assess the overall look and feel of your rock arrangement. Make adjustments as needed to achieve the desired aesthetic and functionality.
Placing large rocks requires patience and a keen eye for design. Take your time to ensure each rock is positioned thoughtfully and securely. Once you are satisfied with the placement, you can move on to the next step: securing and stabilizing the rocks.
Step 6: Securing and Stabilizing the Rocks
Securing and stabilizing the large rocks is essential to ensure they stay in place and maintain their integrity over time. Follow these steps to effectively secure and stabilize your rock placement:
- Interlocking Placement: Arrange the rocks in a way that allows them to interlock or fit snugly together. This will create stability and prevent shifting or movement.
- Backfilling: Fill the gaps between the rocks with soil or crushed stone. This backfilling helps create a solid base and provides additional stability to the rocks.
- Use Mortar or Adhesive: For added security, consider using mortar or adhesive to bond the rocks together. Apply it to the contact points between the rocks, following the manufacturer’s instructions carefully.
- Utilize Gravity: Take advantage of the natural forces of gravity to help stabilize the rocks. Position rocks with flat or broad surfaces at a slightly downward angle to improve their stability.
- Reinforce with Landscape Fabric: Place landscape fabric beneath the rocks to prevent soil erosion and weed growth. This will help maintain the stability and appearance of your rock arrangement.
Securing and stabilizing the large rocks will give you peace of mind, knowing that your rock placement will withstand the test of time and the elements. Take the necessary steps to ensure each rock is firmly in place before moving on to the final step: adding the finishing touches.
Step 7: Adding Finishing Touches
Adding the finishing touches to your rock placement will elevate the overall look and make your landscaping project truly complete. Here are some ideas to consider when adding those final details:
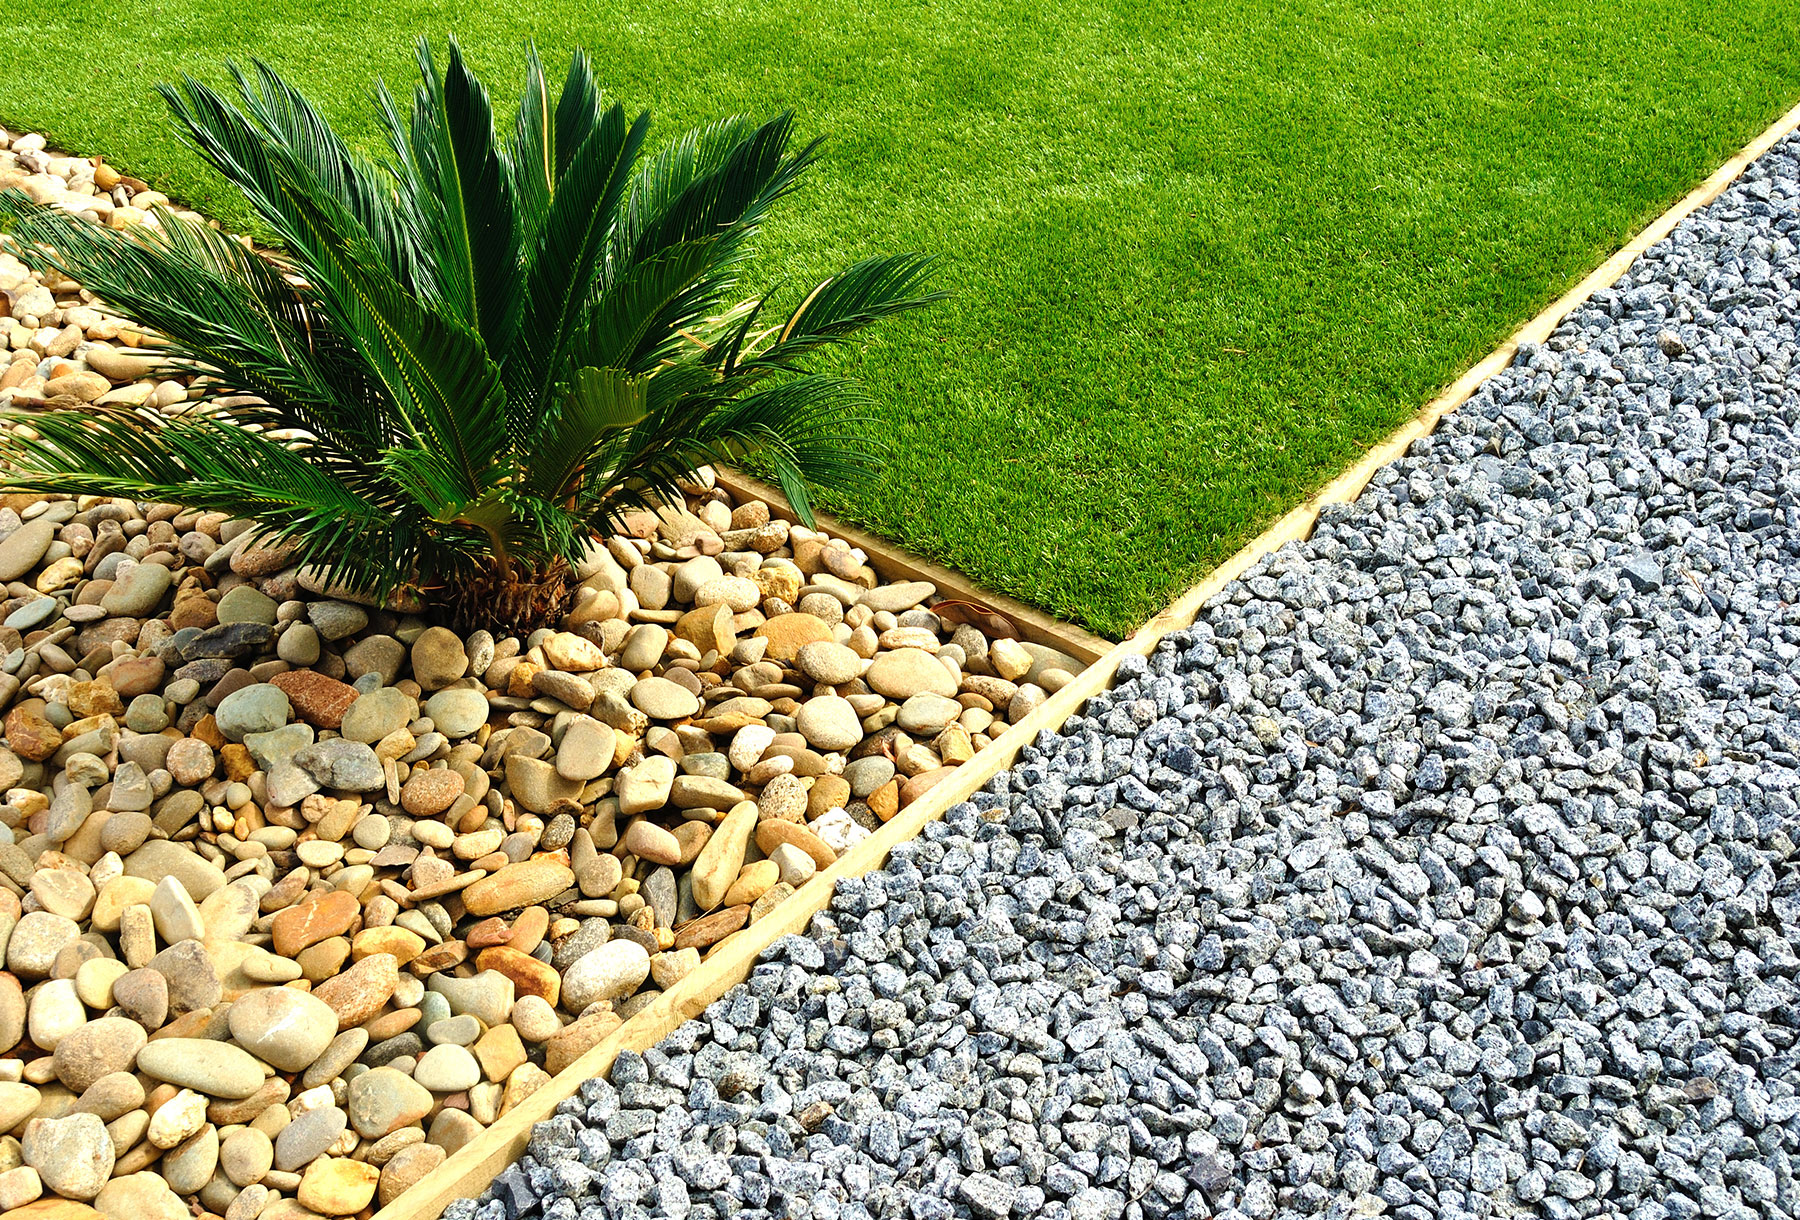
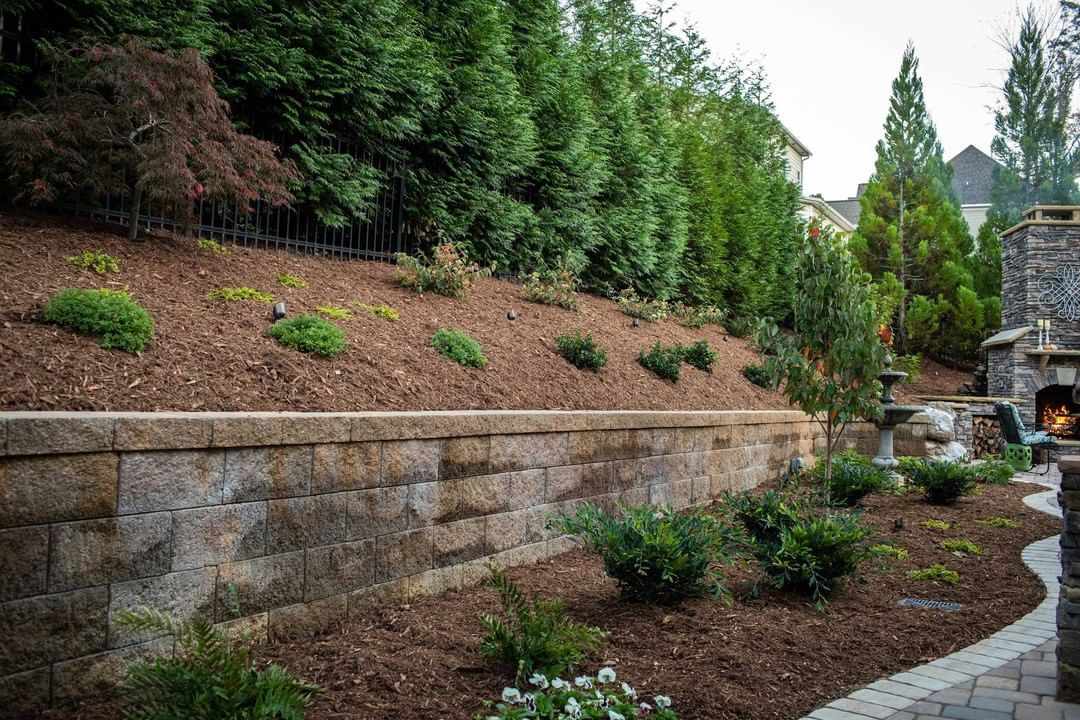
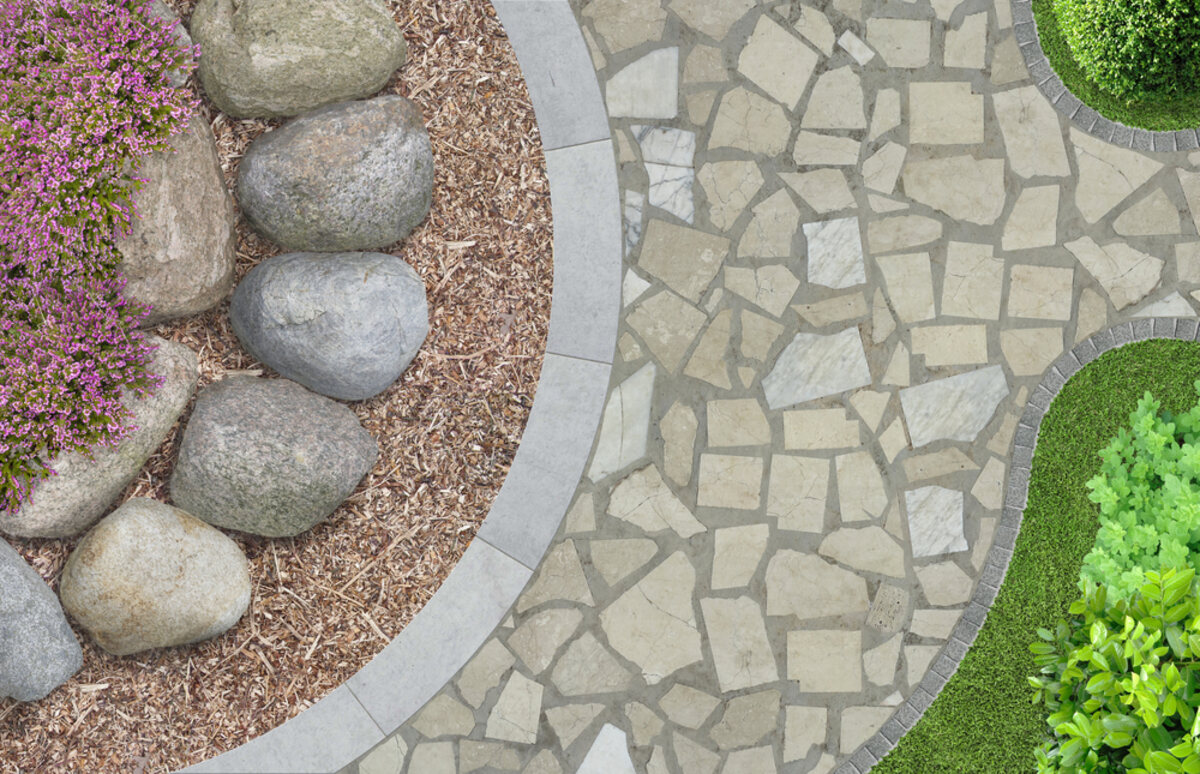
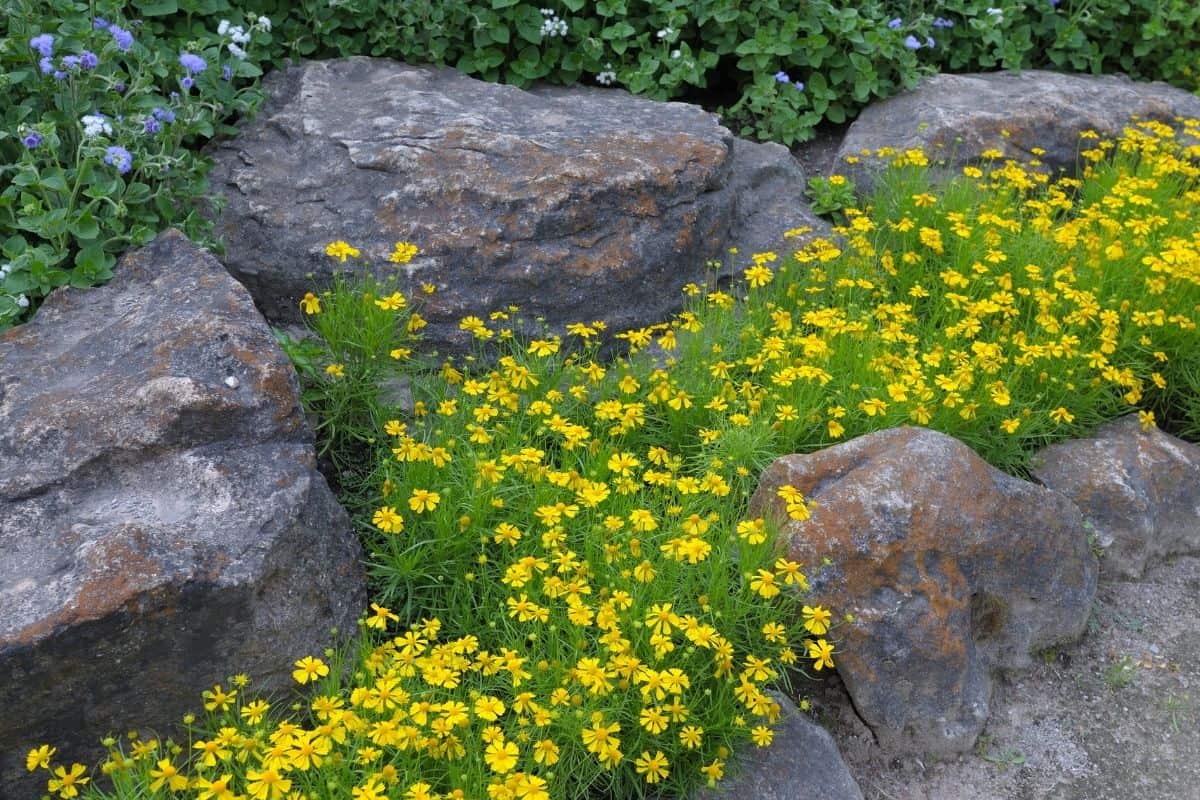
- Landscaping Around the Rocks: Enhance the beauty of the large rocks by surrounding them with complementary plants, shrubs, or flowers. Choose vegetation that complements the size and color of the rocks, and ensure proper spacing to allow the rocks to stand out.
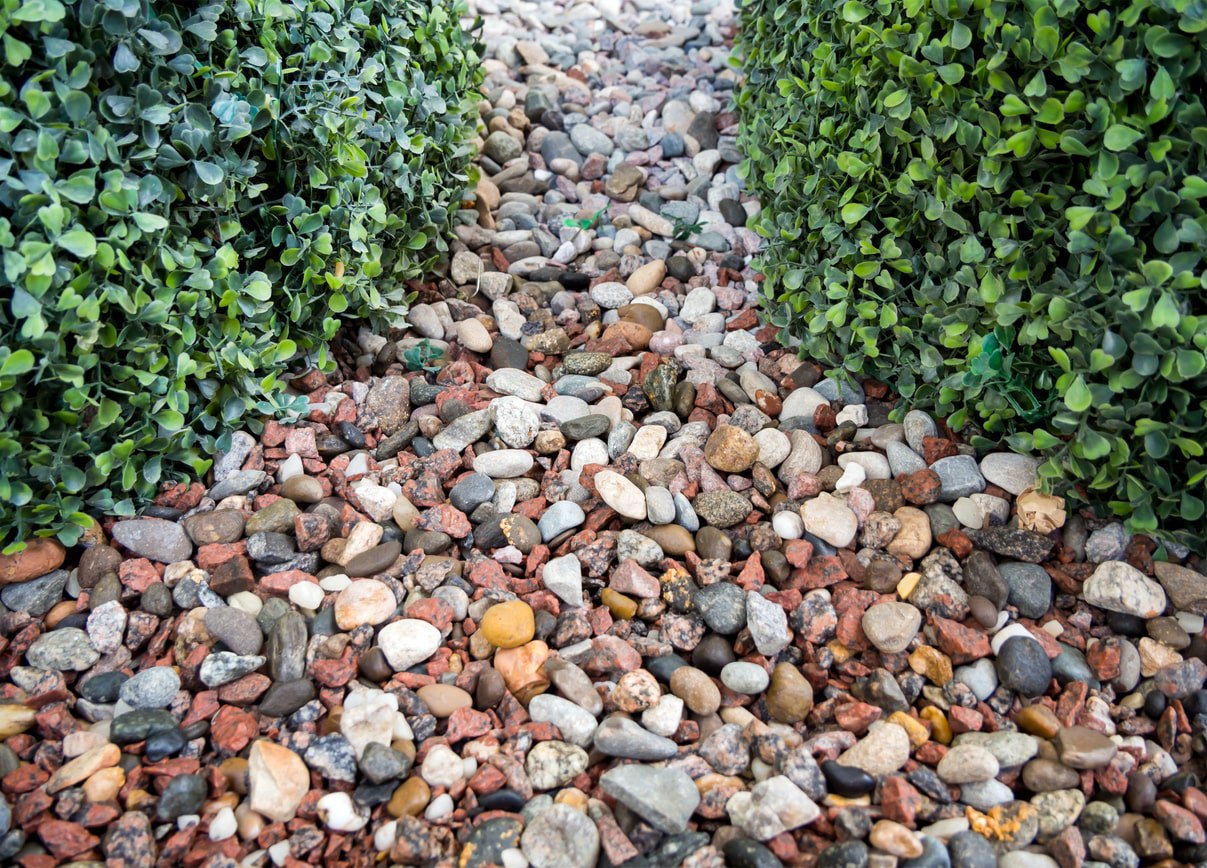
- Pathways and Walkways: Create pathways or walkways that lead to and around the rock placement. Use stone pavers or gravel to outline the paths, enhancing accessibility and guiding visitors through your landscape.
- Outdoor Lighting: Install outdoor lighting fixtures that highlight the rocks during the evening hours. Strategically placed lights can cast dramatic shadows and create an enchanting atmosphere in your outdoor space.
- Water Features: Consider incorporating water features, such as a small pond, waterfall, or fountain, near the rocks. The sound of running water and the reflections created by the rocks can add a soothing and serene ambiance to your landscape.
- Seating Areas: Create cozy seating areas near the rock placement, allowing you to enjoy and appreciate the beauty of your landscape. Adirondack chairs, benches, or stone seating walls can provide comfortable spaces to relax and take in the surroundings.
Adding these finishing touches will help integrate the rock placement into your overall landscape design and create a cohesive and inviting outdoor environment. Let your creativity shine as you personalize these details to suit your style and preferences.
With the completion of these steps, you have successfully placed large rocks in your landscaping. Sit back, admire your work, and enjoy the beauty and impact that these magnificent rocks bring to your outdoor space. Remember to periodically inspect and maintain the rocks to ensure their longevity and continued beauty.
Conclusion
Placing large rocks in landscaping is an artful and rewarding endeavor that can transform your outdoor space into a captivating and dynamic environment. By following the steps outlined in this guide, you can successfully incorporate these stunning natural elements into your landscape design. From choosing the right location and measuring the area to preparing the ground, selecting and transporting the rocks, and placing them strategically, each step plays a crucial role in achieving a visually pleasing and structurally sound arrangement.
Remember to take your time throughout the process, allowing your creativity to guide you as you position each rock with care. Additionally, secure and stabilize the rocks to ensure long-term durability and safety. Add the finishing touches, such as landscaping, pathways, lighting, water features, and seating areas to enhance the overall aesthetic appeal and functionality of your rock placement.
Whether you’re aiming to create a focal point, define boundaries, or build a natural-looking rock garden, the placement of large rocks can have a significant impact on the aesthetics and functionality of your landscape. So, let your imagination soar, and infuse your personal style into the design. With the right techniques and a touch of creativity, you can create a breathtaking outdoor space that showcases the beauty and magnificence of large rocks.
Now that you have the knowledge and guidance to embark on this landscape design journey, it’s time to pick up those rocks, roll up your sleeves, and create a landscape that will leave a lasting impression for years to come.