Home>Garden Design>Landscape Design>How To Lay Landscaping Rock

Landscape Design
How To Lay Landscaping Rock
Modified: January 22, 2024
Learn how to create stunning landscape designs using landscaping rocks. Enhance the beauty of your outdoor space with our expert tips and step-by-step guide.
(Many of the links in this article redirect to a specific reviewed product. Your purchase of these products through affiliate links helps to generate commission for Chicagolandgardening.com, at no extra cost. Learn more)
Table of Contents
Introduction
Landscaping with rocks is a popular choice for creating beautiful outdoor spaces. Whether you want to add texture and depth to your garden or create a low-maintenance landscape, using landscaping rocks can be a great solution. Not only do rocks bring a natural element to your outdoor environment, but they also provide durability and longevity.
In this article, we will guide you through the step-by-step process of laying landscaping rocks to transform your outdoor space into a stunning oasis. From preparing the area to adding the final touches, we will cover everything you need to know to achieve professional-looking results.
Before you begin the installation process, it’s important to have a clear vision of your desired outcome. Consider the style and theme you want to achieve, as well as the function of your outdoor space. Are you looking to create a serene and tranquil retreat or a vibrant and colorful garden? Knowing this will help you select the right type and size of rocks, as well as determine the layout and design.
Additionally, it’s crucial to assess the condition of your yard and plan accordingly. Take note of any potential obstacles such as underground utilities or tree roots that may interfere with the installation process. By addressing these factors prior to starting, you can ensure a smooth and successful landscaping project.
While the process of laying landscaping rocks may seem daunting, it is a rewarding endeavor that allows you to express your creativity and enhance the overall beauty of your property. So, let’s dive into the steps needed to create a stunning rock landscape that will stand the test of time.
Step 1: Prepare the Area
Before you begin laying landscaping rocks, it’s essential to properly prepare the area. This step will ensure a solid foundation for the rocks and help prevent future issues such as weed growth and uneven surfaces.
Start by clearing the area of any debris, including weeds, grass, and rocks. Remove any existing plants or shrubs that you do not want to incorporate into the new landscape design. Use a rake or shovel to level the ground and remove any bumps or unevenness.
If necessary, consider grading the area to ensure proper drainage. This is especially important if you live in an area prone to heavy rainfall. Good drainage will prevent water from pooling and damaging the landscaping rocks.
Next, determine the boundaries of your landscaped area. Use stakes and string to mark the perimeter, allowing you to visualize the shape and size of the space. Take measurements and note any specific points or features you want to highlight within the design.
Once the boundaries are established, it’s time to prepare the soil. Remove any large rocks or roots that may interfere with the installation. Loosen the soil with a garden fork or tiller, ensuring it is well aerated and ready to receive the landscaping rocks.
Consider adding a layer of landscape fabric to prevent weed growth. This will act as a barrier between the soil and rocks, reducing the likelihood of unwanted plants taking root. Cut the fabric to fit within the marked boundaries and secure it in place using landscape fabric pins.
By taking the time to properly prepare the area, you are setting the foundation for a successful landscaping project. This step may require some physical exertion, but the effort will pay off in the long run by ensuring an even and smooth surface for the rocks to be laid upon.
Step 2: Remove Existing Vegetation
Before you can start laying landscaping rocks, it’s important to remove any existing vegetation from the area. This includes grass, weeds, and any unwanted plants that may interfere with the overall aesthetics of your landscape design.
Start by mowing the grass as short as possible and using a shovel or spade to remove the top layer of turf. This will help expose the roots and make it easier to remove the grass entirely. You can also use a sod cutter for larger areas to make the process quicker and more efficient.
If you have any stubborn weeds or plants, you may need to use an herbicide or weed killer to eliminate them. Follow the manufacturer’s instructions carefully and give the herbicide enough time to take effect before proceeding with the removal.
Once the vegetation has been removed, it’s important to properly dispose of it. You can either compost the organic material or dispose of it in accordance with your local waste management guidelines.
Removing existing vegetation is crucial to ensure that your landscaping rocks have a clean and clear space to be laid upon. It will also prevent weeds from growing through the rocks and ruining the overall aesthetic of your landscape design.
Remember that this step may require some physical effort, so it’s important to take breaks and stay hydrated. It’s also a good idea to wear protective gloves and clothing to protect yourself from scratches or allergies caused by certain plants.
Step 3: Outline the Shape
Once you have prepared the area and removed existing vegetation, the next step in laying landscaping rocks is to outline the shape of your desired landscape design. This step is crucial as it helps you visualize the layout and ensures that the rocks are placed in the most appealing and functional way.
Start by using a garden hose or rope to mark the outline of your landscape design. Manipulate the hose or rope to create curves, borders, and any other desired shapes within your landscape. Take your time during this step to experiment with different designs and find the most pleasing arrangement.
As you outline the shape, consider the existing elements in your yard such as trees, shrubs, and structures. Make sure to incorporate them into your design and create focal points around them. This will help create a cohesive and harmonious look.
It is also important to consider the scale and proportion of your landscape design. Think about the size and shape of your yard and how the rocks will fit within the space. Balancing the size and placement of the rocks will help create visual interest and prevent your landscape from looking cluttered or overwhelming.
During this step, it can be helpful to take measurements and mark key points using stakes or spray paint. This will provide you with reference points when you start laying the rocks.
Remember that this process is flexible, and you can make adjustments as you go. Don’t be afraid to experiment and try different outlines until you find the perfect shape for your landscape.
Once you have outlined the shape, take a moment to step back and evaluate the design from different angles. Make sure you are satisfied with the arrangement and that it complements the overall look of your outdoor space.
By outlining the shape of your landscape design, you are setting the foundation for a visually appealing and well-organized landscape. This step helps you create a roadmap for the placement of landscaping rocks and ensures that the end result is both functional and aesthetically pleasing.
Step 4: Dig Trenches
Once you have outlined the shape of your landscape design, it’s time to dig trenches for the placement of the landscaping rocks. Digging trenches provides a secure and stable base for the rocks, preventing them from shifting or sinking over time.
Start by using a shovel to dig trenches along the outline you have created. The depth and width of the trenches will depend on the size and type of rocks you are using, as well as the desired depth of the rock layer. As a general guideline, aim for a trench depth of around 4-6 inches.
Make sure the trench is level and even by periodically checking with a level or straight edge. This will ensure that the rocks will sit flat and provide a smooth surface for walking or other activities in your landscaped area.
As you dig the trenches, it can be helpful to set aside the soil in a wheelbarrow or a designated area. This will make it easier to fill in any gaps or low spots with soil once the rocks are in place.
Consider adding a layer of landscape fabric at the bottom of the trenches to further inhibit weed growth. Cut the fabric to fit and overlap the edges, securing it in place with landscape fabric pins.
Before proceeding to the next step, take some time to walk along the trenches and double-check their alignment and depth. Make any necessary adjustments to ensure uniformity and a level surface.
Digging trenches is a crucial step in the process of laying landscaping rocks. It provides a solid foundation for the rocks and helps maintain their stability and longevity. Taking the time to properly dig trenches will ensure that your landscape design remains intact and visually appealing for years to come.
Step 5: Install Landscape Fabric
Installing landscape fabric is an important step in creating a low-maintenance and weed-free landscape. Landscape fabric acts as a barrier between the soil and the landscaping rocks, preventing weed growth and helping to maintain the overall cleanliness of your outdoor space.
Once you have dug the trenches for the rocks, it’s time to lay the landscape fabric. Start by measuring and cutting the fabric to fit within the boundaries of your landscaped area. Make sure to leave some overlap along the edges to ensure full coverage.
Unroll the landscape fabric and place it inside the trenches, covering the entire area where the rocks will be placed. Smooth out any wrinkles or folds to ensure even coverage.
Secure the landscape fabric in place using landscape fabric pins. Place the pins every few feet along the edges and throughout the fabric to prevent it from shifting or moving.
If you have any plants or shrubs within the landscaped area, cut an “X” in the fabric and gently pull the fabric back to expose the soil around the plant. This will allow the plant to continue receiving nutrients while still benefiting from the weed-blocking properties of the landscape fabric.
Installing landscape fabric will help maintain a clean and tidy landscape by preventing weed growth. Additionally, it will allow for better water drainage and reduce the need for excessive maintenance or weeding in the future.
Before moving on to the next step, take a moment to ensure that the landscape fabric is properly installed and covers the entire area where the landscaping rocks will be placed. This will provide a solid foundation for the rocks and help maintain the overall integrity of your landscape design.
Step 6: Add Edging
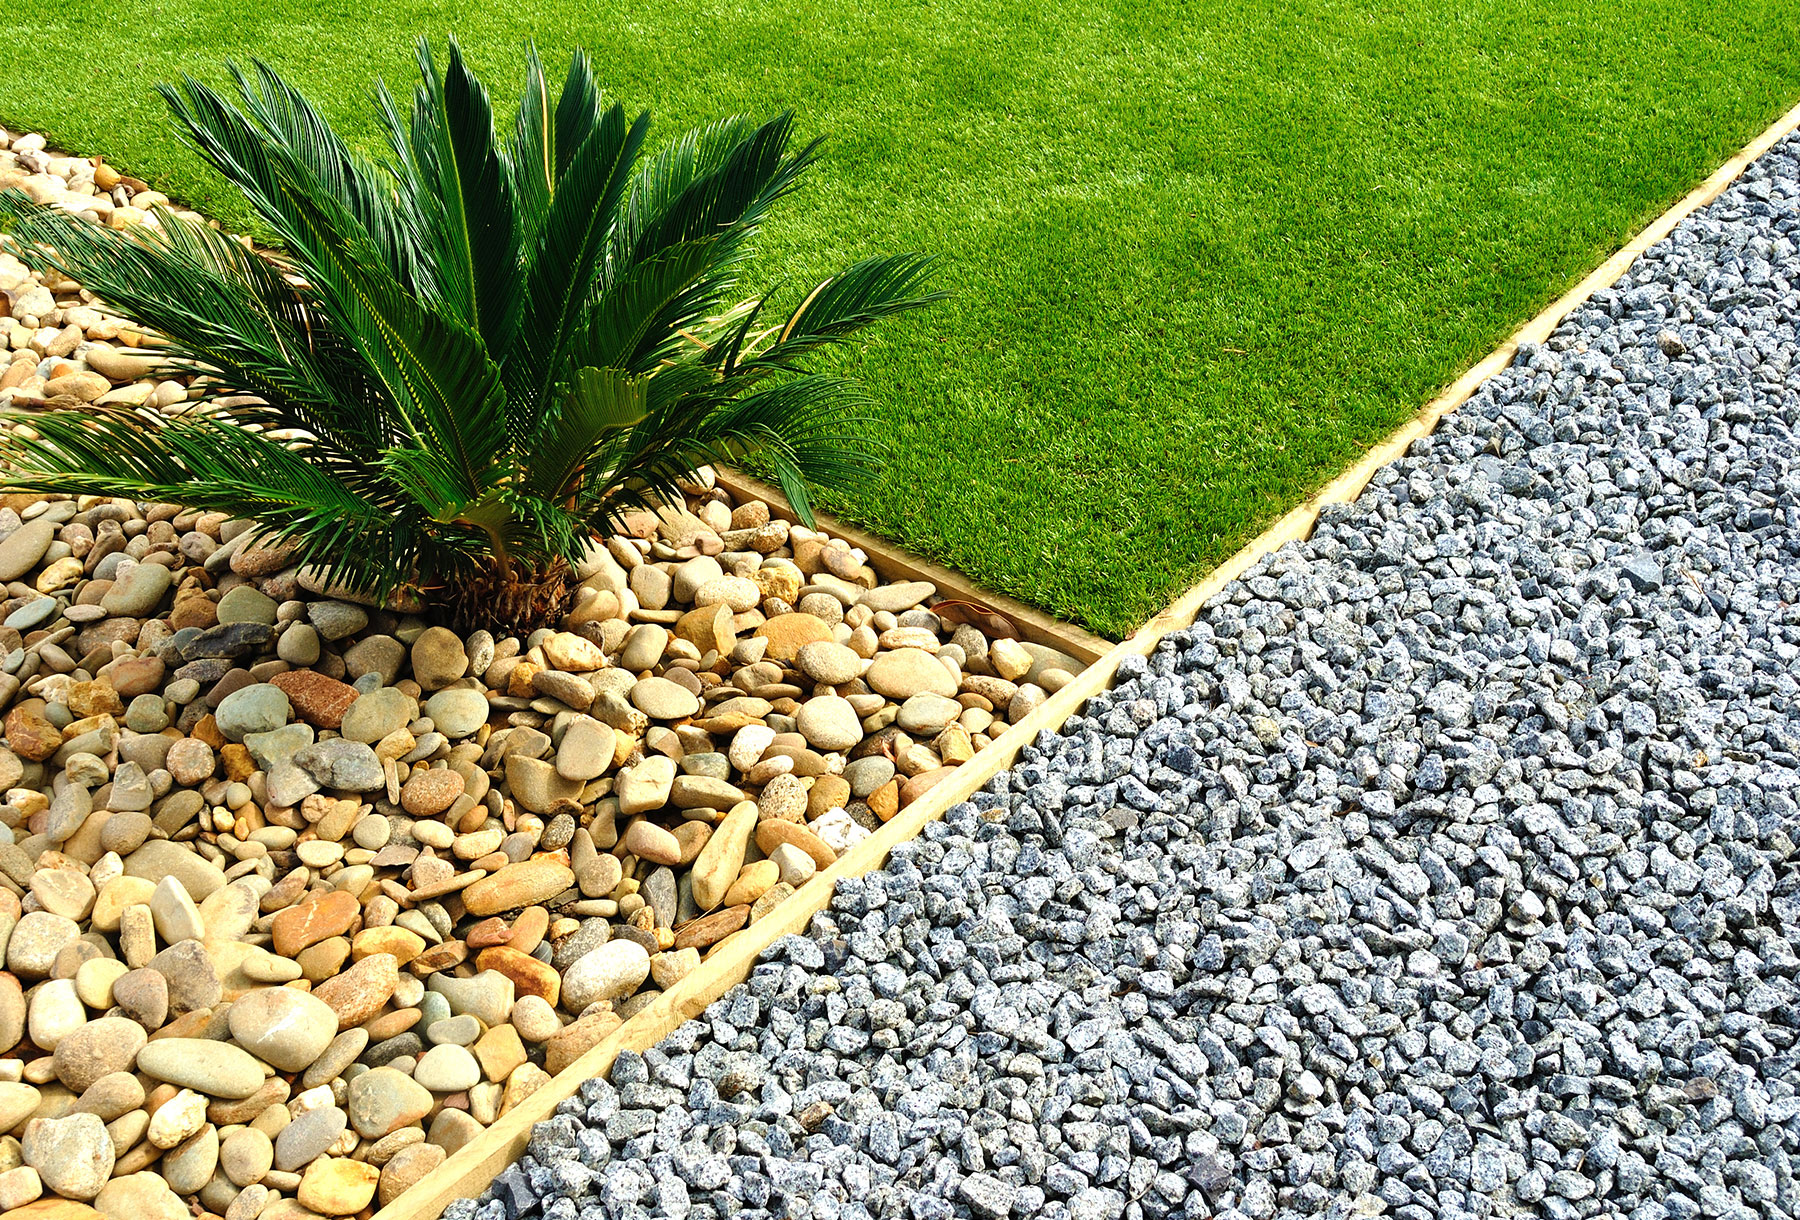
Adding edging to your landscaping project not only enhances the visual appeal but also provides a clear separation between the rock area and the surrounding landscape. Edging serves as a border, keeping the landscaping rocks contained and preventing them from spreading into other areas.
There are various options for edging, including plastic, metal, stone, or concrete. Choose an edging material that complements your overall landscape design and fits within your budget.
Start by placing the edging material along the outer perimeter of your landscaped area. Use a mallet or hammer to secure the edging into the ground at regular intervals. Make sure the edging is level and protrudes slightly above the ground to keep the rocks from spilling over.
If using flexible edging material like plastic or rubber, you can easily shape it to follow the curves and contours of your landscape design. Simply bend and manipulate the edging to fit the desired shape.
Ensure that the edging is properly aligned and create clean, crisp lines by using a level or straight edge. This will give your landscaping project a professional and polished look.
Incorporating edging into your landscaping project not only adds a finishing touch but also helps maintain the integrity of your design. It provides a defined border and prevents the landscaping rocks from migrating or mixing with adjacent areas.
Take a moment to step back and assess the newly added edging. Ensure that it is securely in place and complements the overall aesthetic of your landscape design.
Adding edging is a crucial step in the process of laying landscaping rocks. It not only improves the appearance of your outdoor space but also provides functionality by keeping the rocks contained and ensuring a well-defined border.
Step 7: Spread Landscaping Rock
The time has come to spread the landscaping rock and bring your vision to life. This step will transform your outdoor space as you begin to see the texture and beauty of the rocks come together.
Start by pouring the landscaping rock into the trenches and designated areas. Use a shovel or wheelbarrow to distribute the rocks evenly, ensuring that they are spread to the desired depth. Depending on your preferences and the size of the rocks, aim for a depth of 2-4 inches.
As you spread the rock, keep in mind the different elements of your design. Use larger rocks as focal points or accents, and fill in the gaps with smaller rocks. This will create a visually appealing and balanced composition.
Take your time during this step to ensure that the rocks are evenly distributed and create a seamless transition across the entire landscape. Use a rake or a garden fork to smooth out any uneven areas and create a level surface.
If you have any plants or shrubs within the landscaped area, be cautious when spreading the rocks around them. Leave a small ring of bare soil around the base of the plants to prevent the rocks from suffocating the roots.
As you spread the landscaping rock, take breaks to step back and assess the overall look. Make adjustments as needed to achieve your desired aesthetic.
Spreading landscaping rock requires attention to detail and patience. Take the time to ensure the rocks are evenly distributed and create a cohesive and visually pleasing landscape design.
Once you are satisfied with the spread of the landscaping rock, you can move on to the next step in the process, where you will smooth and level the rock.
Step 8: Smooth and Level the Rock
After spreading the landscaping rock, the next step is to smooth and level the surface. This will not only enhance the overall appearance of your landscape but also provide a safe and even surface to walk on.
Start by using a rake or a garden fork to gently rake the rock surface. This will help to even out any high or low spots and create a smooth and consistent texture throughout the landscape.
Pay close attention to areas where the rock meets the edging or other landscape features. Make sure the transition is seamless and there are no gaps or uneven sections.
For larger rocks that are used as focal points or accents, use a shovel or your hands to position them at the desired angle or arrangement. Make any necessary adjustments to ensure they are securely in place and visually appealing.
Throughout the smoothing and leveling process, periodically walk on the landscape to test the firmness and stability of the rock surface. Ensure that there are no areas that feel unstable or sink underfoot.
If you notice any areas that require additional rocks to fill in gaps or low spots, add them accordingly. Be mindful of maintaining a consistent layer of rock throughout the entire landscaped area.
During this step, it’s important to focus on achieving a well-balanced and visually pleasing landscape. Take breaks to step back and evaluate the overall appearance. Make adjustments as needed to create a harmonious and professional-looking design.
By smoothing and leveling the rock surface, you are creating an inviting and safe outdoor space. This step ensures that the landscape is both functional and aesthetically pleasing, leaving you with a polished and impressive final result.
Step 9: Compact the Rock
Once you have smoothed and leveled the landscaping rock, the next step is to compact it. This step is crucial as it helps to settle the rocks into place, ensuring a stable and durable surface.
There are a few methods you can use to compact the rock. One option is to use a lawn roller filled with water to roll over the surface. The weight of the roller will help to press the rocks down and eliminate any air gaps.
Another method is to use a plate compactor specifically designed for compacting surfaces like landscaping rock. This machine vibrates as it moves over the rock, further compacting it and creating a solid foundation. Be sure to follow the manufacturer’s instructions when using a plate compactor.
If you don’t have access to a roller or compactor, you can also use a hand tamper. Simply press the tamper firmly onto the rock surface, focusing on areas that may feel loose or uneven. Repeat this process in a grid-like pattern across the entire landscaped area.
While compacting the rock, pay attention to any areas that may require additional rocks to fill in gaps or low spots. Make sure to address these areas before finalizing the compaction process.
Be mindful not to over-compact the rock, as this can lead to a solid and hard surface that may not drain properly. The goal is to achieve a firm and stable base without compromising the drainage capabilities of the rock layer.
Once you have completed the compaction process, take a moment to walk on the surface and test its stability. Ensure that it feels solid and does not sink underfoot. Make any necessary adjustments, such as adding more rock or recompacting specific areas if needed.
Compacting the rock is an essential step in the installation process. By ensuring a stable and well-compacted surface, you are creating a durable and long-lasting landscape that can withstand the elements and everyday use.
Step 10: Final Touches
As you near the completion of your landscaping project, it’s time to add the final touches that will elevate the overall look and functionality of your outdoor space.
Start by inspecting the edges of the landscaped area. Use a shovel or your hands to tuck any loose rocks along the edging, ensuring a neat and cohesive border. This will give your landscape a polished and professional finish.
If you have any plants or shrubs within the landscaped area, take the time to trim and shape them. This will not only enhance their appearance but also prevent them from becoming overgrown and overshadowing the rocks.
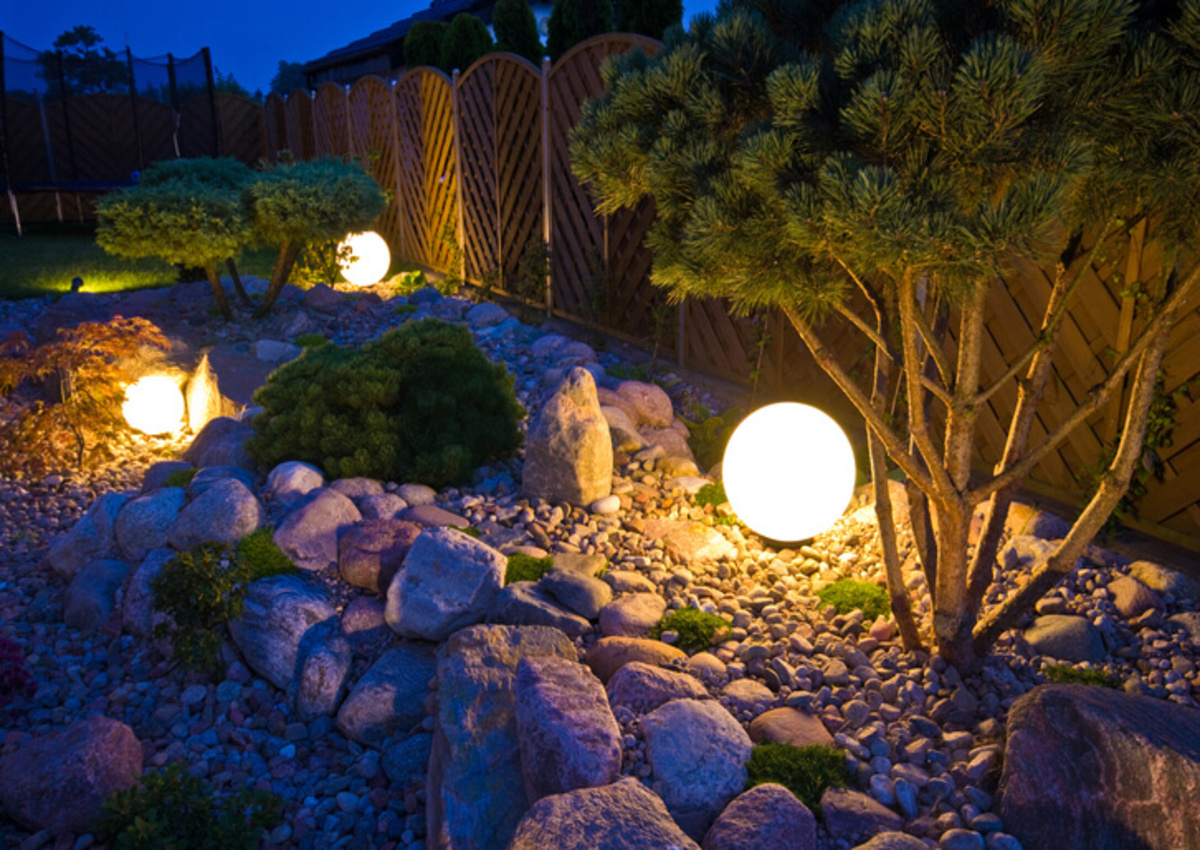
Consider adding decorative elements such as potted plants, garden ornaments, or outdoor lighting to enhance the ambiance of your landscape. These final touches will add personality and make your outdoor space feel complete.
Take a step back and evaluate the overall landscape design. Make any necessary adjustments to achieve your desired aesthetic. Look for any areas that may require additional rocks or plants to create balance and visual interest.
Lastly, don’t forget about maintenance. Regularly inspect the landscaped area for fallen leaves or debris and remove them to keep the rocks clean and free from obstructions. Be mindful of any weeds that may still manage to sprout and promptly remove them to maintain a weed-free landscape.
Completing the final touches of your landscaping project allows you to create a harmonious and visually stunning outdoor space. By attending to the small details, you will achieve a landscape that not only looks beautiful but also functions well for your outdoor activities and enjoyment.
Conclusion
Congratulations on completing the steps to laying landscaping rocks! By following these guidelines, you have transformed your outdoor space into a stunning and low-maintenance landscape. The careful preparation, removal of existing vegetation, outlining the shape, digging trenches, installing landscape fabric, adding edging, spreading the rock, smoothing and leveling, compacting, and adding final touches have all contributed to the creation of a beautiful and functional outdoor oasis.
As you step back and admire your handiwork, take pride in the effort and creativity you’ve invested in your landscape design. The layer of landscaping rock not only brings a natural element to your surroundings but also provides durability and longevity.
Remember to regularly maintain your landscaped area by removing debris, tending to plants, and addressing any weed growth. By keeping up with maintenance, your landscape will continue to look its best for years to come.
Enjoy the beauty and tranquility of your new landscape design. Whether it’s a serene retreat, a vibrant garden, or a functional outdoor space, the addition of landscaping rocks has enhanced the overall appeal and value of your property.
Continue to let your creativity flow by exploring additional landscaping ideas and incorporating new elements into your outdoor space. With the right combination of landscaping rocks, plants, and design elements, you can truly create a personalized and unique landscape that reflects your style and enhances your enjoyment of the great outdoors.
Now, step outside and revel in the breathtaking beauty of your newly laid landscaping rocks!
