Home>Garden Design>Landscape Design>How To Remove Landscaping Rocks
Landscape Design
How To Remove Landscaping Rocks
Modified: January 22, 2024
Learn how to remove landscaping rocks with our step-by-step guide. Enhance your landscape design by getting rid of unwanted rocks easily and efficiently.
(Many of the links in this article redirect to a specific reviewed product. Your purchase of these products through affiliate links helps to generate commission for Chicagolandgardening.com, at no extra cost. Learn more)
Table of Contents
Introduction
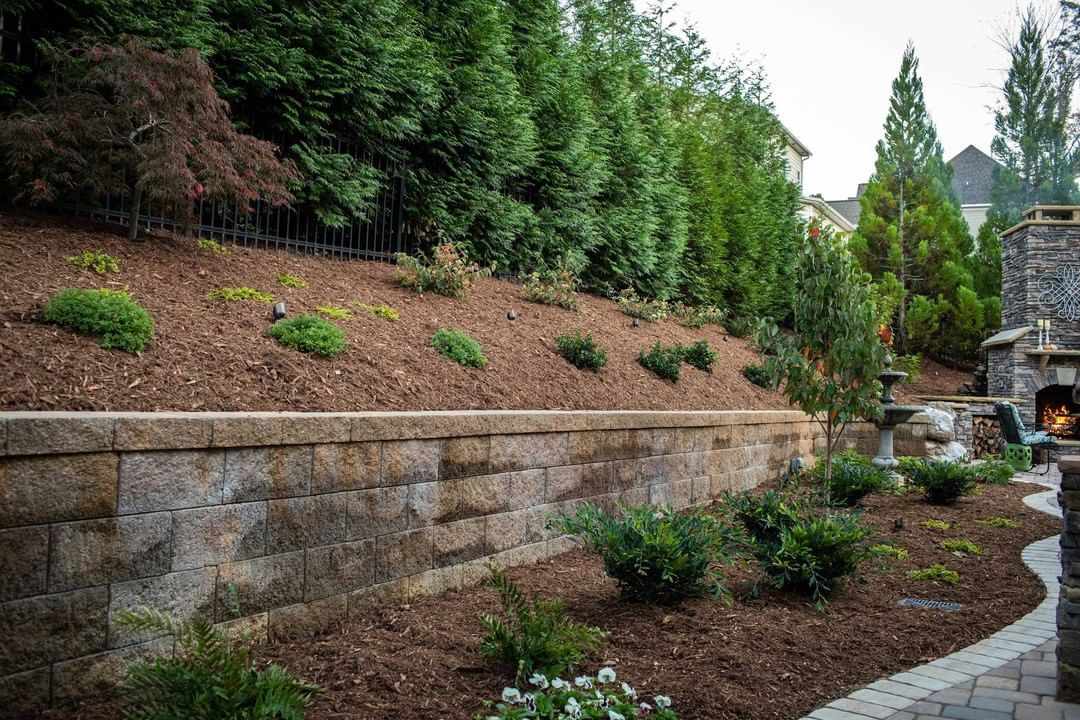
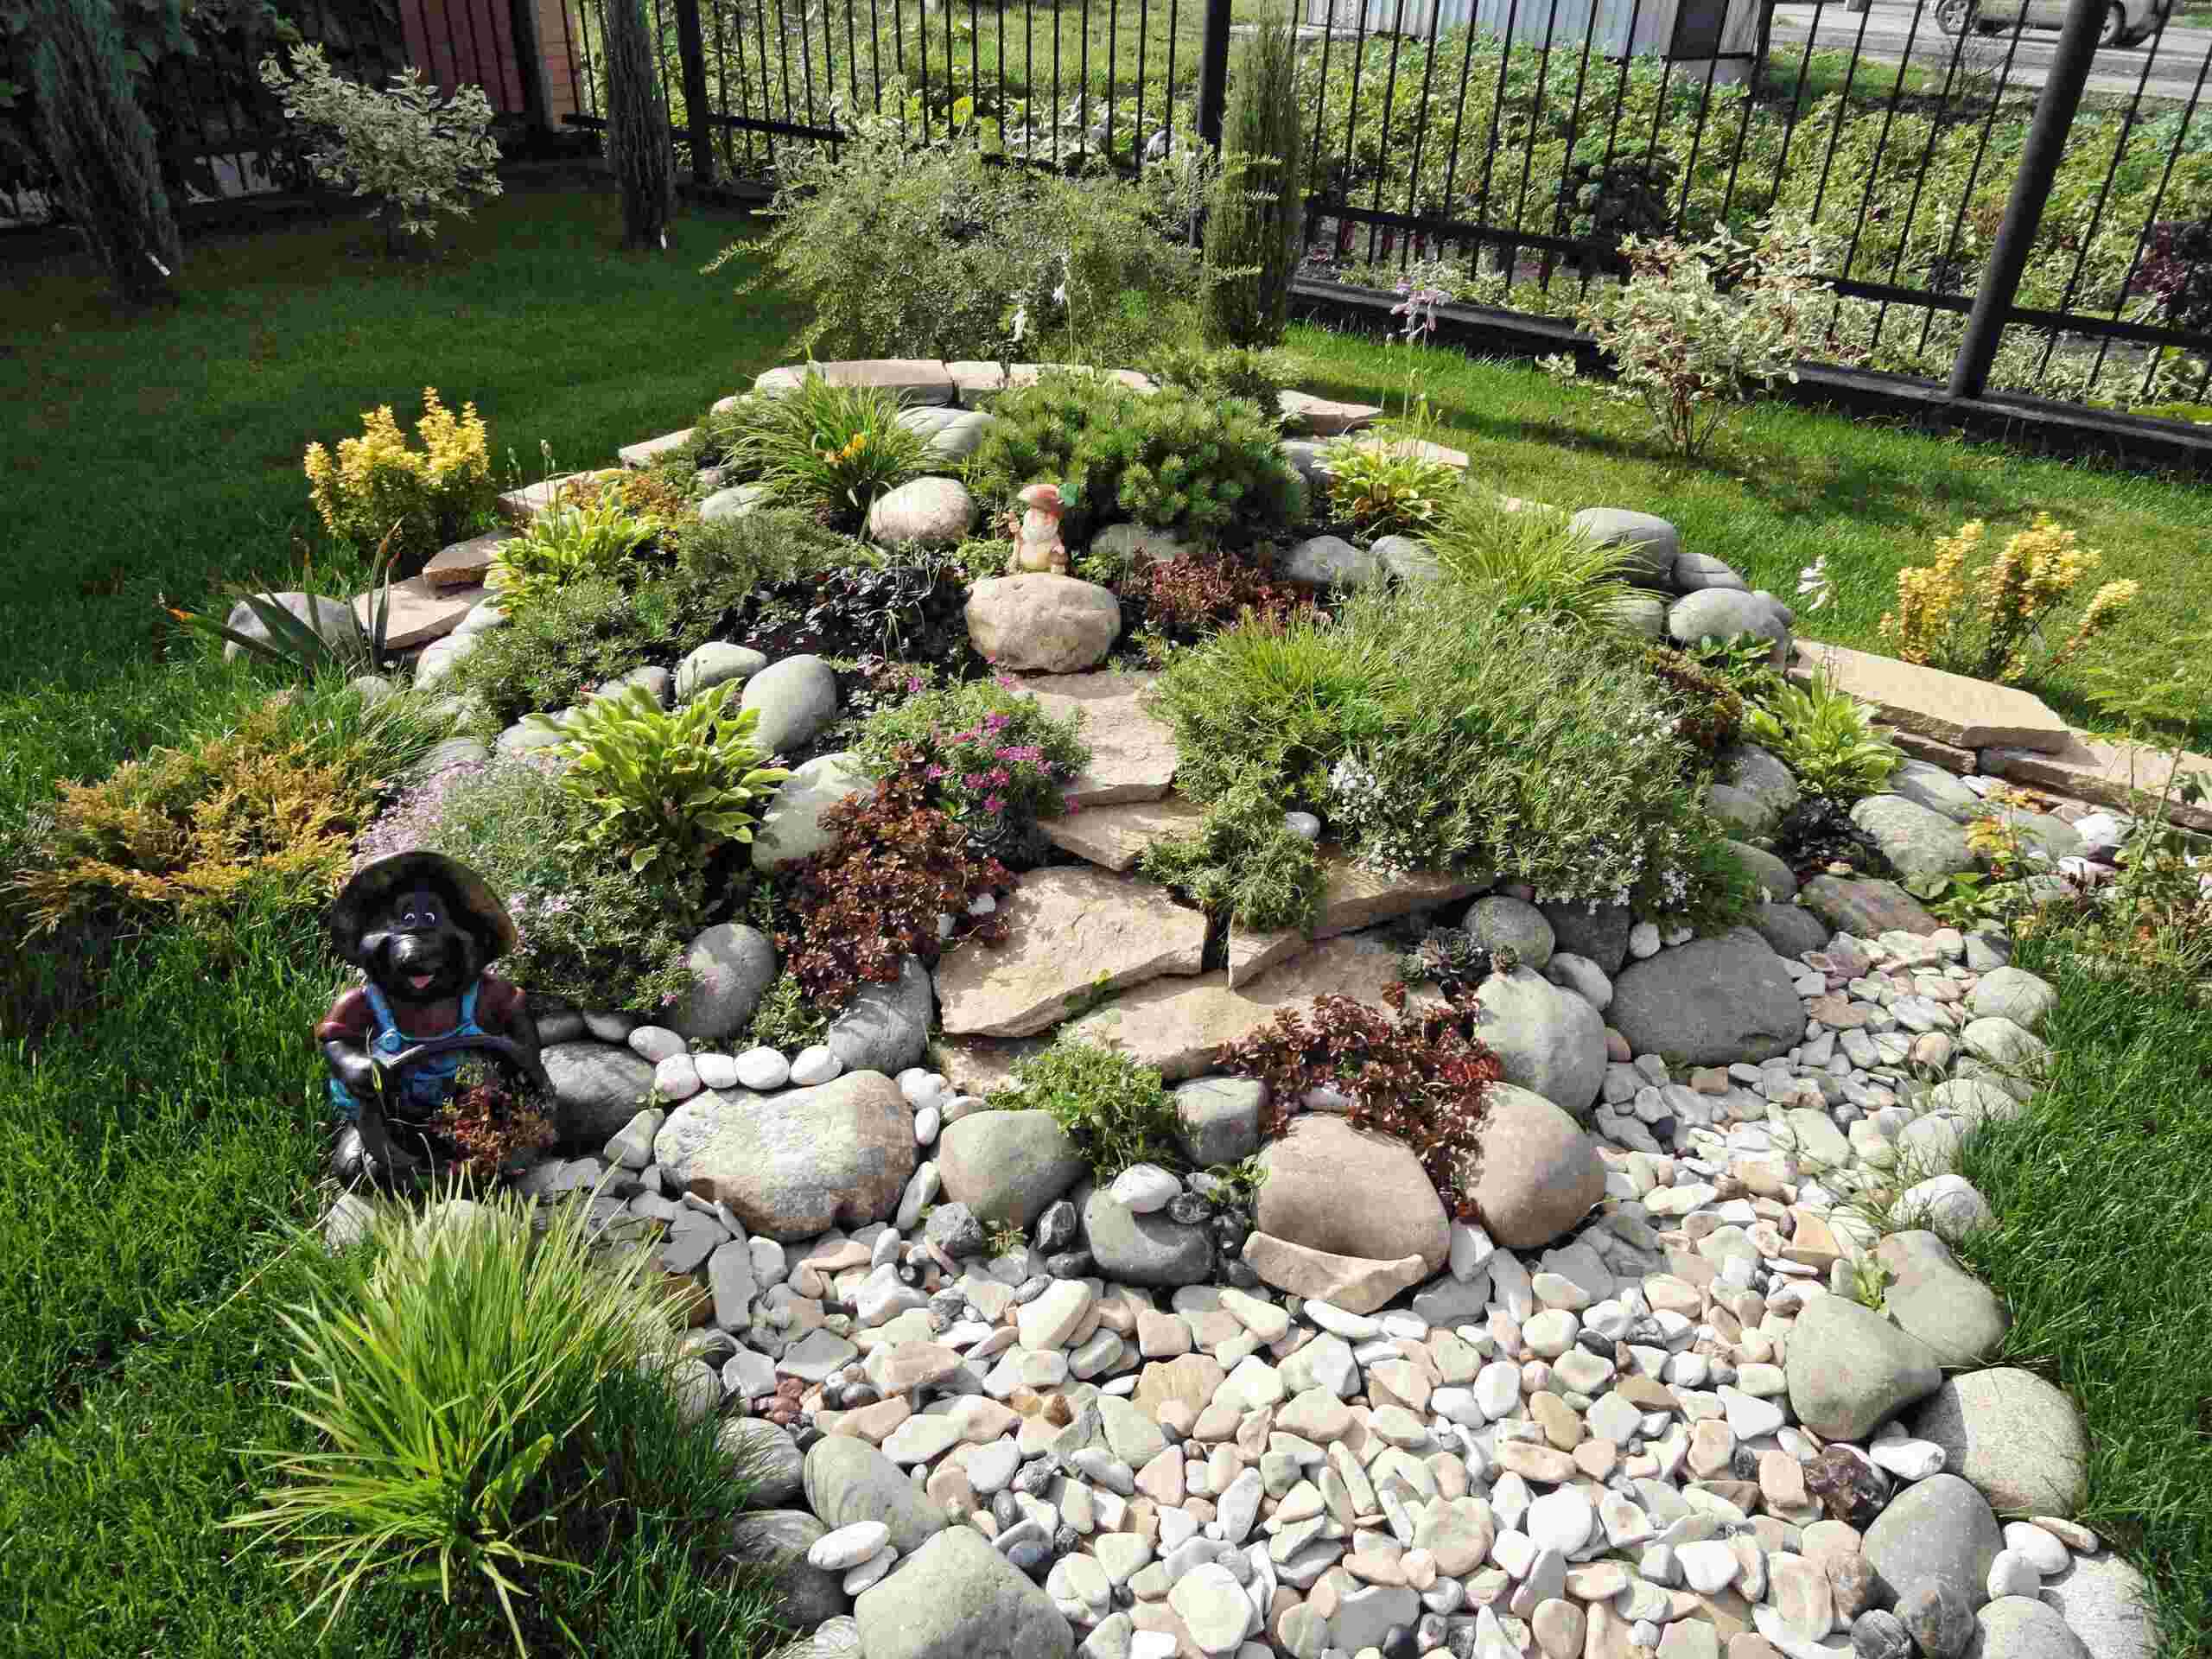
Welcome to the world of landscape design! Whether you’re a homeowner looking to transform your outdoor space or a professional landscaper, the use of landscape rocks can add texture, depth, and visual interest to any project. However, there may come a time when you need to remove those rocks to make way for new design elements or simply to change the aesthetics of your landscape.
Removing landscaping rocks can be a challenging task, but with the right tools, materials, and techniques, it can be done efficiently and safely. In this article, we will guide you through the process of removing landscaping rocks step by step.
Before we delve into the details, it’s important to note that safety should always be your top priority when working with landscaping rocks. These rocks can be heavy and potentially hazardous, so wearing protective gear such as gloves, goggles, and sturdy footwear is essential to prevent any injuries.
Additionally, it’s crucial to assess the landscape and plan the removal process accordingly. This includes studying the layout, understanding the types of rocks used, and identifying any potential obstacles or challenges that may arise during the removal.
In the following sections, we will discuss the necessary tools and materials required for removing landscaping rocks, provide guidance on how to assess the landscape, clear the area, excavate the rocks, dispose of them, and finally, restore the landscape to its desired state. So, let’s get started!
Safety Precautions
When it comes to removing landscaping rocks, it’s crucial to prioritize safety at all times. Rocks can be heavy and unwieldy, posing a risk of injury if not handled correctly. Here are some important safety precautions to keep in mind:
- Wear protective gear: Always wear appropriate protective gear, including gloves, goggles, and sturdy footwear, to protect yourself from potential injuries. Additionally, consider wearing long sleeves and pants to prevent scratches or cuts.
- Use proper lifting techniques: When lifting heavy rocks, remember to bend your knees, keep your back straight, and use your leg muscles to bear the weight. Avoid twisting or jerking motions that can cause strain or back injuries.
- Work in pairs: Removing landscaping rocks can be a two-person job, especially for larger rocks. Working with a partner will not only make the task easier but also provide an extra set of hands to ensure safe and controlled movement of the rocks.
- Be mindful of your surroundings: Take note of any overhead wires, nearby structures, or delicate plants that may be affected during the removal process. Clear the area of any obstacles or hazards to minimize accidents or damage.
- Use proper tools: Make sure to use appropriate tools, such as pry bars, shovels, and wheelbarrows, to safely handle and transport the rocks. Using the right tools will not only make the task more efficient but also reduce the risk of injuries.
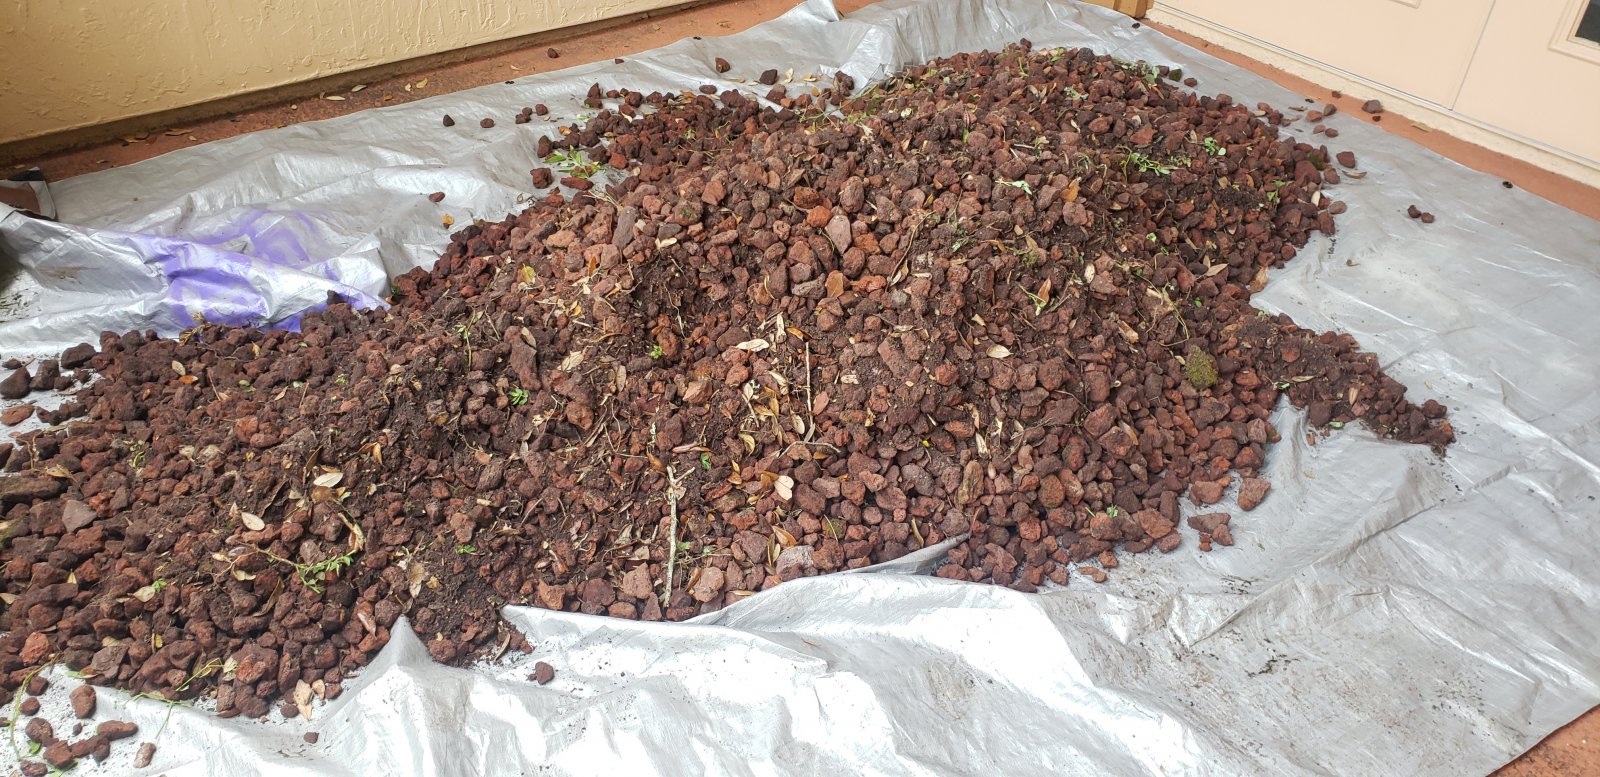
- Protect nearby surfaces: Lay down a tarp or protective covering on the ground to prevent scratches or damage to any paved surfaces or delicate plants in the vicinity. This will also make it easier to collect and dispose of the removed rocks.
- Stay hydrated: Landscaping work can be physically demanding, so remember to stay hydrated by drinking plenty of water throughout the process. Take breaks as needed to rest and re-energize.
By following these safety precautions, you can ensure a smooth and injury-free experience while removing landscaping rocks. Take the necessary time and care to prioritize your safety as well as the safety of those around you.
Tools and Materials Required
Before you begin the process of removing landscaping rocks, it’s important to gather the necessary tools and materials. Here is a list of what you’ll need:
- Pry bar or crowbar: A sturdy pry bar or crowbar will assist you in loosening and lifting the rocks.
- Shovel: A shovel will be used to dig around and under the rocks, making them easier to lift and remove.
- Wheelbarrow or cart: A wheelbarrow or cart will come in handy for transporting the rocks from the removal site to their disposal area.
- Protective gear: Ensure you have a set of gloves, goggles, and sturdy footwear to protect yourself from potential hazards.
- Tarp or protective covering: Use a tarp or other protective covering to safeguard nearby surfaces and prevent damage during the removal process.
- Safety cones or barriers: If the removal site is open or near a public area, consider using safety cones or barriers to prevent accidents and inform others of the ongoing work.
- Dumpster or skip bin: Arrange for a dumpster or skip bin to dispose of the rocks in an appropriate manner. Check with your local waste management authorities for any specific guidelines or restrictions.
- Water source: Ensure you have access to a water source, such as a hose or bucket, to rinse off any dirt or debris from the rocks as you remove them.
- Work gloves and sturdy footwear: Protect your hands with work gloves and wear sturdy, non-slip footwear to minimize the risk of injuries while handling rocks.
- Assessment tools: Depending on the size of the project, you may need a measuring tape, level, or other assessment tools to evaluate the landscape and plan the removal process.
Having these tools and materials readily available will ensure that you have everything you need to successfully remove the landscaping rocks. Before you begin, double-check that all tools are in good working condition, and ensure that you have the appropriate protective gear to stay safe throughout the process.
Assessing the Landscape
Before you start removing the landscaping rocks, it’s important to assess the landscape and plan accordingly. This will help you understand the scope of the project, identify any potential challenges, and develop a strategic approach for the removal process.
Here are some key steps to follow when assessing the landscape:
- Study the layout: Take a close look at the existing layout of the landscape. Note the placement and arrangement of the rocks, as well as any surrounding plants, structures, or features that may affect the removal process.
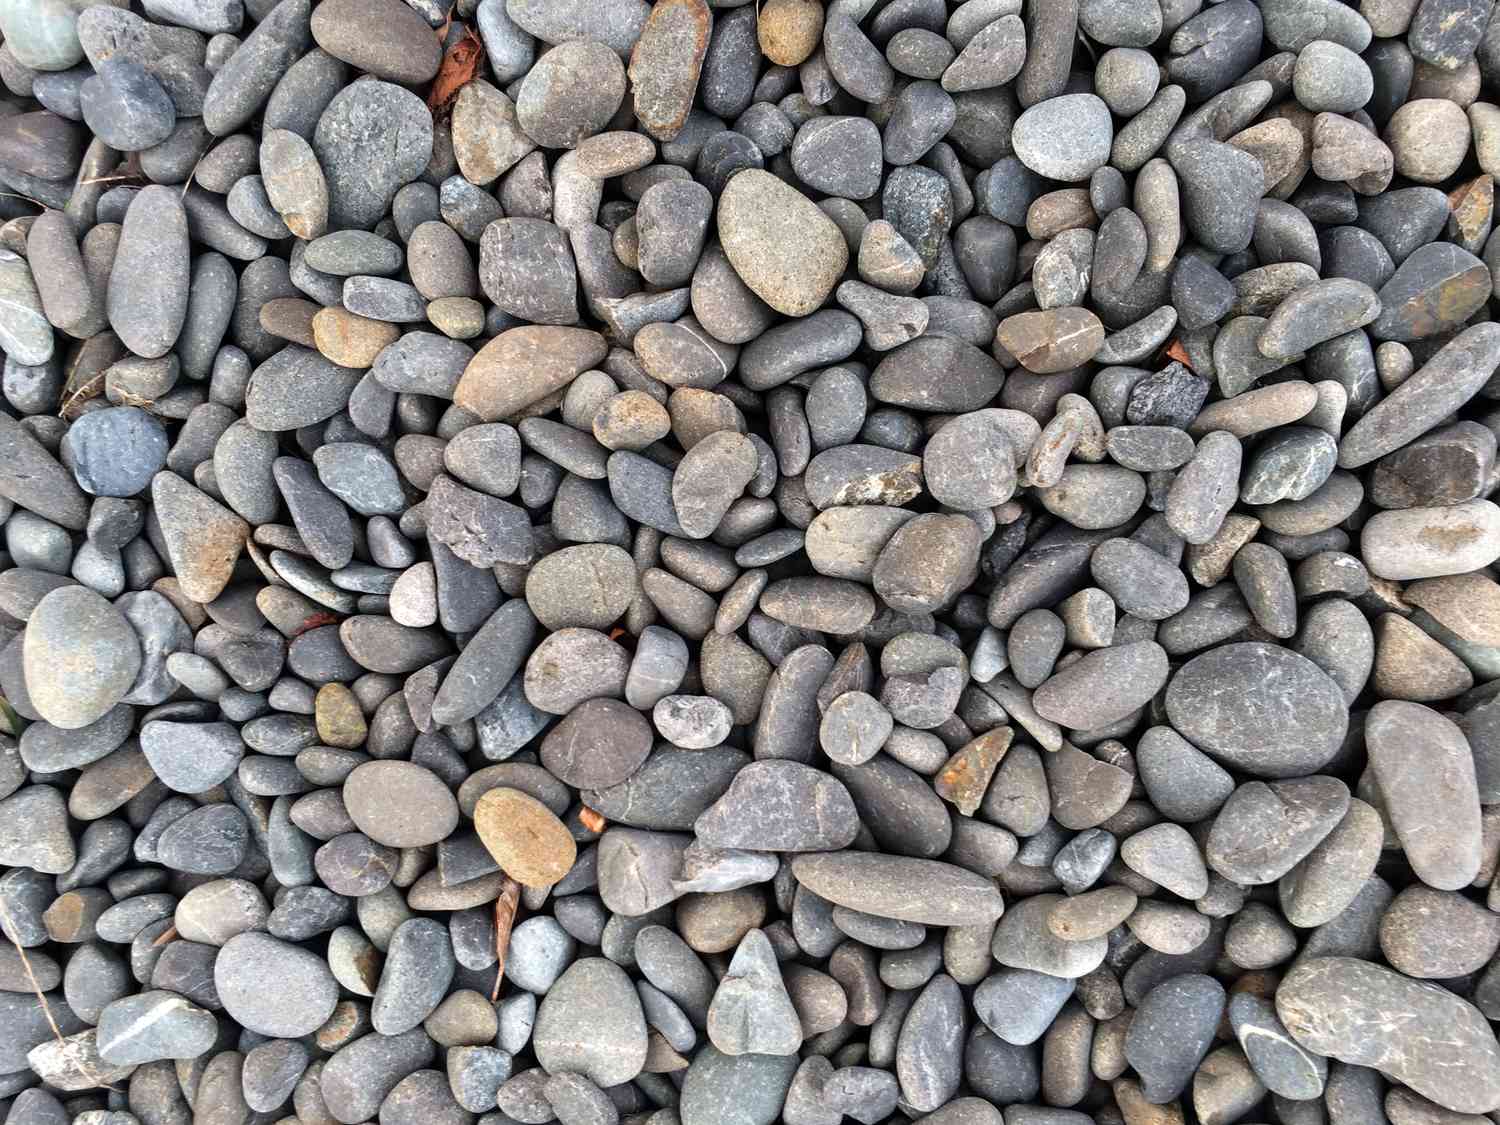
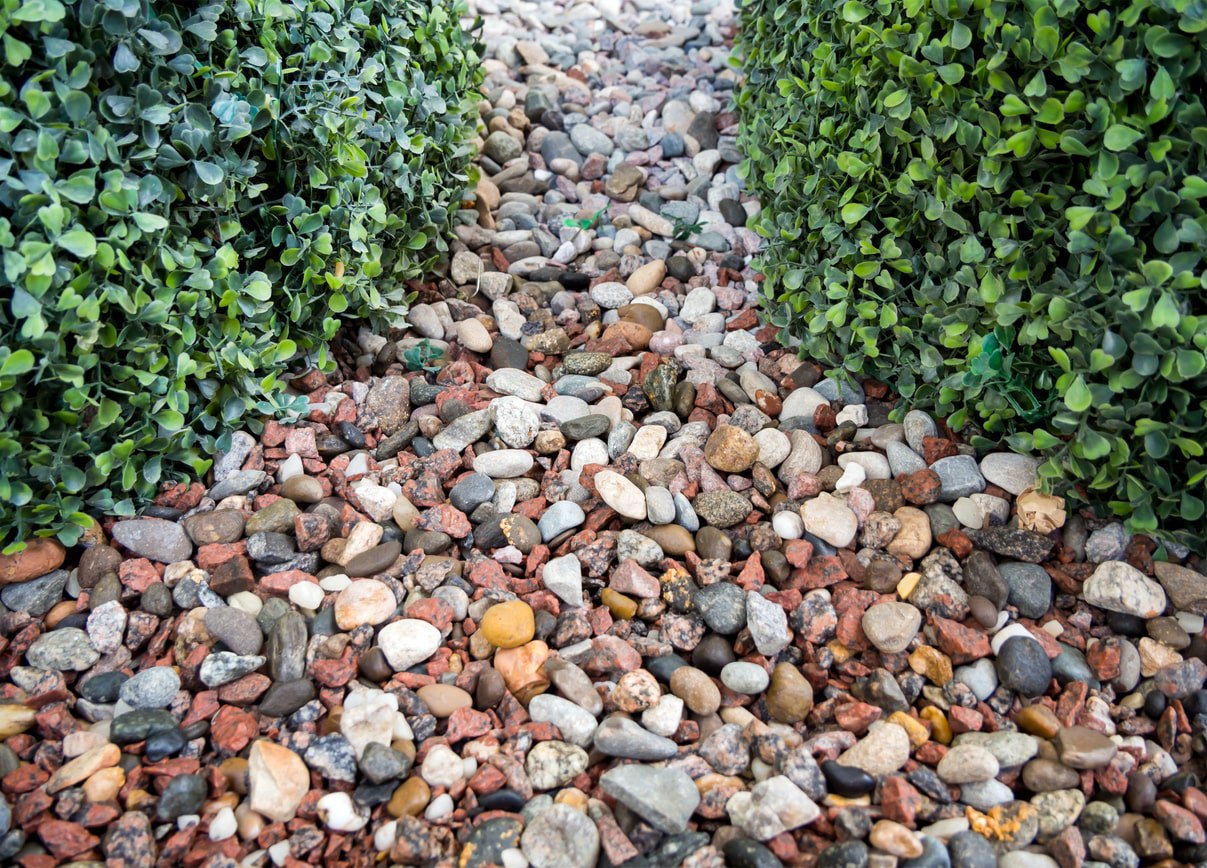
- Identify rock types: Determine the types of rocks used in the landscape. This information is useful for planning the removal process and understanding the weight and size of the rocks you will be dealing with.
- Evaluate access points: Assess the accessibility of the area where the rocks are located. Consider factors such as pathways, gates, and narrow spaces that may affect your ability to maneuver and transport the rocks.
- Identify potential obstacles: Look for any potential obstacles that may hinder the removal process, such as tree roots, underground utilities, or delicate plants. Take note of these and plan accordingly to minimize any damage or disruption.
- Consider equipment limitations: If you plan on using equipment, such as a mini excavator or skid steer, evaluate whether the landscape can accommodate their size and weight. Ensure that there is sufficient space and maneuverability for these machines to operate safely.
- Measure and document: Take measurements of the rocks and the areas they occupy. This will help you plan for their removal and estimate the amount of time and effort required.
By thoroughly assessing the landscape before you begin, you can develop a clear understanding of the project’s requirements and potential challenges. This will allow you to plan the removal process more effectively and ensure a smoother experience overall.
Clearing the Area
Once you have assessed the landscape and planned the removal process, it’s time to start clearing the area to prepare for the removal of the landscaping rocks. This step involves removing any obstacles or vegetation that may hinder your progress and create a safe working environment.
Follow these steps to clear the area effectively:
- Remove any loose debris: Clear away any loose debris such as leaves, branches, or small rocks from the area surrounding the landscaping rocks. This will give you a clean surface to work on.
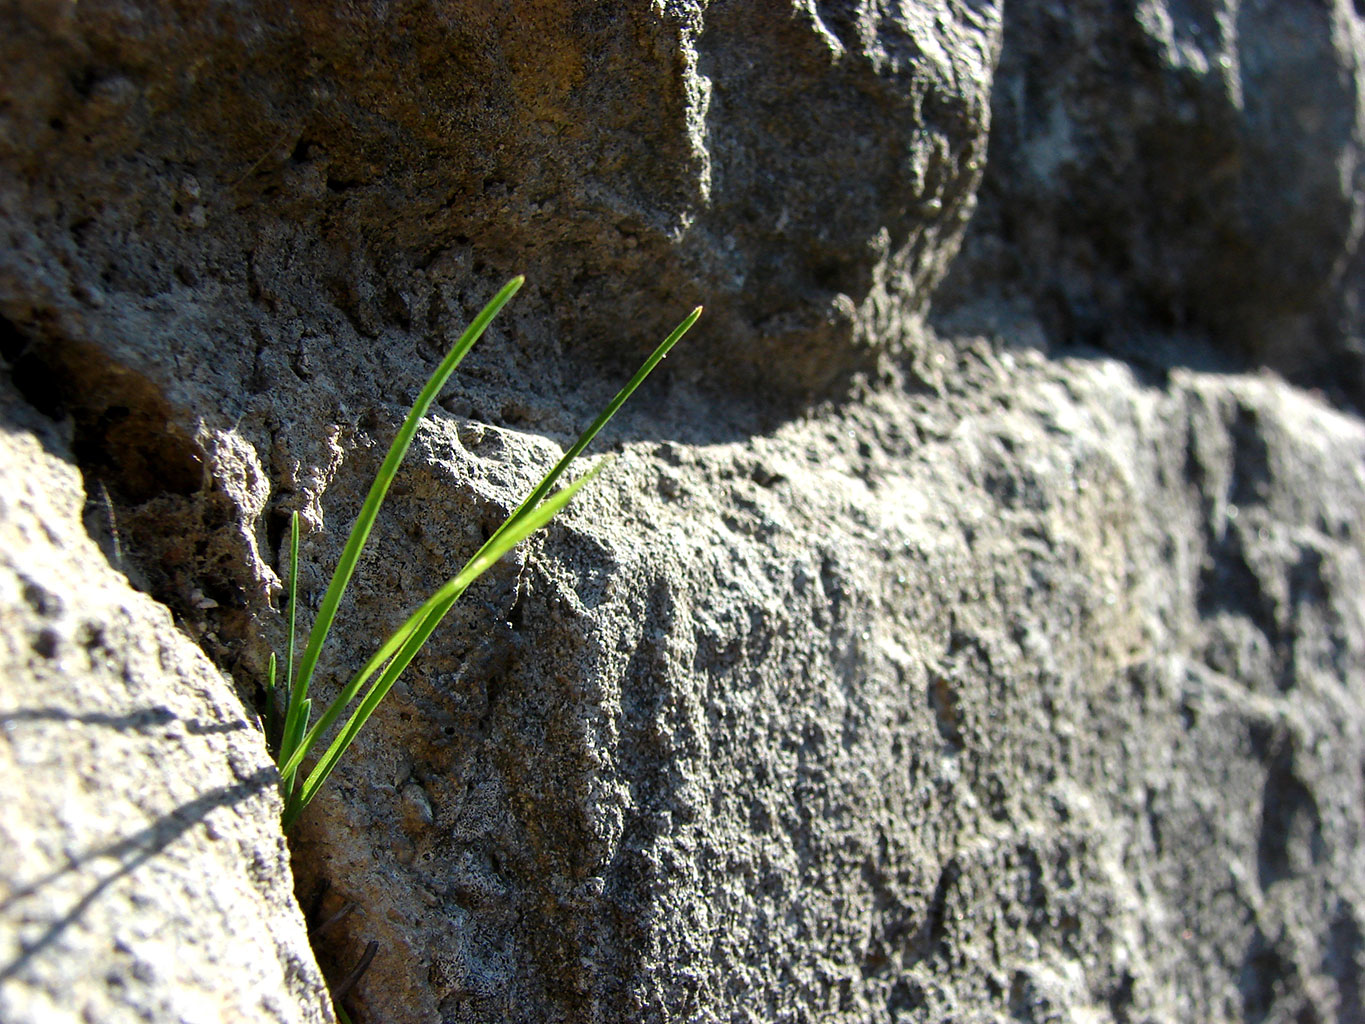
- Trim vegetation: If there are any plants or foliage obstructing the rocks, carefully trim them back or remove them entirely. Take caution not to damage any plants you wish to keep.
- Protect delicate plants: If there are delicate plants near the rocks that you want to preserve, use temporary barriers or coverings to shield them from accidental damage during the removal process.
- Clear pathways: Ensure that pathways and access points are clear and wide enough to accommodate the movement of the rocks and equipment, if needed. Remove any overhanging branches or obstacles that may impede your progress.
- Mark underground utilities: If there are underground utilities such as gas lines, water pipes, or electrical cables in the area, mark them clearly to avoid accidental damage during the removal process.
- Secure adjacent structures: If there are nearby structures such as fences, walls, or buildings, make sure they are secure and stable. Reinforce any weak spots or areas that may be affected by the removal process.
By taking the time to clear the area properly, you create a safe and efficient working environment for the removal of the landscaping rocks. Remember to exercise caution and be mindful of your surroundings throughout this process.
Excavating the Rocks
Now that the area is cleared and prepared, it’s time to start excavating the landscaping rocks. This step involves carefully loosening and lifting the rocks from their positions, ensuring that they are safely removed without causing damage to the surrounding landscape.
Follow these steps to excavate the rocks effectively:
- Start with the smaller rocks: Begin by removing the smaller rocks first. Use a pry bar or crowbar to gently loosen the rocks from their positions. Wedge the pry bar underneath the rocks and apply upward pressure to lift them.
- Work systematically: Move methodically through the area, removing one rock at a time. This allows you to maintain control and prevents any unnecessary damage or accidents.
- Pay attention to weight distribution: When lifting larger rocks, be mindful of their weight distribution. Use your legs and core muscles to lift the rocks rather than straining your back. Enlist the help of a partner if necessary.
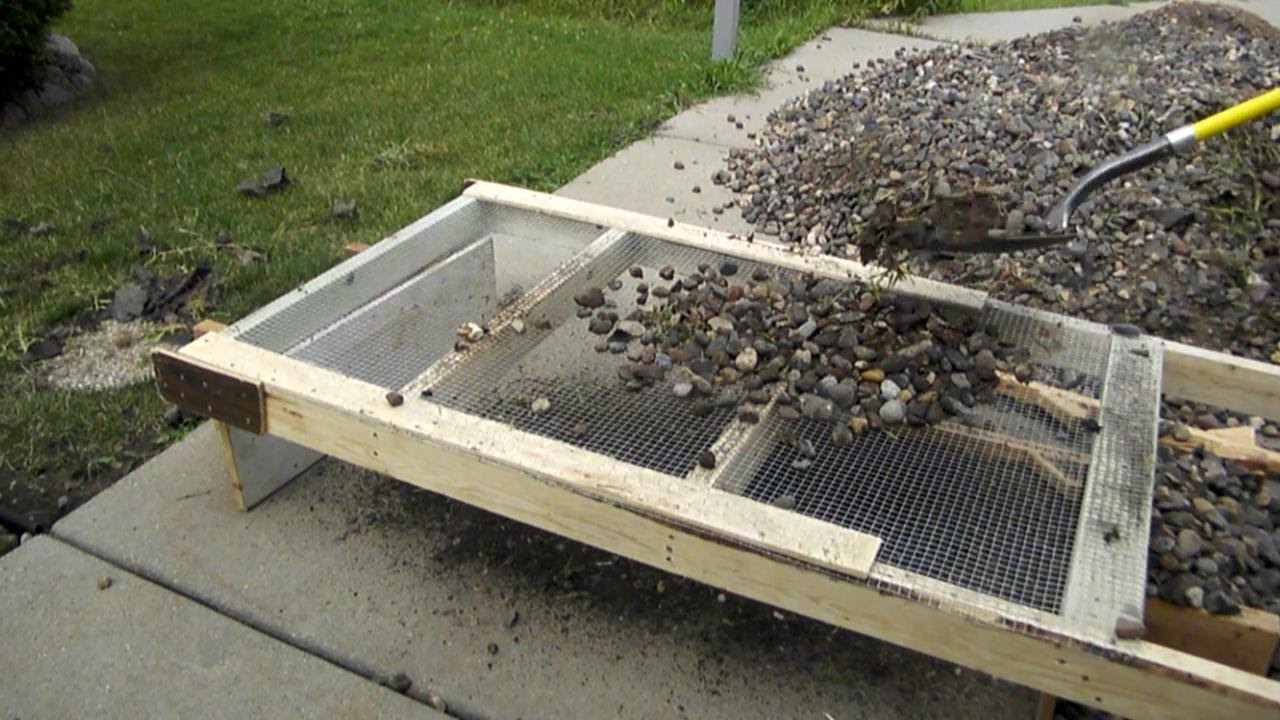
- Assess each rock: As you remove each rock, assess its condition. If you plan to reuse the rocks elsewhere in your landscape, carefully clean them of any debris or dirt before setting them aside.
- Dispose of unwanted rocks: If you have rocks that you no longer need or want, place them in a designated area or directly into a wheelbarrow or cart for disposal. Be careful not to overload the cart, as this can make it more difficult to maneuver.
- Filling the gaps: After removing the rocks, you may notice gaps or depressions in the landscape. Fill these areas with soil, mulch, or other appropriate materials to restore the overall appearance and functionality of the space.
Throughout the process of excavating the rocks, take breaks as needed to prevent fatigue and avoid overexertion. Remember to work carefully and take your time, ensuring that the rocks are safely removed without causing damage to yourself or the surrounding landscape.
Disposing of the Rocks
Once you have successfully excavated the landscaping rocks, the next step is to dispose of them appropriately. The method of disposal will depend on the size and quantity of rocks you have, as well as any local regulations or guidelines for waste management. Here are some options for disposing of the rocks:
- Reuse or repurpose: If the rocks are in good condition and suitable for reuse, consider repurposing them in other areas of your landscape or donating them to someone in need. This not only saves on waste but also adds value and character to your outdoor space.
- Local recycling centers: Check with local recycling centers to see if they accept rocks for recycling or reclamation. Some centers may have specific guidelines or protocols for accepting rocks, so it’s advisable to call ahead and inquire about their requirements.
- Hauling services: If you have a large quantity of rocks or they are too heavy to manage on your own, you may need to hire a hauling service that specializes in rock disposal. These professionals will have the necessary equipment and expertise to transport and dispose of the rocks safely.
- Construction waste facilities: In some areas, construction waste facilities or landfills may accept landscaping rocks. Contact your local waste management agency or landfill to inquire about their policies and procedures for disposing of rocks.
- Online listings or community groups: Consider listing the rocks for free on online platforms or community groups. There may be individuals or organizations in your community who could benefit from the rocks for their own landscaping projects.
Regardless of the method you choose, it’s important to ensure responsible disposal of the rocks. Be mindful of any weight or quantity restrictions imposed by disposal facilities and follow all local regulations and guidelines for waste management.
By disposing of the rocks in an appropriate manner, you contribute to environmental sustainability while clearing space for new landscaping endeavors.
Restoring the Landscape
With the rocks successfully disposed of, it’s time to focus on restoring the landscape to its desired state. This step involves filling in the gaps left by the rocks, rejuvenating the soil, and reintroducing any desired landscaping elements or plants.
Here are the steps to restore your landscape:
- Filling in gaps: Use soil, mulch, or other appropriate materials to fill in any gaps or depressions left by the removal of the rocks. Ensure that the fill material is level and evenly distributed to create a seamless transition.
- Rejuvenate the soil: Consider adding organic matter, such as compost or peat moss, to enrich the soil and improve its fertility. This will provide a healthy foundation for new plants or landscaping features.
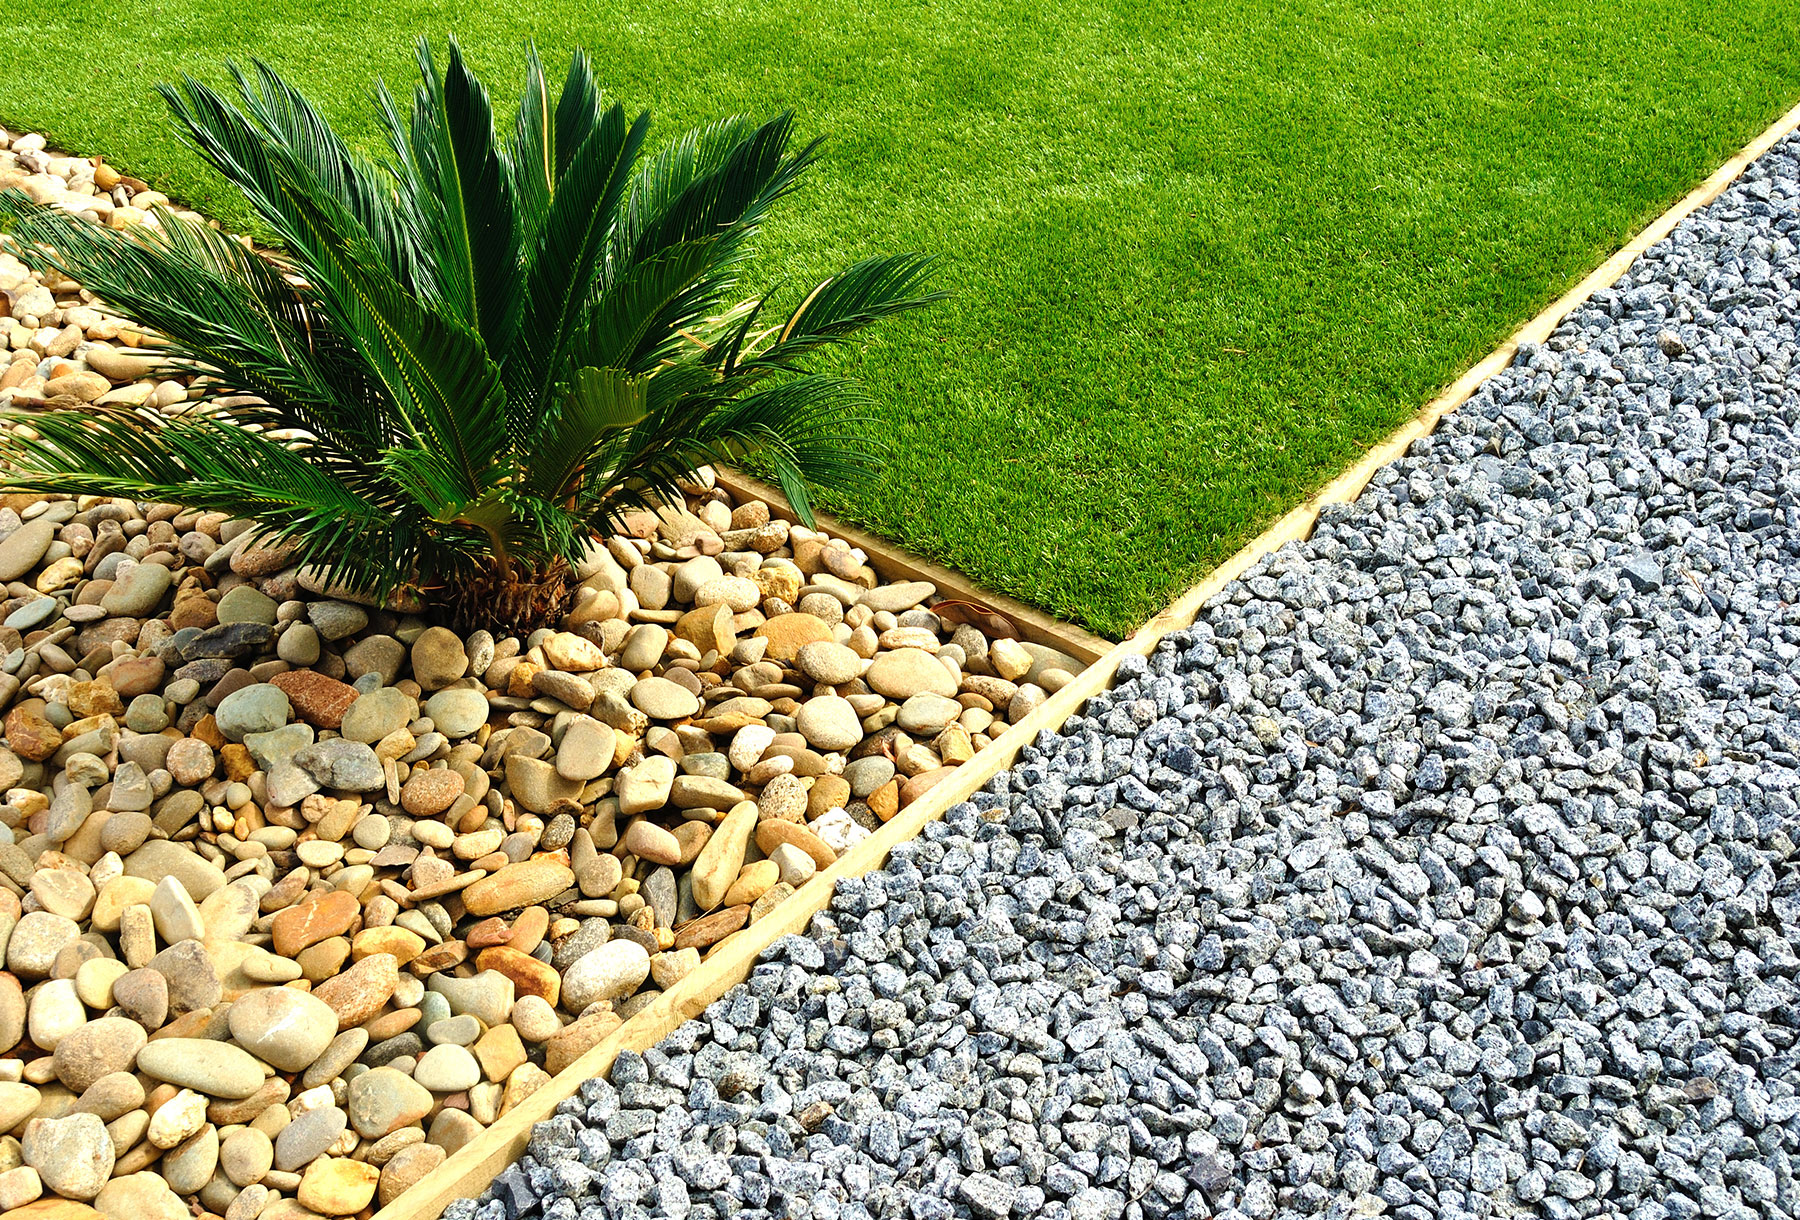
- Introduce new plants or features: Take this opportunity to introduce new plants, flowers, or landscaping elements to enhance the aesthetic appeal of your outdoor space. Consider selecting plants that are suitable for your climate and that complement your overall design vision.
- Install hardscaping elements: If desired, install new hardscaping elements such as pavers, pathways, or seating areas. These will add structure and functionality to your landscape while enhancing its overall beauty.
- Maintain regular care: After restoring the landscape, continue with regular care to ensure the health and vitality of your plants. This includes watering, fertilizing, and pruning as needed.
- Monitor and adjust: Keep an eye on the restored landscape and make any necessary adjustments as the plants grow and mature. Periodically assess the overall design and make modifications if required to maintain the desired aesthetic appeal.
Restoring the landscape after removing the rocks allows you to create a fresh and revitalized outdoor space. Take your time during this process, ensuring that the restored landscape aligns with your vision and provides an inviting and enjoyable environment for years to come.
Conclusion
Removing landscaping rocks can be a challenging but rewarding process. By following the steps outlined in this guide and prioritizing safety, you can successfully remove the rocks and restore your landscape to its desired state.
Remember to always prioritize safety by wearing protective gear and using proper lifting techniques. Assess the landscape beforehand to understand the layout, rock types, and potential obstacles. Gather the necessary tools and materials to ensure a smooth removal process.
Clear the area by removing debris and trimming vegetation, creating a safe working environment. Excavate the rocks carefully, starting with smaller ones and working systematically. Dispose of the rocks responsibly, considering reuse, recycling, or professional hauling services.
Finally, restore the landscape by filling in gaps, rejuvenating the soil, and introducing new plants or features. Regular care and monitoring will help maintain the health and beauty of your revamped outdoor space.
With patience and dedication, you can achieve your desired landscape design by removing landscaping rocks and creating a captivating and inviting environment for you and your visitors to enjoy.